

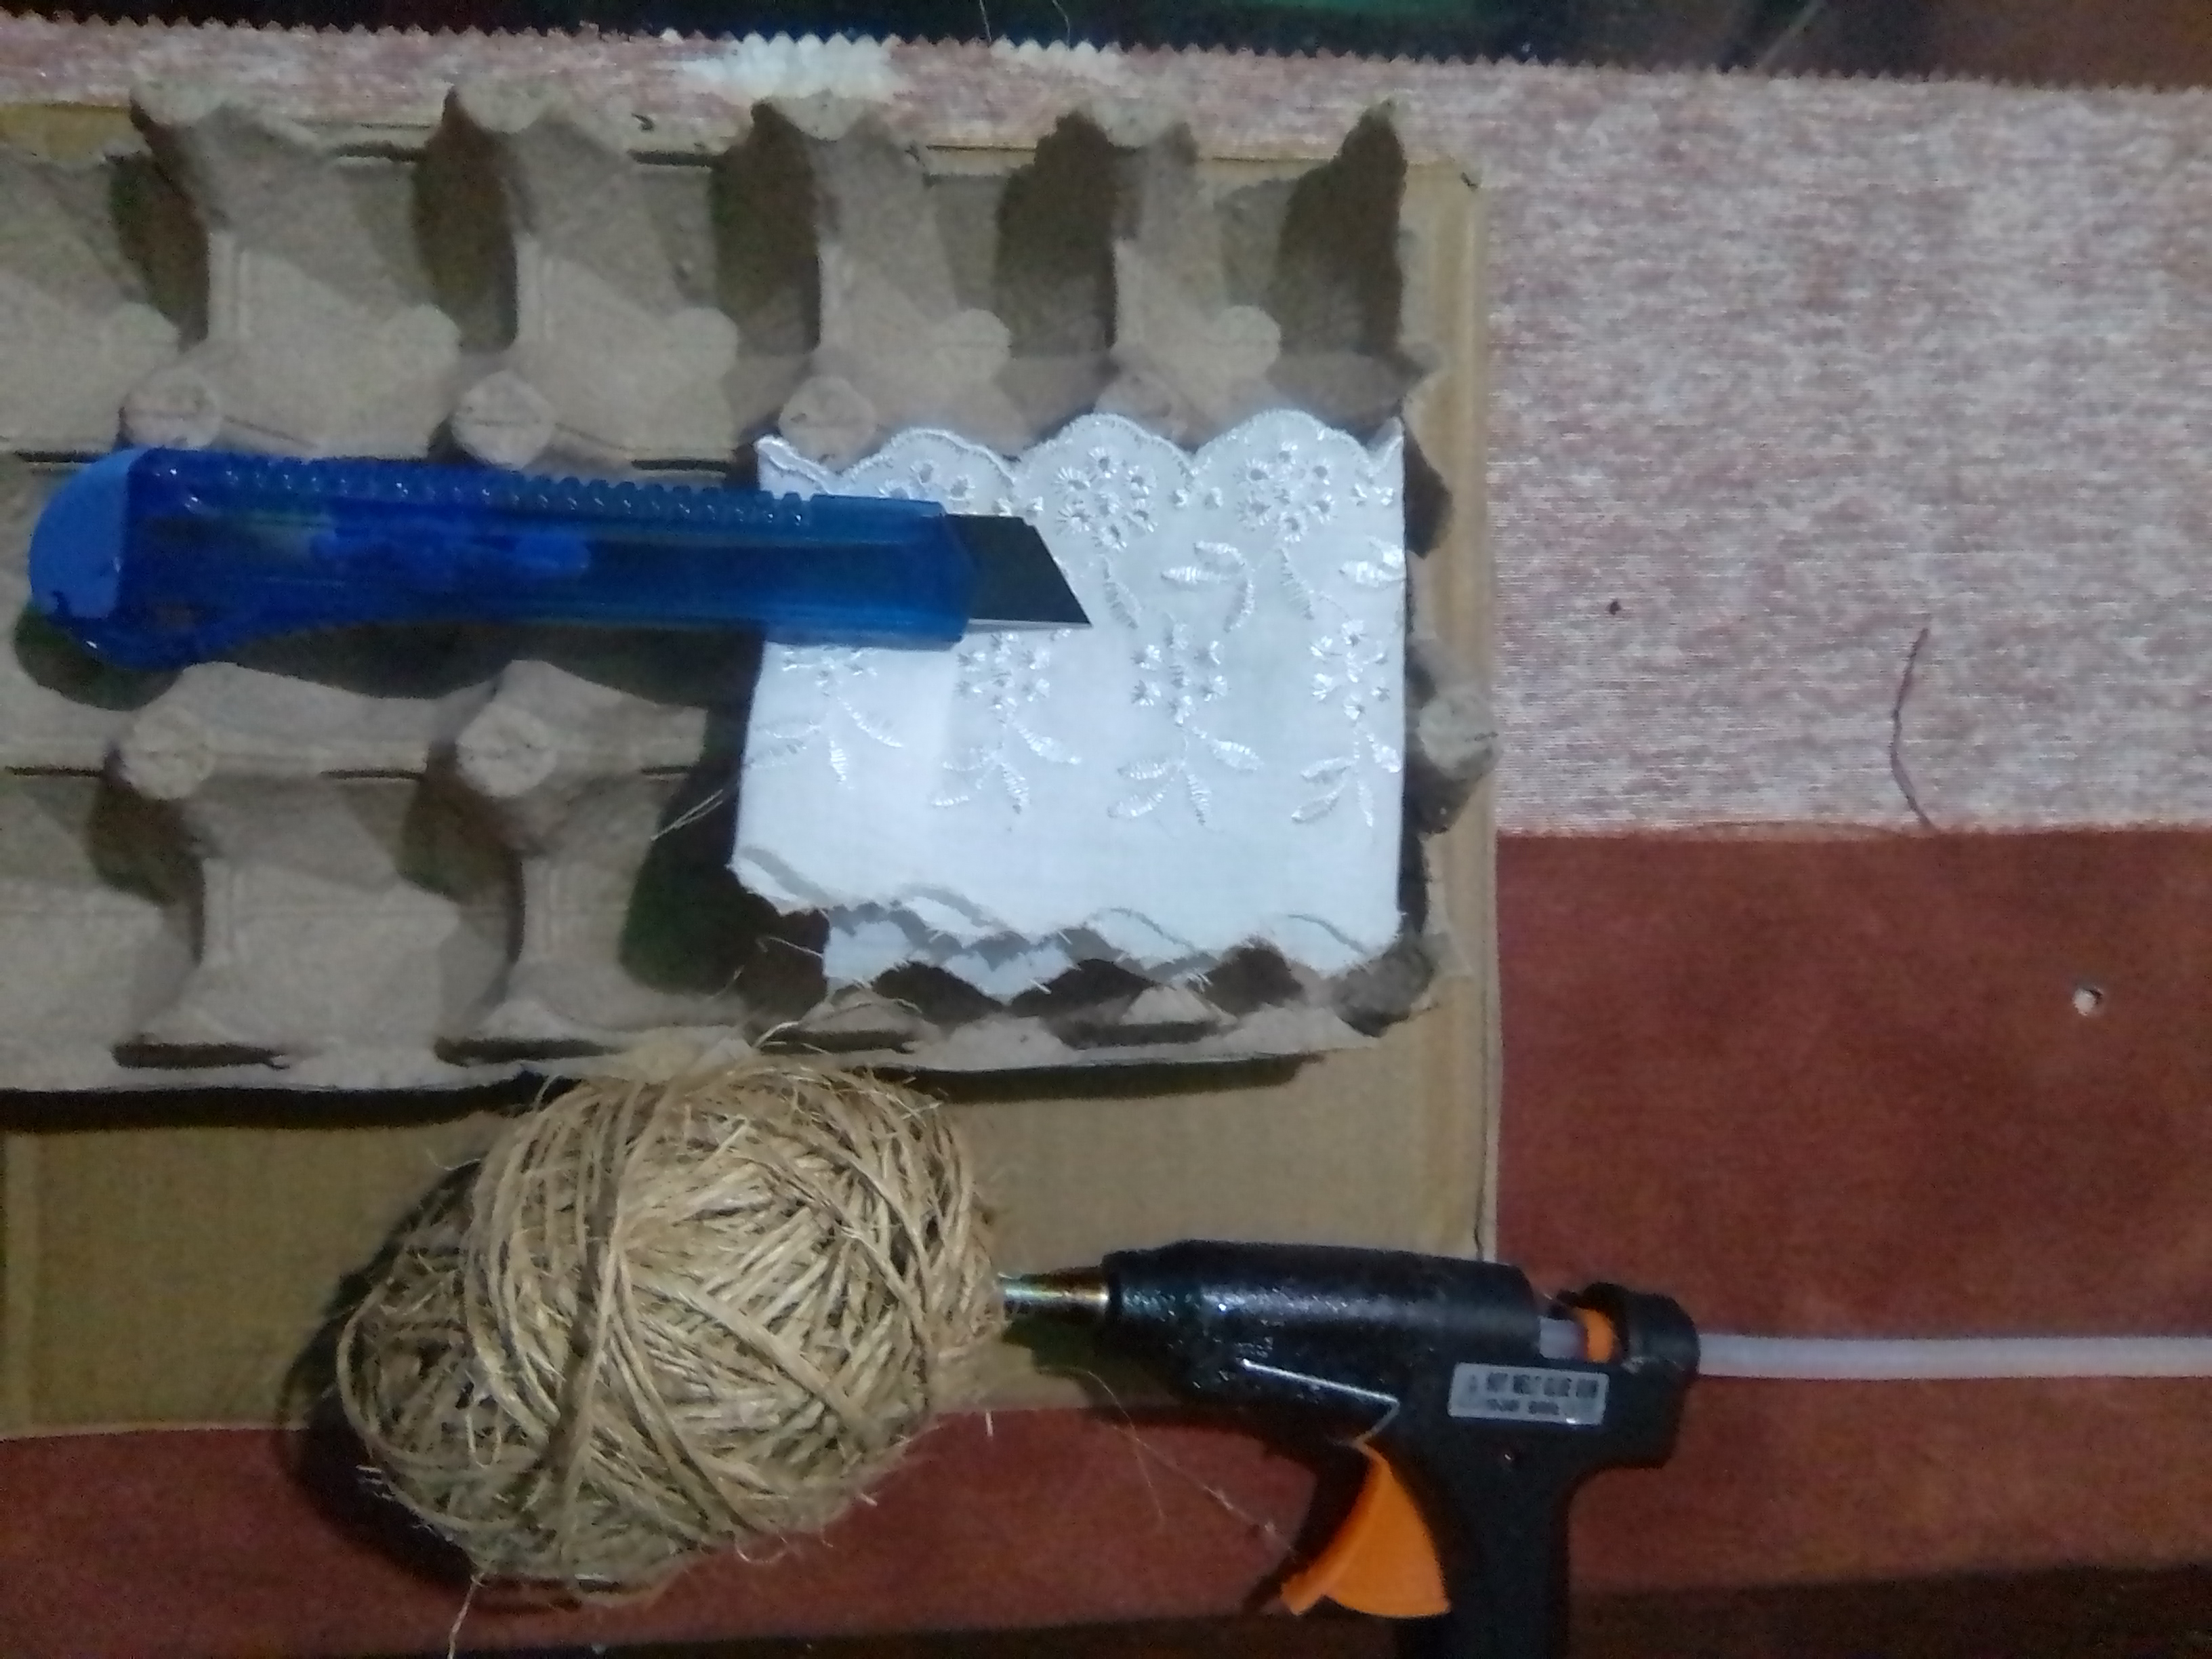
MATERIALS
✓ Egg carton
✓ Upholstery fabric
✓ Jute
✓ Red, white and green frosty foami
✓ Cardboard
✓ Scissors, pencil and ruler
✓ Gun and silicone bars
✓ White lace
STEP BY STEP
For this cute Christmas egg holder, I require half an egg carton, and I proceed to cut the excess carton from it, that is, with scissors or a cutter, the edges of the egg carton are removed on all four sides.
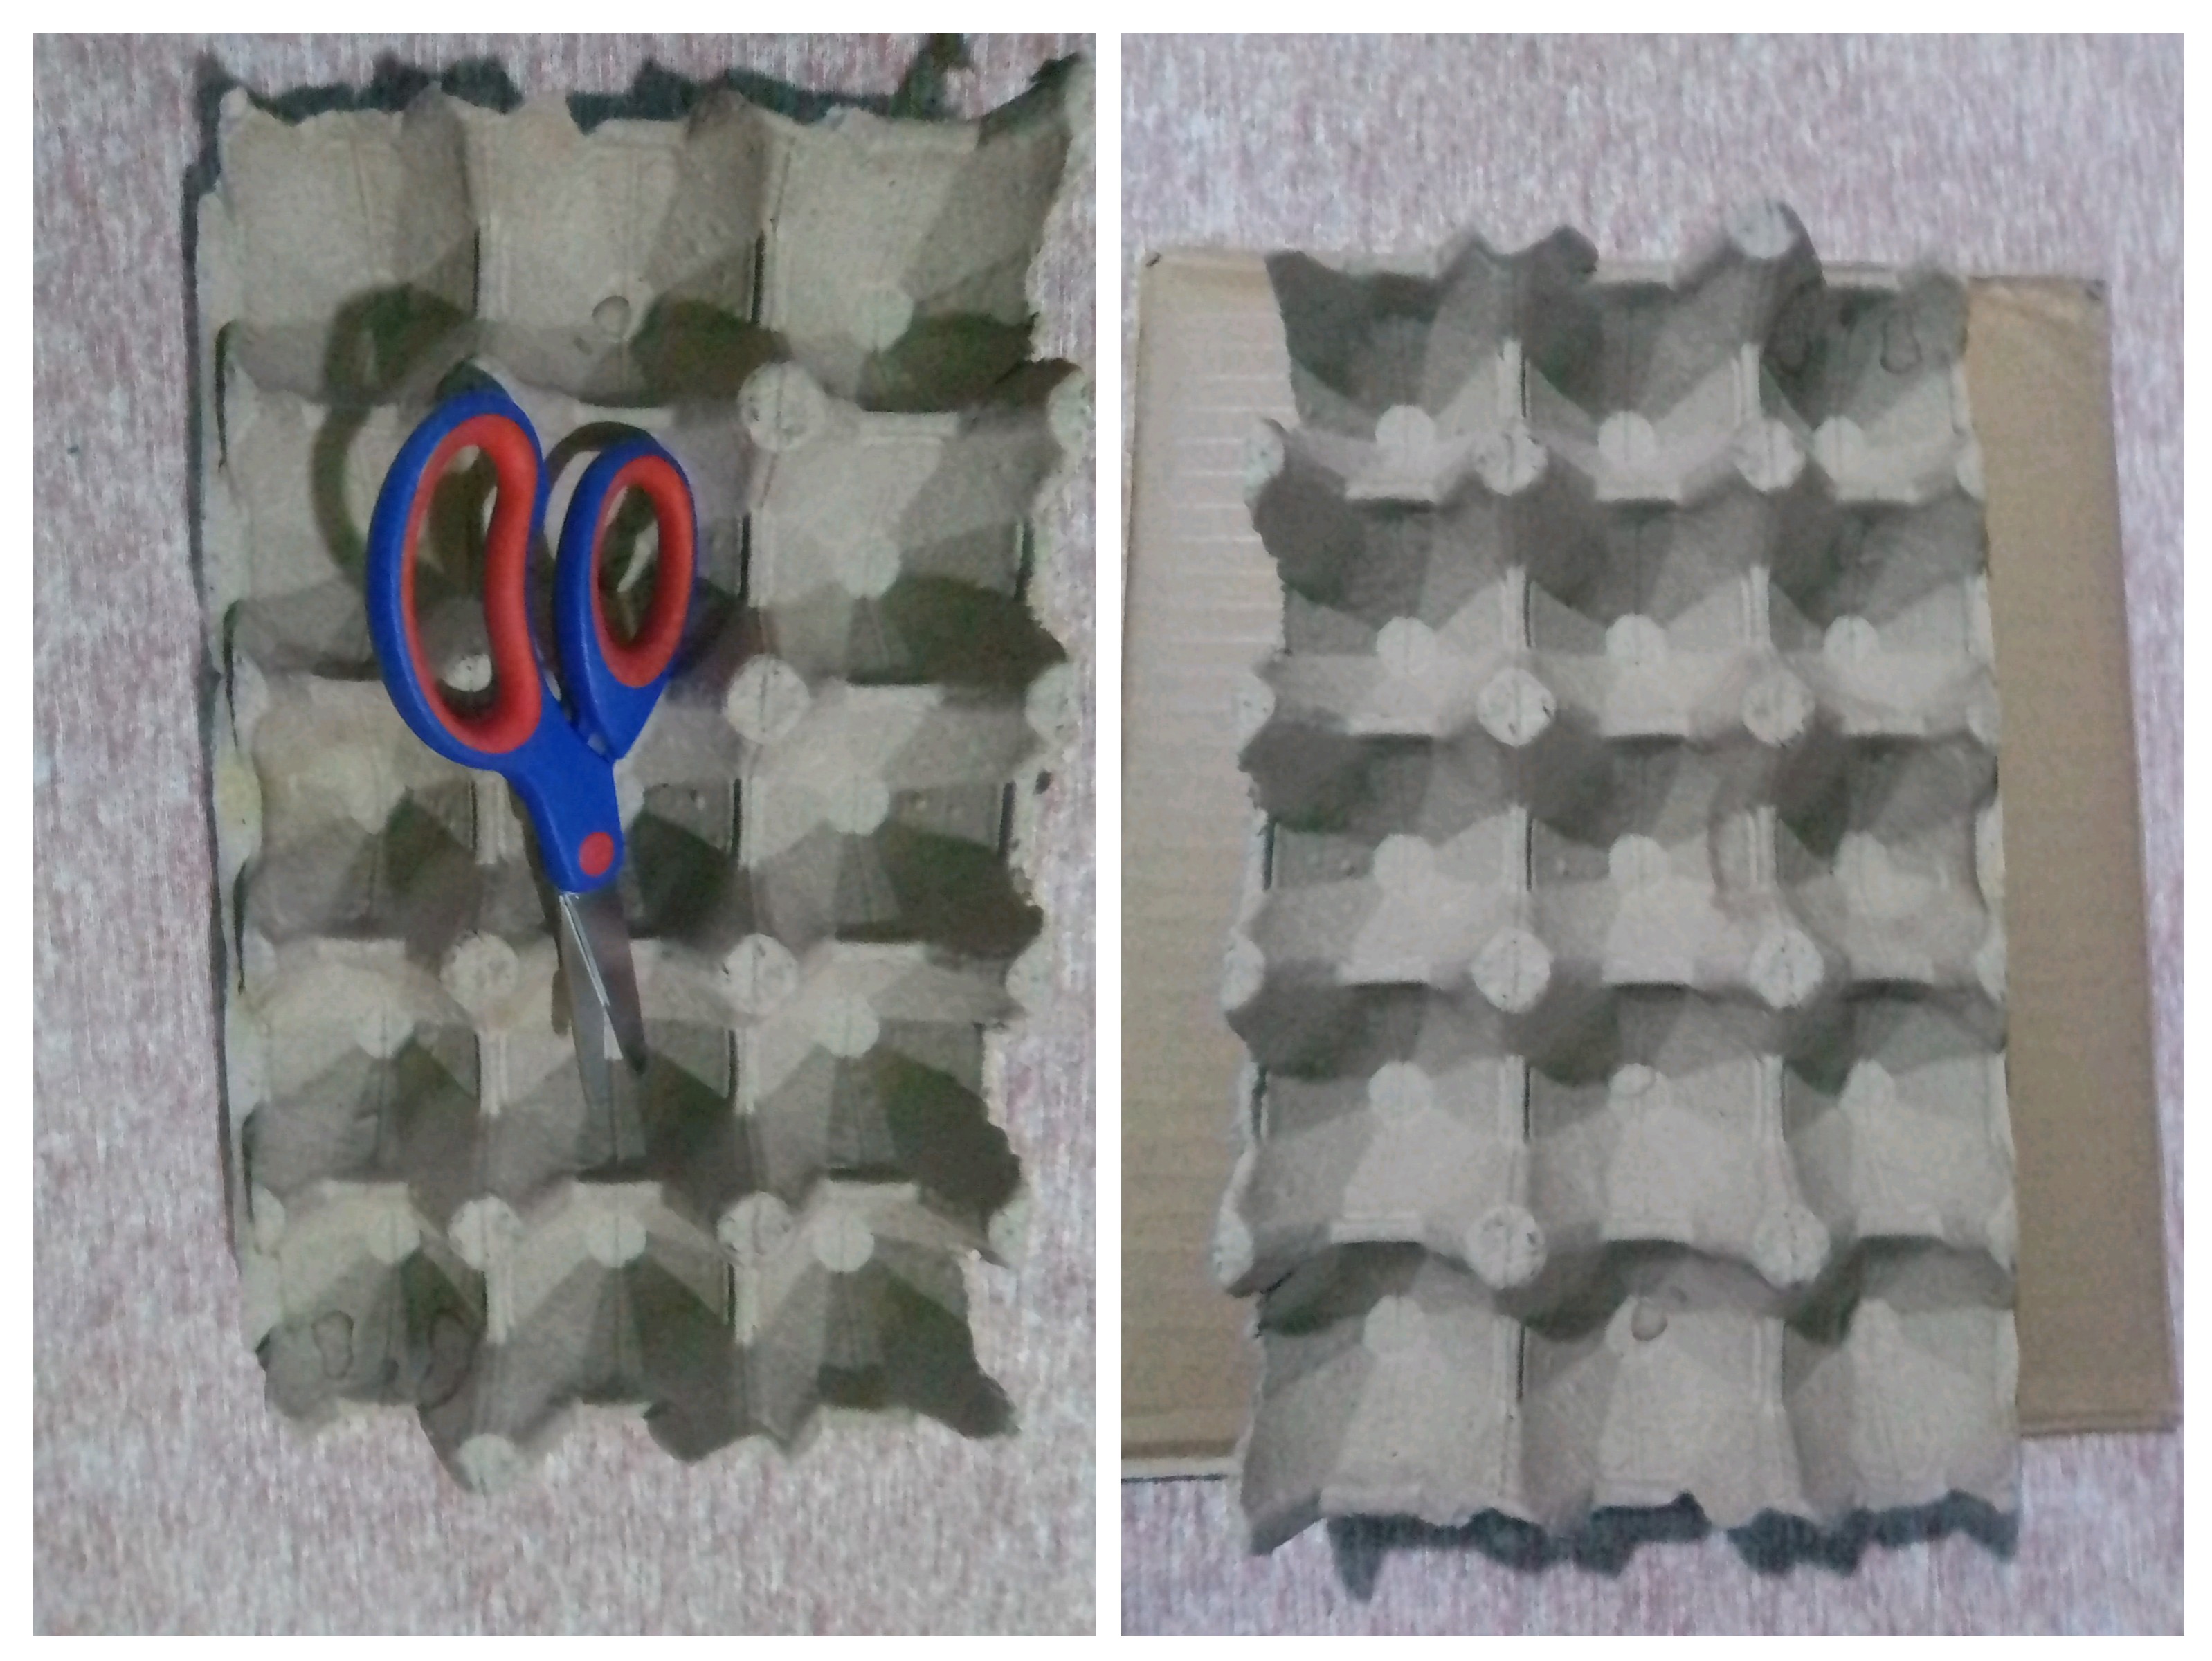
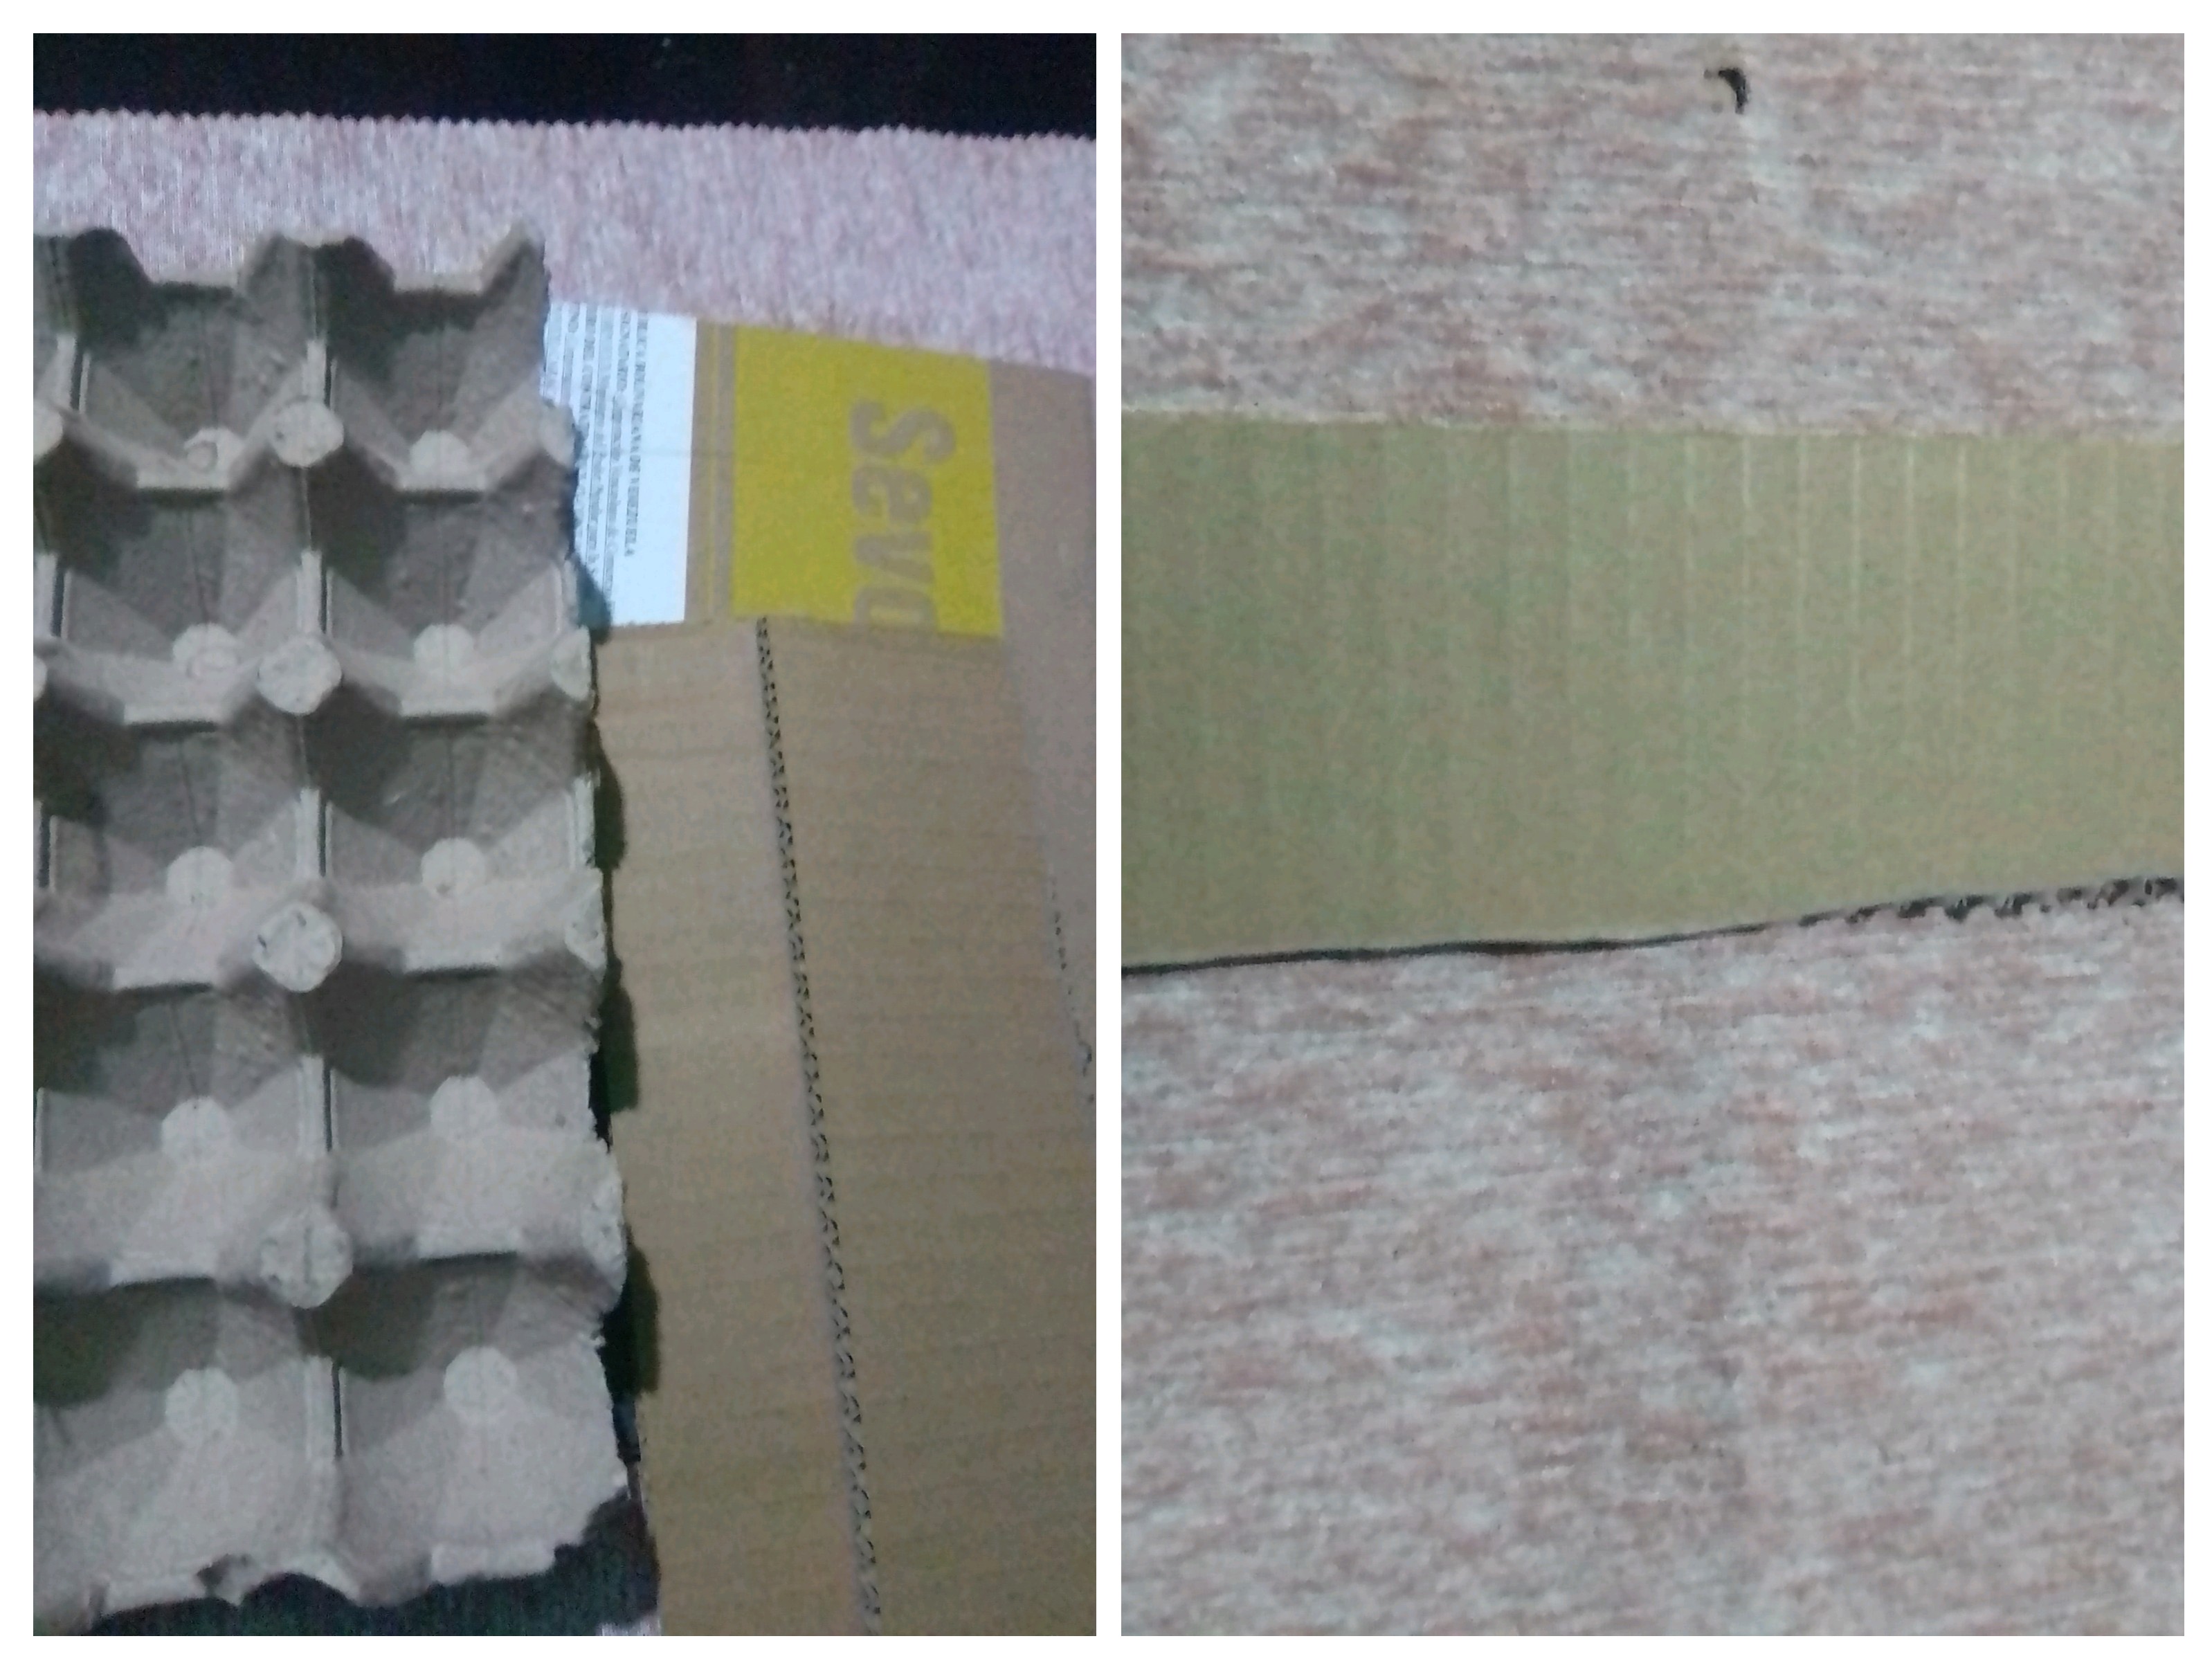
Then I take the measurement of the lower part, with the thick cardboard, in addition to the measurement of the four sides, since the half carton of eggs will be protected by the cardboard.
The next step was to cover the cartons on the sides with fabric, I covered the long cartons on the wrong side of the fabric, which is light in color, and the short cartons, I covered them with the right side of the fabric, which is colored. Brown.
It is time to glue the base carton of the egg holder with enough hot silicone, then I fixed the cartons already covered in fabric, in such a way that the edges of the egg carton were very well adhered to the carton with fabric.
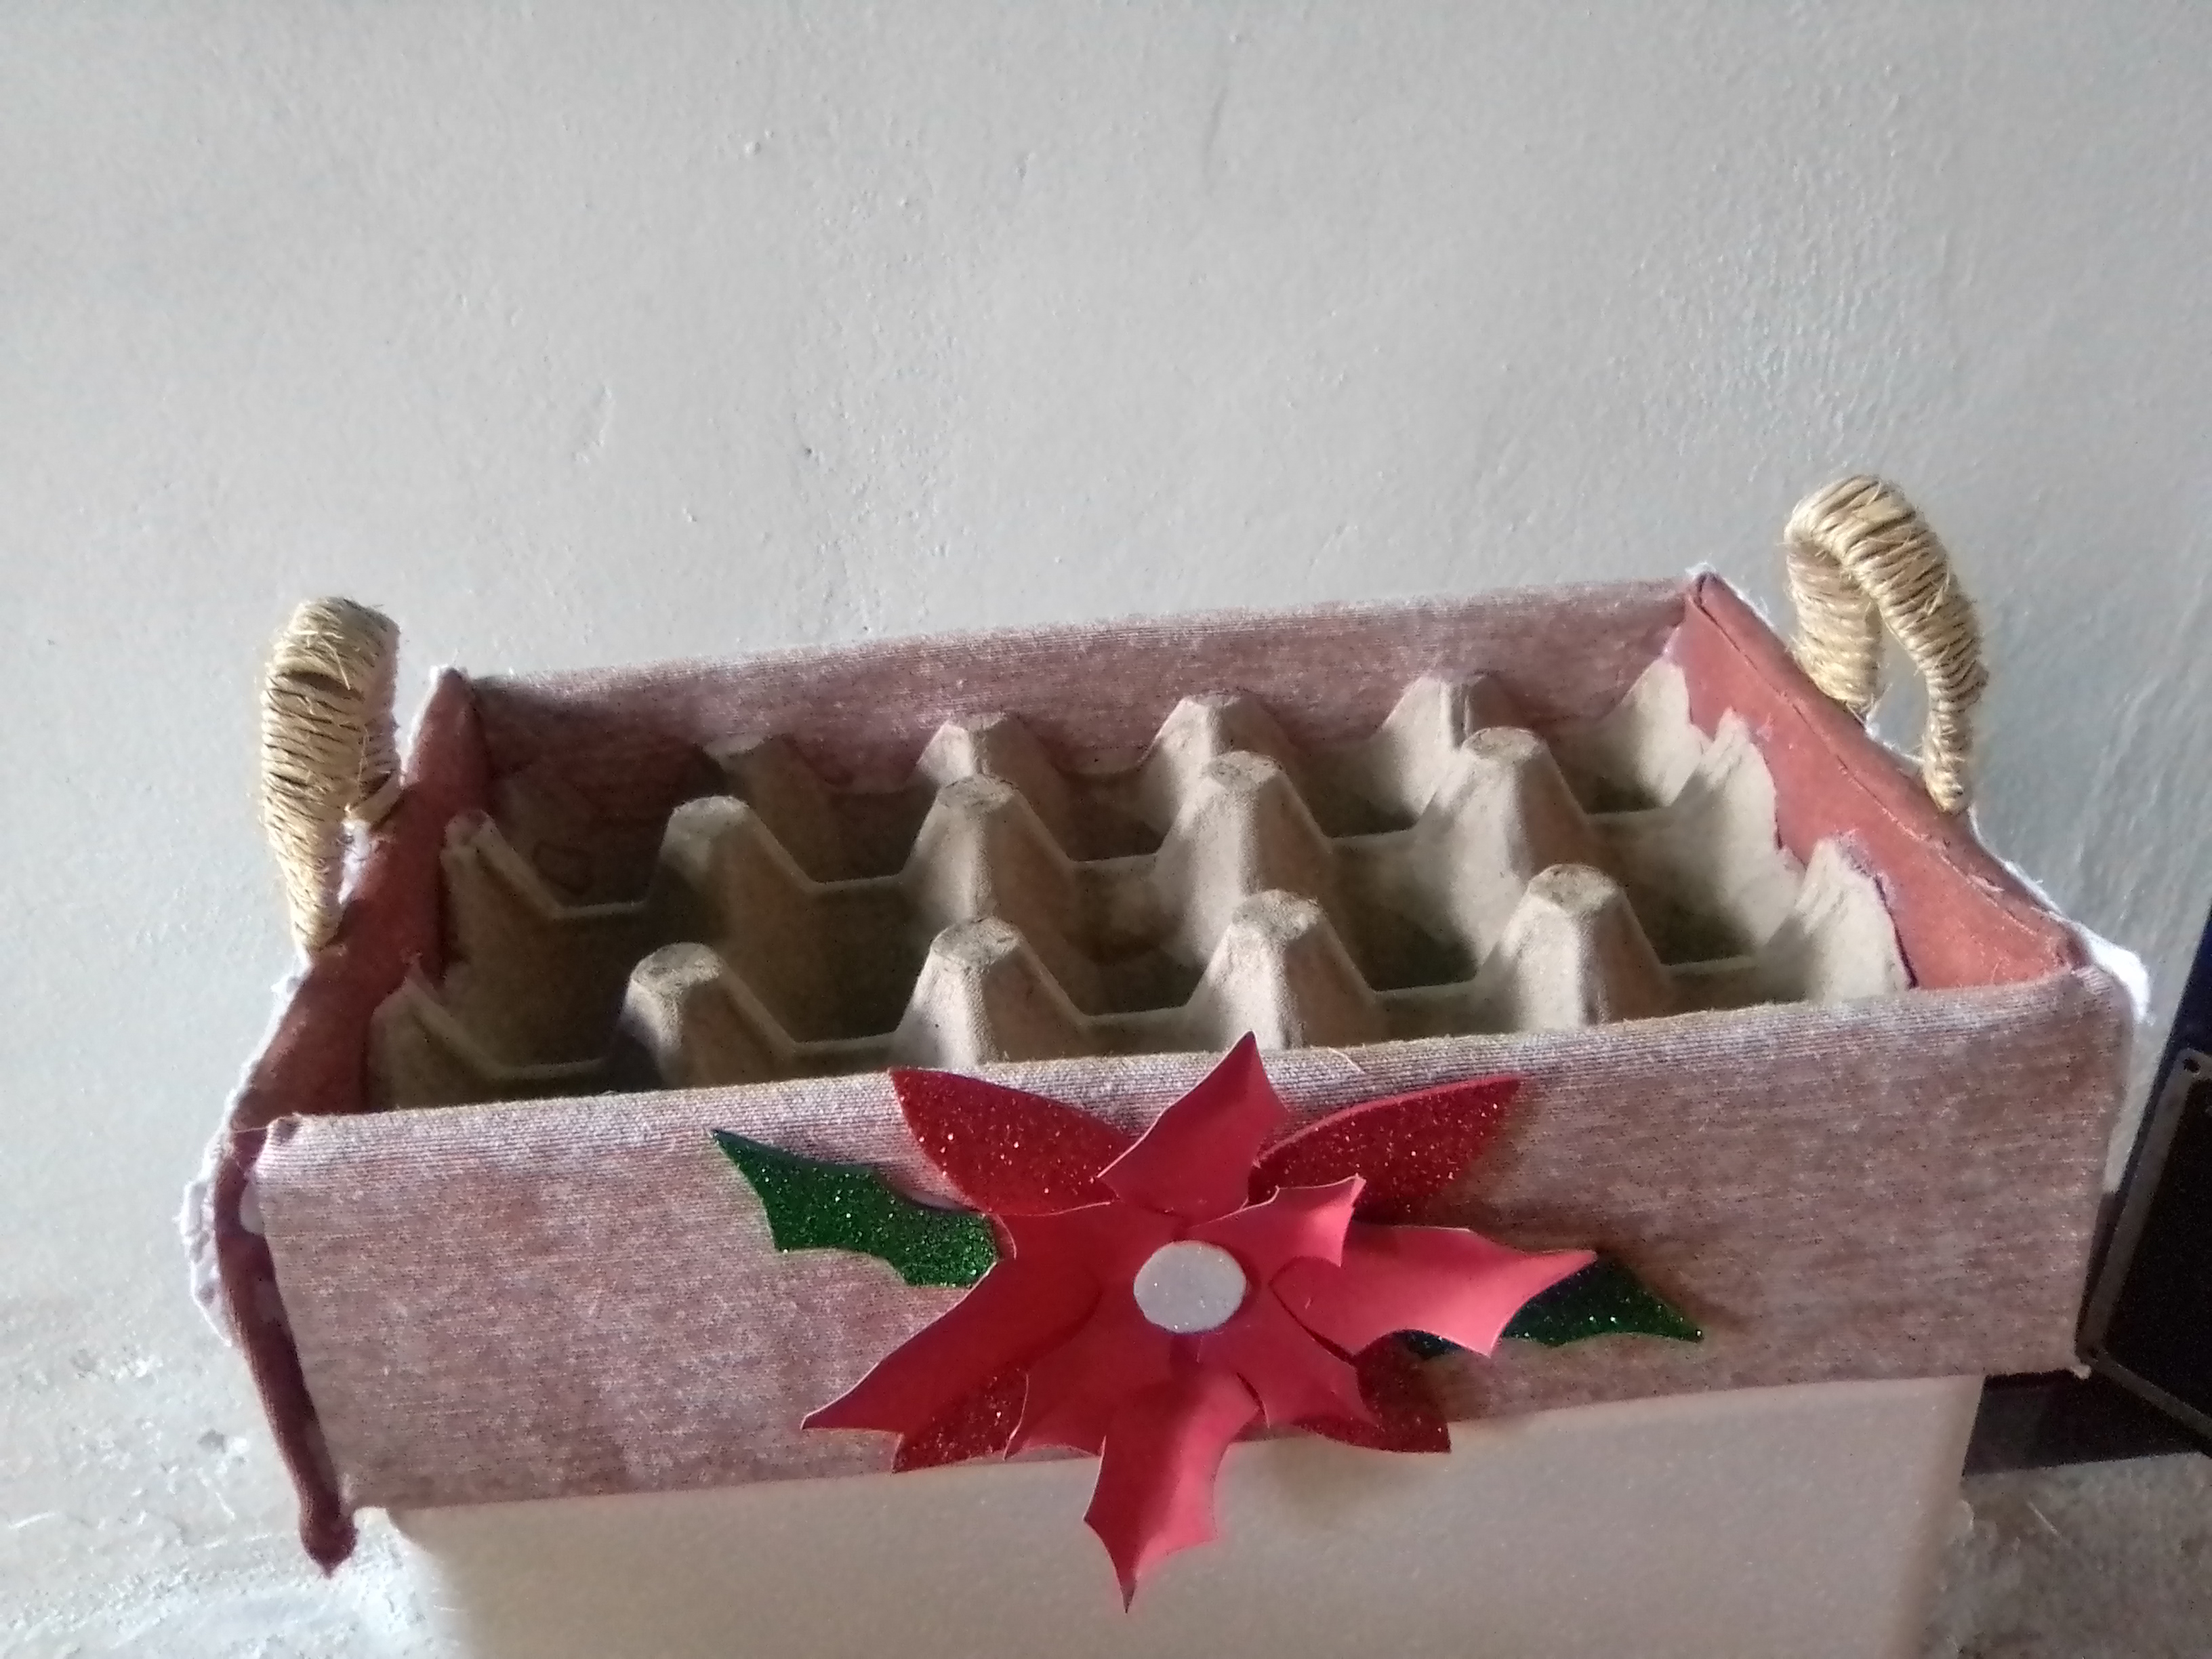
With the egg holder practically ready, just a touch of decoration is missing, I think it would be very nice if I put two handles on the ends. To do this, I cut a strip of cardboard, smoothed it out by rolling it over itself, and then covered it with jute thread.
I fix the handles at the ends, giving a rounded shape, and to hide the points of the union, place a decorative white lace ribbon on both sides.
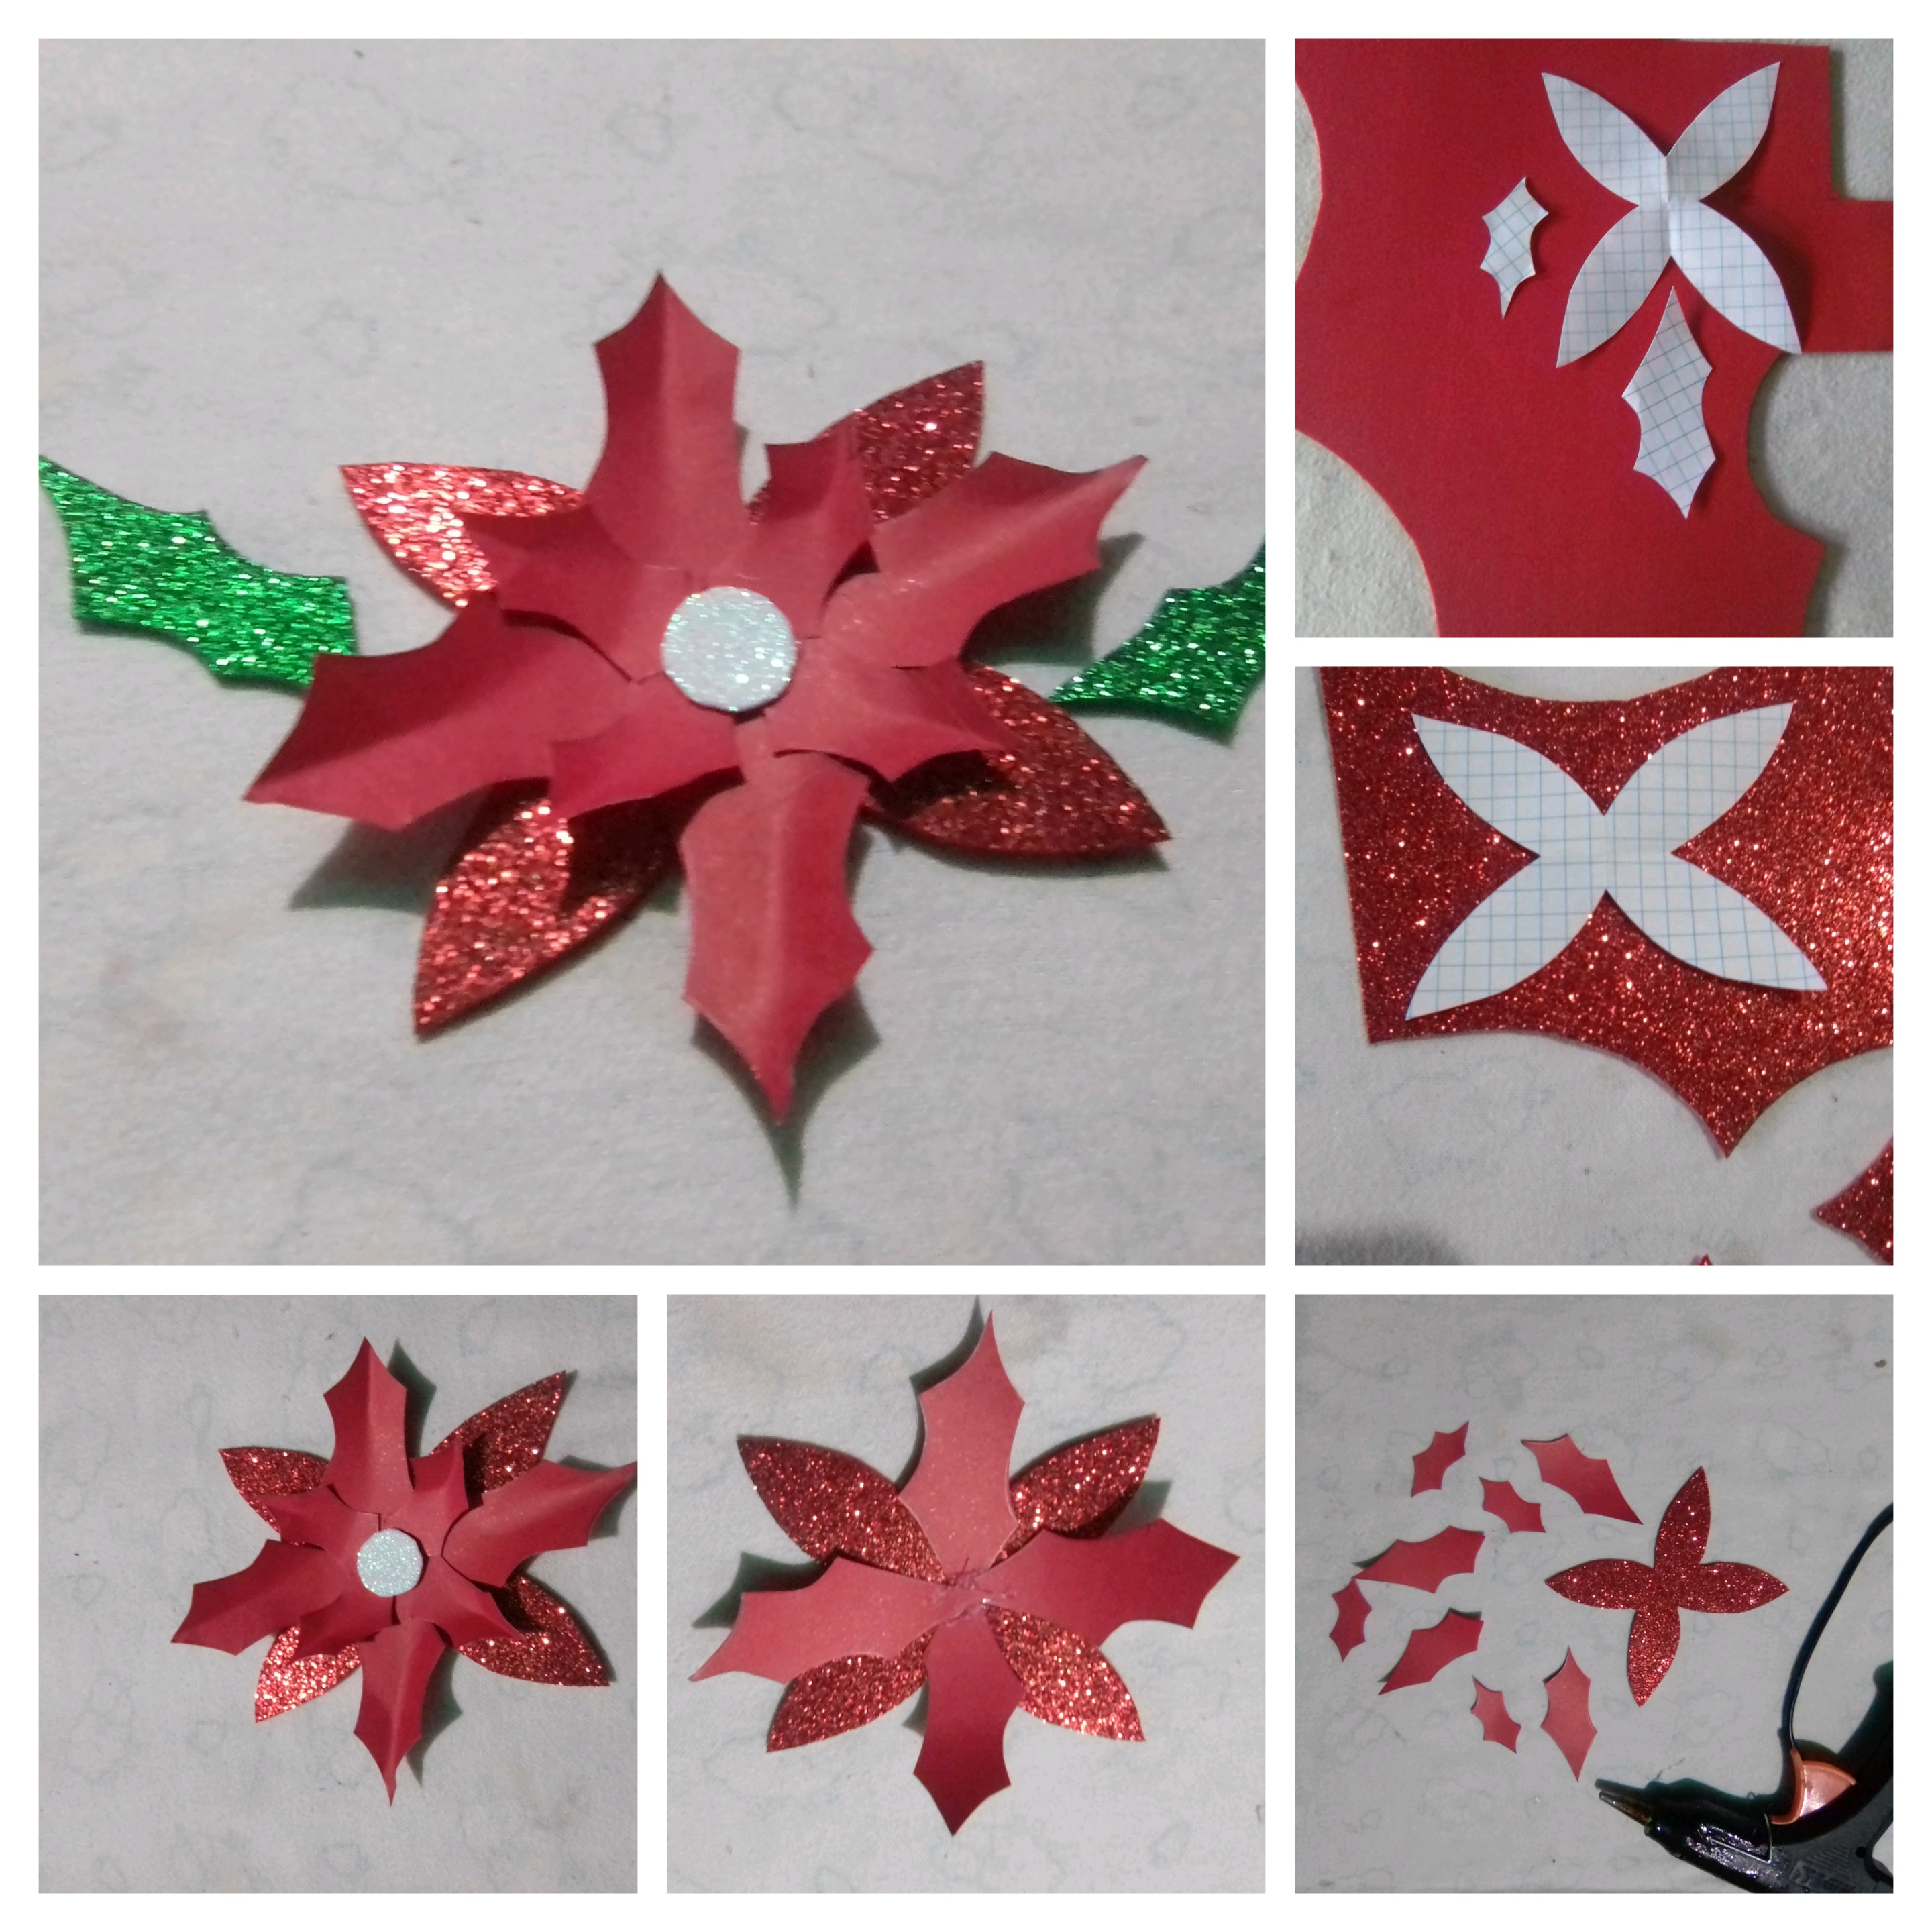
And to finish the decoration, it is precisely what will give the Christmas theme, I made a beautiful Christmas flower, I made the base with frosty red foami, to make it stand out and the rest of the petals with red cardboard and the leaves with frosty green foami. Assemble the Christmas flower and place it on the front of my egg holder.
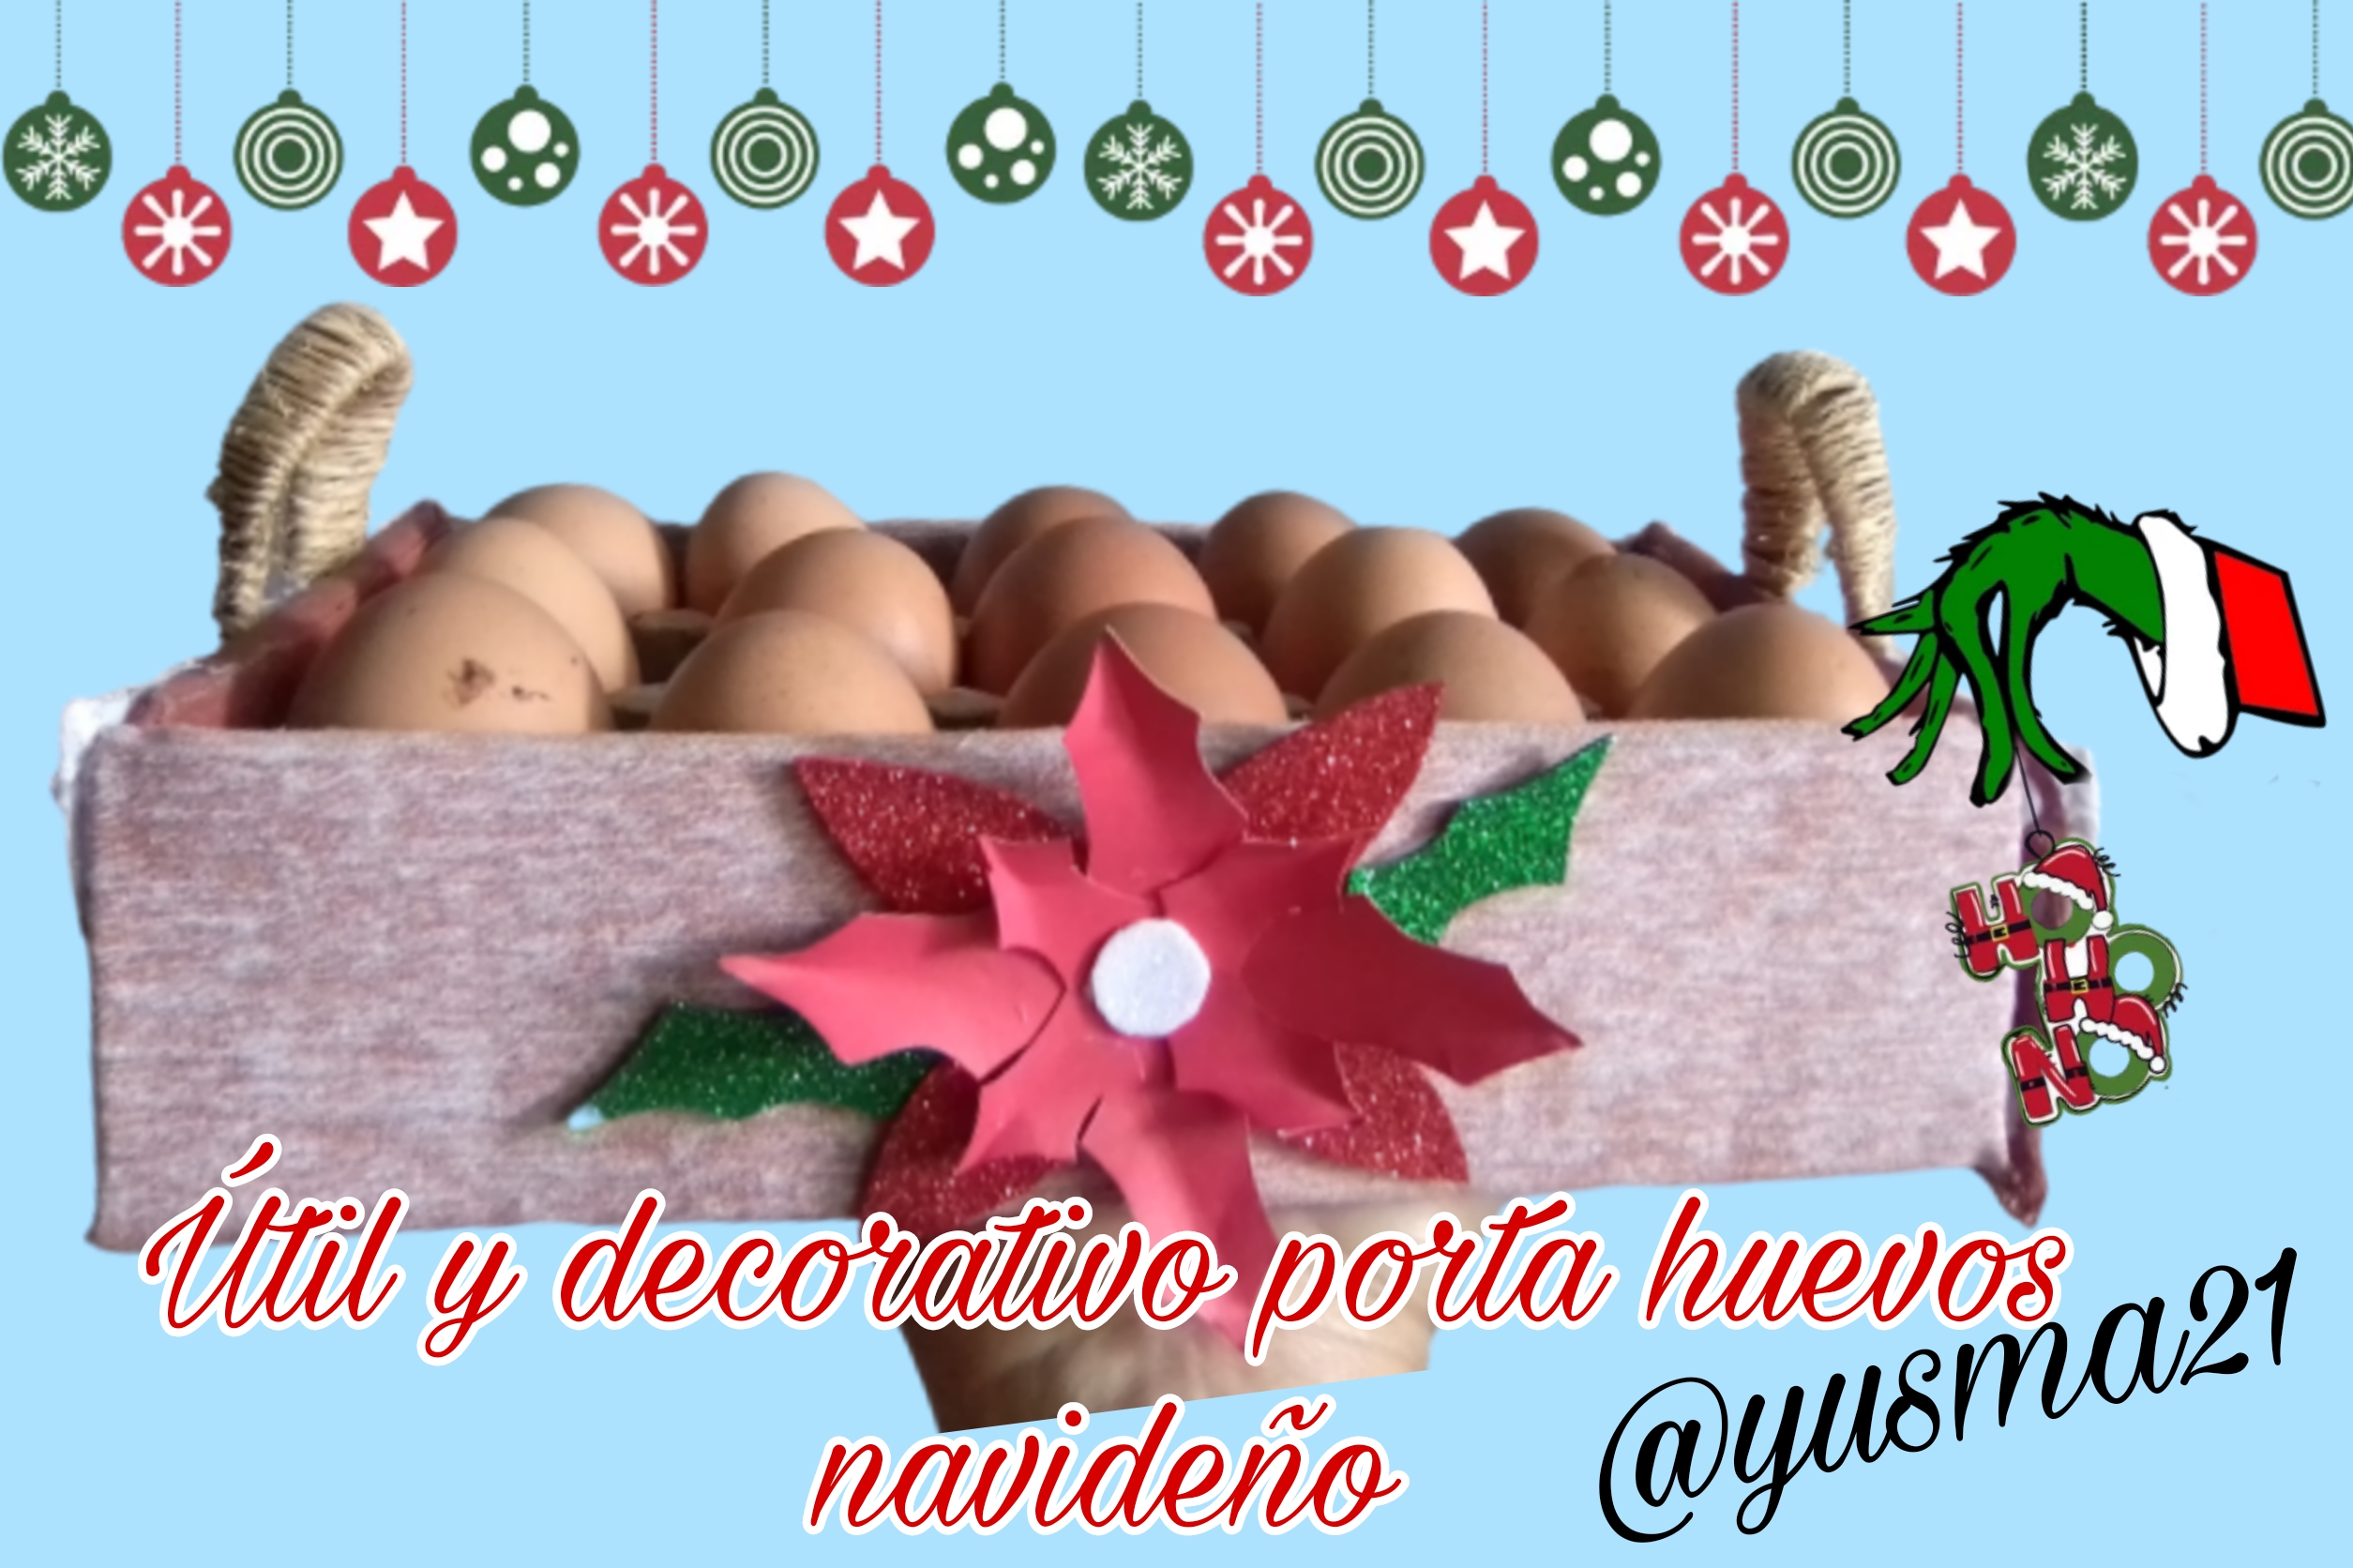
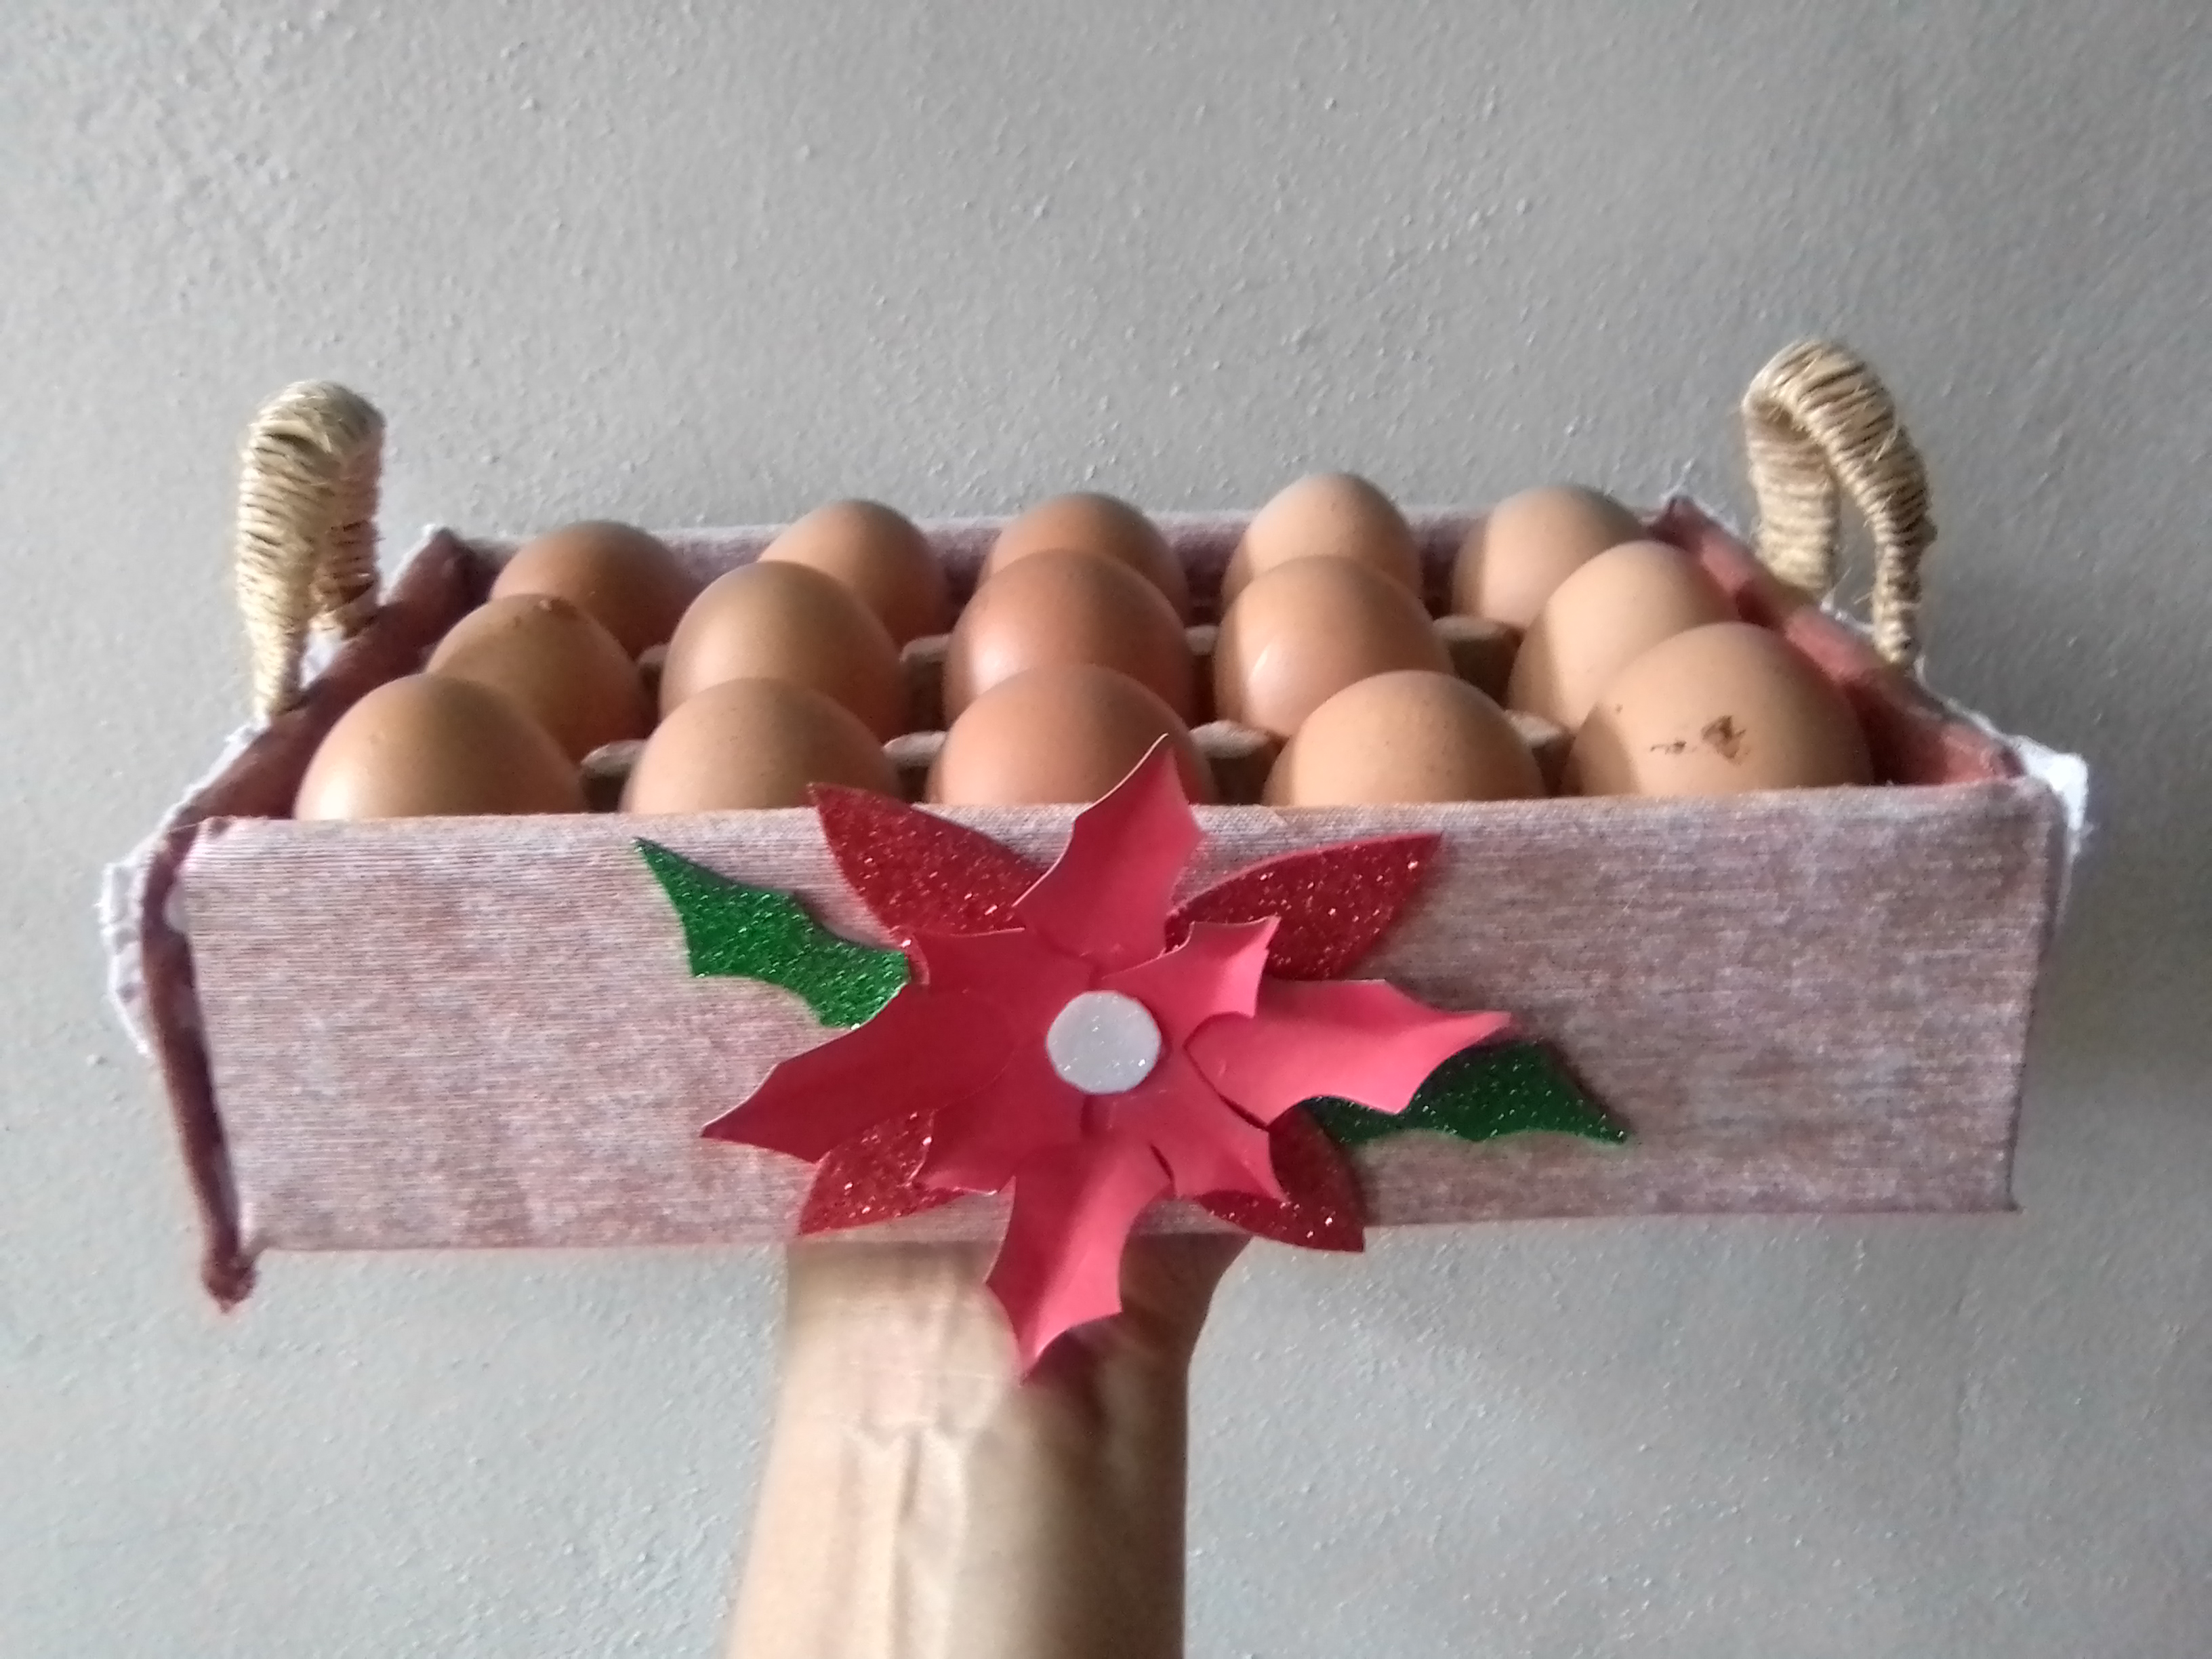
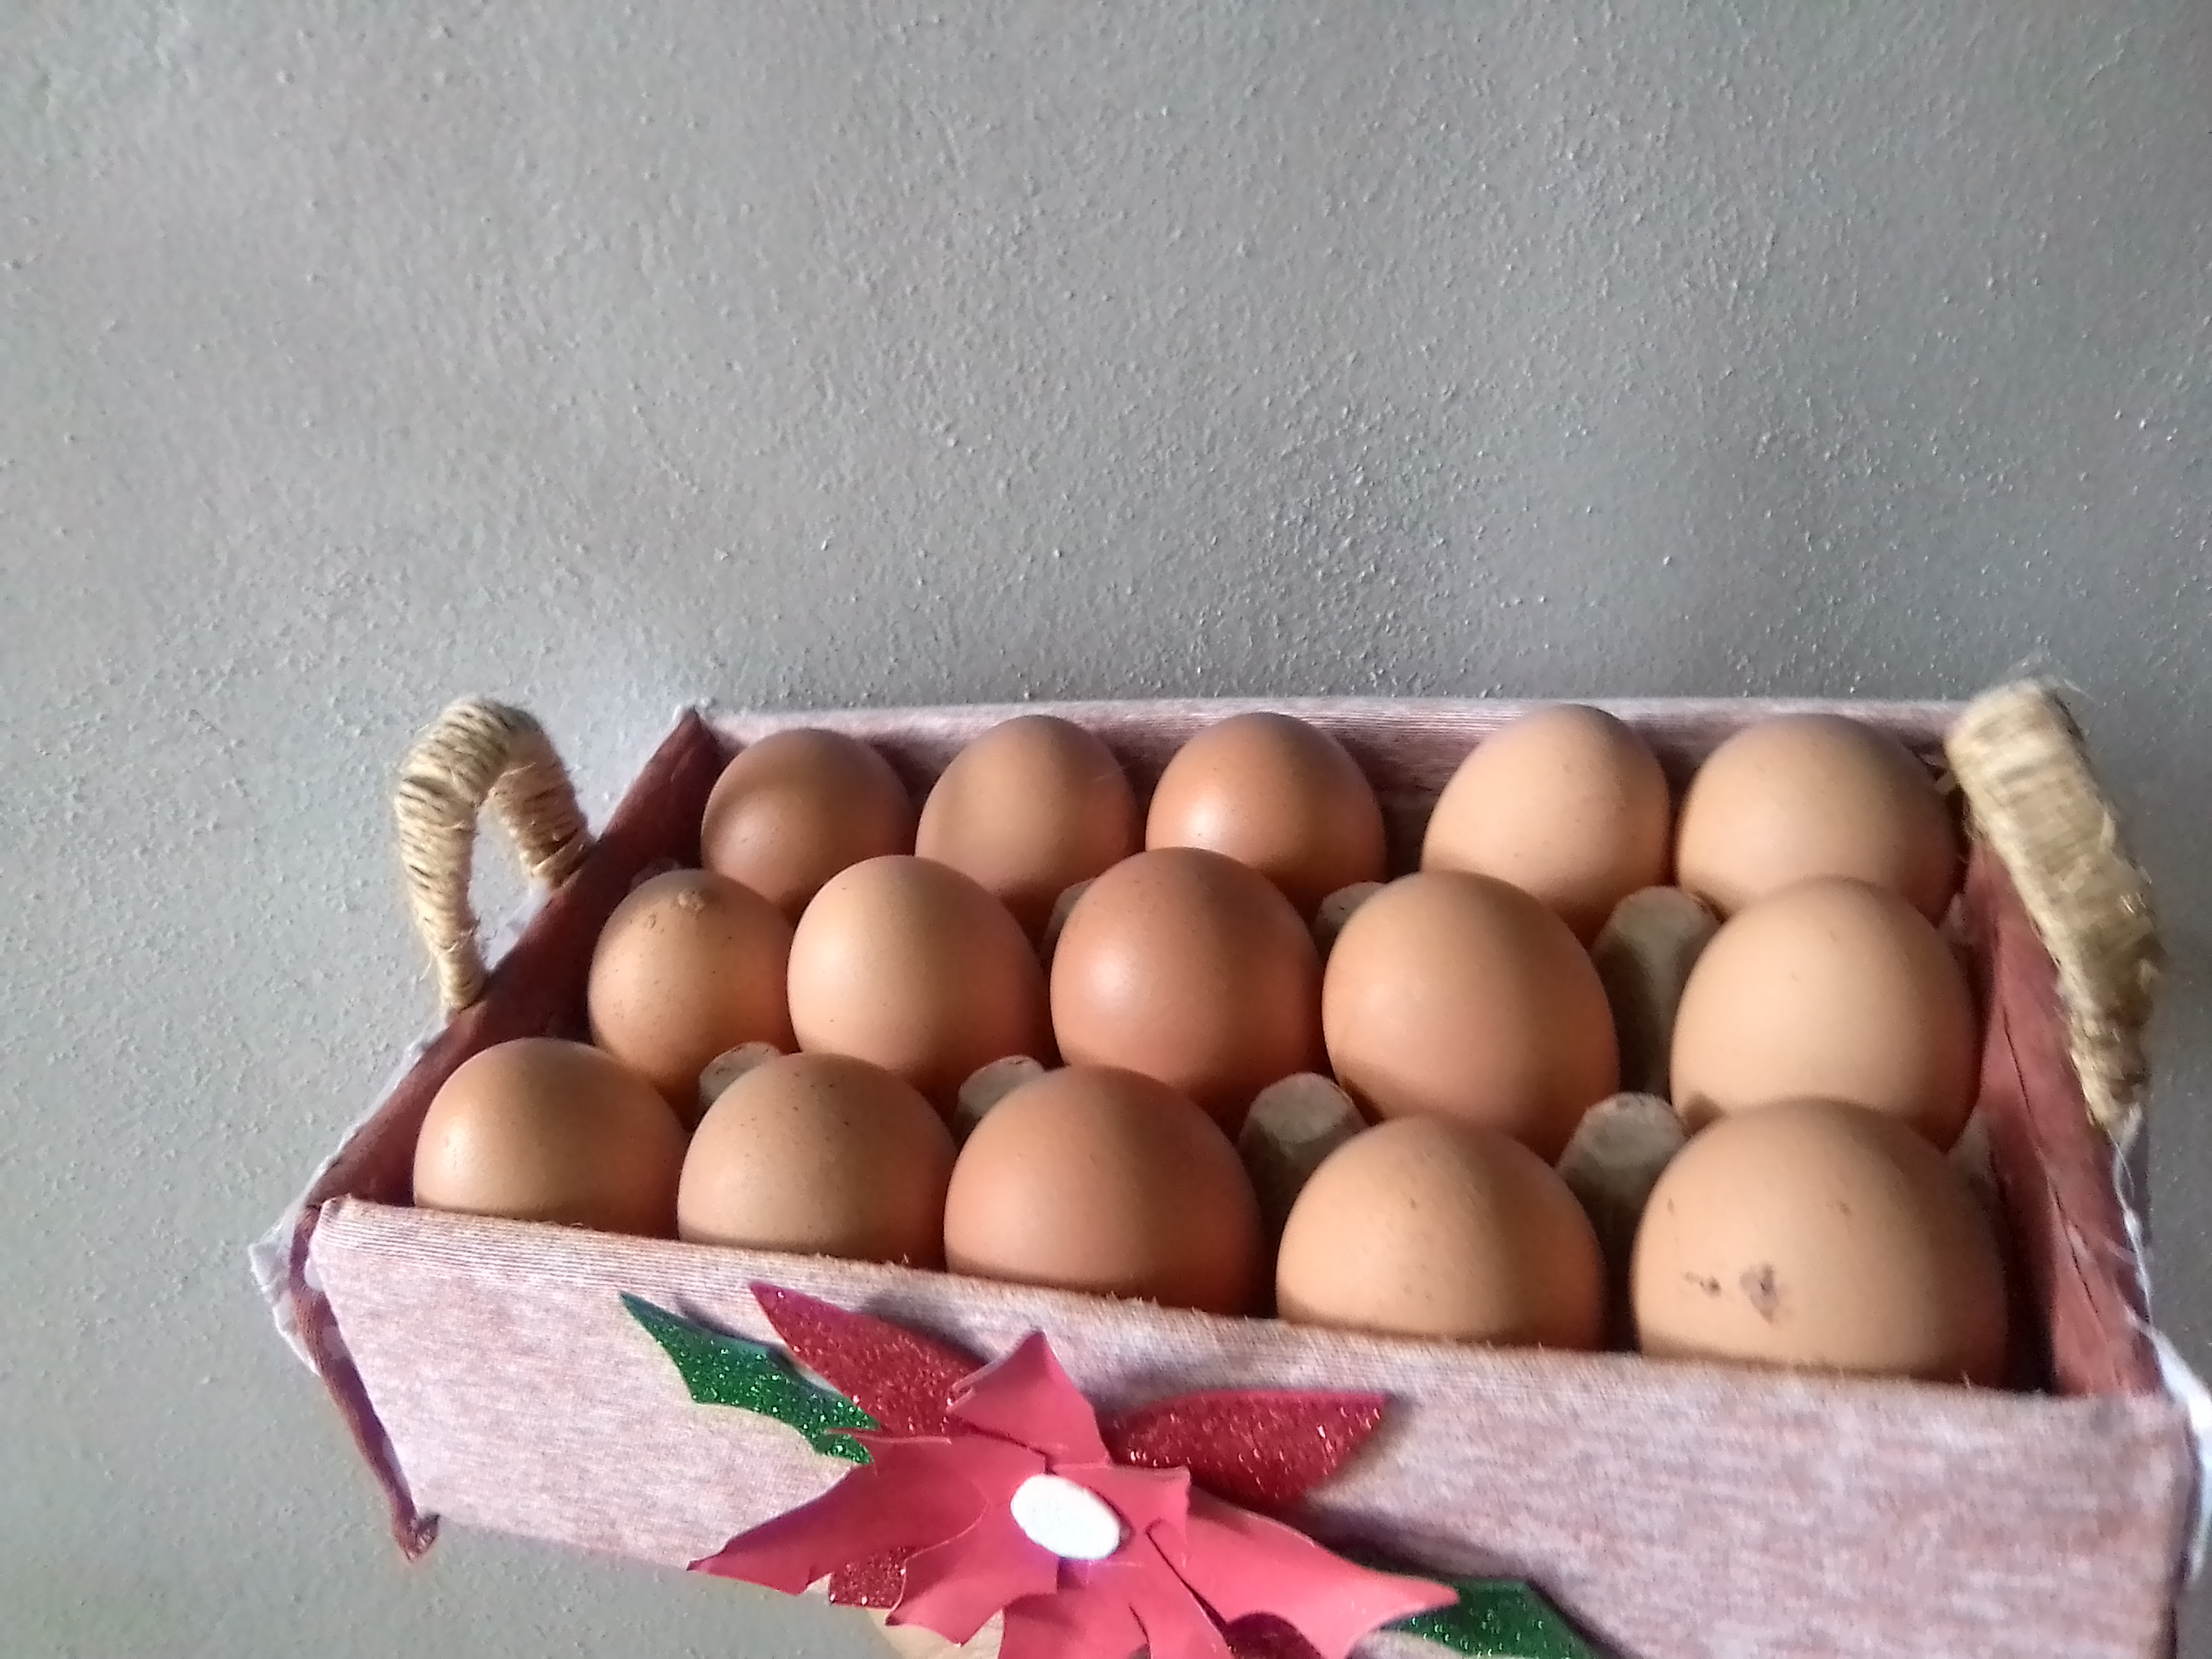
So I have a cute and useful egg holder to use and decorate my kitchen this Christmas season, there are no excuses to resist Christmas.
Result
The photos are my property, taken exclusively in this project.
The collages of the procedure were made with the tool of my Blue C6 and the main one in Canva
The separators and the banners were edited by me in Canva
The translation was made with
DeepL Translator


MATERIALES
✓ Cartón de huevos
✓ Tela de tapicería
✓ Yute
✓ Foami escarchado rojo, blanco y verde
✓ Cartón
✓ Tijera, lápiz y regla
✓ Pistola y barras de silicona
✓ Encaje blanco
PASO A PASO
Para este lindo porta huevos navideño, requiero la mitad de un cartón de huevos, y procedo a cortar el cartón excedente de este, es decir con la tijera o un cúter se retira los bordes del cartón de huevos por los cuatro lados.
Luego tomo la medida de la parte inferior, con el cartón grueso, además de la medida de los cuatro lados, ya que el medio carton de huevos irá protegido por los cartones.
El siguiente paso fue cubrir con tela los cartones de los lados, los cartones largos los cubri por el lado al revés de la tela, que es de color claro, y los cartones cortos , los cubri con lado derecho de la tela que es de color marrón.
Es el momento de pegar con suficiente silicona caliente, el cartón base del porta huevos, luego fijé los cartones ya forrados en tela, de manera tal que los bordes del cartón de huevos quedase muy bien adherido al carton con tela.
Ya con el porta huevos prácticamente listo, solo falta un toque de decoración, creo que quedaría muy bonito si le coloco dos asas en los extremos. Para ello corte una tira de cartón, la suavizó enrollando sobre si, y luego lo cubro con el hilo de yute.
Fijo las asas en los extremos, dando forma redondeada, y para disimular los puntos de la unión, coloque una cinta de encaje blanco decorativo en ambos lados.
Y para finalizar la decoración, es precisamente lo que dará la temática navideña, realice una linda flor de navidad, hice la base con Foami rojo escarchado, para hacerle resaltar y el resto de los pétalos con cartulina roja y las hojas con foami verde escarchado. Ensamble la flor navideña y la coloque en la parte frontal de mi porta huevos.
Así tengo un lindo y útil porta huevos para usar y decorar mi cocina en esta temporada navideña no hay excusas para resistirse a la navidad.
Resultado
Las fotos son de mi propiedad tomadas exclusivamente en este proyecto.
Los collages del procedimiento los hice con la herramienta de mi Blue C6 y el principal en Canva
Lo separadores y el banners fueron editados por mi en Canva
La traducción fue realizada con
DeepL Traductor

The rewards earned on this comment will go directly to the people( @mariajcastro28 ) sharing the post on Twitter as long as they are registered with @poshtoken. Sign up at https://hiveposh.com.
Una gran idea para mantener las cosas ordenadas en la cocina, me gusta que utilizaste el mismo cartón de huevos y el motivo navideño está muy lindo 😃
Reutilizar los materiales es siempre una muy buena opción. El motivo navideño se le puede cambiar al terminar la temporada y reemplazar por otro tipo de flor.
Thank you for sharing this post on HIVE!
Your content got selected by our fellow curator semarekha & you just received a little thank you upvote from us for your great work! Your post will be featured in one of our recurring compilations which are aiming to offer you a stage to widen your audience within the DIY scene of Hive. Stay creative & HIVE ON!
Please vote for our hive witness <3
Gracias por el apoyo