For this matchup it is quite a tough ruleset in my opinion with aimless. There is naturally a lot of RNG here and even a good strategy can be thwarted by a couple bad hits from your opponent. Aimless gives all non melee attackers scatter shot which means th damage flys everywhere. As usual, we will breakdown a few strategies to use here and then a battle in which one of the strategies was used. Link to the full battle is as follows: https://splinterlands.com/?p=battle&id=sl_5f133d034d06961218047e4ac060dcd2
Strategies:
High Health Backline: You need resilient monsters as they need to be able to take a few hits to survive. This means glass cannons are inherently a risk as it can only take one or two hits to wipe them out.
Melee Heavy: To completely ignore the ruleset, you can always use melee attackers. This ensures where your damage is going and can be a great counter to the scatter damage.
Shields and Void: The more shields and void you have in the backline the better you are to sustain multiple blows. You know the backline is going to contain some magic damage so anything with void is always good.
Battle Breakdown Round 1:
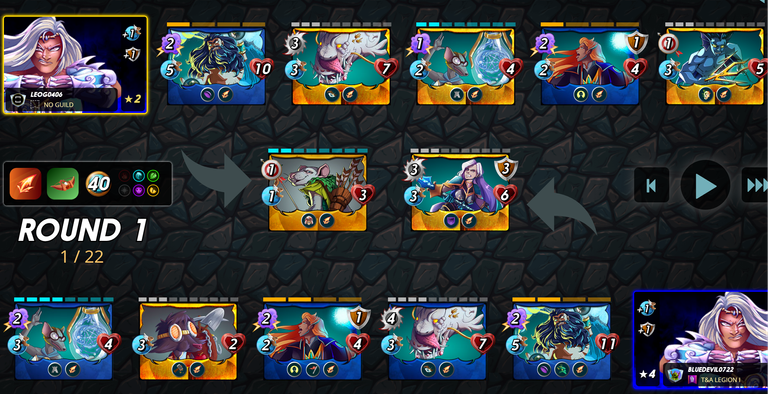
We both went with Kelya here which is never a bad option in any battle. Oshannus and wavesmith were also important for both of us given the extra shield as well as the void. As round 1 goes on, there is unlucky hit on his martyr which was interesting to put in the front line. All of my monsters have survived so far and the repair dodged a bullet from his opportunity monster.
Round 2:
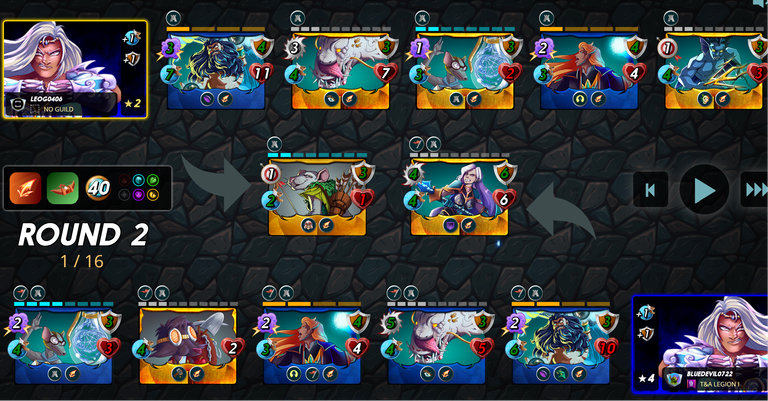
In Round 2, one of each of our monsters goes down. My hireling is resurrected distrating his deeplurker for another hit while my oshannus was able to take out the wavesmith knocking down some shields. Double martyr oshannus is pretty rough however I am lucky and the opponent is underleveled without the phase.
Round 3:
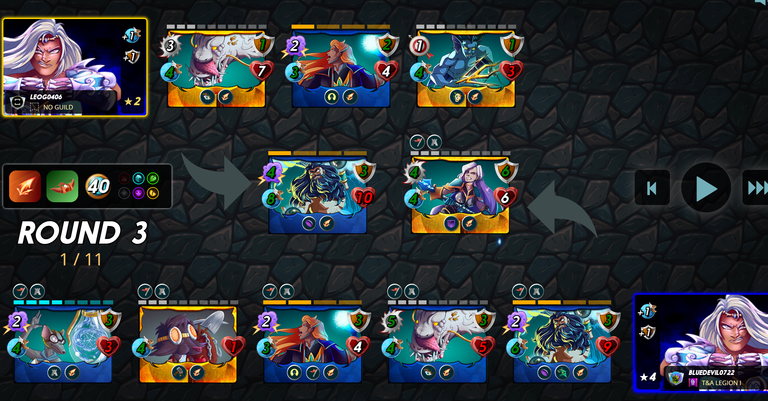
Round 3 is quite uneventful as my hireling dies as expected and his monsters survive another round.
Round 4:
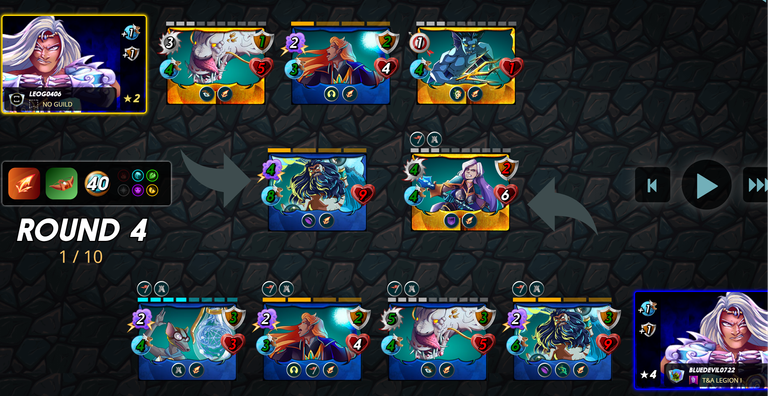
Spraying the damage all over here as alot of the hits are spreading around compared to hitting one target as expected. One key for me was to have a one health left on his deplurker with three magic attackers left. That is biggest threat outside of the oshannus in my opinion.
Round 5:
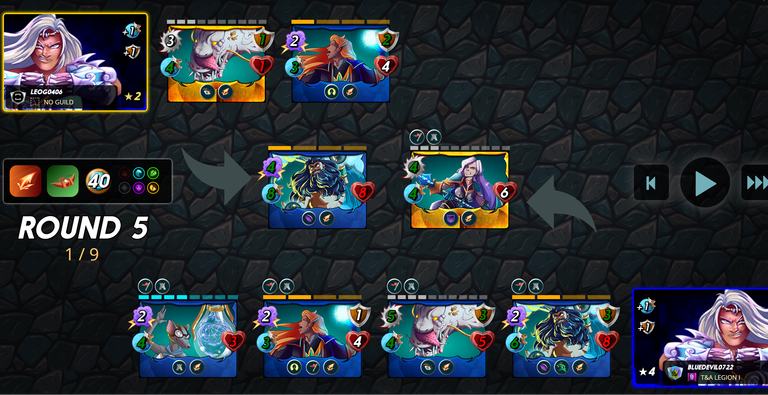
Of course, my monsters did not agree with me and decided to spread damage on the hillendale and ohsannus. Thankfully the hellondale goes down in round 5 and we are sitting pretty with four monsters to my opppnents two. Everything ends in round 6 with a deeplurker hit.
A lot of RNG in these types of matchups however as you can see strategy can still put you out on top or give you the best odds. Please upvote or comment if you have any other strategies you might use in this ruleset.
Thanks for sharing! - @alokkumar121

Congratulations @bluedevil0722! You have completed the following achievement on the Hive blockchain And have been rewarded with New badge(s)
Your next target is to reach 16000 upvotes.
You can view your badges on your board and compare yourself to others in the Ranking
If you no longer want to receive notifications, reply to this comment with the word
STOP