WELCOME TO MY BLOG
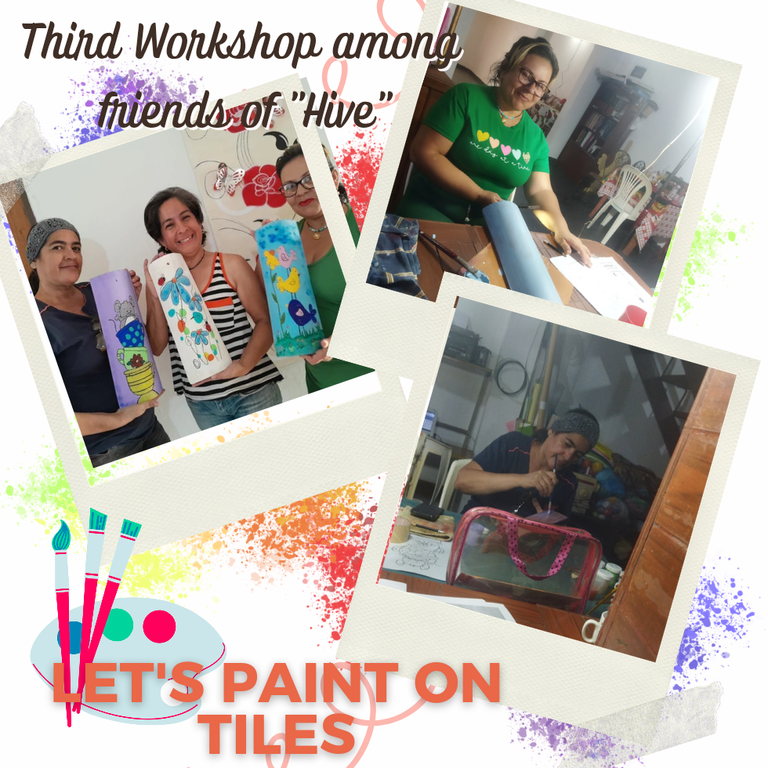
Greetings artists and creators. For me it is a great pleasure to share with you one of the three activities that three members of #hive have managed to carry out, taking advantage of our meeting with @katiuskamata who visits us in our city. In this third meeting I had to be the facilitator and guide to create art on tiles. Although I do not consider myself a great artist, painting is one of the branches of art that I like the most and if it is to transform waste materials into art, even more so.
In this meeting I had to organize the space and the list of materials that we would use for the workshop. Some were provided by me and others brought by the girls. This would be my first workshop to teach others what I have learned empirically in my long career. Not having theoretical knowledge sometimes makes the teaching process difficult. However, I tried to be as explicit as possible when explaining each process.
This workshop filled me with a lot of pride, since the objectives were achieved and each of the girls made their tile, putting effort and a lot of love into their work. Now without further ado let's begin this teaching process.
BIENVENIDOS A MI BLOG
Saludos artistas y creadores. Para mi es un gran placer compartir con ustedes una de las tres actividades que hemos logrado realizar tres integrantes de #hive, aprovechando nuestro encuentro con @katiuskamata que nos visita en nuestra ciudad. En este tercer encuentro me tocó ser la facilitadora y orientadora para crear arte en tejas. Aunque no me considero una gran artista, pintar es una de las ramas del arte que más me gusta y si es para transformar materiales de desecho en arte, mucho más.
En este encuentro me tocó organizar el espacio y la lista de materiales que utilizaríamos para el taller. Algunos fueron proporcionados por mi y otros traídos por las chicas. Éste sería mi primer taller para enseñar a otros lo que en mi larga trayectoria he aprendido de manera empírica. No tener los conocimientos teóricos a veces dificulta el proceso de enseñanza. Sin embargo, traté de ser lo más explícita posible al momento de explicarles cada proceso.
Este taller me llenó de mucho orgullo, ya que los objetivos fueron logrados y cada una de las chicas realizaron su teja poniendo empeño y mucho cariño en su trabajo. Ahora sin más comencemos en este proceso de enseñanza.
PREPARATION OF THE TILE
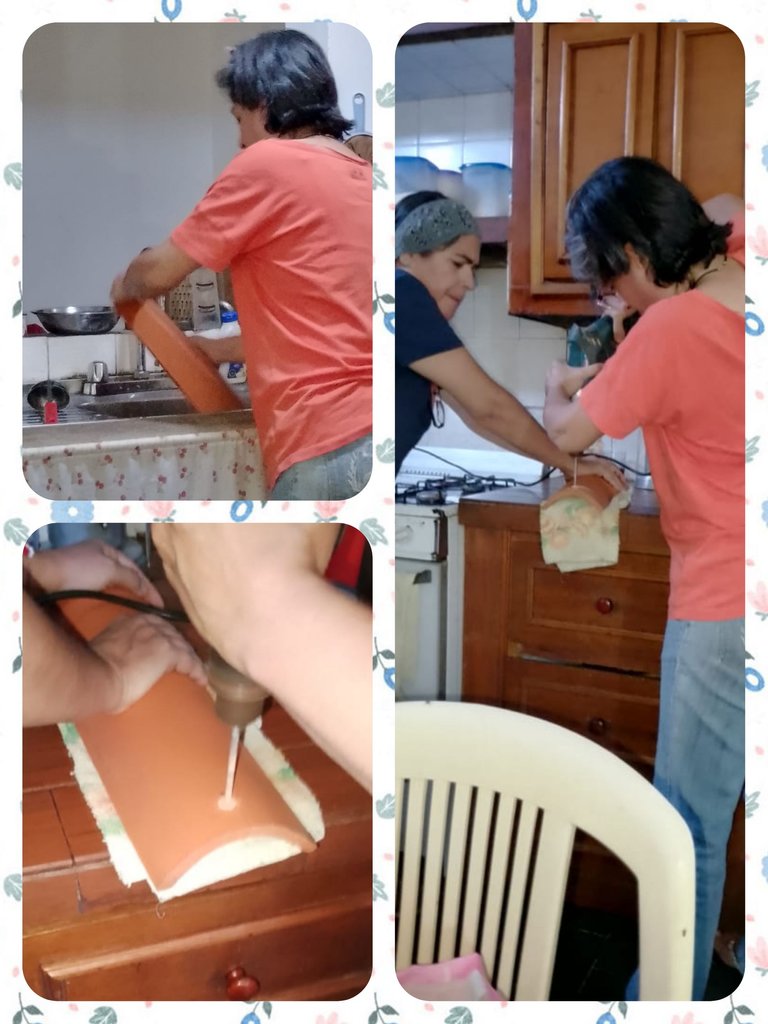
The first step we have to do, if we use recycled tiles, is to wash them well and remove any dirt or grime they contain. With a spatula remove paint residue, cement among other things.
Then with a drill or dremel, with a tip or wall wick, we make the holes to place the pendant. In this process we must mark the point where we will make the hole and as we drill we must moisten the surface with water so that it remains loose and does not break with the heat of friction.
PREPARACIÓN DE LA TEJA
El primer paso que tenemos que hacer, si utilizamos tejas recicladas, es lavarlas bien y eliminar toda mugre o suciedad que contengan. Con una espátula eliminar residuos de pintura, cemento entre otras cosas.
Luego con un taladro o dremel, con punta o mecha para pared, realizamos los huecos para colocar el colgante. En este proceso debemos marcar el punto donde realizaremos el hueco y a medida que vamos taladrando debemos humedecer con agua la superficie para que permanezca flojo y no se rompa con el calor de la fricción.
Once the tile is clean and perforated, we are going to finish cleaning it with a layer of paint of the same tone as the tile. In this case we use cold terracotta-colored paint and a #18 brush and let it dry.
In the image we see @katiuskamata following the instructions to the letter and very happy.
Una vez limpia y agujerada la teja vamos a terminar de limpiarla con una capa de pintura del mismo tono de la teja, en este caso utilizamos pintura al frío color terracota y un pincel de brocha #18 y dejamos secar.
En la imagen apreciamos a @katiuskamata siguiendo las instrucciones al pie de la letra y muy contenta.
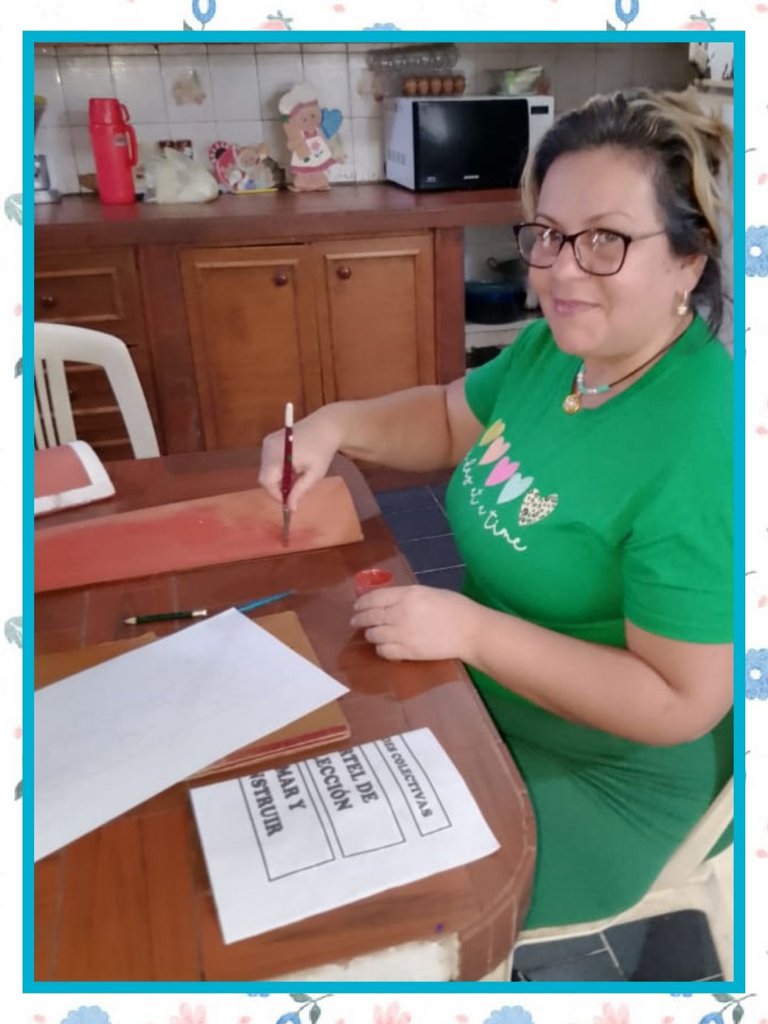
The next layer of paint will be according to the figure that we will make on the tile. Each of the participants chose an easy and simple figure to make due to the level of knowledge and the time we would have available. Based on this, each tile was worked independently but following the instructions equally.
We apply two or three layers of background paint until it is completely covered and we let it dry. Then we performed one of the techniques to blur the background. I explained that this technique can be performed with a sponge or a hard bristle brush.
If we use the sponge, we moisten it slightly in the paint that we will use to highlight the background and then we eliminate the excess on a fabric, in this way we can make the blending, either by speckling each space on the surface or by rubbing gently.
In the image we see @creacioneslelys inspired preparing her tile.
La siguiente capa de pintura será de acuerdo a la figura que realizaremos en la teja. Cada una de las participantes escogimos una figura fácil y sencillas de hacer debido al grado de conocimiento y el tiempo que tendríamos disponible. En base a esto, cada teja fue trabajada de manera independiente pero siguiendo las instrucciones por igual.
Realizamos dos o tres capas de pintura de fondo, hasta conseguir que quede totalmente cubierta y dejamos secar. Luego realizamos una de las técnicas para difuminar el fondo, les explicaba que esta técnica la podemos realizar con una esponja o un pincel de cerdas duras.
Si usamos la esponja, la humedecemos ligeramente en la pintura que utilizaremos para resaltar el fondo y luego eliminamos los excesos sobre una tela, de este modo podemos realizar el difuminado, bien sea moteando cada espacio de la superficie o frotando suavemente.
En la imagen observamos a @creacioneslelys inspirada preparando su teja.
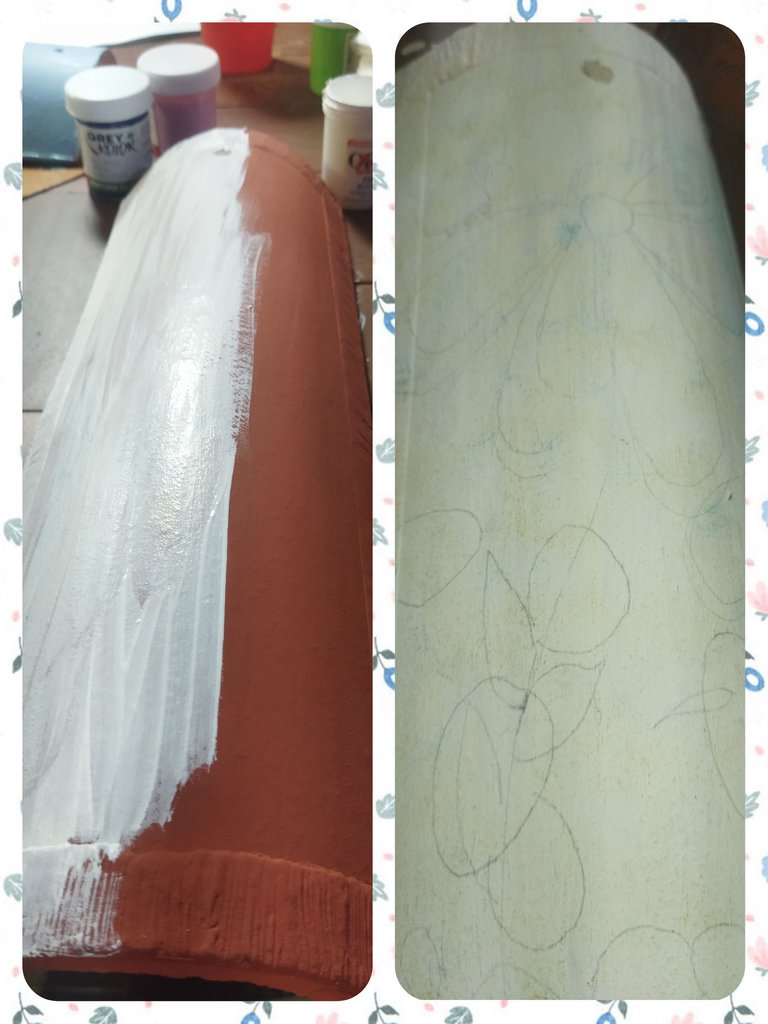
Once the tile is prepared with its respective background, we proceed to transfer the image. I explained to the girls that one of the most practical and simple ways is to transfer with carbon paper, but that I particularly liked the technique of scratching the back of the image with a graphite pencil and then transferring it to the tile, so clean way.
Ya preparada la teja con su respectivo fondo, procedemos a transferir la imagen. Les explicaba a las chicas que una de las formas más practicas y sencillas es la transferencia con papel carbón pero que a mi particularmente me gustaba más la técnica de rayar la parte trasera de la imagen con lápiz de grafito y luego trasferirla a la teja, de forma limpia.
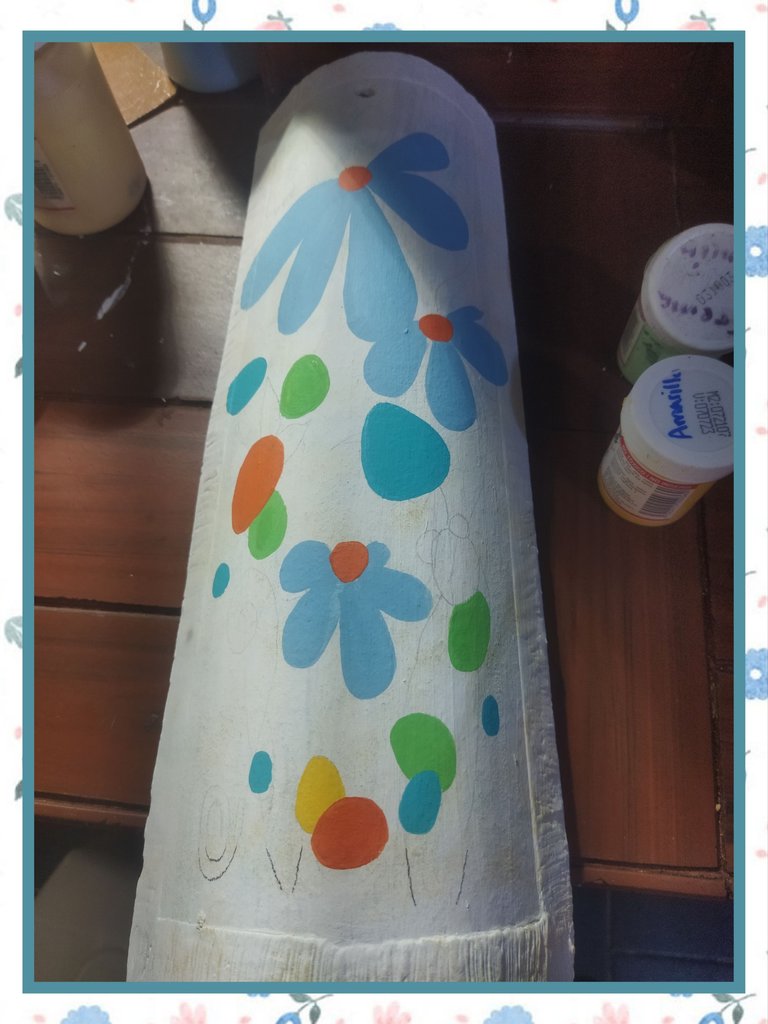
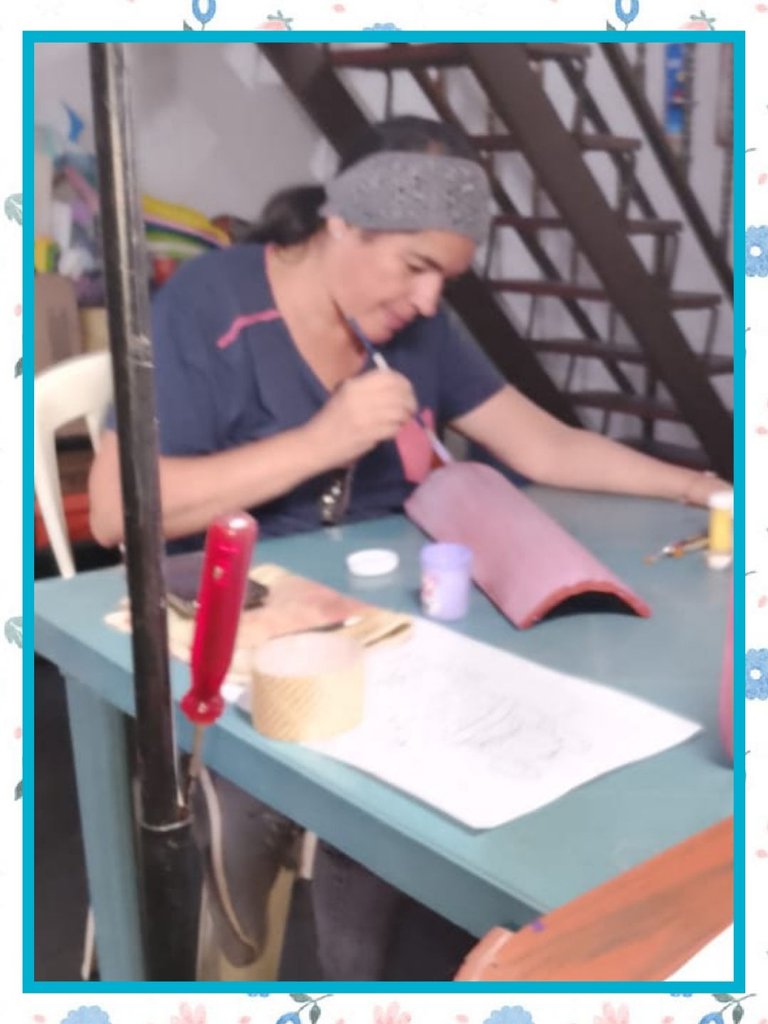
And now with the transferred figures we begin the painting process. The brushes to use depend on the size and figure to be painted.
- To fill we use flat or round brushes and the size according to the image.
- For outlining the liner brush or the angular brush, in some cases.
- For shading, the angular brush is ideal.
With these techniques, each one concentrated on painting their design. Clarifying doubts every time they required it.
And now with this knowledge and the inspiration that each artist has, we set about painting our tiles, adding details that suddenly came to us to improve the captured design. I told the girls that each artist is the owner of their art and that they could do whatever they wanted with her tile. With techniques and some imagination, much can be achieved.
The last beautifying touches, just as a suggestion, is to use a polish. I explained to them that I used an acrylic wax that I apply in a single layer on the surface when I want it to be shiny and I touch up some parts with frosted gel.
Y ya con las figuras transferidas comenzamos el proceso de pintar. Los pinceles a utilizar dependen del tamaño y de la figura a pintar.
- Para rellenar utilizamos pinceles planos o redondos y el tamaño acorde a la imagen.
- Para el delineado el pincel liner o el pincel angular e, algunos casos.
- Para el sombreado el pincel angular es lo ideal.
Con estas técnicas, cada uno se concentró en pintar su diseño. Aclarando dudas cada vez que lo requerían.
Y ya con estos conocimientos y con la inspiración que cada artista posee nos abocamos a pintar nuestras tejas, colocando detalles que nos venían de repente para mejor el diseño plasmado. Les comentaba a las chicas, que cada artista es dueño de su arte y que podían hacer con su teja los que les apeteciera. Con las técnicas y algo de imaginación, es mucho los que se logra.
Los últimos toques de embellecimiento, sólo como sugerencia, es utilizar un abrillantador. Les explicaba que yo utilizaba una cera acrílica que aplico en una sola capa sobre la superficie cuando quiero que queden brillantes y retoco algunas partes con gel escarchado.
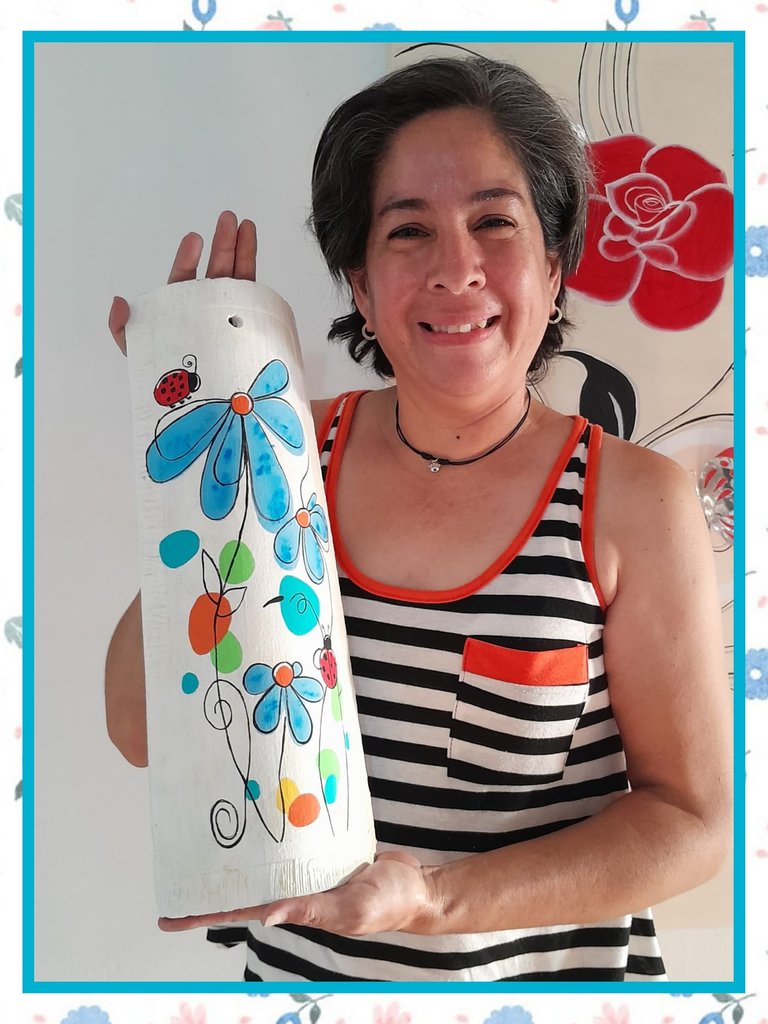
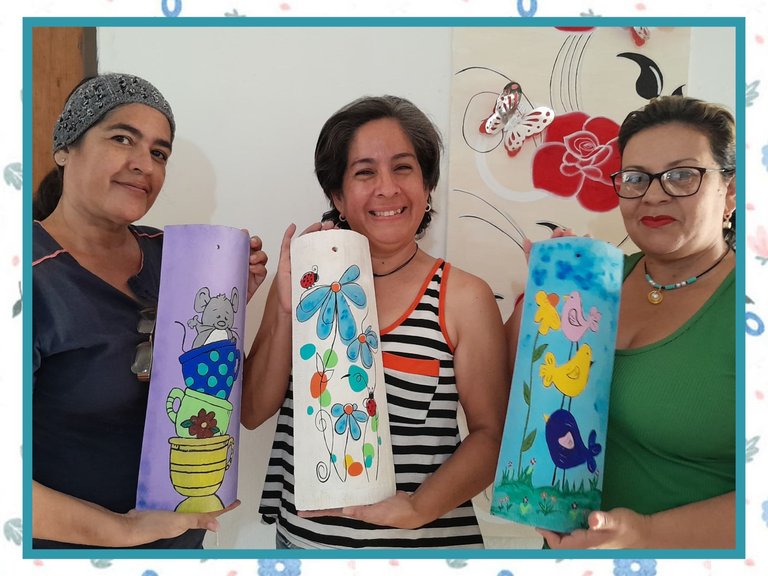
Each one made a different design, applying the techniques that I have learned over the years but putting a lot of personal heart into it. A unique experience that with a little more practice could improve from the point of view of facilitator, hehehehe. Don't think that teaching was easy for me, hahaha, but the images show that the objective was achieved. Thank you @creacioneslelys and @katiuskamata for the support and patience. It was a great pleasure to share with you.
Cada una realizó un diseño diferente, aplicando las técnicas que he aprendido con los años pero poniéndole mucho corazón de forma personal. Una experiencia única que con un poco más de práctica prodría mejorar desde el punto de vista de facilitadora, jejejeje. No crean que se me hizo fácil la enseñanza, jajajaja, pero las imágenes demuestran que se logró el objetivo. Gracias @creacioneslelys y @katiuskamata por el apoyo y la paciencia. Fue un gran placer compartir con ustedes.
The images used are my property and some supplied by @creacioneslelys and @katiuskamata
Las imágenes utilizadas son de mi propiedad y algunas suministradas por @creacioneslelys y @katiuskamata
Quedaron muy bonitas esas tejas con pintura al frio.
Congratulations, your post has been upvoted by @dsc-r2cornell, which is the curating account for @R2cornell's Discord Community.
Enhorabuena, su "post" ha sido "up-voted" por @dsc-r2cornell, que es la "cuenta curating" de la Comunidad de la Discordia de @R2cornell.
Contáctenos para saber más del proyecto a nuestro servidor de Discord.
Si deseas delegar HP al proyecto: Delegue 5 HP - Delegue 10 HP - Delegue 20 HP - Delegue 30 HP - Delegue 50 HP - Delegue 100 HP.
Congratulations @linita! You received a personal badge!
You can view your badges on your board and compare yourself to others in the Ranking