Greetings!
A few years ago when I still do not officially start gardening I made my first trellis when I had vacationed once in my hometown. During that vacation, I had the chance to plant some ribbed loofah. And because ribbed loofah is a prolific climber I have to make a trellis for it to climb. One of my elder sisters actually ask me to plant some ribbed loofah while I was on vacation. She then took over the watering of ribbed loofah when I have to get back to the big city (where I work back then).
Then, a couple of days ago, when I was about to water my vegetable on the said trellis I am surprised to see it fell down on its own. As I am examining the cause of it falling down I saw that the two posts (left and right posts) broke down that is why the deck of the said trellis fell down on its own. Below is a photo of the deck of my trellis that just fell.
A photo of one of my old trellis that fell down because of a broken post

Since the culprit of it falling down are the posts I need to replace them with new ones. I used a bamboo to replace the broken posts. With the bamboo that I am going to use as replacement it should again lasts for couple of years before it need replacing again. Below is a photo of me while I am cutting the bamboo that I am going to use as posts replacement. I used a bolo in cutting the bamboo.
Cutting the bamboo to use as a post
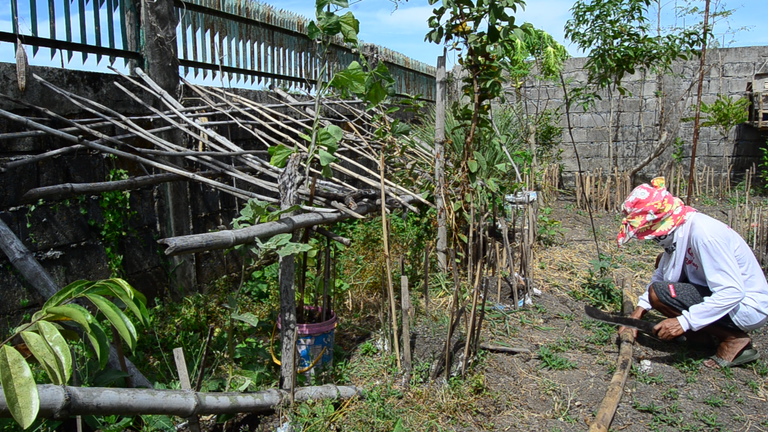
Since the old post and the bamboo that I used to replace the broken post is the same in thickness I just shoved it in place of the broken post then I compacted the surrounding soil so that that bamboo will not going to wiggle. By the way, this trellis is where I planted two of my Jicamas and all of my squash (you see later on this blog when I exactly planted them). Below is a photo of me while I am installing the post in place of the broken post.
Putting the post
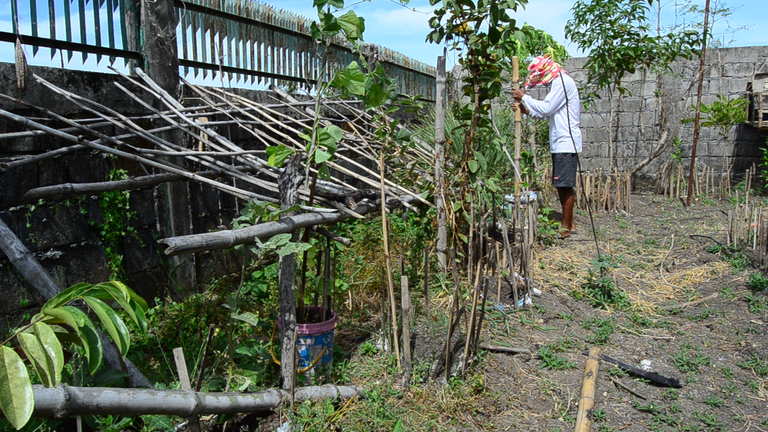
In th photo below, I am using my bolo to secure the bamboo into place, I also used the other half of the bamboo to compact the surrounding soil to that it will not wiggle. Later on this blog you will see that I planted that is going to use this trellis.
Securing the post
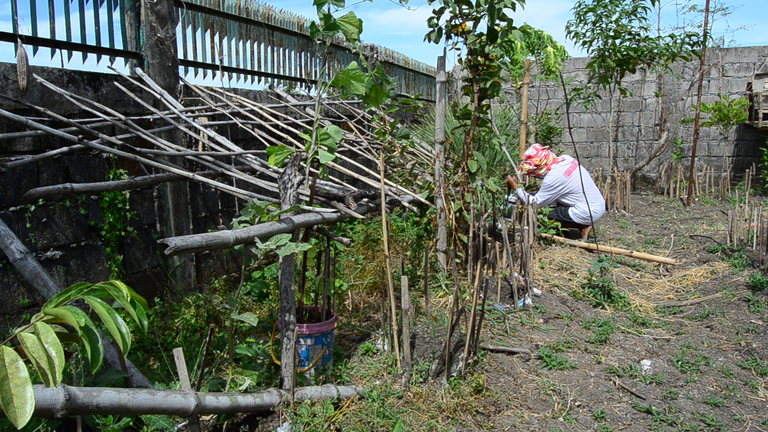
There are actually three posts supporting the weight of the deck of the trellis, the left and right posts are the ones that broke, the middle post is still intact and can still last for couple of years. At this time, after I install and secured the post located at the right I can now life the deck of the trellis since the middle post is still intact. Below is a photo of me while I am trying to lift the trellis' deck and secure it using the middle post first.
Lifting the trellis' deck


But as I lifted the trellis on top of the middle post I forgot that the deck of the trellis are all untied, so all the little bamboos acting as the deck all fell down, which actually just okay because I also have to organized it later on after installing and securing all the posts. Below is a photo of me where all the little bamboos acting as the deck all fell down (while I am securing the middle post).
Trellis' deck fell off the ground
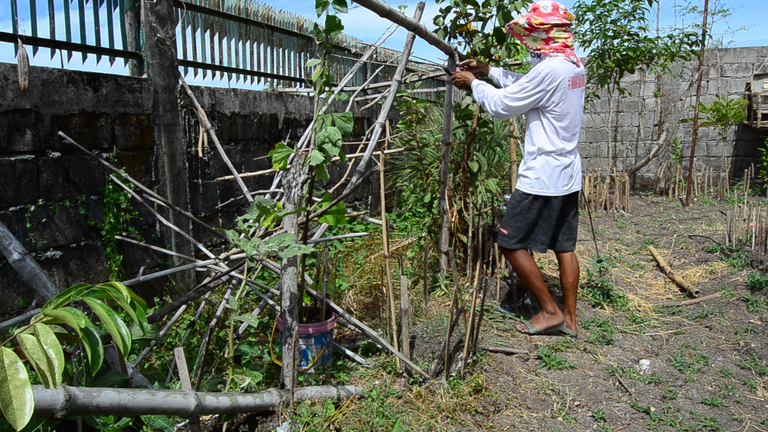
After I secure the middle post to the bamboo holding th deck of the trellis I then proceed in install the other broken post. I used the other half of the bamboo as replacement for the broken post. Afther installing this post I am actually almost finished in preparing this trellis.
Installing the other post
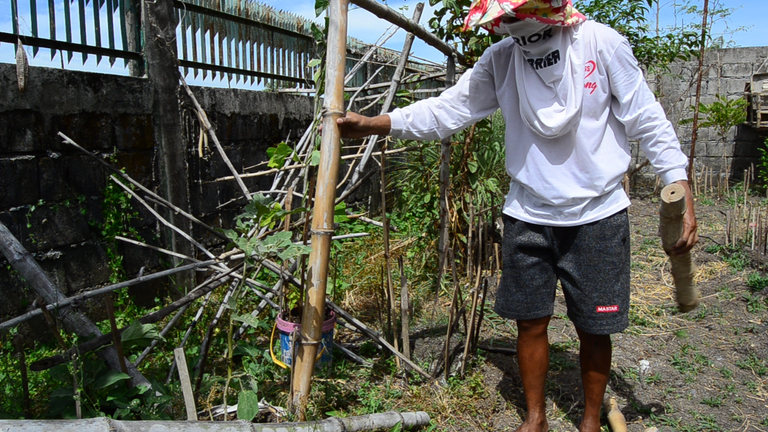
After I replaced the other broken post and secured it in place it is now time to organize the deck of the trellis where my climber crops are going to climb and spread. I am still going not to tie the bamboos with ropes because they are now quite old and may need replacement in a couple of months.
The deck's skeleton has a much thicker bamboos to support the weight the weight ot the bamboss. As can be seen on the photo below I am now putting up one of the main skeleton of th deck.
Putting up one of the main skeleton of the deck
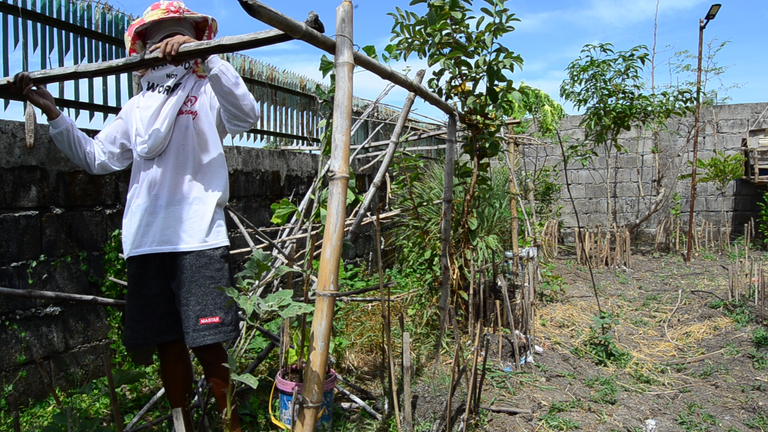
In the photo below I am now installing one the main skeleton located at the center of the deck which also made of thicker bamboo to support the weight of the bamboos acting as the main deck.
Putting up another main skeleton of the deck
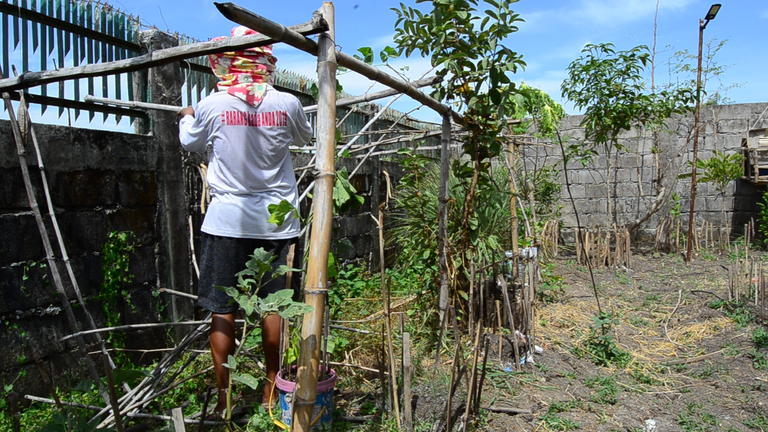
In the photo below I now started putting smaller bamboos that will complete the deck of the trellis. Just like I said earlier I am also not going to tie these smaller bamboos because they are now quite old. Can you see the plant behind me? The one in a container? That is one of my Jicama crops that I planted. The Jicama will use this trellis to climb on.
Putting up the first bamboo that will make the main deck
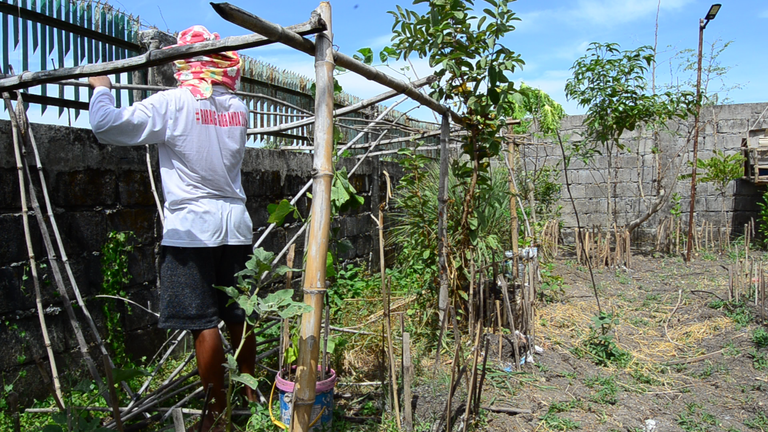
In the photo below the deck has now quite a few small bamboos, slowly making up the deck of the trellis. Can you the plant on my right? It is actually a fruit bearing tree, a guave tree to be exact. And at the left side of the Jicama is an eggplant.
Organizing the deck
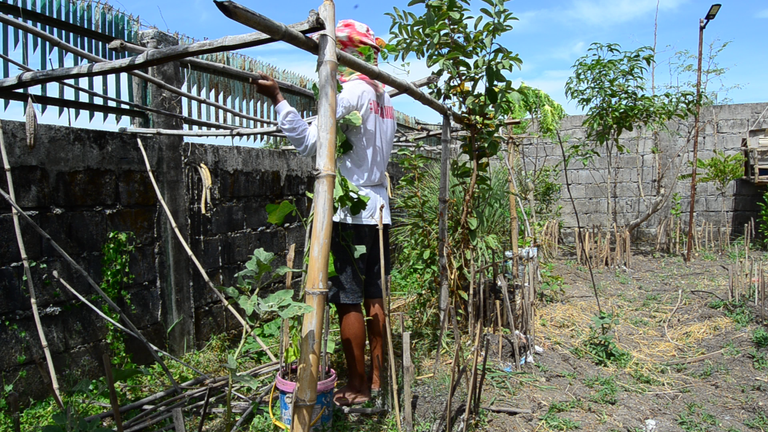
At this point time (photo below) I can be seen putting up the final bamboos that make up the deck of the trellis. The deck actually only consists of a few small bamboos and is quite easy to assemble. You just decide how they are spaced out at each other and it is done in no time.
Organizing the deck
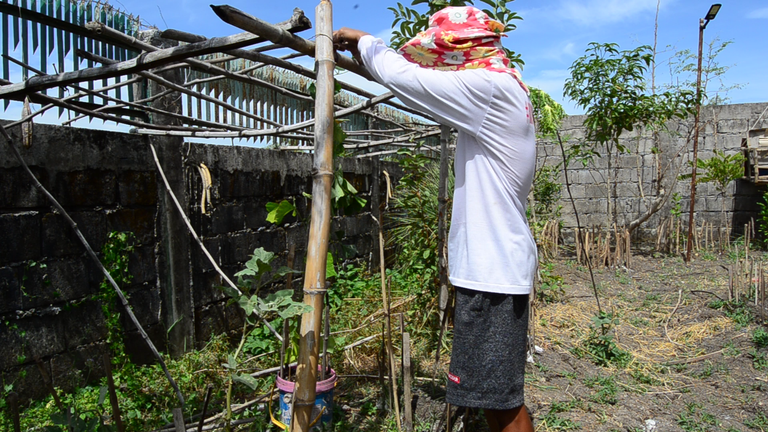
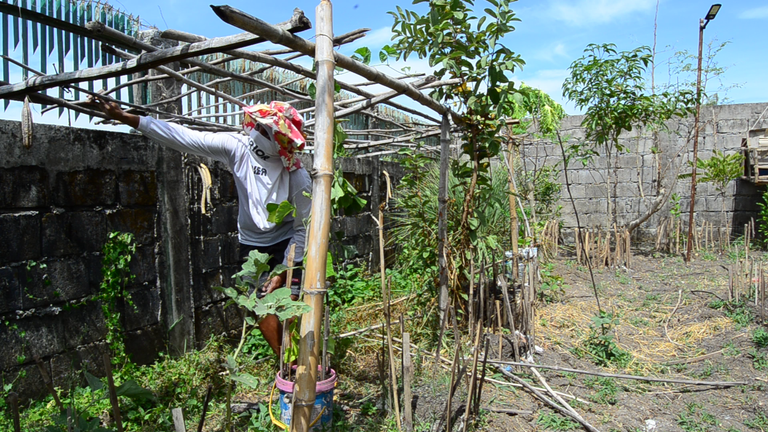
And finally, in the photo below I can now be seen under the deck of the trellis. What I am doing in that photo is fine tuning the spacing of each of the small bamboss to suit my own liking. Since the deck is not tied with ropes I can adjust the spacing if my crops needed it to. And just like that, it is done.
Organizing the deck
Below is a before and after comparison of the trellis.
| Before | After |


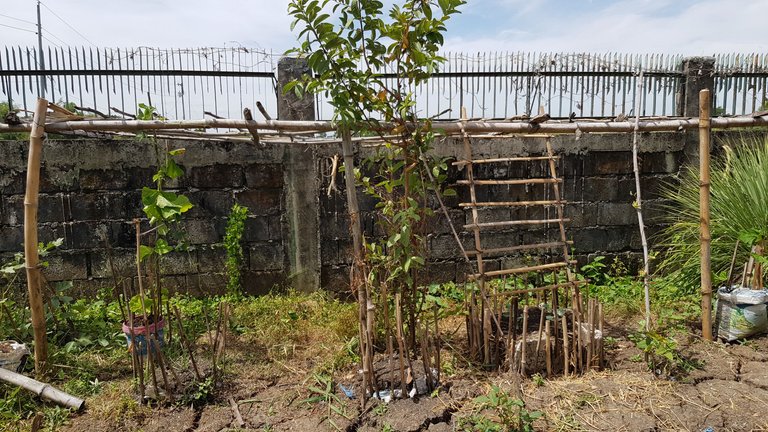
Here's another view of one of my old trellis before and after I repaired it. Can you see that ladder at the right side? That is where I planted my squash and the white colored sack beside it is also one of my Jicama crops. This trellis will also going to be used by the Jicama and the squash as climbing medium.
| Before | After |

That is all for now, guys, see you again next time.


Dami mo tanim.
.libre ulam na yan 😁
Medyo may pang-ulam na din konti (^_^) salamat sa pagbisita sa aking blog.
Wow! I really love to have a big garden to plant some veggies too but here in the City we can only plant through pots. That's really a one big garden you have there! :)
Thank you, and a big responsibility to maintain too.
Thank you for dropping by and have a nice day ahead.
good job!🌟
there is always so much work in the garden, but the result is worth of it..
and actually the process is very pleasant too if we're close to nature inside
Thank you, indeed, it is so much work but worth it.
The trellis is looking a lot better after all your work. Can't wait to see that ribbed luffa. I have some jicama seeds but I don't think I can grow that where I live :(
I also can't wait, Jicama grows best in warm/tropical climates.
Aha. I knew it. Maybe I'll try growing it when I go back to the old country where it's warmer. That's where I got the seeds from in the first place.
Good luck, and wishing you a good harvest, Jicama's tubers are delicious, I like them very much when chilled.
well done fixing the trellis. It reminds me of the one that my great grandparents used to have in their gardens. I don't see it often in my village anymore but I am so glad to see it here in your garden.
Thank you, as for me, I usually see trellis in rural areas of our country. It is nice to know that you are glad to see it. Good afternoon!
Nice one, what a huge difference with the repairs, I also got to say great job on making your own and I may have to use this style,
Thank you, this style of a trellis is quite easy to make. Have a nice day ahead.
Thank you for sharing this amazing post on HIVE!
Your content got selected by our fellow curator @priyanarc & you just received a little thank you via an upvote from our non-profit curation initiative!
You will be featured in one of our recurring curation compilations and on our pinterest boards! Both are aiming to offer you a stage to widen your audience within and outside of the DIY scene of hive.
Join the official DIYHub community on HIVE and show us more of your amazing work and feel free to connect with us and other DIYers via our discord server: https://discord.gg/mY5uCfQ !
If you want to support our goal to motivate other DIY/art/music/homesteading/... creators just delegate to us and earn 100% of your curation rewards!
Stay creative & hive on!
Thank you @diyhub
The rewards earned on this comment will go directly to the person sharing the post on Twitter as long as they are registered with @poshtoken. Sign up at https://hiveposh.com.