Growlight ABC
As a passionate gardener I'm year 'round excited for plant related stuff. Unfortunately we are in deep winter right now, and to general knowledge this time of year does not exactly offer a lot of fun in the chlorophyll departement. However, this doesn't mean we have to sit in front of the computer playing splinterlands all day!
Aside from some plants that I like to move inside over the winter in hopes of keeping them alive for the next season, it's now time to germinate the first seedlings of slow growing plants. As sunlight is scarce in these times, most seedlings would suffer from etiolation. Although not a huge tragedy, it leads to weak sapling and is not exactly a desirable situation. For that matter, many hobby, as well as professional gardeners resort to artificial light sources called 'growlights'. You may have seen pictures of indoor growing facilities or even greenhouses during winter that were illuminated in a distinct pink light, or maybe an orange color that most of us have seen in special street lights for areas with high requirements towards visibility. Those are dedicated plant lights.
About two years ago I decided to buy one of those cheap growlights from amazon. The initial idea was to supplement my seedlings at cloudy days, but also to get a general idea about their quality, as prices for professional photon cannons will make you wonder how anything besides psychoactive herbs can be profitably grown if one of those is involved in the process.
Fun fact: right as I'm writing these lines the plug on my chinese amazon lamp broke. A problem easily fixed, but still a good reason to see if we can do better than that!
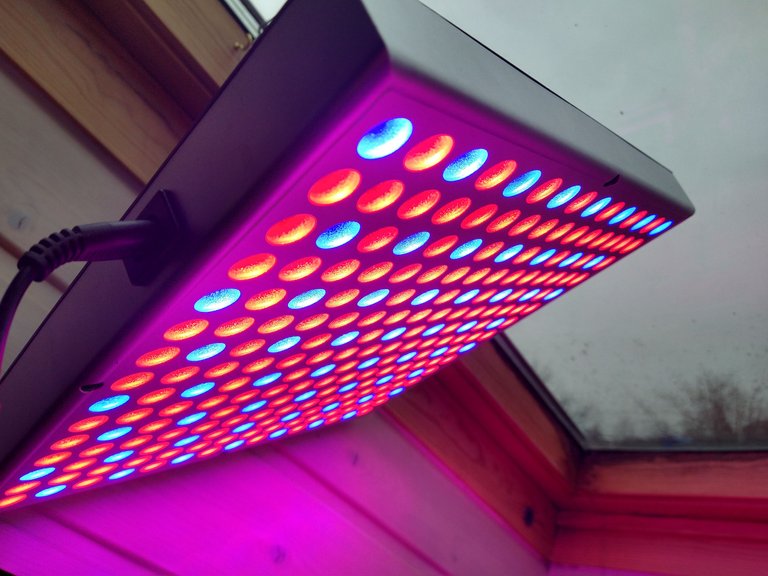
The ultimate goal is to build a semi professional growlight for growing seedlings without spending insane money, but first I have to do some testing.
The first goal here is to get a basic idea on how specific light supplements alter the growth of seedlings and ultimately create a growlight that is tailored towards growing strong seedlings that are perfectly prepared for the outdoor season.
Plant Physiology
Plants use a process called photosynthesis to convert light into chemical energy, which can then be stored and used for various biochemical processes that allow plants to do funny plant things - like growing. Everybody learns about that in school.
If you take a closer look, things are actually not as simple as that. Plants use different molecules for the photosynthesis process and each one has a distinct absorption spectrum. As a result some of the light is getting used quite effectively, while some has almost no effect. But it doesn't stop there. Not only are there more than just the blue and red colors that are pretty important, but also do different colors have different effects on the plant, which also varies greatly between different types of plants. For example their habitus and flowering behaviour are greatly influenced by the light.
Studies seem to come to opposing conclusions, but I remember reading how blue light would lead to a more sturdy growth, while red light made the plants more slender and tall. This is the reason Also some professional lights use more than just two colors and add green, dark red or even ultra violet.
Another important factor affecting indoor plants, that already screwed my efforts multiple times, is the lack of UV light. They might grow perfectly fine for the first months, but once you move them outside, the sunlight will burn the fragile leaves and often kill the entire plant.
Adding an UV spectrum to the growlight might avoid this and produce more resilient saplings.
Electronics
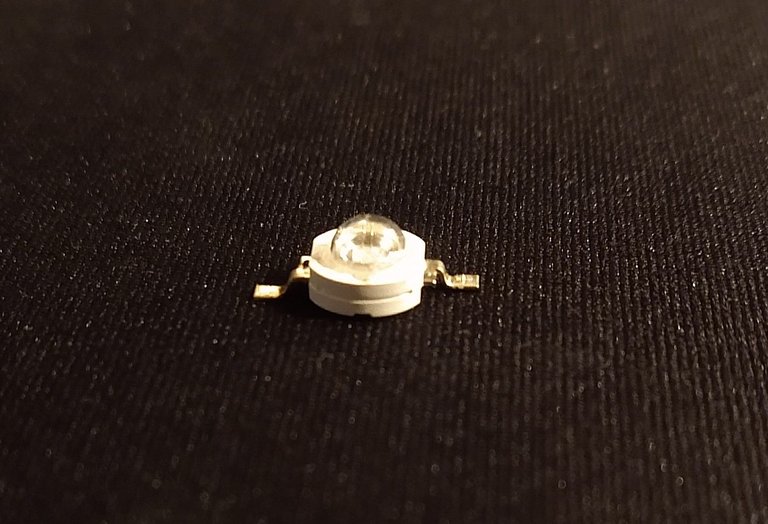
Most growlights these days use LEDs for various reasons.
They are small, one of the most efficient artificial light sources and available in pretty much any color you can imagine, which makes them great for customisation and facilitate this experiment in the first place.
When running LEDs two major things shall be considered, though. First of all, contrary to most other light sources, they don't like to run hot, which makes proper cooling a necessity. Secondly they don't have much of an internal resistance, which leads to a rather quick and unspectacular death if your power supply is capable of delivering more current than what the LED is rated for.
The cooling part is pretty simple. Commercial lightbulbs usually use nothing but a sheet of metal, but we can also find proper heatsinks in power supplies of almost all electric devices or in old computers.
Problem number two can be solved with money or brain. Money buys you a LED driver that runs the diodes with a set currrent. As long as said current is chosen not to be higher than the diodes rated current, the precious shall not be hurt.
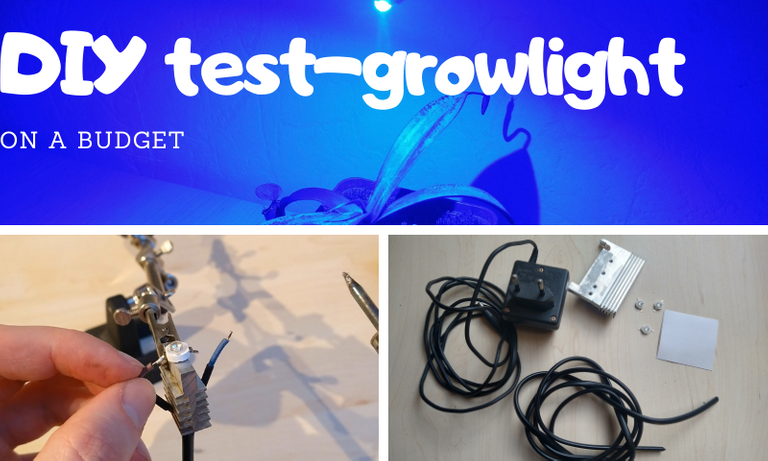
For the cheap solution we have to apply some simple math and physics.
Any power supply can be used to run LEDs, and many cheap assemblies actually don't care about sophisticated constant current circuits. All we have to do is to make sure the voltage across the diode assembly is not higher than the forward voltage of the diodes at operation current.
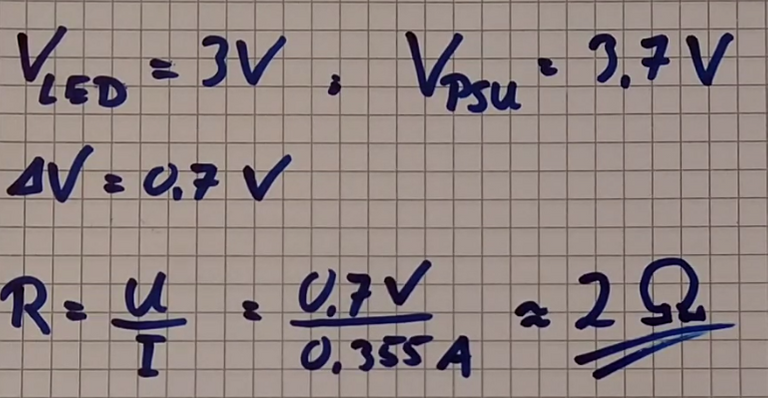
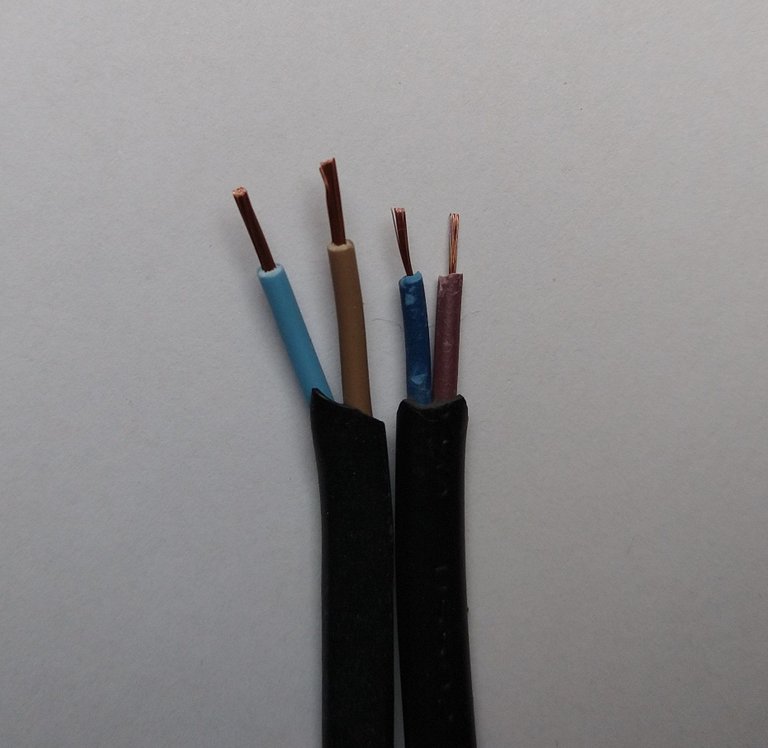
In my case I'm running the test LED on a retired Nokia phone charger which delivers 355 mA at 3.7 V. I measured the LED dropping 3 Volts at this current, which means we need addiditonal resistance to drop the remaining 0.7 V. As the used cables measured pretty close to the required 2 Ohms value, I didn't bother adding any more resistors.
Comparing the cable to a higher quality one, you can see how they just used the absolute minimum of copper needed to call it a cable.
I also made a short video on the building process:
I also ordered an LED driver for some testing and future projects. This would be the time for a joke about cheap stuff from China, but it doesn't even claim to be made anywhere. All it advertises is the German retail company that sells it. Once plugged into an outlet, it makes an annoying electric hissing noice, that I remember those cheap ccfl inverters made, way back during our puberty infused case-modding times. I mainly used this to measure the forward voltage of my LEDs and will keep it for later use.
First Results
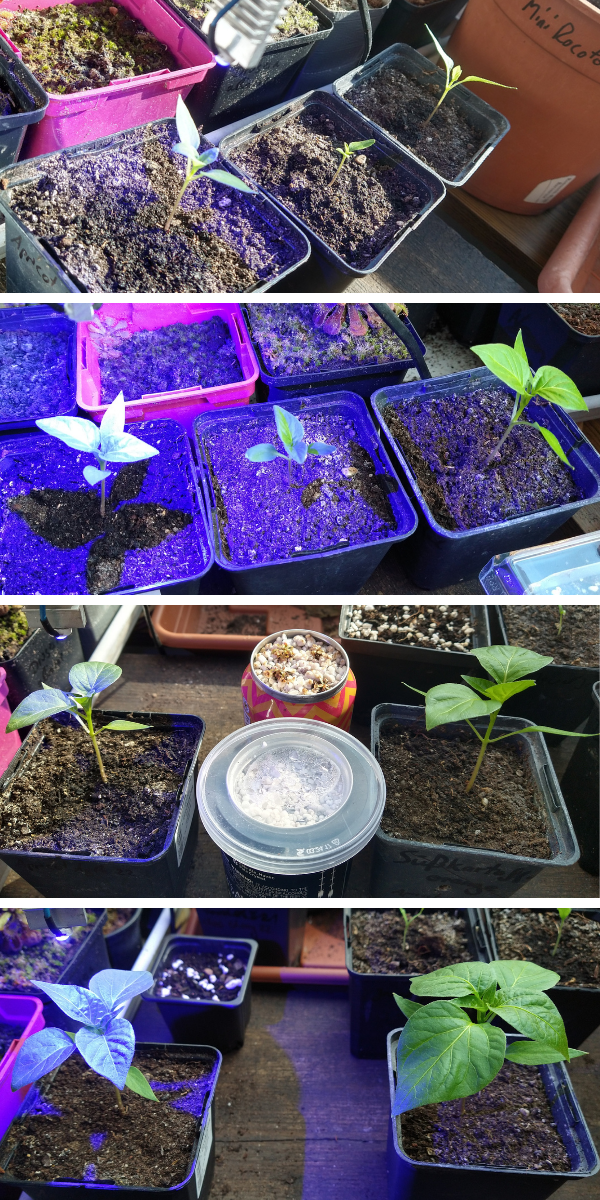
1.5 Watts is not a lot, but it seems to be too much for a little seedling. Not sure if it is related to the blue color specifically, but the first experiment ended in a crippled plant that had to be discarded.
Luckily there are first observations to be made on the second run already.
The middle one grew much slower, so I removed it from the test. The plant on the left with the blue light supplement seemed to grow a little faster at first, but the longer the experiment goes, the more obvious the difference becomes. Not in favor of the blue light, though. The past days it became super obvious how much more leaf surface the plant on the right side is developing. There are no signs of etiolation on any of the plants, but I must note, that the blue plant does appear to be more robust and hardened.
I will keep an eye on how the plants continue growing and how they perform once they are moved outside.
That is a nice grow light, I have learned a lot on this blog of yours, especially about UV light. Greetings from the Philippines!
You must have felt good doing this yourself, keep it up!
Your content has been voted as a part of Encouragement program. Keep up the good work!
Use Ecency daily to boost your growth on platform!
Support Ecency
Vote for new Proposal
Delegate HP and earn more