Introduction
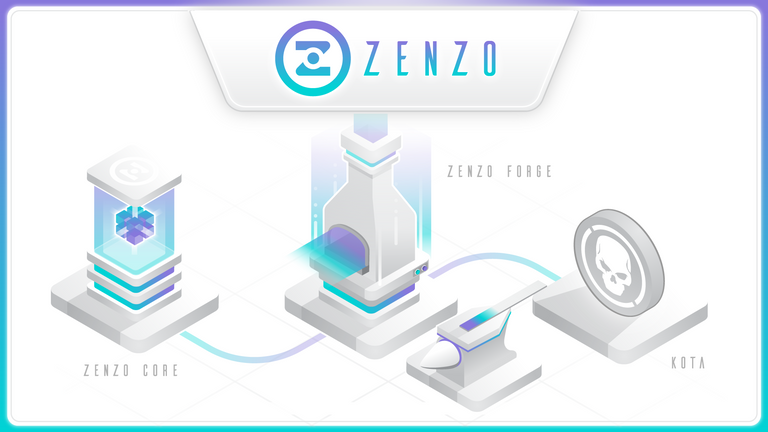
Welcome to the absolute beginner’s guide for installing ZENZO Core, ZENZO Forge, and the KOTA Demo. ZENZO Core is the wallet that allows you to connect to the blockchain, safely store your cryptocurrency (ZENZO Coin — ZNZ), and more. The ZENZO Forge allows for you to create, receive, transfer, and smelt your own ZENZO NFTs called ZFIs (ZENZO Forge Items). Lastly, KOTA is the first official game from ZENZO that utilizes ZFIs and gives players more power over their gameplay and assets.
Part 1: ZENZO Core Wallet Installation ⛓️👛
How to install the ZENZO Core Wallet (ZNZ)
Go to https://github.com/ZENZO-Ecosystem/ZENZO-Core/releases and select the right download for your operating system.
In this case, we are going to install a Windows Wallet.
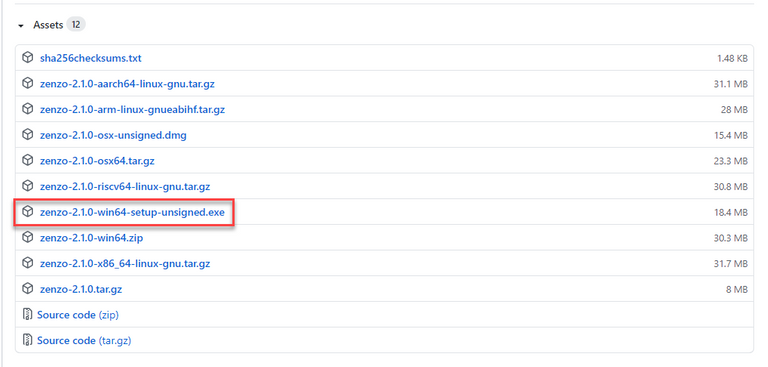
Download and install it.

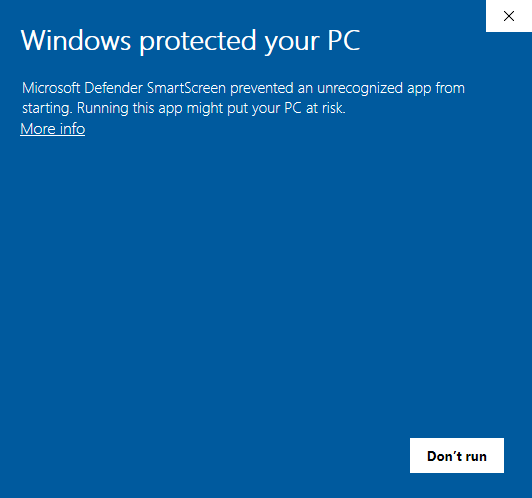
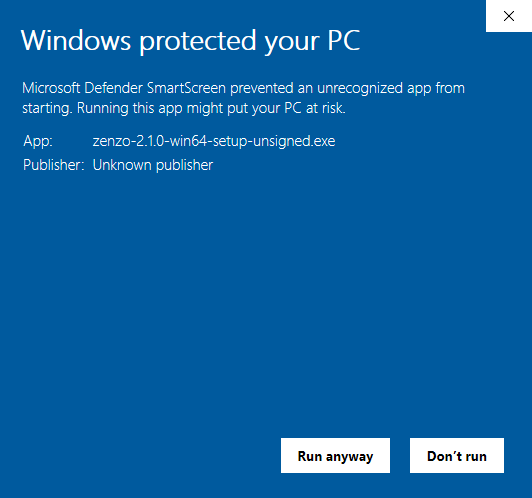
If you see this screen, click More info. Click Run anyway and then click Yes.
Now, you will see this Setup Screen. Click Next
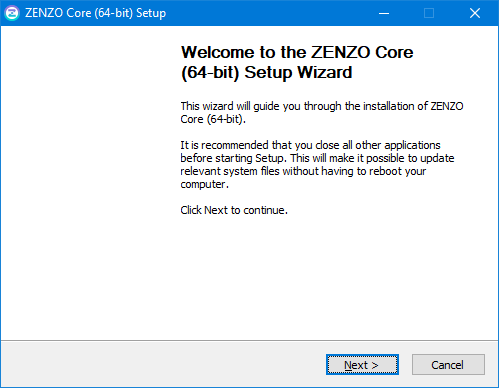
Click Next.
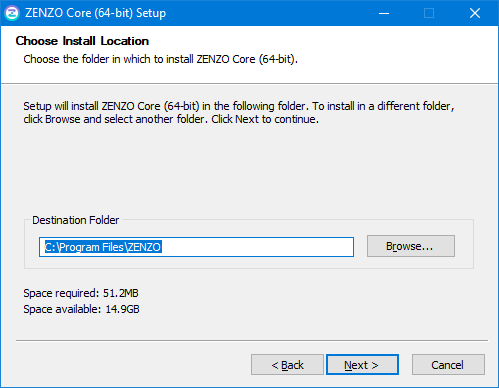
Click Install.
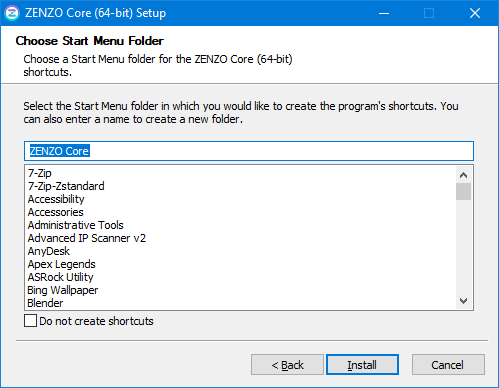
Click Next.
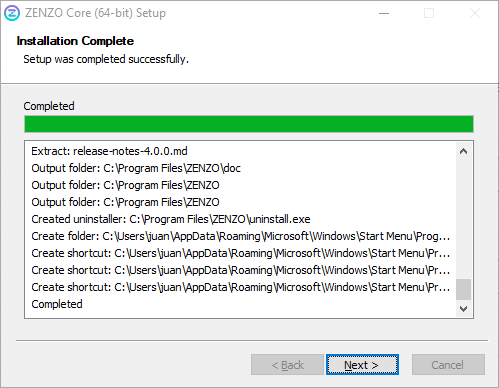
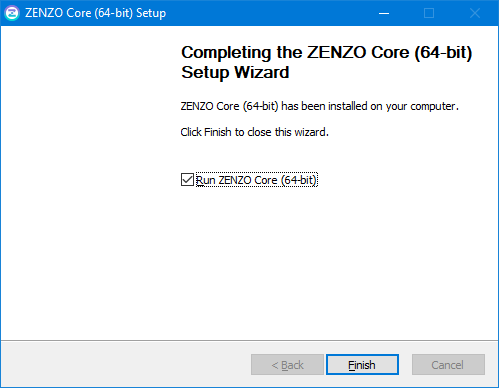
That’s it. Now, click Finish.
You will see this screen, after opening:
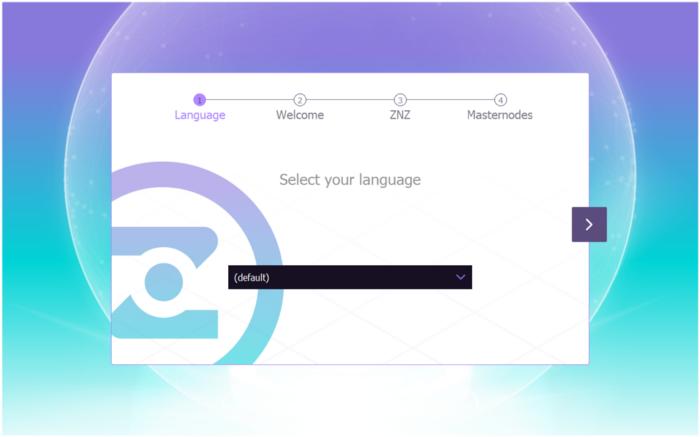
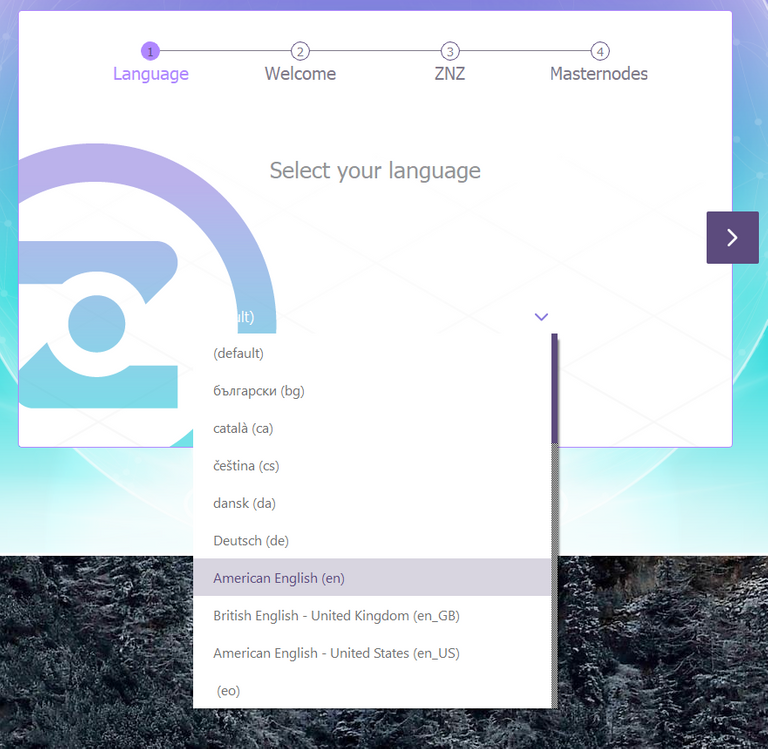
Select your language. We are going to continue this tutorial in English.
Click the purple arrow.
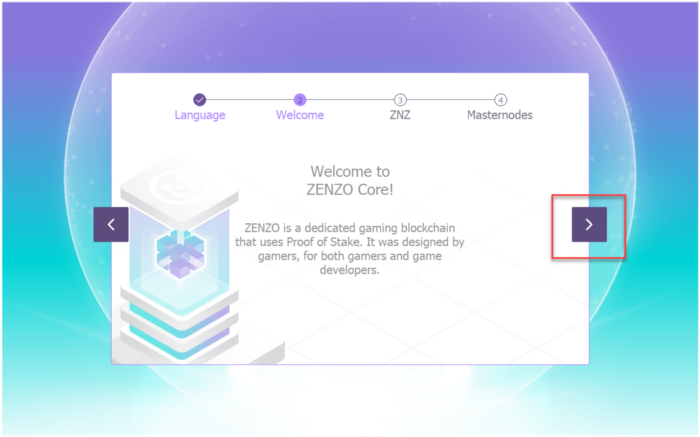
Click the purple arrow again until it is finished and have you read the info.
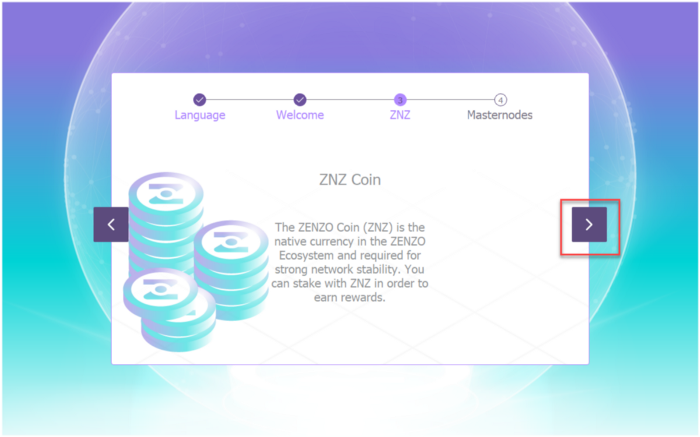
Click the arrow one final time.
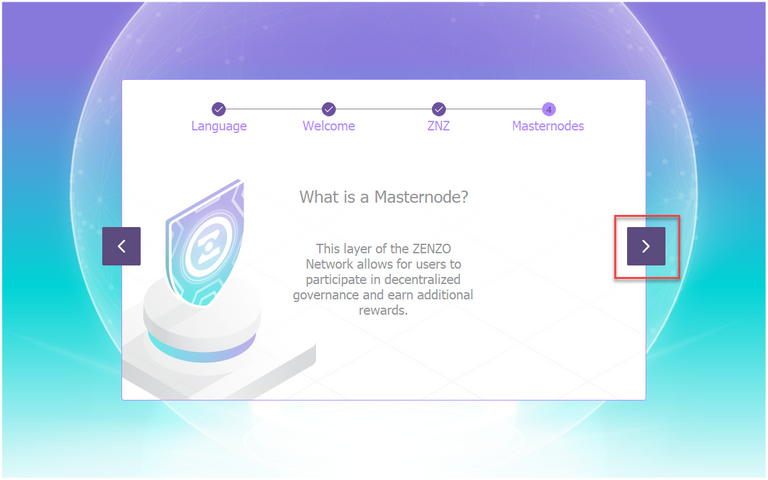
After that, you will see this screen:
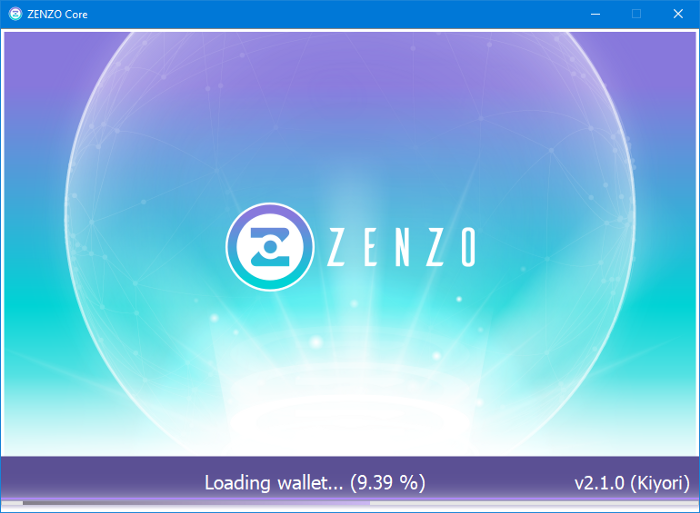
Getting closer! Now, you must wait until the blockchain fully synchronizes (this is very important to always make sure your wallet is 100% synchronized before using it).
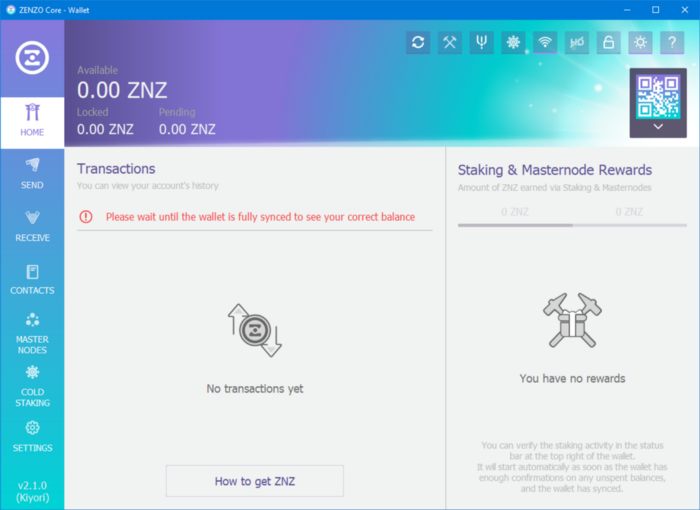
You can check the syncing progress by putting your mouse over this symbol.


(The time display often updates rapidly. Ignore the time shown, just let it sync)
When your wallet is ready you will see this, “Synchronized — Block:”

To confirm you are on the right Block Height, use the Block Explorer.
Your wallet is now ready to use!
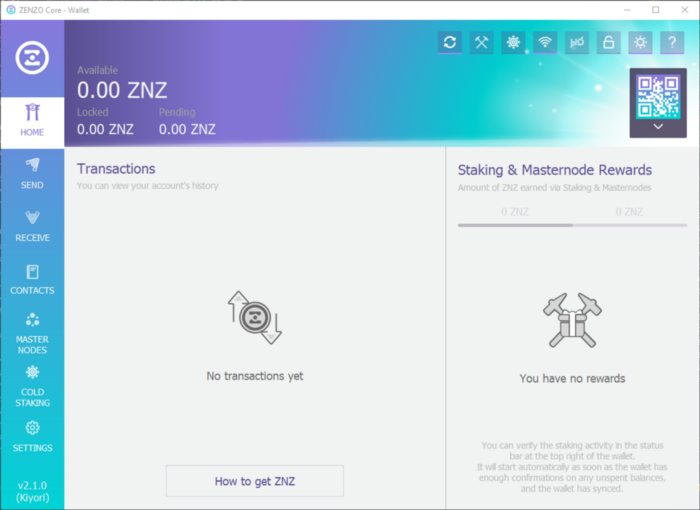
Tip: You can change the Wallet Theme to Dark / Light here:
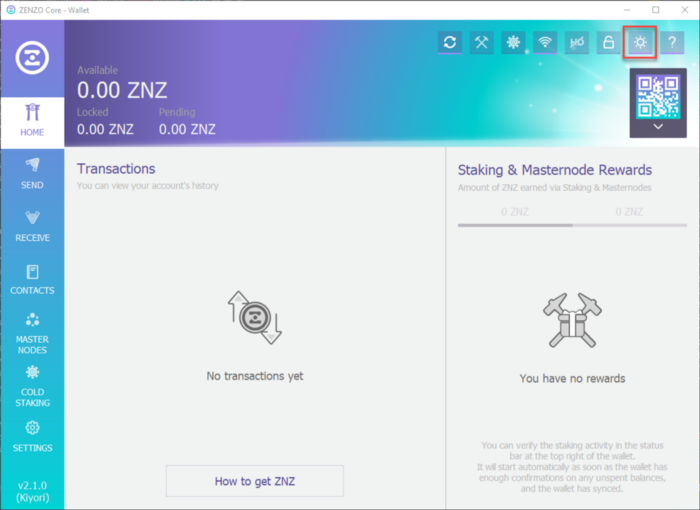
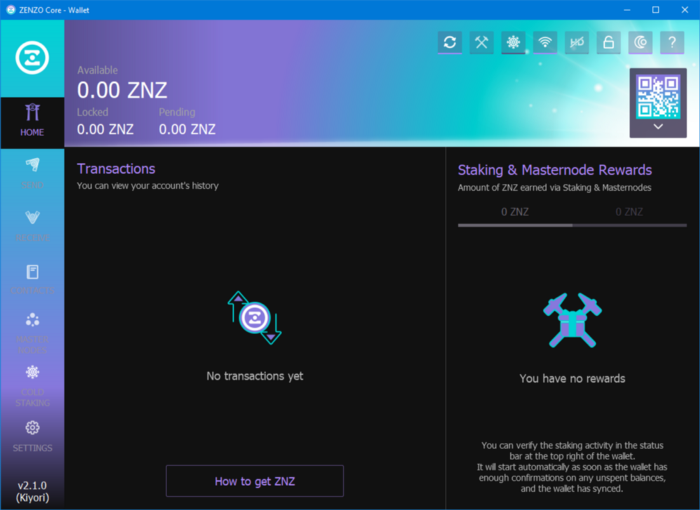
Let’s try Dark Theme:
Highly Recommended! Encrypt your wallet for security purposes.
To encrypt your wallet, click on security lock icon.
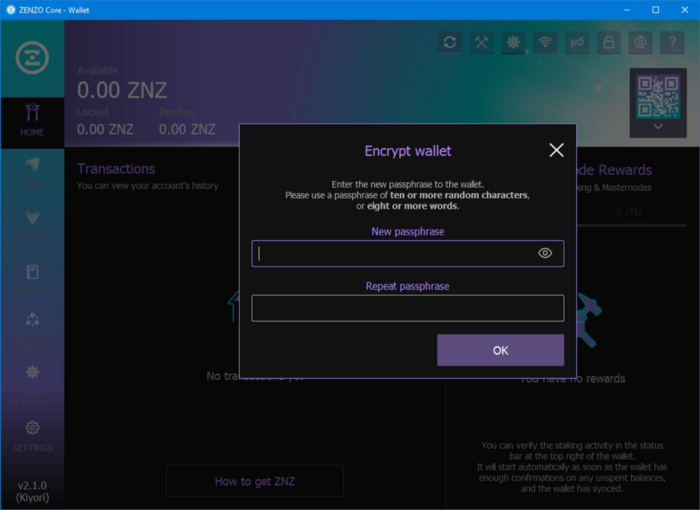
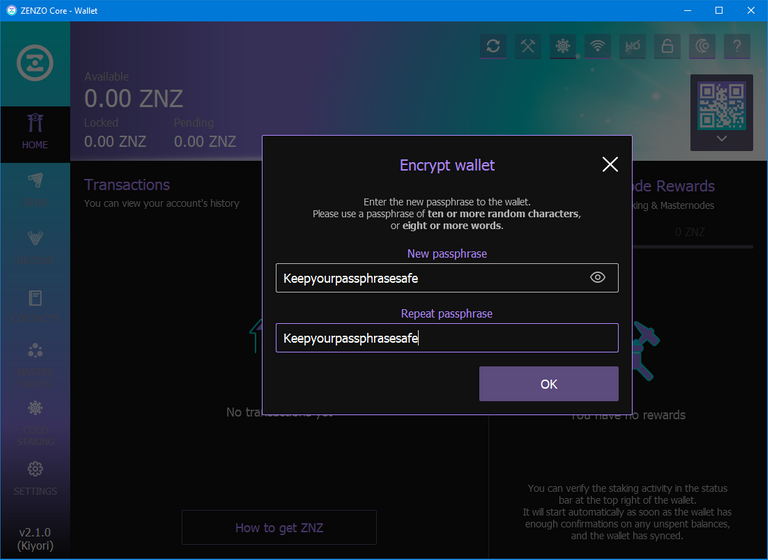
Type in your desired password, then click OK.
(Remember to safely store this password somewhere that you won’t lose it)
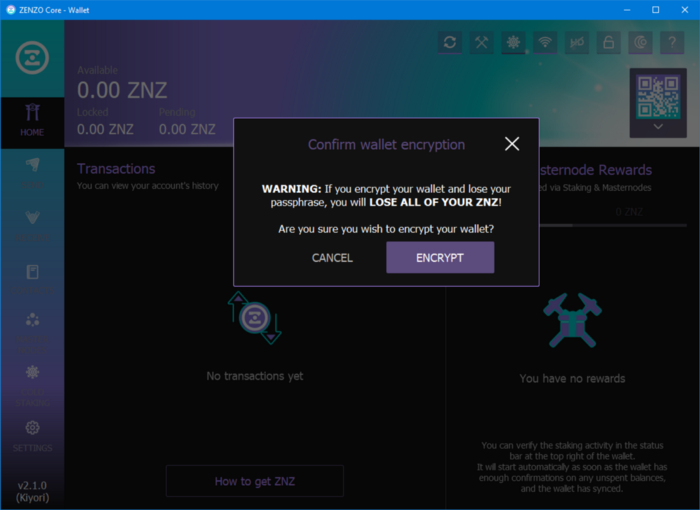
Then, click encrypt.
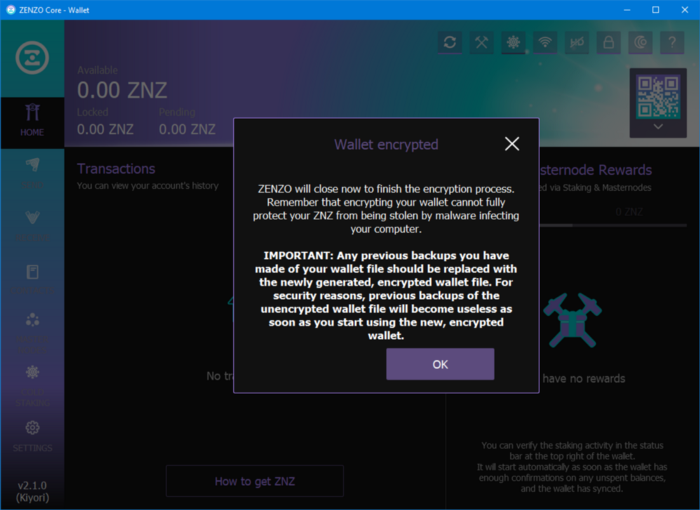
Click OK. Your wallet will safely close down, then restart your wallet.
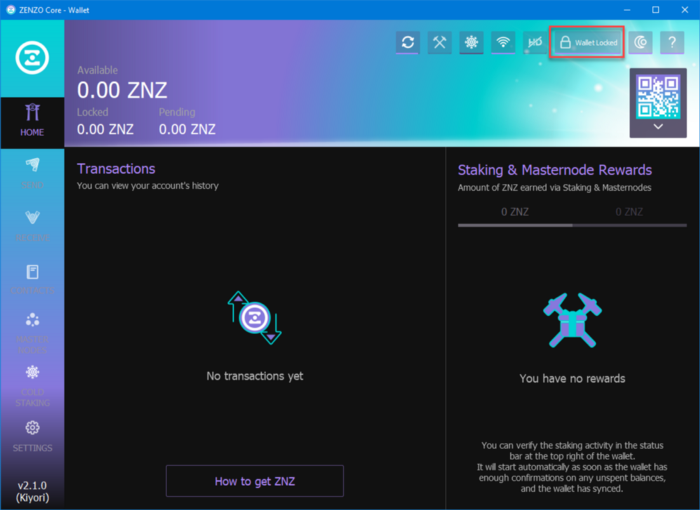
Now, you will see your wallet locked:
To unlock your wallet, just select Unlock Wallet and type in your password.
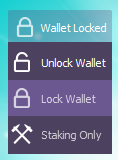
Then select OK.
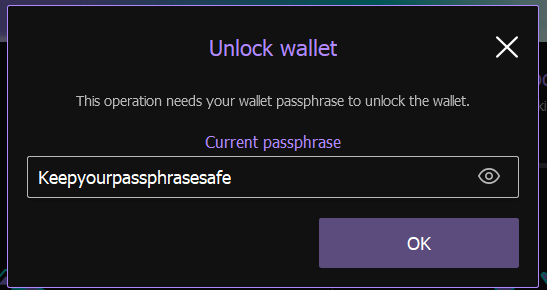
Your Wallet is now unlocked.

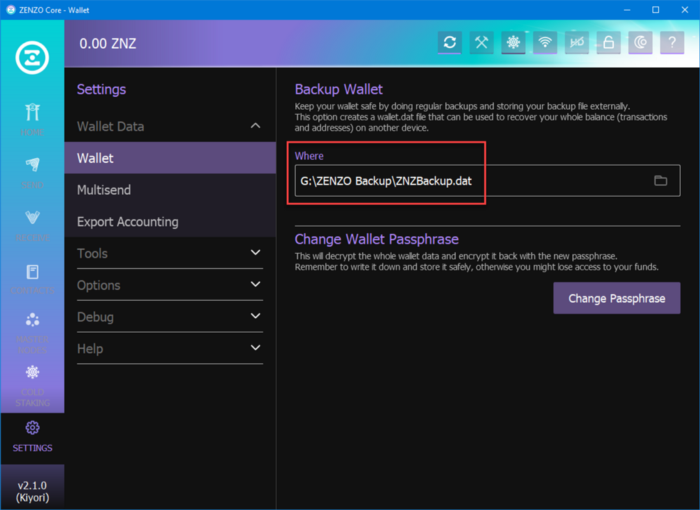
Backup your Wallet. (For additional security & safekeeping)
Go to Settings — Wallet, then Select folder.
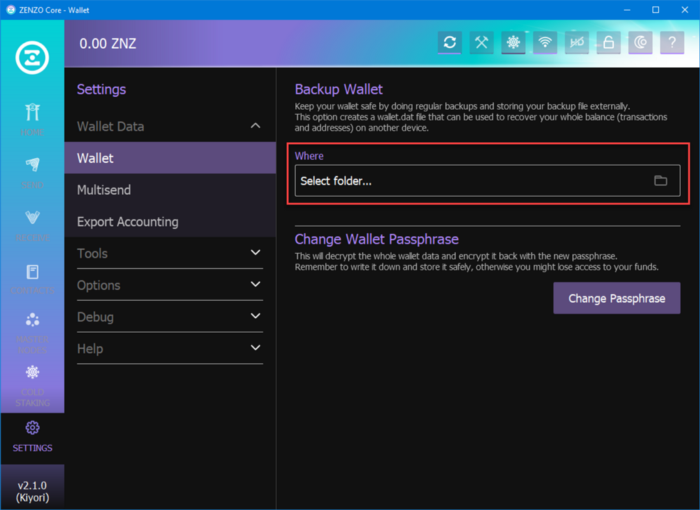
Choose where you will keep your backup.
Type the file name & click Save.
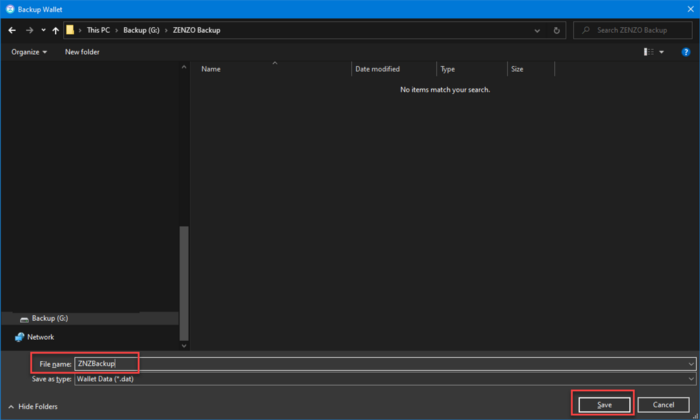
Now you have a backup!
🎉 Congratulations, ZENZO Core Wallet is setup!
Part 2: Install the ZENZO Forge🔥⚒️
Download the ZENZO Forge -> https://zenzo.io/resources/
*Only trust downloads from Official ZENZO Channels. (Recommended: Official GitHub or ZENZO.io Website)
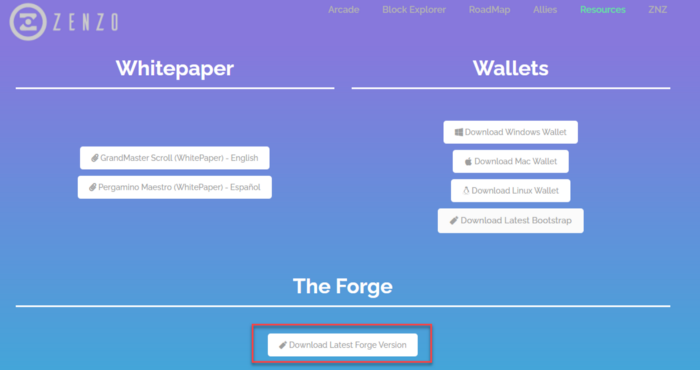
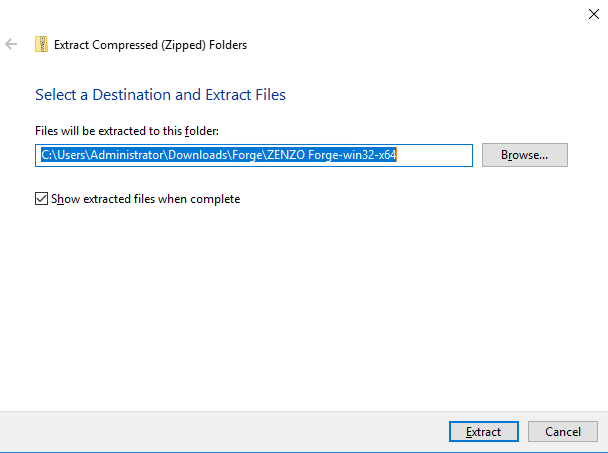
Go to the zip file and extract it.

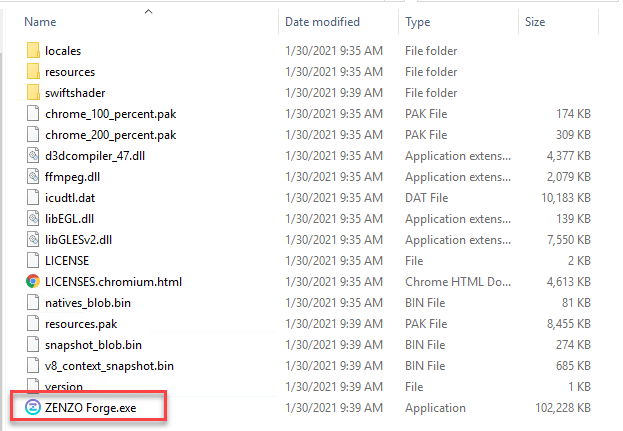
Go to Files and double-click/launch ZENZO Forge.exe.
You will see this for the first time. Click on Setup.
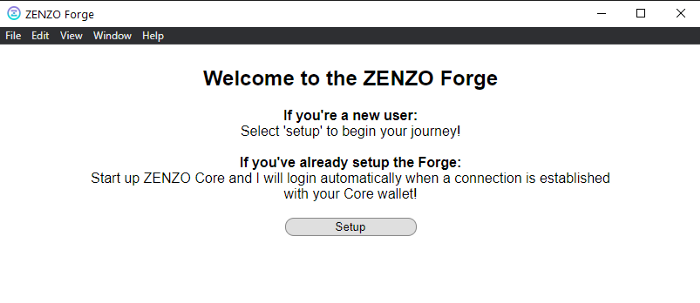

Now, restart your ZENZO Core Wallet.
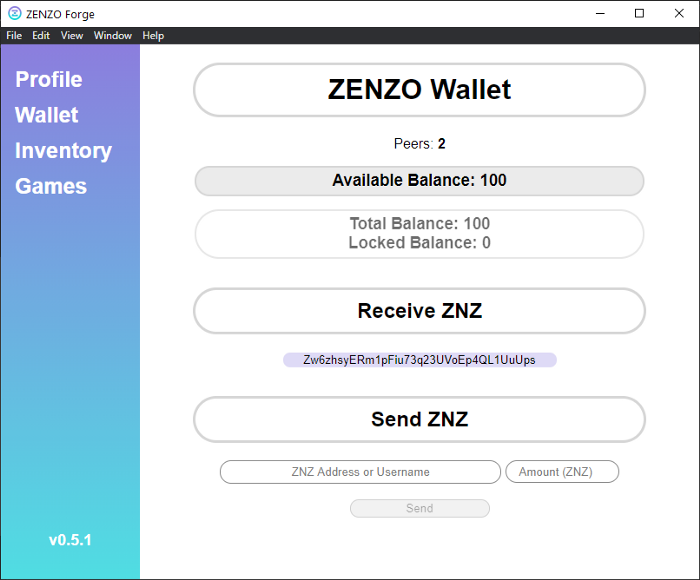
That’s it! Your ZENZO Forge is setup.
Learn more about the key features below.
Creating a ZENZO Forge Profile
*You must have 10 ZNZ in your wallet, as a requirement to make a ZENZO Forge Profile. Please note that it locks this amount in your wallet and you can smelt your profile to receive your ZNZ back (minus the blockchain fee: ~0.001 ZNZ). You are not losing your ZNZ or paying ZENZO.
Go to Profile, type in your desired username and paste your desired image url (example: https://imgur.com/ ).
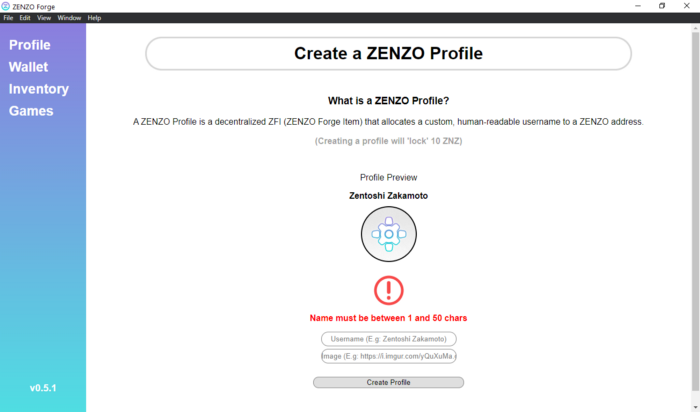
Then select Create Profile.
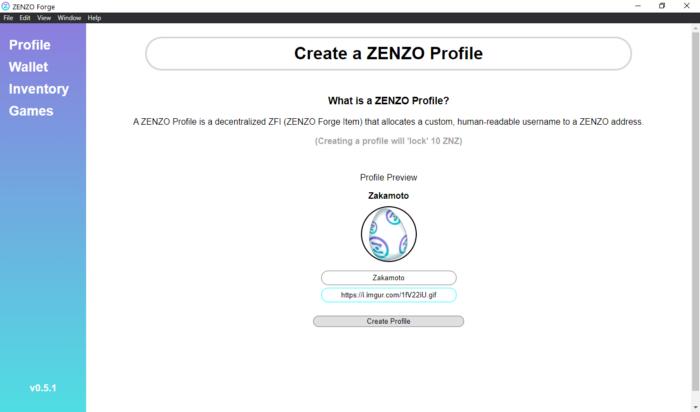
Your ZENZO Profile has been crafted and is now active!
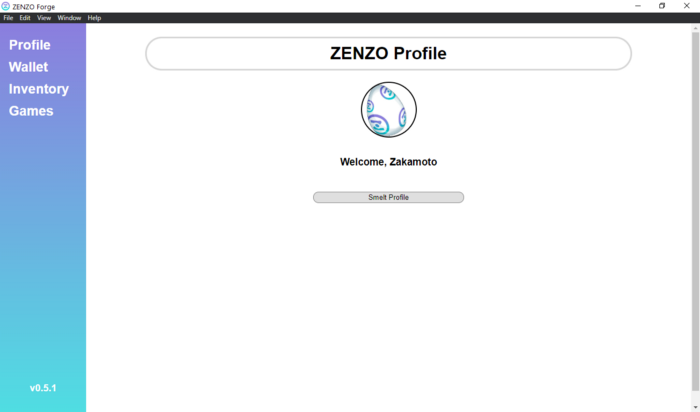
Creating a ZENZO Forge Item (ZFI)
*ZENZO Forge Items, like a ZENZO Forge Profile currently require ZNZ to craft or make. the minimum amount of ZNZ required to craft a ZFI is 0.01 ZNZ. These ZFIs are ZENZO’s own NFT Standard that are inherently unique and allow for users to back their items with a ZNZ value that are transferable, smeltable (destroy to receive the ZNZ-backed value), and useable in different games, platforms, and more!
Click on Inventory, in the left panel.
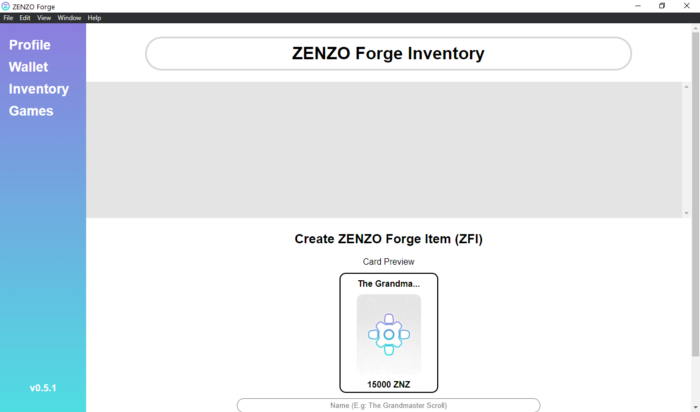
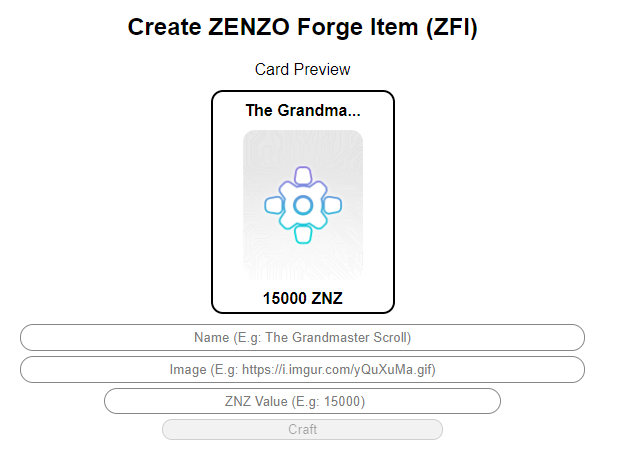
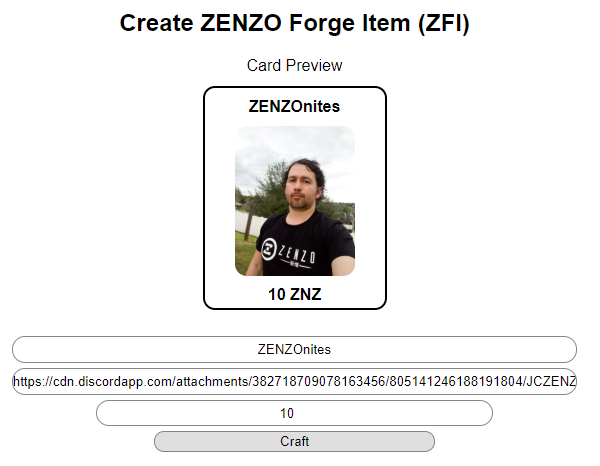
Input your desired information in the fields: Name, Image and ZNZ Value.
Then click Craft.
Then, click Confirm.

Congrats! You made your first ZFI. Now, you will see the ZFI already created.
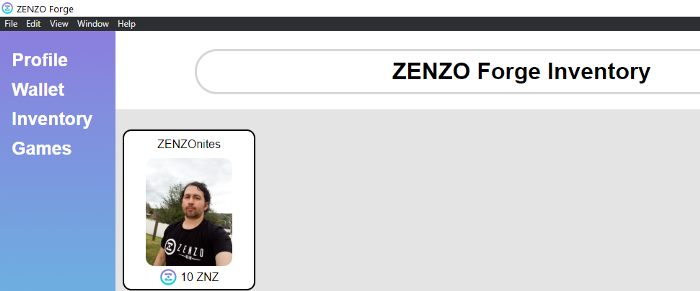
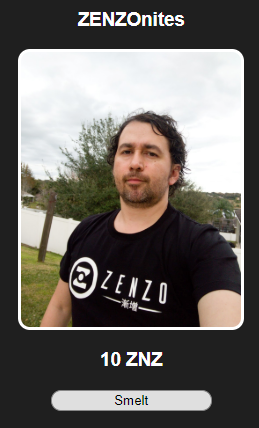
Smelting a ZFI
*Smelting is a way to permanently destroy a ZFI. There is no way to recover the original item once it has been smelted. Upon smelting, you will instantly receive the ZNZ-backed value in your ZENZO Core Wallet. Just like a blacksmith would smelt something down to its core resources, smelting in the ZENZO Forge works the same way.
Go to Inventory and select the ZFI you wish to smelt.
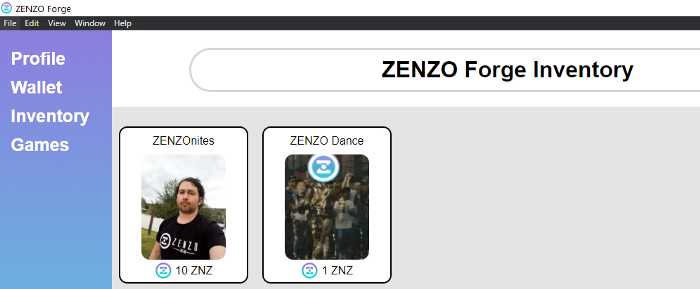
Click Smelt.
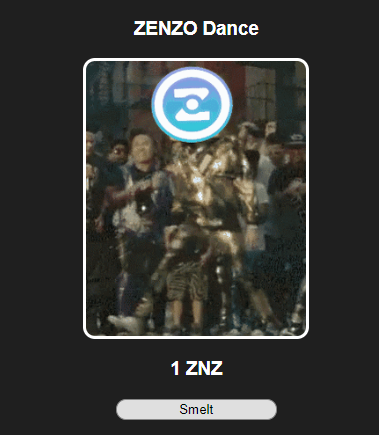
Click confirm.

Transferring a ZFI (to another user)
*Transferring ZFIs means completely handing over 100% ownership of the item. Once you transfer an asset, there is no going back. Once the ZFI is sent, there is no way to cancel or receive it back, unless the receiving party sends it back to you.
Click on Wallet, in the left panel.
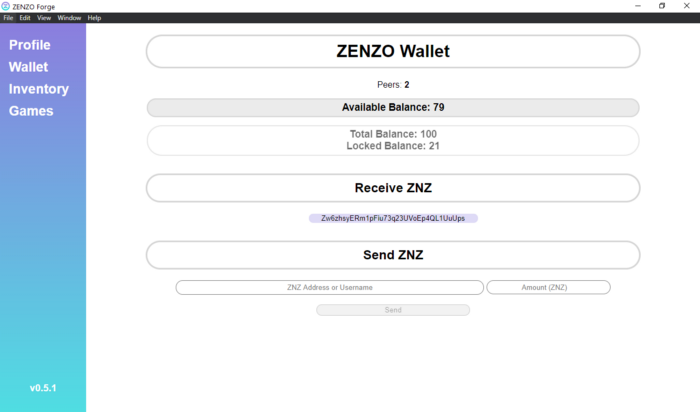
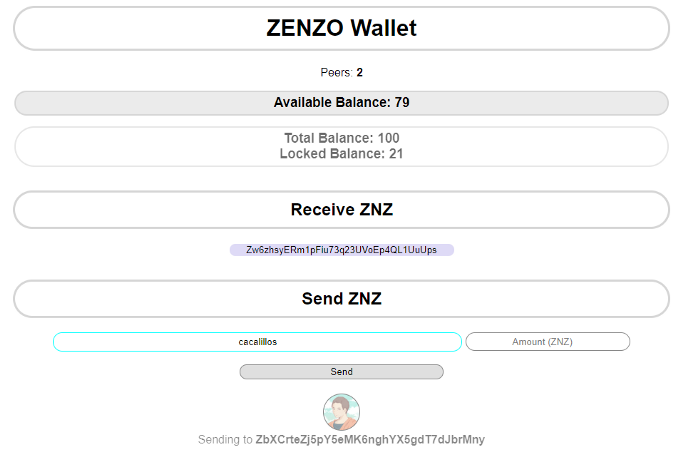
Type the Username or ZNZ address you wish to transfer to. If the Username is correct, you will see a ZNZ address and Avatar that appears. *This is a second-layer security measure put in place to help prevent phishing and scams.
Click on Inventory, in the left panel.
Select the ZFI you wish to transfer and then click Transfer.
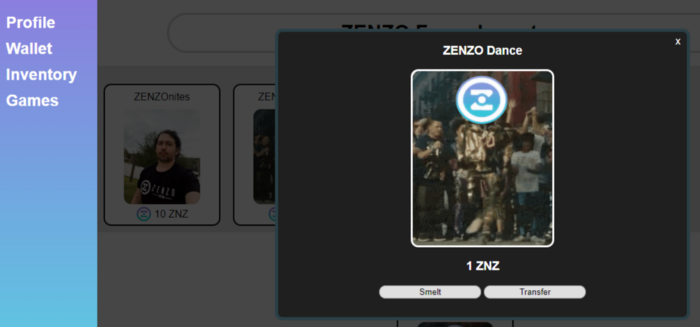
Click Confirm.

Having problems?
Make sure to check out our ZENZO Forge Troubleshooting FAQ
Additional help can be found in the ZENZO Discord.
BONUS: Want to play KOTA?💀
KOTA (King of the Apocalypse) is ZENZO’s first blockchain game that utilizes ZFIs to enhance the player’s gameplay experience and give true asset ownership. KOTA is currently available in the demo stages, but you can learn more about the Early Access Release, as well as more about the game on the website.
Click on Games, in the left panel. Click install and then play!
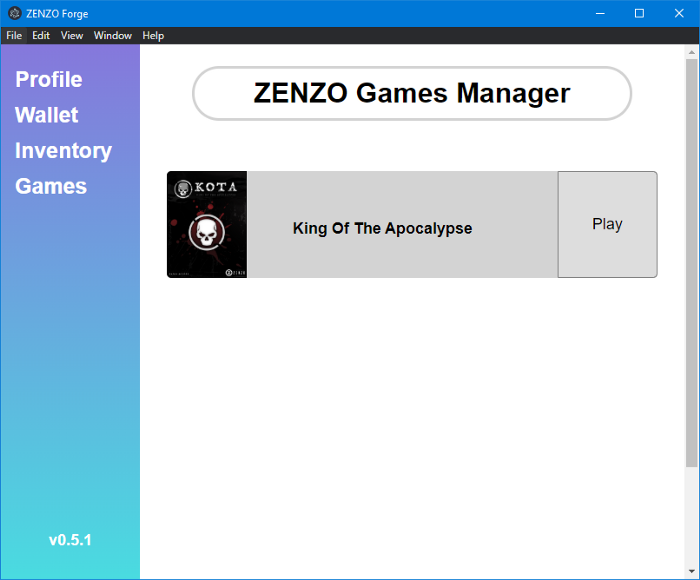
Want to learn more about KOTA, track your stats, meet other players, learn about new updates, and share your feedback? Join the ZENZO Discord!