
🧚Hello LIKETU friends!🧚
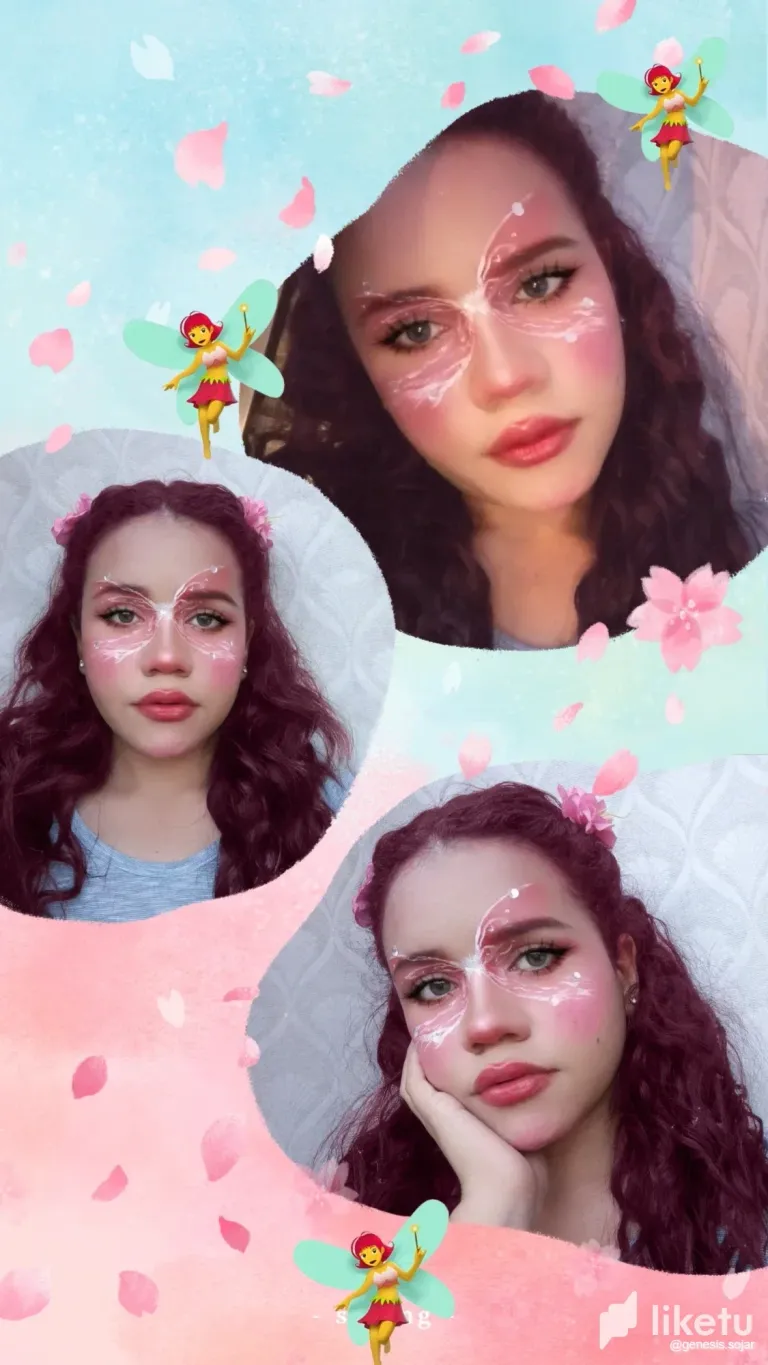
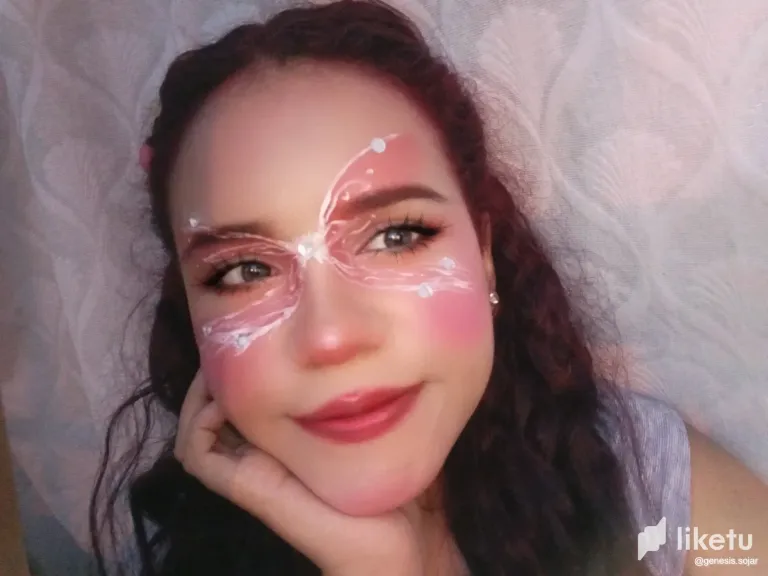
I hope you are feeling very, very well! Today I bring you a fairy makeup that I wanted to do for a while but I didn't have the white eyeliner to do it, therefore, here I bring it to you as a new post of ideas for you to do for a Halloween costume or a fairy themed party. Are you ready to let your imagination fly and dive into the magical world of fairies? In this makeup tutorial, I will show you step by step how to achieve an enchanting fairy look. With a touch of fantasy and a little bit of skill, you'll be able to transform yourselves into mystical and radiant beings. Get ready to dazzle with a makeup look worthy of a fairy tale! ✨
The steps to perform this makeup are really simple, and can serve you to dress up on Halloween as a beautiful little fairy, the procedure is as follows:
✨After preparing your skin with your skincare routine, we will start with the foundation.
1.We apply our foundation with full coverage or medium coverage covering our entire face and blending it with a sponge.
2.Apply a white concealer on your dark circles, tip of the nose, forehead and chin.
3.Contour the ends of the nose, the bony areas under the cheekbones, the jawline and the crown of the head.
4.Blend everything you just applied.
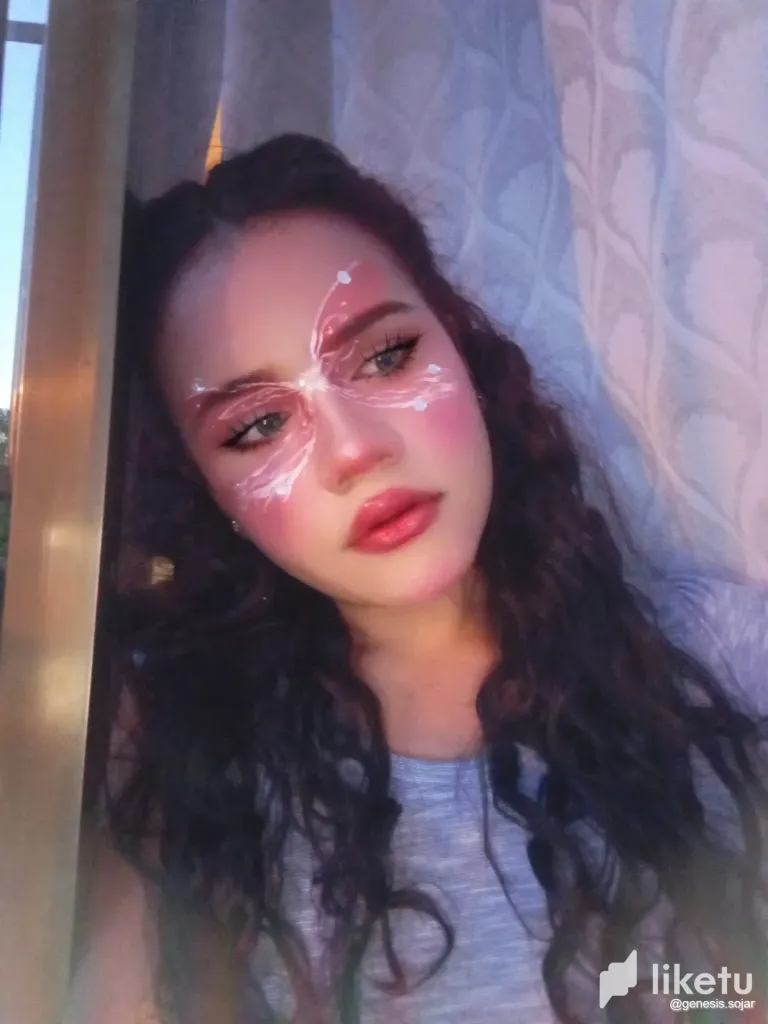
5.Now apply powder blush to the cheeks, chin and tip of the nose.
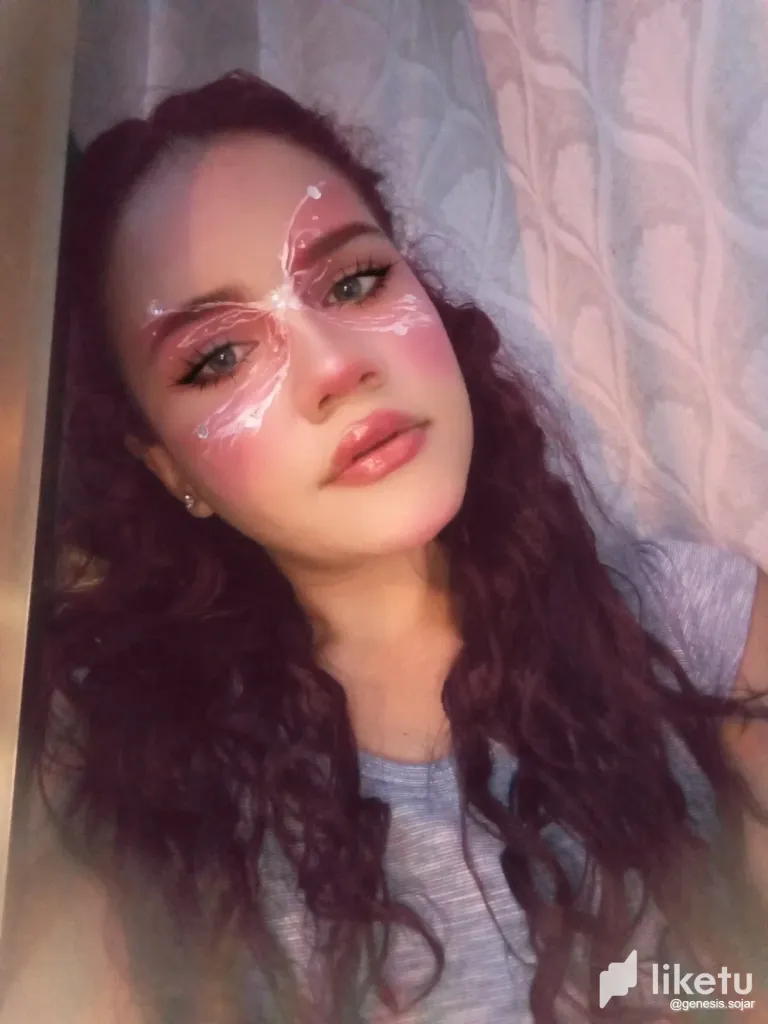
6.After that, we are going to take a red shadow and draw a semicircle between the crease between the nose and the eye, raising the shadow a little bit above the eyebrow.
7.Repeat the same step but this time the semicircle will be smaller and will be concentrated between the crease, also covering the eyelid and extending the lower tail further down. Both are blended. A darker shadow will be applied at the beginning of the semicircles to give a deep and gradient effect.
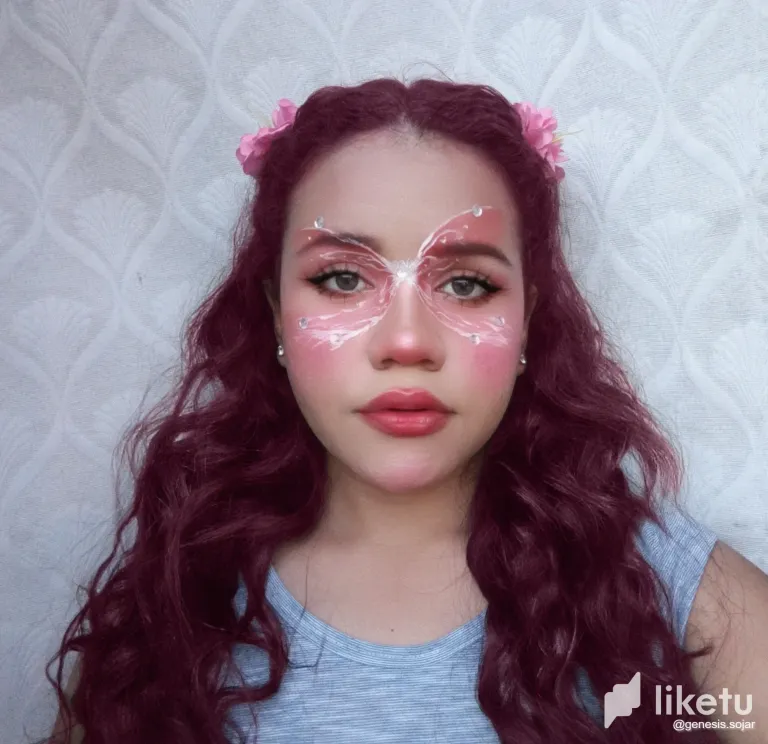
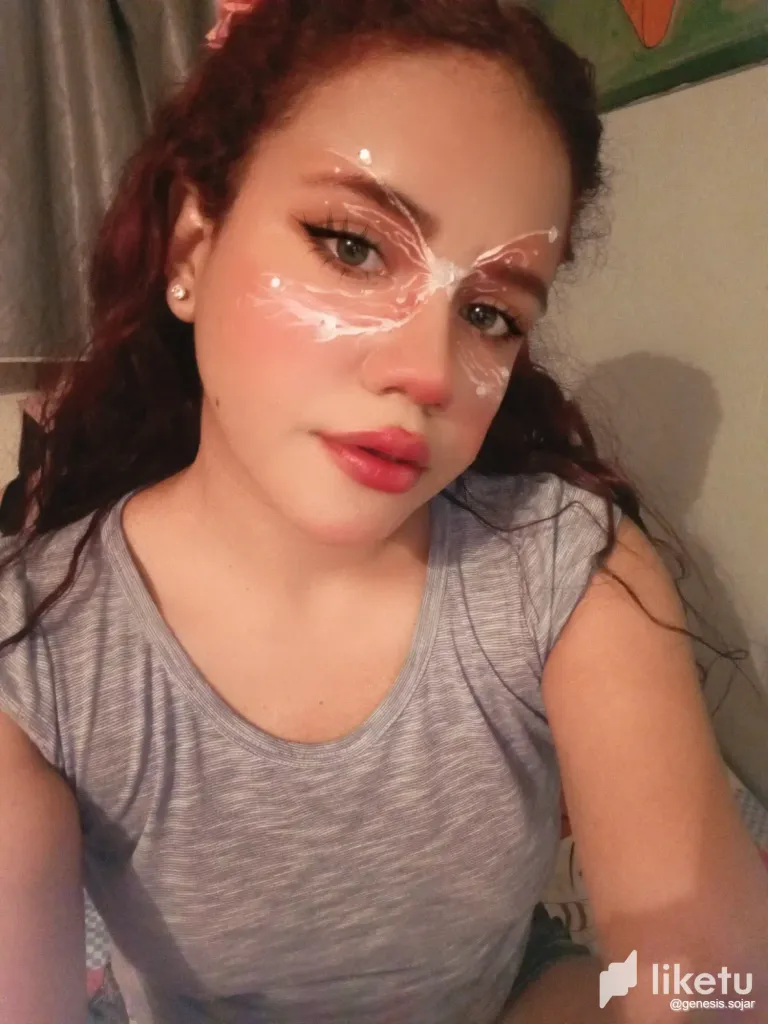
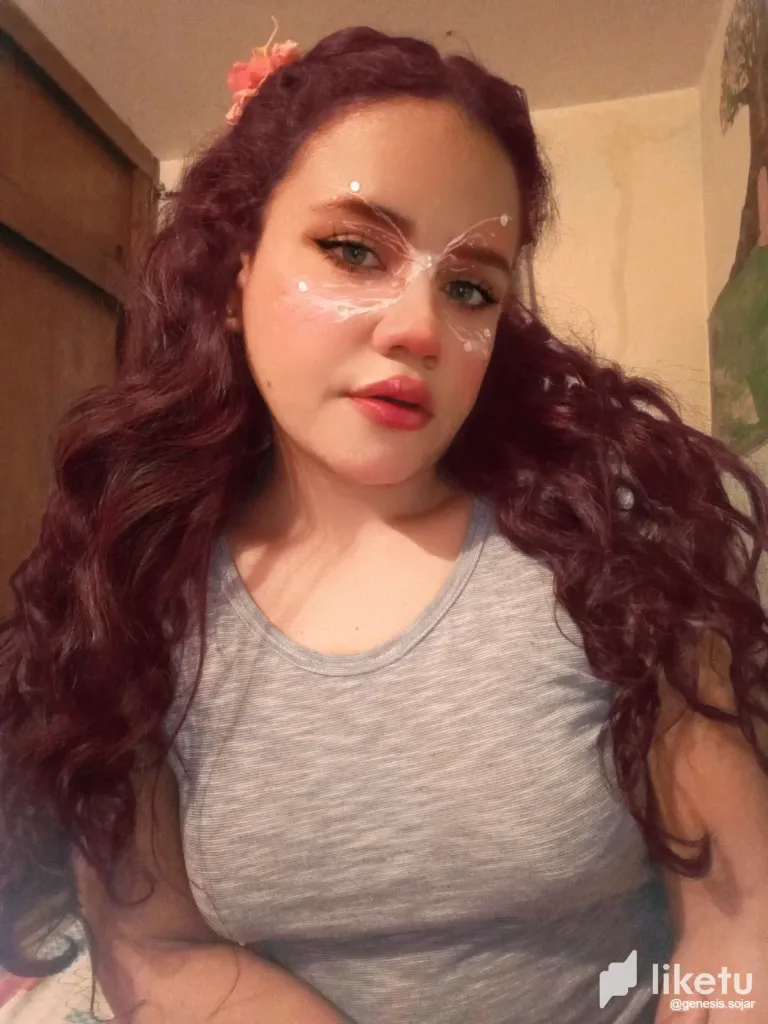
8.Now we will take our white eyeliner and we will draw in the center a kind of star, on the sides of this we will make some small wings that will connect with the star or asterisk in the center. The lower line of the semicircle at the beginning we will make it straight, but at the end we will give it a wavy shape simulating the wings, we will repeat the same with the other side and we will add more wavy lines.
9.We finish our drawn hadita with some dots between the eyelids and above the eyebrows.
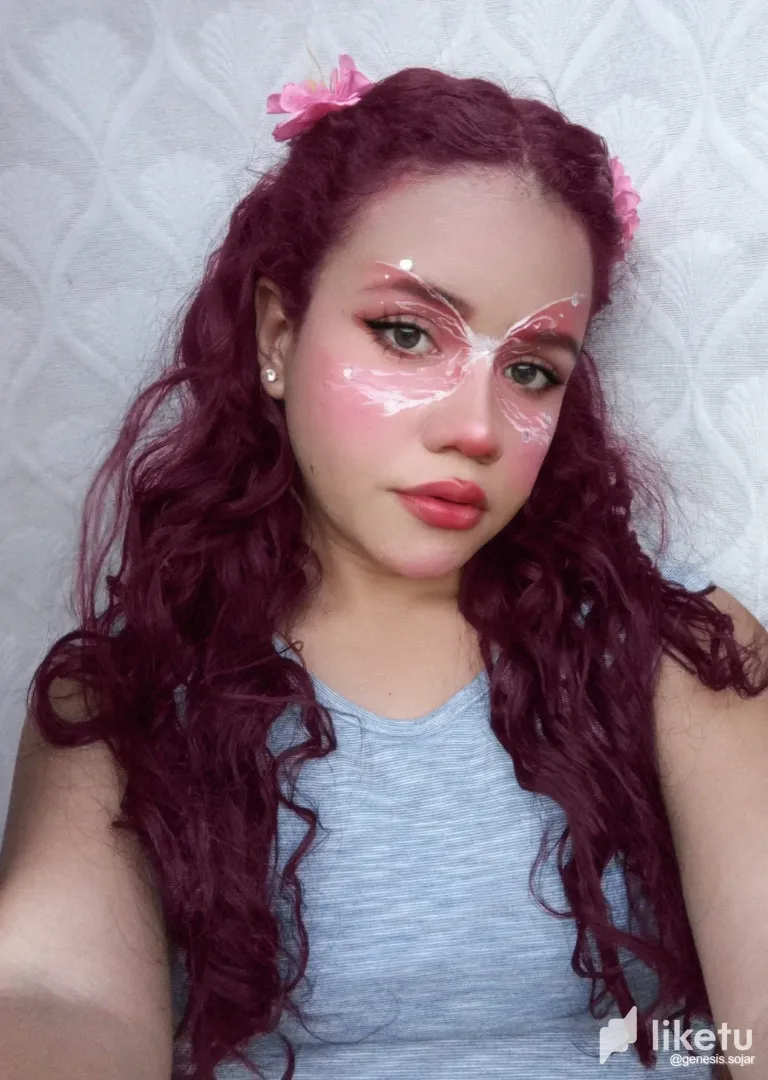
10.As lipstick apply only shadow on my cupid's bow and below on my lips, blend it with my fingers and apply a red lipstick and also blend it with my fingers.
11.I applied red eye shadow on my bottom pouch, I lined my lashes, applied mascara and lined my eyes in black with liquid eyeliner.
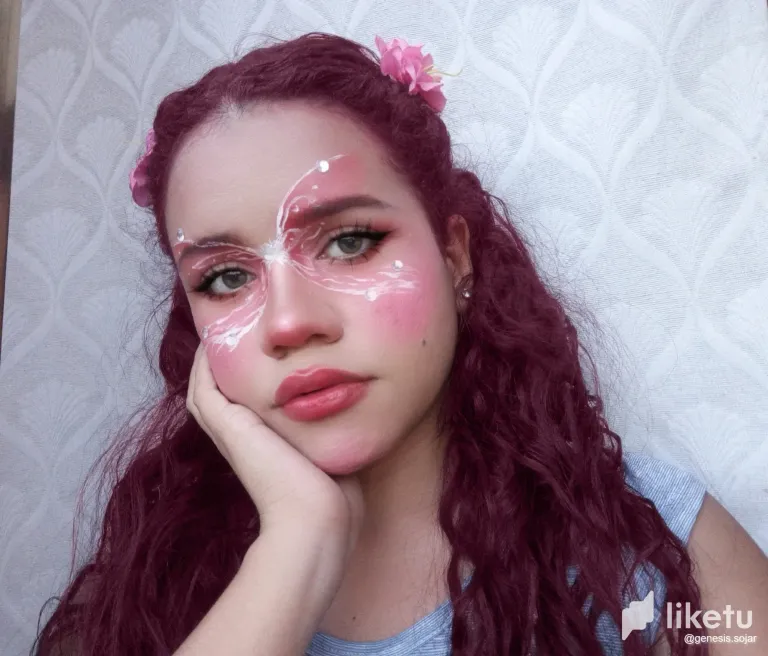
To completely finish all this spectacular and beautiful makeup that I'm sure if you do it, it will be even more beautiful. Well, so far, I say goodbye! I hope to see you in my next post xoxo. greetings!
Translated with DeepL.com (free version)
Camera used Tecno Spark 10 pro phone.
I used Deepl.com translator free version.
🧚¡Hola amigos de LIKETU!🧚
¡Espero se encuentren muy muy bien! Hoy les traigo un maquillaje de hadita que tenía rato que quería realizarlo solo que no tenía el delineador blanco para hacerlo, por ende, aquí se los traigo ante ustedes como un nuevo post de ideas para que se realicen para un disfraz de Halloween o una fiesta con temática de haditas. ¿Estás listo para dejar volar su imaginación y sumergirse en el mágico mundo de las hadas? En este tutorial de maquillaje, les enseñaré paso a paso cómo lograr un look de hada encantador. Con un toque de fantasía y un poco de destreza, podrán transformarse en seres místicos y radiantes. ¡Prepárense para deslumbrar con un maquillaje digno de un cuento de hadas! ✨
Los pasos para realizar este maquillaje son realmente sencillos, y te pueden servir para vestirte en Halloween de una hadita hermosa, el procedimiento es el siguiente:
✨Después de preparar tu piel con tu rutina de skincare, comenzaremos con la base de maquillaje.
1.Aplicamos nuestra base con full cobertura o cobertura media cubriendo toda nuestra carita y difuminándola con una esponja.
- Aplica un corrector blanco en tus ojeras, punta de la nariz, frente y mentón.
- Aplica contorno en los extremos de la nariz, los huesitos que hay debajo de los pómulos, la mandíbula y por la coronilla.
- Difumina todo lo que acabaste de aplicar.
- Aplicamos ahora rubor en polvo en las mejillas, mentón y punta de la nariz.
- Luego de eso, vamos a agarrar una sombra roja y trazaremos un semicírculo entre la hendidura que hay entre la nariz y el ojo elevando la sombra un poquito más arriba de la ceja.
- Repetimos el mismo paso son que en este el semicírculo será más pequeño y se concentrará entre esa hendidura abarcando también el parpado del ojo y alargando la colita inferior más abajo. Se difuminan los dos. Se aplicará una sombra más oscura en el principio de los semicírculos para darle un efecto de profundidad y degradado.
- Ahora tomaremos nuestro delineador blanco y trazaremos en el centro una especie de estrella, a los lados de esta haremos unas pequeñas alitas que conectaran con las estrella o asterisco del centro. La línea inferior del semicírculo al principio la haremos recta, pero al final le daremos una forma ondulada simulando así unas alitas, lo mismo repetiremos con el otro lado y le añadiremos más líneas onduladas.
- Finalizamos nuestra hadita dibujada con unos punticos entre los parpados y arriba de las cejas.
- Como pintalabios aplique solamente sombra en mi arco de cupido y abajo en mis labios, lo difumine con los dedos y aplique un labial rojo y también lo difuminé con los dedos.
- Me aplique sombra roja en la bolsita de abajo, me ricé las pestañas, aplique rímel y me delinee los ojos de negro con delineador líquido.
Para así finalizar completamente todo este maquillaje espectacular y muy bonito que seguro si lo haces te quedará más precioso. ¡Bueno, hasta aquí, me despido! Espero verte es mi próximo post xoxo. ¡Saludos!
La cámara utilizada es un teléfono Tecno Spark 10 pro.
Usé el traductor Deepl.com.
For the best experience view this post on Liketu
!LOL
lolztoken.com
Too many cheetahs.
Credit: marshmellowman
@genesis.sojar, I sent you an $LOLZ on behalf of hivephoto
(5/10)
Delegate Hive Tokens to Farm $LOLZ and earn 110% Rewards. Learn more.
Tu maquillaje quedó super bonito, amiga, felicidades!. La verdad que me encantó bastante, sobretodo por los colores😍
Muchas gracias, me alegró bastante que te haya gustado el maquillaje 💕. Saludos y abrazos!