
¡Hola Chicos!
Donas. ¿A quién no le gustan las donas? Son deliciosas, esponjosas y además son fritas. Pueden ser glaseadas, rellenas, cubiertas de chocolate y decoradas se ven hermosas.
Las podemos hacer de diversos tamaños y formas, podemos obsequiarlas a algún ser querido, comerlas en una tarde junto a un rico café y si las hacemos pequeñas nos pueden servir hasta para acompañar un pastel de cumpleaños.
Mi amor por las donas comenzó en un viaje que hicimos mi esposo y yo hace 10 años a la ciudad de Caracas. Allá se consiguen por todos lados y tienen un sabor especial que he intentado replicar anteriormente, pero no había logrado la receta perfecta.
Esta semana en nuestra clase de repostería nos enseñaron las técnicas necesarias lograr las donas perfectas. Había muchas cosas que desconocía y hoy me gustaría compartir con ustedes estos conocimientos.
Las fotos que les estaré mostrando a continuación fueron tomadas en la clase con el permiso de la profesora para poder traerlo hoy a ustedes.
Mejor no sigo hablando y les enseño la receta y el paso a paso para que puedan hacerlas en casa y disfrutar de estas delicias.
¡Acompáñenme!
Hello Guys!
Donuts. Who doesn't like donuts? They are delicious, fluffy and they are also fried. They can be glazed, filled, covered in chocolate and decorated they look beautiful.
We can make them in different sizes and shapes, we can give them to a loved one, eat them in an afternoon with a delicious coffee and if we make them small they can even serve us to accompany a birthday cake.
My love for donuts started on a trip my husband and I took 10 years ago to the city of Caracas. There they are found everywhere and they have a special flavor that I have tried to replicate before, but had not achieved the perfect recipe.
This week our baking class taught us the techniques necessary to achieve the perfect donuts. There were many things that I did not know and today I would like to share this knowledge with you.
The photos that I will be showing you below were taken in class with the teacher's permission so I can bring it to you today.
Better not keep talking and I show you the recipe and the step by step so that you can make them at home and enjoy these delicacies.
Join me!

- 500 gramos de harina de trigo todo uso
- 120 gramos de azúcar
- 3/4 de taza de leche
- 1 cucharada de levadura
- 1 pizca de sal
- 2 huevos
- 2 cucharadas de mantequilla
- Vainilla
- 500 grams of all-purpose wheat flour
- 120 grams of sugar
- 3/4 of cup of milk
- 1 tablespoon yeast
- 1 pinch of salt
- 2 eggs
- 2 butter spoons
- Vanilla

Primero vamos a activar la levadura, para ello vamos a calentar un poco la leche, solo para que esté un poco tibia, y agregamos la cucharada de levadura y una cucharada de azúcar. Dejaremos reposar esta preparación por 10-15 minutos.
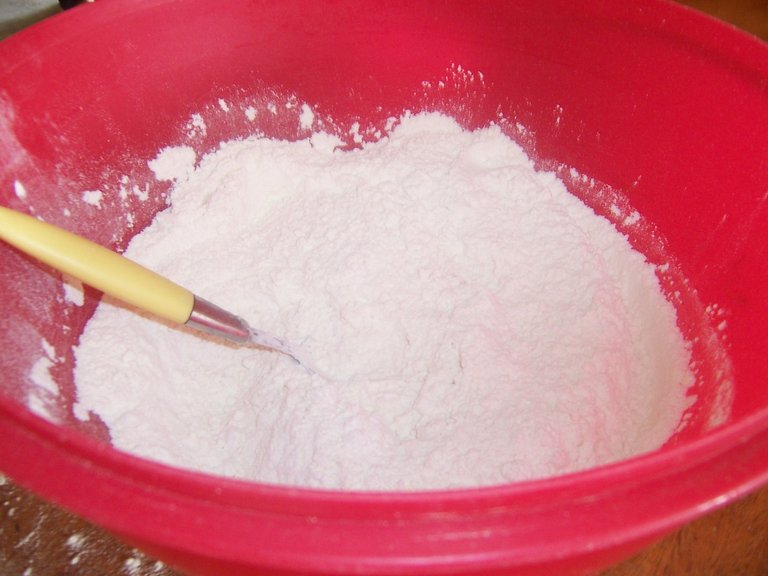
Mientras tanto vamos a mezclar los ingredientes secos en un envase grande. Colocamos las 4 tazas de harina de trigo, el azúcar, y la pizca de sal. Mezclamos todo.
First we are going to activate the yeast, for this we are going to heat the milk a little, just so that it is a little warm, and we add the tablespoon of yeast and a tablespoon of sugar. We will let this preparation rest for 10-15 minutes.
Meanwhile we are going to mix the dry ingredients in a large container. We place the 4 cups of wheat flour, the sugar, and the pinch of salt. We mix everything.

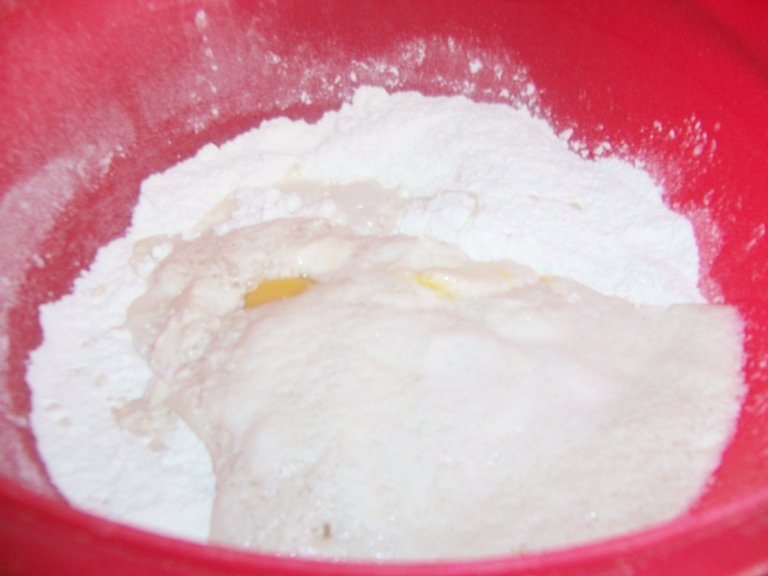
Una vez la levadura esté activada la agregamos a los ingredientes secos juntos a los dos huevos.
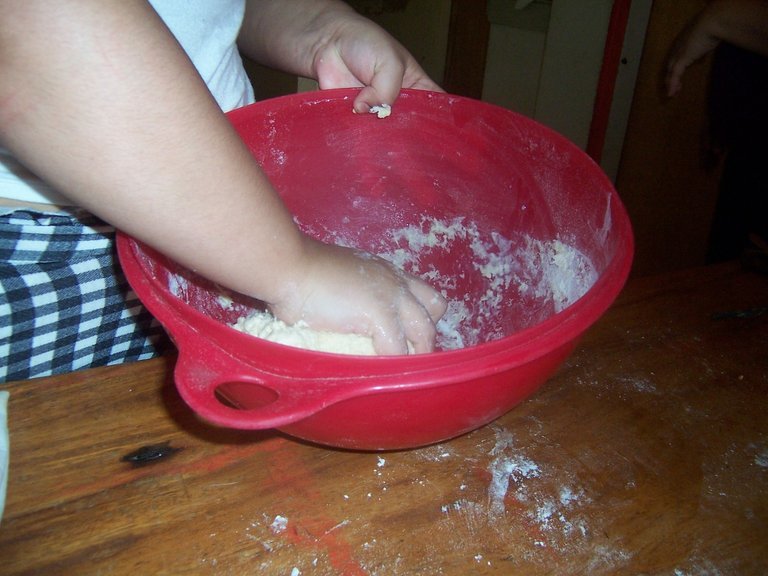
Mezclamos primero con una paleta de madera y cuando comience a formarse la masa comenzaremos a amasar con nuestras manos.
Once the yeast is activated we add it to the dry ingredients together with the two eggs.
We mix first with a wooden paddle and when the dough begins to form we will begin to knead with our hands.

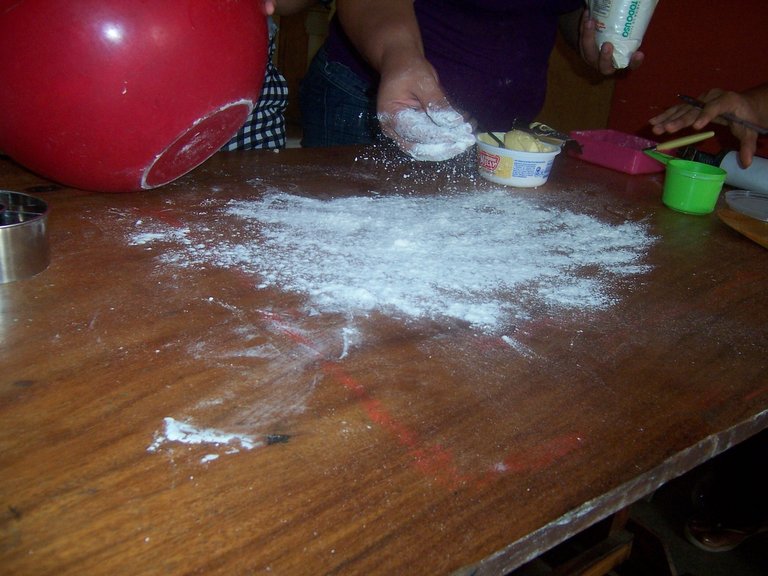
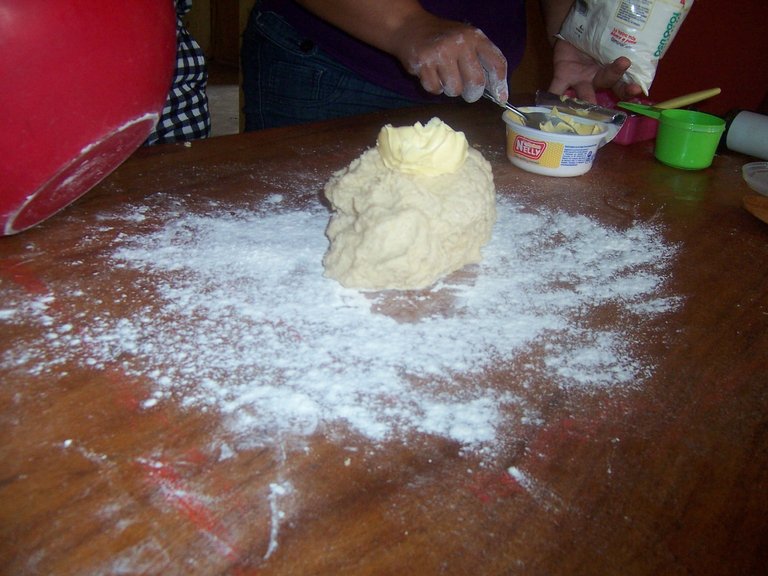
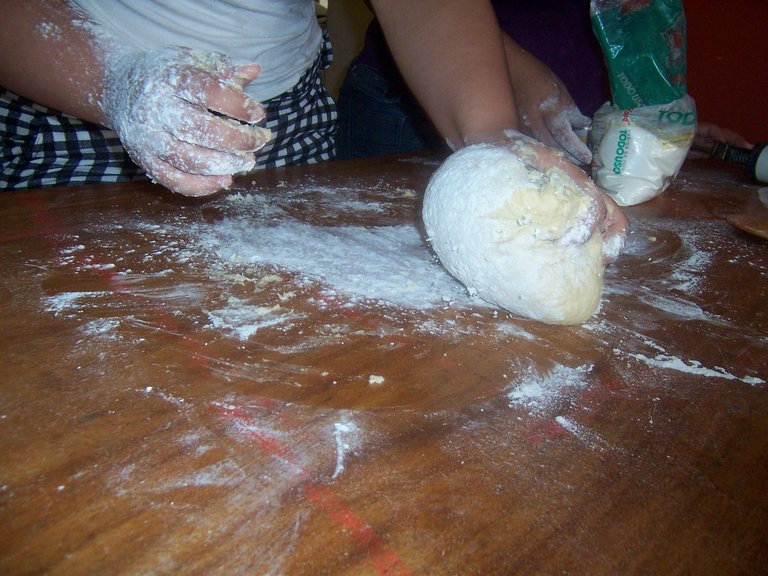
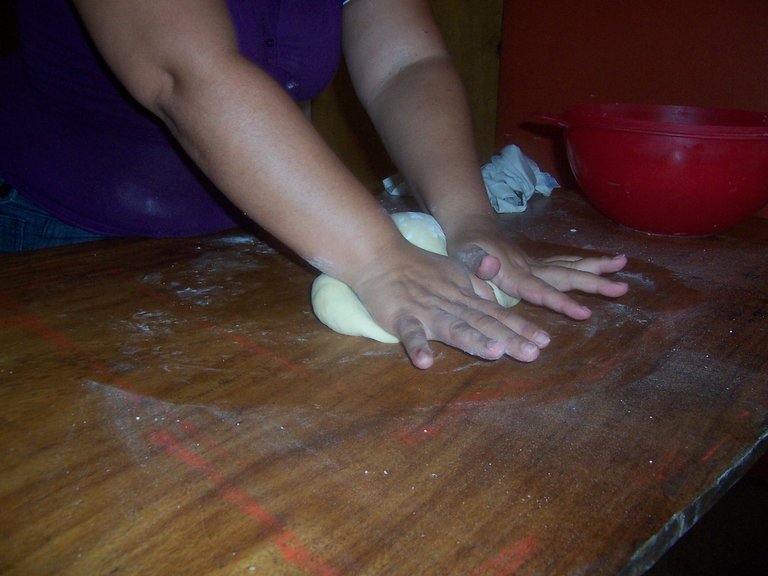
Espolvoreamos la mesa con un poco de harina de trigo y colocamos la masa. Ahora agregamos las 2 cucharadas de mantequilla y amasamos muy bien.
Sprinkle the table with a little wheat flour and place the dough. Now we add the 2 tablespoons of butter and knead very well.

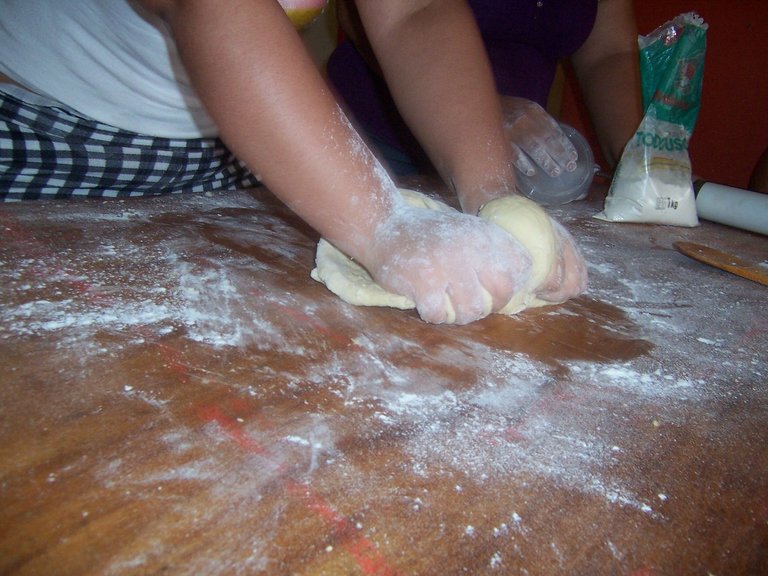
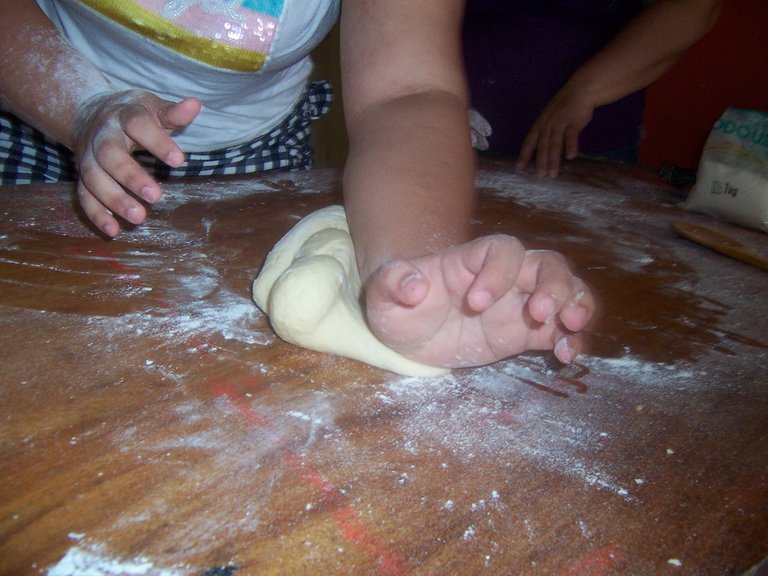
Debemos amasar por al menos 15 minutos hasta lograr una masa suave que no se pegue a las manos ni a la mesa.
We must knead for at least 15 minutes until we achieve a smooth dough that does not stick to the hands or the table.

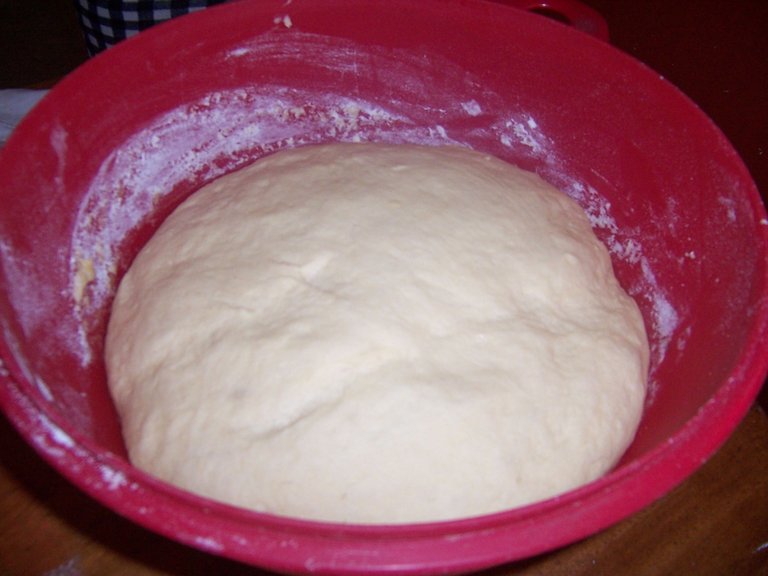
Colocamos la masa de nuevo en el envase al que agregamos previamente un poco de aceite para que no se nos pegue, cubrimos con un paño y dejamos reposar por una hora.
We put the dough back in the container to which we previously added a little oil so that it does not stick to us, we cover with a cloth and let it rest for an hour.

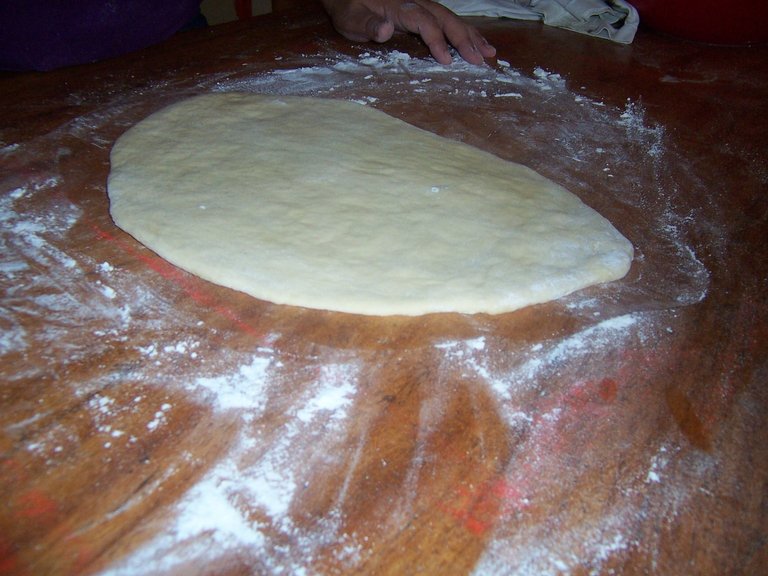
Transcurrido el tiempo colocamos la masa nuevamente en la mesa y le sacamos todo el aire. Es importante hacer esto para sacar todo el aroma a levadura que queda en la masa.
Ahora estiramos con un rodillo hasta que tenga un poco menos de 1 cm de grosor.
After time we put the dough back on the table and remove all the air. It is important to do this to remove all the yeast aroma that is left in the dough.
Now we stretch with a roller until it is a little less than 1 cm thick.

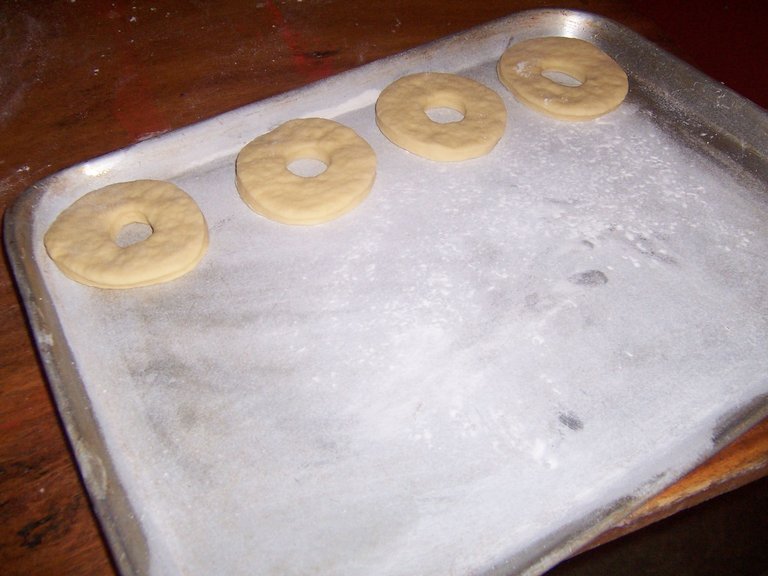
Damos forma a las donas, puede ser con un cortador especial para esto o si no cuentas con uno utilizas alguna taza para la medida de las donas y luego una más pequeñas para darle forma al centro de la dona.
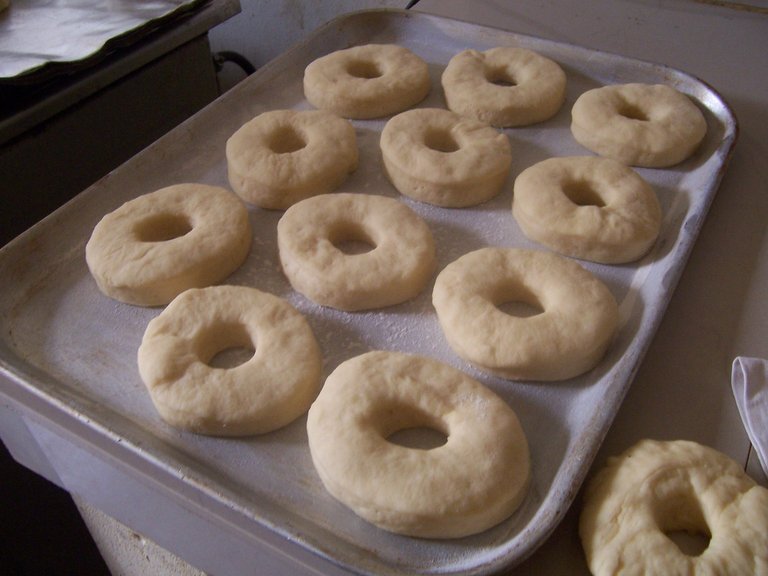
Las colocamos sobre una bandeja engrasada y enharinada. Las dejaremos reposar por unos 30 minutos más para que doblen su volumen.
We shape the donuts, it can be with a special cutter for this or if you don't have one you use a cup to measure the donuts and then a smaller one to shape the center of the donut.
We place them on a greased and floured tray. We will let them rest for about 30 more minutes to double their volume.

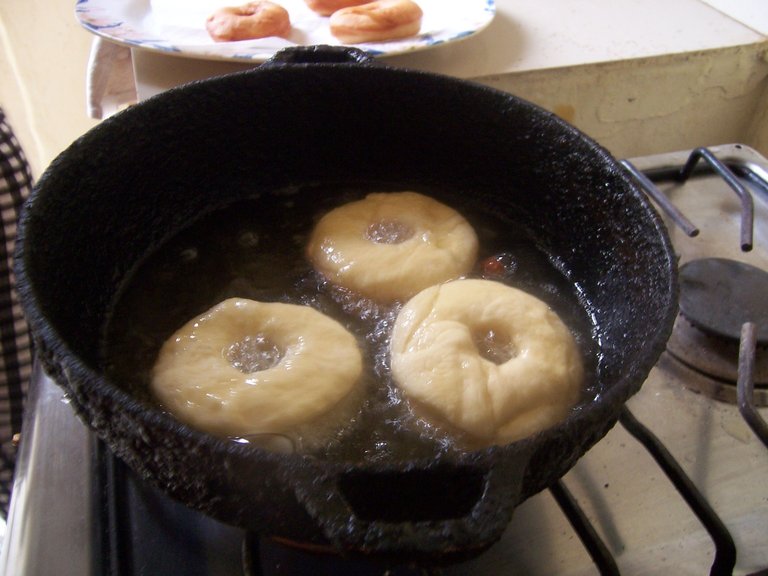
Ya las donas estan listas para freír, calentamos el aceite y con mucho cuidado las vamos a ir friendo hasta que esten doradas y luego damos vuelta para que se cocinen por el otro lado.
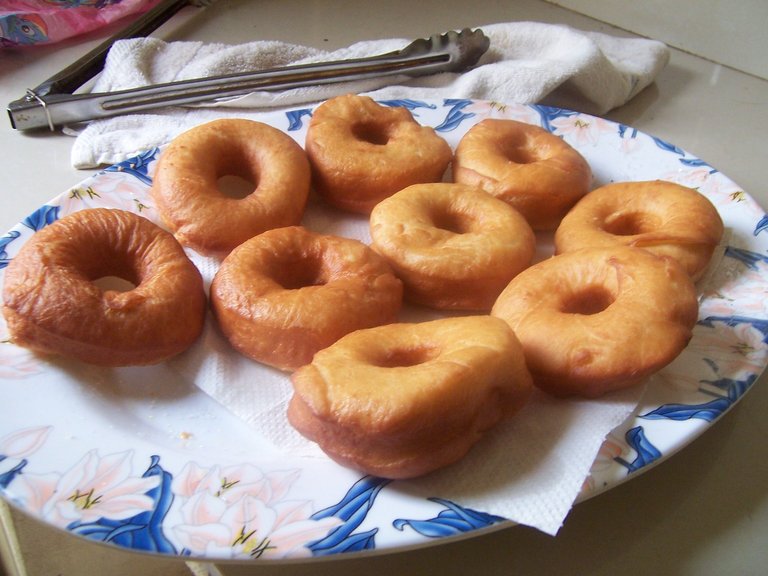
Al estar listas las colocamos sobre papel absorvente.
The donuts are ready to fry, we heat the oil and very carefully we are going to fry them until they are golden brown and then we turn them over to cook on the other side.
When they are ready we place them on absorbent paper.

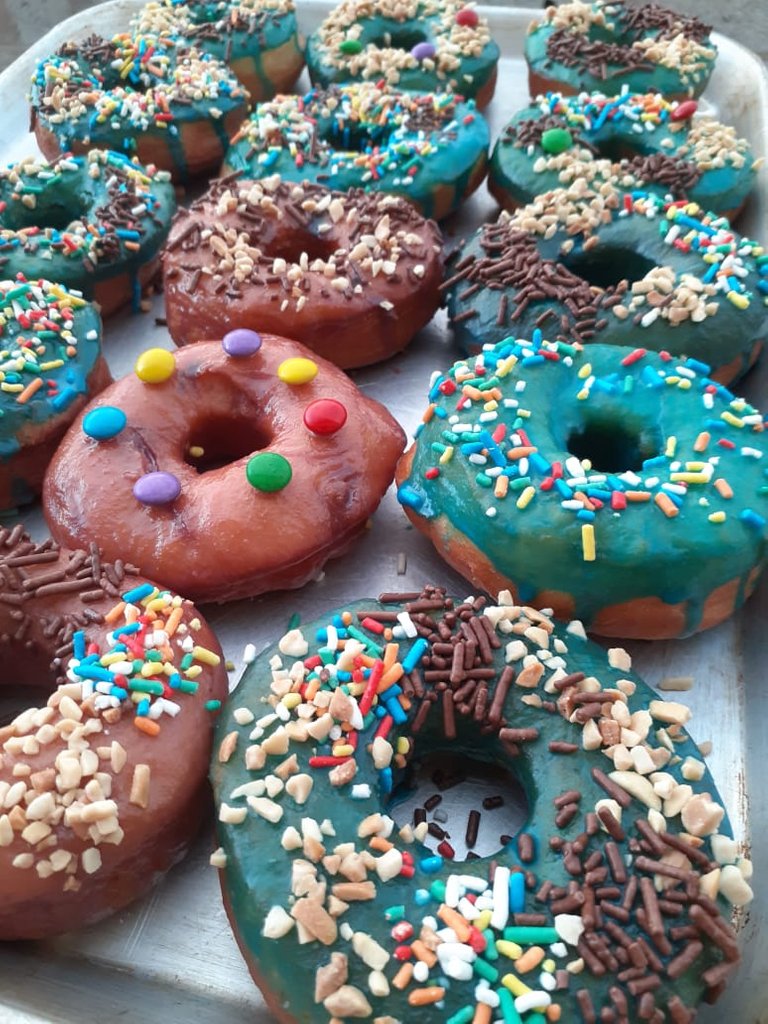
Ya solo resta decorarlas a tu gusto, puedes hacer el glaseado de tu preferencia y colocarle algunas chispas de colores, maní o chispas de chocolate.
Las donas que te muestro a continuación fueron todas las que hicimos las alumnas de la clase, cada una le agregó su toque personal.
Espero les haya gustado la publicacion y que la puedan hacer en casa. 😊♥
It only remains to decorate them to your liking, you can make the glaze of your choice and add some colored chips, peanuts or chocolate chips.
The donuts that I show you below were all the ones that the students of the class made, each one added her personal touch.
I hope you liked the publication and that you can do it at home. 😊 ♥


Espero haya sido de tu agrado y provecho.
Un gran abrazo a todos, y nos leemos en un próximo post
• Lakrearte en Hive •
Att: Estefania Garcia ♥

Imágenes y separadores de mi autoría
Portada editada en Canva
Las fotos de la portada fueron tomadas por una de las alumnas del curso que me autorizó para utilizarlas en mi publicación 😊
Que ricas se ven, intentare hacerlas, gracias por compartir.
Espero te queden excelentes 😊
Gracias a ti por pasarte.
Se ven riquísimas, gracias por compartir como hacerlas, son las preferidas de mi niña.
Son muy sabrosas verdaderamente. Me alegra que te gustara la receta. Saludos ♥
Si que te quedaron muy bonitas y apetecibles 😋
Nos quedaron, estas las hicimos varias alumnas del curso de reposteria al que estoy asistiendo. Me alegra que te hayan gustado. 😊♥