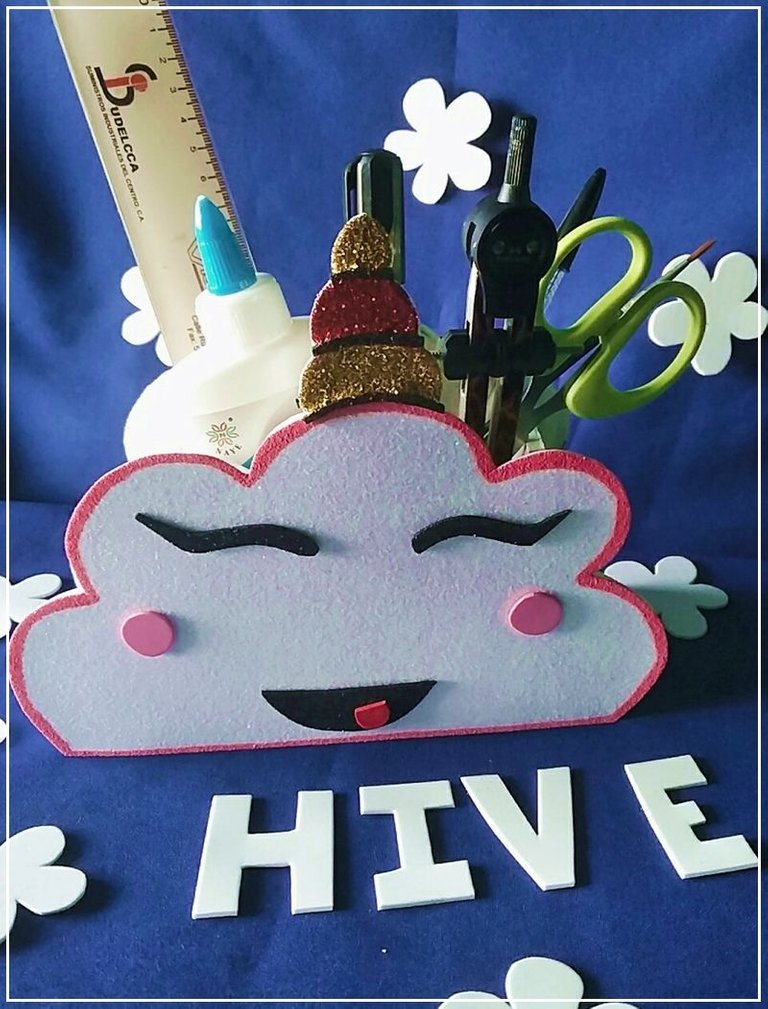
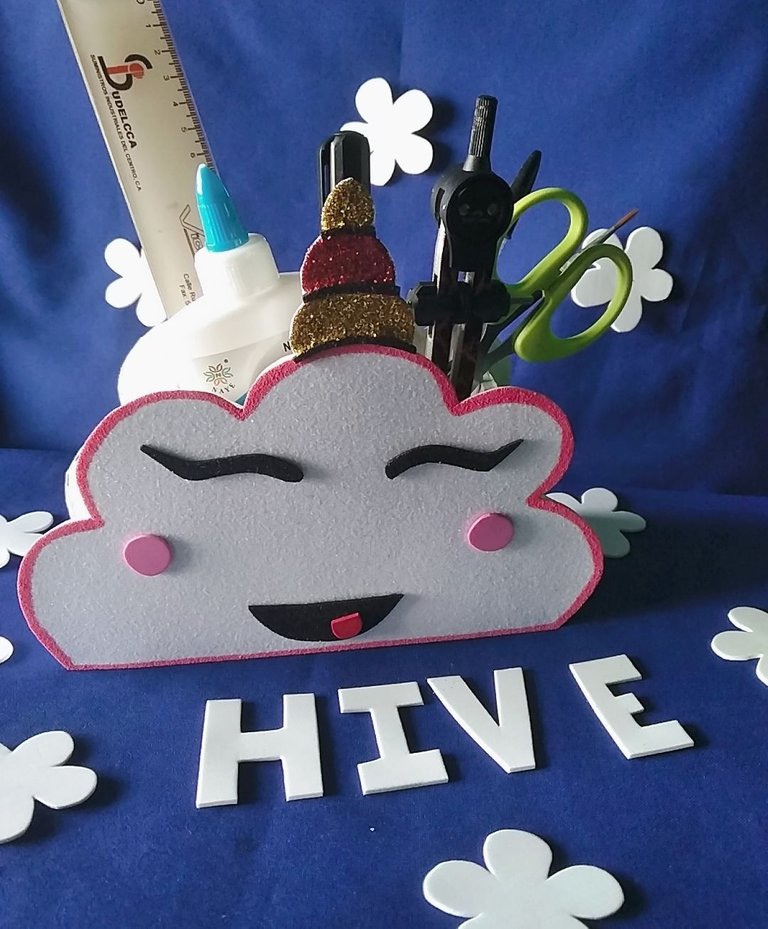
Grandioso inicio de semana hivers, quiero iniciar la semana con un tutorial creativo, hoy aprenderán a realizar una hermosa nube al estilo kawaii, perfecta para organizar materiales escolares, maquillaje, brochas o lo que deseen, demos inicio al tutorial.
Great start of the week hivers, I want to start the week with a creative tutorial, today you will learn how to make a beautiful kawaii style cloud, perfect for organizing school supplies, makeup, brushes or whatever you want, let's start the tutorial.


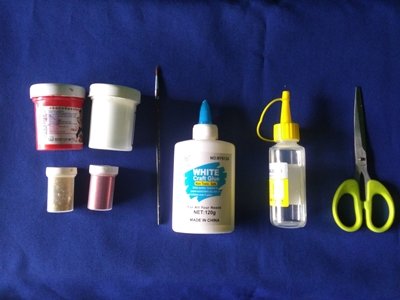
1 foami blanco, cartón, pinturas (blanco y rosada), pincel, pegamento, escarcha roja y dorada, silicón líquido, tijeras, hojas de papel.
1 white foami, cardboard, paints (white and pink), paintbrush, glue, red and gold frosting, liquid silicone, scissors, sheets of paper.


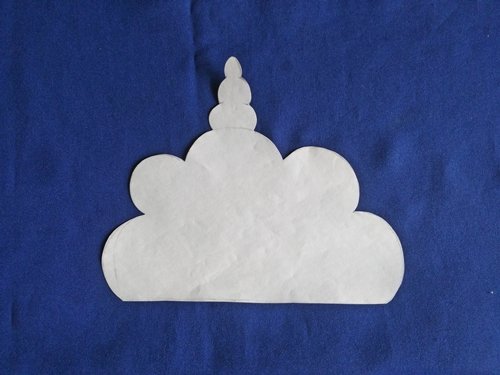
▪️ Inicié creando un patrón en una hoja de papel reciclada.
▪️ I started by creating a pattern on a sheet of recycled paper.
▪️ Luego tracé el patrón en cartón y lo recorté.
▪️ I then traced the pattern on cardboard and cut it out.
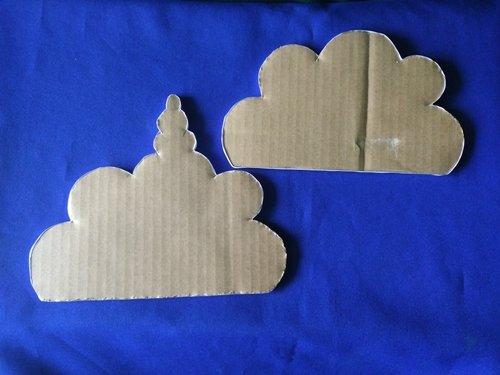
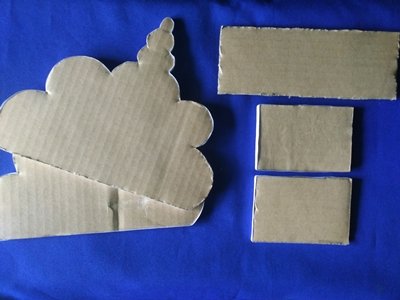
▪️ Además recorté diversas piezas de cartón.
▪️ I also cut out several pieces of cardboard.
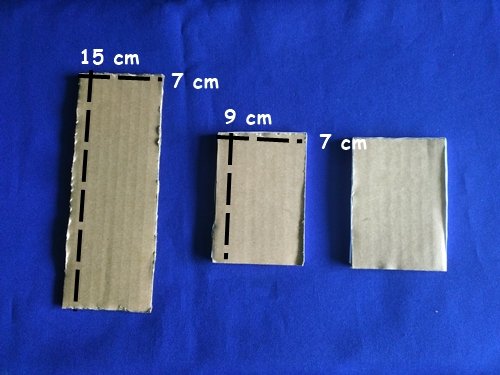
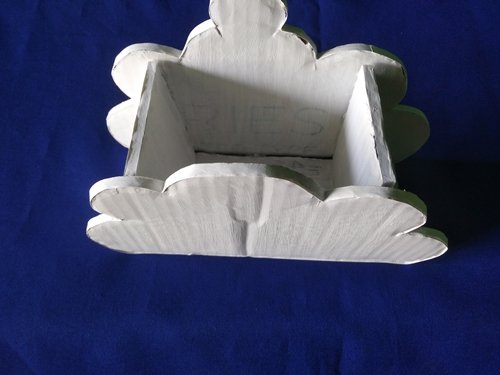
▪️ Seguido de ello uní las piezas para crear el organizador. Luego pinté en color blanco toda la estructura.
▪️ I then joined the pieces together to create the organizer. Then I painted the whole structure white.
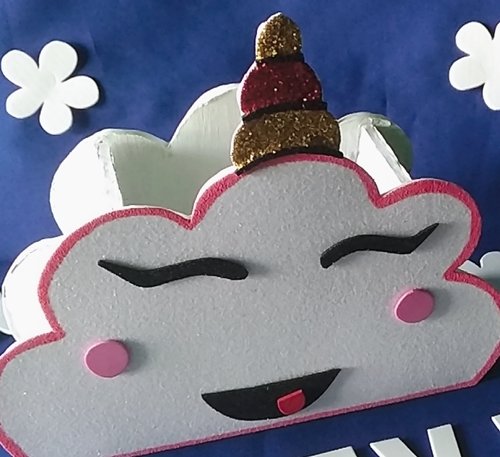
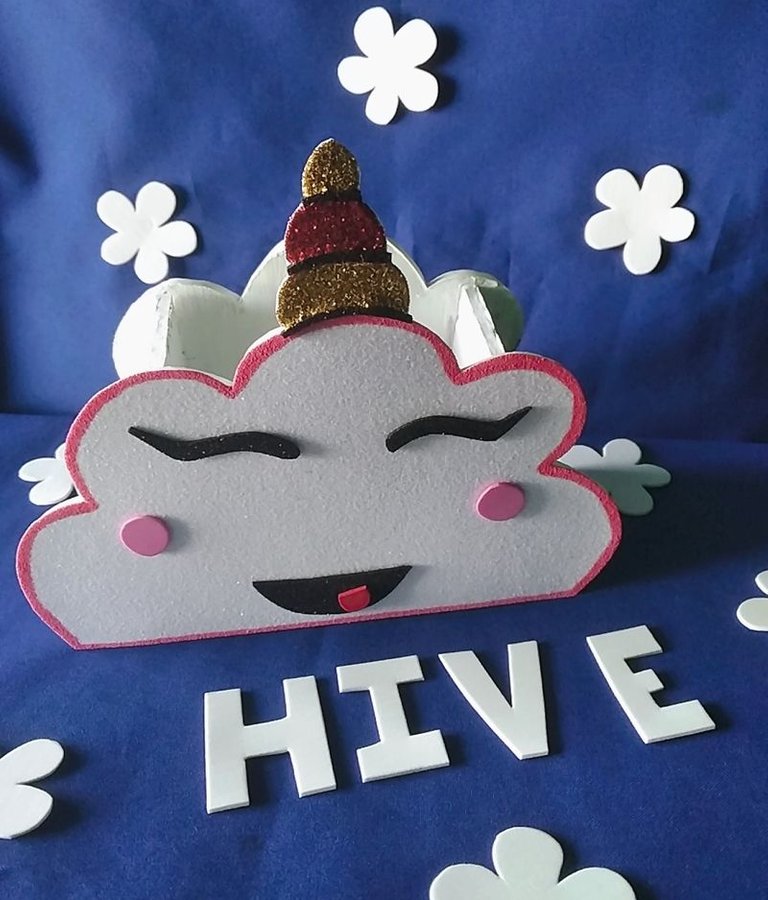
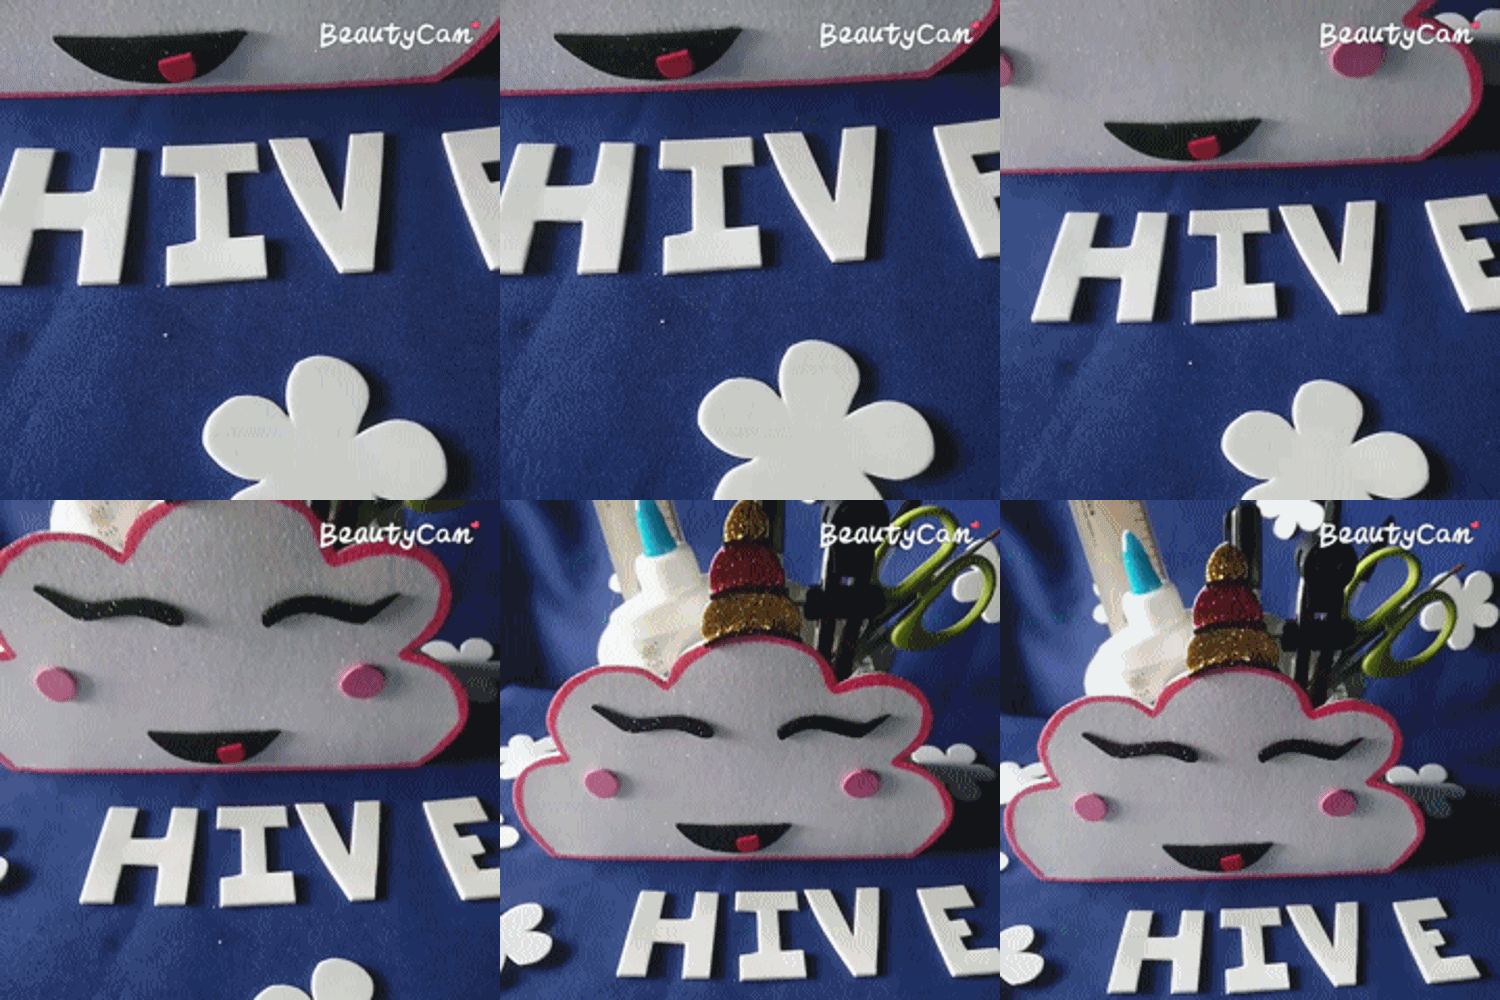
▪️ Finalmente creé la decoración, tomé el patrón de nube y lo tracé en el foami blanco, lo recorté. Recorté en foami negro unos pequeños ojos alargados y los pegué a la nube, además agregué mejillas, también delineé usando color rosado.
▪️ Finally I created the decoration, I took the cloud pattern and traced it on the white foami and cut it out. I cut out in black foami some small elongated eyes and glued them to the cloud, I also added cheeks, I also outlined using pink color.
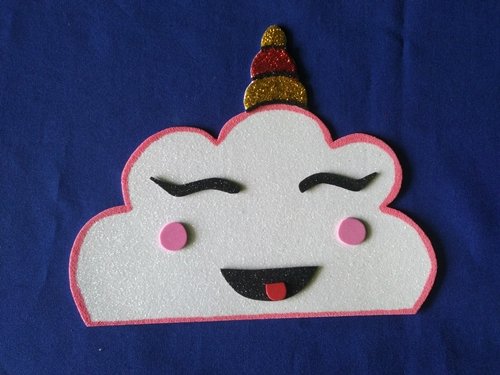
▪️ El cuerno lo decoré usando escarcha dorada y roja, primero se agrega pegamento blanco y encima de agrega la escarcha, culminé pegando la nube kawaii a la estructura.
▪️ I decorated the horn using gold and red frosting, first adding white glue and then adding the frosting on top, I finished by gluing the kawaii cloud to the structure.




Thank you for reading this publication!


Imágenes tomadas desde mi Alcatel One Touch Idol 4. || Images taken from my Alcatel One Touch Idol 4.
Separadores hechos en PhotoScape. || Dividers made in PhotoScape.
Ediciones hechas en Photoscape. || Editions made in Photoscape.
Translator Deepl.
Imagen incrustada. || Embedded image 1
Hello @jennyzer what a lovely craft idea for a holder for supplies. The technique looks easy. Seems like this project would have been a great candidate for the DIY or Build-it Community. But I don't know the requirements of those communities.
Thanks for sharing.
Thanks for the suggestion, I will keep it in mind when sharing content of this type, also thanks for commenting.
You're welcome. I see a lot of authors creating different types of crafts. They use those communities and are well received. Have a good rest of your week, and stay safe always.