Hello guys, welcome to another edition of Creative Sunday brought to you by the hive learners community. Today, we will be working together on an electrical installation I did for a friend.
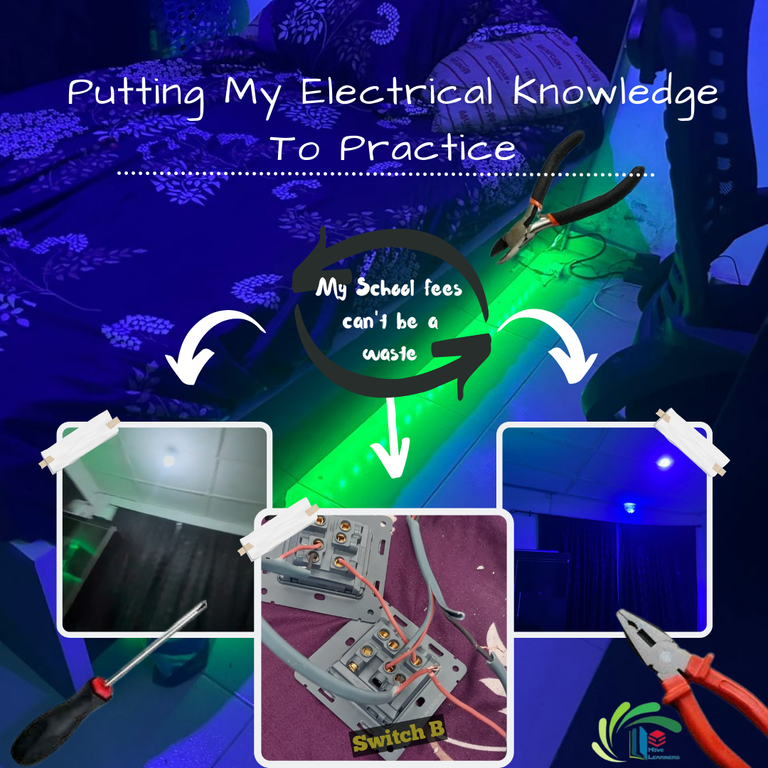
This is my first time participating and eventhough I am an engineering student, I don't think I have posted anything relating to my course on hive before. So I thought to myself why not post this to atleast show people that your school fees isn't wasted. It dawned on me to write this piece after I saw the after maths of this setup hence some of the pictures.
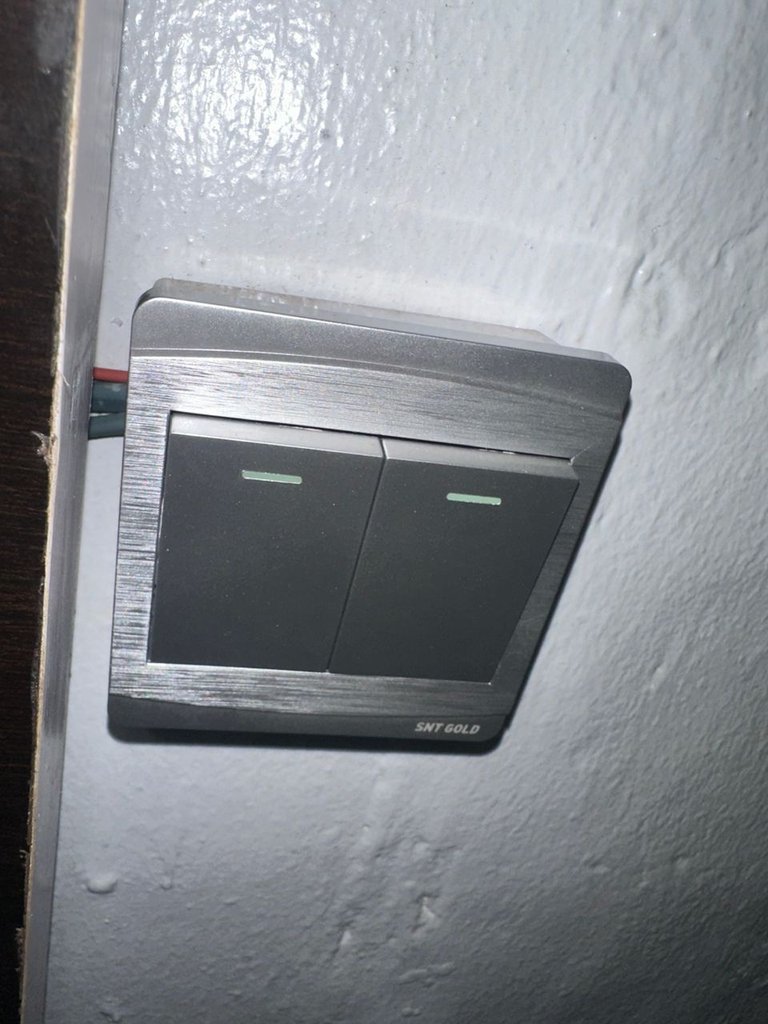
2 points of light controled by 2 wall socket.
How it started.
A friend called me that he needed to make a change in his house lighting. He wanted to add more lighting (wall bracket and a brighter center light). On getting to his place, he showed me where the light would be and how he wanted it. As a semi professional, I immediately got his idea and told him why not have 2 controls for the lights (one by the door and the other by his bed) to make life easier instead of standing up each time to off the lights because that can be very very annoying especigsally if you are already prepared to sleep and he accepted the idea because who wouldn't.
So I gave him the list of what we would need and they included
Materials needed
- Cable (full).
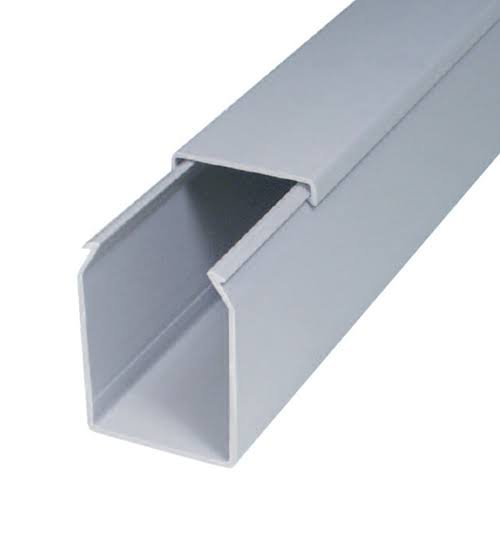
- Trucking 3 full lengths.
- Insulation tape.
- Center light.
- Rope light.
- Nails.
- Glue.
- 3 Wall brackets
- 3 bulbs.
- 2 pattress
- A dozen of screws
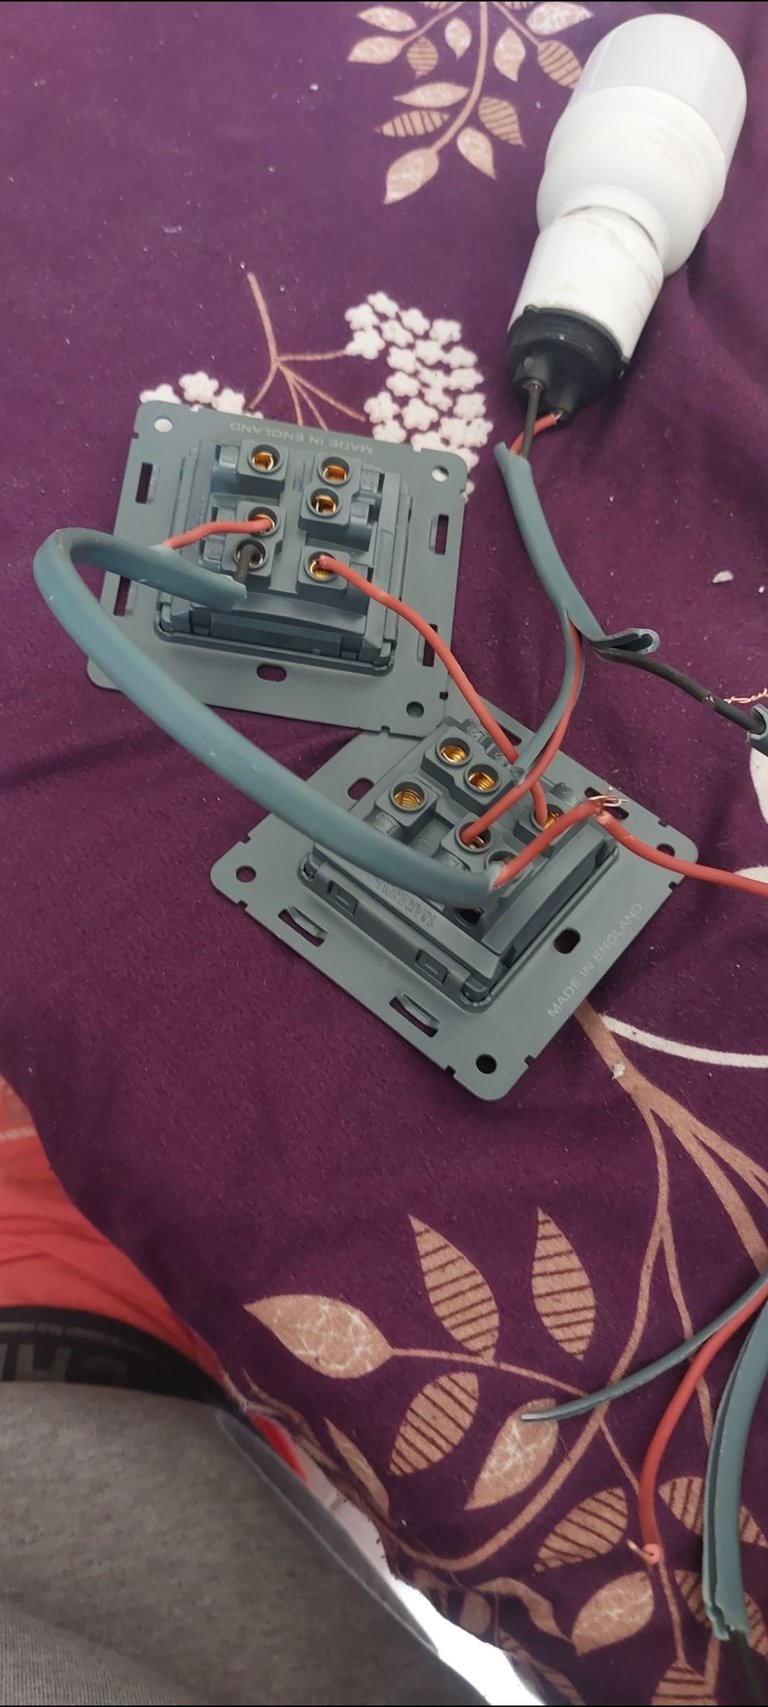
- 2 way 2 gang switch ×2 [we got a this because this switch will control 2 bulbs (2 gang) and it will be controlled in 2 places (2 way)]. If it will control 4 bulbs in 2 places then it will be 2 way 4 gang. You get the drift now right. Below are some of the pictures.
.


Apologies for not posting most of the images of materias used. I am trying to make all images mine but you can also check out the images online if need be.
The tools used for this project were
- Plier
- Hammer
- Cutter
- Screw driver (star and flat)
- Tester
Let's work.
So after getting all that was needed, we immediately set back home work but before we started, we had to eat before someone falls down from high ground. After eating, we started by putting up the trucking pipes so we could have a base for the passing of the cable.
After laying the pipes, I started cracking my head on the wiring. Eventhough I have done it before, I needed time to remember how the installation so I started with my circuit diagram on how to get it done. I won't lie, I had help from Google when it wanted to run me mad.

I finally got the diagram and reproduced it on a smaller scale.

Alright so, I will just work you through the connection of this and you can replicate it yourself.
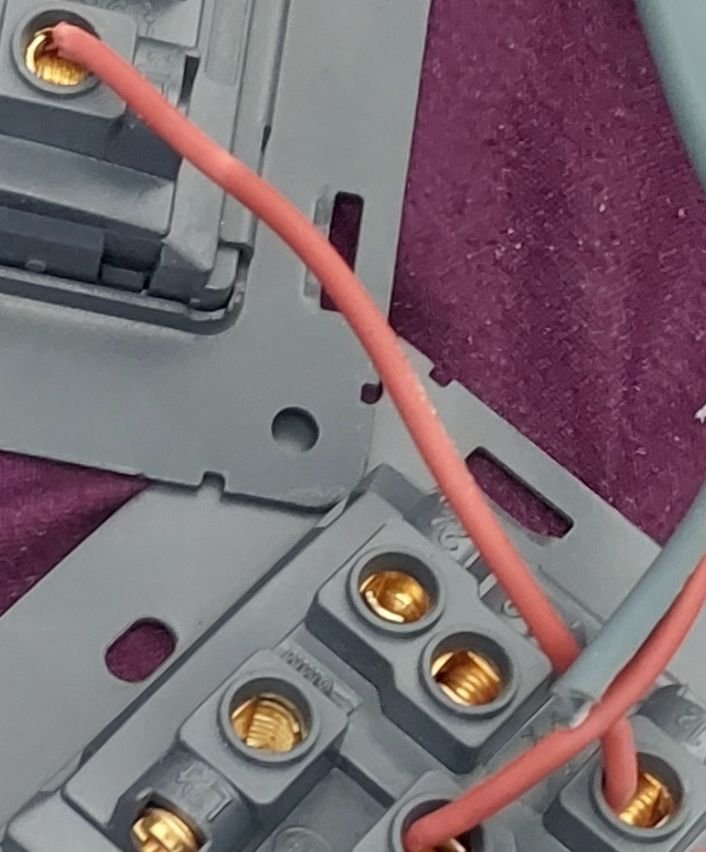
Using this same switch model, there 3 terminal per gang (1 common and 2 others). We have The Switch A and The Switch B
Step 1
Draw a long single cable from. This will connect the commons together that is (L12 from Switch A and B).
Step 2
From the source cable,
Connect the live strand (red) to the L1 on on switch A and the neutral goes to a terminal on the bulb.
Step 3
The second terminal from the light bulb (red) goes to the L1 on Switch B.
Step 4
Connect the last 2 terminals together of each switches together.
If this is done properly, you can switch the bulb on from A and turn off from switch B and vice versa. Each switches can still turn on and off the bulb.
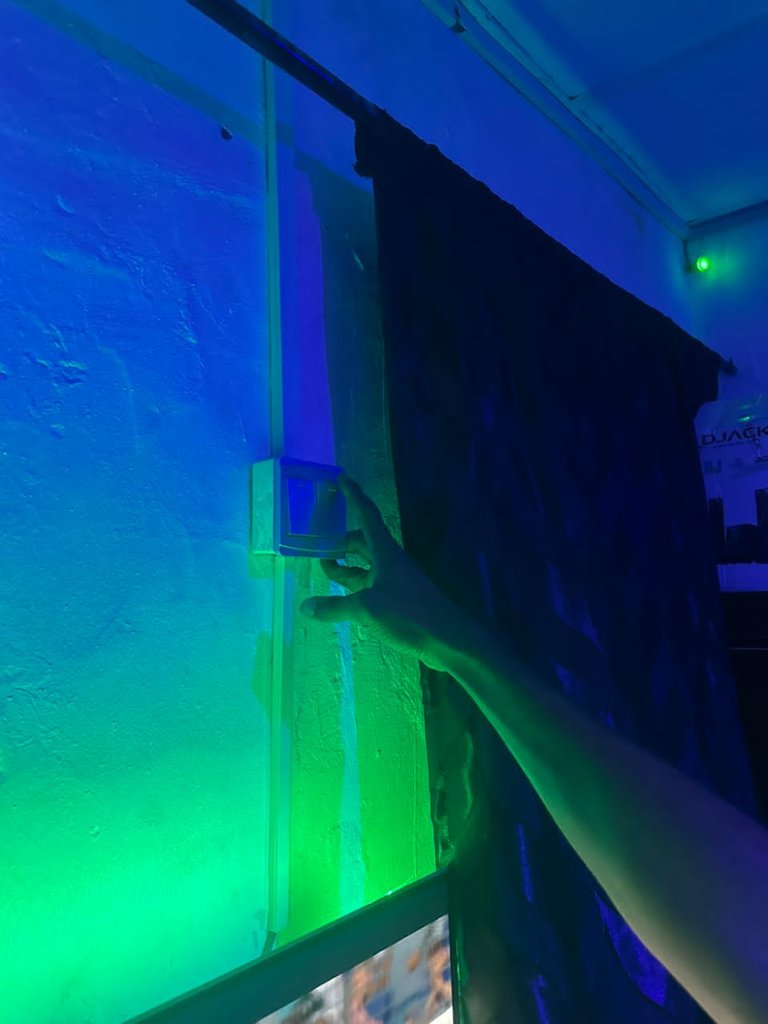
So as you can see, it helps to keep you in bed if you are lazy to stand up from the bed and also turn on the bulb when you walk into the room.
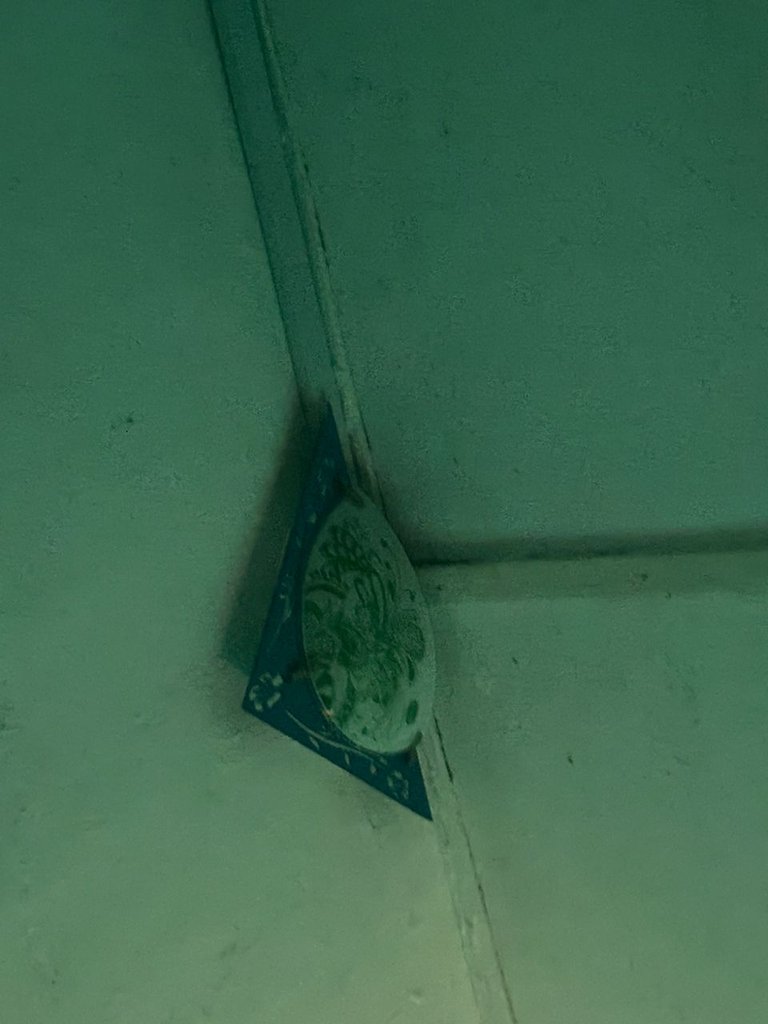
After I got the connection right, mounting the fixtures wasn't an issue. I just told my friend what he needed to do and we were able to finish all in no time.
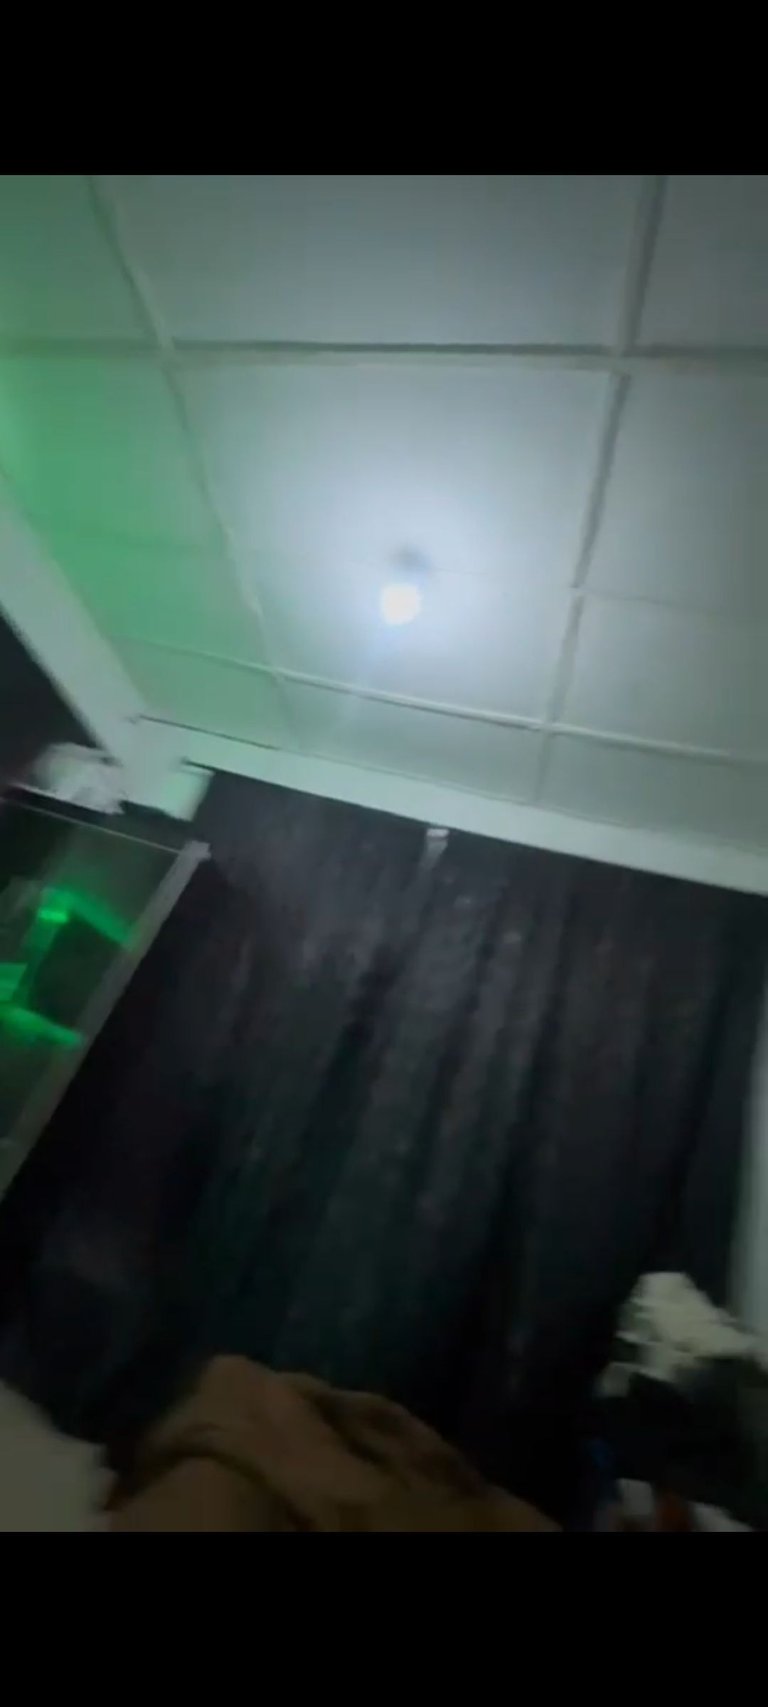
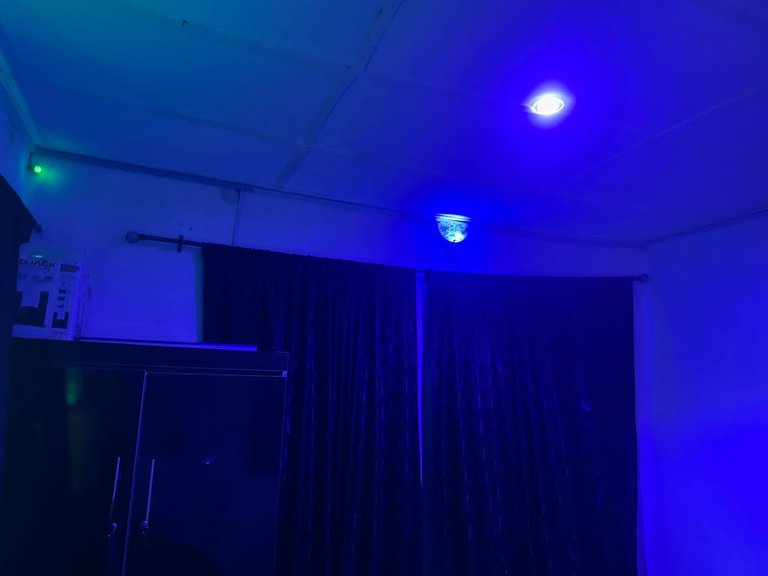
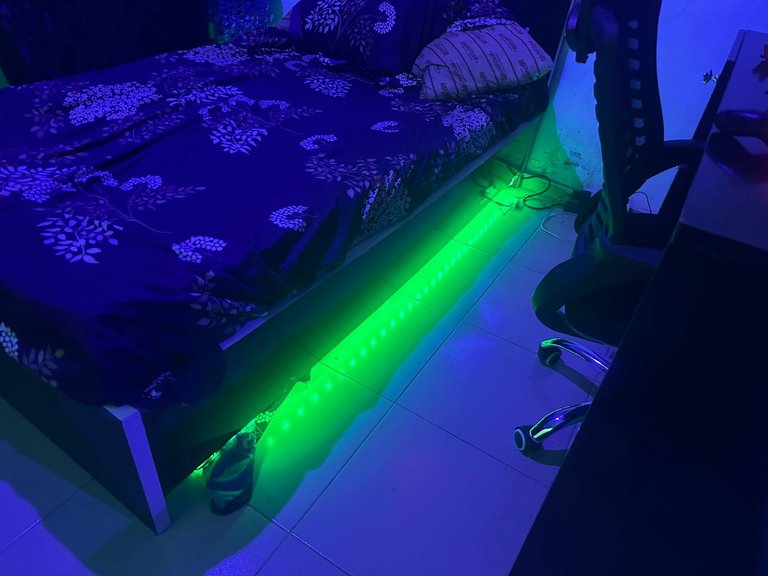
Below are some after pictures of the room and some other lighting fixtures we did in the room.


Wow, you did a good job bro. I always tell people that no knowledge is wasted in life and this would have cost you some money if you had called an electrician.
I do electrical works at home too and it helps save money.
Yes ooo
It helps alot. We are 3 what ever we need and one of us can do it, we simply just book them down. We pay ourselves with food 😂😂😂
Your guy’s room is dope. This lighting makes sense. Do you think you would be able to do the same for my room? Maybe coming around to visit me.
Whenever you are ready, just let me know boss.✌️✌️✌️
I have always wanted to come around to your school sef
No mind this Boss jhor. E no later give me update. I suppose go him school last week but e no give me update. I thank God say e no give me update sef, cause me I broke 😂
Maybe we should all jam together there. Whenever y'all ready just update me. You guys can come here anytime though.
No lele na. Where you you dey?
Offa Kwara State. Like 2hrs from Popo's side
Ok
Omoor no vex oh. I forget. We no later talk now. Hope say he no too late?
Sha update me when the link up wan happen ooo
Ok Boss
✌️✌️
sure no p.
Nah... At all. I no vex jhor. I enter lag today oo. Maybe when I'm back at Ogun, I'll hit you up
You go flex without me in lag abi.
Lol... na because of my lil sister admission jare
You did a really cool job bro. I love the idea of putting a switch by the bed to ease switching off the light.
It's good in the ear but very costly and difficult to do oooooo.
Osheyyy.... iz plenty. Someone still remembers what he was taught in his EEC116 🤪.... you're doing well
You want make my school fees waste ahbi. Why won't I remember se
Lol 😆... you're doing well 👏🏼