Hello everyone today I wanted to experiment with the hair feature on Blender.
The settings are easy to do and I will explain the break down of the process in this article.
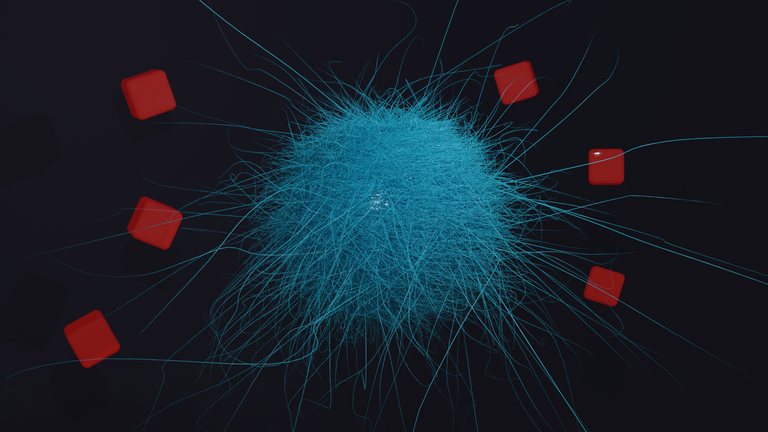
But before that let me show you the Final Render achieved:
Break Down:
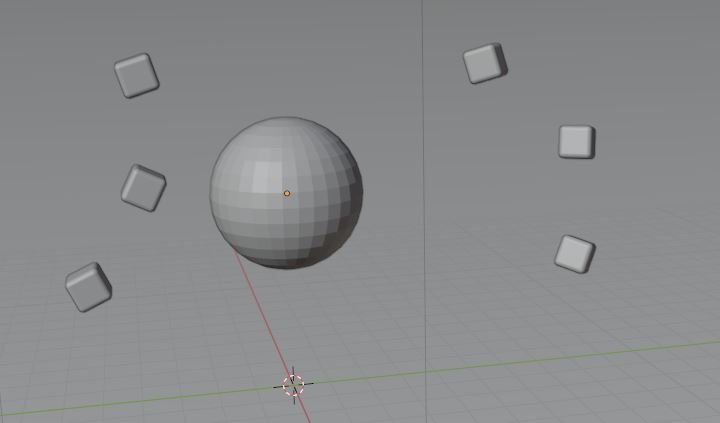
Created a back drop plane as a background, some cubes to liven up the background and of course the sphere is added which I will later use to make hair particles.
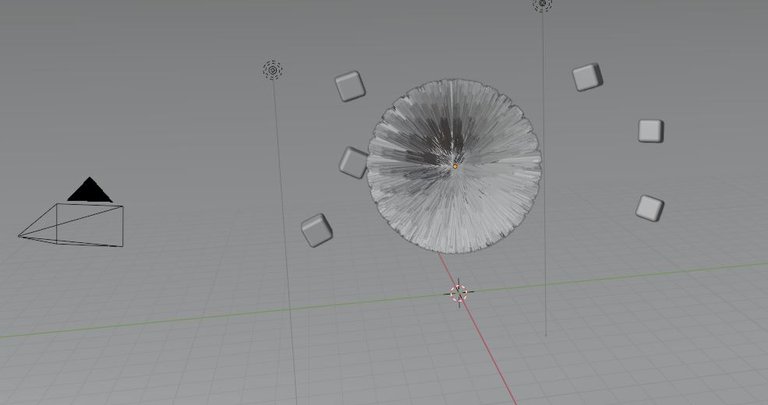
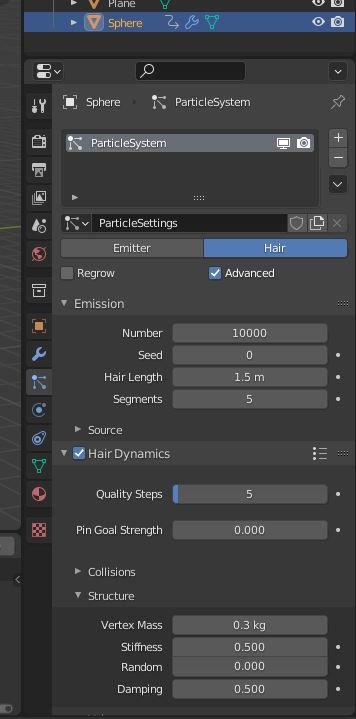
The sphere is selected and in the particle setting add a particle system and select from the available two buttons the hair option. (at this point you can increase the number of hairs and also its length in the settings or you can copy mine which I have added here as the next image after this)
The settings which I used to set the hair particles.
From here I applied the materials and also made the object spin in the animation timeline. During this spin the hair particles spread out and create the effect seen in the Final Render.
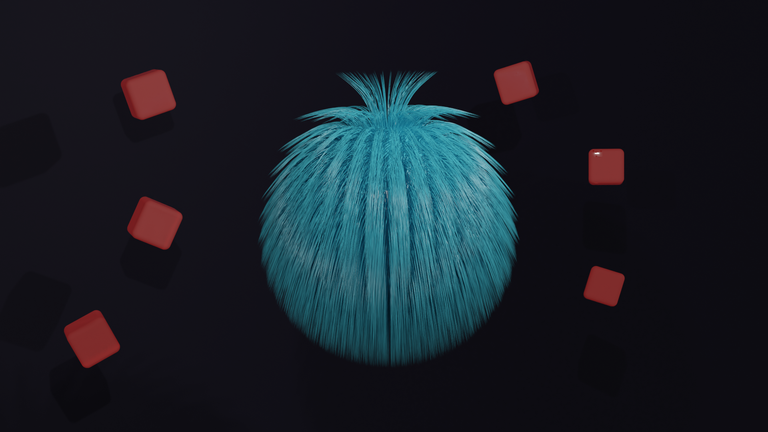
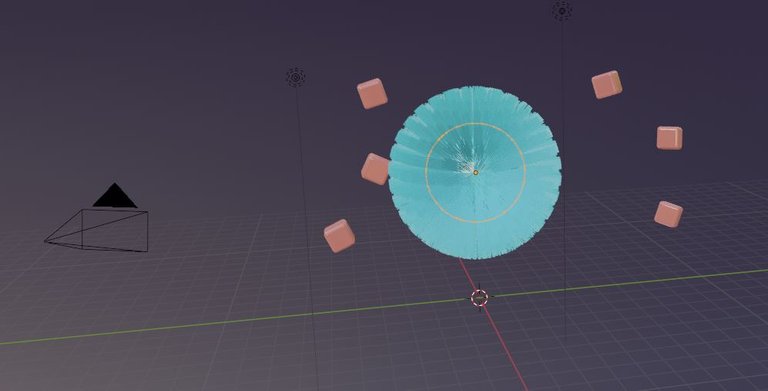
Here you can see the object without spin applied or in other words a still object:
Thank you for reading my post, Take care.
Thank you so much, I appreciate your kind gesture 🙂
Saludos @ashwinpremnath interesante trabajo. Felicidades.
Thank you !
Hello @ashwinpremnath. Nice blending. I like the image without the spin applied. Looks like me when I'm spurred to style my hair. Other days, I look like the thumbnail image...a bad hair day overall.
Thanks for sharing. I like how this project turned out. Take care.
!LADY
View or trade
LOHtokens.@justclickindiva, you successfully shared 0.0100 LOH with @ashwinpremnath and you earned 0.0100 LOH as tips. (4/25 calls)
Use !LADY command to share LOH! More details available in this post.
Thank you !
Congratulations @ashwinpremnath! You have completed the following achievement on the Hive blockchain And have been rewarded with New badge(s)
Your next target is to reach 500 comments.
You can view your badges on your board and compare yourself to others in the Ranking
If you no longer want to receive notifications, reply to this comment with the word
STOPCheck out our last posts: