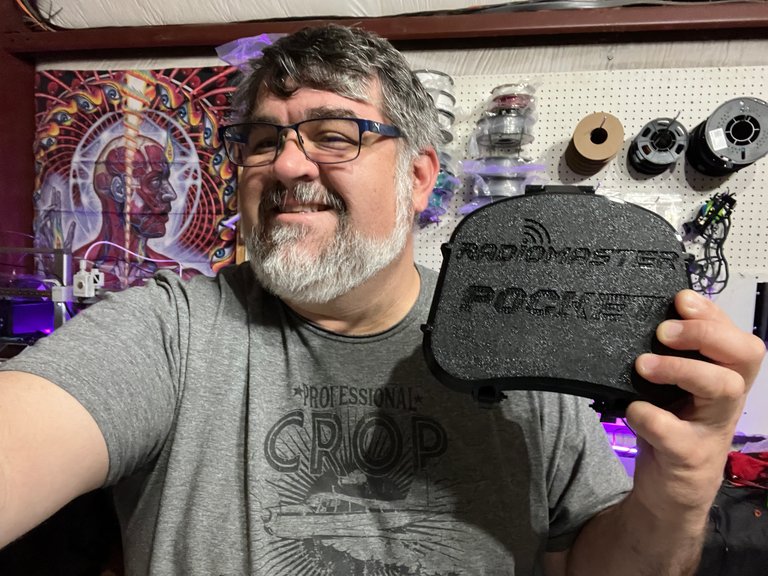
When you have a project that is working overnight, you can't wait to get back to it the next morning. Well, that was me with my latest DIY project, so yes, you get some bedhead in the picture this morning, haha.
I had just purchased a new radio controller for my FPV drones and all it came with was some flimsy little bag that offered no protction. I went looking on Amazon for a case and was a little floored at the $40 and up pricing for a little case that I could make at home on my 3D printer. So I searched the 3D file databases and found a design that looked exactly what I wanted.
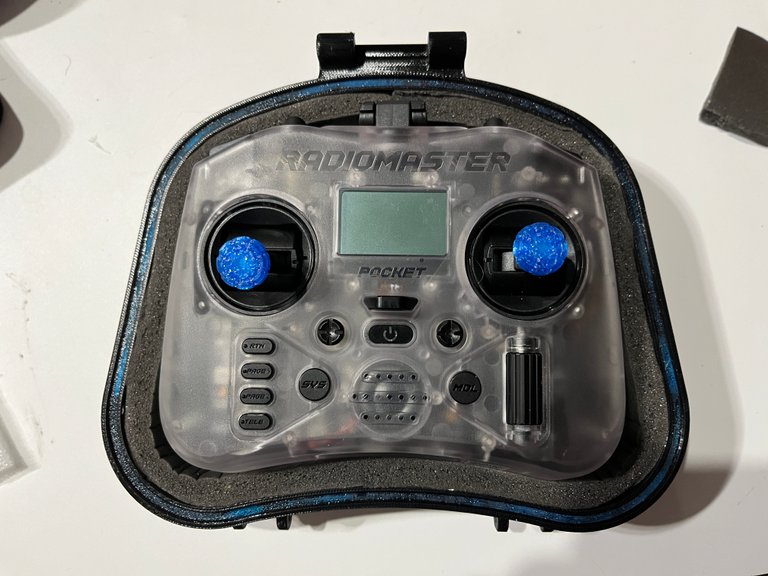
My New Radiomaster Pocket Controller
When I got started with FPV, I was, well, we will say on a really tight budget. My best friend is a pretty big figure in the FPV space, even has a drone parts store dedicated to FPV freestyle drones. Well, he got me started out with an old radio of his, but that thing was a giant brick of a controller with a ton of switches and stuff that I didn't need.
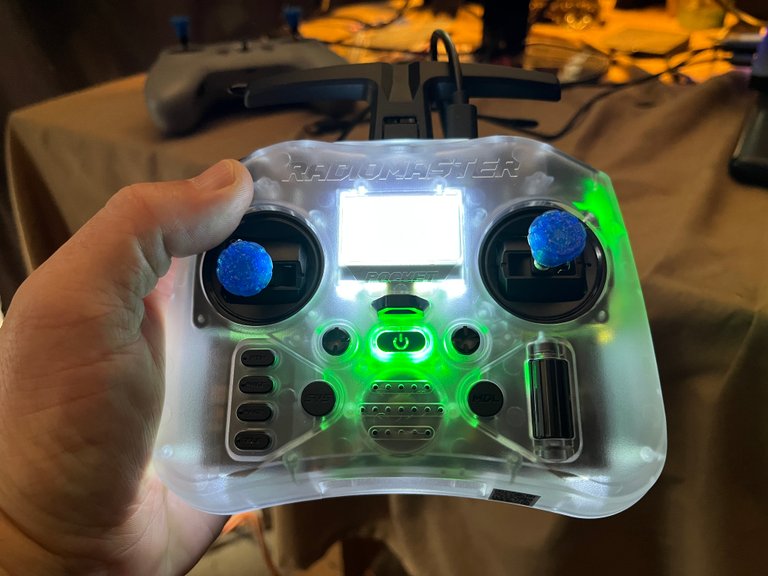
So after being in the FPV space for a while now and going to meetups and seeing other controllers as well as trying some out, I made the decision on the Radiomaster Pocket. It's very similar in size and has the same gimbal size as my DJI Remote 2 that I use for my DJI FPV drone as well as the simulators. That controller doesn't work with the radio protocol that I use on my home build drones, so I got the closest thing to it I could.
TBS Crossfire Module Give the Best of Both Worlds

Most radios come with one kind of protocol built in, but also have a module bay in the back to connect a different protocol transmitter. The two main radio protocols these days are going to be ELRS and TBS Crossfire. I use Crossfire on all my drones because it is the best as far as reliability and penetration, so you can still have control of your drone even with layers of concrete in between you and the drone itself. I had a Crossfire module that I replaced the outside casing with a retrofil kit to make it work with this radio.
I didn't have ELRS in my other radio because it was using an internal protocol that is old and not used anymore. The reason I need ELRS is because I really want to get back into the micro whoops and all of them use ELRS over Crossfire. So now, having a controller with both protocols, I can fly anything!
Okay, onto the case...
Here Comes the 3D Printing Magic
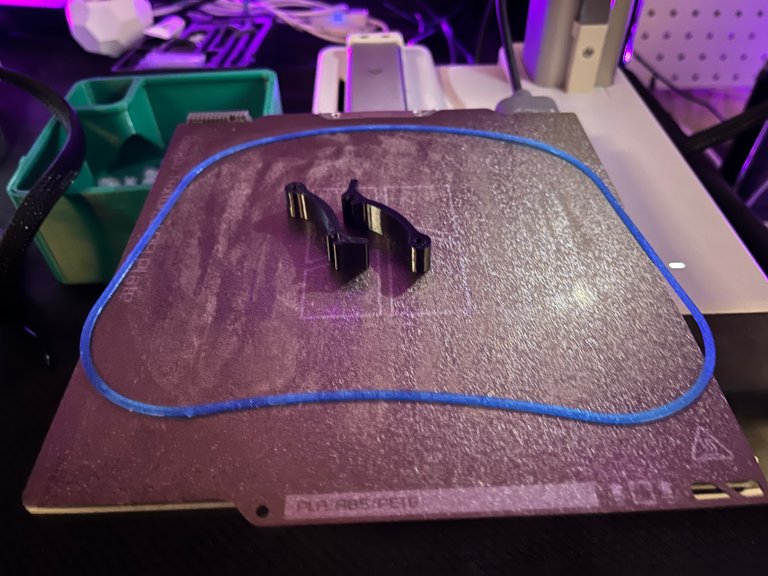
First thing was first. This design has a file for a little seal that was suggested to be printed in TPU, which is a flexible, kind of rubbery material. Well, I just happened to have some already loaded from a previous print, so I got started there before I changed up to the black PETG for the case parts. Once the seal was finished, I changed the filament, and printed the locking clips first to get the small parts out of the way, because they only took a few minutes each to print.
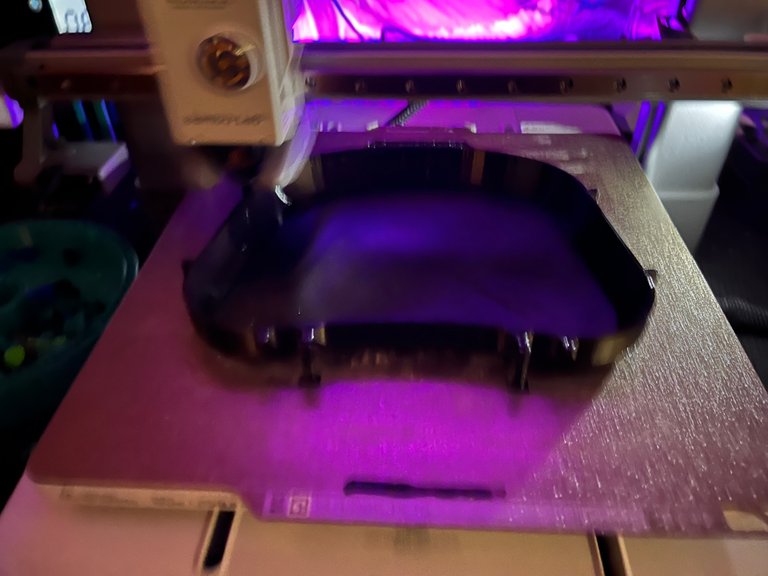
Next up was the bottom part of the case. Each side of the case took over 5 hours each do I did the bottom first so I could get the finishing work done on it while the top part was printing.
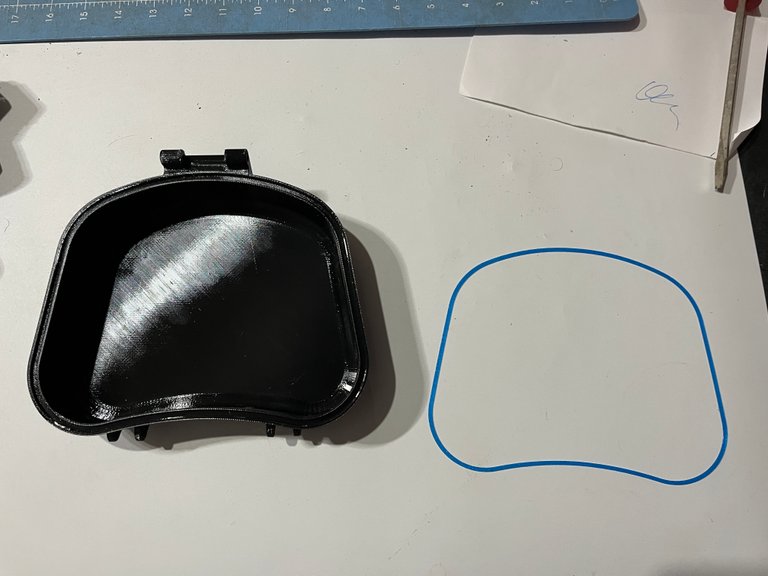
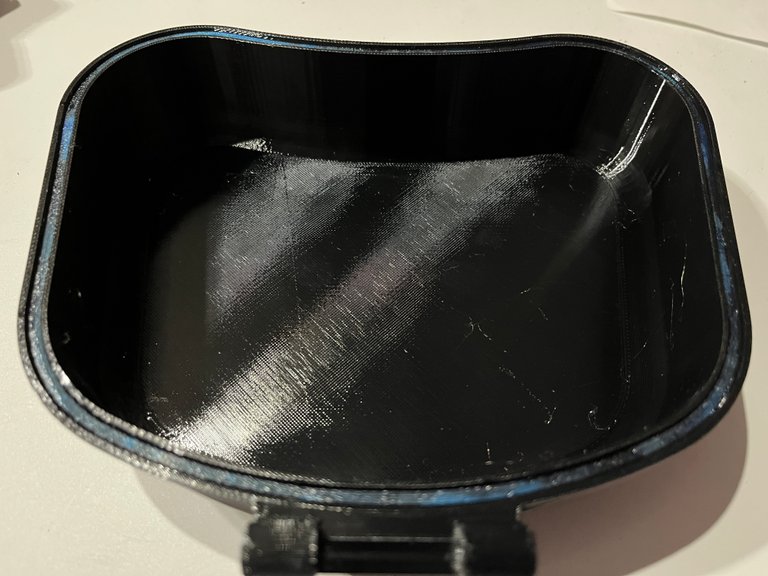
First up after the bottom part finished was getting a bit of super glue dabbed into the grooved of the print so that I could place in the TPU seal, which fit like a glove!
Using Recycled Foam For Protective Inserts
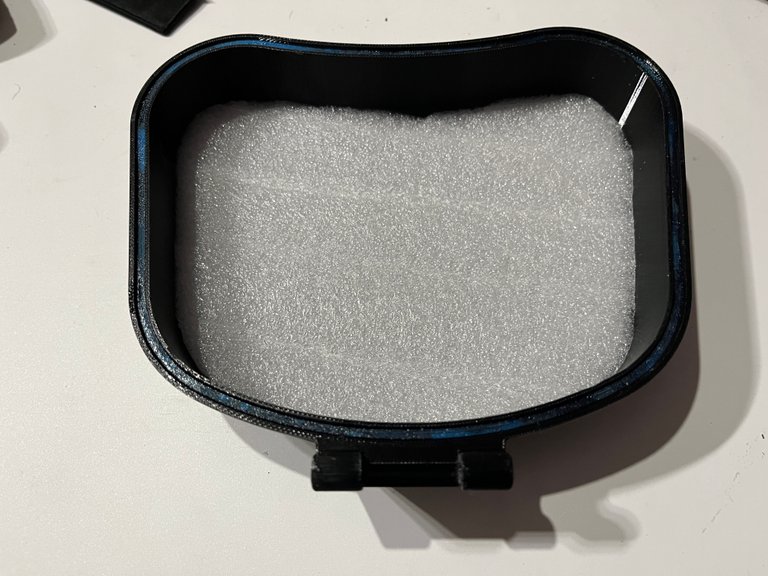
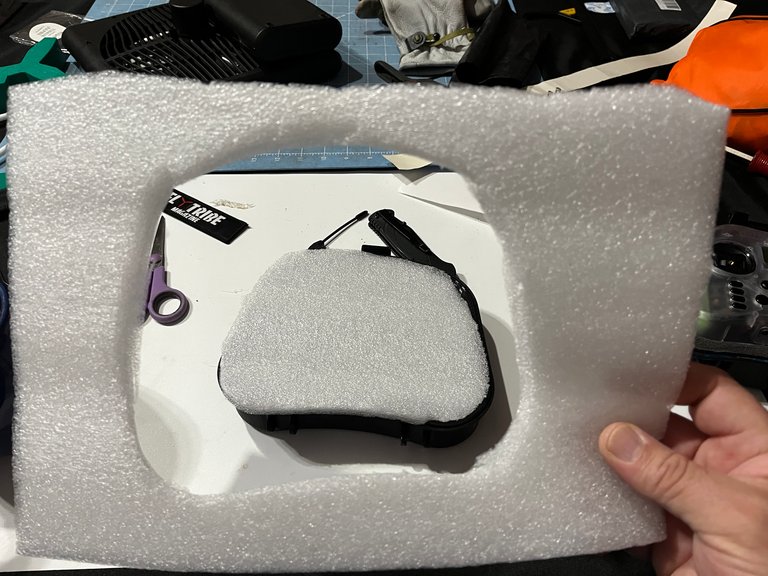
Next up was to add some cushioning for the controller. I had just purchased a new lawnmower for the homestead and it came with the perfect packing foam to get this job done! I cut the piece I needed to size, and then cut out a place for the external Crossfire module to sit in so the controller would sit even in the case. Few dabs of the super glue to hold it in place and we are good to go there!
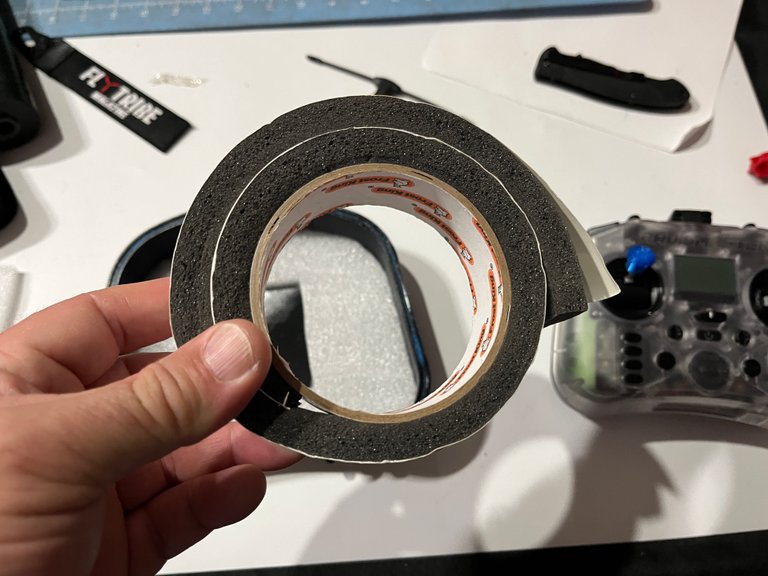
I found a tiny strip of weather stripping that was hanging up on the tool wall for god knows how long. My dad was a bit of a hoarder when it came to tools and building materials, and really everything in his life, lol. But this was one of those times that his mentality of 'it'll get used one day' actually came to be, lol. This piece of weather stripping was the exact length I needed for this project. I mean, you can't get more meaningful than that... RIP Dad. He is where I got my DIY spirit from anyway, so this just makes my case that much more special. Who knew a silly piece of weather stripping would mean so much... Anyway... Take a look!
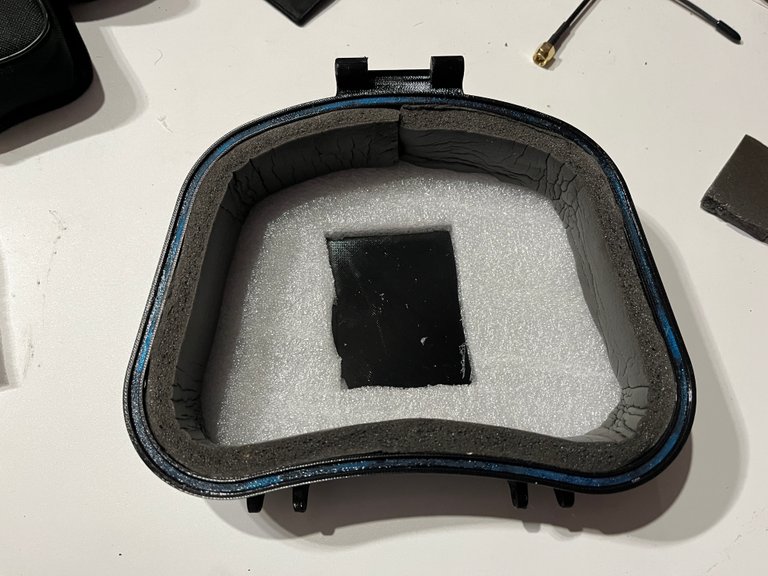
It fits perfectly!!!
Printing the Lid
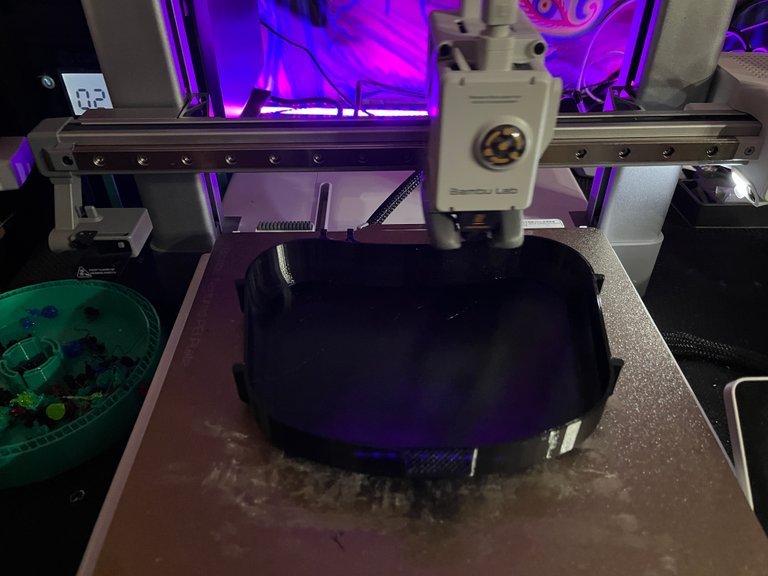
While all the foam fun was going on, the lid portion was on the Bambu A1 going from a string of plastic to something awesome! By the time I had gotten this far, it was time to chill out, watch some "Wicked Tuna" and go to bed. When I woke up this morning, it was all done!

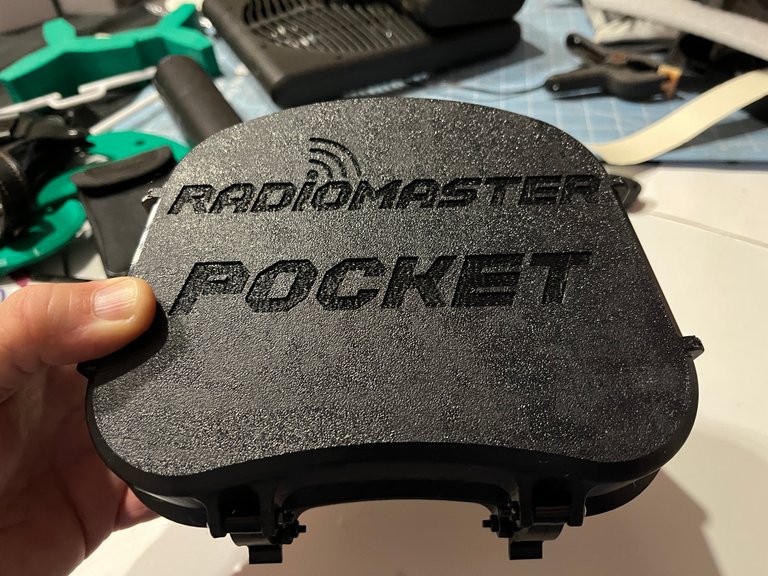
Before I even had a chance to drink my first cup of coffee, I was already picking the supports out. When you have 3D prints that have overhanging pieces, for example like these engraved letters, you have to use supports so it has something to print on vs just trying to bridge the air. This calls for a bit of clean up work.
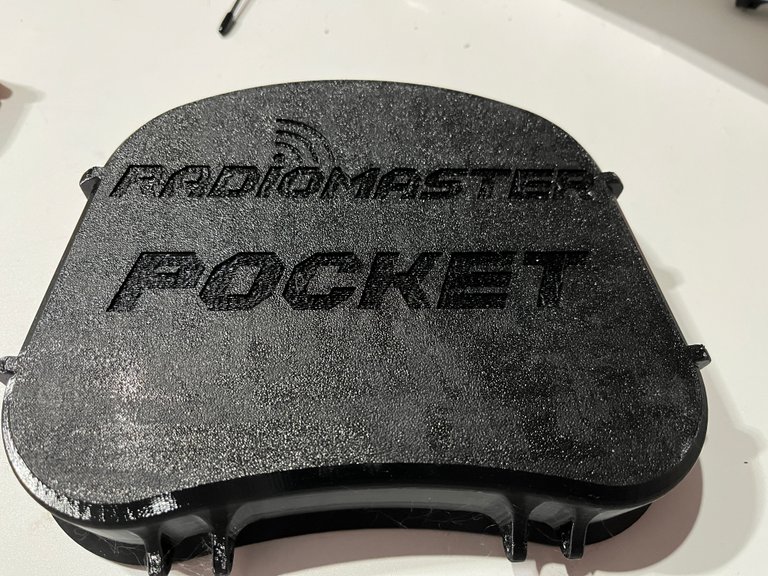
Once it was all said and done, it looks good! I am considering getting some colored epoxy and filling in those spaces to make the color pop. One day I will have a 4 color setup and can just have the machine to do the color changes. But this is just for me, so I don't care, I am saving myself a bunch of money by doing it myself!
Putting It All Together
Time for the finishing touches. I took another piece of foam and cut to size to fit in the lid part of the case. Once I got it cut to size, I cut out a place that is meant to hold my antenna for the external Crossfire module so it's not loose in the case.
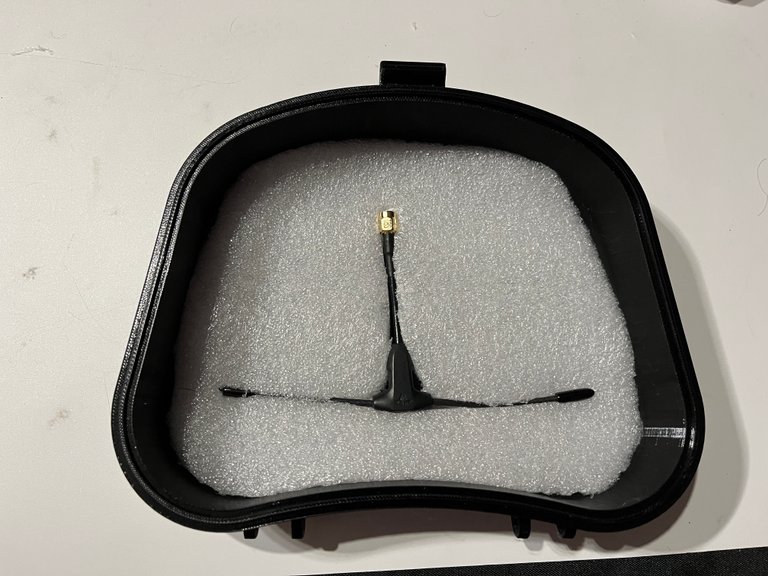
Fits like a glove! After I got the cutout done, put a few more dabs of the super glue on the foam and got it secured to the interior of the lid! Now it's time to put it all together!
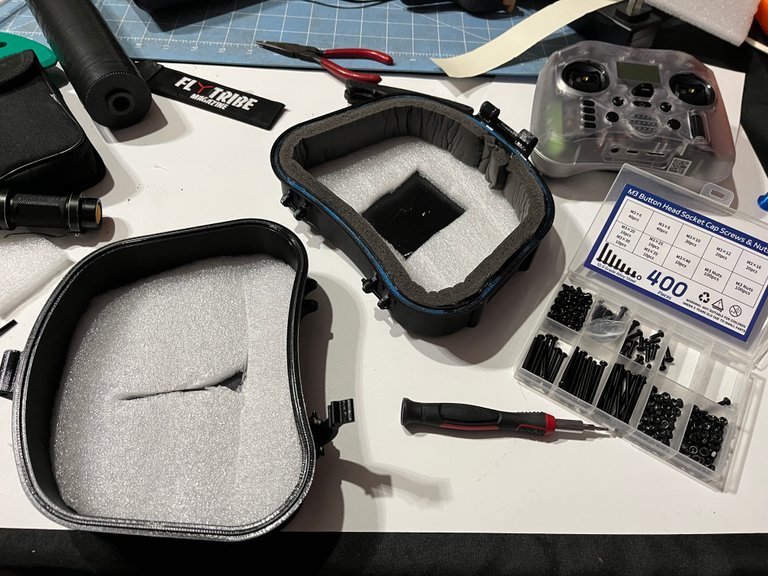
With all the pieces ready to go, I found my pack of M3 screws so that I could put the pieces together. Of course I was out of BOTH sizes that I needed. The design called for 4 M3-20mm screws for the clips, and 1 M3-50mm for the back hinge. The closest I had were 25mms, so I used those with nuts on the front for the clips and then just screwed in 2 M3-25mms on each side of the hinge until I can get a new kit with the correct sizes I need. As long as it works, I am a happy dude, lol.
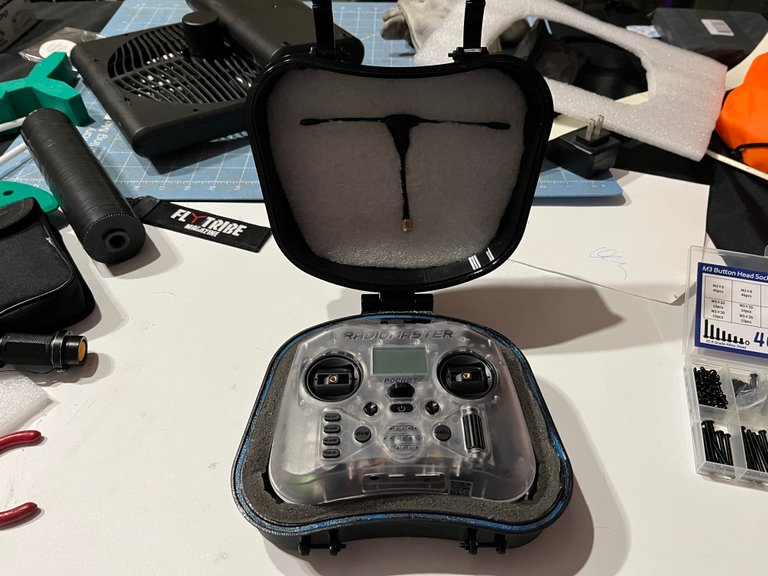
The gimbals fit just in the corners on the bottom portion so that worked out great, no need for more cuts in the foam or anything. But, just look at it! My little case is perfect for my needs and I couldn't be happier with it!
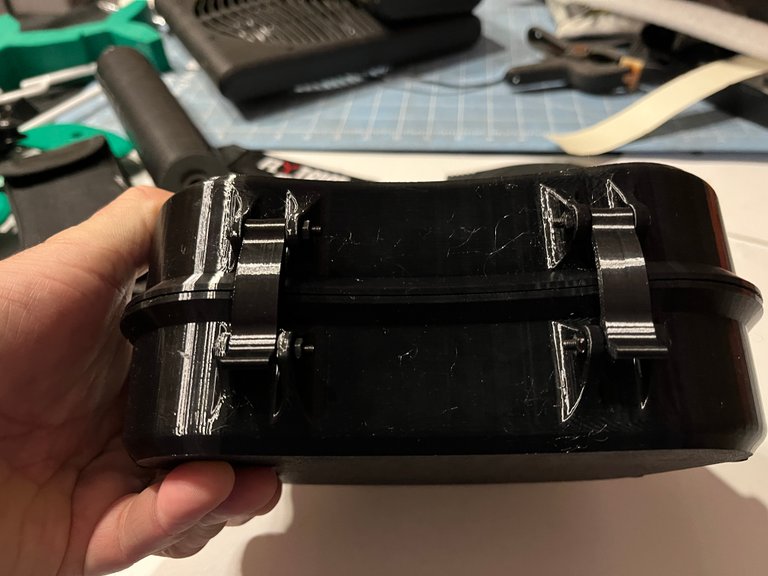
The clips lock into place all nice and snug so I feel secure throwing it in my drone bag and hitting the bandos without worrying about it coming open in the bag. And on top of it, it's a slick looking little case! I am happy with it, for now, lol. I still may come back later on with some colored epoxy and fill in the logo on the top lid. I think that would set it off.
Until next time...
Be cool, be real, and always abide with you my dudes!

Posted Using INLEO
That's way cool. I haven't made the jump to 3D printer yet, but what a great use case!
Ah, they are awesome. I make all kind of stuff.
Way to go, that's awesome! A good way to save yourself a lot money making your own case!
For sure! Cost me like $3 in filament, some super glue, and a few M3 screws that I already had. Plus it gives you a sense of pride that you made it.
Congratulations @thelogicaldude! You have completed the following achievement on the Hive blockchain And have been rewarded with New badge(s)
Your next target is to reach 11000 replies.
You can view your badges on your board and compare yourself to others in the Ranking
If you no longer want to receive notifications, reply to this comment with the word
STOPLooks great