Hi Guys, welcome to my blog and my first ever post in the #Sketchbook Comm. I'm happy to be here, and my goals are very simple - To share my Work, with details on the creative process and tips to achieve a similar Results for Artists.
To Start off, I'm a Designer specifically focused on UI/UX Designs, 3d Animation, Infographics, Prototyping and Interactive Illustration. I Create most of my Work inside of Figma and I'm truly fascinated by the power of this Design Tool.
I'm mostly working on resources for Art Contests in Web3 Space, Social Media Graphics and Majorly for my Web3 Startup Called Portals Xperience. I hope to share more about this in coming weeks. ✔
And Without Further Ado, Let's Bounce into my Creation Today
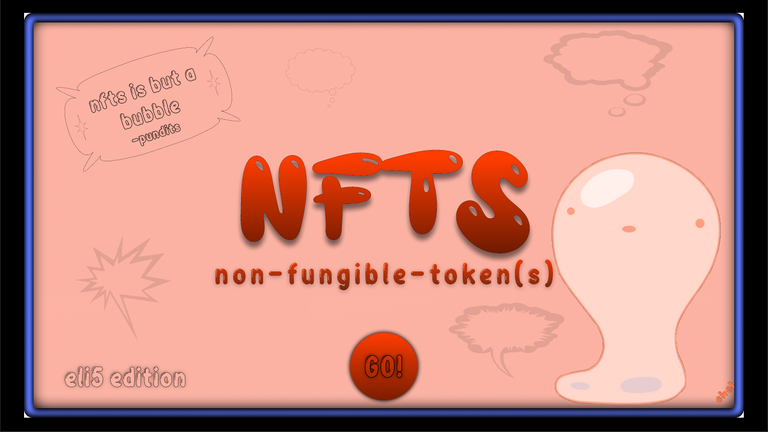
Designs by Chel _ Bursting Bubble
Illustration Targets
- Create a Bubble Illustration without 3d asset
- Give the Illusion of it Bursting and make it Realistic
- Adjust to a Specific Color code for the Full Page/ Slide
- The Bubble is a representation of "NFTs Bubble", make it fit into the Page.
Creative Process
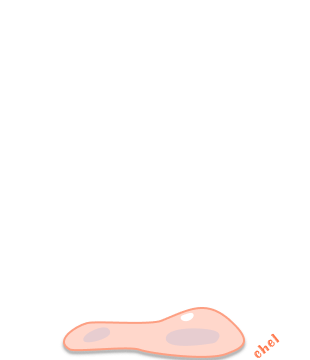
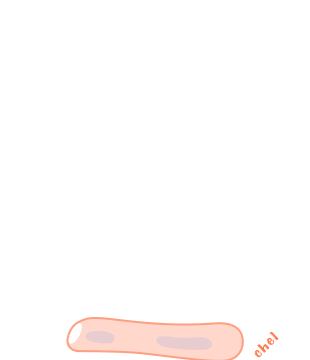
STEP 1:
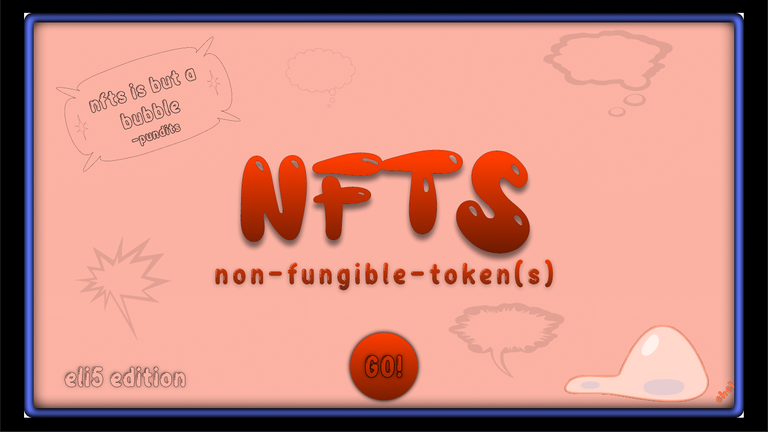
Draw Several Stages of the Bubble Bursting Animation Starting from when the Bubble is Blown Out, to when it Expands to it's maximum, then when it starts breaking apart, and finally back to when it reduces in size.
This Process includes many frames to make a realistic animation and I'm just showing u guys a Few Frames here.
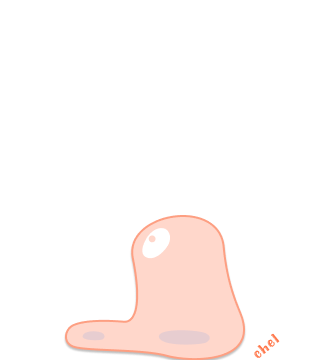

STEP 2:
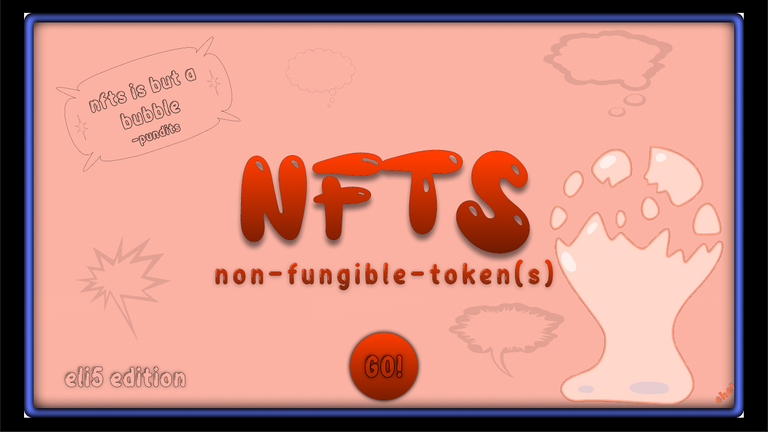
Next after drawing the strokes and fill of the shapes fitting the bubble animation, I started to add extra shapes for Highlight and Liquid Effects. The Below Image Frame shows the white highlight and greyish shape for liquid effect.
Without these, the shape would basically lack a 3d perspective and would be too flat. The idea is to figure out the points, where light could hit the object during this process

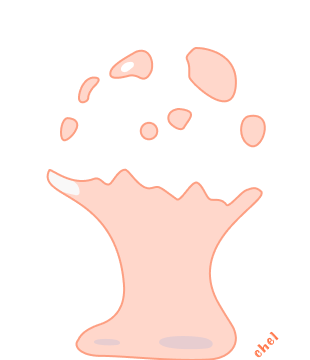
STEP 3:
Although my Image already shows the pinkish color code, this was actually added in step 3. The Color was majorly chosen because of the Full Slide I wanted to add this bubble to, so it could match. As u can see, the stroke is deepened, and I added small drop-shadow behind so it could further look like a 3d object(i.e, bubble).
STEP 4:
After all these were completed, I had about 20 Frames in total with aligned movement, highlight and color. Now, I could start Linking them together to get a GIF/ Animation.
It was pretty easy after a few research, many people don't know it but you can easily create animations inside Figma (😳).
These are some Figma Plugins u can install to Map Frames to get a GIF, some are paid - while others are free. In this case, I used the Plugin called Export to GIF. It has some free features which was enough for what I wanted.
After testing out the export with different settings, here is the animation ⬇

STEP 5:
Finally, the real use-case of my bubble bursting animation was to use in the Homepage slide for An Interactive Guide to NFTs for my Startup. This Guide will educate gamers about NFTs in a Simple & Engaging way. Check it Out below;
LINK TO FULL GUIDE : https://portalsx.framer.website/guide
Summary
Thanks for Reading this Post and I hope you have enjoyed this guided process and explanation of how I created the Bubble animation above. Feel free to drop any questions you might have in the comments box below. Thanks!
Your Gamer/Builder,
Chel_