Greetings from North-West South Africa!
After returning from an almost three year long break from drawing, I have found that my skills (the few I had) had started to deteriorate quite a bit. So...I decided to get better...the most obvious way to do this (to me at least) was to start drawing things, especially things and styles I had never drawn before.
I prefer to draw things I like or want when I'm just drawing stuff for myself. This one fell in both of those categories, as I have been fantasizing about someday buying myself on of these for quite a few years now. (A girl can dream, right?)
Anyway, let me not ramble on about all that too much! I am no professional, so the following might not be a perfect tutorial, but it'll get you there for sure.
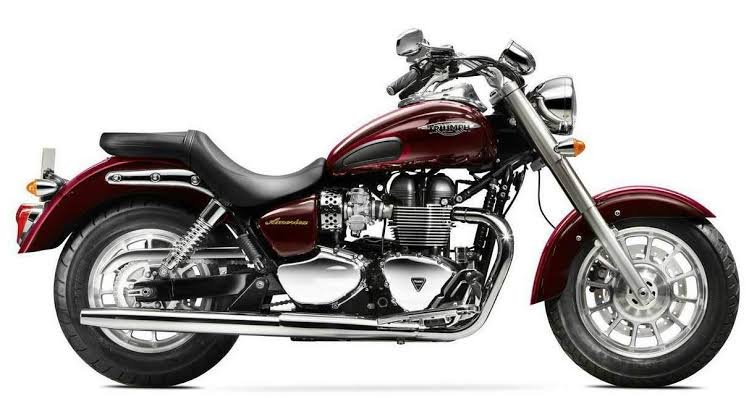
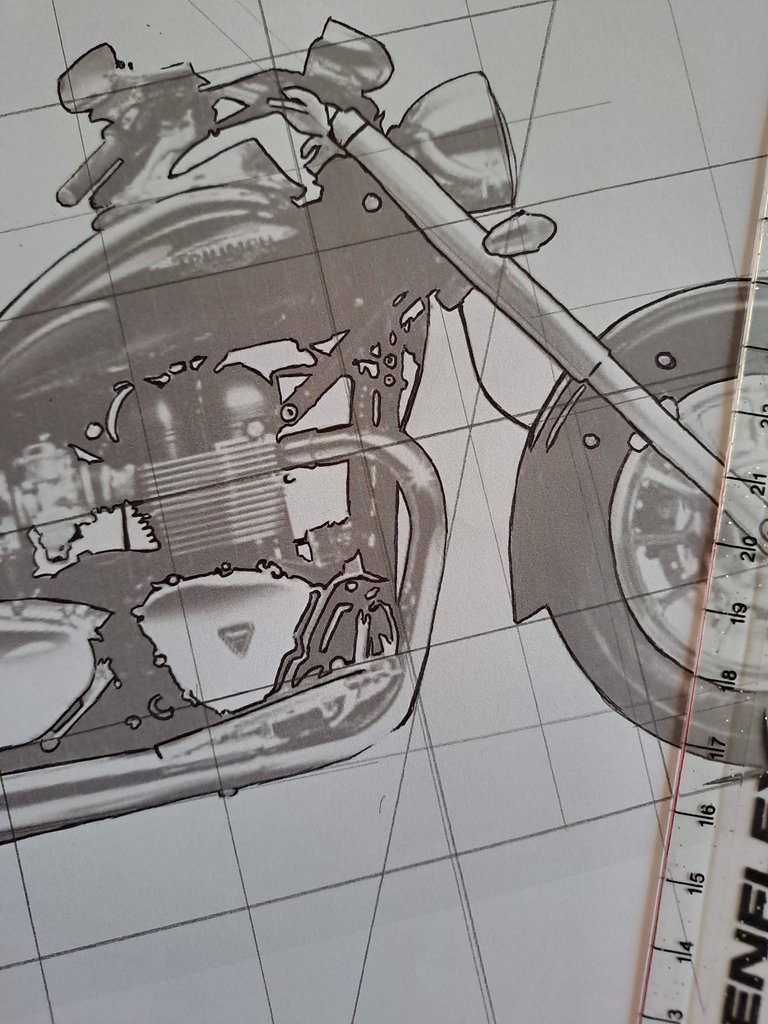
Reference Image source(Google) : https://images.app.goo.gl/aC6WfJFqbsE9KxcVA
I chose to work from a reference image, which looked simpler to draw than it actually was. I liked the look of it, so that was enough reason to try at least.
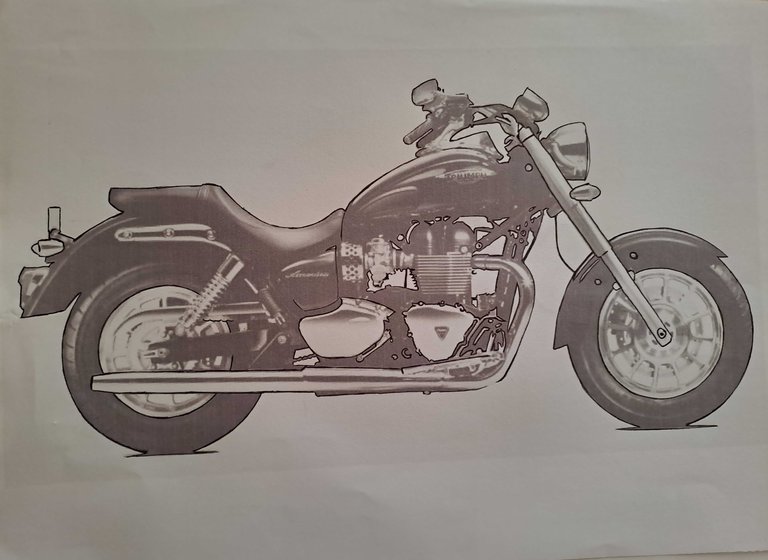
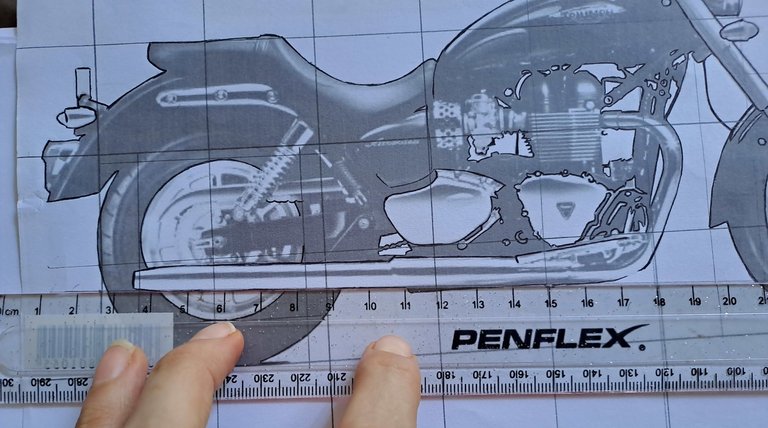
Step 1 - After printing a lighter version of the reference image, I outlined it in pen so that I would be able to sketch the shape of it more easily. It also helped me practice a little bit before having to draw it.
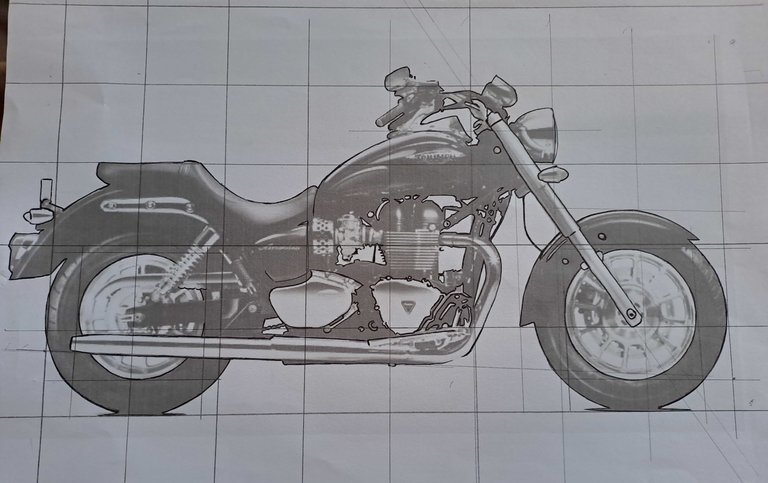

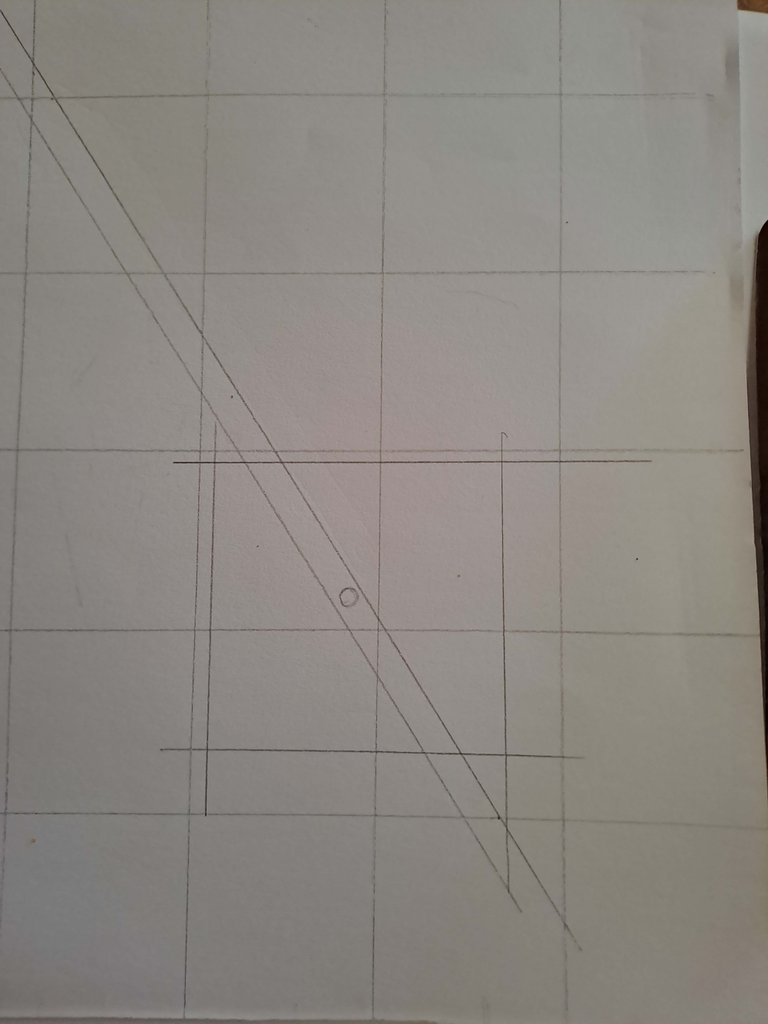
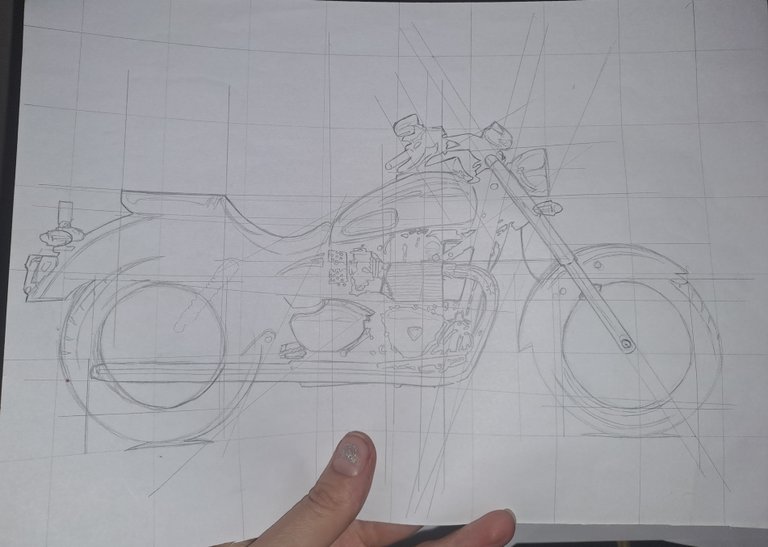
Step 2 - Drawing a pencil grid and very basic guide line to help me determine exactly where everything had to go.

Step 3 - After deciding on the size and placement of the image on the paper, I drew in my grid and main guide line.

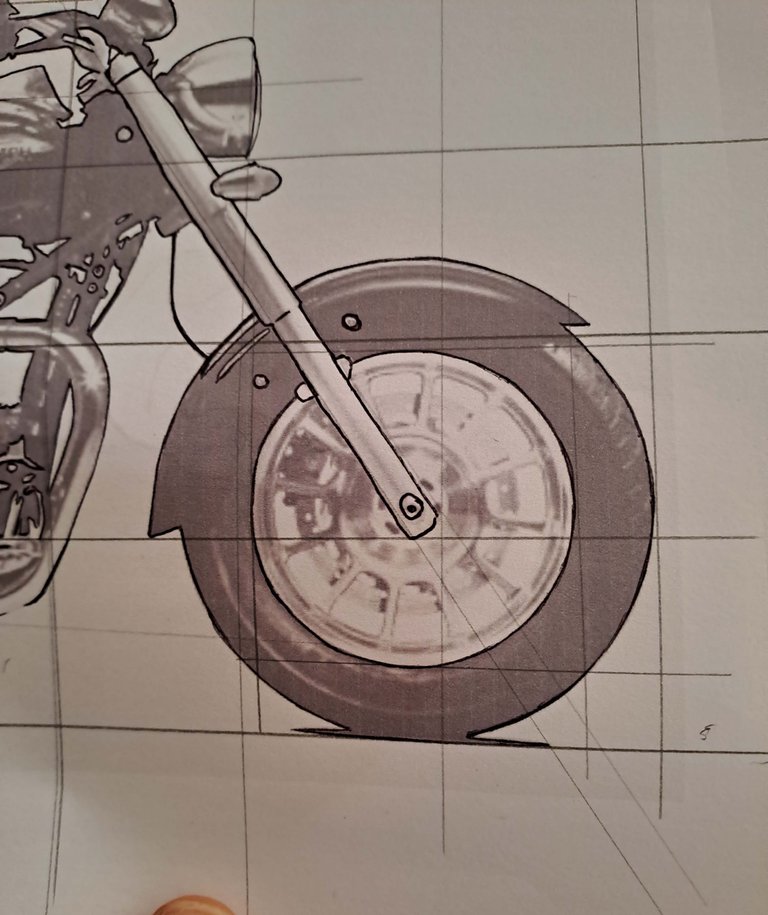
Step 4 - The wheels seemed to be the easiest place to start, so after drawing a few more lines an both the printed reference and the grid image, (can't really call it a drawing yet) I added it as best I could. This part has to be pretty accurate, as it ensures the proportions and things for the drawing will line up nicely later on.
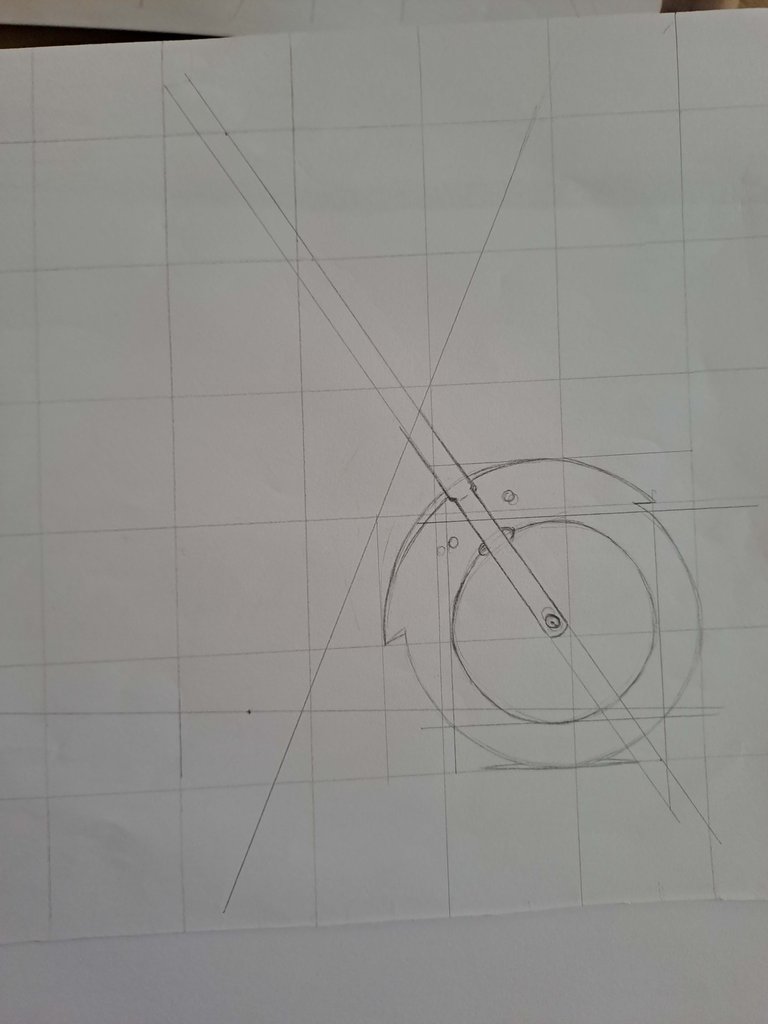

Step 5 - Adding more detail to my front wheel, and drawing in the back wheel, using the same grid and guidelines method.

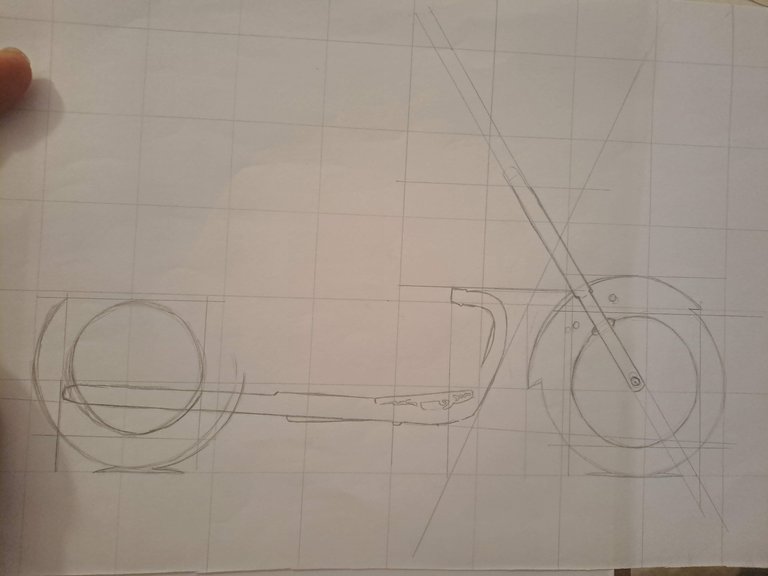
Step 6 - I chose to focus on large and mostly easy parts to draw first.
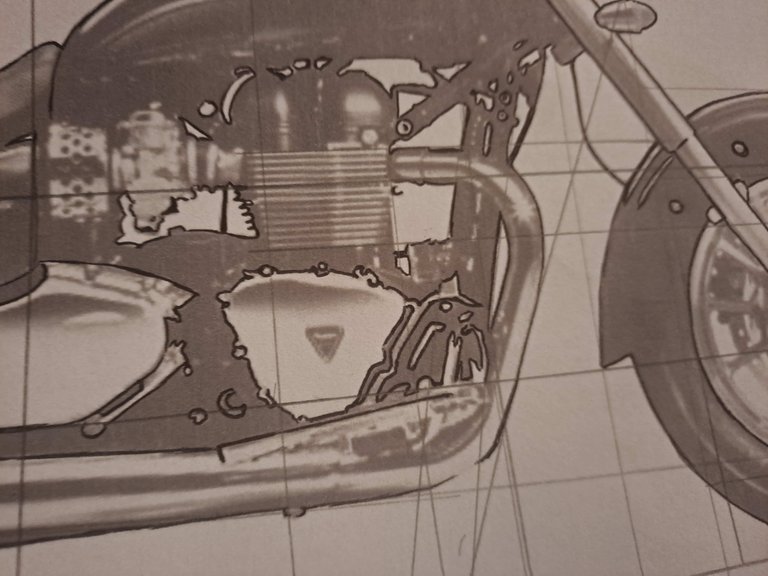

Step 7 - From here, I just kept repeating the process. First line things on the printed reference in pen, as it'll help practice the shape before adding it to the actual drawing. It also makes it easier to see the detail in a simpler way, if like me, you often try to draw every little detail. Next draw reference lines on the printout, using the shape of each part you want to draw, as well as the grid. Then just draw the guidelines on your actual drawing, it will make it easy to see where everything needs to go, so that you can add the fiddly details without too much stress or effort.
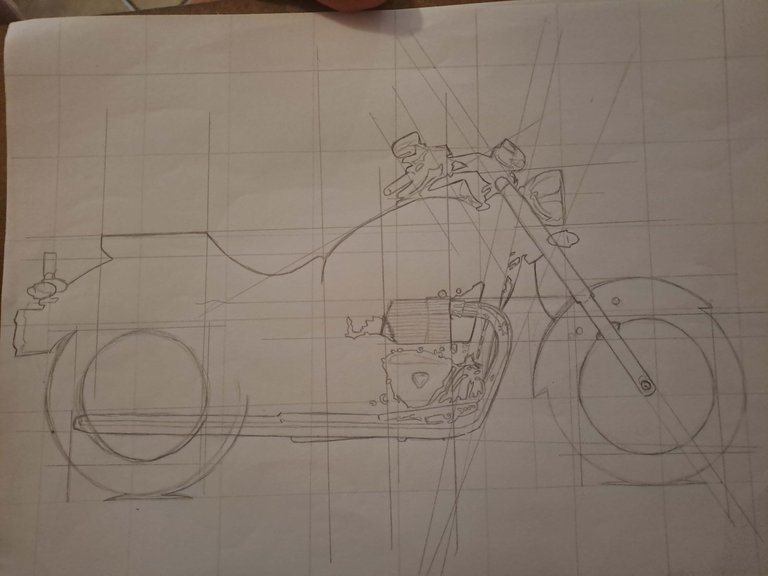

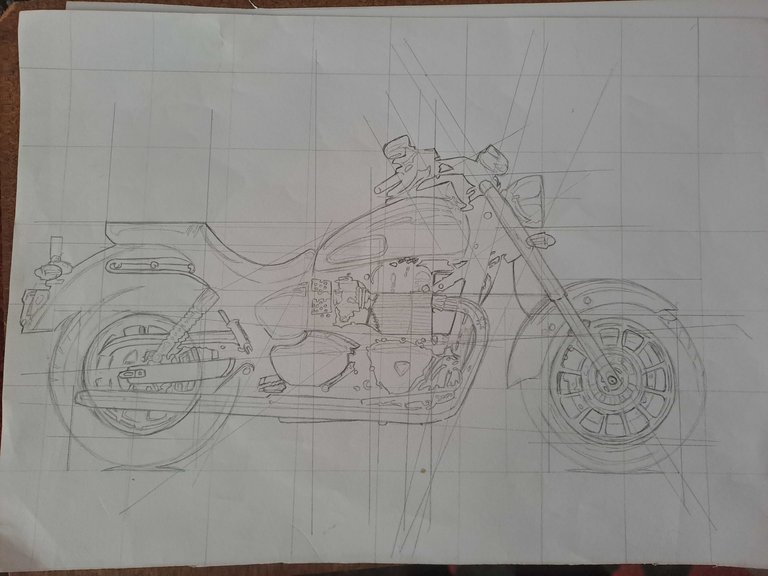
Step 8 - Repeat that process over and over again until you are feeling slightly sick of drawing guidelines and have all the detail you want in your image. (I wanted to include pretty much everything I saw, but depending on your style, it might not be necessary)

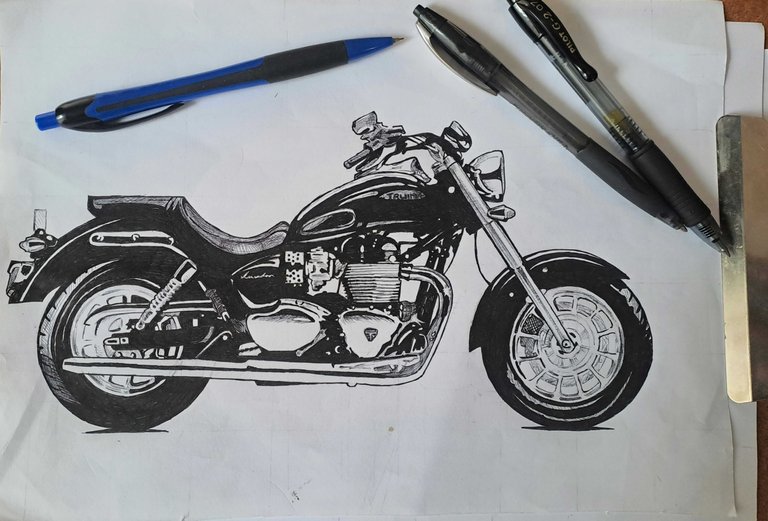
Step 9 - Now for the fun part! Using a nice gel pen, and not so nice ink pen that kept bugging out, I added lines and 'shading'. I unfortunately do not have any photos of this part of the process, due to spacing out and having too much fun. But it was pretty simple. Black areas go black, leave highlights white and add some chill hatching/shading to any shaded areas using a finer pen. Easy easy.
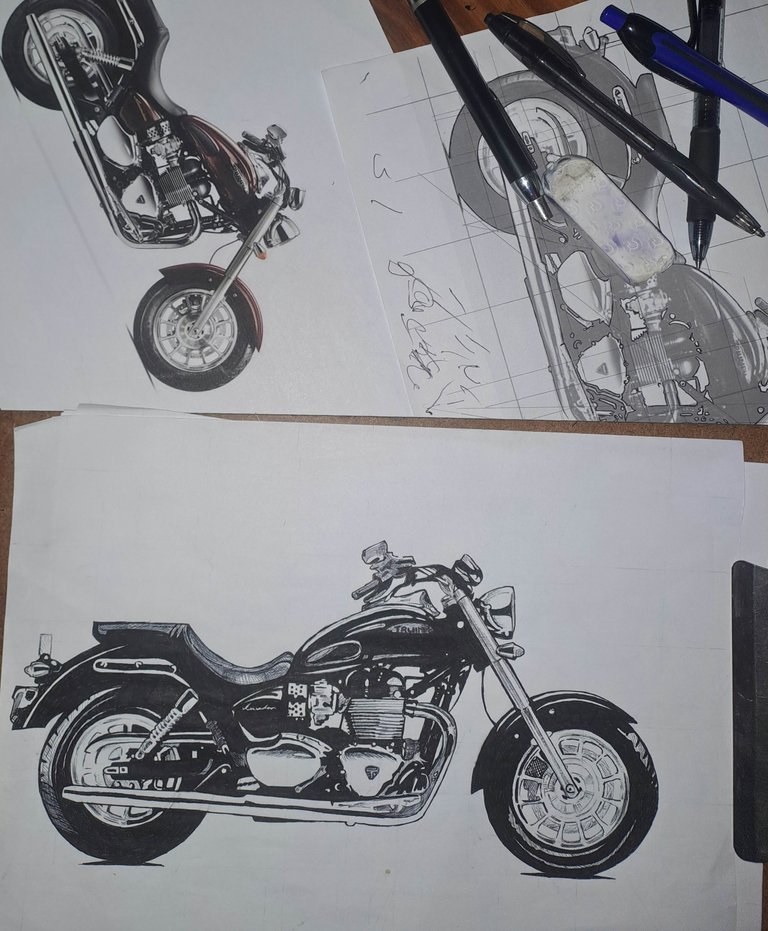

...and that's it!
Till next time!
Credit : All photos are my own, taken using Samsung A33 camera
Banner created using Adobe Express
Wow - that looks amazing!!!
Hi! Thank you! Have a great day. 😁
You say you have limited talent and then just produce something like this. I wish I had that little talent ! 😉
If I can ever get the restoration I'm doing on my ancient Zed finished, I know who I'll come to for pictures 😁
Haha thank you! 😄
Yes! Do that, would love to see it and draw some pictures. 🤩🥳
You got some skills!
Thank you! I'm trying 😅
You are doing awesome! :)~
😊
If not that one... then definitely something similar! 😁 Not going to give up on that dream.
Excellent!
I have been meaning to let you know that your work on here might get a few more eyes on it if you use some different tags. You can look around at some of the tags that others use (depending on the type of content) but here are a few good ones: lifestyle neoxian ccc creativecrypto thoughtfuldailypost vyb
By no means do you have to use them all or anything but they might help! :)
Thank you! That's actually very helpful. 😀 Going to try on my next post! ;)
Maybe you will even get one some day!
Nice draw ✨
Thank you! 😁
That is kickass! I could learn a thing or two 😅
Thanks! Hah, maybe we can learn from each other! I've seen your stuff, and it's great 😁
Congratulations @hellsveiah! You have completed the following achievement on the Hive blockchain And have been rewarded with New badge(s)
Your next target is to reach 500 comments.
You can view your badges on your board and compare yourself to others in the Ranking
If you no longer want to receive notifications, reply to this comment with the word
STOPTo support your work, I also upvoted your post!