
Hello everyone! Today I'm really excited to show you the process of making a FanArt Portrait, or more specific, painting one.
After watching "Sex Education" and the most recent "Bridgerton" season, I literally fell in love with Simone Ashley, I think she's particularly breathtaking so I wanted to paint a portrait for her.
I used for reference one photo of her latest photoshoot (pic here), and wanted to give it a more "celestial" feeling (Because she's a goddess!).
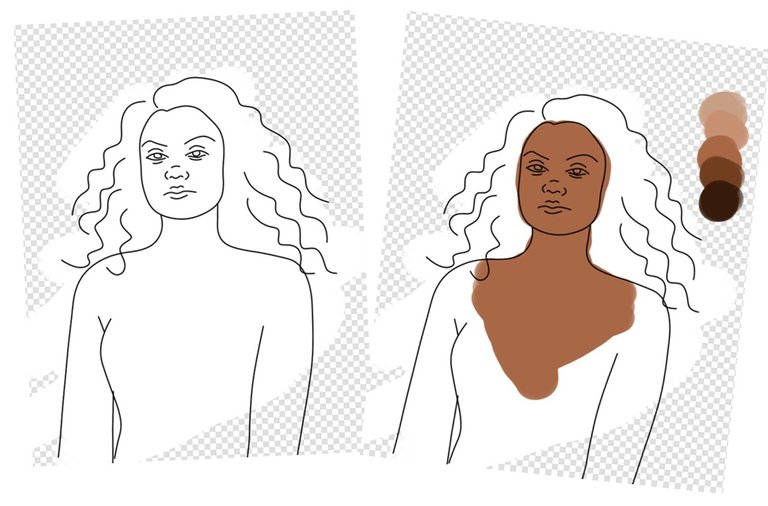
So I started by outlining her figure with the "Curve" tool in Lineart, since I don't have any tablet or anything alike, just my pc, I paint/draw digitally by mouse and this tool it's really helpful when it comes to that. And then chose what my color palette for her skin was going to be.
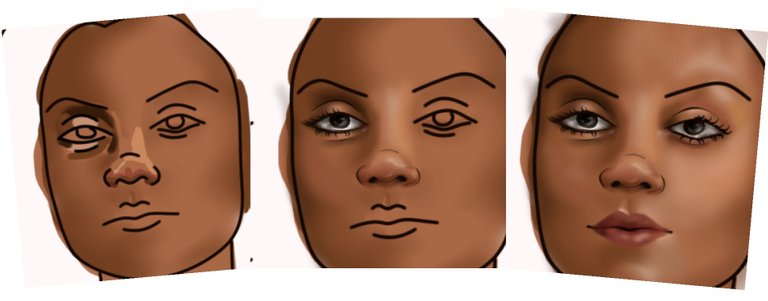
Many other artists I follow or that I've seen online, tend to paint all the shadows and lights at once, and then "blurring" or "mixing" them together at last, but I like to do it frame by frame, little by little so I can take my time detailing everything as much as I want to. I usually start with the nose, then the eyes and finally the mouth.
I still relay a lot on the linework, so instead of erasing it I just adjust the pressure of it so it can turn into a more stylized line.
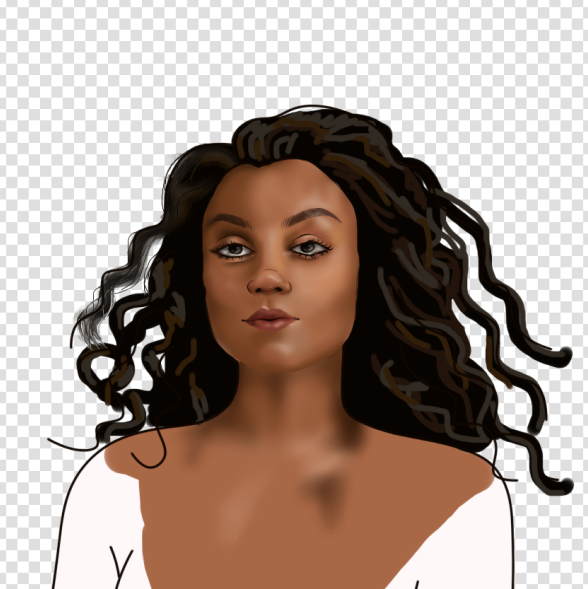
After having the face done, I move to a new layer and start doing my greatest nightmare; the hair. Since I paint with the mouse and not a digital pen like many, this ends up being super hard when it comes to give a hairy feeling to... well, the hair. I start by painting the base, black in this case, and putting the lights and shadows that will help me with the volume, and the move onto brushing, blurring and smudging natural waves
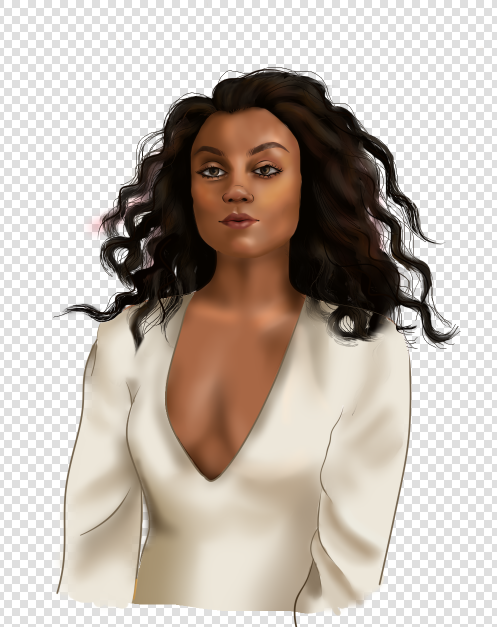
After having the hair done and looking so much better that I expected, I went for the clothing, giving her a very much simple robe with the same long cut in the chest just like the reference pic, because i certainly think it's a highlight. By here I had put many other details in the skin such as lights and blushes.
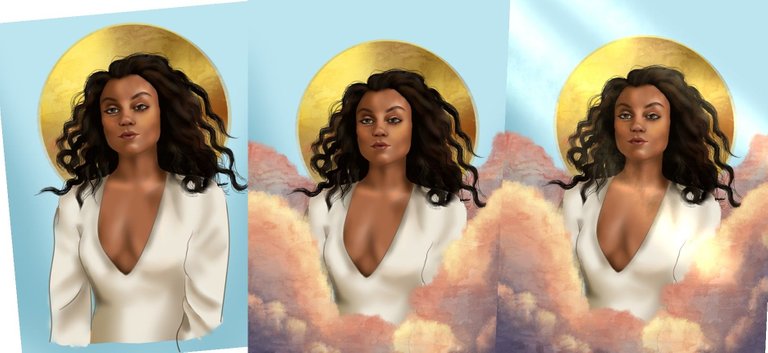
Finally, moving to the background, I started with a soft blue in the back along with a golden halo. Then painted the clouds with the brush tool, and gave it more detail by the clouds and halo with the "acuarela" texture. And finally, topped the painting with a new layer in Shine Mode that gives light and more so the "Celestial" feeling I pretty much wanted.
I really loved painting this, and can't wait to keep up painting more and make more progress.
Thank soy much for seeing my post, see y'all next time.
Disclaimer: All the photos used are mine,made by me and foremost belong to me. Please do not use them.