The concept I had for this map was simple yet required some rethinking to pull off. I wanted a giant abyss on one side of the map that the player would get to see a couple of times. They would be exploring some caves and get led to a ledge where they get to view it a couple of times. With the final trek of the map leading them onto a rock bridge to the other side.
This is all an underground map as well. I knew to try to get things lit in a way to see this giant abyss. While still maintaining darker parts of the map while exploring the caves was going interesting to pull off. While I don’t think it’s quite there just yet. All my maps have another phase where I’m going go in after everything I’ve learned about lighting over the next couple of years and make some final adjustments before I render production-quality lighting.
First Phase Of The Abyss
With the abyss being such a larger feature of the map everything else would have to be built around it. This is also another zone where I would be taking advantage of having a landscape layer. This helped play a huge visual role in how I set up this map.
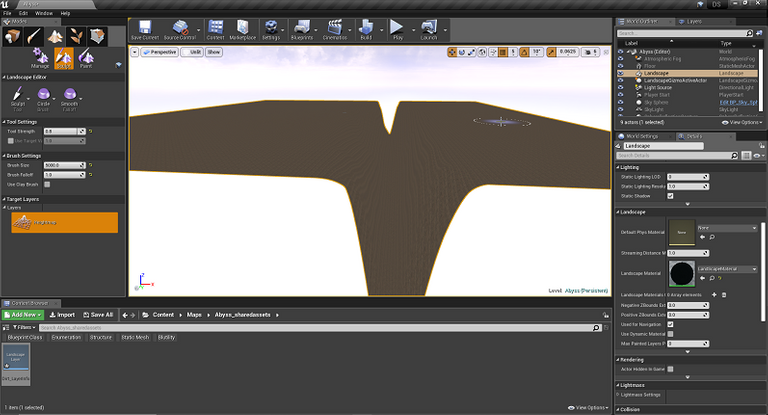
The first step was just putting a massive hole in the ground and extending it across an entire section of the map. This would give me my dimensions for how wide this map was going to be. I needed it wide enough to give me the visual effect I wanted. Not so big that I’d be spending a week trying to enclose it and compile build the zone.
Since I was using a landscape layer I used my preexisting already created landscaping material that contains grass, dirt, and rock layer information. I ended up just painting on a flat rock layer to get a look. With the giant stretching, the landscape layer suffered from how deep I made this abyss it was quite ugly.
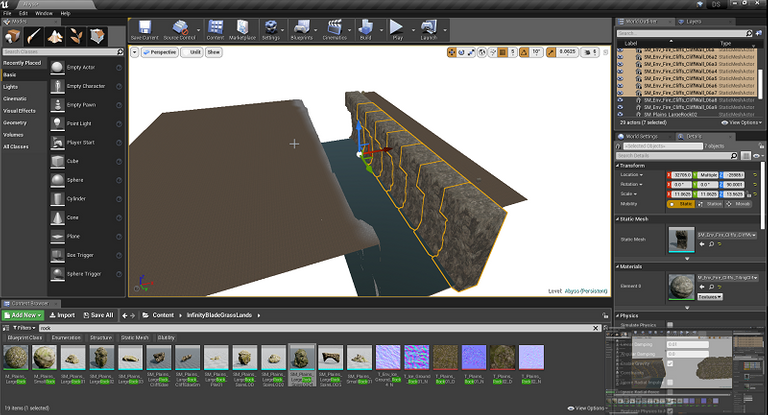
Even with lighting and other elements added in a layer on. I suspected that I was not going to cut it. I needed an actual rock mesh to make up my cliffs around this map. So I dragged some in after playing around with a few different types.
I was a little concerned with overstretching the mesh to make tall enough so I would not have to put in multiple layers. I also know the player, for the most part, would not get the best view of that mesh most of the time. So it was ok from a visual standpoint at a distance.
I also kept increase how wide the abyss was going to be between my areas of landmass on each side. I did not get the full feel for the abyss till I was almost done and I worked out what I felt was missing. More on that later on.
Entry Building
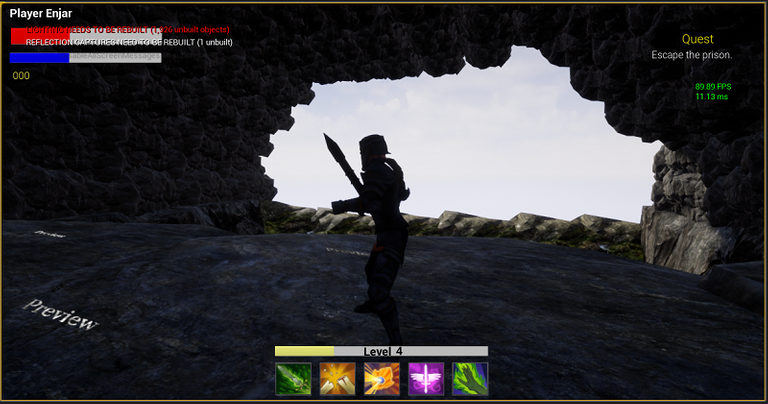
One thing I have not done is blend using more indoor meshes of floors and ceiling with the rocky elements of caves. Since I have the player going in through a door in the last zone I wanted to play around with having the player enter an actual small building.
They might even think for their first time that they are now out of the cave system and will be going back in that kind of style dungeon most of my zones are made out of. That is however quite short-lived. The other map also had several ruined buildings and this that was found was the last remaining and still intact structure.
The zone itself is littered with broken walls and other building materials scattered around it. In keeping up with this theme that something uses to live in these deep underground cave networks before moving on.
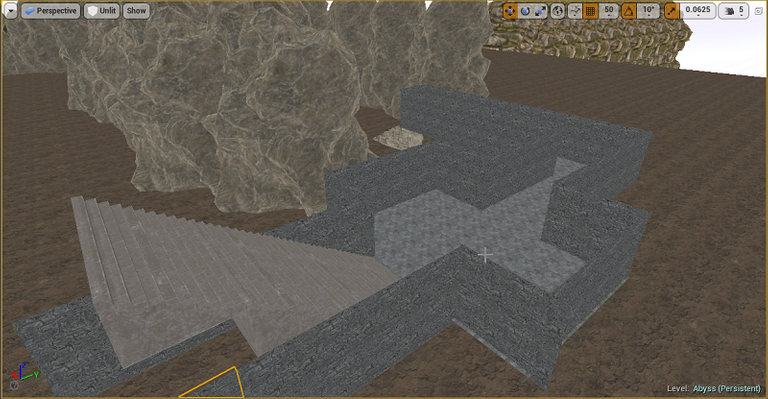
The entrance into the starting area after lighting and everything else has been done. Since I wanted stairs leading down into the cave the entire thing was off the ground. This resulted in me using some rocks to help cover up gaps. While also giving it a better appearance and making it fit more with the area.
It’s a rather empty area otherwise. I may in the future add something else to this small building. That, however, will play into some other stuff and I won’t be sharing it. It otherwise is just a small and quick place for the player to rush into reveling a grand cave system.
Caves
Most of the rest of the map is made up of a bunch of cave systems. They go in and out of the abyss area giving the player two different viewpoints that add a nice touch to the overall map. Otherwise, a lot of what I did and learned in the last map helped in the creations of these areas.
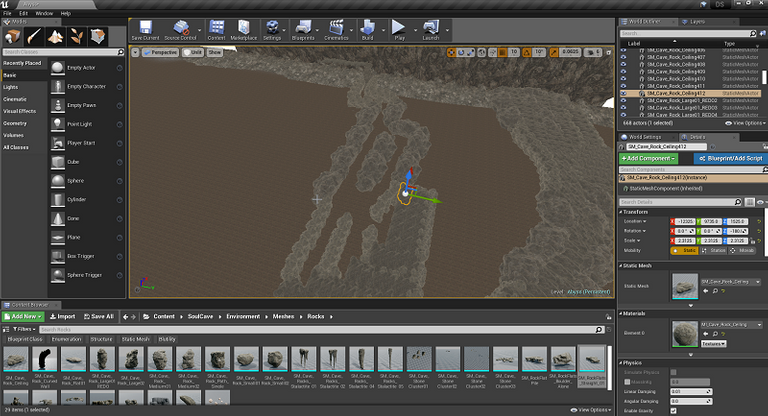
Here I am adding some ceiling rocks after working out a path and several different little dead ends and rooms in the cave for the player to explore. I do use a system of pillars to make it a little easier for the player to not get lost. By having them simply be at passageways that lead in the right direction if the player does not get lost and turned around heading the wrong direction.
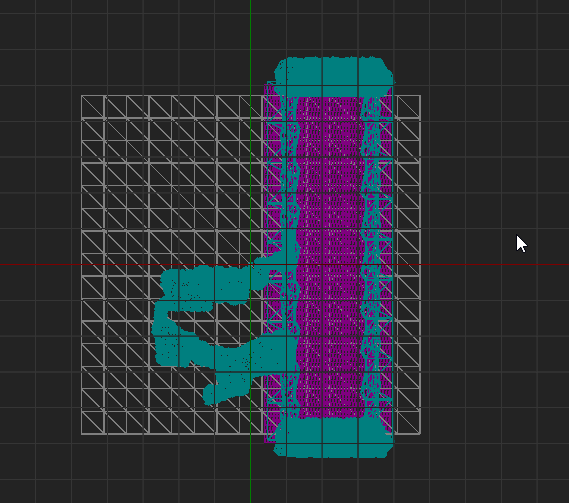
One thing I was unsure of is how big I was going to end up making my cave network. As such, I started it on one side of the map. Afterward, I simply selected it all in the top-down view and dragged things over a tad. I played with this a couple of times as I also had the bridge that went over the abyss to keep in mind as well.
While it would have been easy to take up the entire length of the map. I felt around a 7 and a half minute run time was more than enough before other stuff gets added in at a later date. I don’t want to make these maps to long as I don’t plan on using a waypoint or save point system though a map. These are all meant to be done in one sitting. With the player being able to repeat a map if they wish to farm it for drops.
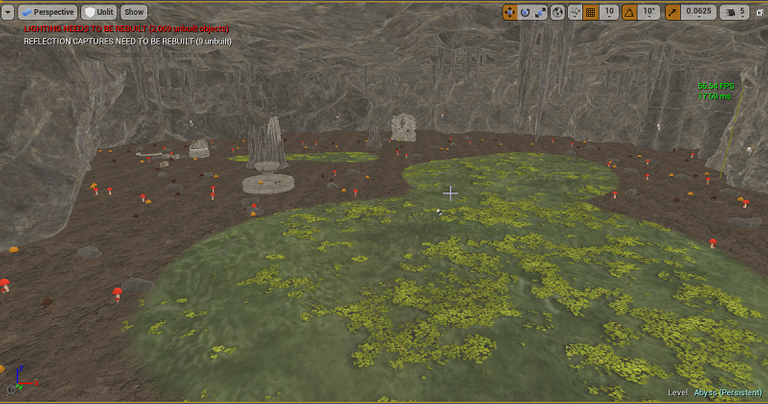
This ended up being one of the bigger rooms I created in the cave network itself. The water table I added to this side of the map for any dips and changes I’ve made to the landscaping layer plays a nice role in filling the room. While the player could run though it was as it’s about thigh deep. That is some nasty looking water!
Here is the same room once lighting and reflections where added in later on.

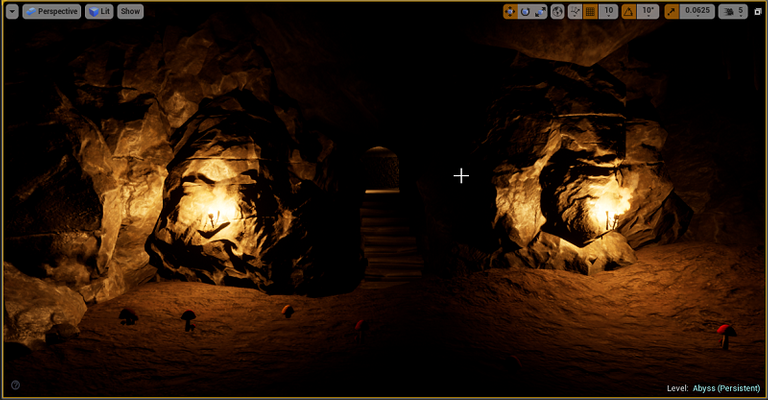
This is just a random cool looking spot. I spent a fair bit amount of time adding in lighting to let the player walk around but not too much that it takes a bit of the mystery away. Lots of little details added in like stalactites, mushrooms, rocks, broken building parts, and other stuff.
Finishing Off The Abyss
The final task was finishing off the abyss itself. This required enclosing the entire area in rocks. Playing around with a few different settings in Unreal Engine 4 itself. Finally testing out different ways to get a look I was going for.
It appears I did not take to many screenshots before I was working out the finer details of the abyss area itself. This was one such iteration. I was trying to add in and failed on my part some “god rays” to try and make it appear like something was in the water. It did next to nothing from how high up the player was going to be.
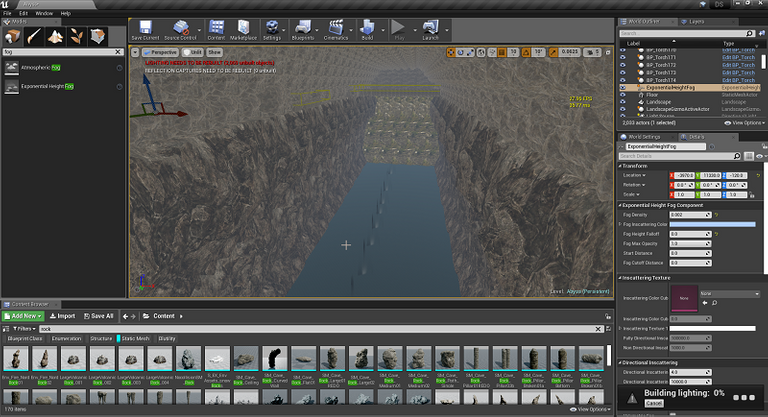
I played around with my fogging settings for quite a while. I ended up adjusting the color. I’m still not solid on the hue it’s giving off. I might at a later date when I have a better understanding add in post-processing and color correcting to give it a deeper red color. The fog makes it look rather pink with the scattering effect it has. Which I also adjusted a few times.
While Unreal Engine 4 doses a decent job most of the time at giving a real-time prevue when you have that setting enabled. To build everything including lighting each time to get a final view took about 30 to 40 minutes. This was despite having 16 Light Mass Importance Volumes set up to restrict areas. The actual abyss itself, for now, does not have any and therefore will be rendered at the lowest possible lighting. The other areas are already big enough I’d hate to think how much more time it would add to include it for now.
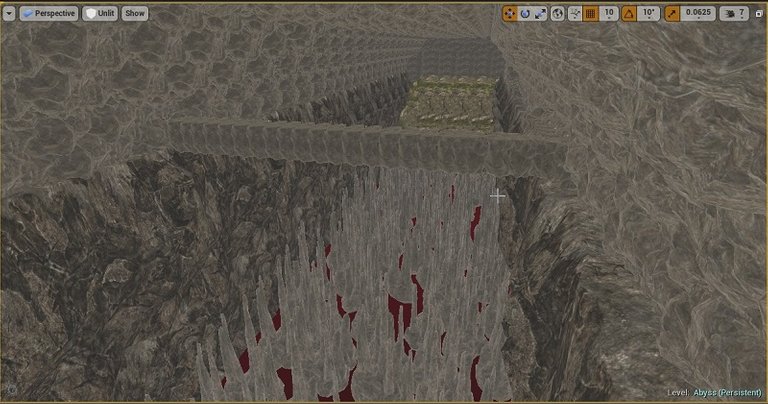
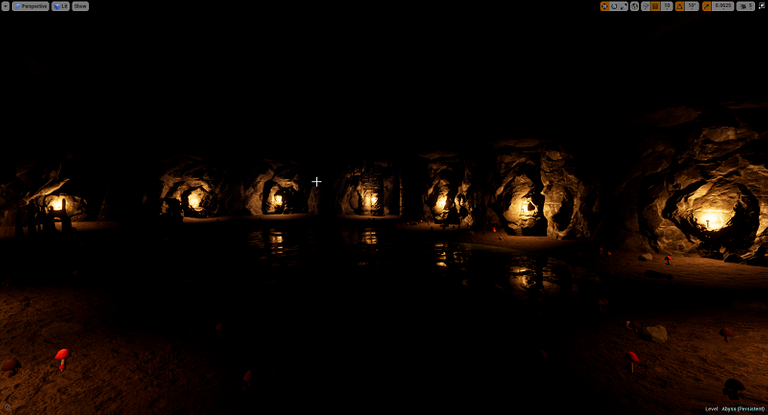
This is what my final result ended up looking liking without any lighting added in from the scene. It does look quite nasty. You can see from one end to another. Along with the rock bridge. The ledges the player gets to stand out on and look down are quite hard to spot this far out.
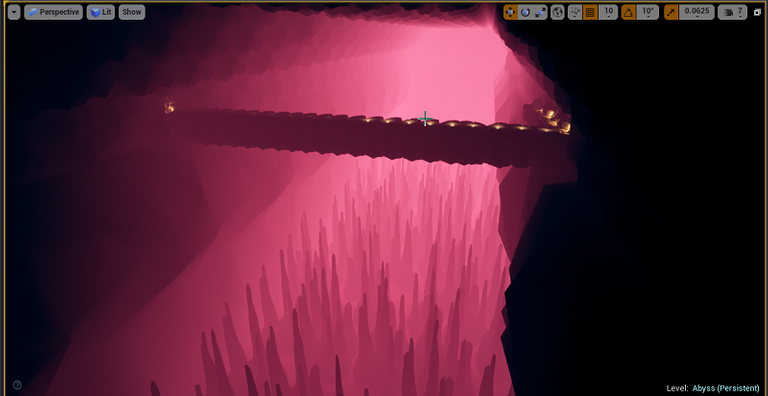
The same viewpoint with everything enabled. It’s a bit pinker than I like. This was also not done at a production quality as that takes quite a few hours and I expect to make changes one day as well. So over time, this should only improve if nothing else being rendered at a higher light quality.
Final thoughts
This abyss map added an interesting design challenge to my workflow that I had to workaround. It’s always fun taking what you know and being able to expand out by having to think differently how you approach something. It will certainly cause some kind of impact moving forward on future maps when I think about them. As I become more willing to take on a bigger challenge than I would otherwise not feel up to par in taking on.
Other Posts:
- 1. Unknown WIP
- 2. Getting In the Basics
- 3. First Level
- 4. Outdoor Level Attempt Number 1
- 5. Using BSP Method For Making A Zone In Unreal Engine 4
- 6. Structure, Enumerations, Data Table --Oh My
- 7. Creating A Trial Arena
- 8. Roadmap On My Game
- 9. Soldier Quarters Dungeon
- 10. Game Development | Underground Crypt
- 11. Basic Portal To Another Map
- 12. Shoestring Budget And Getting A Great Deal
- 13. Lower Prison Map
- 14. Anguish Map
Information
Screenshots were taken and content was written by @Enjar. Screenshots are from Unreal Engine 4.


#Posh the abyss demands it!
Hi enjar,
Welcome to #steemusa! Please find below your footer banner made by @bearone for use in your future posts.