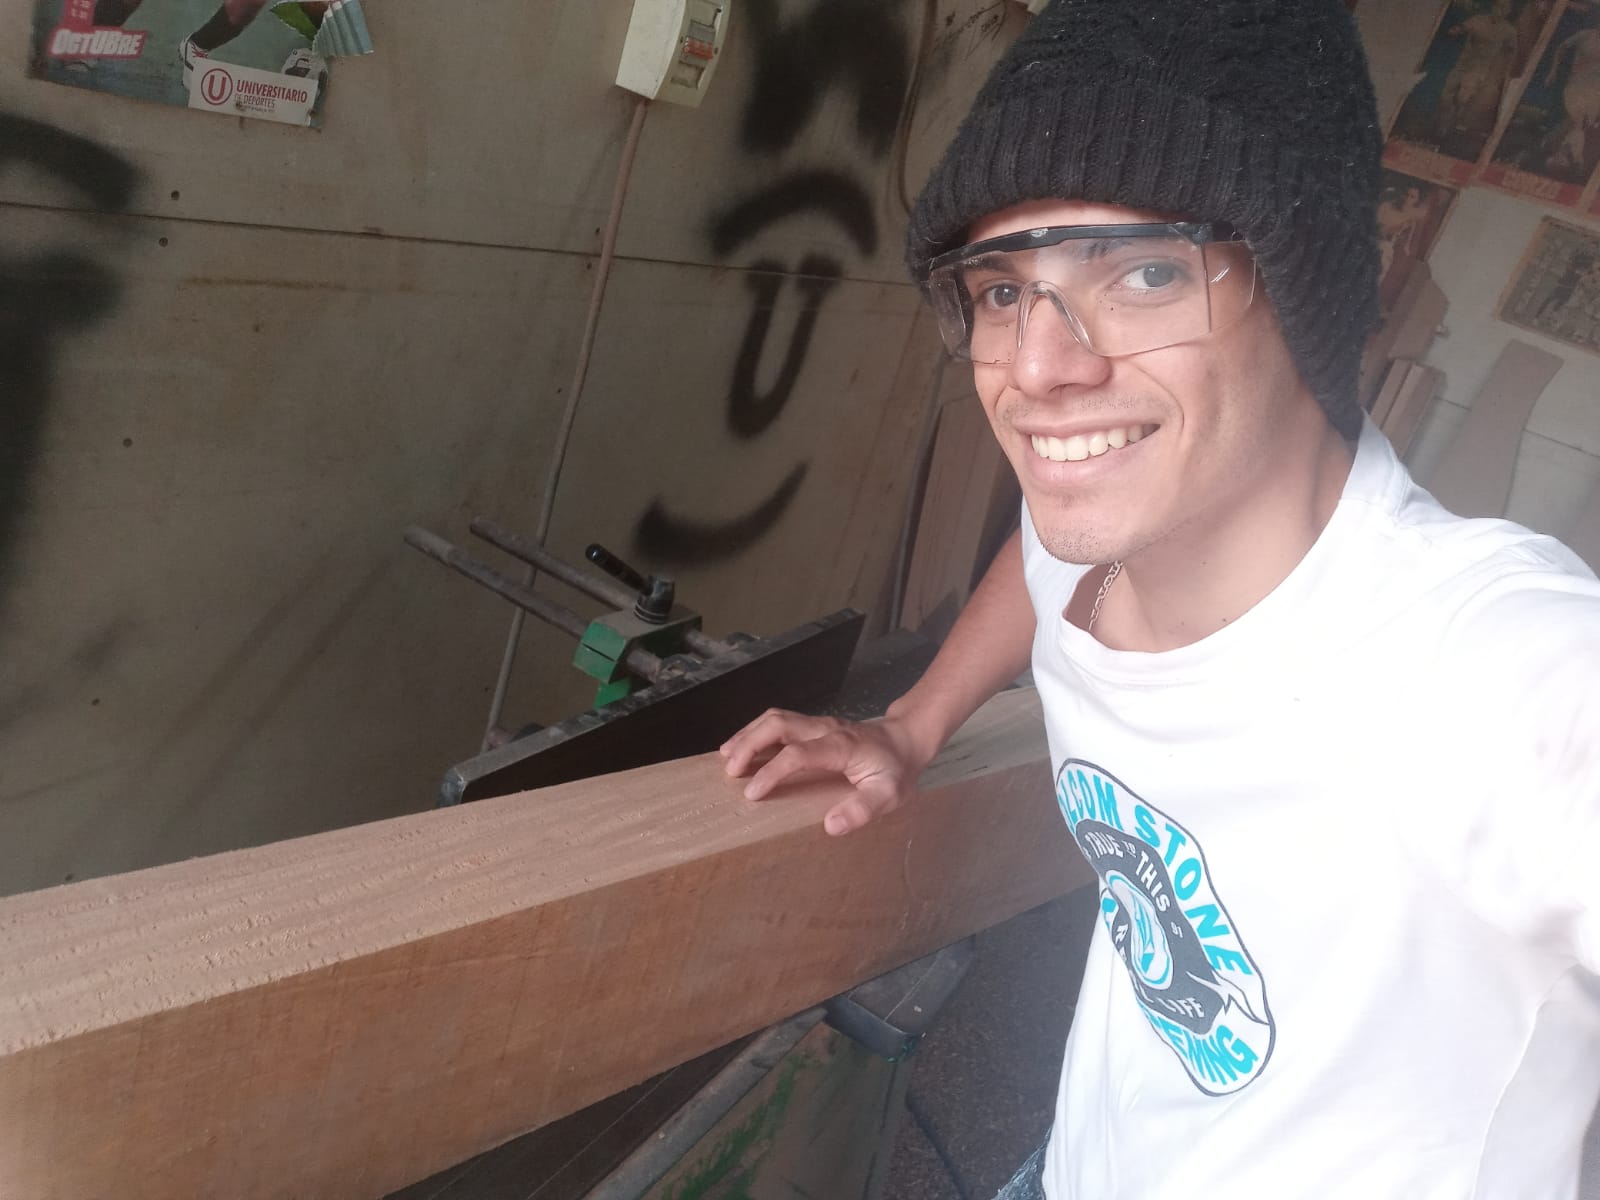
.jpeg)
Buenas tardes queridos amigos de Hive blog hoy les quiero mostrar como hago los baules de las camas, pero no podre mostar todo el proceso en una sola publicacion lastimosamente, porque el proceso es muy extenso y no quiero aburrirlos, por el contrario quiero que amen mi trabajo tanto como yo. Sin nada mas que decir les muestro mi trabajo.
Good afternoon dear friends of Hive blog today I want to show you how I make the trunks of the beds, but I will not be able to show the whole process in a single publication unfortunately, because the process is very extensive and I don't want to bore them, on the contrary I want them to love my work so muchlike me. With nothing more to say I show you my work.
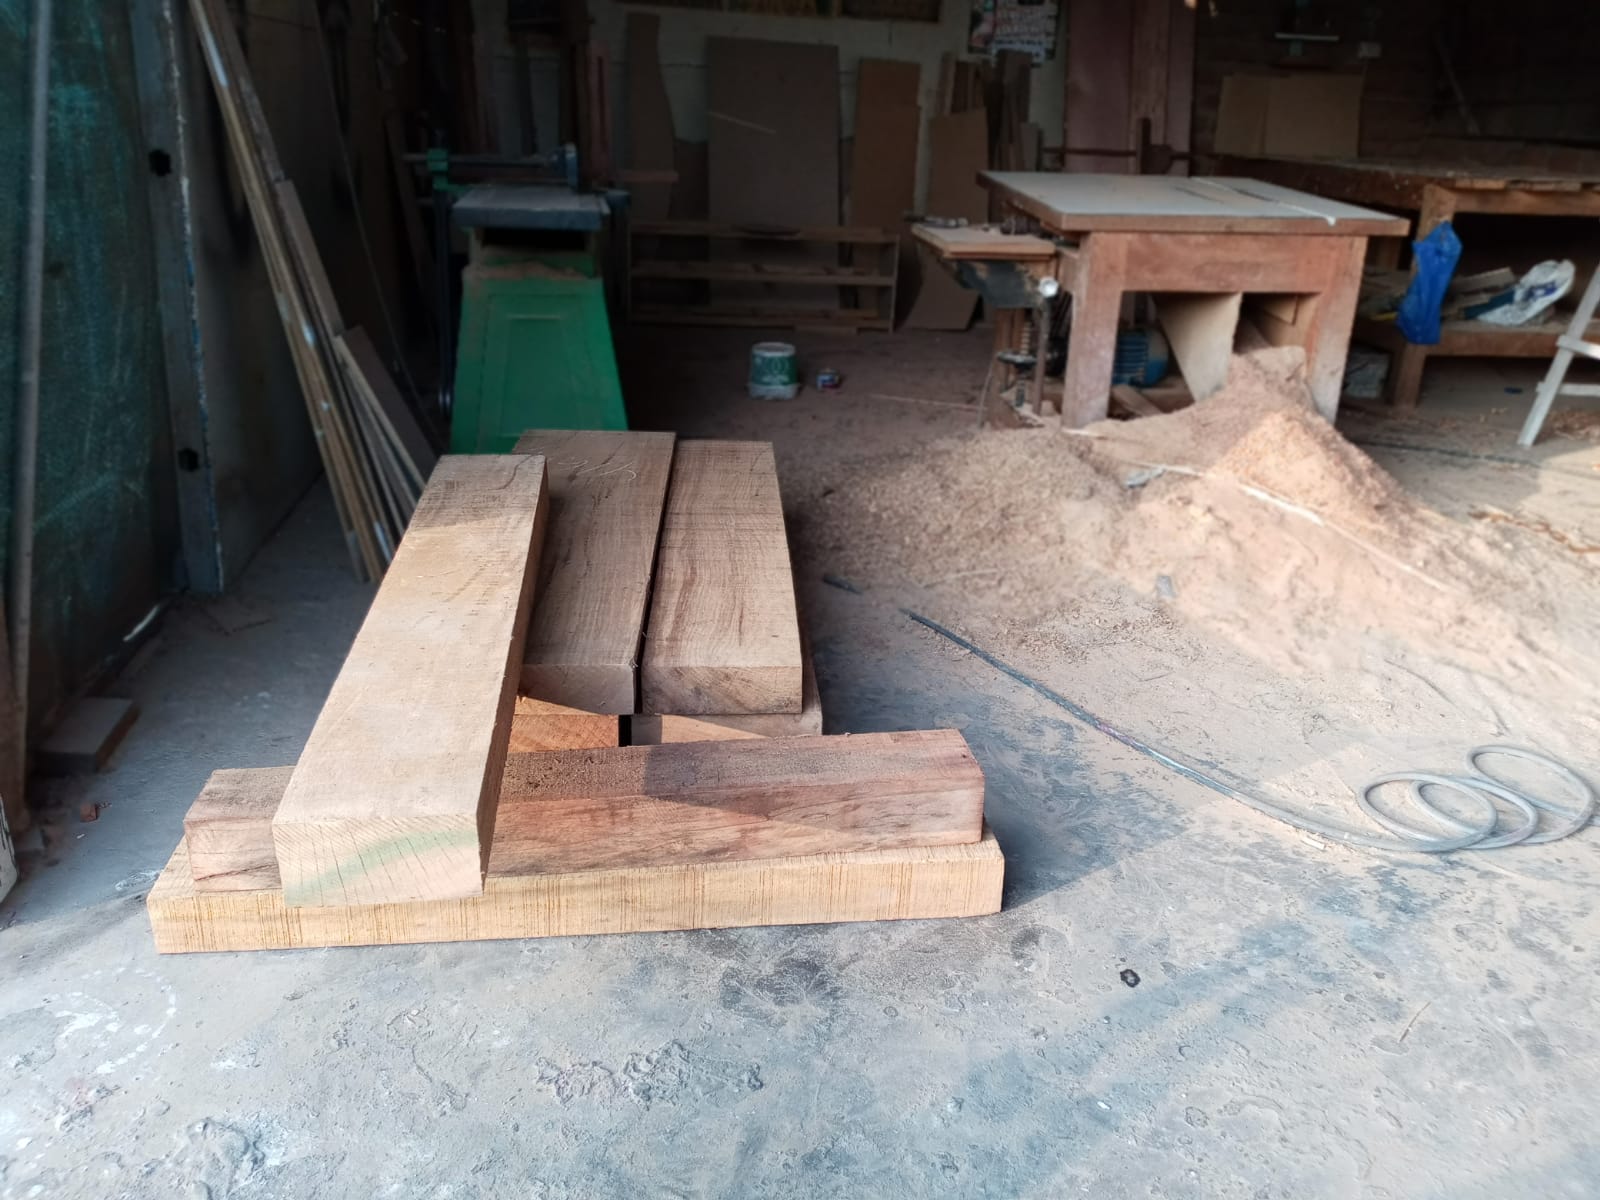
Las medidas que uso son centimetros, para que todos puedan entender. El baul que fabricare es de 2 plazas ( una cama matrimonial).
The measurements I use are centimeters, so that everyone can understand. The trunk that I will make is 2-seater (a double bed).
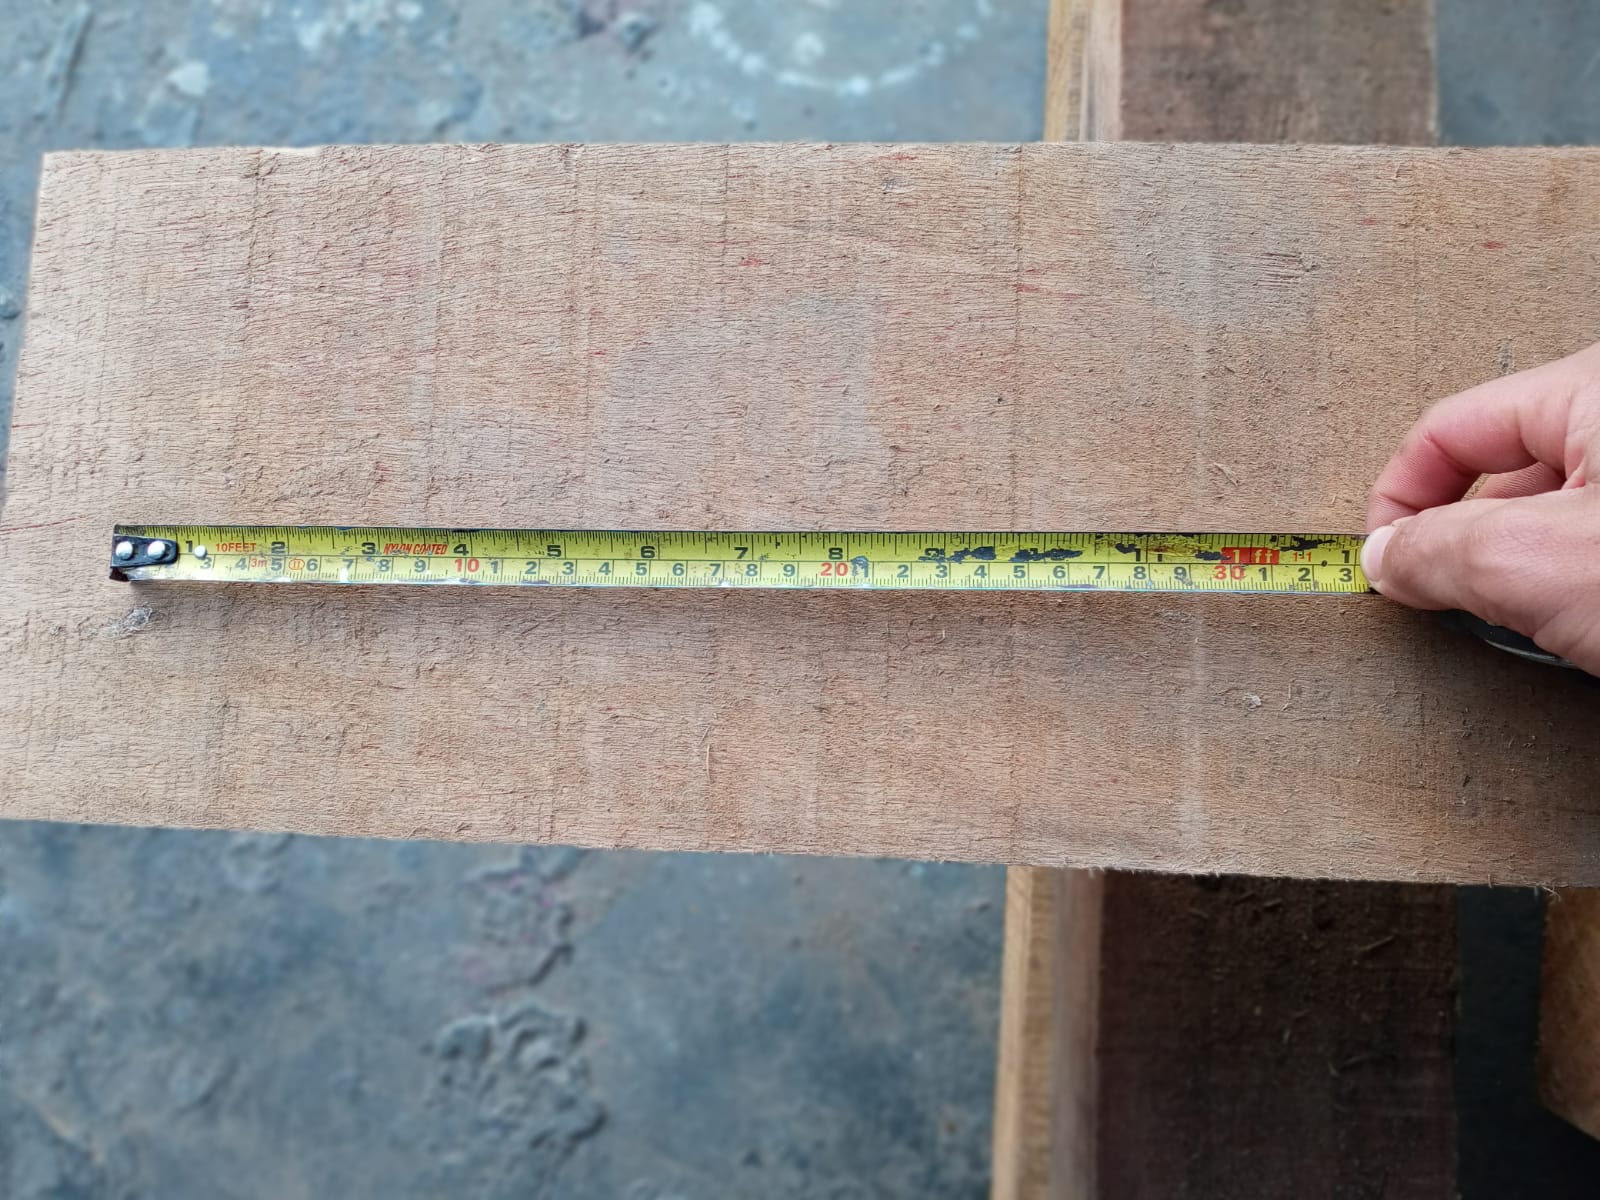
Mi garlopa es de motor 2 caballos y en alta revolucion.Y mi maquina de trabajo ( maquina circular ) de 5 caballos en baja revolucion.
Uso diferentes motores porque las necesidades son diferentes.
My garlopa is with a 2 horsepower motor and in high revolution and my work machine (circular machine) of 5 horsepower in low revolution.
I use different engines because the needs are different.
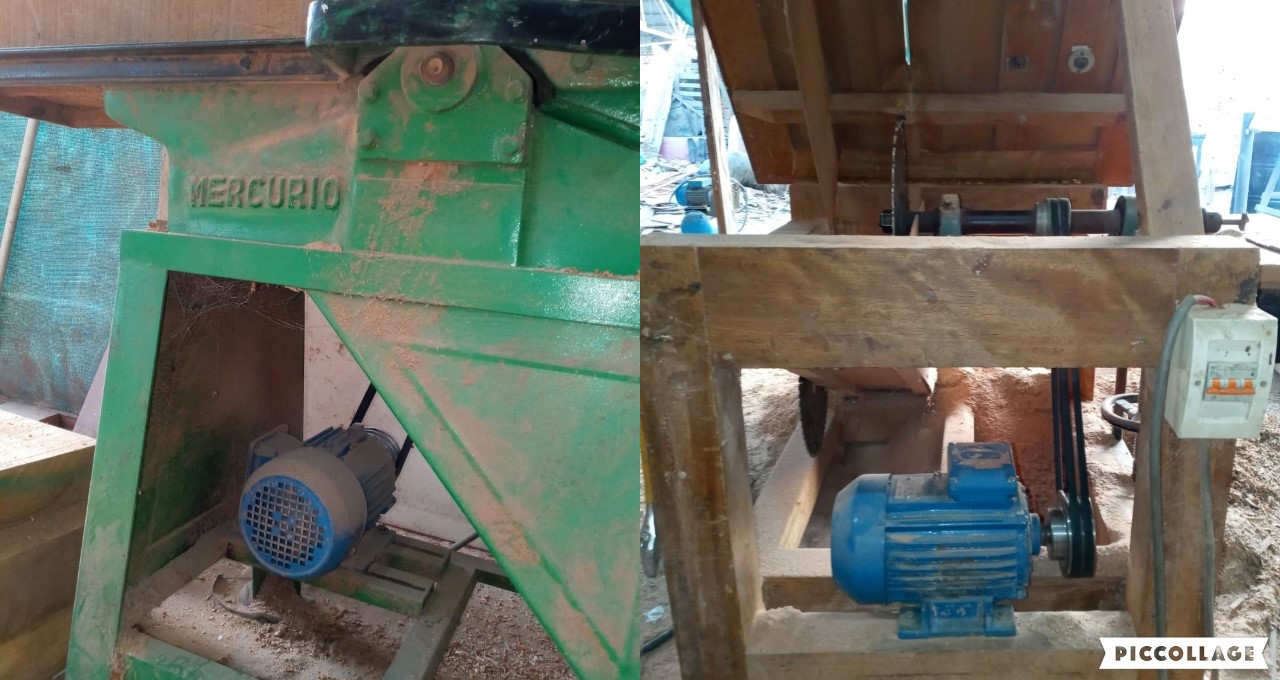
PASO 1 : GARLOPEAR. / > STEP 1: GARLOPEAR.
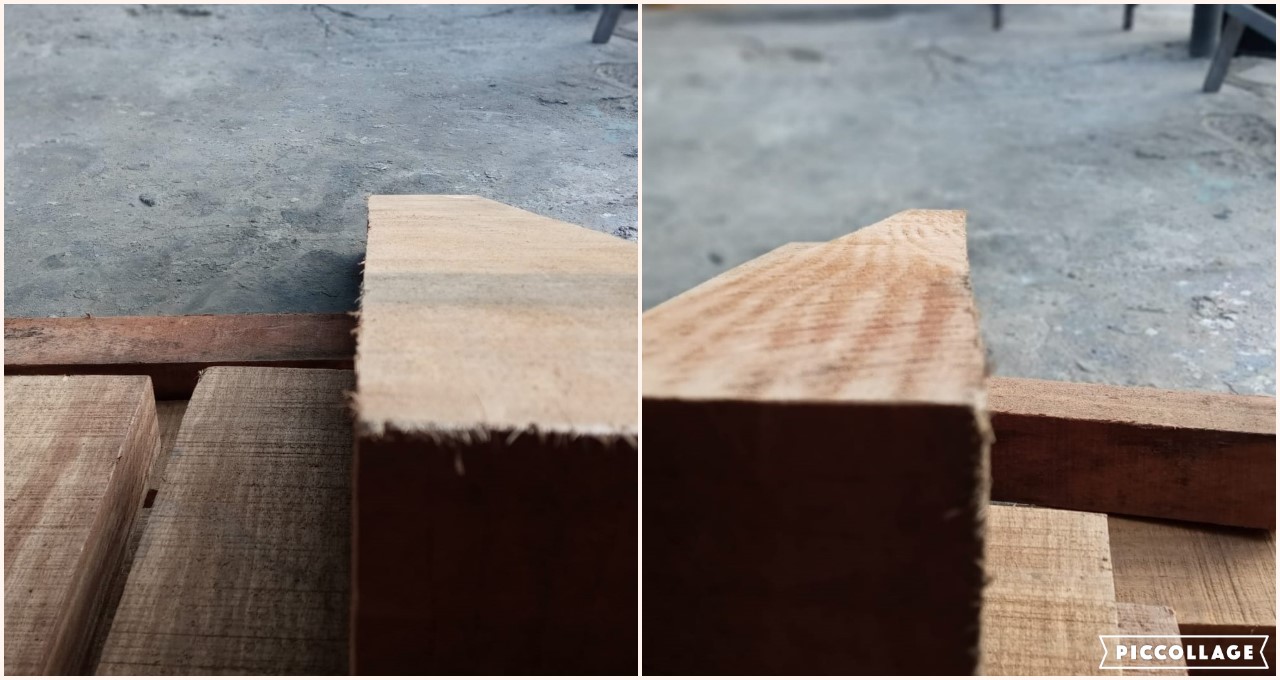
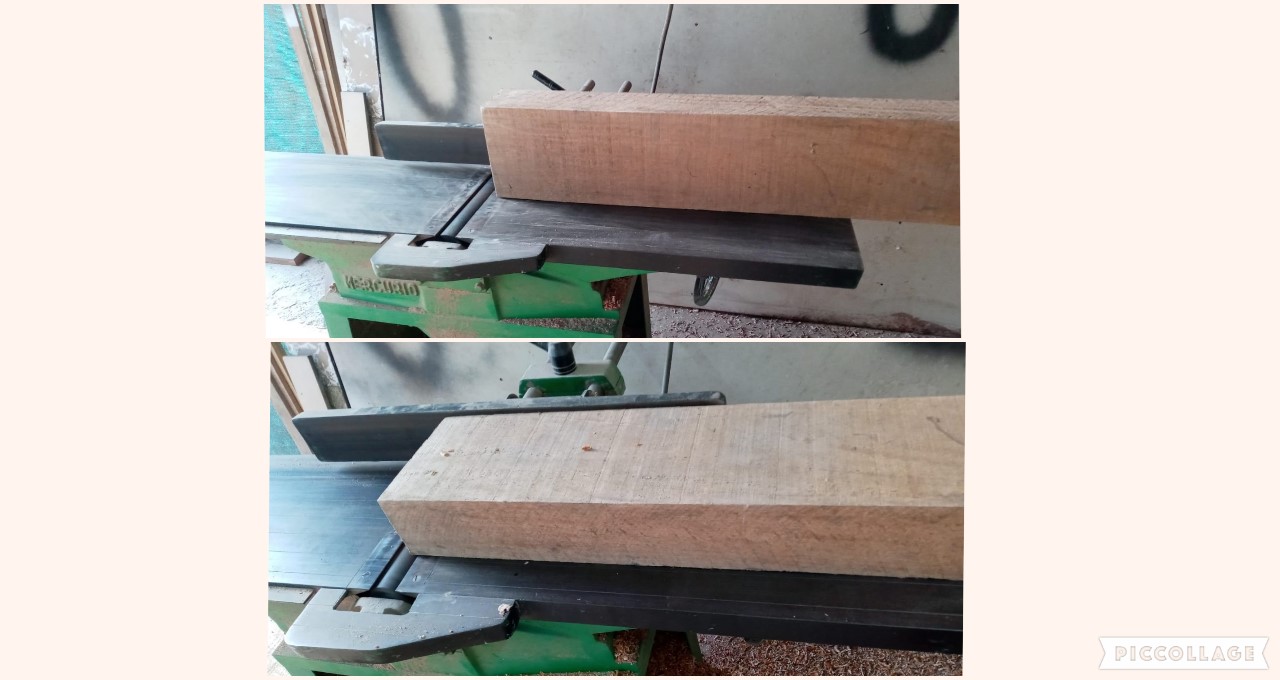
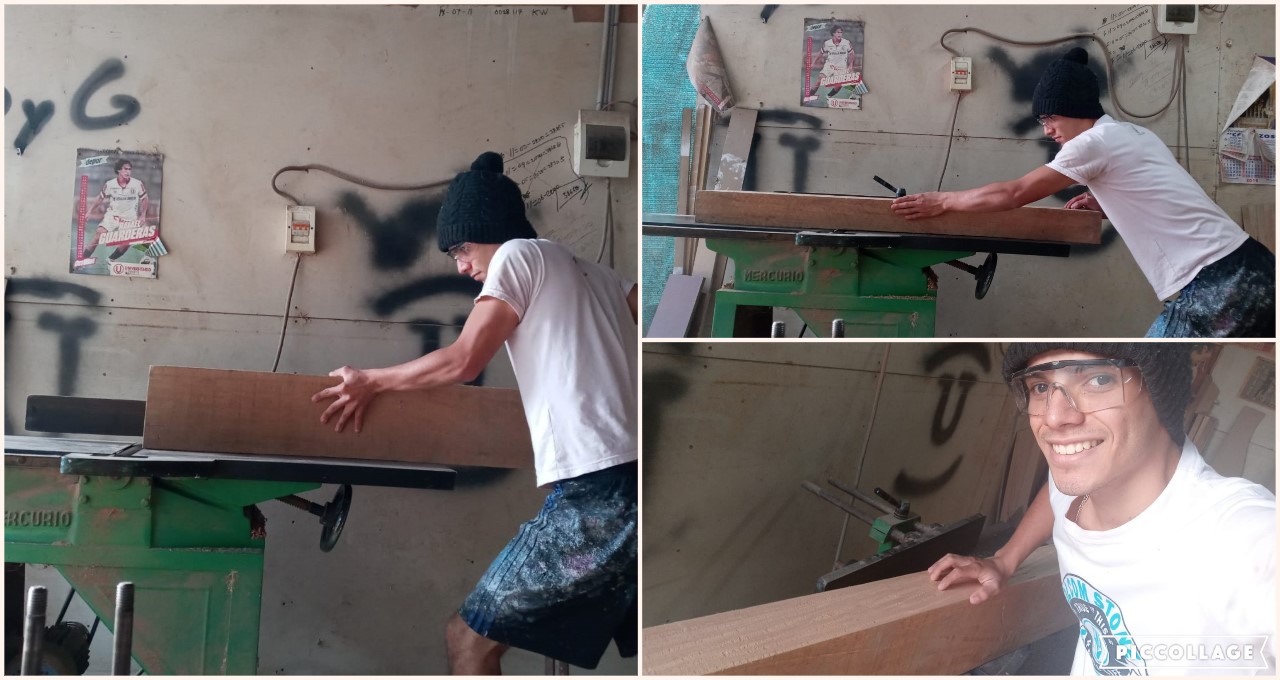
En primer lugar se visualiza el costado del tronco, de dos lados, el primer lado es la cara y el segundo lado es el
sello ( los nombres que uso son nombres de vocabulario local), estos dos lados son los que que se van a cortar con la
garlopa(la garlopa es la que limpia los costados del tronco porque vienen disparejo).
En segundo lugar procedemos a cortar los dos lados.
First, the side of the trunk is visualized, from two sides, the first side is the face and the second side is the
seal (the names I use are local vocabulary names), these two sides are the ones to be cut with the
garlopa (the garlopa is the one that cleans the sides of the trunk because they are uneven).
Second we proceed to cut the two sides.
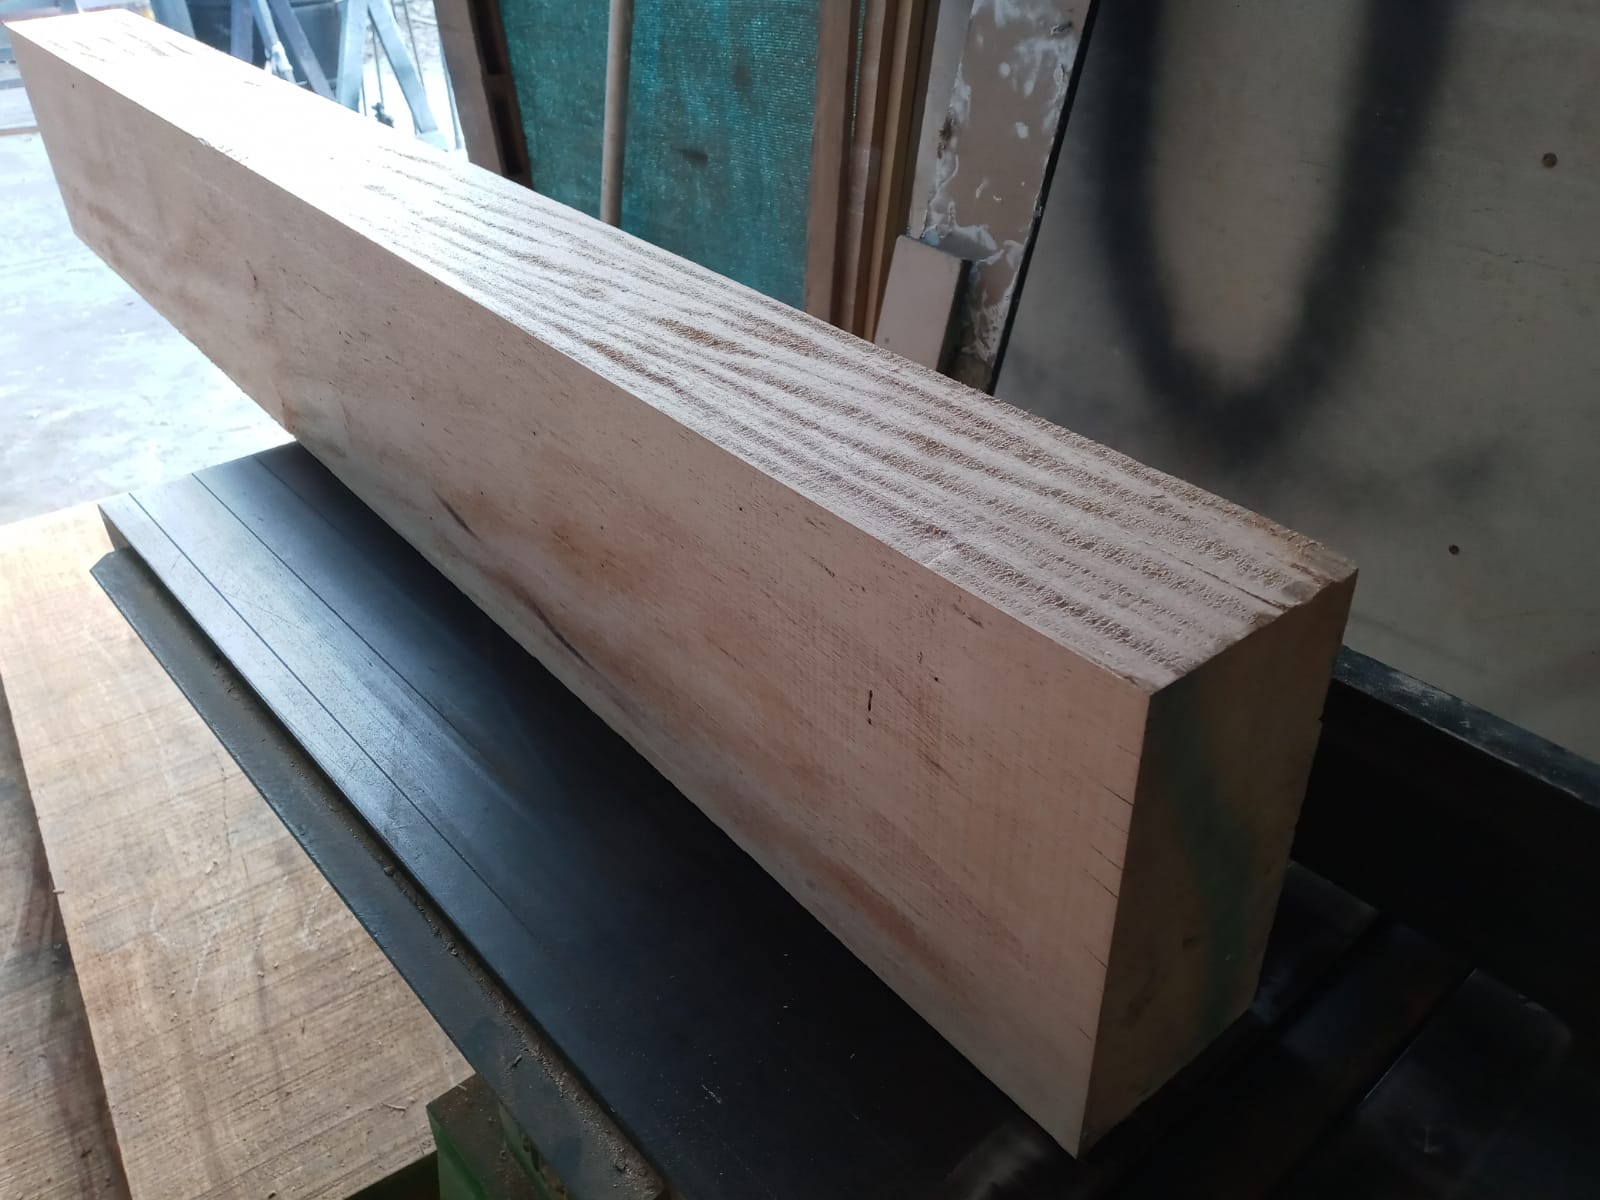
Resultado / >final score
PASO 2 : DESTRONCAR LOS AMARRES / > STEP 2 : DESTRONCAR LOS AMARRES
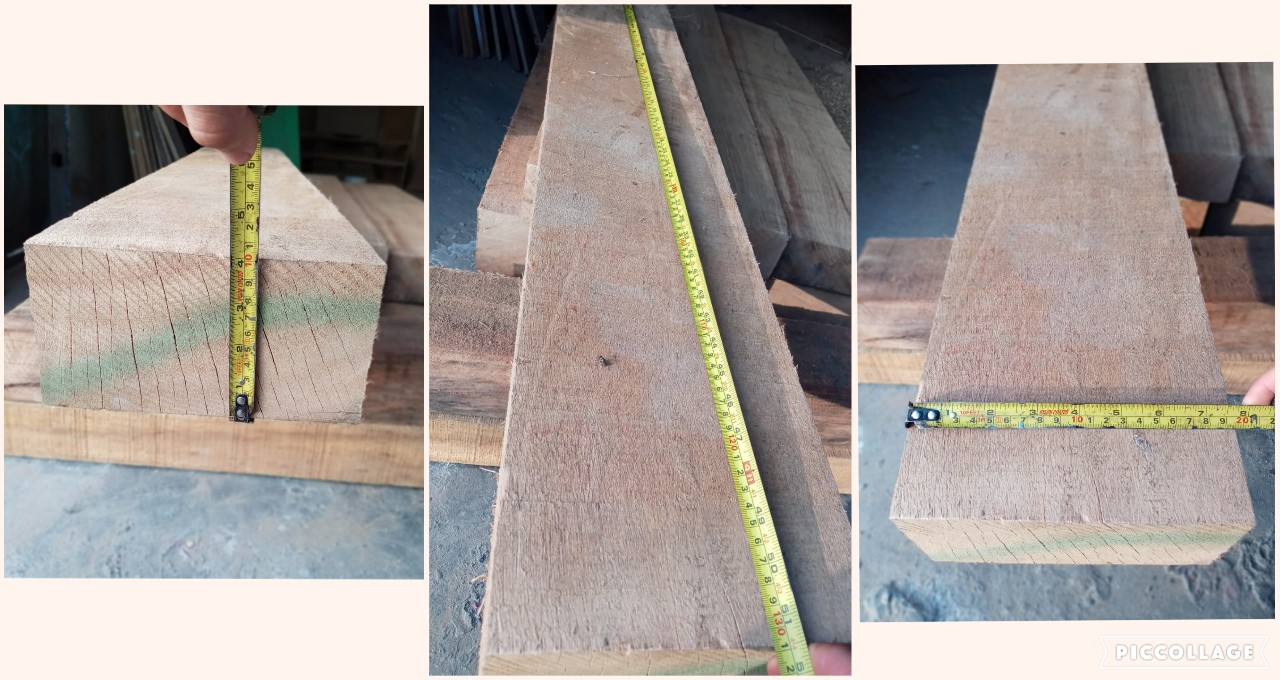
En primer lugar medimos el tronco de madera;
º De largo: minimo 131 cm. Porque si usamos una medida menor, no servira para nuestra cama
matrimonial.
ºDe ancho: no varia . Se usa la medida del tronco, siempre varia, de ancho lo cortamos a 4 cm
de grosor.
ºDe altura: no varia. Se usa la medida del tronco.
First we measure the log of wood;
º Long: minimum 131 cm. Because if we use a smaller measure, it won't work for our bed
matrimonial.
º Width: does not vary. The size of the trunk is used, it always varies, width we cut it to 4 cm
thick.
º Height: does not vary. The trunk measurement is used.
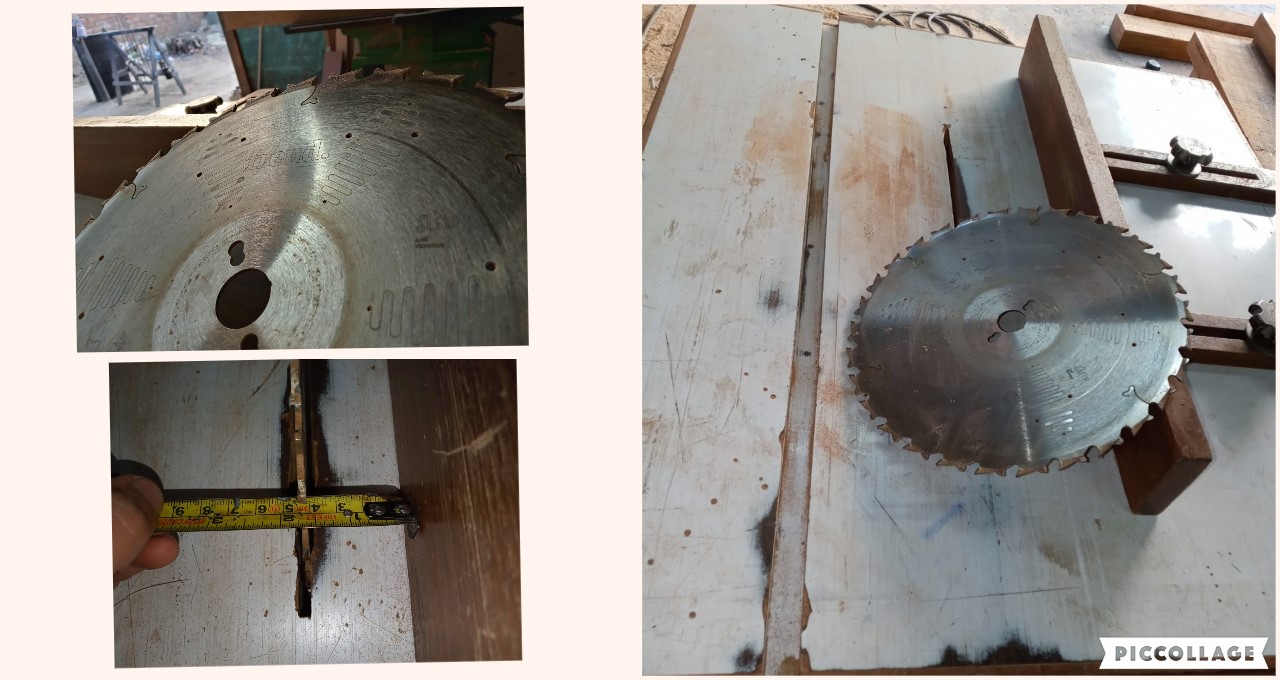
En segundo lugar procedemos a cortar en la maquina de trabajo ( maquina circular ) una medida de 4 cm, a veces el tronco es
muy alto y el disco no lo corta, entonces volteamos el tronco y cortamos otra vez.
Second, we proceed to cut a measure of 4 cm on the work machine (circular machine), sometimes the trunk is
very high and the disc does not cut it, so we turn the log over and cut again.
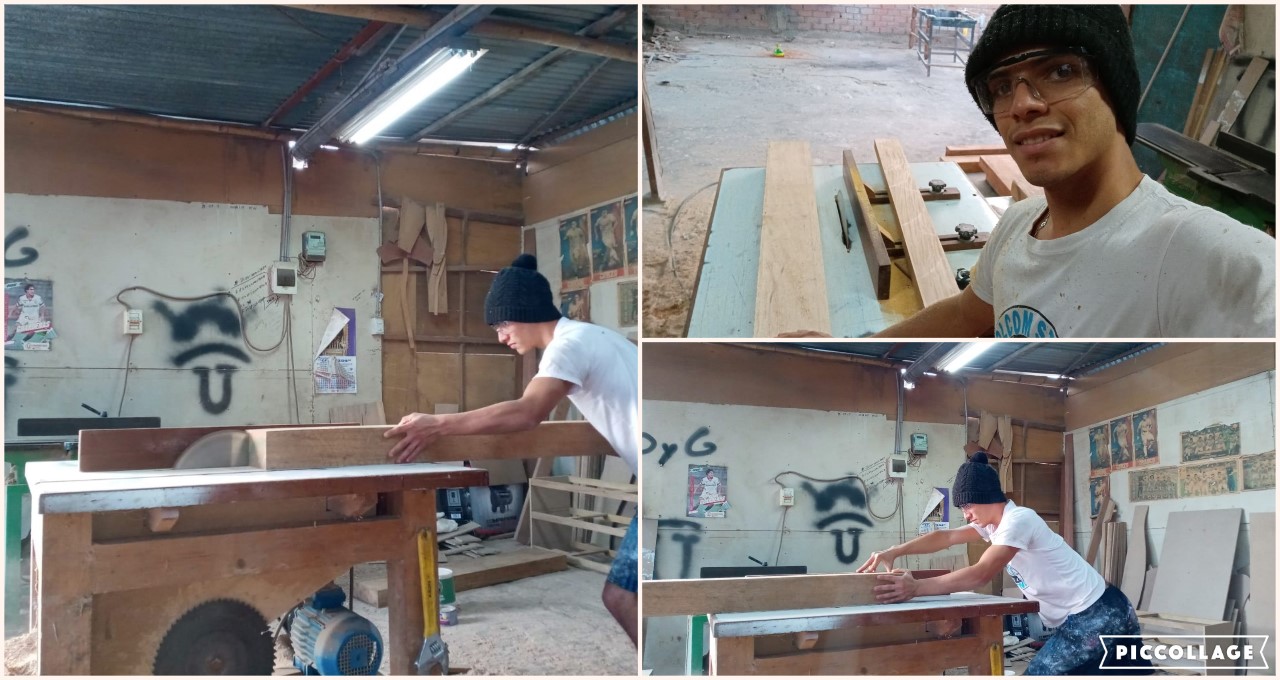
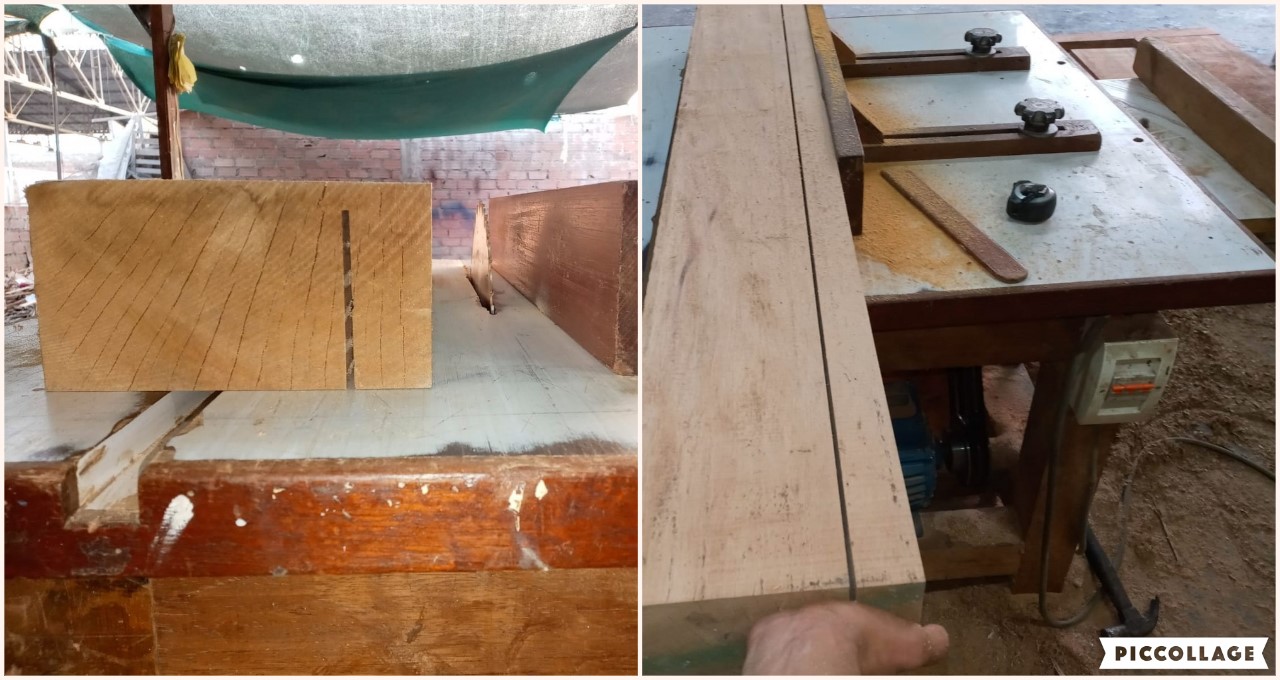
En tercer lugar cortamos todo el tronco a esa medida de 4 cm.
Third, we cut the entire trunk to that measurement of 4 cm.
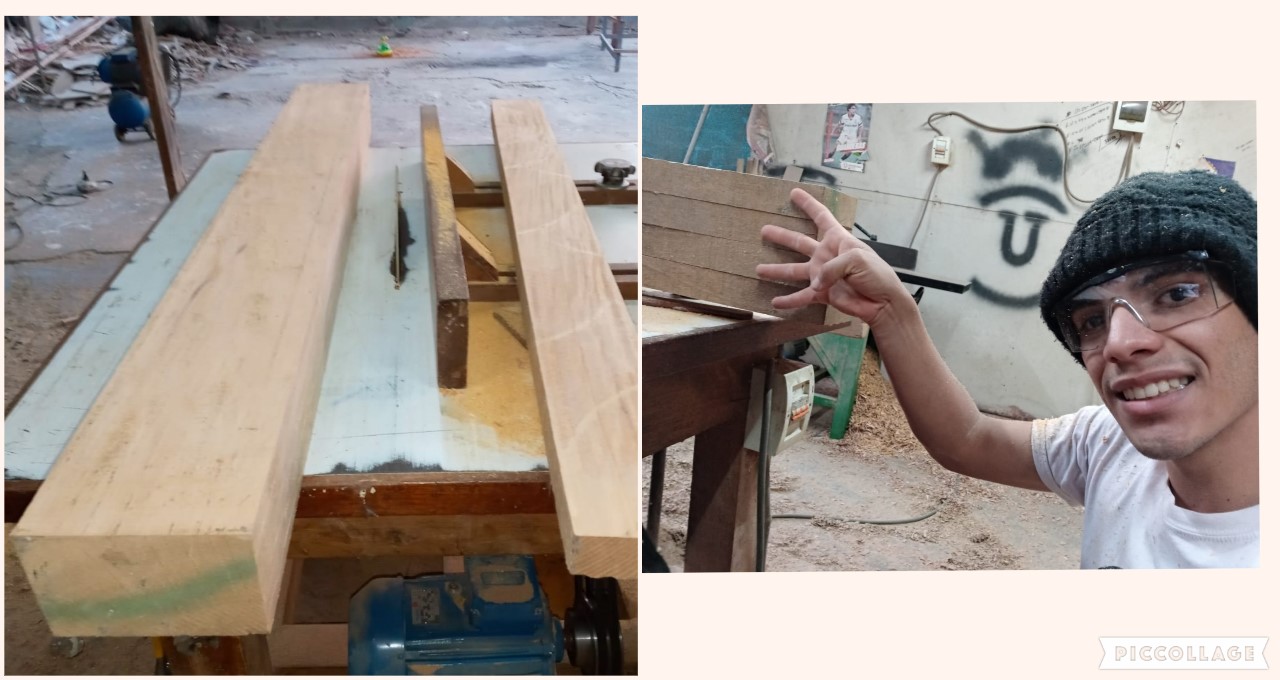
Y por ultimo tenemos 4 listones.
And finally we have 4 ribbons.
PASO 3 : TABLEAR / >STEP 3 : TABLEAR
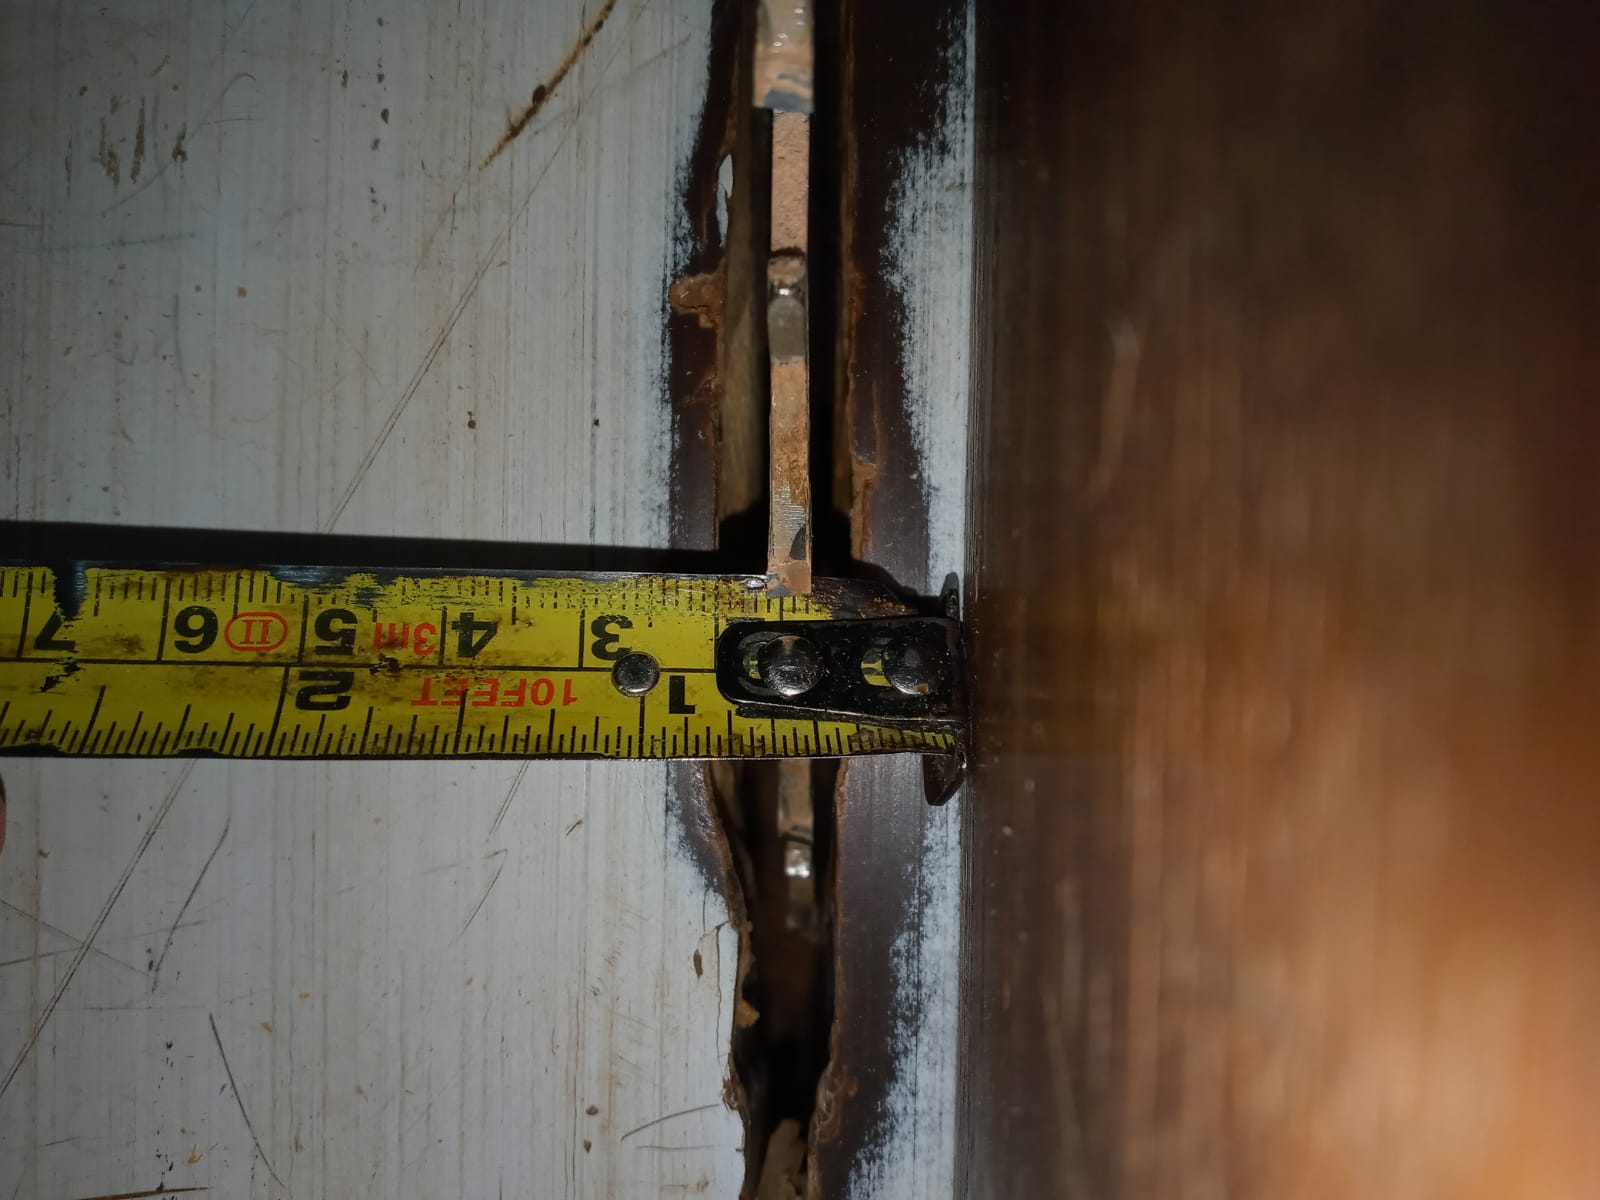
En primer lugar colocamos la medida en la mesa circular, vamos a cortar a 1,2 cm de grosor, el lado de la altura del tronco.
First we place the measurement on the circular table, we are going to cut 1.2 cm thick, the side of the height of the trunk.
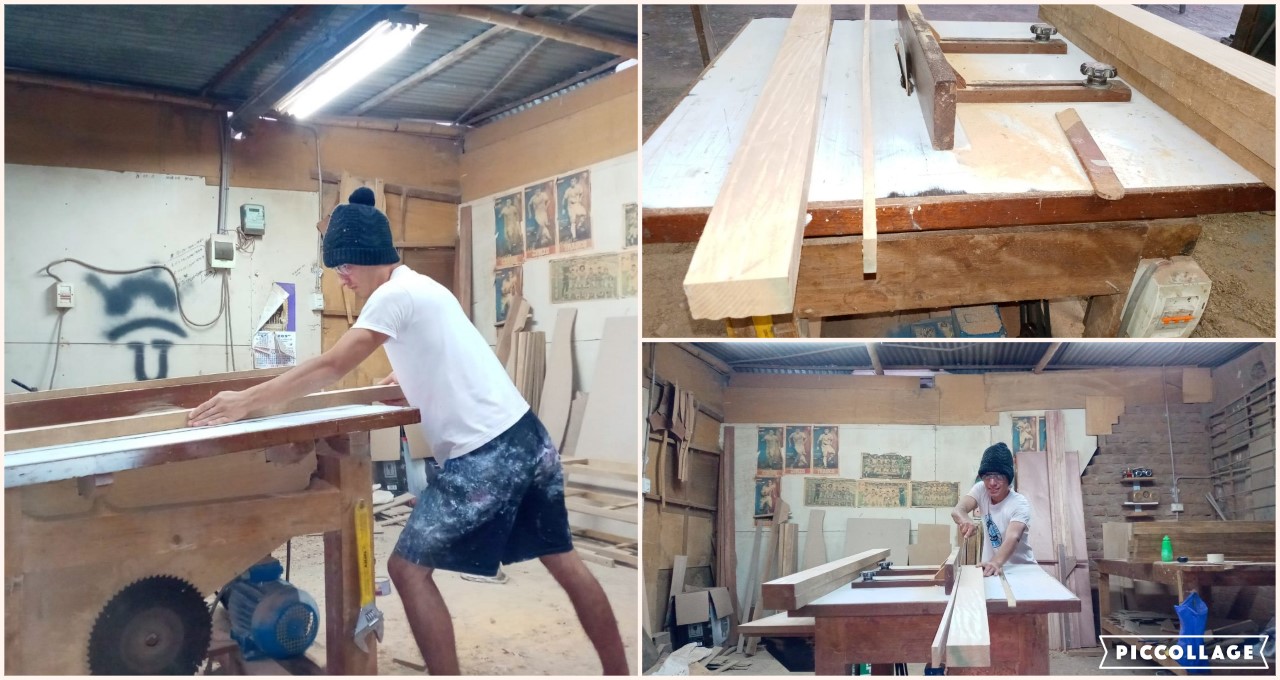
En segundo lugar cortamos todo el liston, a veces algunos troncos tienen ojos o esta rajado ( vocabulario local ), y se rompen donde este
rajado.Y por ultimo, guardamos el sobrante del liston, para usarlo en el puente ( ya les dire que es el puente ).
PASO 4 : CABECEAR / > STEP 4: CABECEAR
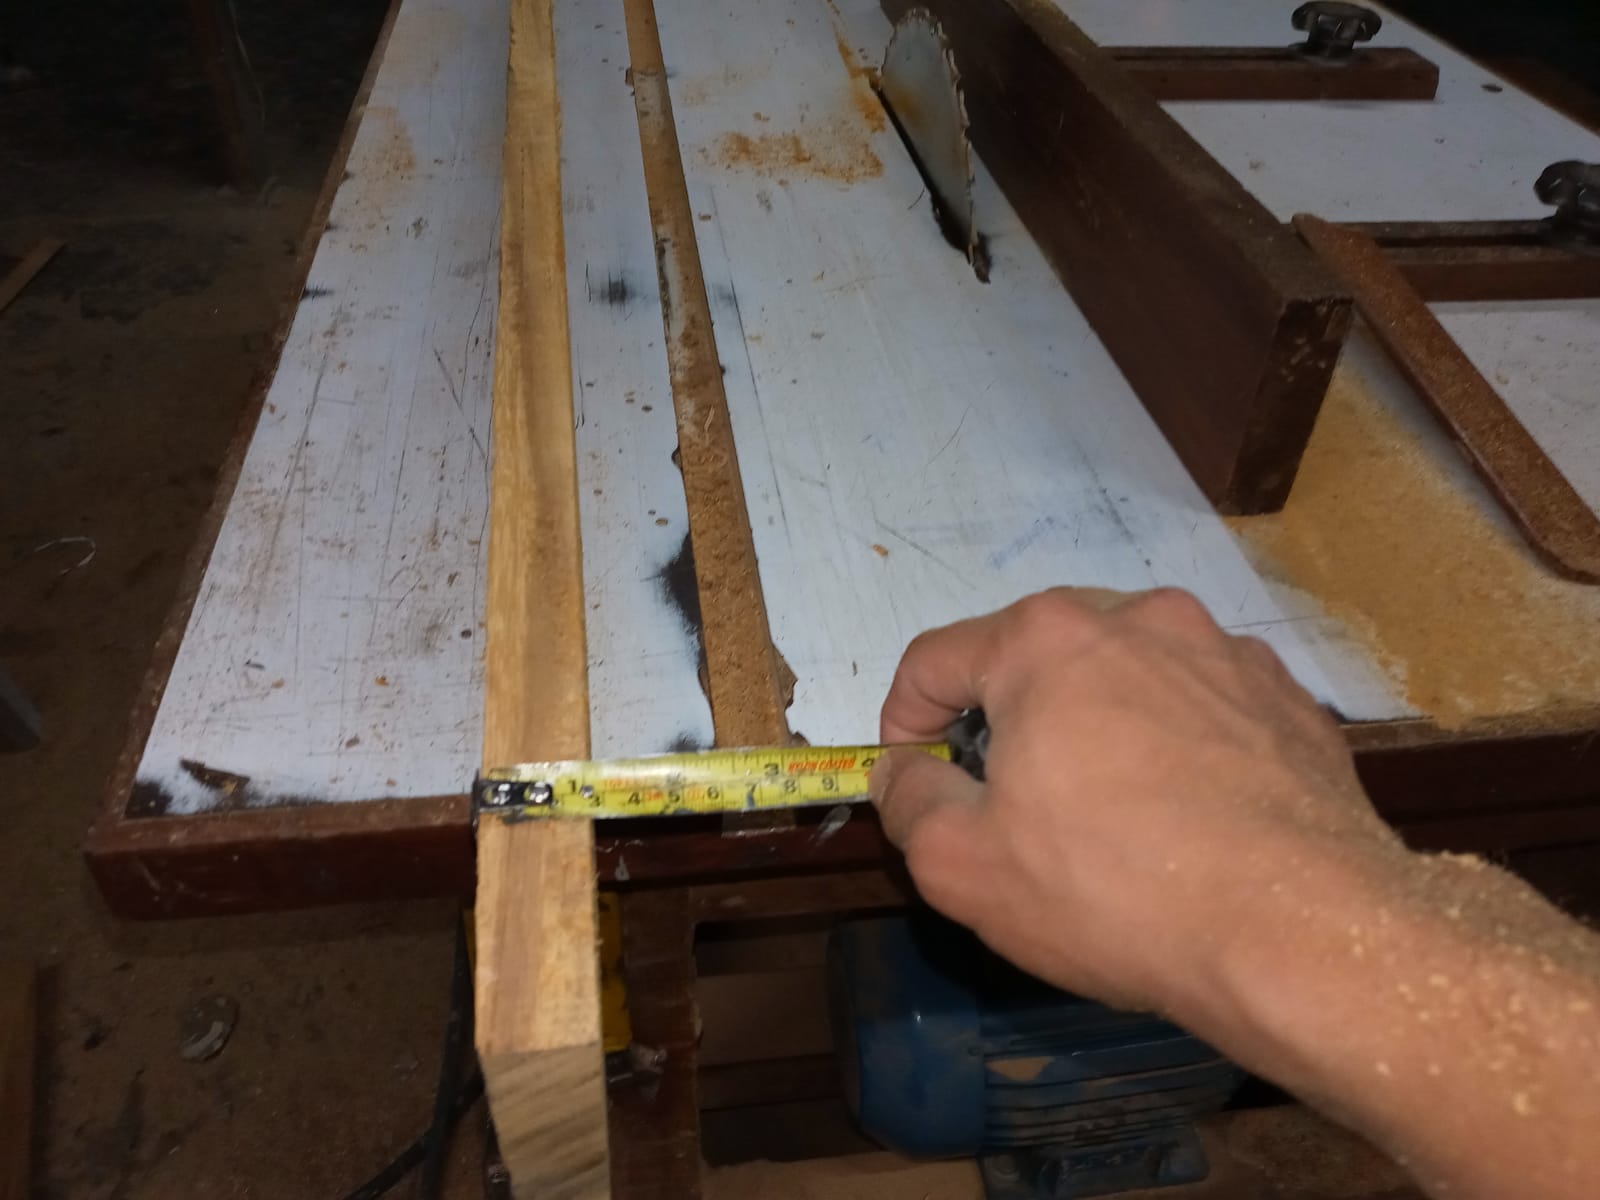
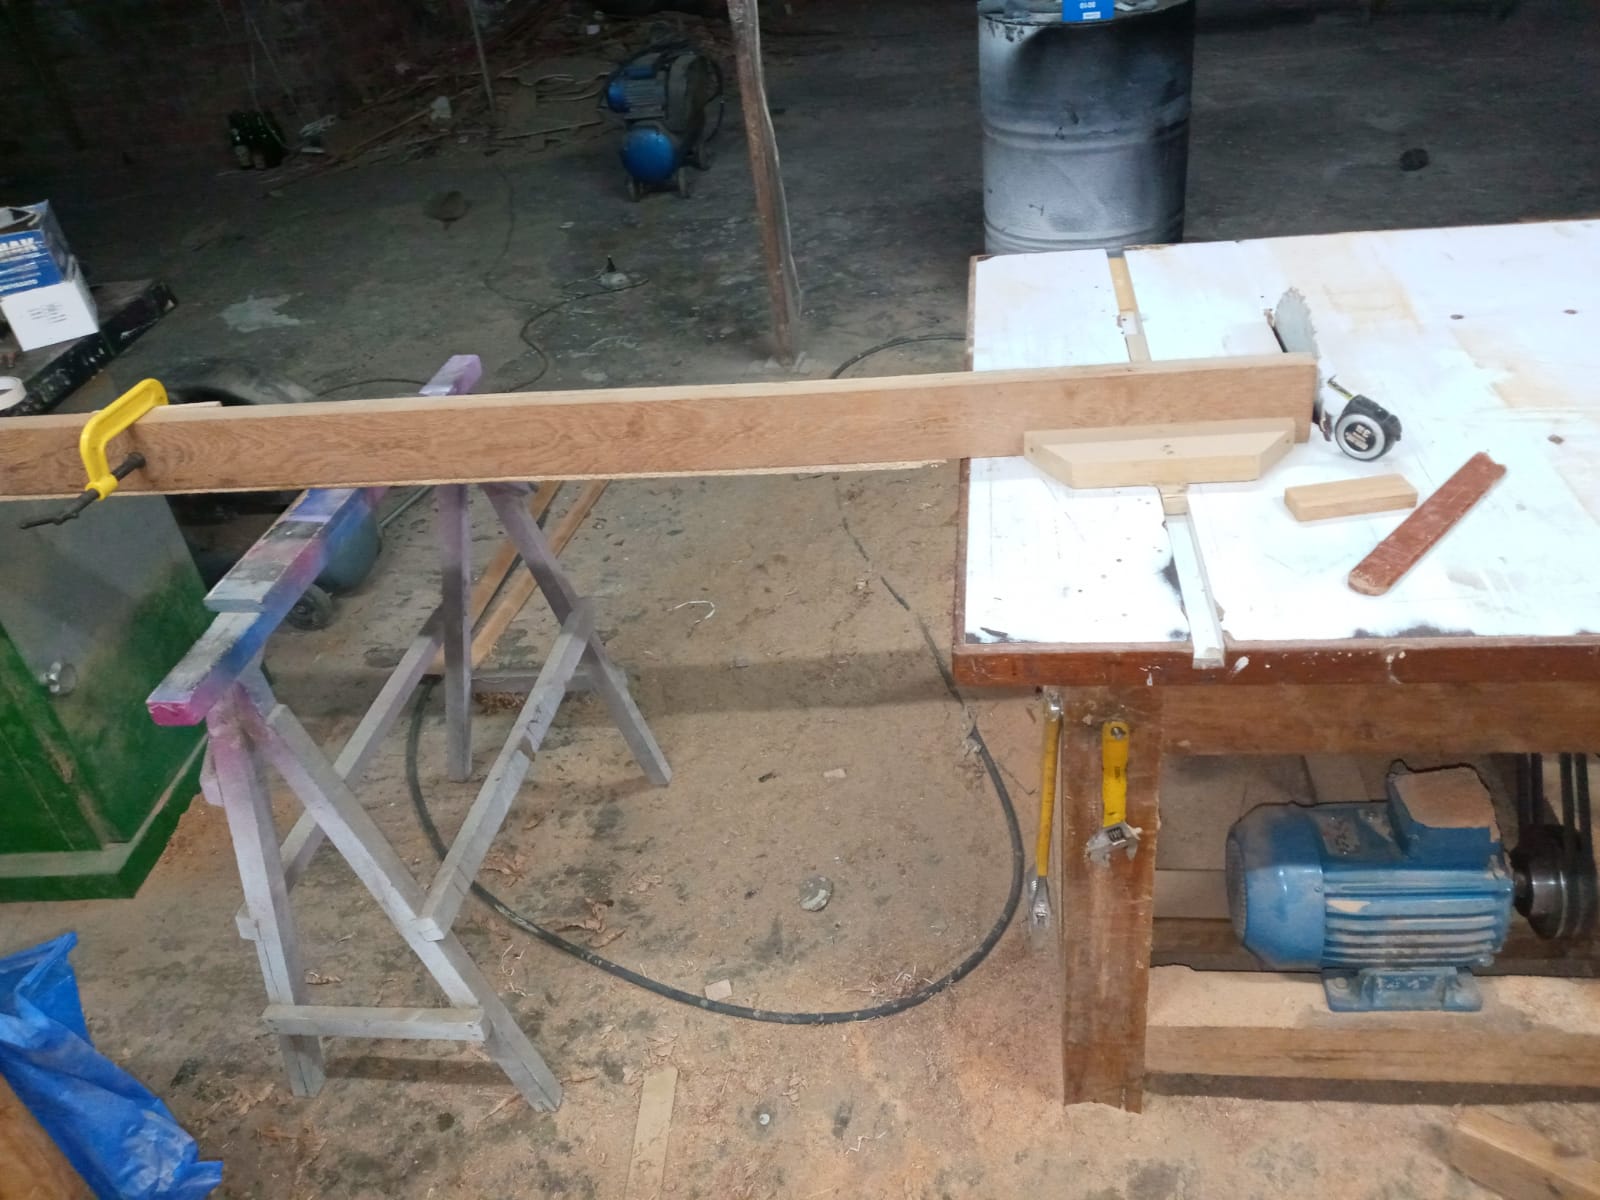
En primer lugar ubicamos el caballete y la guia ( como se aprecian en la foto ), al costado de la maquina de trabajo, para cortar los dos
extremos del amarre y esten a medida porque el tronco viene mal cortado.
First of all we place the easel and the guide (as seen in the photo), on the side of the work machine, to cut the two
ends of the mooring and are made to measure because the trunk is badly cut.
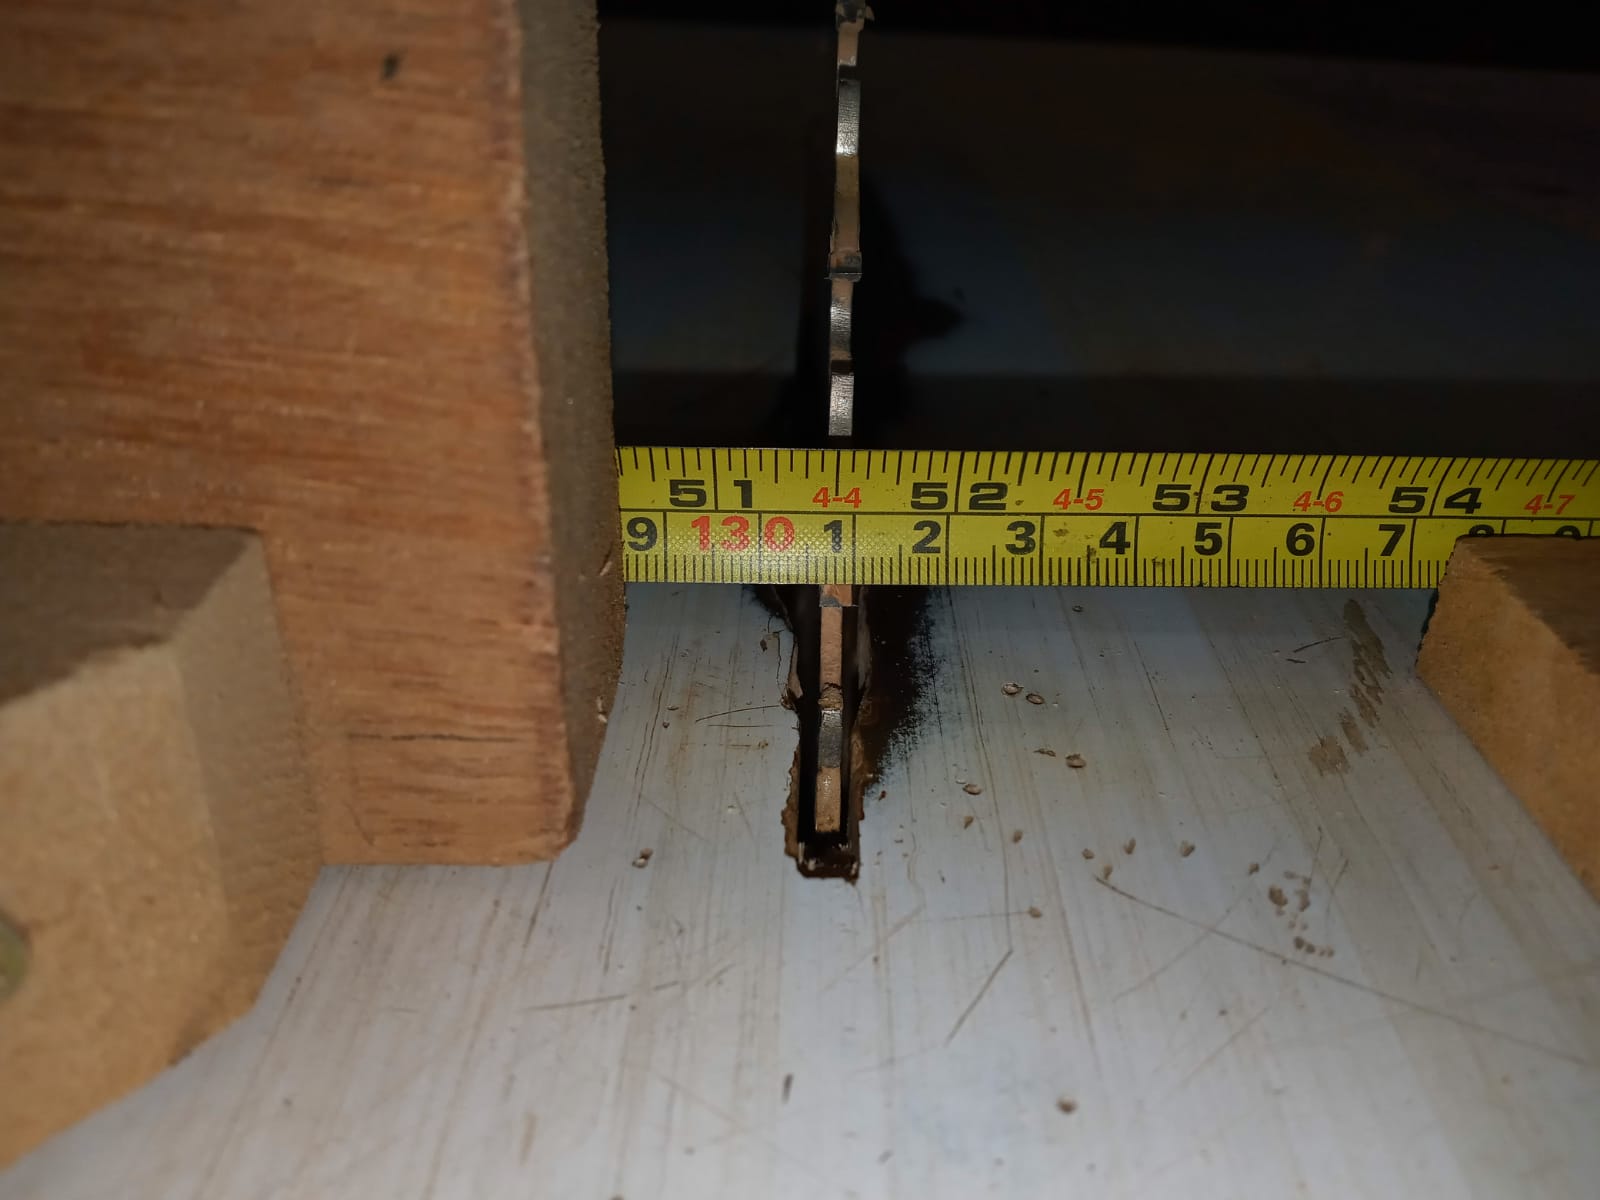
En segundo lugar se coloca la medida de 130,6 cm en la maquina y procedemos a cortar. Ya cortado los amarres, tambien cabeceamos los
puentes a 32 cm.
Second, the 130.6 cm measurement is placed in the machine and we proceed to cut.Already cut the moorings, we also head the
bridges at 32 cm.
.jpeg)
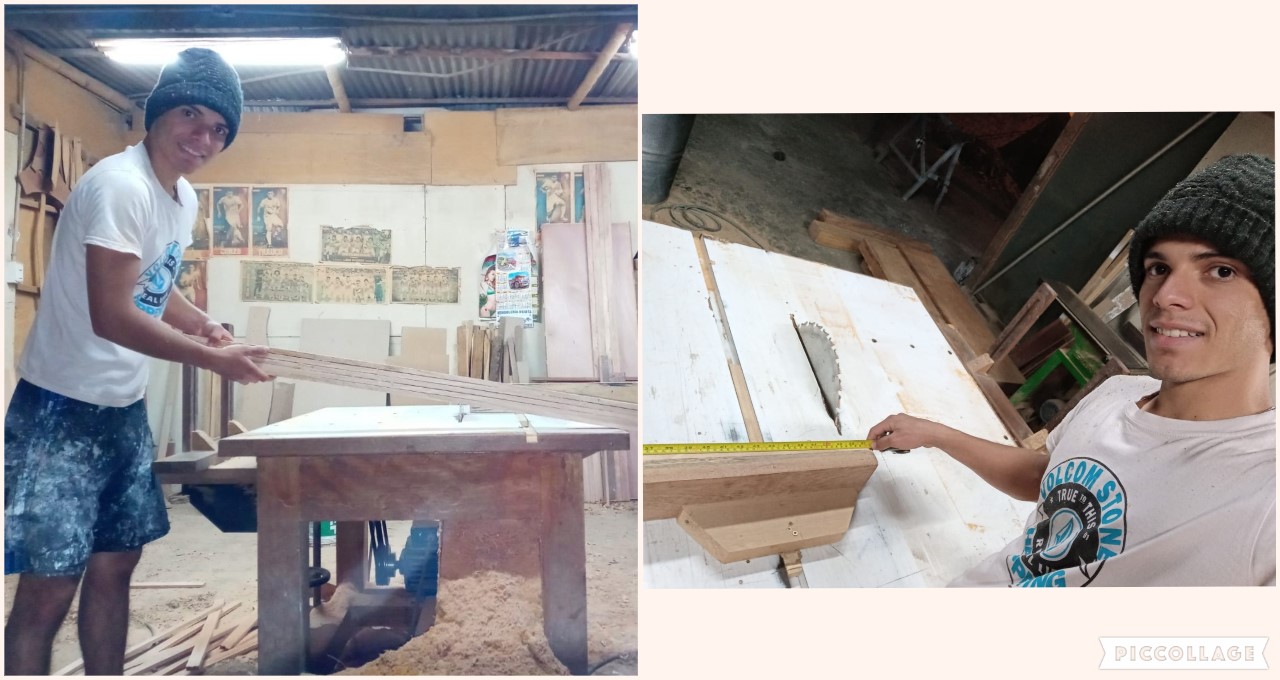
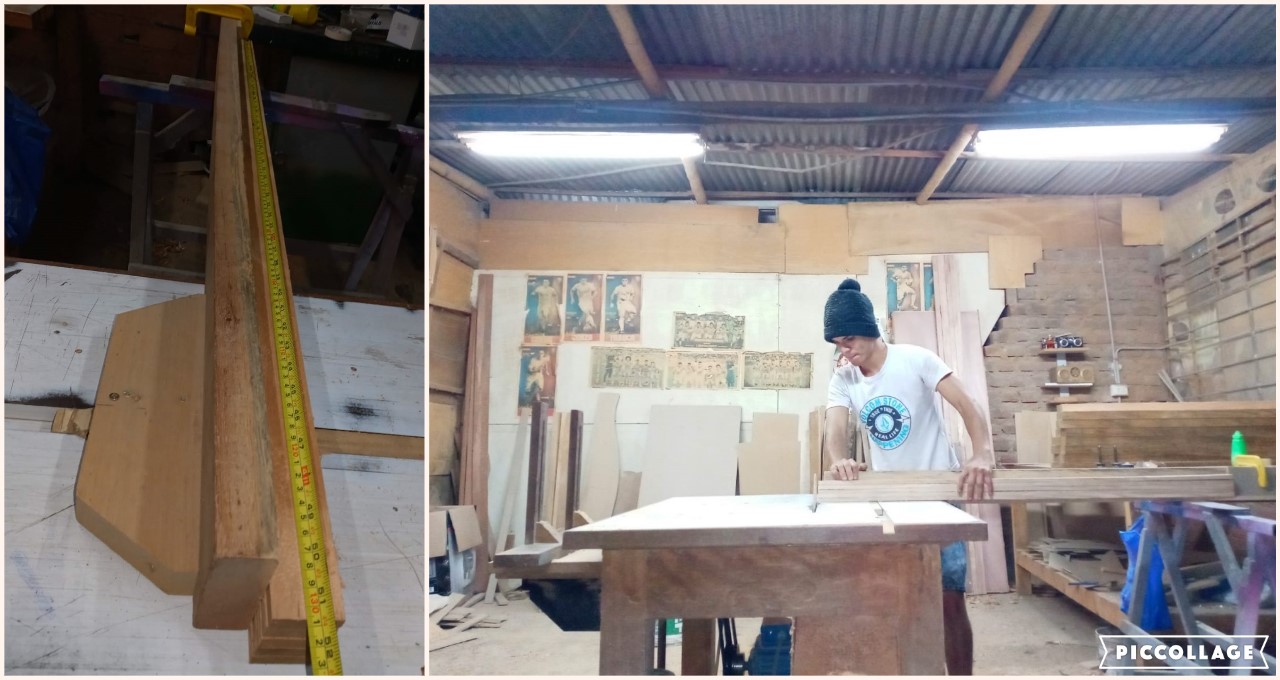
En tercer lugar contamos cuantos amarres necesitamos y cuantos puentes.
Para 1 baul: son 6 amarres , y 7 puentes ( 6 de medida 32 cm x 4 cm y 1 de 32 cm x 4-7 cm para este se usa el sobrante antes guardado )
Third, we count how many moorings we need and how many bridges.
For 1 trunk: there are 6 moorings, and 7 bridges (6 of measure 32 cm x 4 cm and 1 of 32 cm x 4-7 cm for this, the excess previously stored is used)
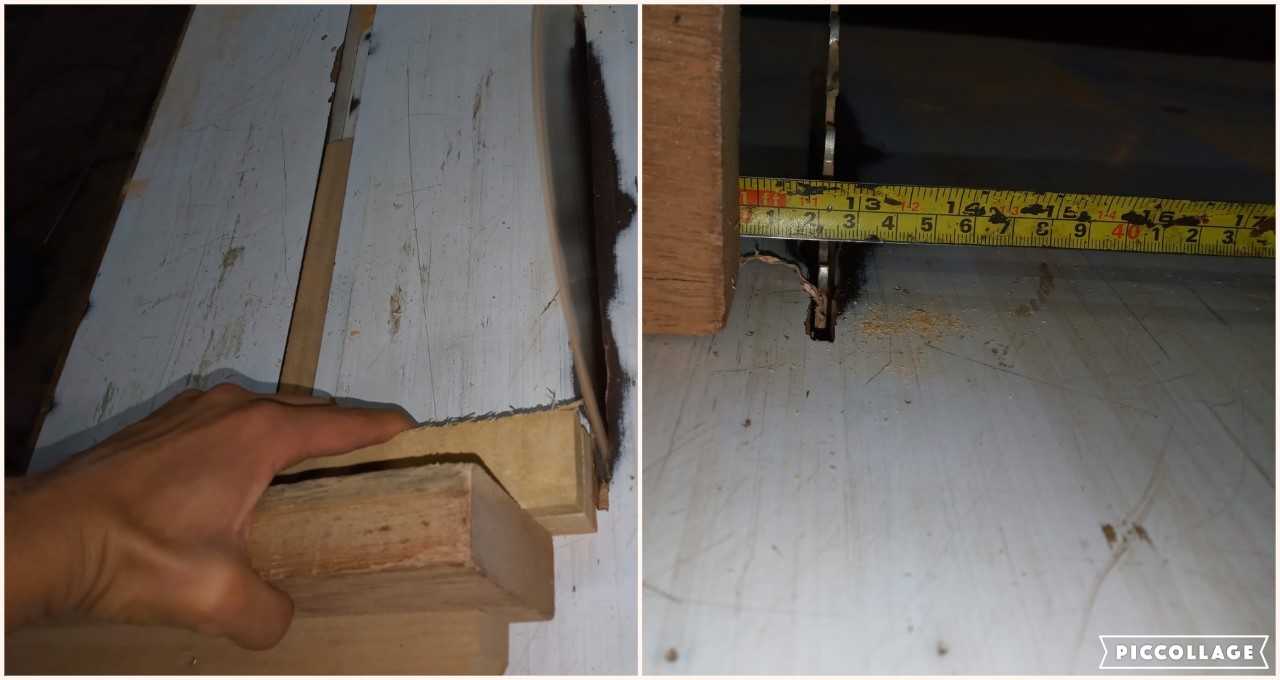
PASO 5: RALLAR EL COSTADO / > STEP 4 : RALLAR EL COSTADO
En primer lugar, Colocamos la medida de 20 cm en la maquina circular. Y despues a 6,5 cm. El costado tendra 2 rallas y en esas ranuras se colocan
las planchas de trupan de 0,25 cm de grosor ( trupan es el nombre del material).
First, we place the measure of 20 cm in the circular machine. And then to 6.5 cm. The side will have 2 stripes and in those grooves are placed
the 0.25 cm thick trupan plates (trupan is the name of the material).
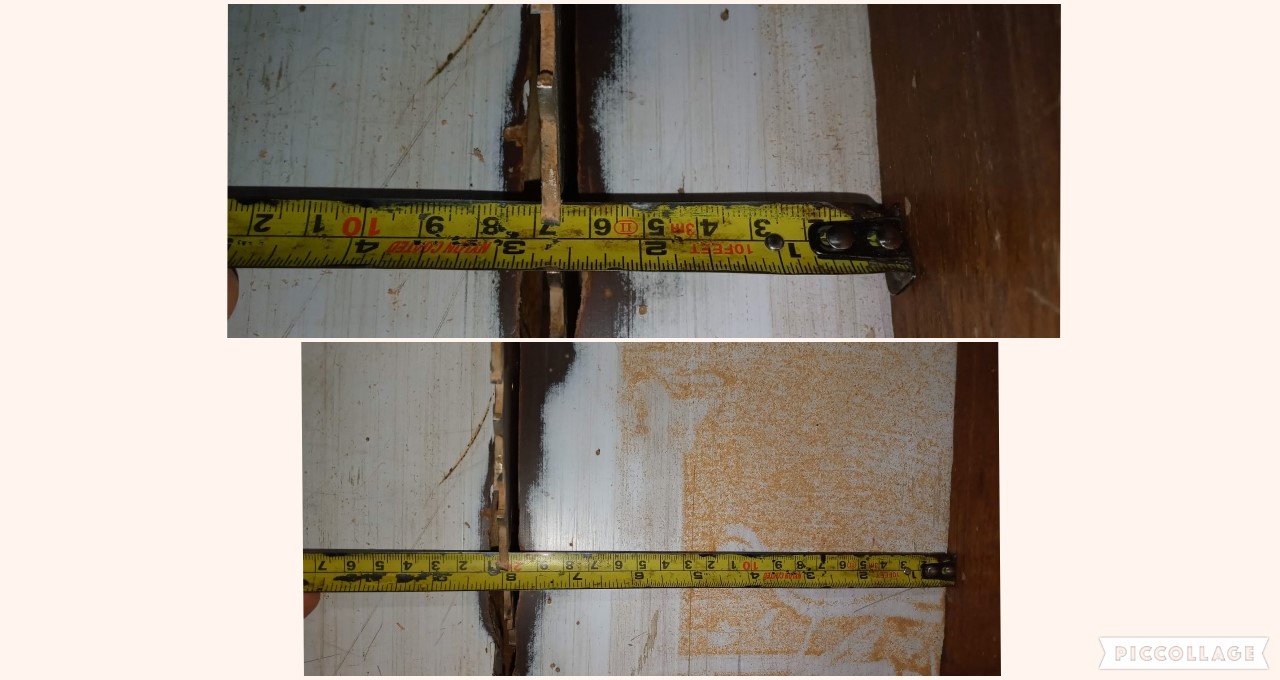
En segundo levantamos la mesa de trabajo a una altura aproximada de 0,4 c,m.
In second we raise the work table to an approximate height of 0.4 c, m.
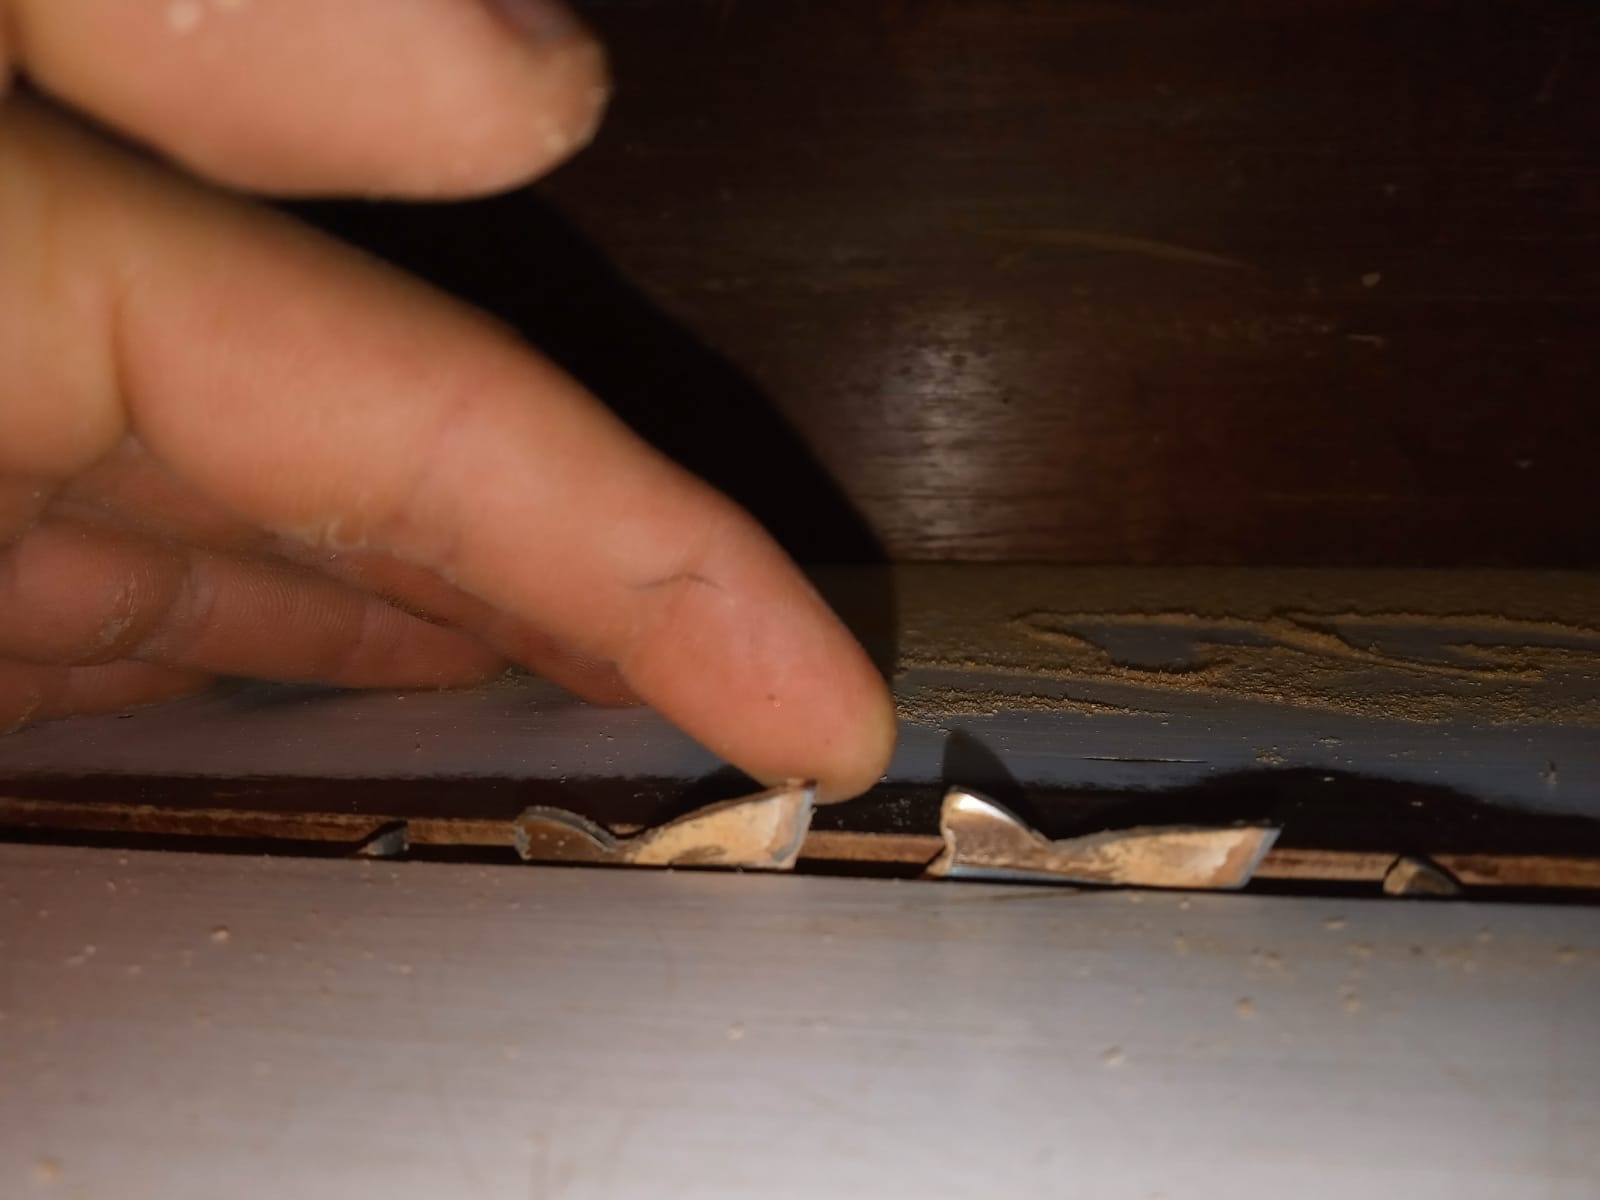
Y por ultimo procedemos a cortar el costado, primero a la medida de 20 cm y despues a la medida de 6,5 cm.
And finally we proceed to cut the side, first to the measure of 20 cm and then to the measure of 6.5 cm.
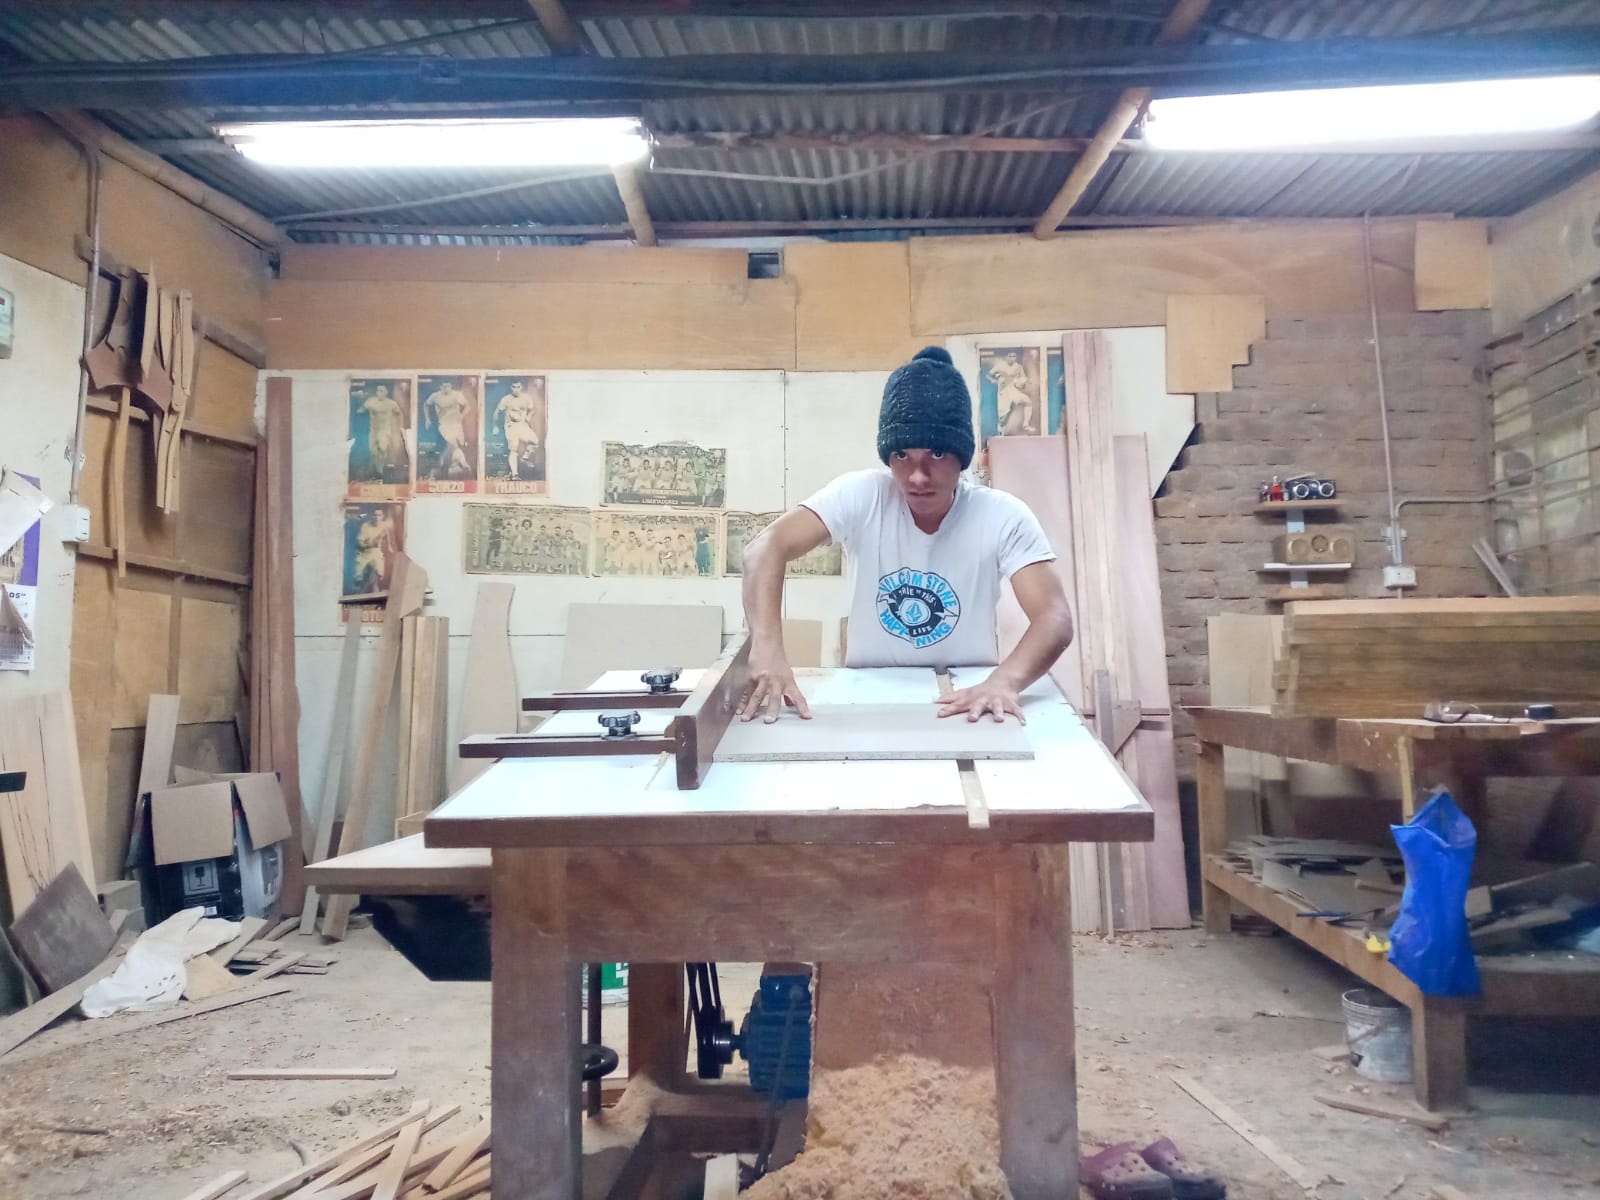
PASO 6: ARMAR LA ESCALERA / > STEP 6: ASSEMBLE THE LADDER
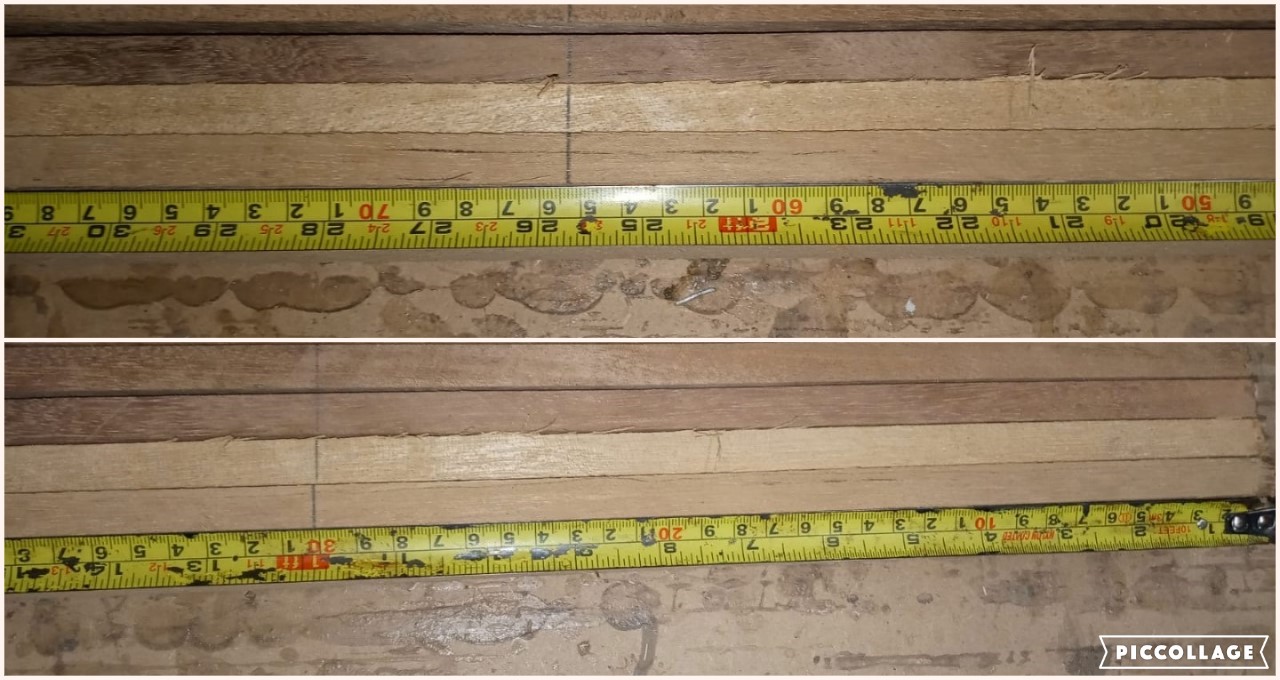
En primer lugar medimos y rallamos con un lapiz el amarre a 30 cm de los lados y justo al medio 65,3 cm.
First, we measure and grate the tie with a pencil 30 cm from the sides and just 65.3 cm in the middle.
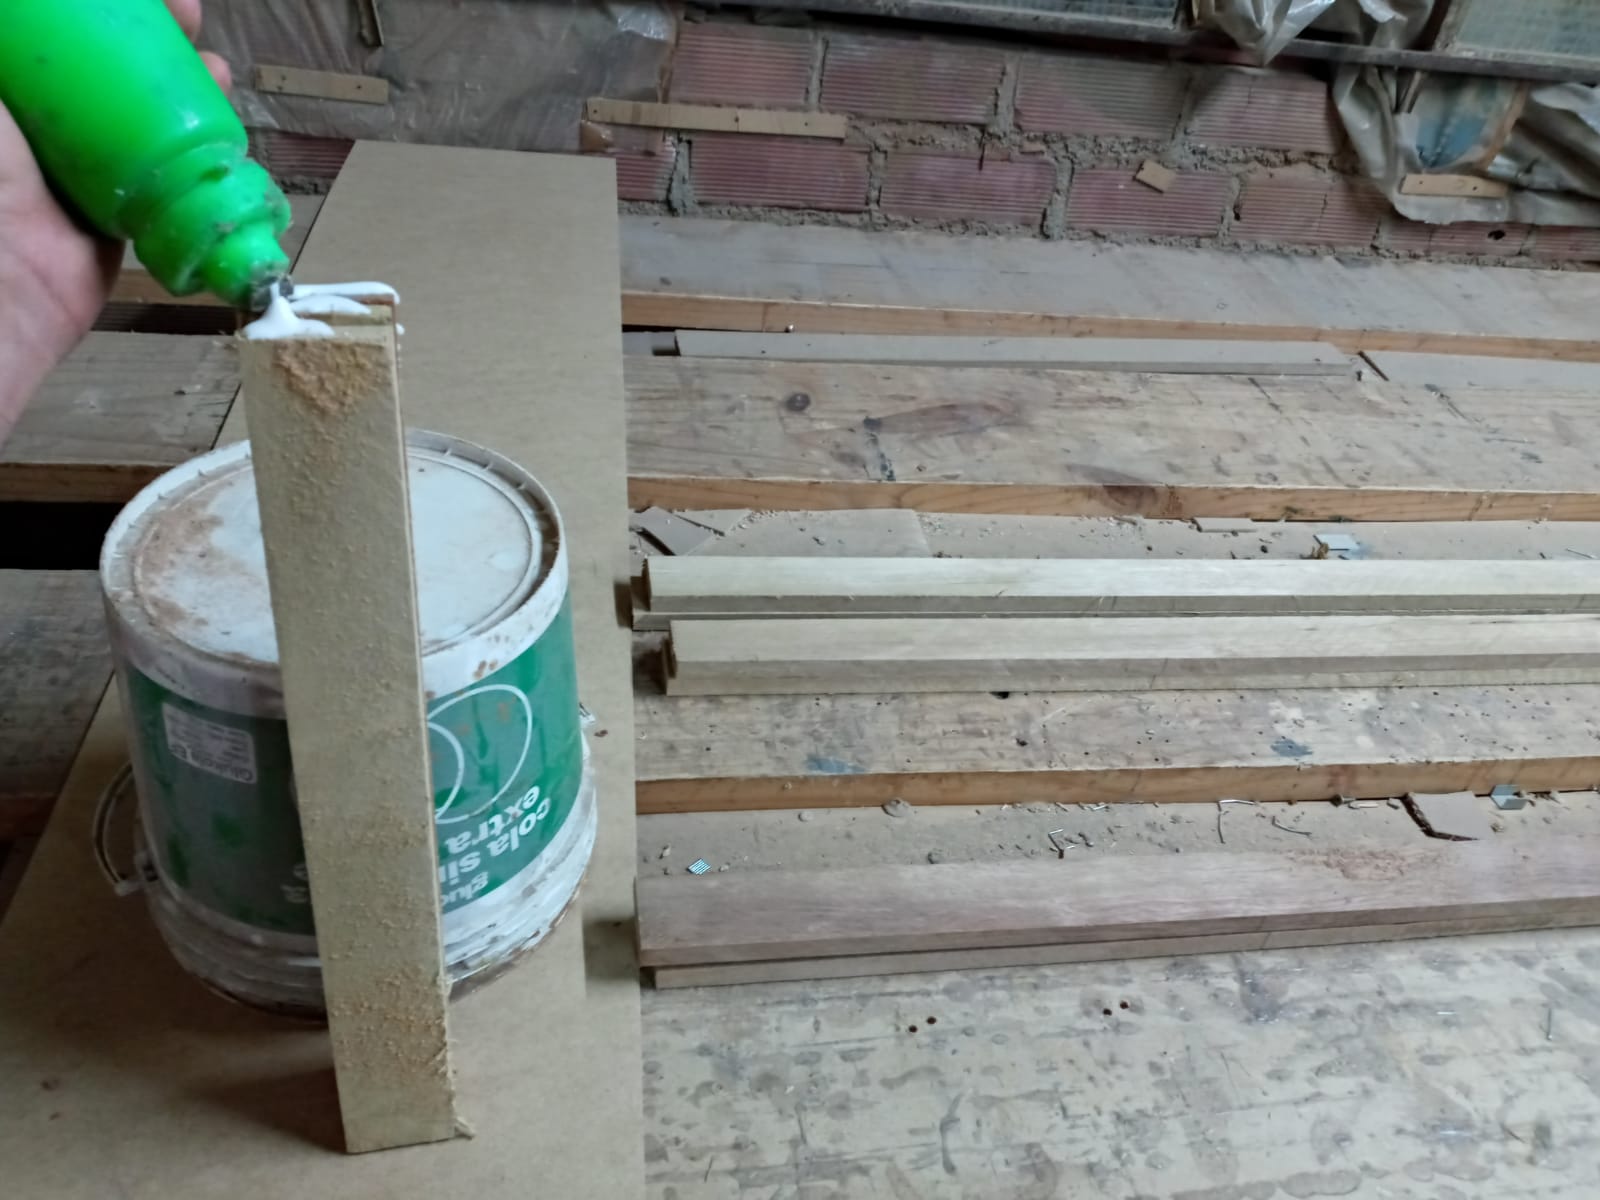
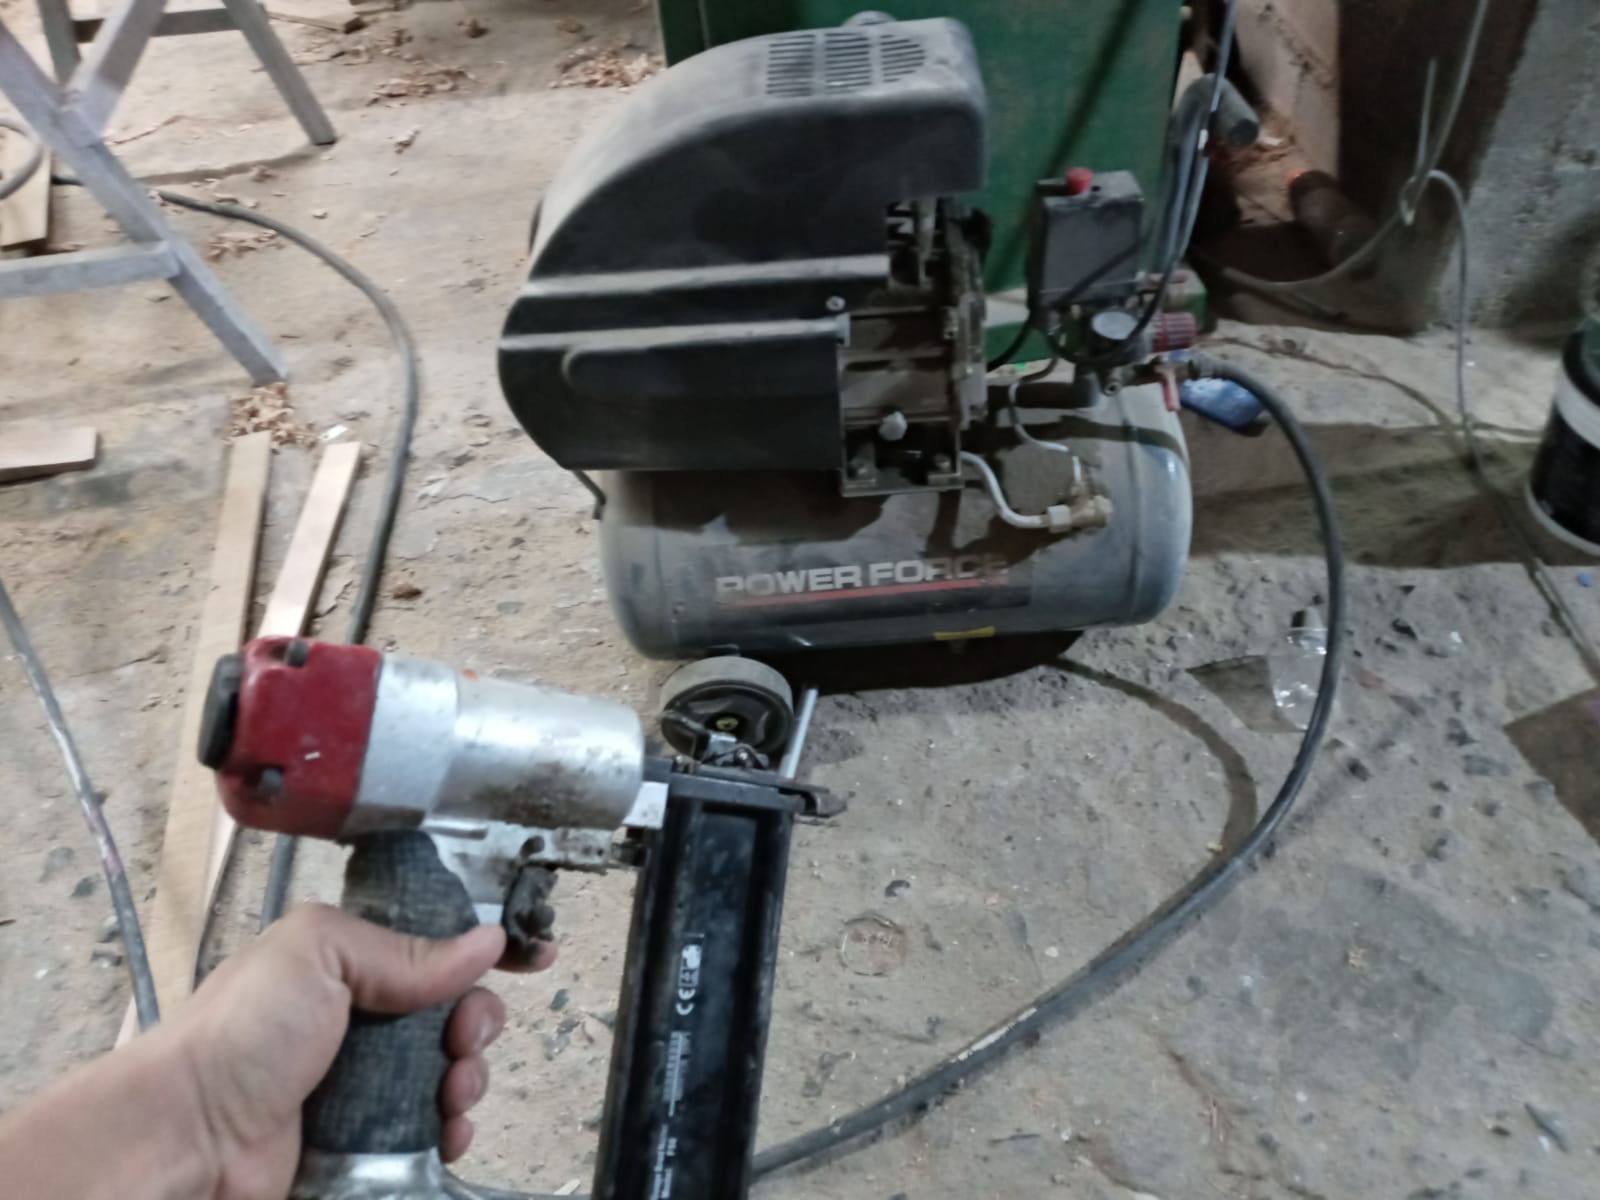
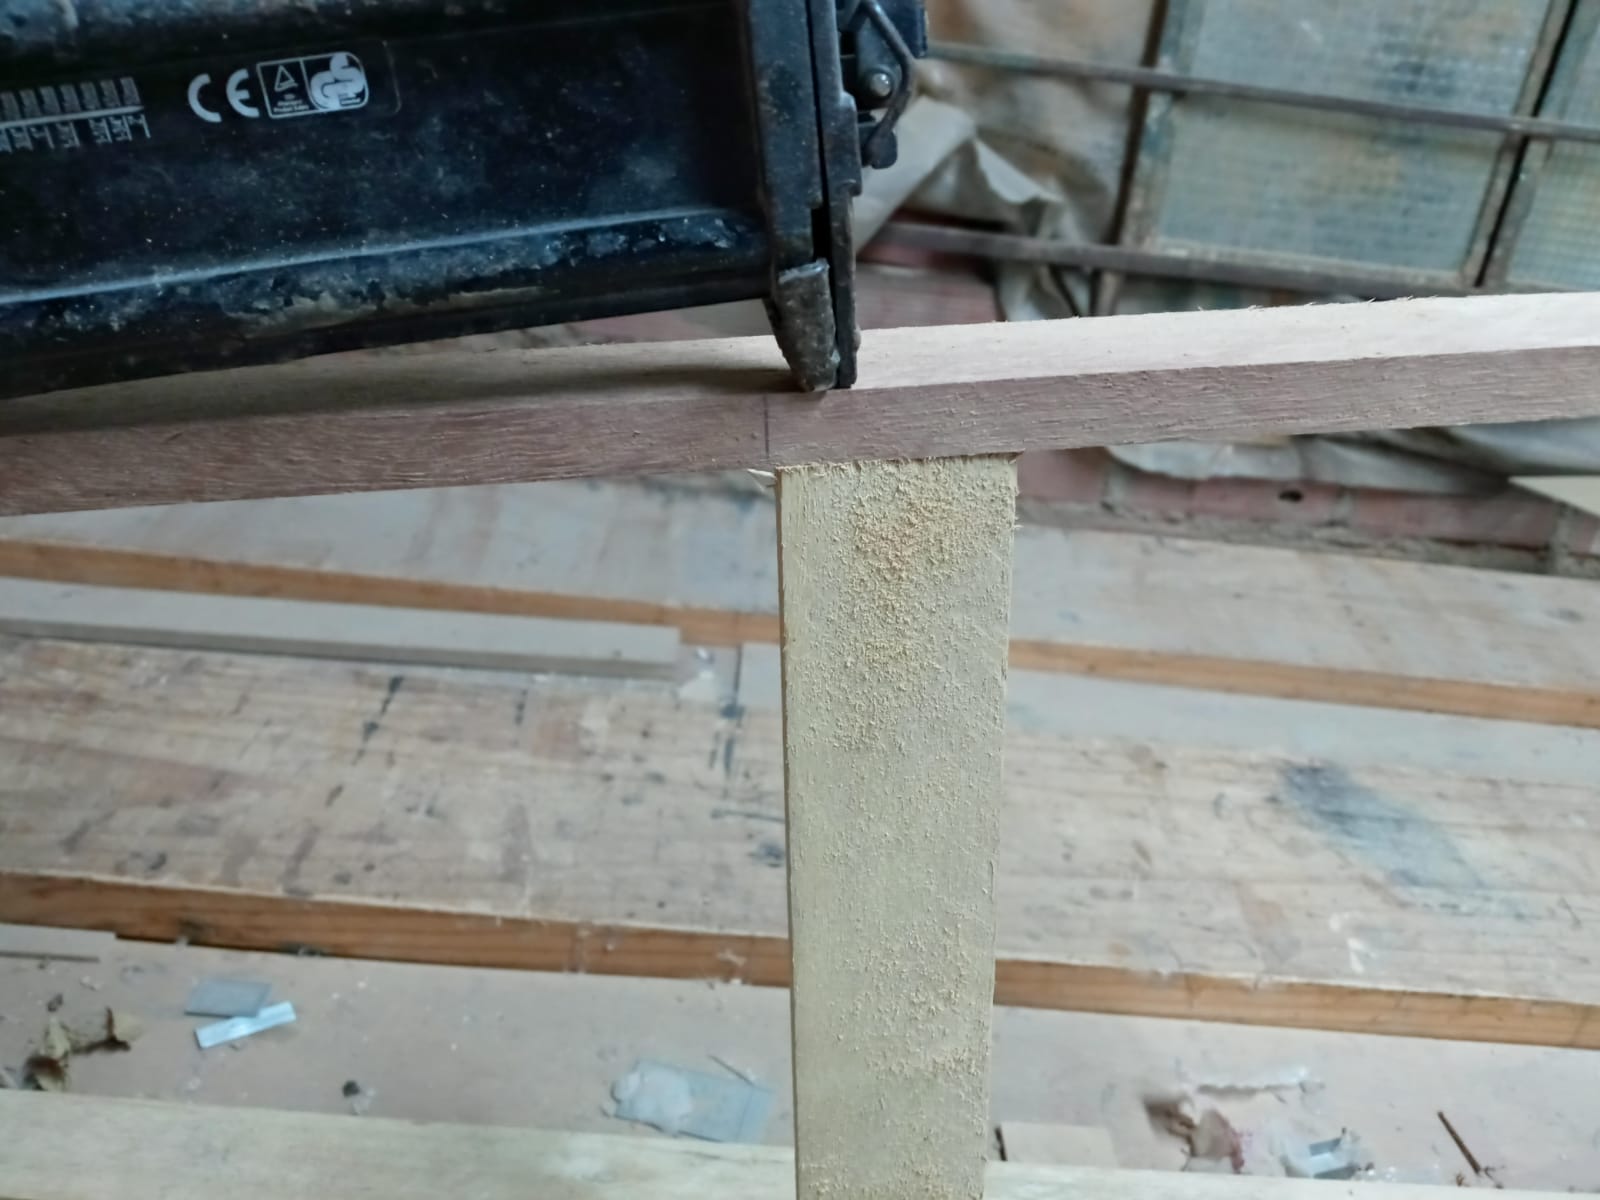
En segundo lugar le echamos glu cola a los puentes en los extremos y con ayuda de la compresora de aire y una pistola de clavos neumatica procedemos
a clavar los amarres.
Secondly, we put glu glue on the bridges at the ends and with the help of the air compressor and a pneumatic nail gun we proceed
to nail the moorings.
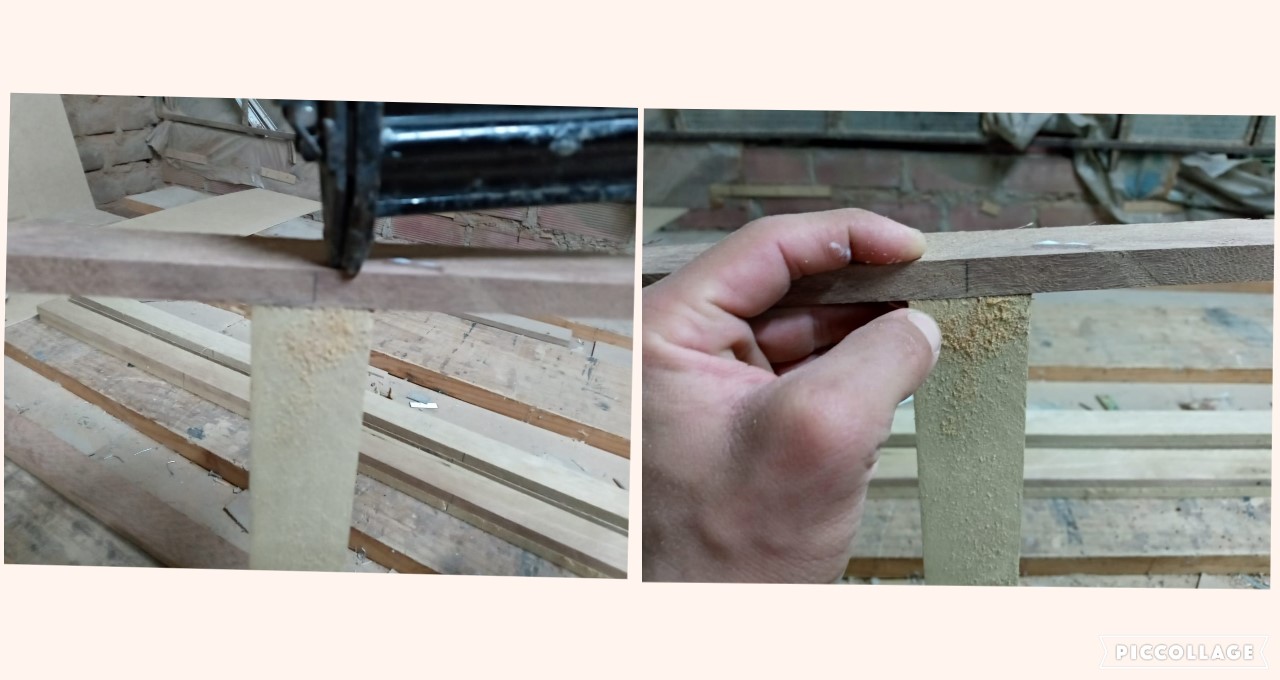
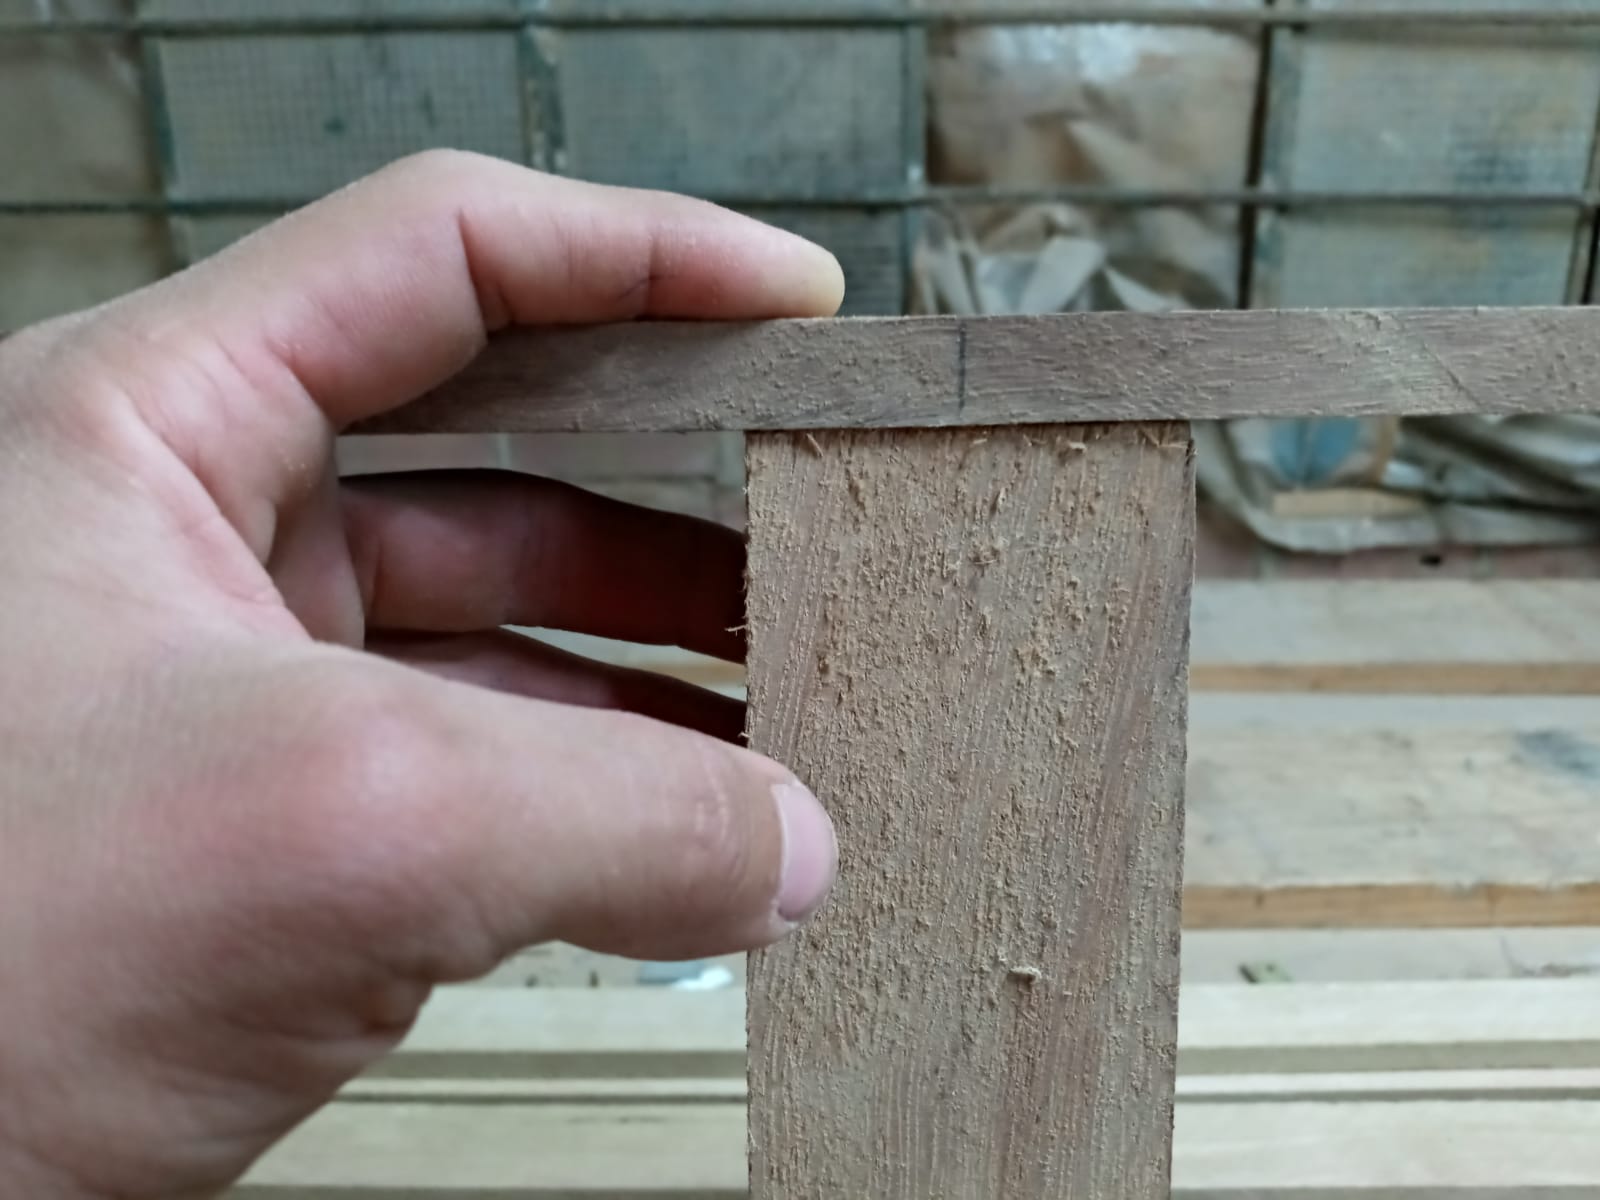
Se clava un puente en el medio del amarre, se comparte la linea para que quede en el centro. Y en las lineas de 30 cm el puente va hacia afuera del
centro del amarre. Una vez acabado el resultado es la primera escalera. Y repetimos el proceso una segunda vez para tener la escalera del medio del baul.
A bridge is nailed in the middle of the mooring, the line is shared so that it is in the center. And on the 30 cm lines the bridge goes out of the
mooring center. Once finished, the result is the first staircase. And we repeat the process a second time to have the staircase in the middle of the trunk.
.jpeg)
La ultima escalera es con el puente mas grueso de 4-7 cm aprox .Y este puente va justo en la linea del medio.
The last stair is with the thickest bridge of 4-7 cm approx. And this bridge goes right in the middle line.
PASO 7: PARAR EL BAUL / > STEP 7: STOP THE TRUNK
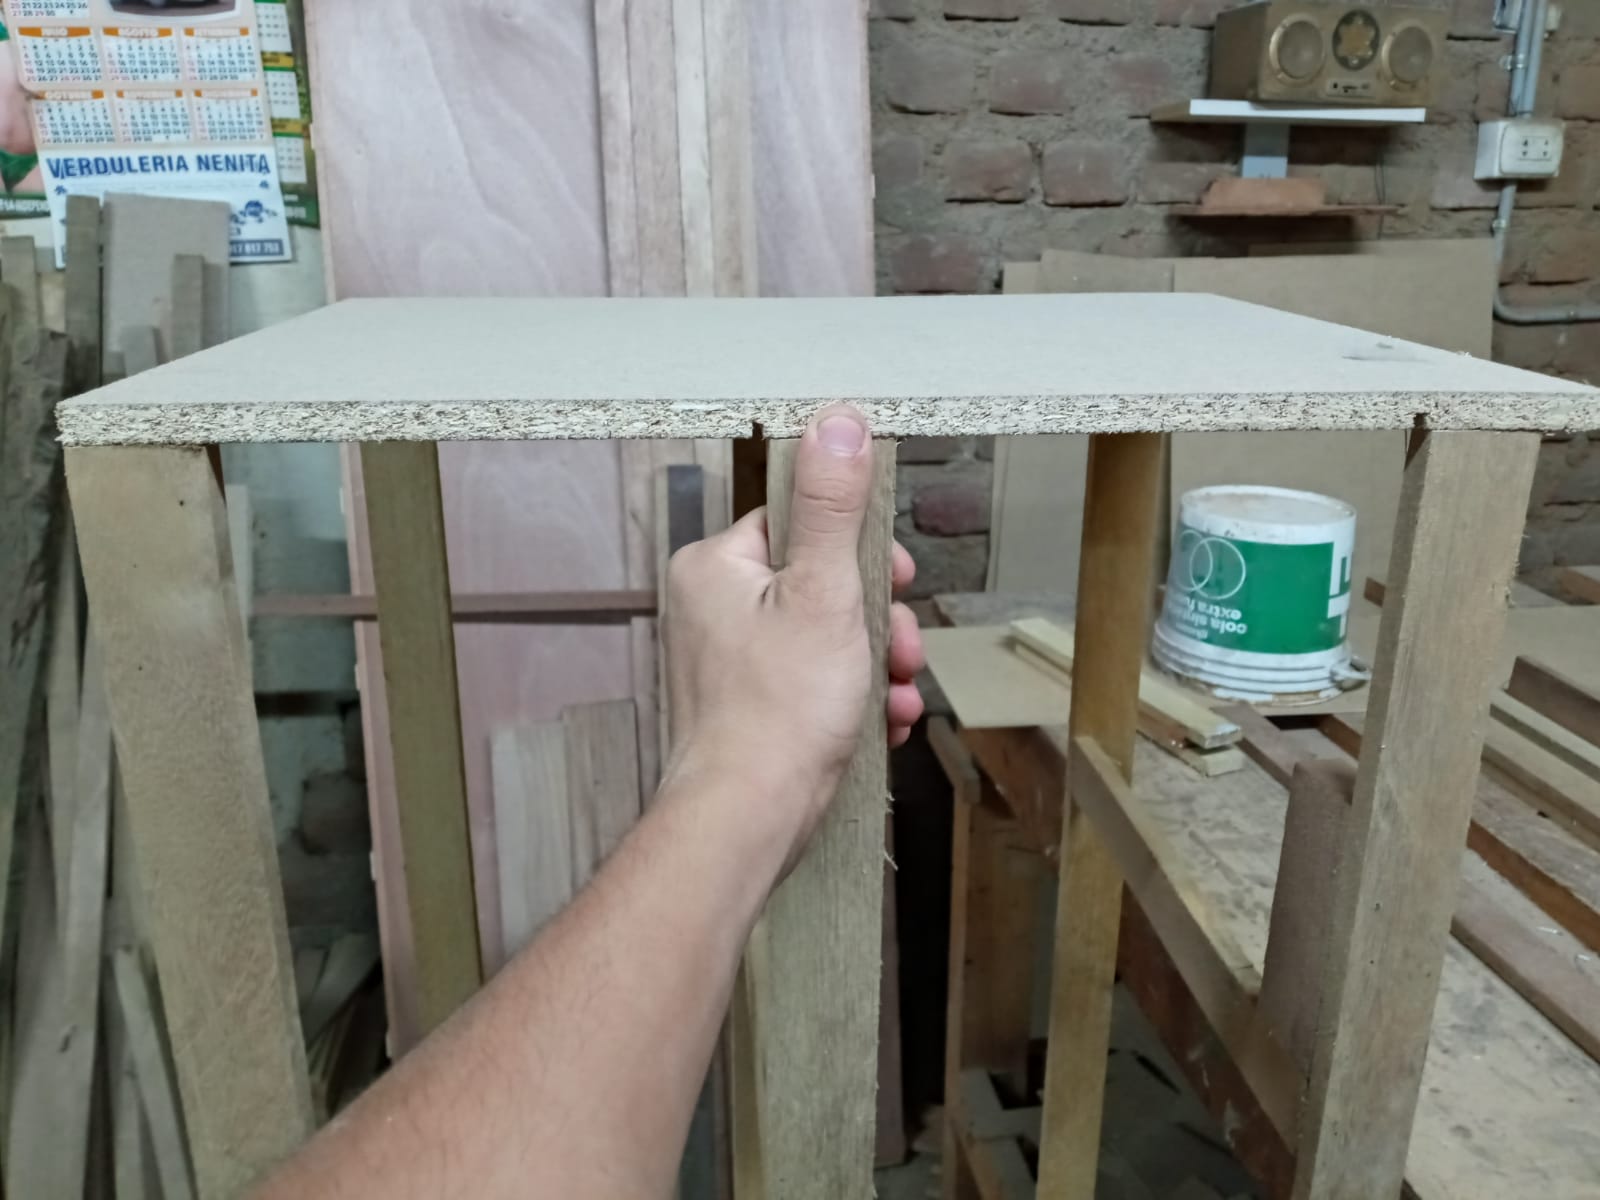
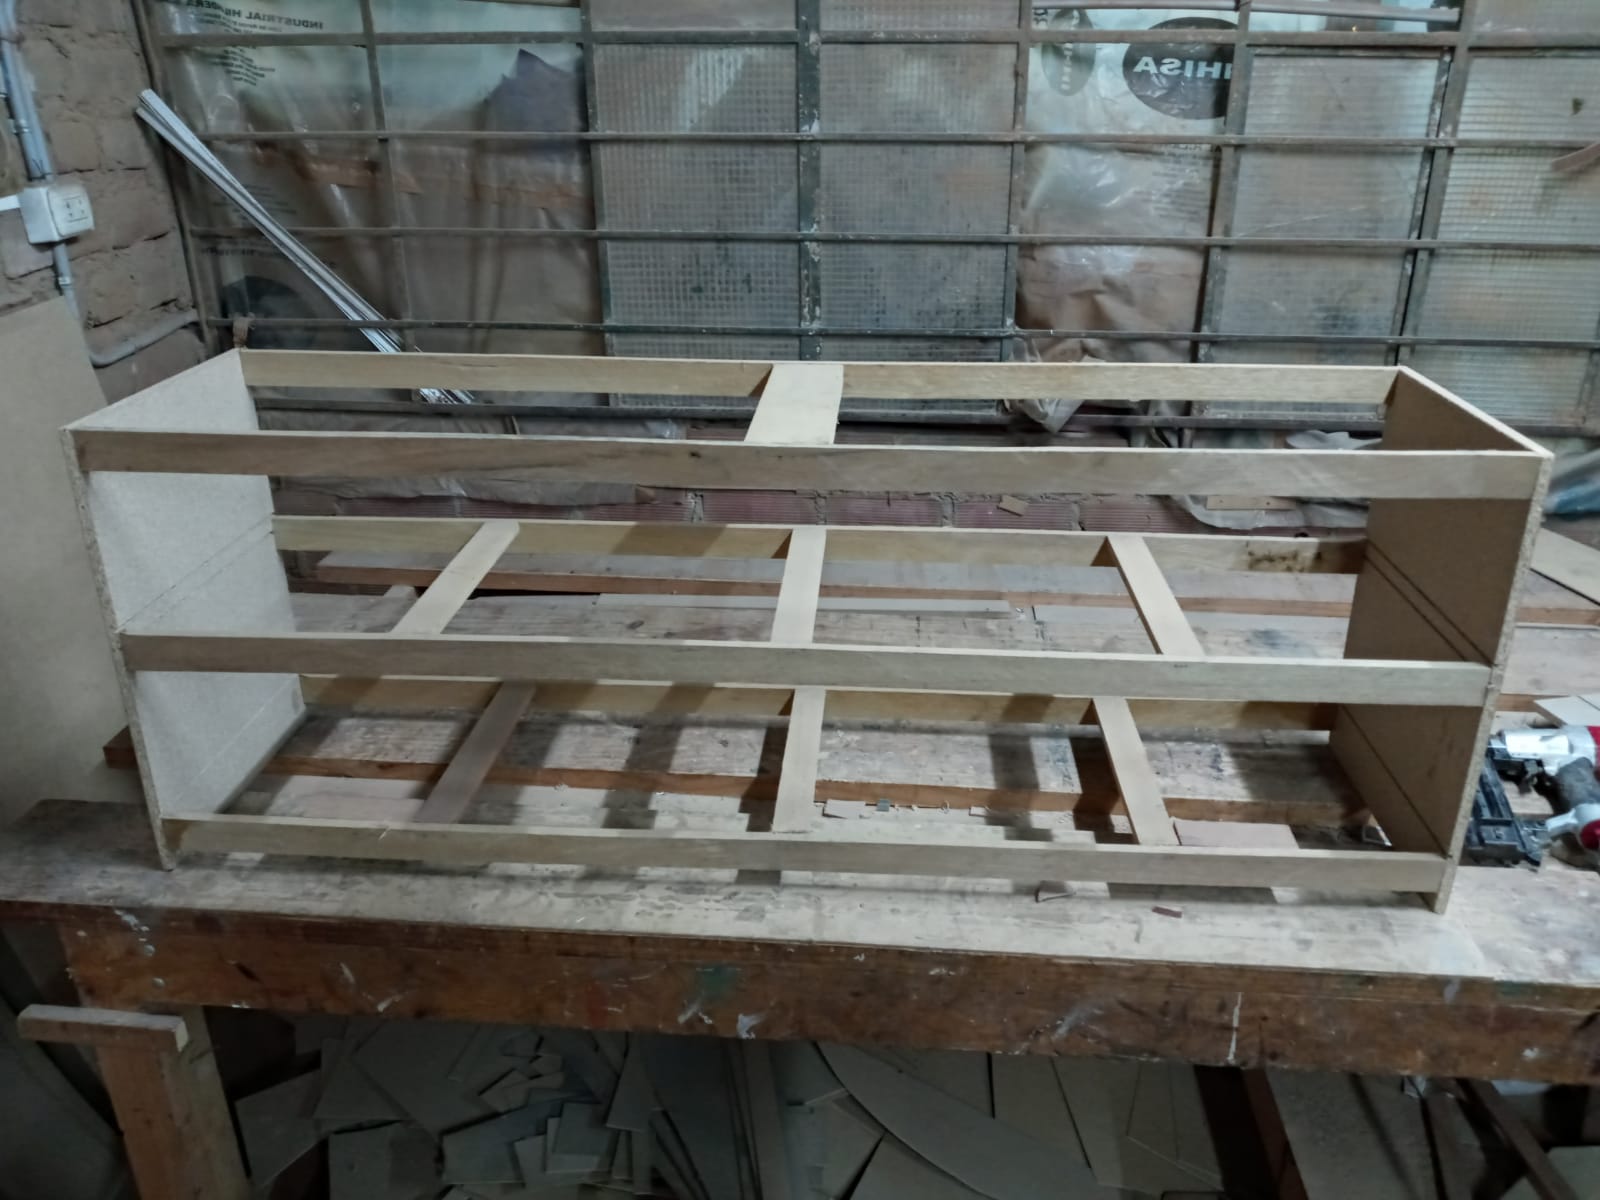
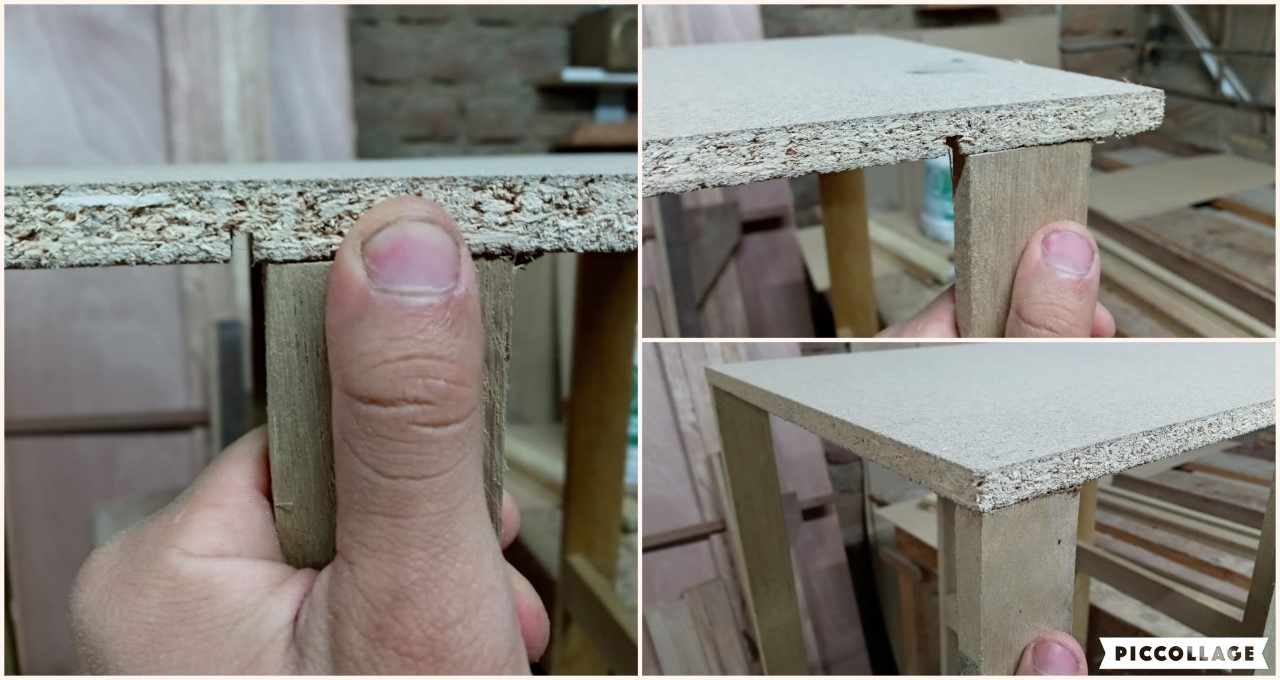
Ahora agarramos las 3 escaleras en orden y lo clavamos al costado tal cual la foto y repetimos el proceso.
Now we take the 3 stairs in order and we nail it to the side as is the photo and repeat the process.
.jpeg)
.jpeg)
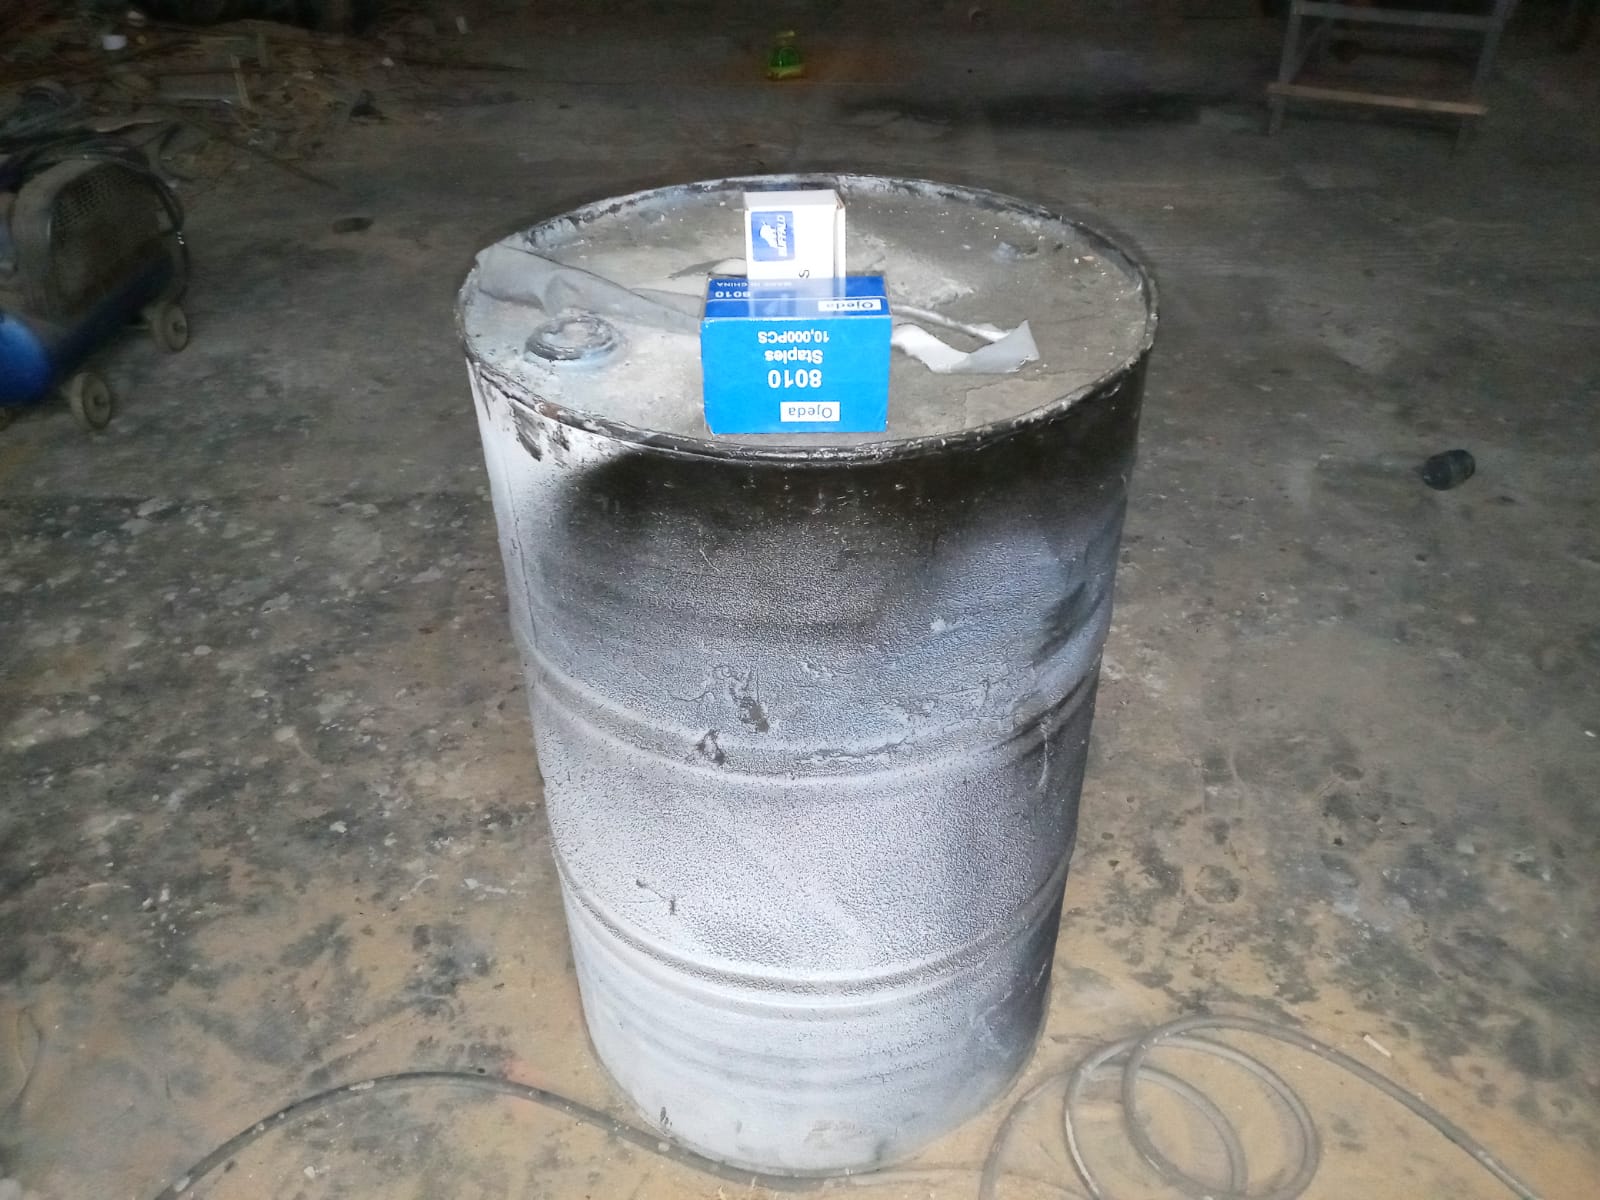
El otro tema es que no tenia camarografo XD, asi que yo solo tome las fotos con la ayuda de mi cilindro y la caja de los clavos XD.
The other issue is that I did not have an XD camera, so I only took the photos with the help of my cylinder and the XD nail box.
.jpeg)
Este es el final de este post queridos amigos, proximamente estare subiendo la parte 2 en donde explico el final del baul, espero les haya gustado un poco
de mi trabajo tanto como a mi, si tienen alguna duda o pregunta por favor escriban en los comentarios.
This is the end of this post dear friends, soon I will be uploading part 2 where I explain the end of the trunk, I hope you liked it a bit
about my work as well as me, if you have any questions or concerns please write in the comments.
¡¡¡¡Feliz tarde, saludos y abrazos!!!! / > ¡¡¡¡Happy afternoon, greetings and hugs !!!!
Congratulations @isaacvfifa23! You have completed the following achievement on the Hive blockchain and have been rewarded with new badge(s) :
Your next payout target is 50 HP.
The unit is Hive Power equivalent because your rewards can be split into HP and HBD
You can view your badges on your board and compare yourself to others in the Ranking
If you no longer want to receive notifications, reply to this comment with the word
STOPSupport the HiveBuzz project. Vote for our proposal!