Hello everyone, how are you guys today, after some time ago I didn't make a post because there were some obstacles, today I'm back to making a post in this community that we love, hopefully this post of mine can provide more knowledge for all of you and hopefully you can understand and understand it.
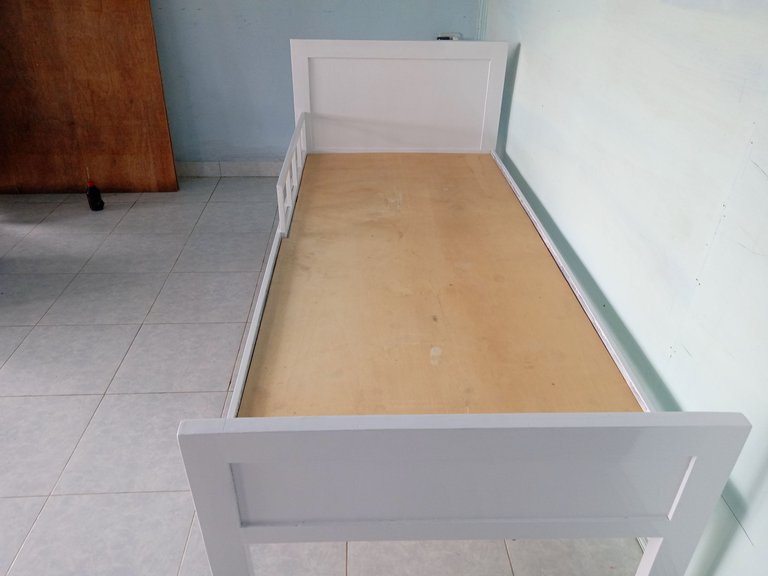
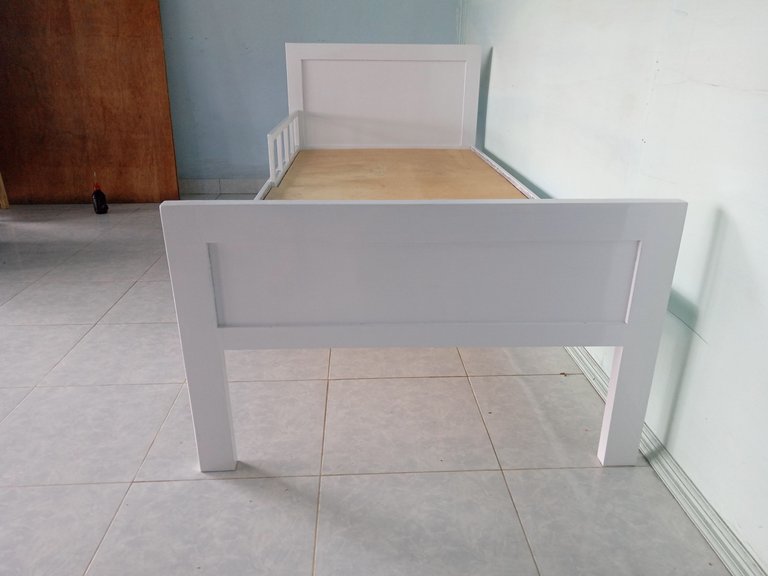
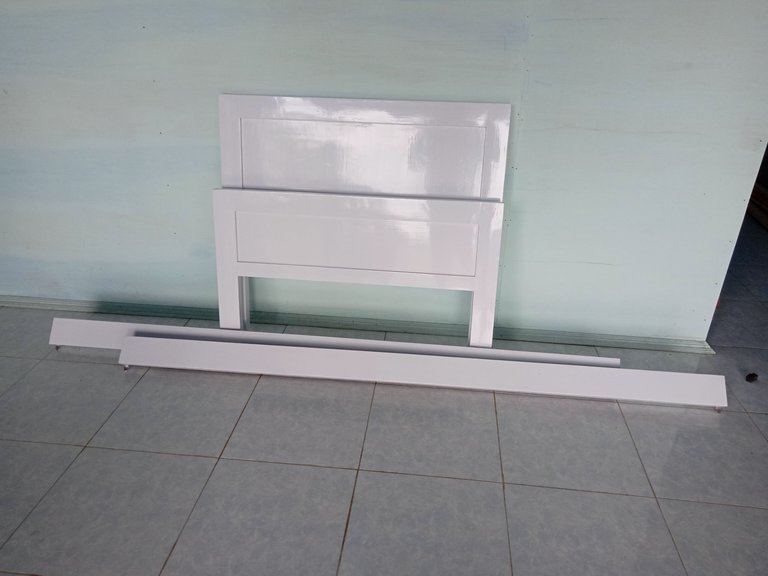
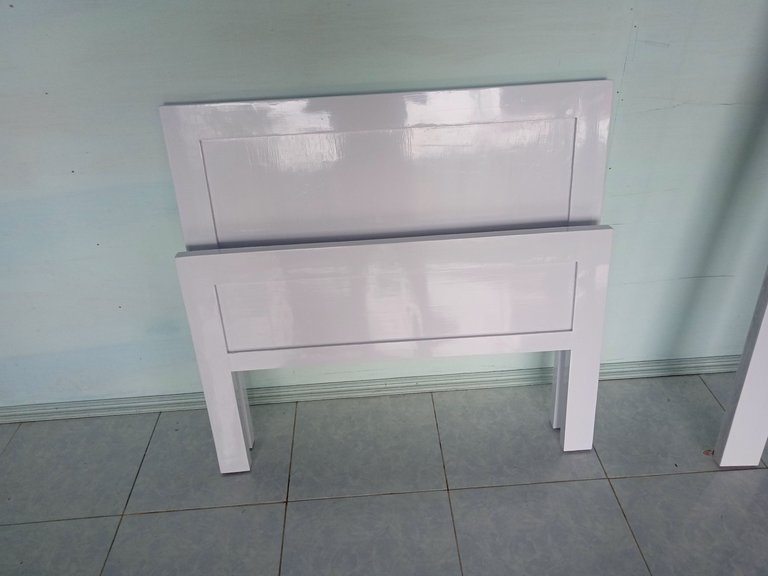
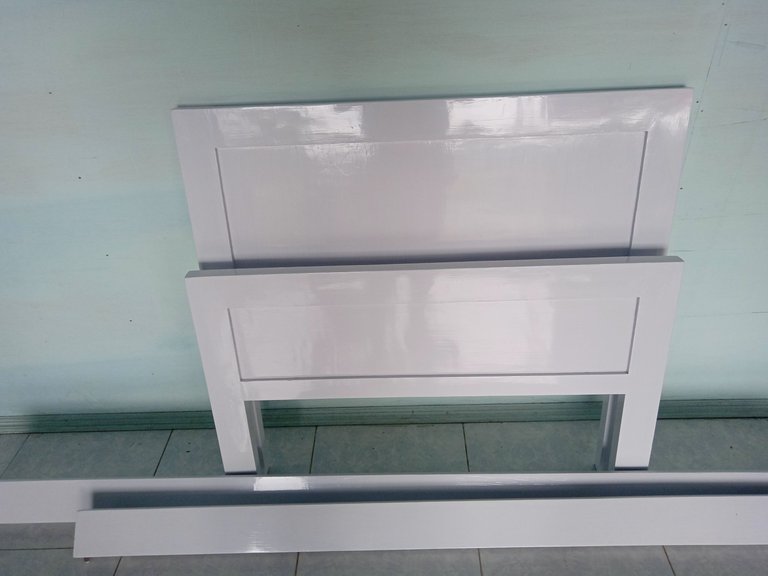
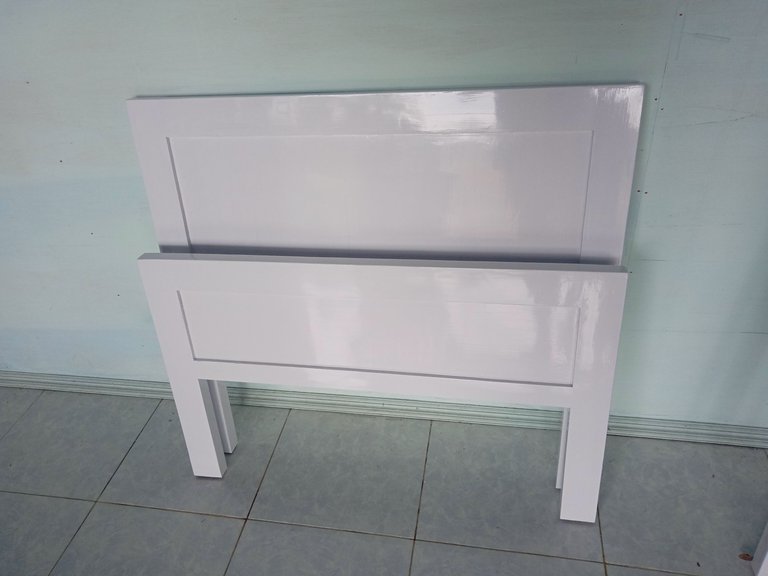
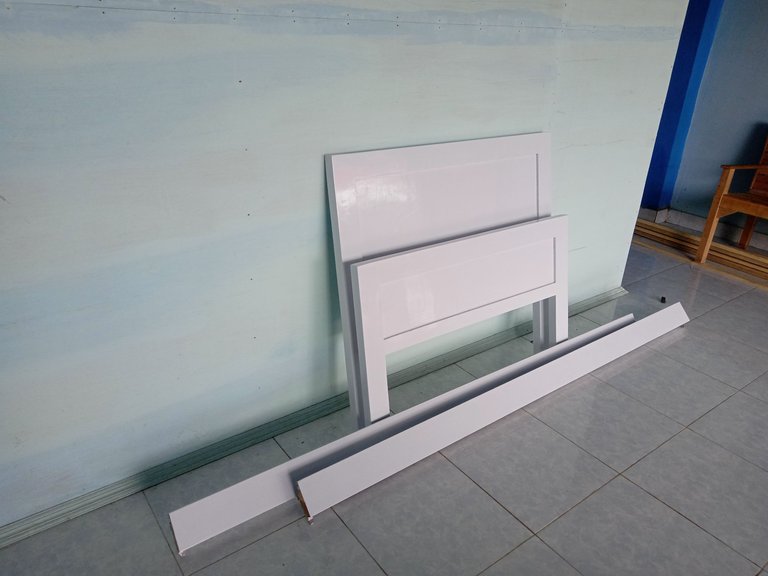
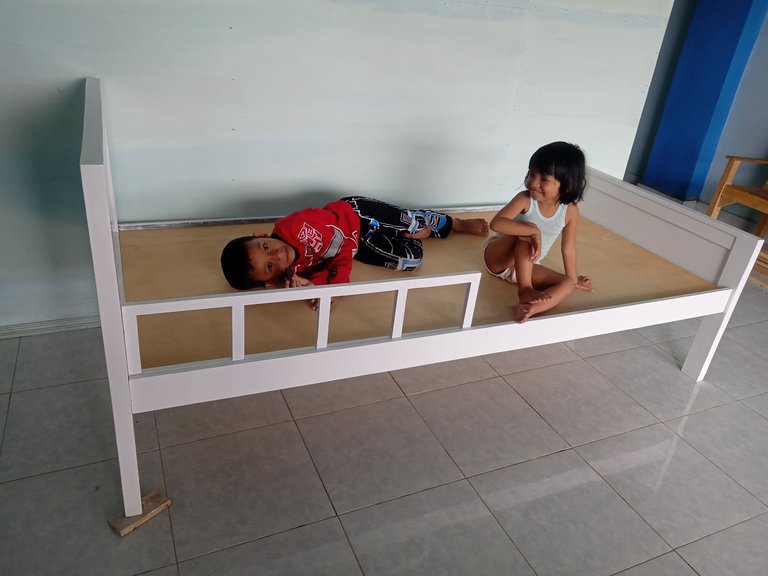
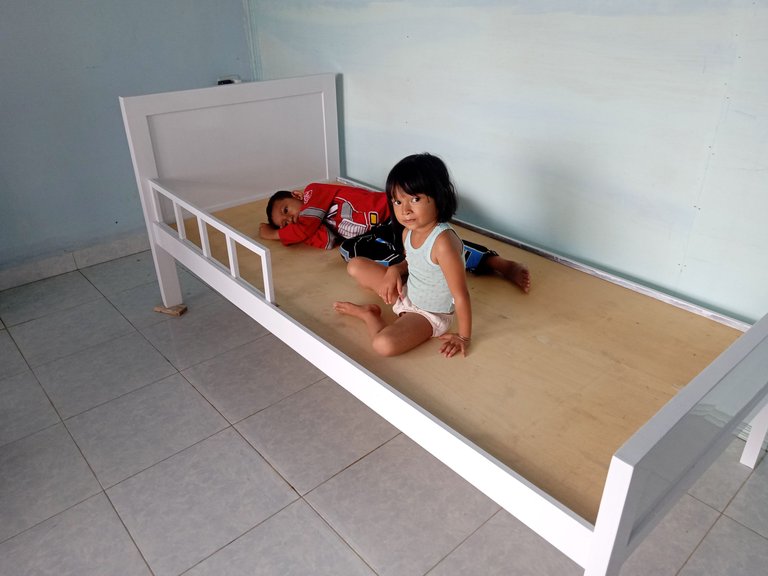
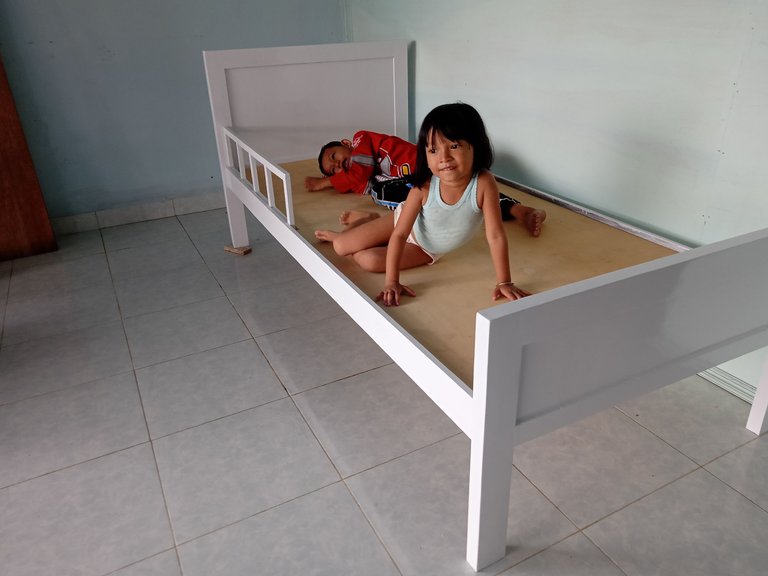
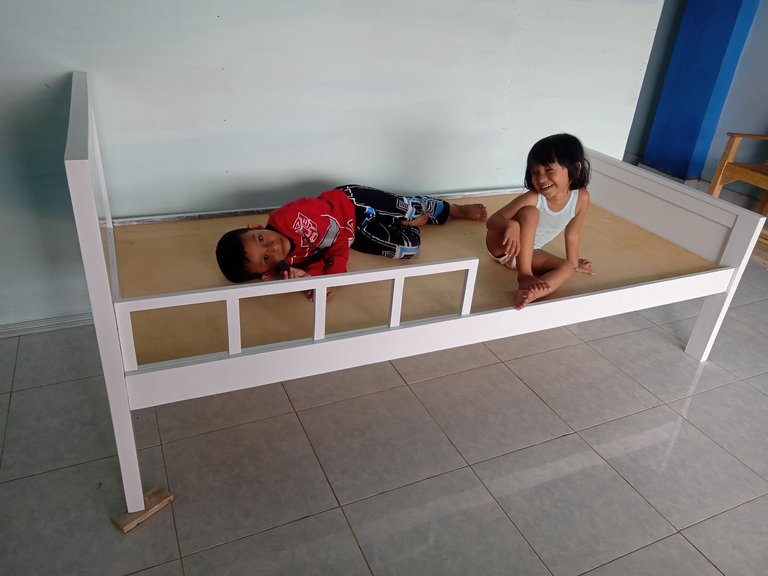
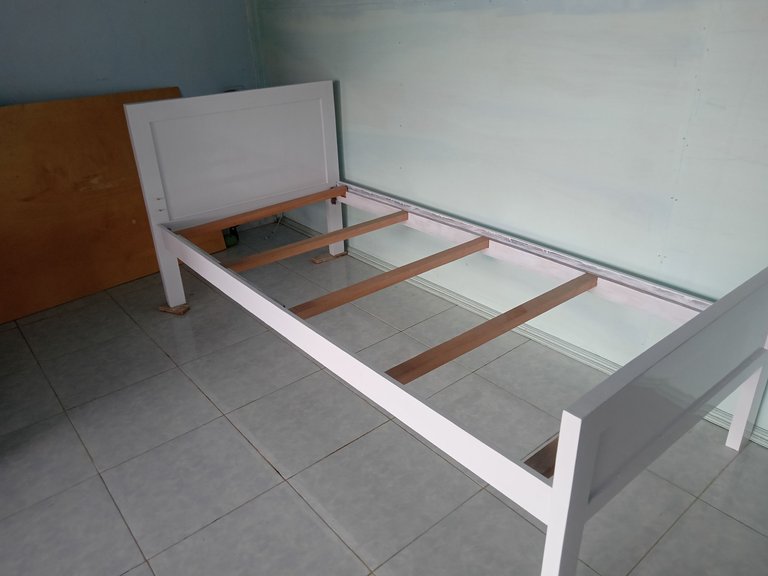
For my post this time is the result of my project last week that I did in my workshop, namely making a simple minimalist bed for my 2 small nephews, this bed was a request from my first sister, this is because of my nephew wants to sleep separately from his parents he wants to sleep in a different room.
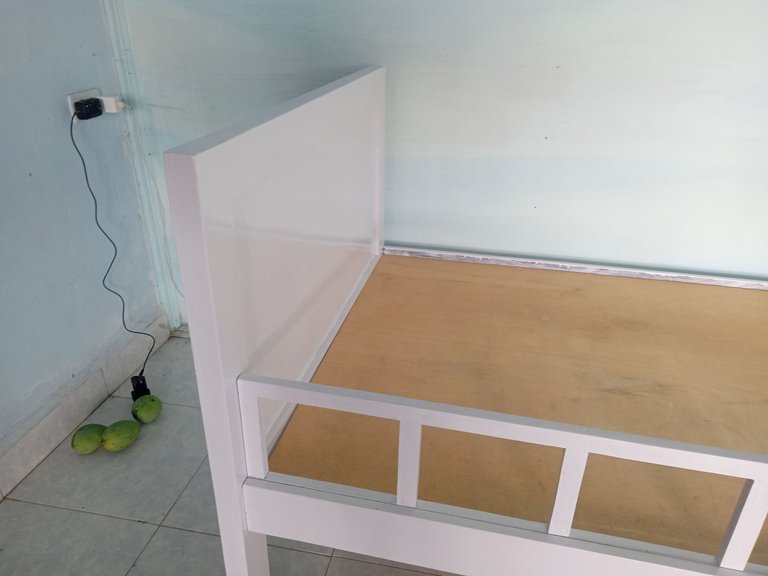
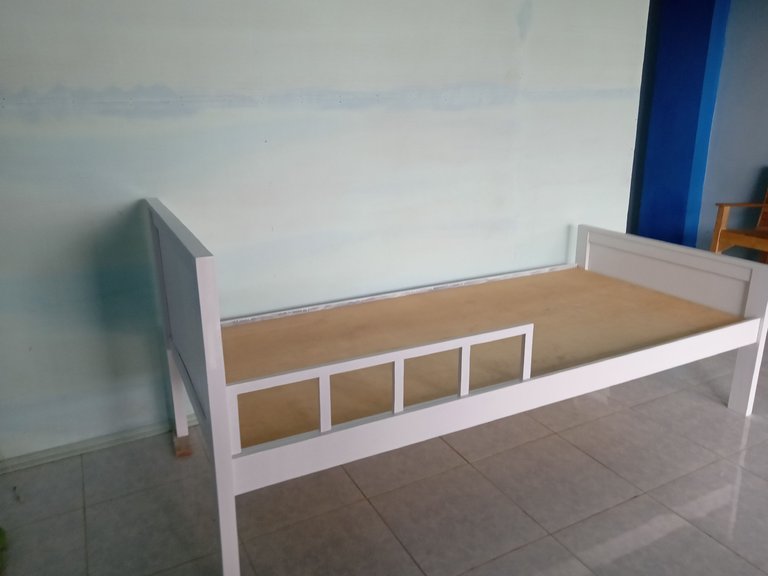
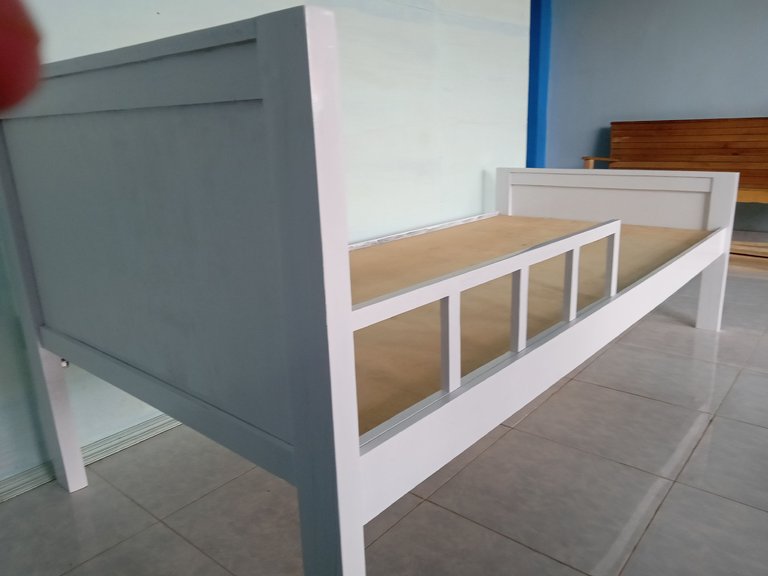
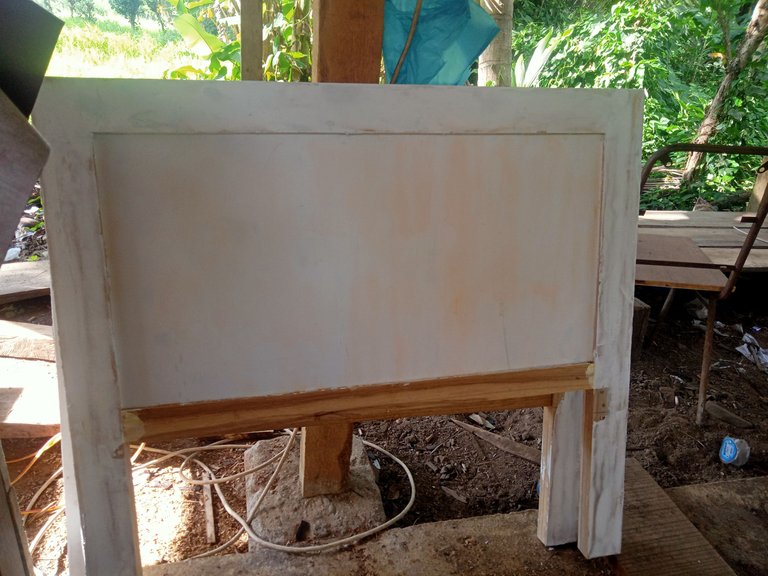
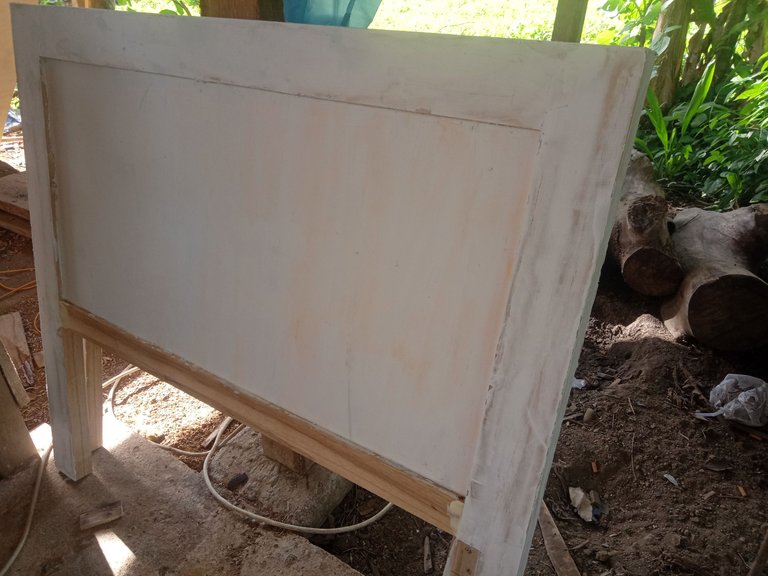
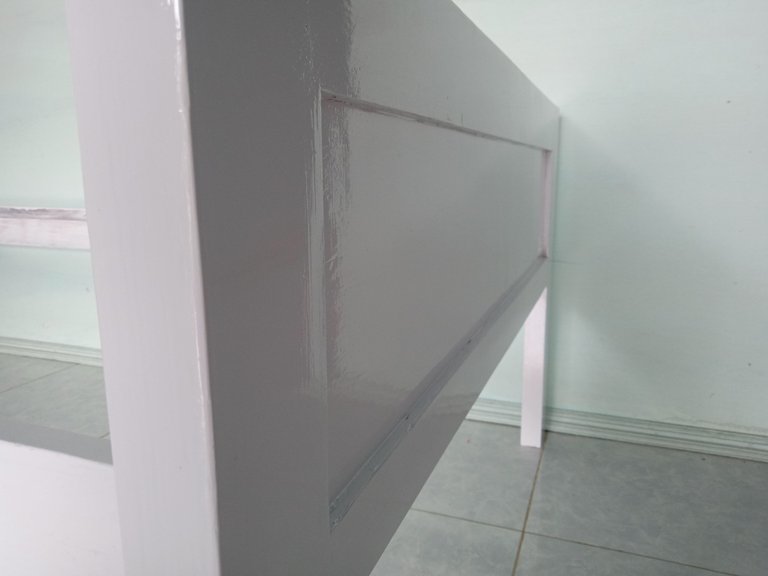
And my sister asked that the bed be made simple but painted with a glossy white color to make it look more aesthetic and look a bit classic, and also she asked that there is a buffer on the side to add a little security so that her child does not fall while sleeping because he was small.

To complete this project I needed 2 days to make it and for painting it took me 4 days until this bed can be used, so why does the painting process take longer than the process?????
This is because the painting process was carried out 2 times and after the first painting I had to wait a day for the paint to dry completely and then I coat it with paint a second time.
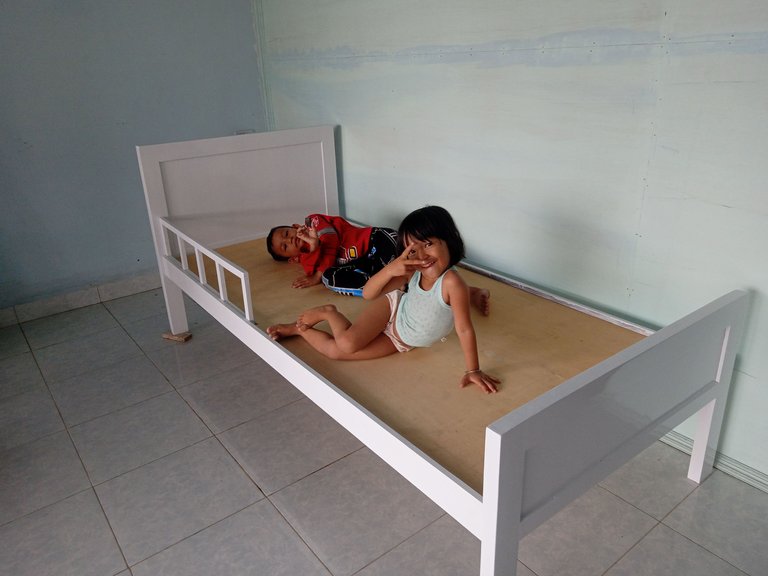
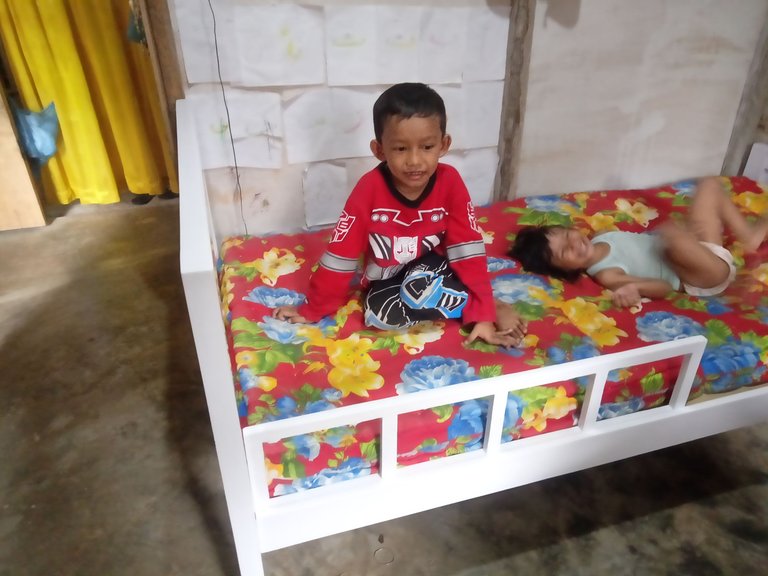
And after the bed was ready and ready to use I moved it from my workshop to my sister's house, and reassembled it there and I saw how happy my nephew was when his dream came true, maybe this is a simple thing but for little kids like them it's a big thing. amazing where his dreams come true,,,
And I can see it from the happy laughter that can be seen on their faces and even though I'm not married yet here I can conclude that when our child asks for something that he really wants and desires, we should fulfill it as long as it's not too heavy but if what is dreamed of is possible it's a little bit difficult because of insufficient economic factors, we as parents still have to encourage and say to be patient first until we are able to make it happen and never refuse their wishes so harshly that it makes it difficult for them to want or dream of something, and that's what New thing I learned from my nephew's happiness.
So,, now I want to show and explain a little about the process of working on this project...
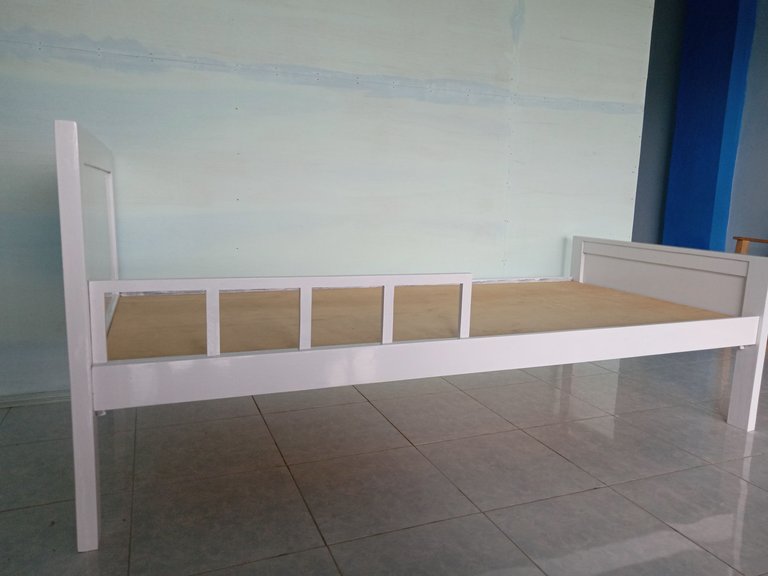
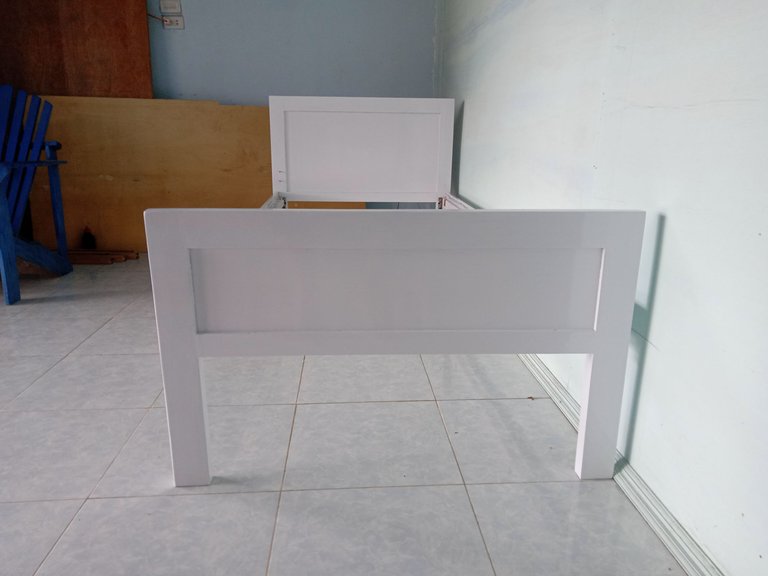
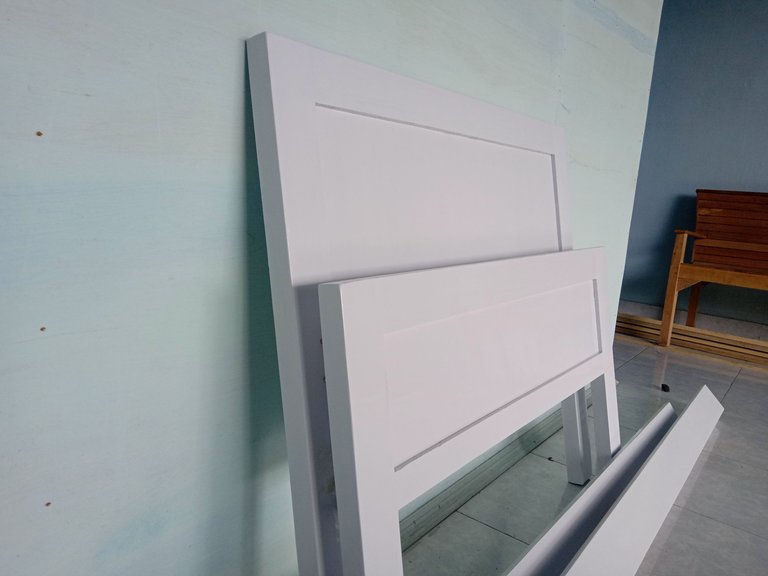
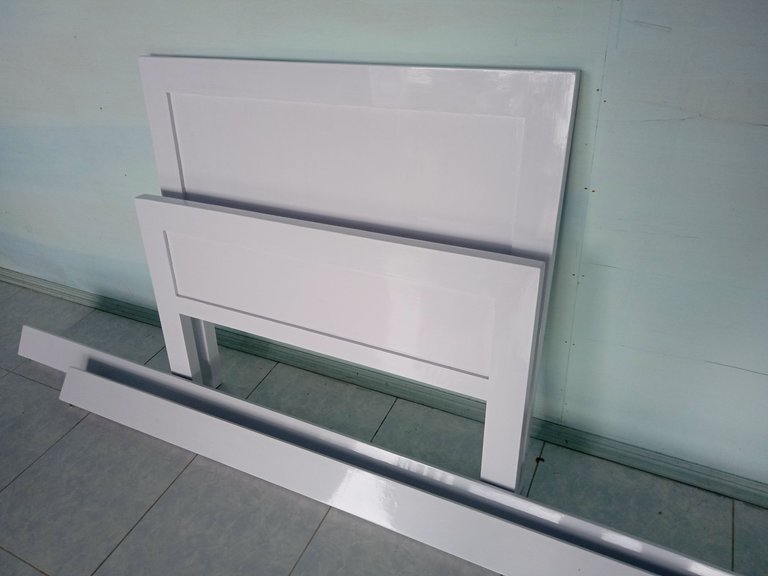
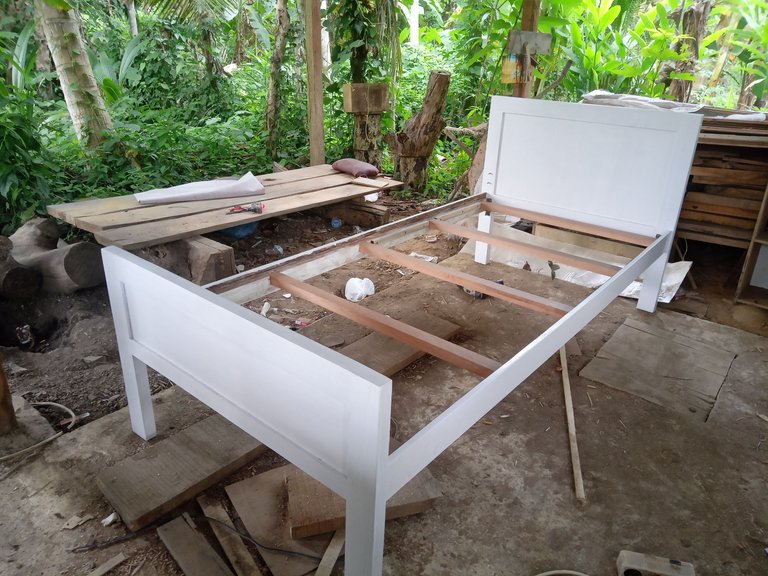
This bed has a length of 200 cm and a width of 90 cm, suitable for a 3-foot mattress, and for a headrest height of 80 cm and a footrest height of 50 cm.
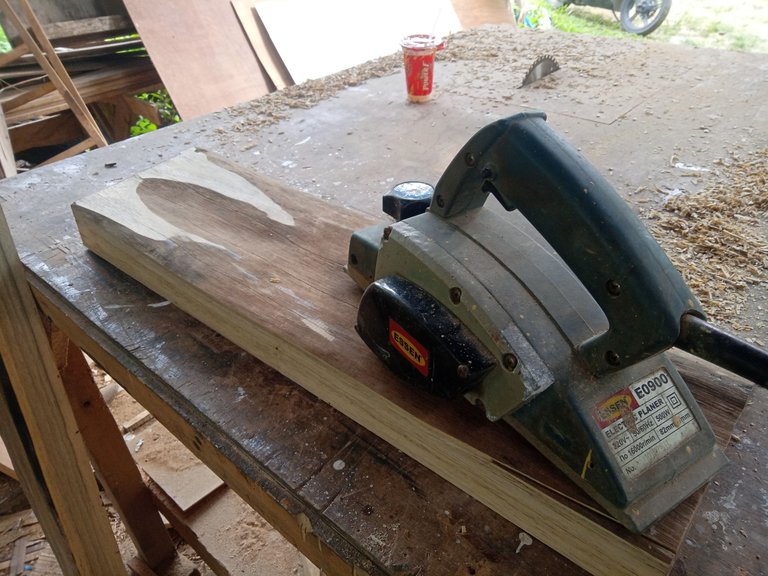
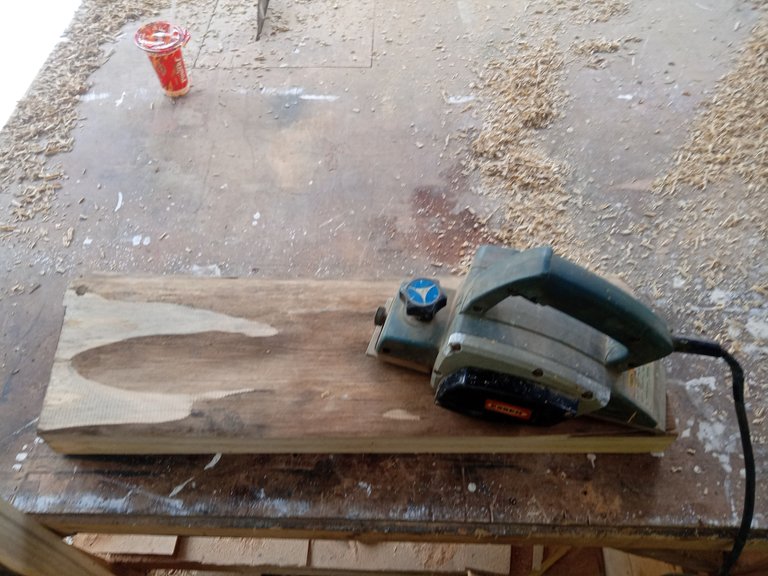
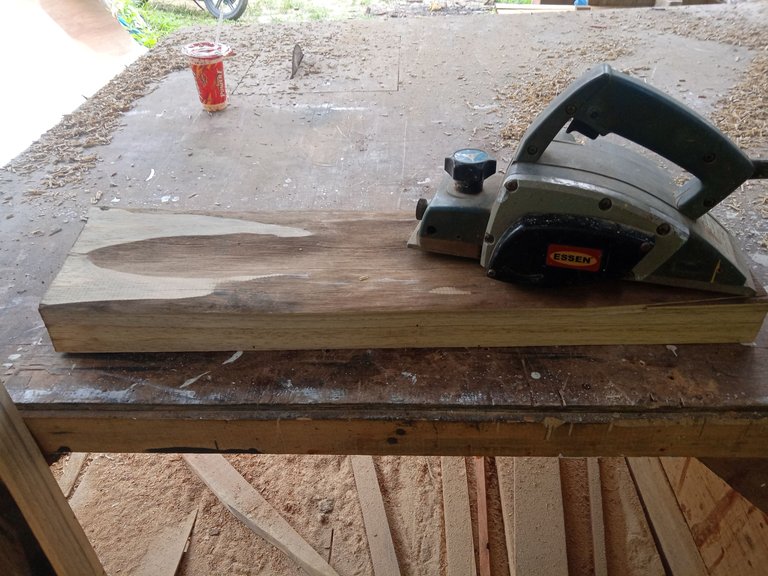
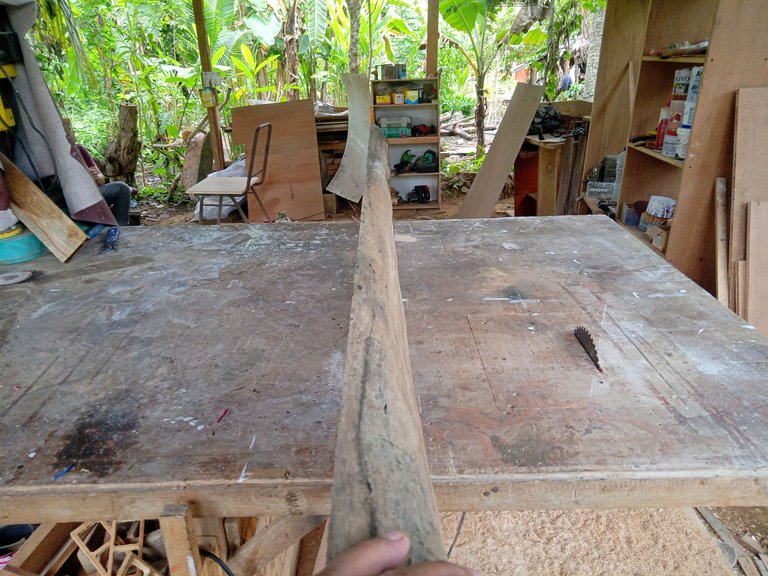
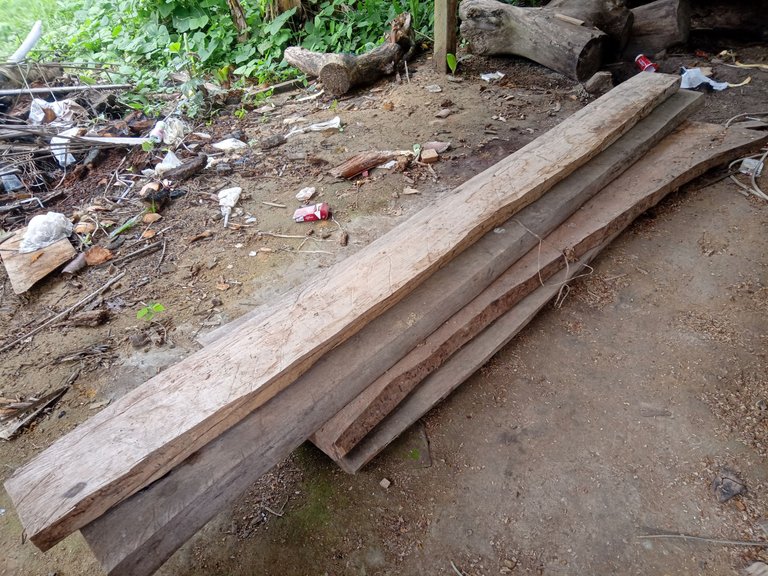
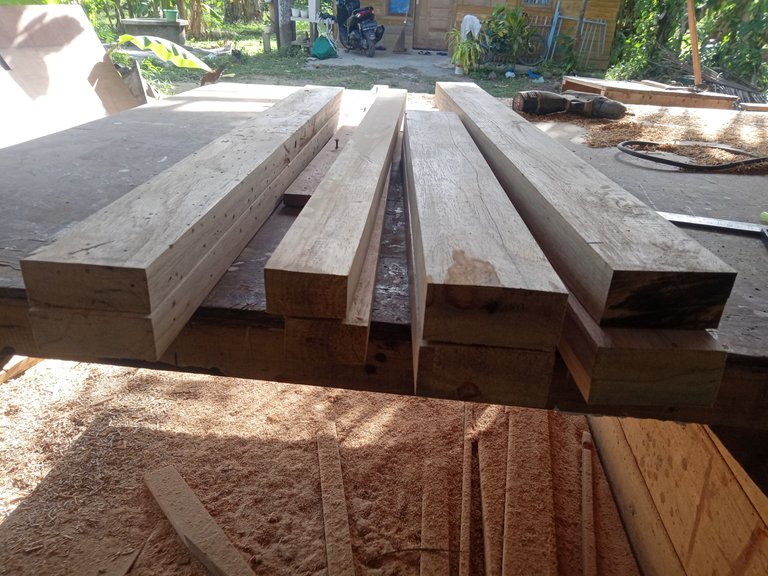
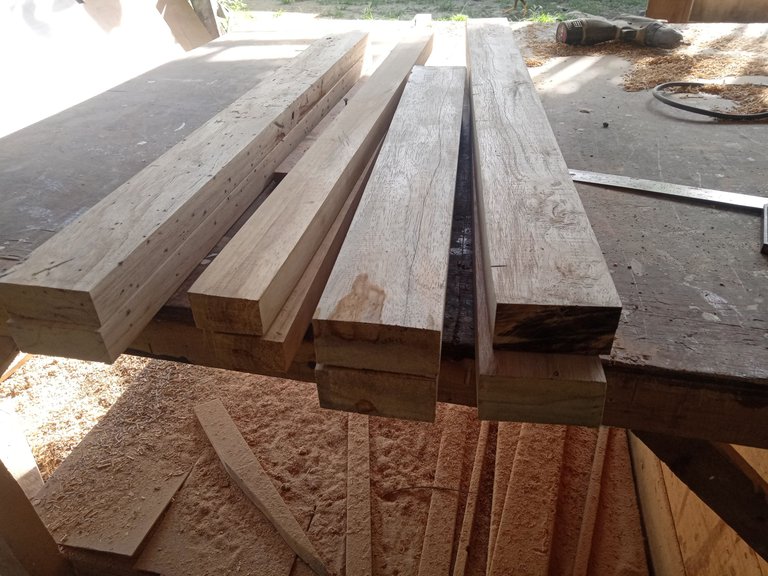
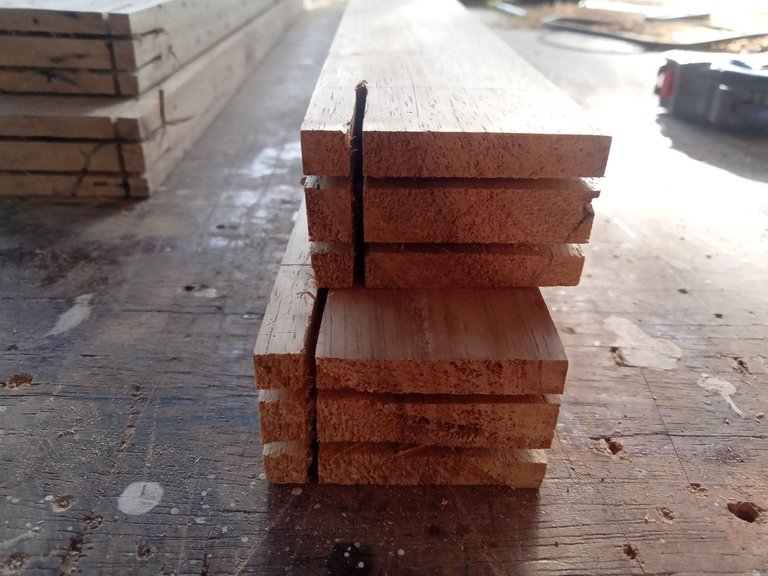
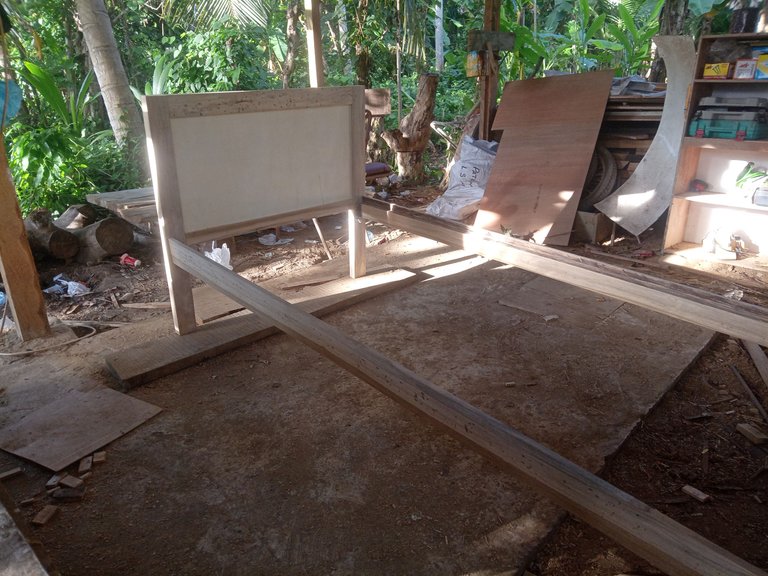
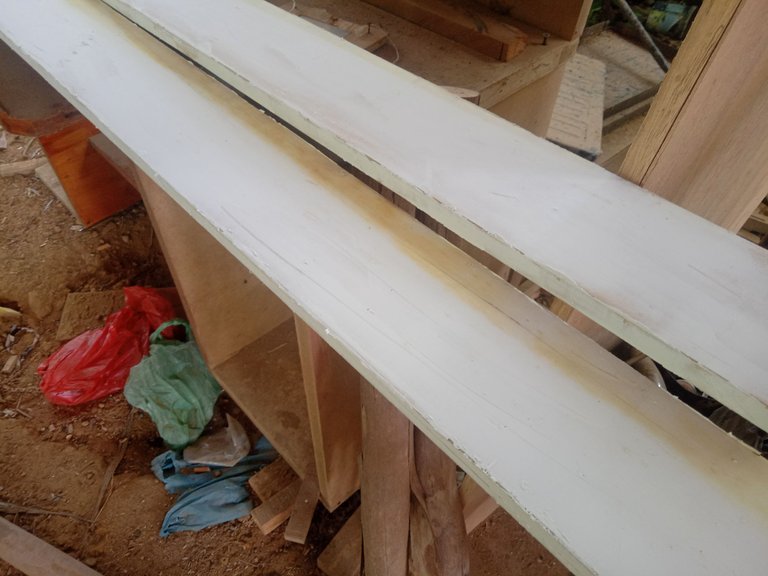
For the first stage I prepared the wood, the wood I used was "asan" tree, this wood is quite hard wood and has a dense fiber and also has a good pattern, almost similar to "teak" wood, the wood I use is wood that I have already made. store for 2 years and still strong and hard, I cut this wood in my garden and I split it with a thickness of 6 cm.
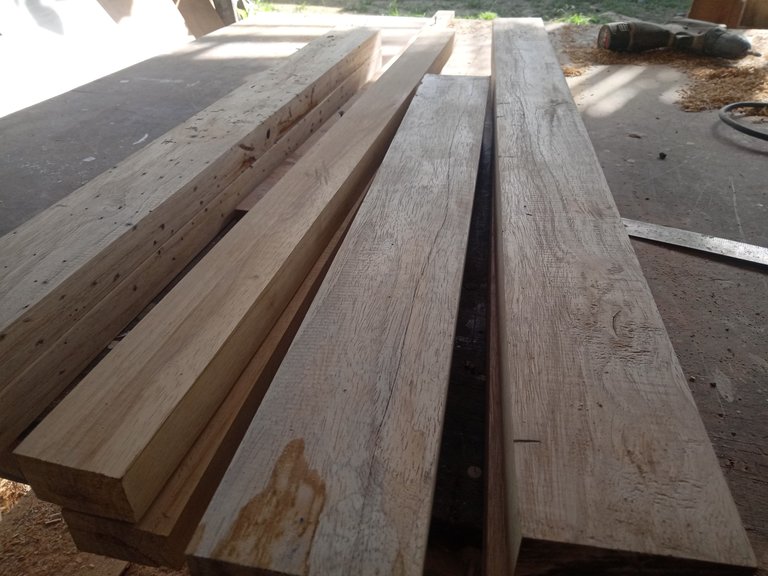
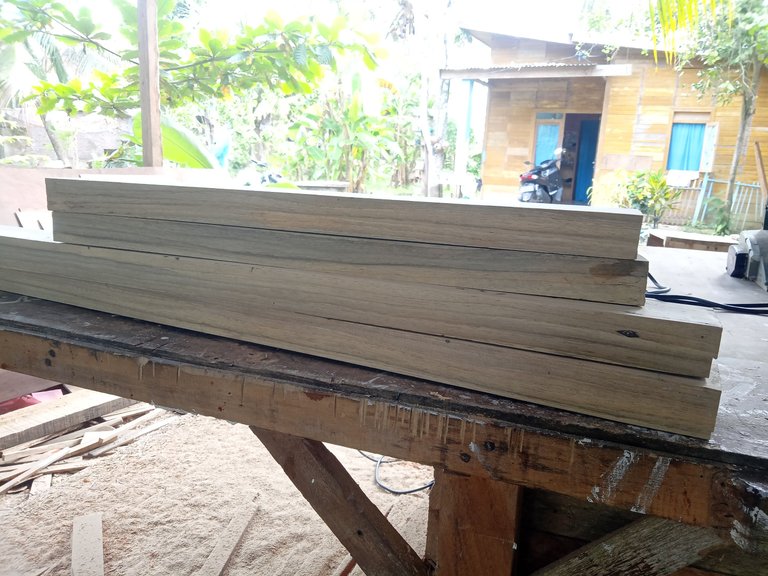
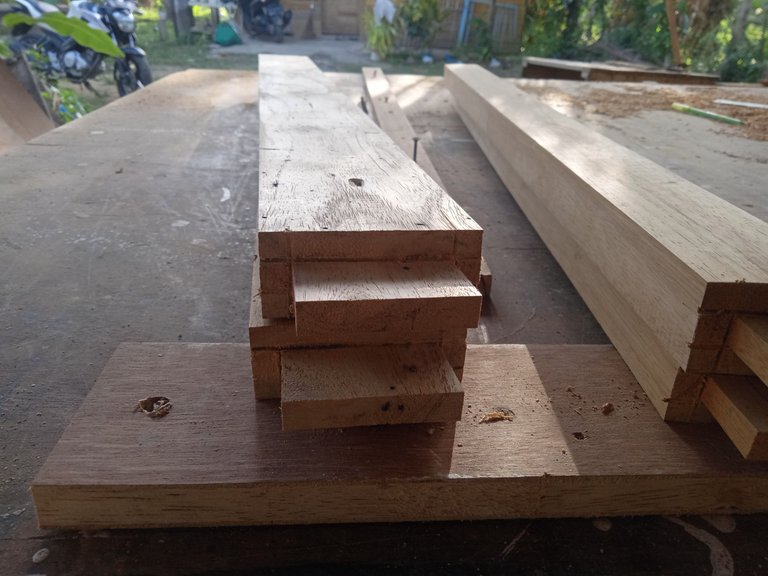
I shaved the wood using a hand planner machine because I don't have a big planner machine and this drained me a bit, I shaved everything until it had the same thickness of 4.5 cm, then I cut it and I split it with the size:
*4.5 cm x 6.5 cm x 80 cm in 2 parts for the headrest legs.
- 4.5 cm x 6.5 cm x 50 cm as much as 2 parts for the foot rest.
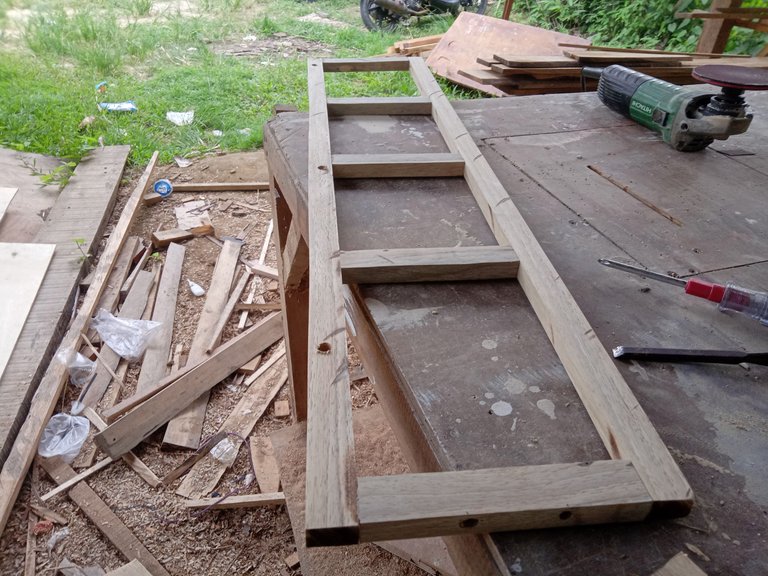
*3.5 cm x 5.5 cm x 82 cm for connecting the headrest and connecting the footrest for 4 parts.
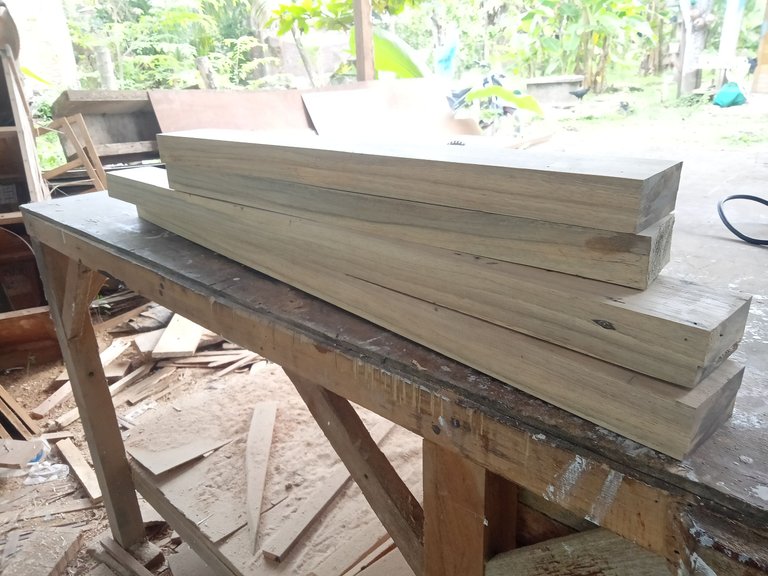
*4.5 cm x 10 cm x 191 cm in 2 parts for the left and right sides of the bed.

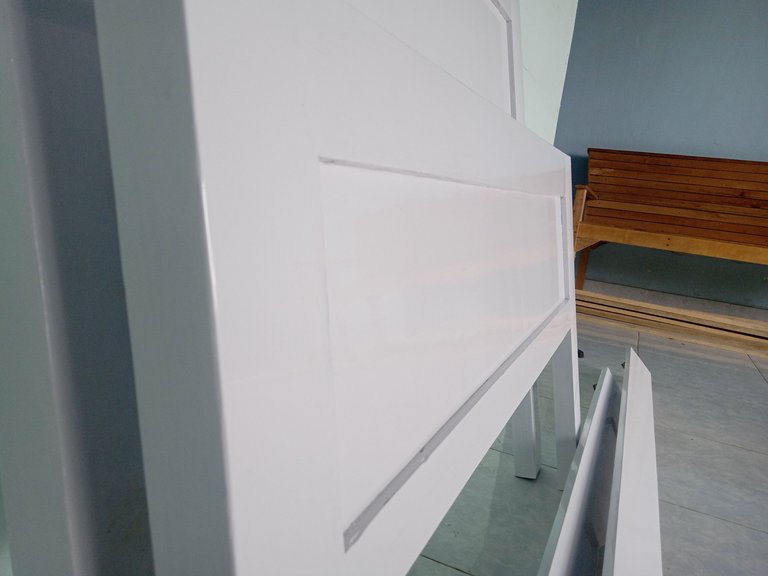
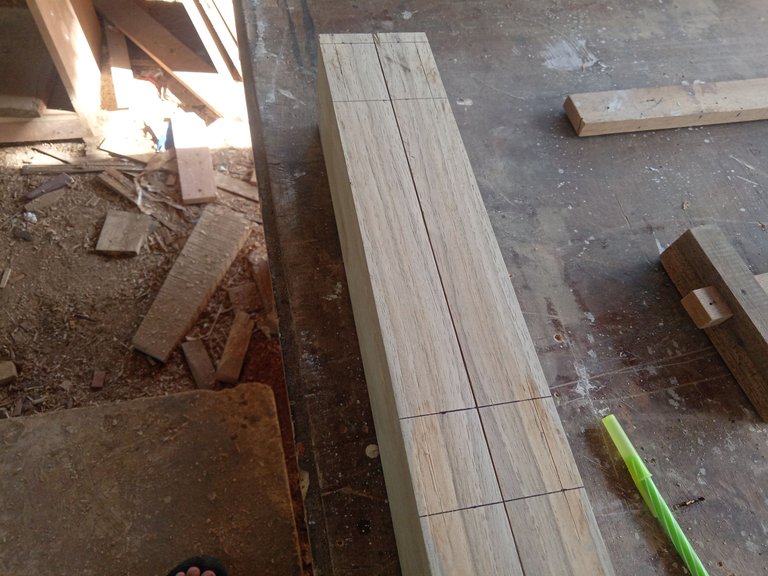
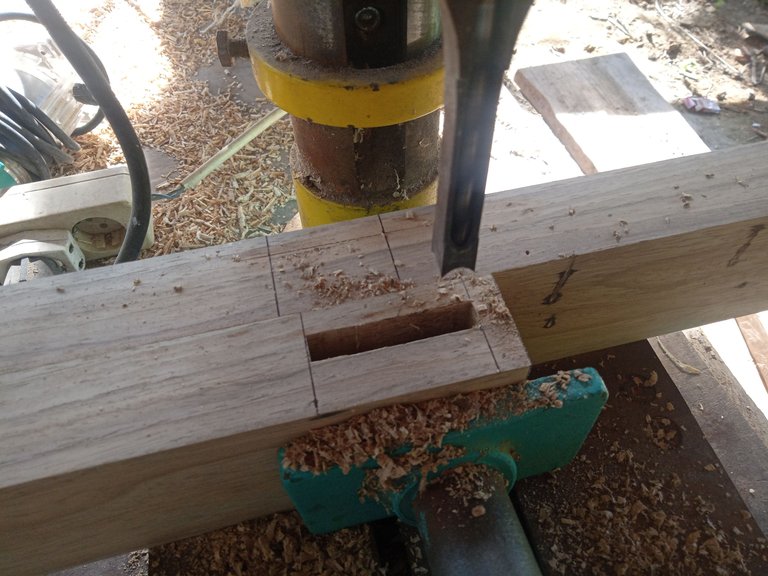
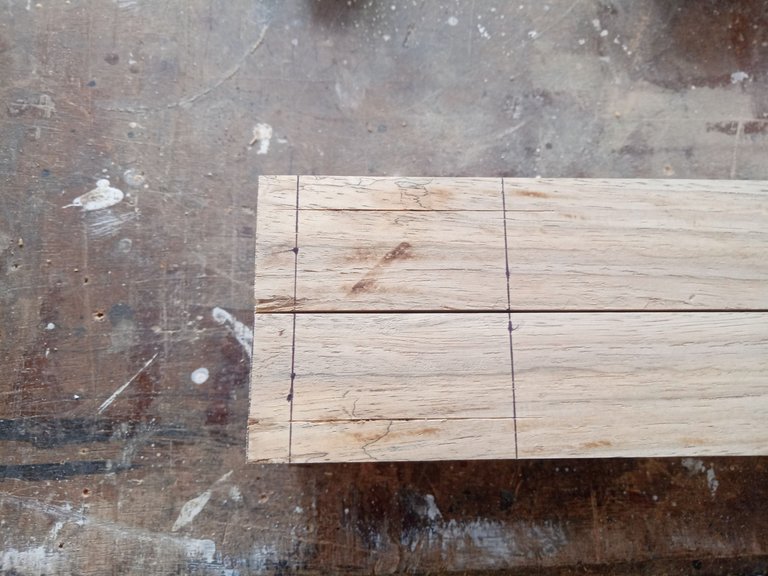
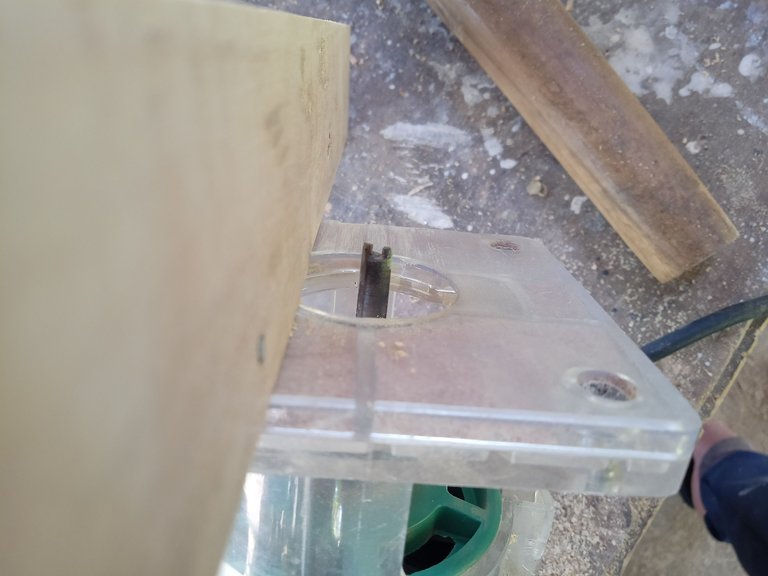
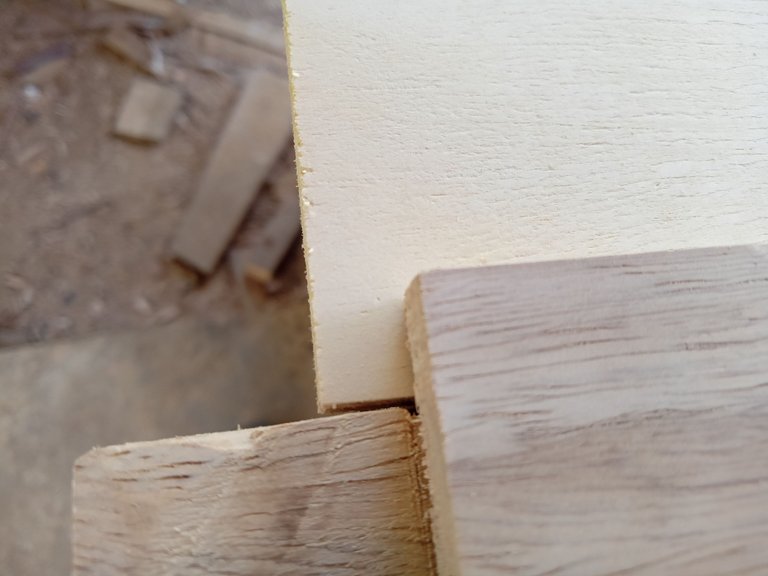
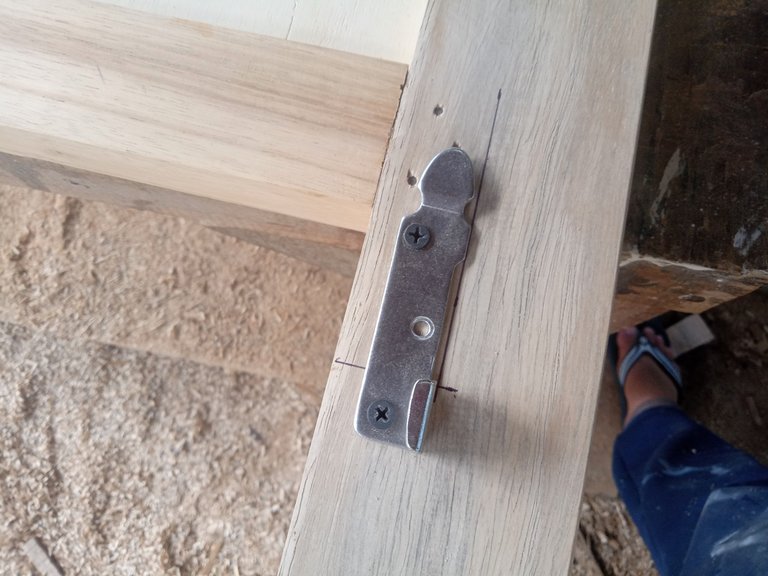
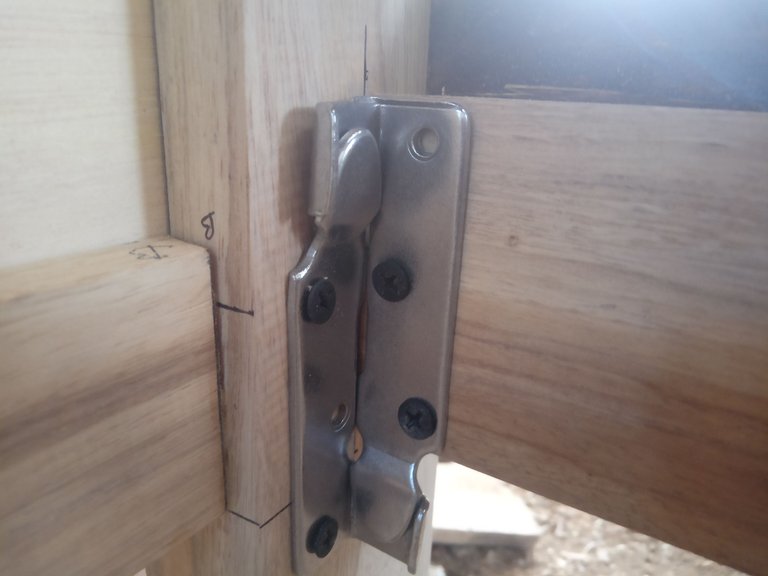
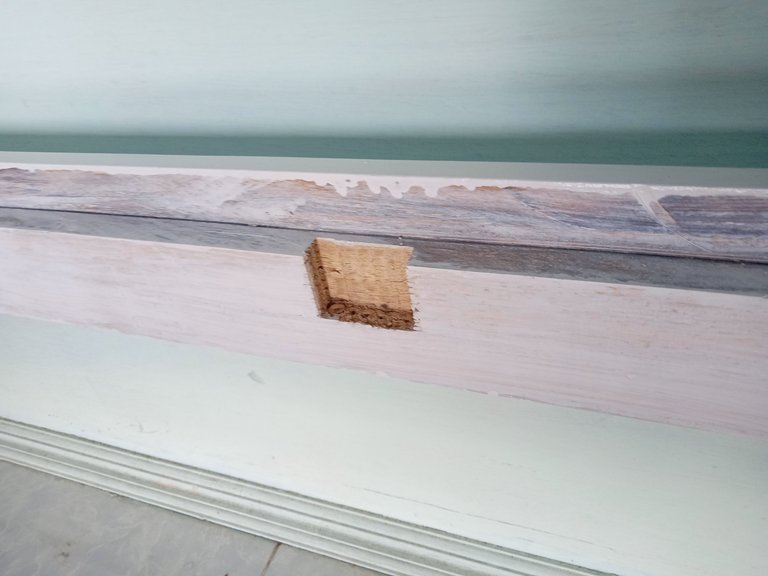
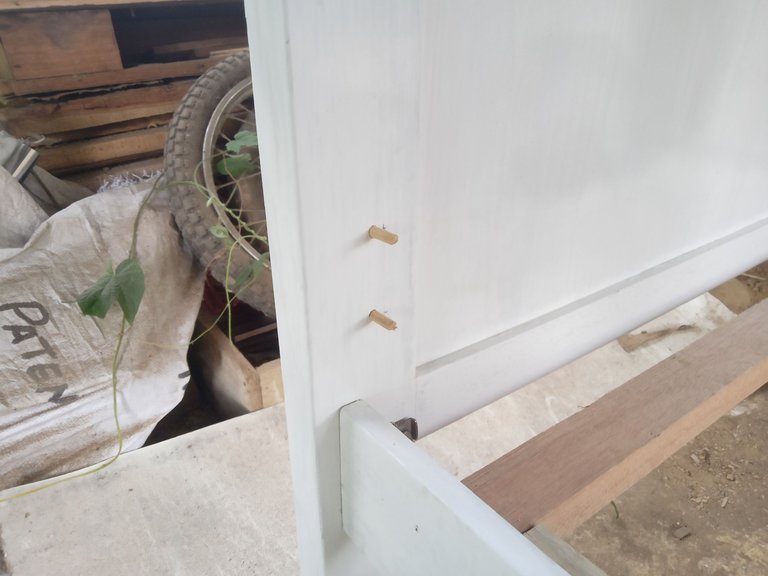
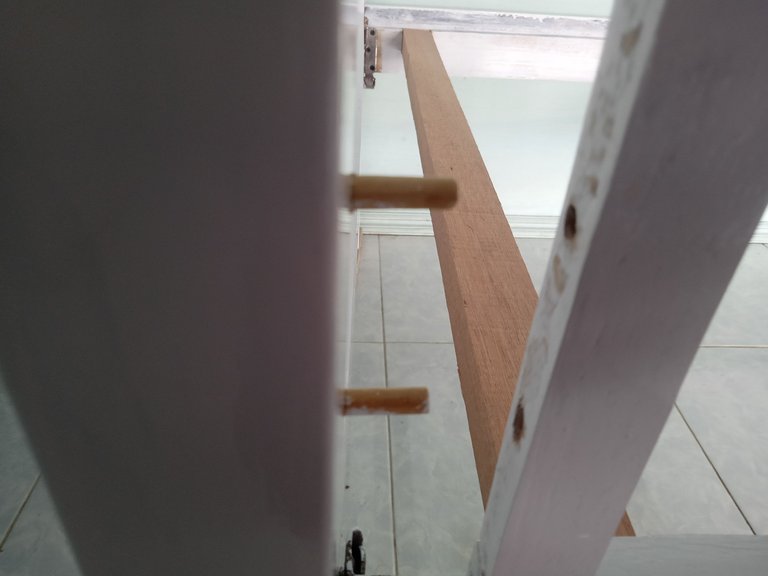
Then I started to make a line on the wood for me to make holes with a drilling machine as a peg hole to string it together with other wood and that was specifically for the legs for the front and rear backrests, while for the wood as the top and bottom base of the backrest I made pegs on the back. each left and right ends and I also make a hole groove with a depth of 1 cm using a router machine as a peg hole for the playwood that I will assemble, in explaining this process I find it difficult to name each part I hope you can understand it with the picture below.

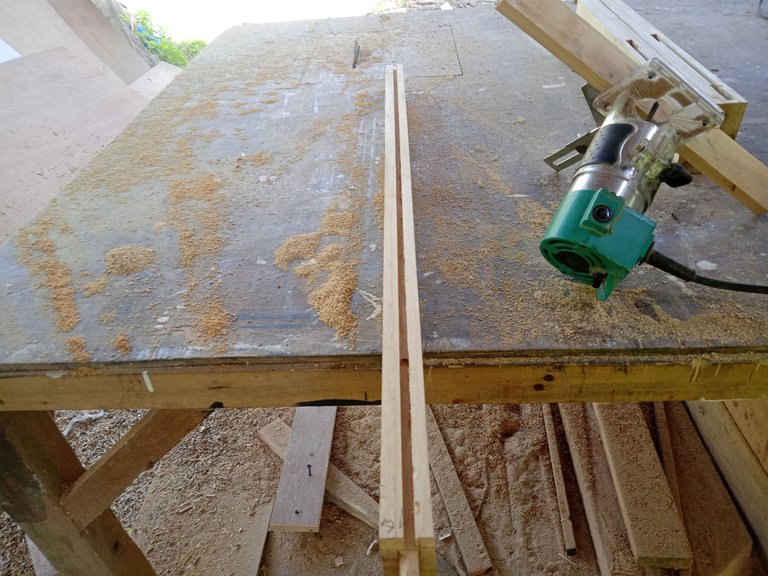
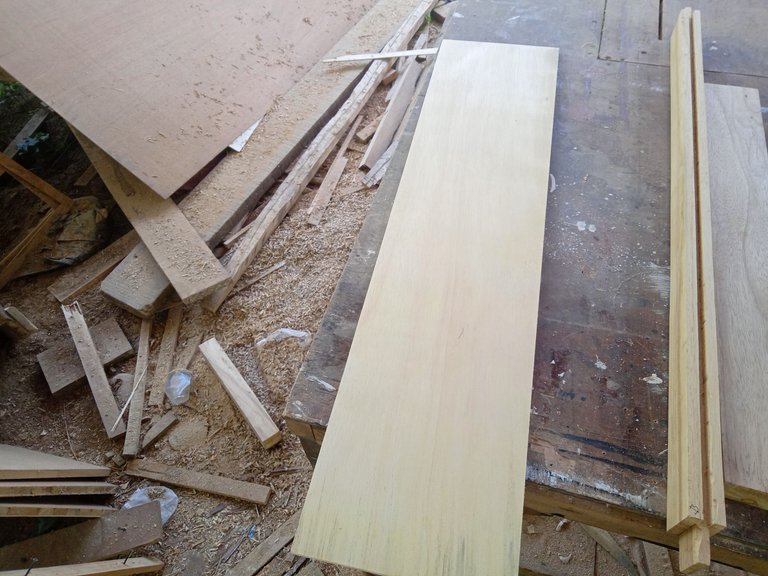
And after that I did everything then I started splitting the playwood with a size of 30 cm x 79 cm for the front and 17 cm x 79 cm for the back, then I started assembling everything and gluing and nailing it.

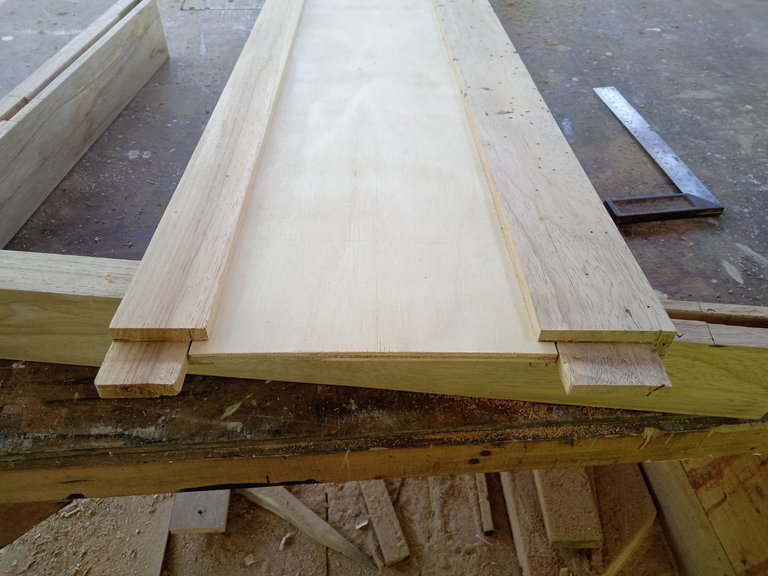

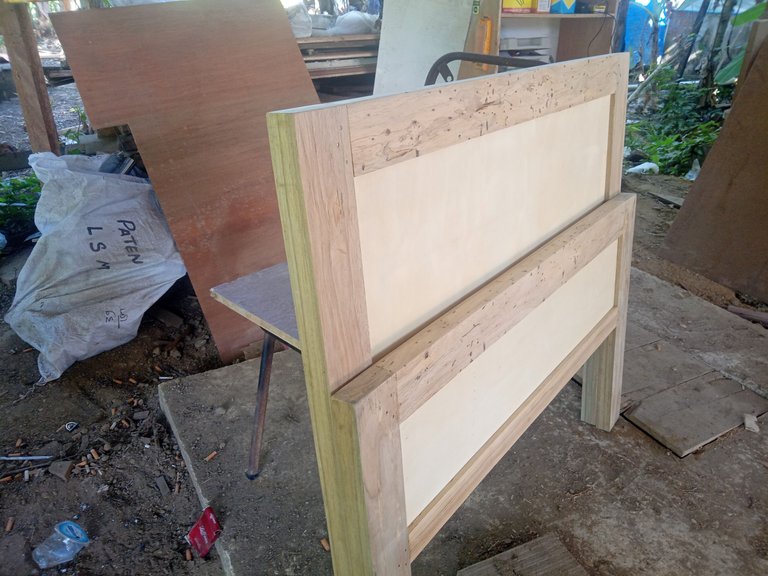
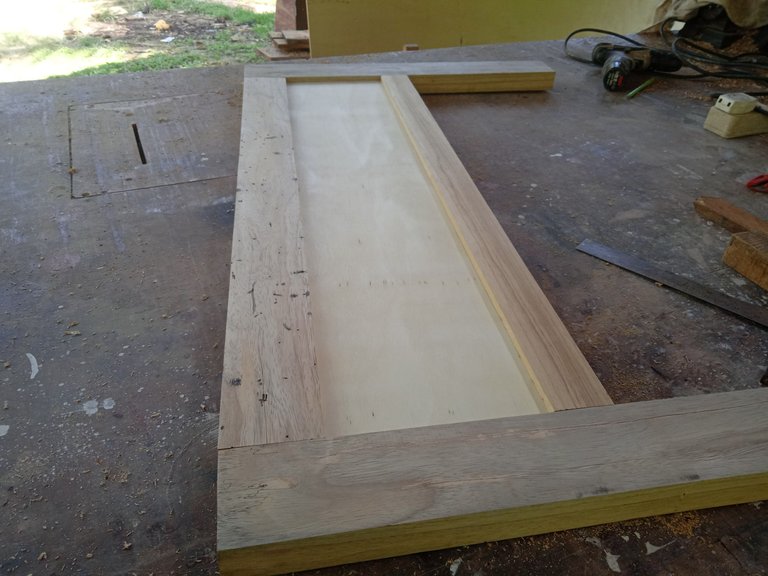
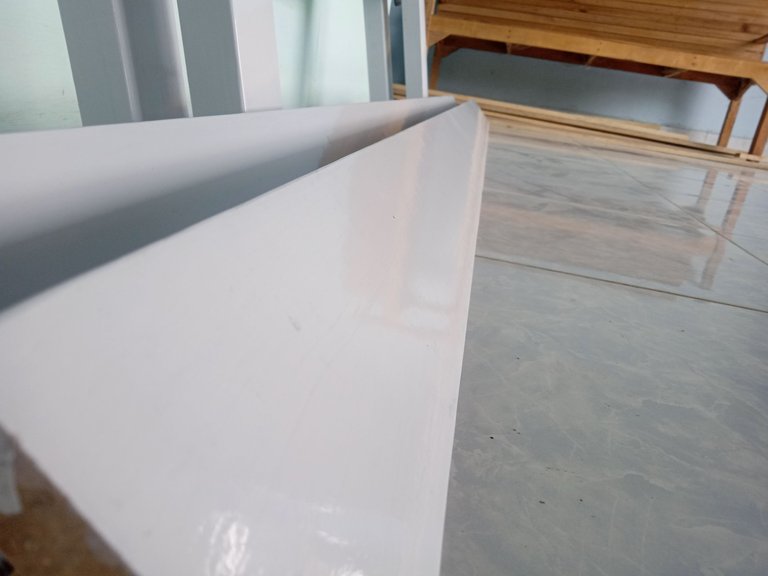
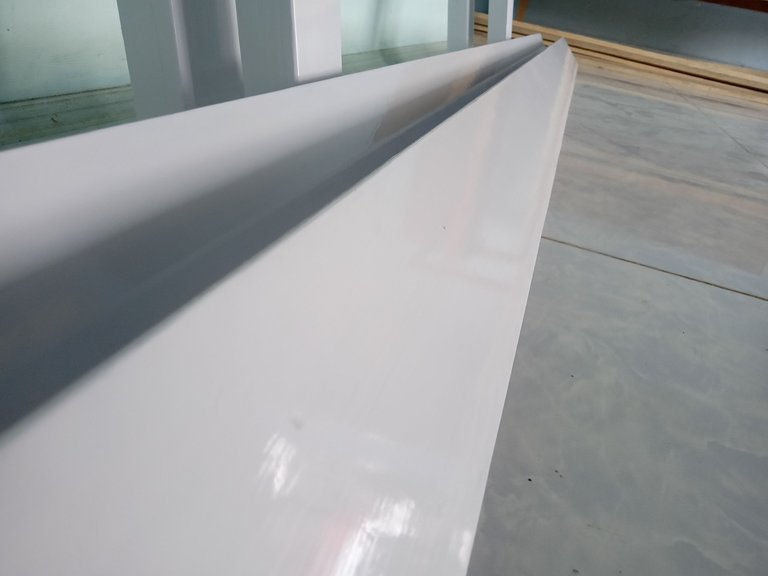
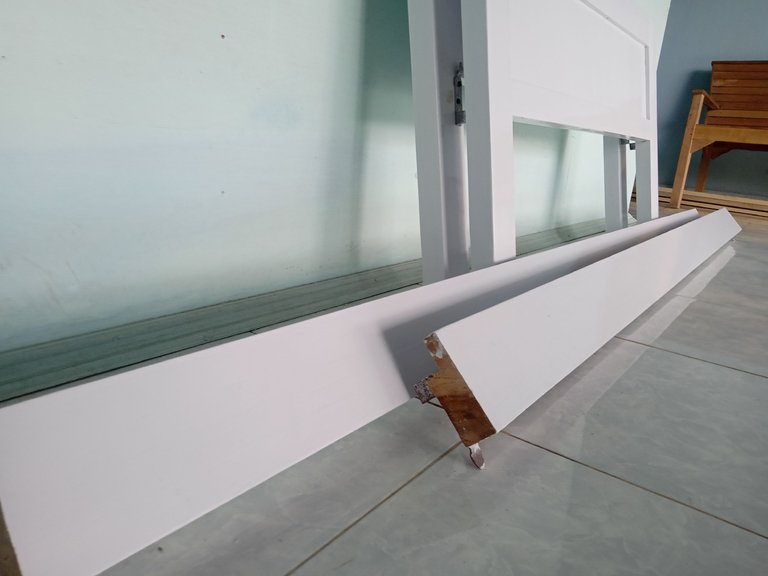
Then I made a little sponge on the wood for the left and right sides like sponging on the door frame as deep as 2 cm and carved a little under it as a place to hold the mattress floor, and then I started installing the connectors made of iron that I bought at the furniture store I will connect the wood with the front and rear backrest and then I assemble it.
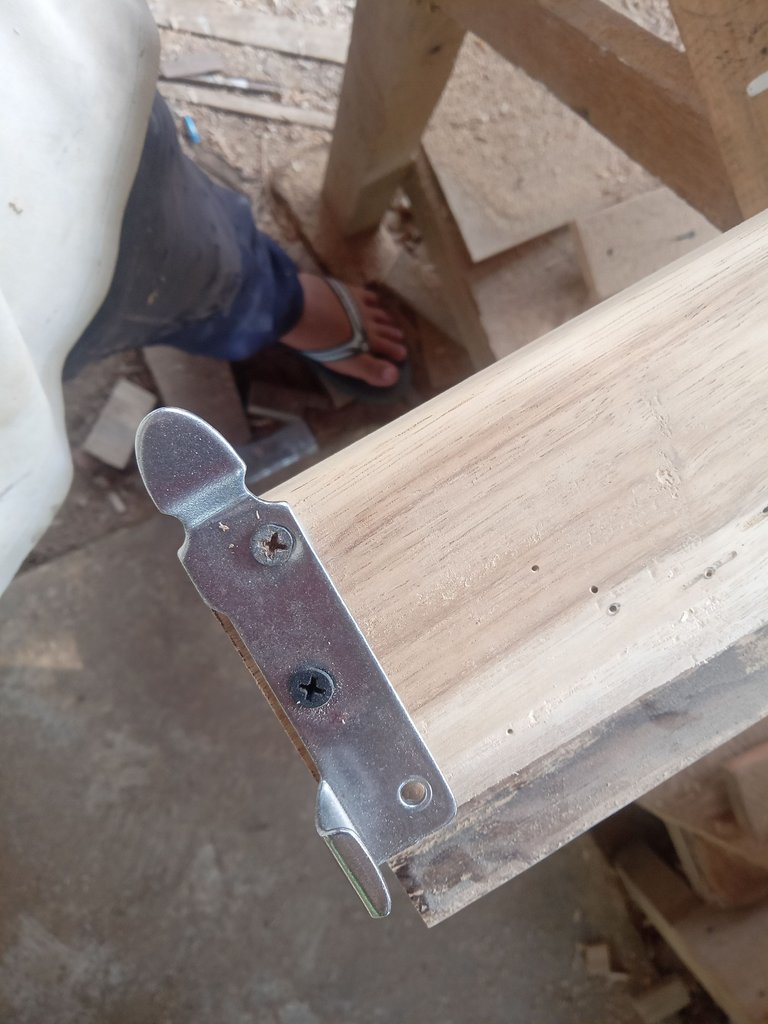
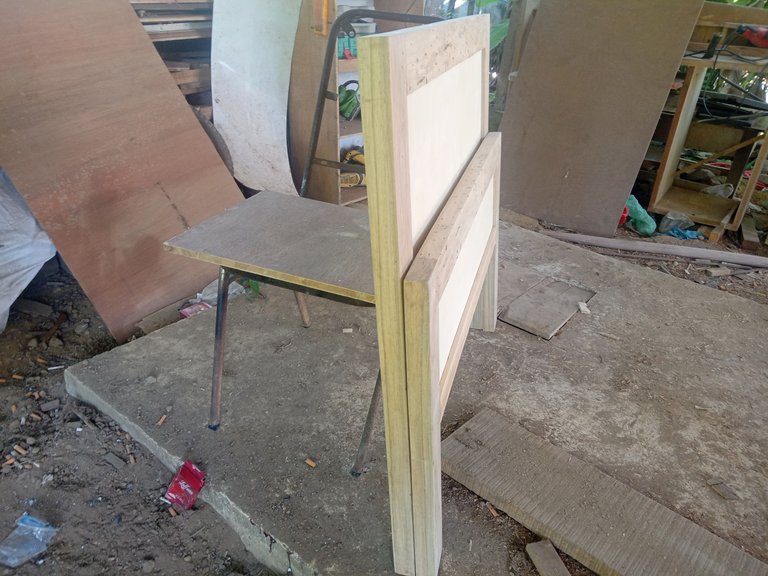
After that I started to make a support on the side of the cot as a barrier so it doesn't fall when my nephew sleeps, and I made this with a dowel system to connect it to the front backrest and screw the bottom with bolts so that it can be removed if it is no longer needed.
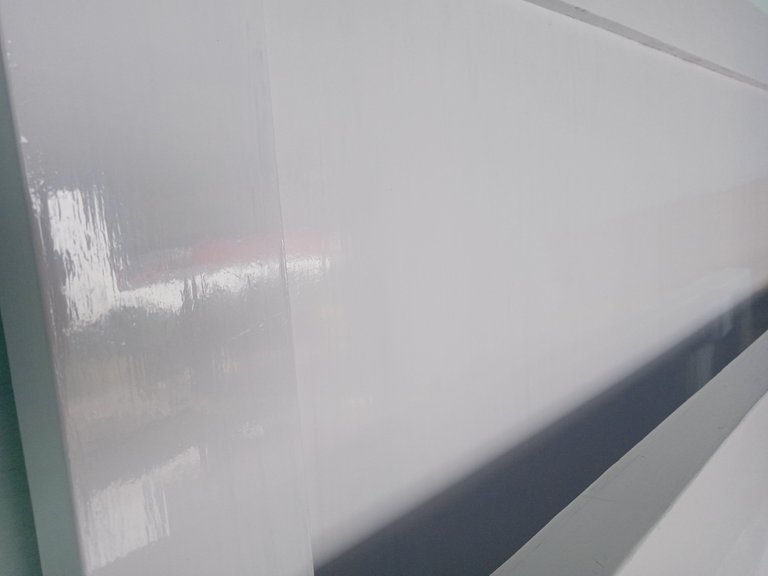
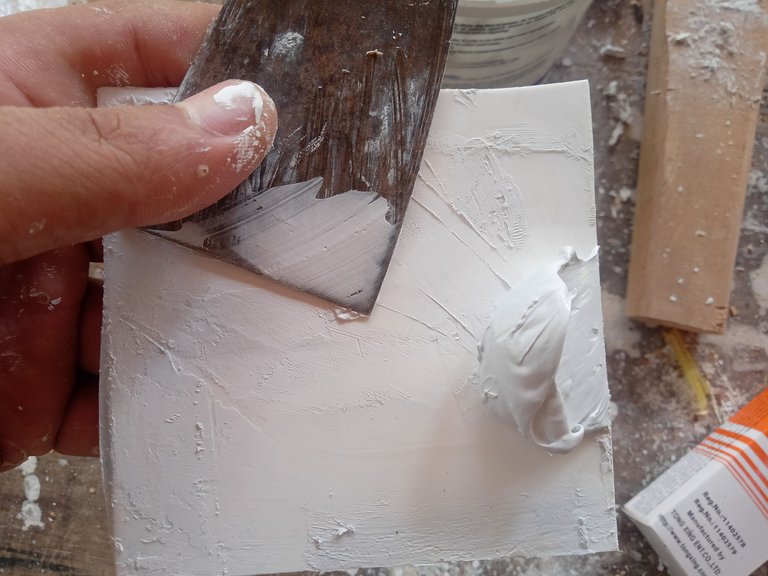
After that was all done I started caulking all the wooden surfaces and after drying I sanded them with fine sandpaper so that the results were smooth and lulu I started painting it in 2 layers and waiting for it to dry until the cot can be used.

And that's my explanation for this project, I hope you can understand it, maybe it's not clear, but I hope you can understand it through the pictures I gave, hope you have a nice day and see you in the next post.
You made a very nice bed. Sweet dreams on it to your nephew 😊
Thanks you so much ....
En lo sencillo esta la belleza.....felicitaciones
Thank you ...
Dear @xavierdleon. Please be reminded to always add/provide the English language translations to your comments for the reading convenience of our international Hive audience. Thank you for your consideration.
Nicely done, the finish is very neat.
Thanks my friends...have a great day...
So cool that you can make this entire thing yourself. You got the skills!
Thanks very much,,,for the support
Kasurnya keren om, pasti ponakannya pada seneng punya om yg bisa bikinin kasur.
Oh iya,bPerkenalkan kak, kami dari Indonesianhiver ingin memperkenalkan program kami guna mendukung blogger hive dari Indonesia mendapat imbalan yang pantas. Kami harap kakak bersedia bergabung untuk meramaikan program ini, dan nantinya tentu kakak juga akan mendapatkan manfaat dari program ini.
Untuk lengkapnya cek di postingan kami ya kak https://peakd.com/indonesianhiver/@indonesianhiver/proyek-kurasi-indonesian-hiver
Terimakasih kak
very cool. his nephew can be happy too. can also another time order to be made too 😊
Congratulations @lancang! You have completed the following achievement on the Hive blockchain and have been rewarded with new badge(s):
Your next target is to reach 500 upvotes.
You can view your badges on your board and compare yourself to others in the Ranking
If you no longer want to receive notifications, reply to this comment with the word
STOPCheck out the last post from @hivebuzz:
Support the HiveBuzz project. Vote for our proposal!