
Hola amigos de hive y comunidad de jewerly es un gusto saludarles nuevamente,hoy quiero felicitar a todos los miembros de esta hermosa familia por traer para nosotros hermosos contenidos que deleitan nuestra vista y hacen resaltar nuestra creatividad,muchas gracias a tod@s por tan hermosas publicaciones.
Mis queridos compañeros,hoy quiero compartir con ustedes paso a paso de la creación de unos hermosos aretes muy coloridos.
Este proceso lo realizamos de la siguiente manera:
Los materiales utilizados para estos hermosos aretes son los siguientes:
🌈 MOSTACILLAS ANARANJADAS
🌈MOSTACILLAS DE COLOR FUCSIA
🌈MOSTACILLAS DE COLOR VERDE
🌈MOSTACILLAS DE AZUL OSCURO Y AZUL CLARO
🌈MOSTACILLAS DE COLOR ROSADO
🌈MOSTACILLAS DE COLOR MORADO
🌈MOSTACILLAS ANARANJADAS PEUEÑAS
🌈HILO DE COLOR NEGRO
🌈AGUJAS
🌈BROCHEZ PARA ARETES O COPITOS

Los pasos a seguir son los siguientes
Paso 1
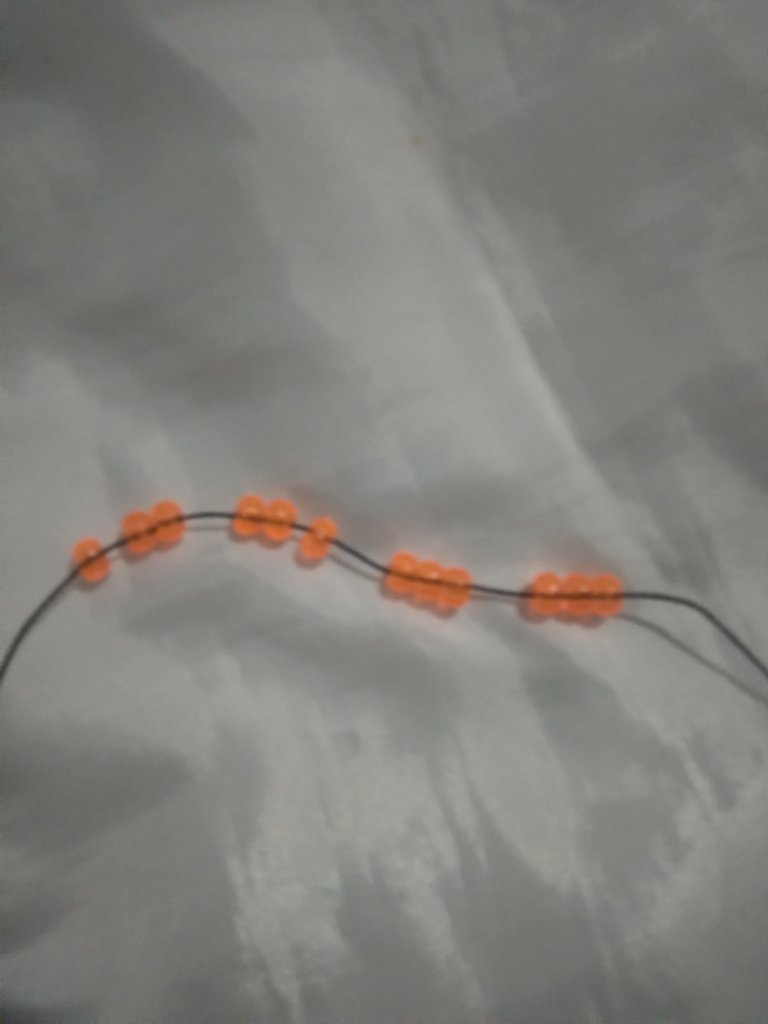
Lo primero que vamos hacer es cortar 70 centimetros de nuestro hilo negro,lo introduciremos por una aguja,usted podría utilizar cualquier color, luego colocaremos 12 mostacillas anaranjadas damos un circulo y amaremos con un nudo simple,tomando en cuenta que hay que dejar del otro extremo un aproximado de 10cm.

Paso 2
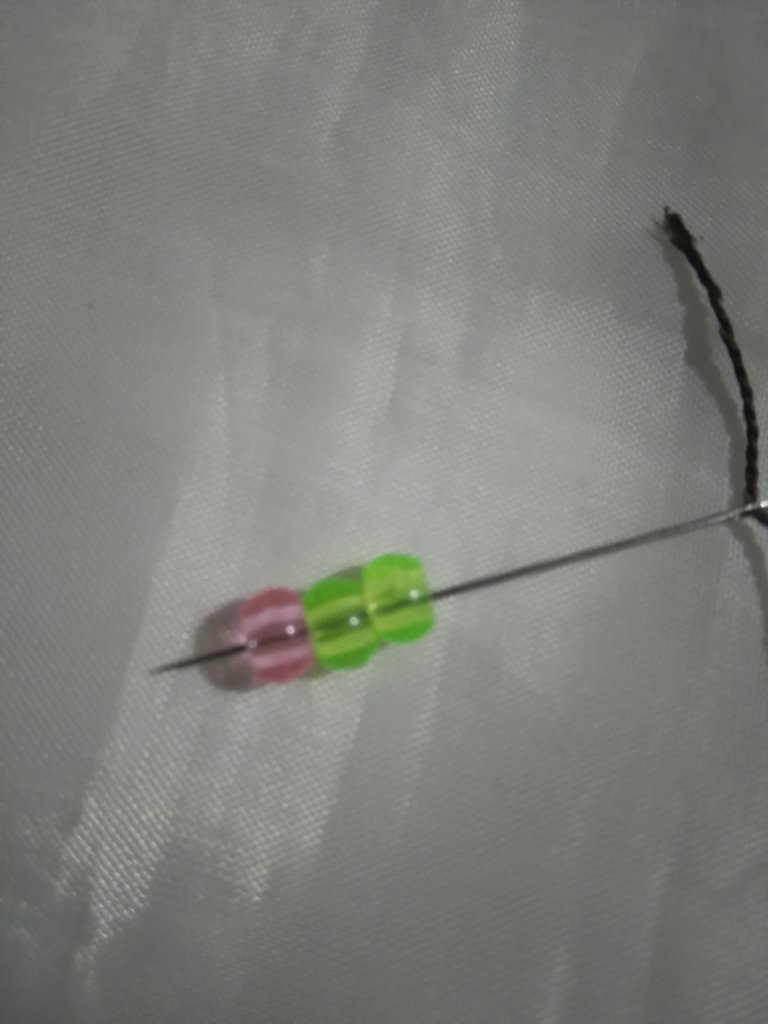
Lo siguiente que haremos será pasar nuestra aguja con hilo por 2 mostacillas anaranjadas.
Luego introduciremos 2 mostacillas verde y una rosada
Saltaremos una mostacilla anaranjada y introduciremos la aguja con el hilo
Paso 3
Seguiremos el mismo procedimiento colocando 2 mostacillas de color fucsia y 1 de color azul.

Saltamos una mostacilla y introduciremos nuestro hilo por la siguiente mostacillas anaranjada
Paso 4
Tomaremos 2 mostacillas de color morado y una de color amarillo.
Introduciremos la aguja con el hijo por la siguiente mostacilla,recordando que debemos saltar una mostacillas de color naranja
Paso 5
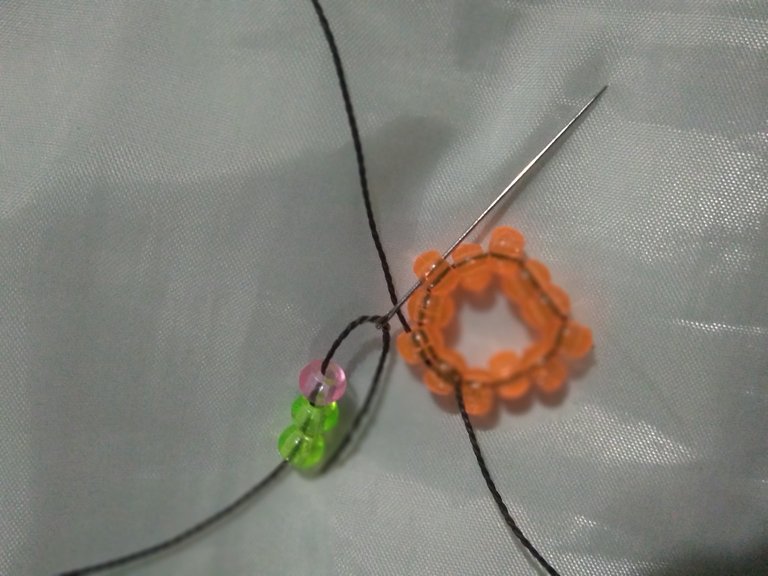
Lo siguiente que haremos es repetir el segundo paso introduciendo 2 mostacillas de color verde y una rosada

Saltamos una mostacilla y introduciremos por la siguiente
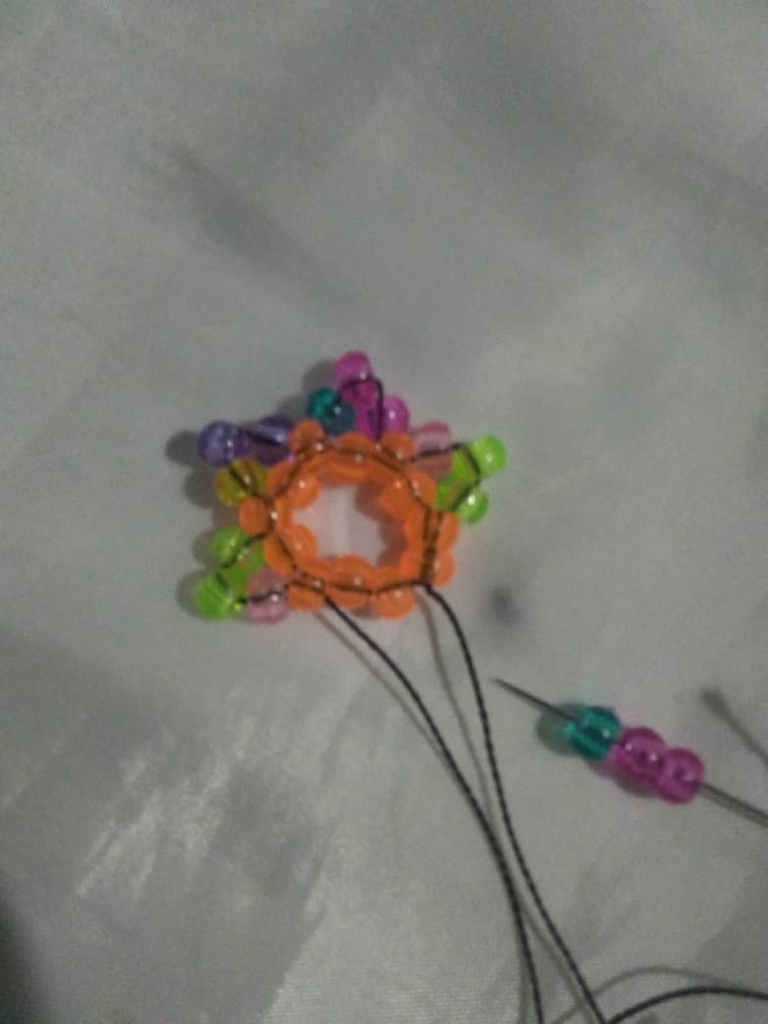
Paso 6
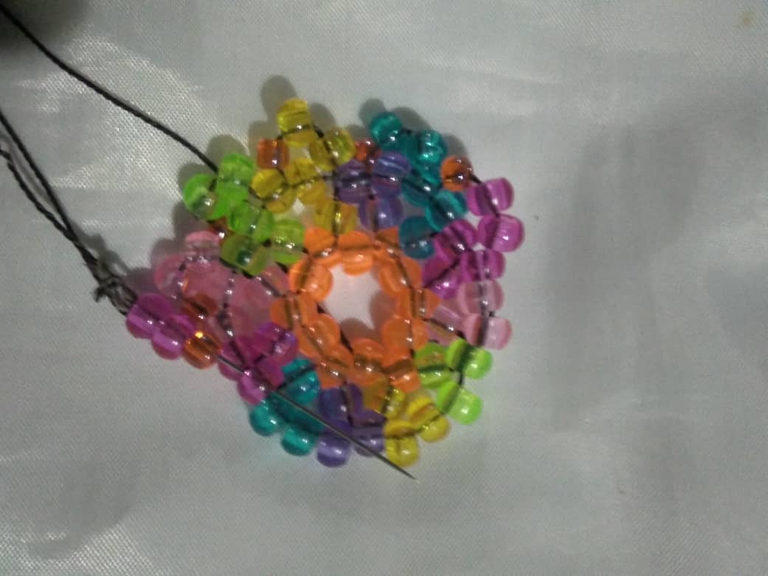
Ya para terminar nuestra PRIMERA FACE de nuestros hermosos aretes colorido,Tomaremos 2 mostacillas de color morado y una de color amarillo y la introduciremos por encima de nuestra mostacilla anaranjada

Después de haber conbinado nuestras superficies,pasaremos el hilo por 2 mostacillas de color verde para q no nos valla quedar donde le hicimos el primer nudo y nos valla a entorpecer nuestro trabajo


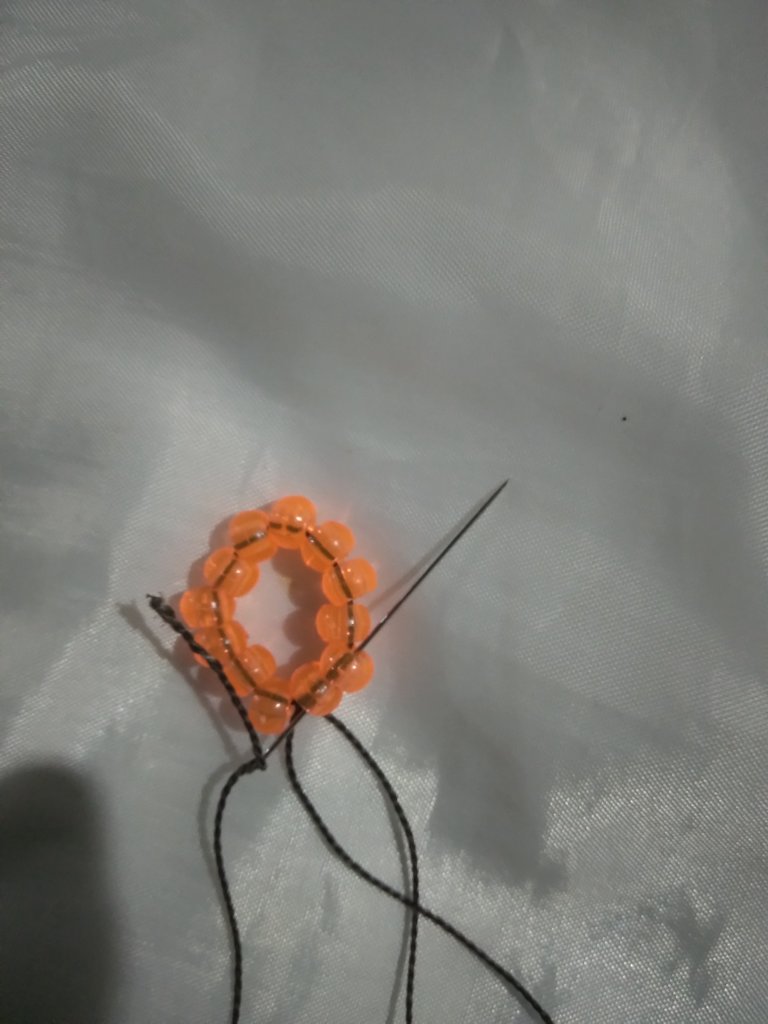
De estamanera se va a ir formando el circulo alrededor de los vertices que seh formado con las moscacillas.
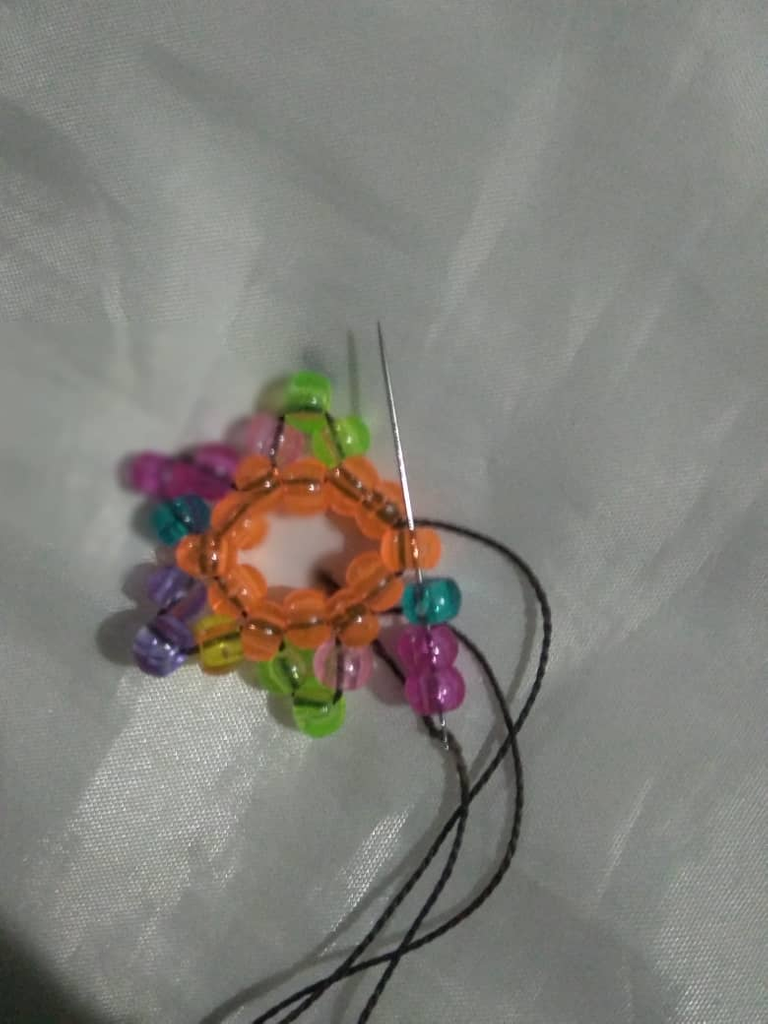
Paso 7
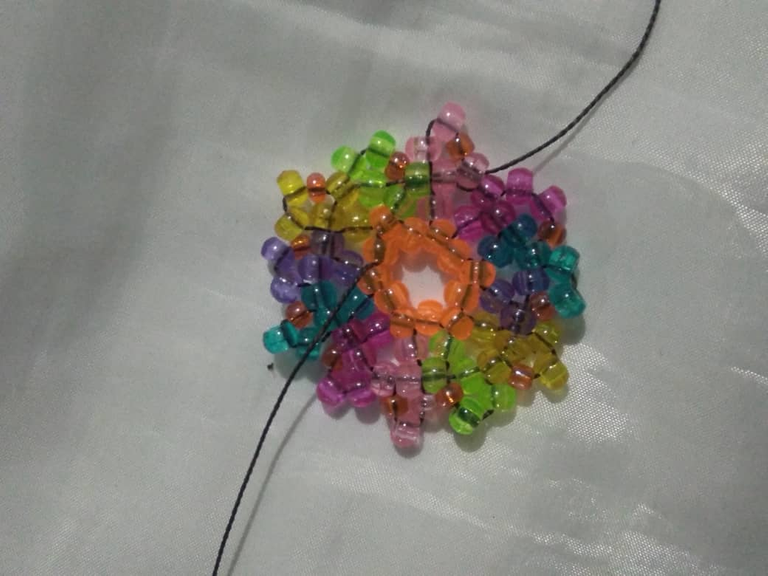
Comenzaremos con nuestra SEGUNDA FACE lo primero que haremos es introducir 2 mostacillas de color rosado y una de color fucsia

Asi obtenmdremos esta forma circular.
Paso 8
Lo siguiente es introducir 2 mostacillas de color rosa y una de color naranja.
Al tener el circulo con las mostacillas se procede a formar nuevamente los verdices con las pieritas. asi como se explicó en los pasos anteriores.
Introduciremos 2 mostacillas de color azul y una pequeña anaranjada y la introduciremos por encima de la mostacilla de color morado,la idea es que sobre salga una en cada superficie.
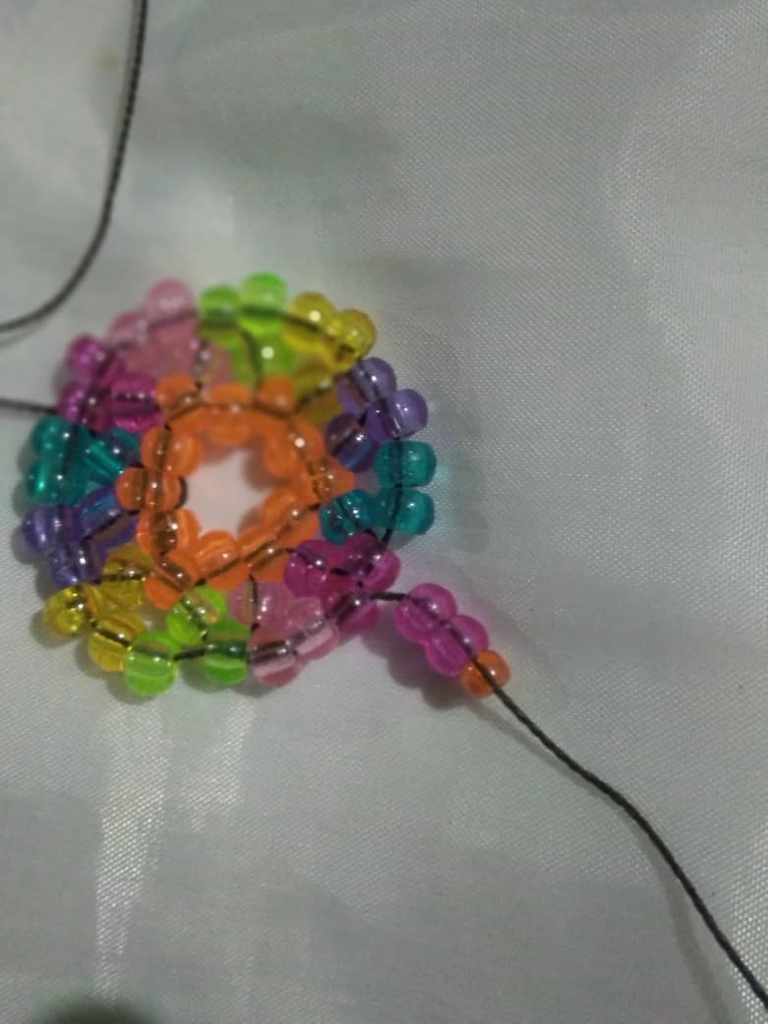
Paso 9
En esta CUARTA FACE lo q haremos será,tomar el hilo del otro lado que nos restaba y tomaremos 3 mostacillas de color morado y la vamos a pasar por una mostacilla anaranjada con las que comenzamos el primer circulo Tiramos y nos quedara de esta manera
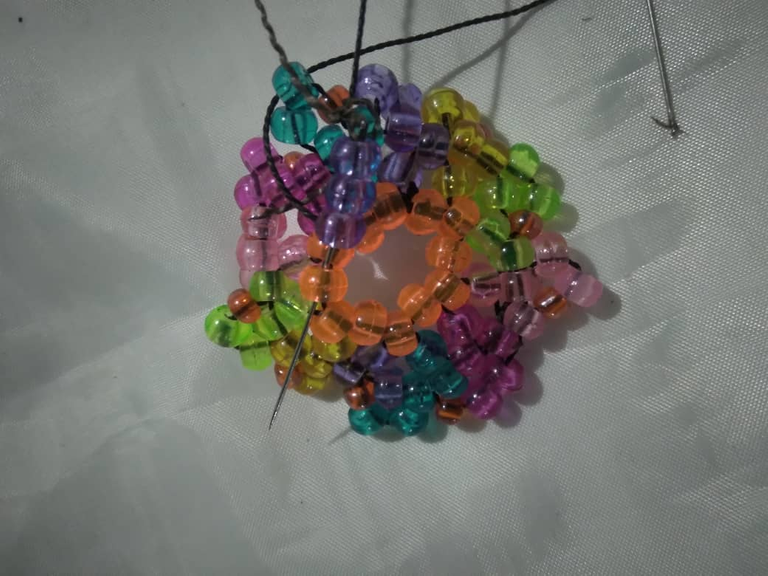
Allis epuede ir notando que se van formando los circulos alredeor del más grende con las mostacillas.
A medida que se van formando los nuevos circulos se van haciendo más pequeño. y se va cerrando el circulo.
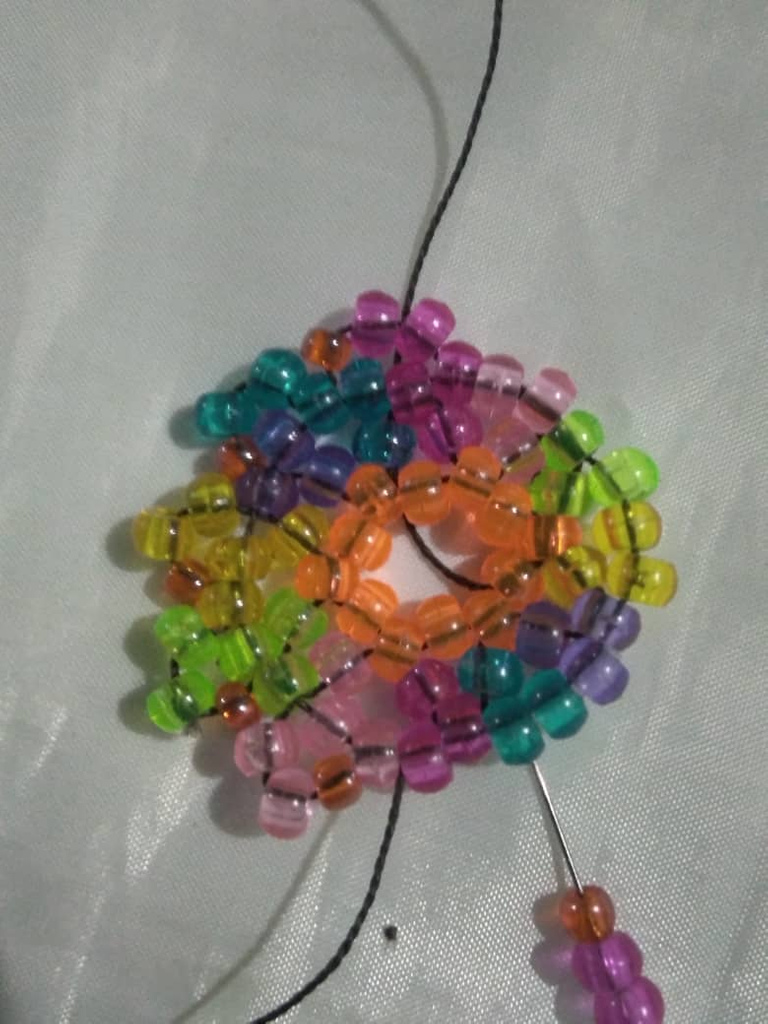
Paso 10
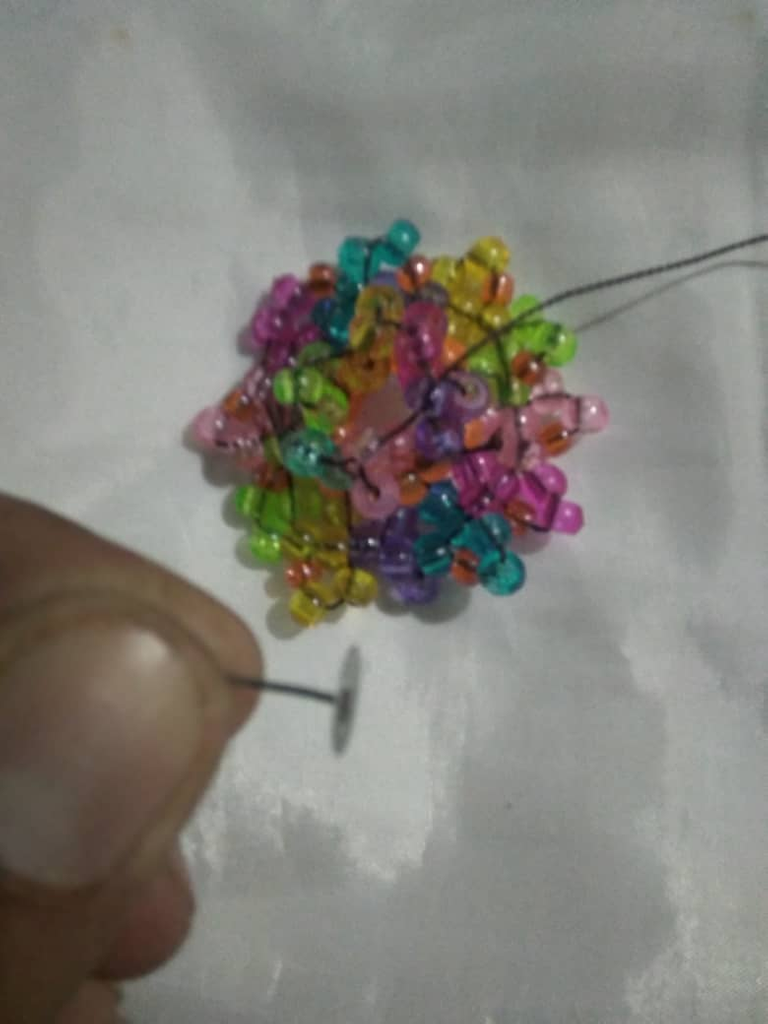
Comenzaremos con la QUINTA Y ÚLTIMA FACE.
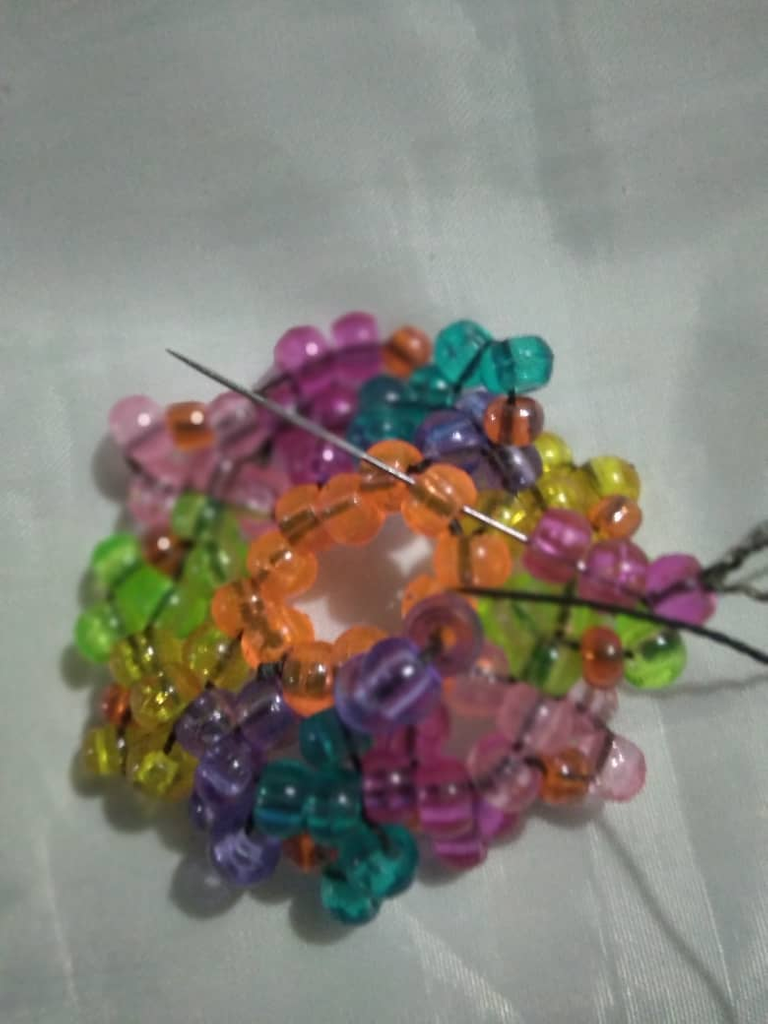
Lo siguiente que haremos será introducir por cada superficie de cada mostacilla nuestro hilo y sin apretar colocaremos nuestro copito,ya colocado tiraremos fuerte para que quede centrado y fije,luego esconderemos nuestro hilo.

Y ya tenemos nuestros HERMOSOS ARETES COLORIDOS,esta mezcla de colores es muy atractiva ya que es ideal para estos días que se usan muchos colores,si eres amantes al color también lo puedes usar para cualquier otra ocasión

Espero les haya gustado el trabajo que he creado con mucho cariño para todos ustedes muchas bendiciones y que Dios me los bendiga
EXITOS.!
Las fotos las tomé de mi teléfono Samsung A01.
Traductor utilizado:Deelp
Las fotos las edite mediante la Aplicación editor de fotos polish y los sepadores mediante la aplicación canva .

Hello friends of hive and jewerly community is a pleasure to greet you again,today I want to congratulate all members of this beautiful family for bringing us beautiful content that delight our eyes and bring out our creativity,thank you very much to all for such beautiful publications.
My dear colleagues, today I want to share with you step by step of the creation of some beautiful and colorful earrings.
This process was done in the following way:
The materials used for these beautiful earrings are as follows:
🌈 ORANGE BEADS
🌈 FUCHSIA COLORED BEADS
🌈 GREEN BEADS
🌈 DARK AND LIGHT BLUE BEADS
🌈PINK COLORED BEADS
🌈PURPLE COLORED BEADS
🌈 SMALL ORANGE BEADS
🌈 BLACK THREAD
🌈 NEEDLES
🌈BROWN BEADS FOR EARRINGS OR FLAKES
The steps to follow are as follows.
Step 1
The first thing we are going to do is to cut 70 centimeters of our black thread, we will introduce it through a needle, you could use any color, then we will place 12 orange beads, we will make a circle and we will tie a simple knot, taking into account that we must leave an approximate of 10cm at the other end.
Step 2
The next thing to do is to thread our needle with thread through 2 orange beads.
Then we will introduce 2 green beads and one pink bead.
We will skip one orange bead and we will introduce the needle with the yarn
Step 3
We will follow the same procedure placing 2 fuchsia beads and 1 blue bead.
We skip one bead and introduce our thread through the next orange bead.
Step 4
We will take 2 purple beads and one yellow bead.
We will introduce the needle with the son through the next bead, remembering to skip one orange bead.
Step 5
The next thing we will do is repeat the second step introducing 2 green beads and a pink bead
Skip one bead and insert the next one.
Step 6
To finish our FIRST FACE of our beautiful colorful earrings, we will take 2 purple beads and one yellow bead and we will insert them over our orange bead.
After having combined our surfaces, we will pass the thread through 2 green beads so that it will not remain where we made the first knot and it will hinder our work.
In this way the circle will be formed around the vertices formed with the beads.
Step 7
We will begin with our SECOND FACE the first thing we will do is to introduce 2 pink beads and one fuchsia bead.
This way we will obtain this circular shape.
Step 8
Next, insert 2 pink and 1 orange beads.
When you have the circle with the beads, proceed to form again the green beads with the little stones, as explained in the previous steps.
We will introduce 2 blue beads and a small orange bead and we will introduce it over the purple bead, the idea is to have one on each surface.
Step 9
In this FOURTH FACE what we will do will be, to take the thread of the other side that remained to us and we will take 3 beads of purple color and we are going to pass it by an orange bead with which we began the first circle We pull and we will be of this way
Allis epuede go noticing that the circles are forming around the larger one with the beads.
As the new circles are formed, they get smaller and smaller and the circle closes.
Step 10
We will start with the FIFTH AND LAST FACE.
The next thing to do is to introduce our thread on each surface of each bead and loosely place our flake, and placed and pull hard so that it is centered and fixed, then hide our thread.
And we already have our BEAUTIFUL COLORFUL ARETES,this mixture of colors is very attractive since it is ideal for these days that many colors are used,if you are color lovers you can also use it for any other occasion.
I hope you liked the work that I have created with much love for all of you many blessings and may God bless you.
SUCCESS !
The photos were taken from my Samsung A01 phone.
Translator used:Deelp
I edited the photos using the polish photo editor Application and the separators using the canva application .
Están hermosos.
Me recuerdan a unos zarcillos que tenía mi mamá de los 80, creo. Bueno. Desde pequeña los veía y me encantaban.
Ahora de grande no se donde están.
Muchas gracias,me agrada que le haya gustado y recordado a su madre.estan a la orden.👍🏻
Estos Aretes son una locura! Que hermosos! me enacanta. gran paso a paso! Es como hacer una otrre de mostacillas. 😍😍😍
Muchas gracias mana saludos
Congratulations @afrofat1! You have completed the following achievement on the Hive blockchain And have been rewarded with New badge(s)
Your next target is to reach 900 upvotes.
You can view your badges on your board and compare yourself to others in the Ranking
If you no longer want to receive notifications, reply to this comment with the word
STOPCheck out our last posts:
Support the HiveBuzz project. Vote for our proposal!
Que diseño tan original y llamativo quedaron muy lindos. Saludos 😊
Muchas gracias amigas 😁
Un diseño muy hermoso y colorido, gracias por compartir.
Siempre a la orden👍🏻
The rewards earned on this comment will go directly to the people( @samuell12 ) sharing the post on Twitter as long as they are registered with @poshtoken. Sign up at https://hiveposh.com.
BONITO Y COLORIDO, ME GUSTARON PARA HACERME UNOS A MI NIETA. SALUDOS
Ideales para estos carnavales,muchas gracias