Hola hola !! Saludos a todos en ésta comunidad, deseo mostrarle el proceso de una de las frutas preferidas de las ardillas, las bellotas. Es un diseño plano y simple que elegí hacer como pasatiempo en mi tiempo de ocio. Siempre me recuerdo a mí mismo lo importante que es dedicar tiempo a las cosas que me gusta hacer , crear , dibujar , entre otras cosas.
A continuación te enseño el paso a paso de éste colgante en madera...
Hello hello !! Greetings to everyone in this community, I want to show you the process of one of the squirrels' favorite fruits, acorns. It is a flat and simple design that I chose to do as a hobby in my free time. I always remind myself how important it is to spend time doing the things I like to do, create, draw, among other things.
Below I show you the step by step of this wooden pendant...
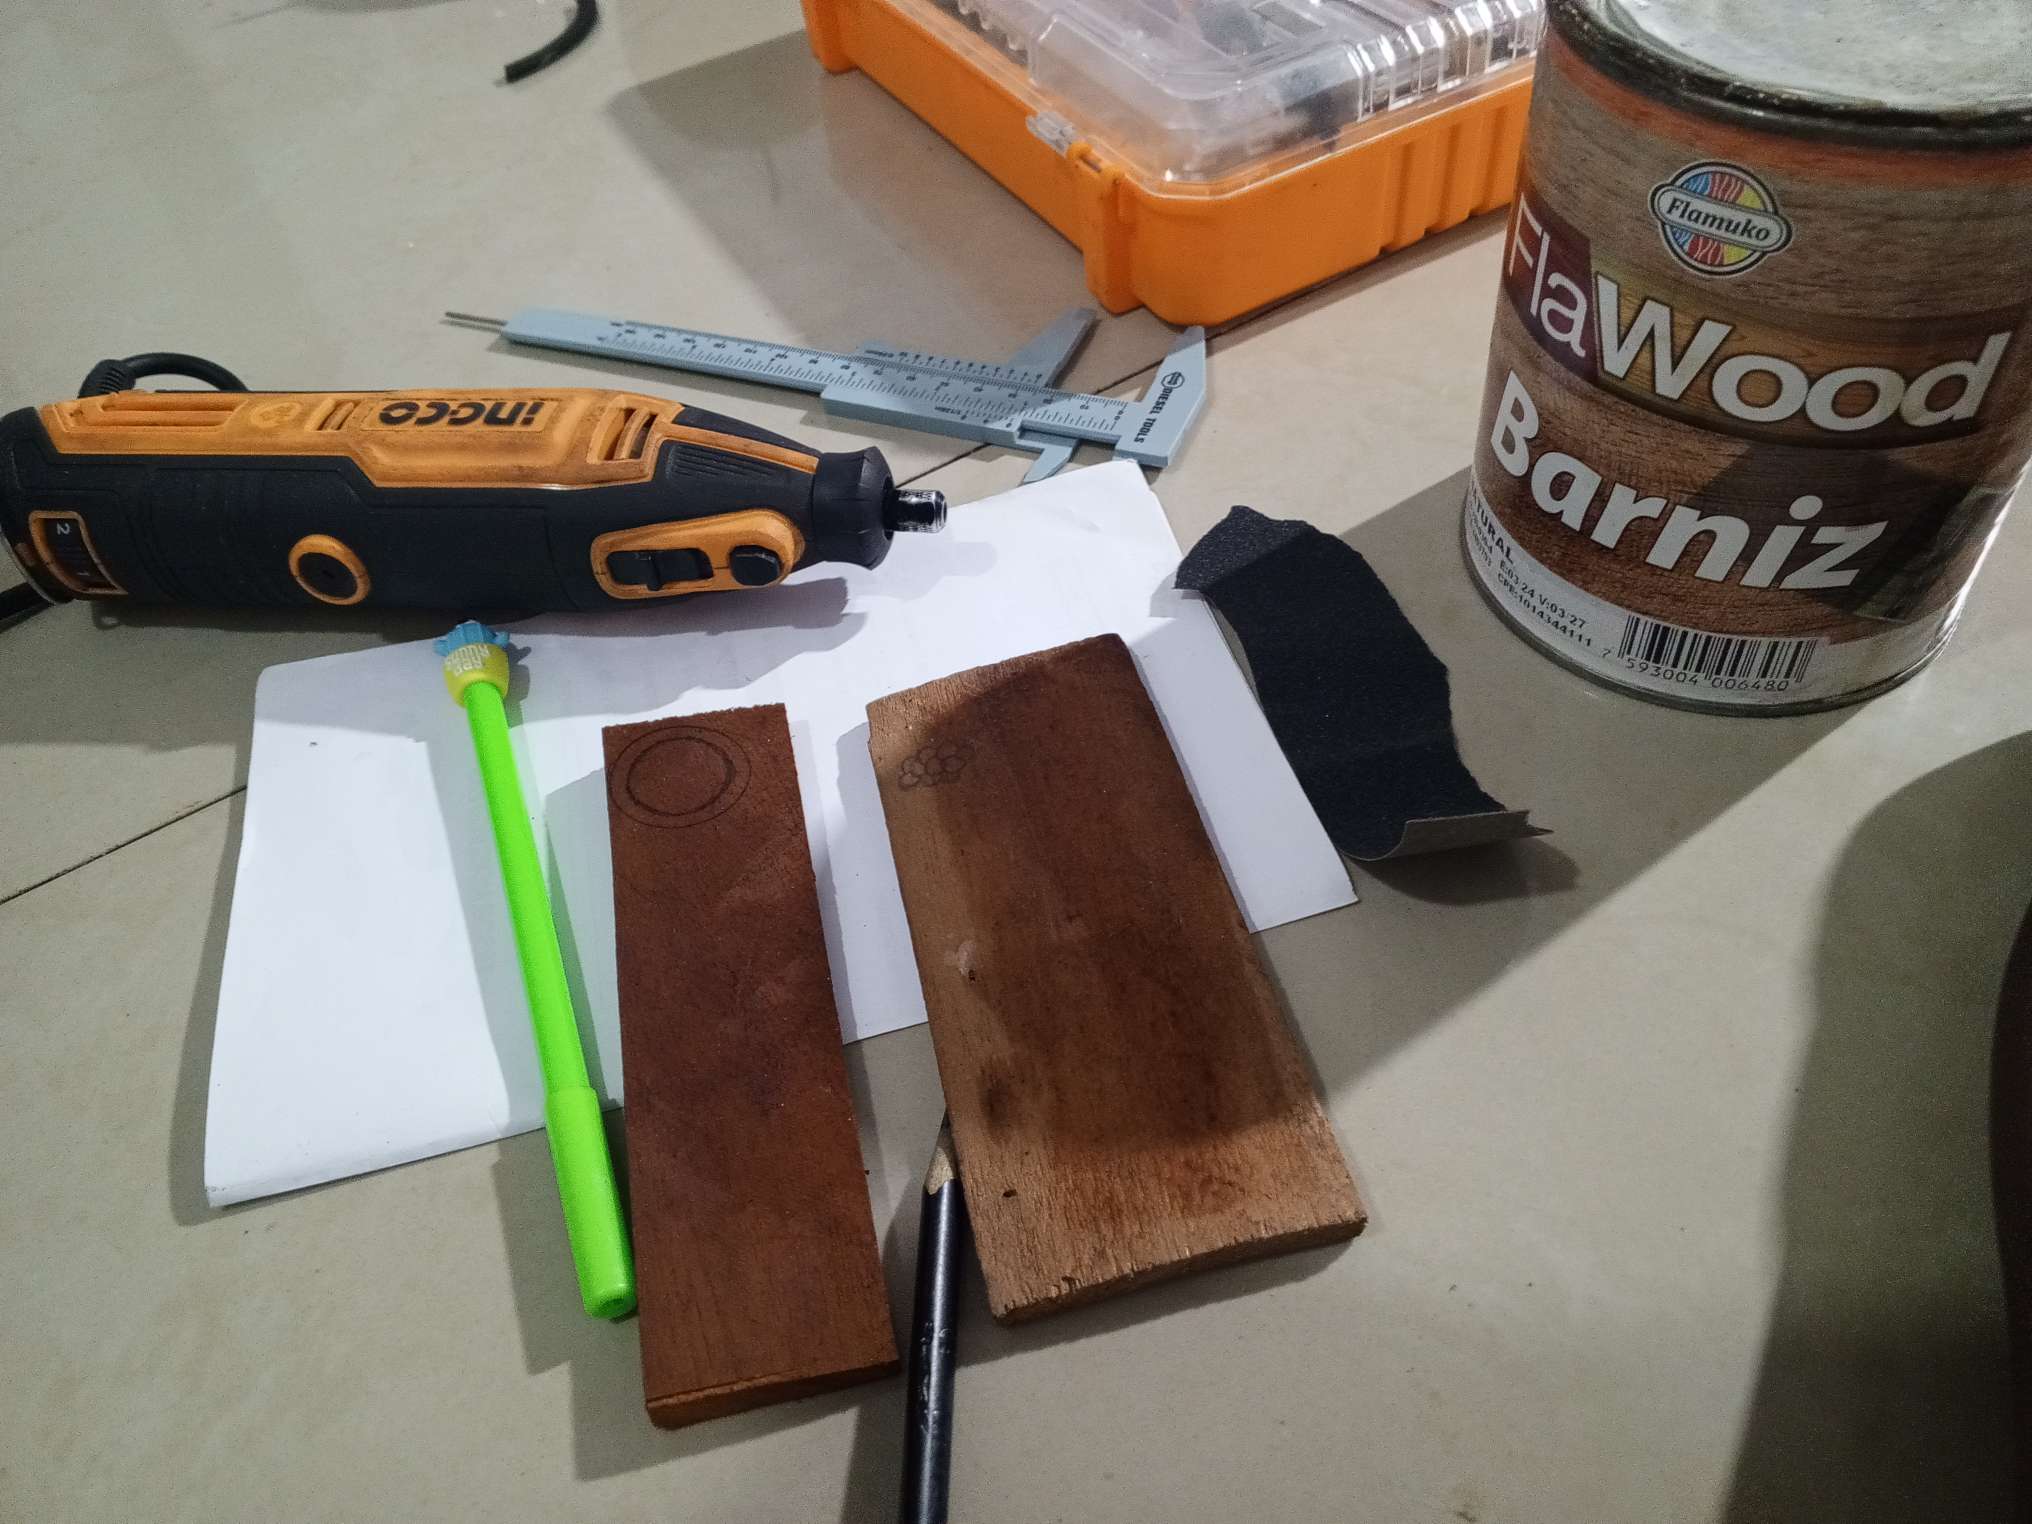
LOS MATERIALES:
Recorte de madera de cedro
Dremel
Lija
Barniz
Lápiz
Vernier
Brocha
Pinzas
Cordón marrón
Argollas
Encendedor
Cinta adhesiva
Lapiz
THE MATERIALS:
Cedar wood cutout
Dremel
sandpaper
Varnish
Pencil
Vernier
Brush
Tweezers
brown cord
Hoops
Lighter
Adhesive tape
Pencil
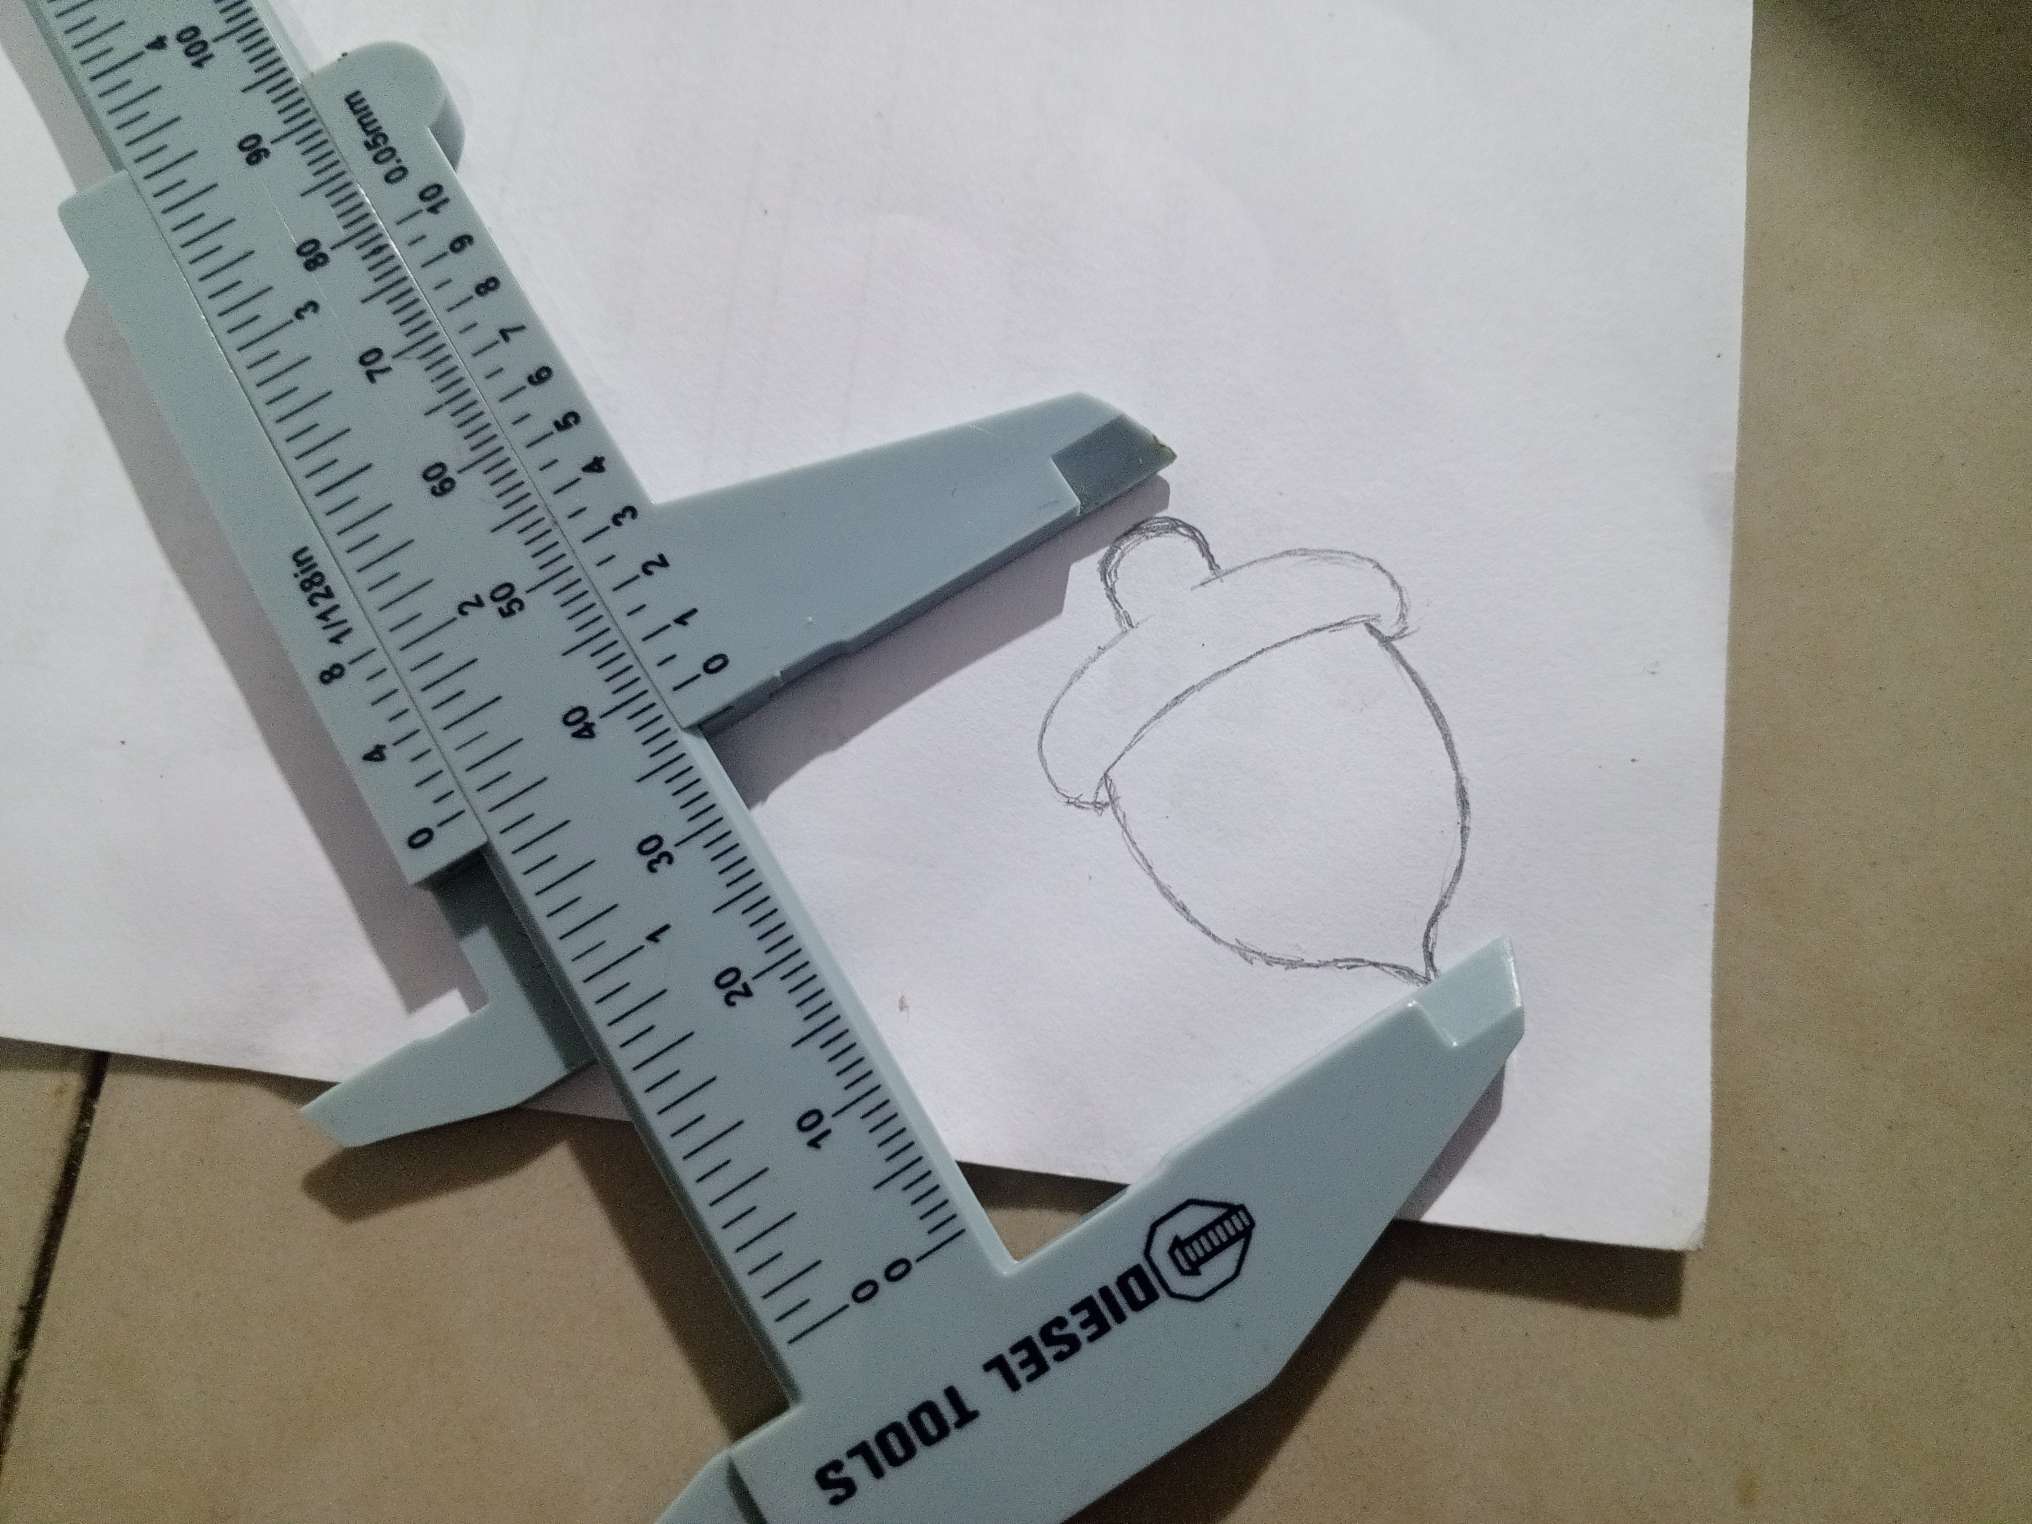
Lo primero a realizar es el boceto, como es de entenderse, para colgar en el cuello, el diseño no sebe ser tan grande, por lo menos a mí gusto, considero que debe ser algo entre 3 a 5 centímetros.
Este lo hice de 3.5 centímetros aproximadamente.
The first thing to do is the sketch, as is understandable, to hang on the neck, the design should not be that big, at least in my opinion, I consider that it should be something between 3 to 5 centimeters.
I made this one approximately 3.5 centimeters.
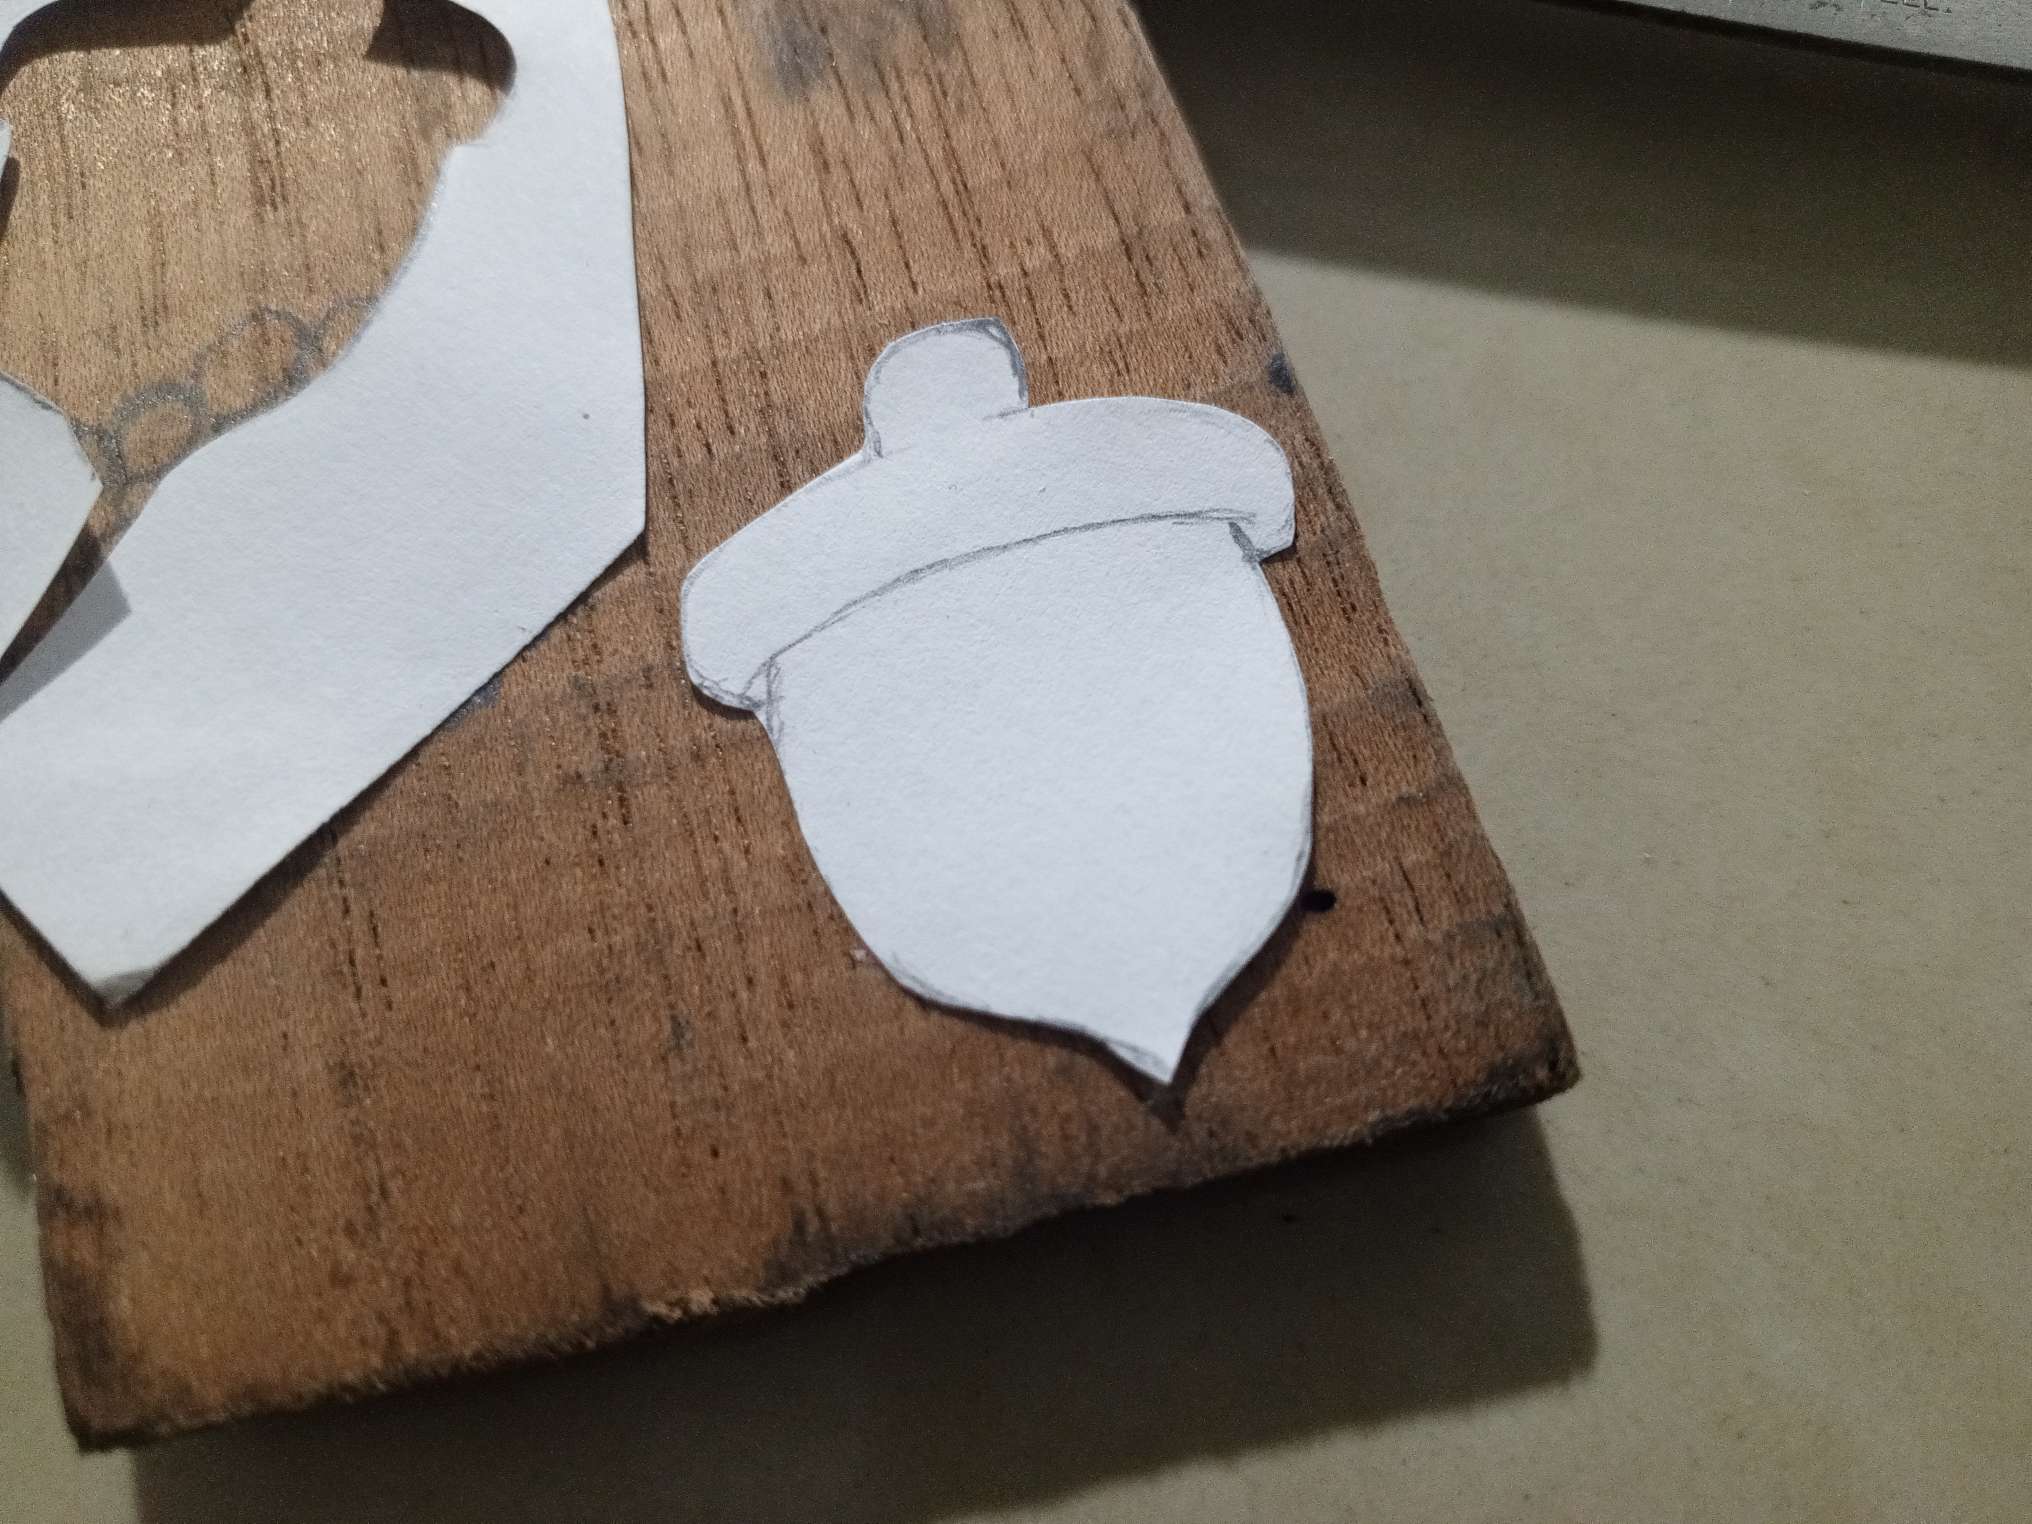
Transferencia del diseño a la madera, este proceso proporciona una guía importante para no tener que improvisar en la superficie de la misma, ya que es porosa y se hace más facil trazar.
Transferring the design to the wood, this process provides an important guide so as not to have to improvise on its surface, since it is porous and makes it easier to trace.
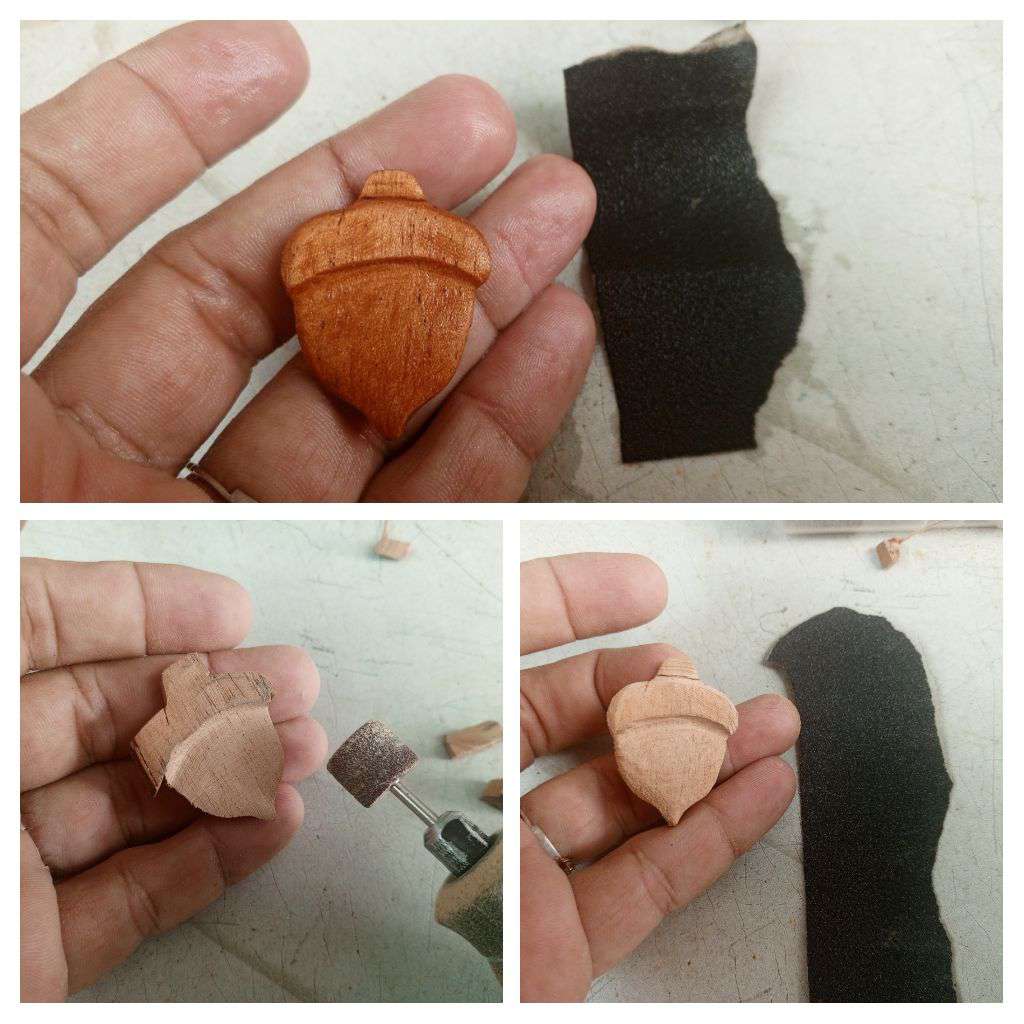
El siguiente paso es el más delicado y requiere toda nuestra atención, esculpir en 3D en la madera es sencillo si aplicamos las técnicas y las herramientas correctas, en realidad no se necesita mucho cuando dispones de un dremel y mechas diamantadas, se va retirando la corteza exterior y luego dando forma a cada parte del trazado del diseño. La bellota tiene cualidades únicas , es como especie de una cara con un sombrero jaja, una quijada puntiaguda .
Una vez que nuestro diseño esté bien esculpido o calado, le damos un mejor acabado con lija al agua número mil. Esto quita toda la porosidad y sella bien las betas de la misma. Hay que tomar en cuenta a la hora de lijar cada parte del diseño que no pierda su morfología.
The next step is the most delicate and requires all our attention, 3D sculpting in wood is simple if we apply the correct techniques and tools, in reality it does not take much when you have a dremel and diamond bits, the bark is removed exterior and then shaping each part of the design layout. The acorn has unique qualities, it is like a face with a hat haha, a pointed jaw.
Once our design is well sculpted or openwork, we give it a better finish with number one thousand water sandpaper. This removes all the porosity and seals the porosity well. When sanding each part of the design, it must be taken into account that it does not lose its morphology.
Con cinta adhesiva cubrimos el cuerpo de la bellota y con un encendedor cubrimos aplicamos calor en la cabeza de la misma para oscurecer y lograr dos tonalidades. Hay que quemar con poca intensidad para no dañar la madera y se vuelva carbón jaja
Barniz
Aplicamos dos o tres capa de barniz entre media hora de secado aproximadamente, eso protege la madera y le da un acabado mas bonito. Si no posees barniz puedes hacer un brillo casero utilizando cola blanca y un poco de agua, se mezcla bien y se le aplica dos o tres veces y el resultado también es muy bonito.
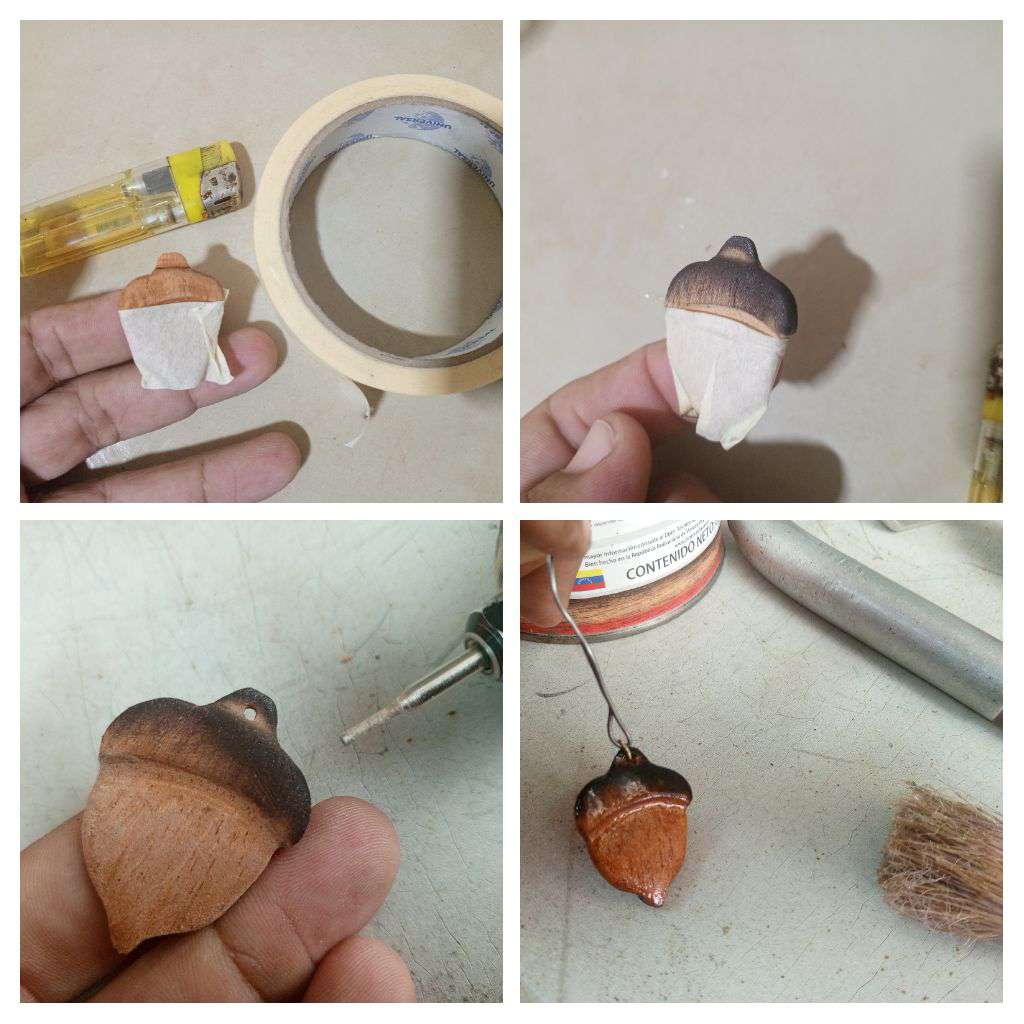
With adhesive tape we cover the body of the acorn and with a lighter we cover it and apply heat to the head of it to darken and achieve two shades. You have to burn with low intensity so as not to damage the wood and turn it into charcoal haha
Varnish
We apply two or three layers of varnish between approximately half an hour of drying, this protects the wood and gives it a more beautiful finish. If you don't have varnish you can make a homemade gloss using white glue and a little water, mix it well and apply it two or three times and the result is also very pretty.
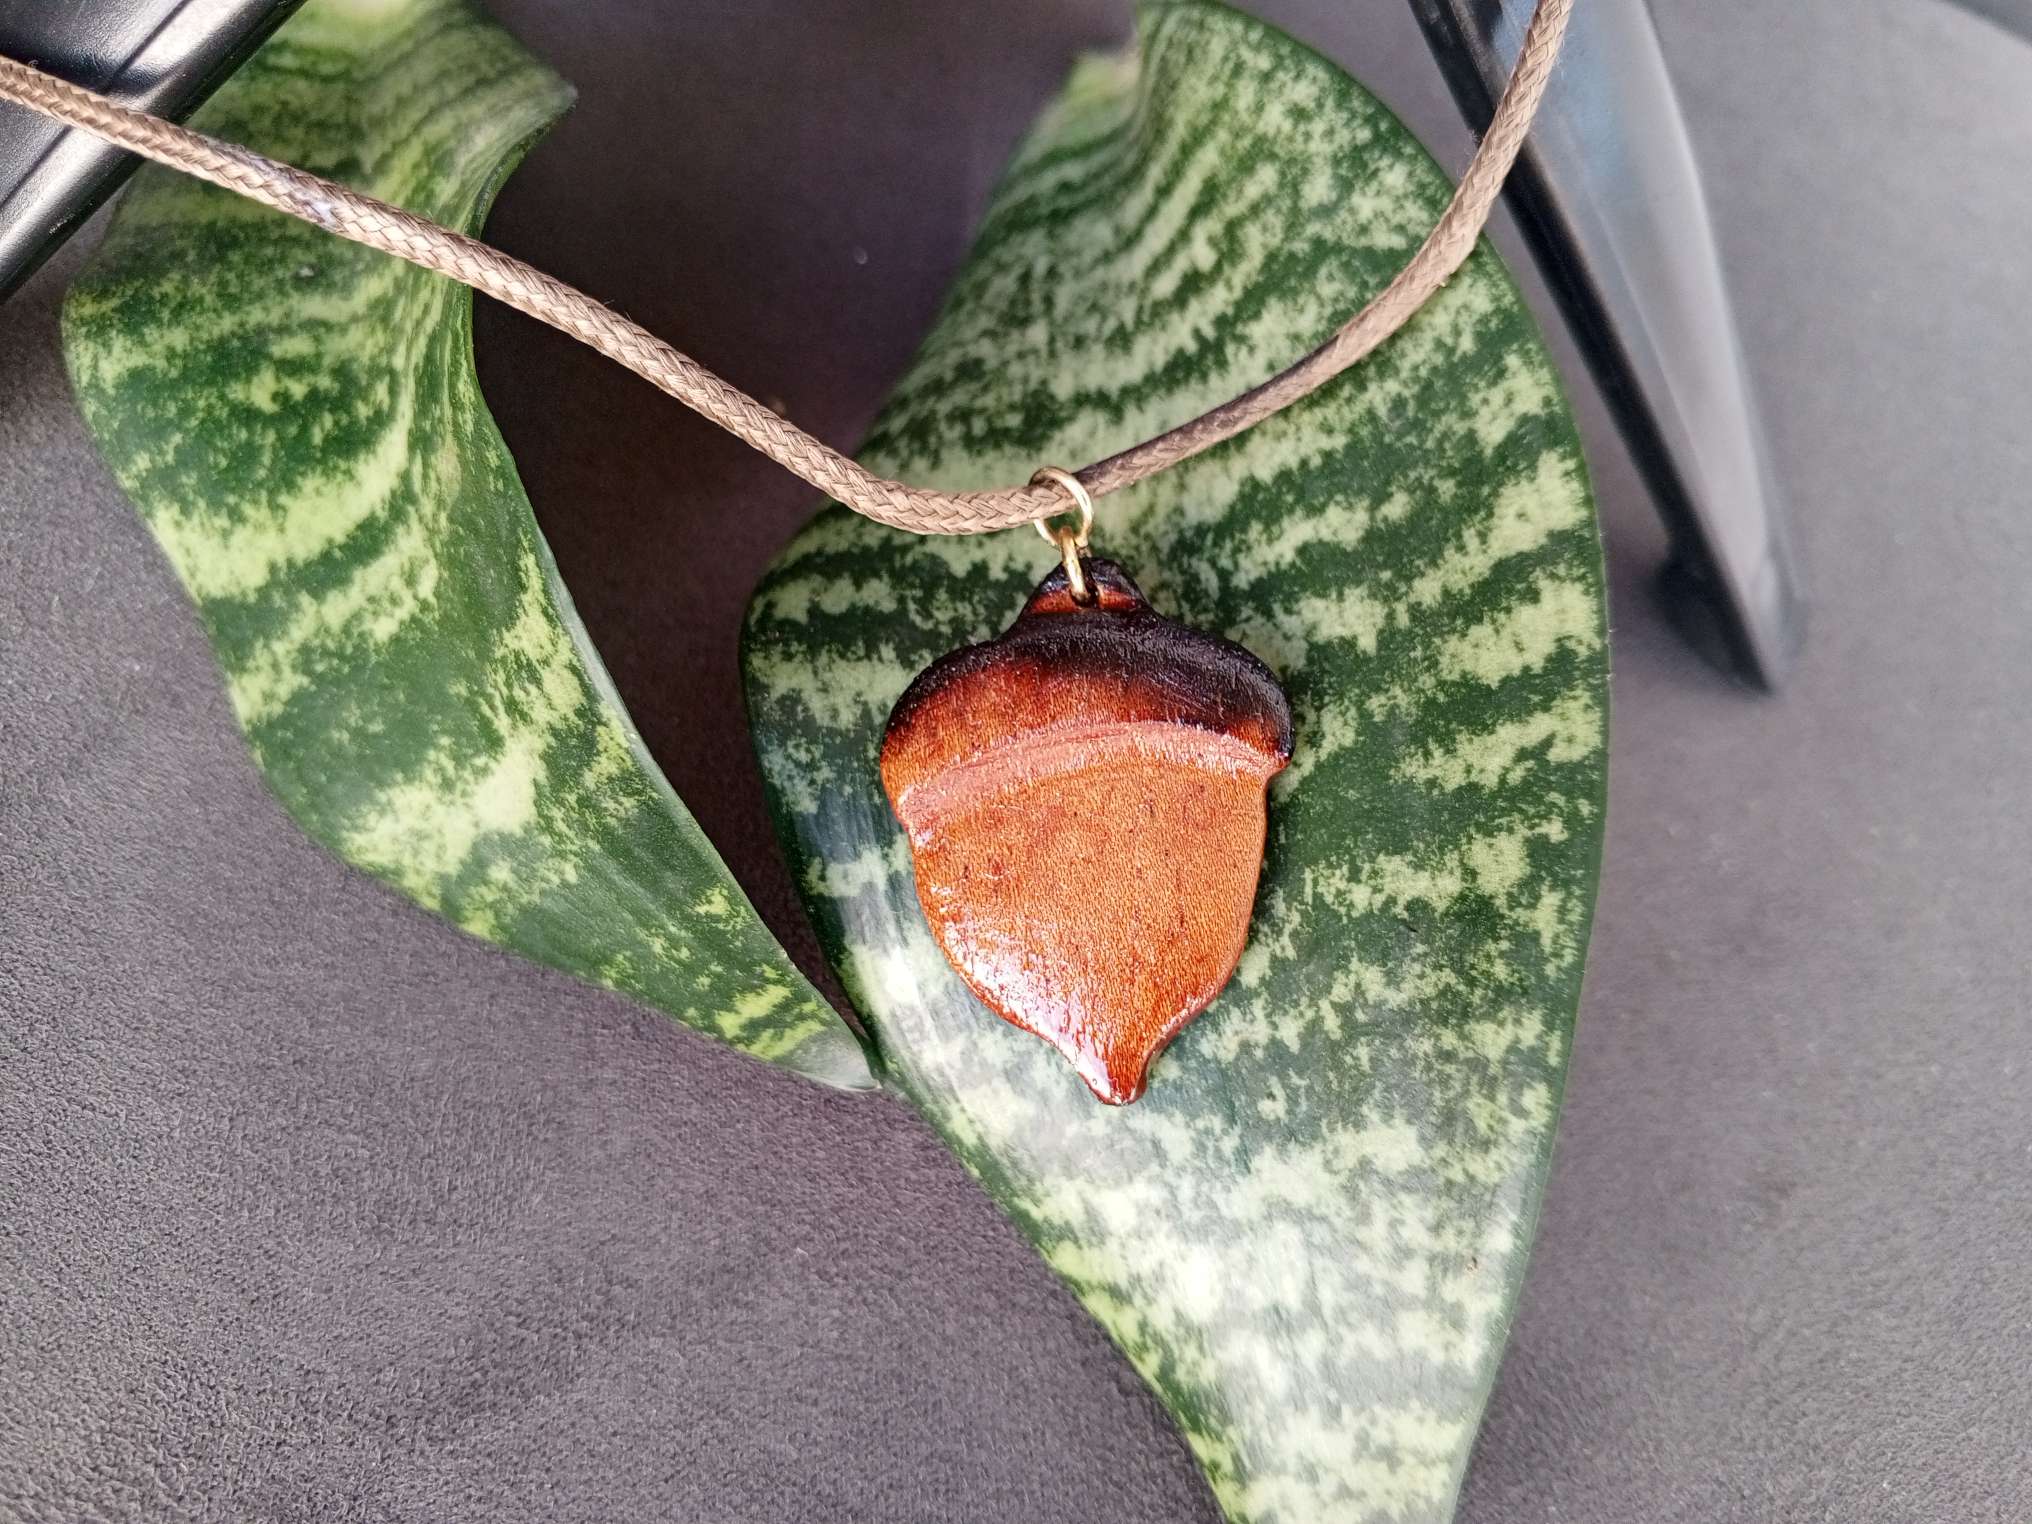
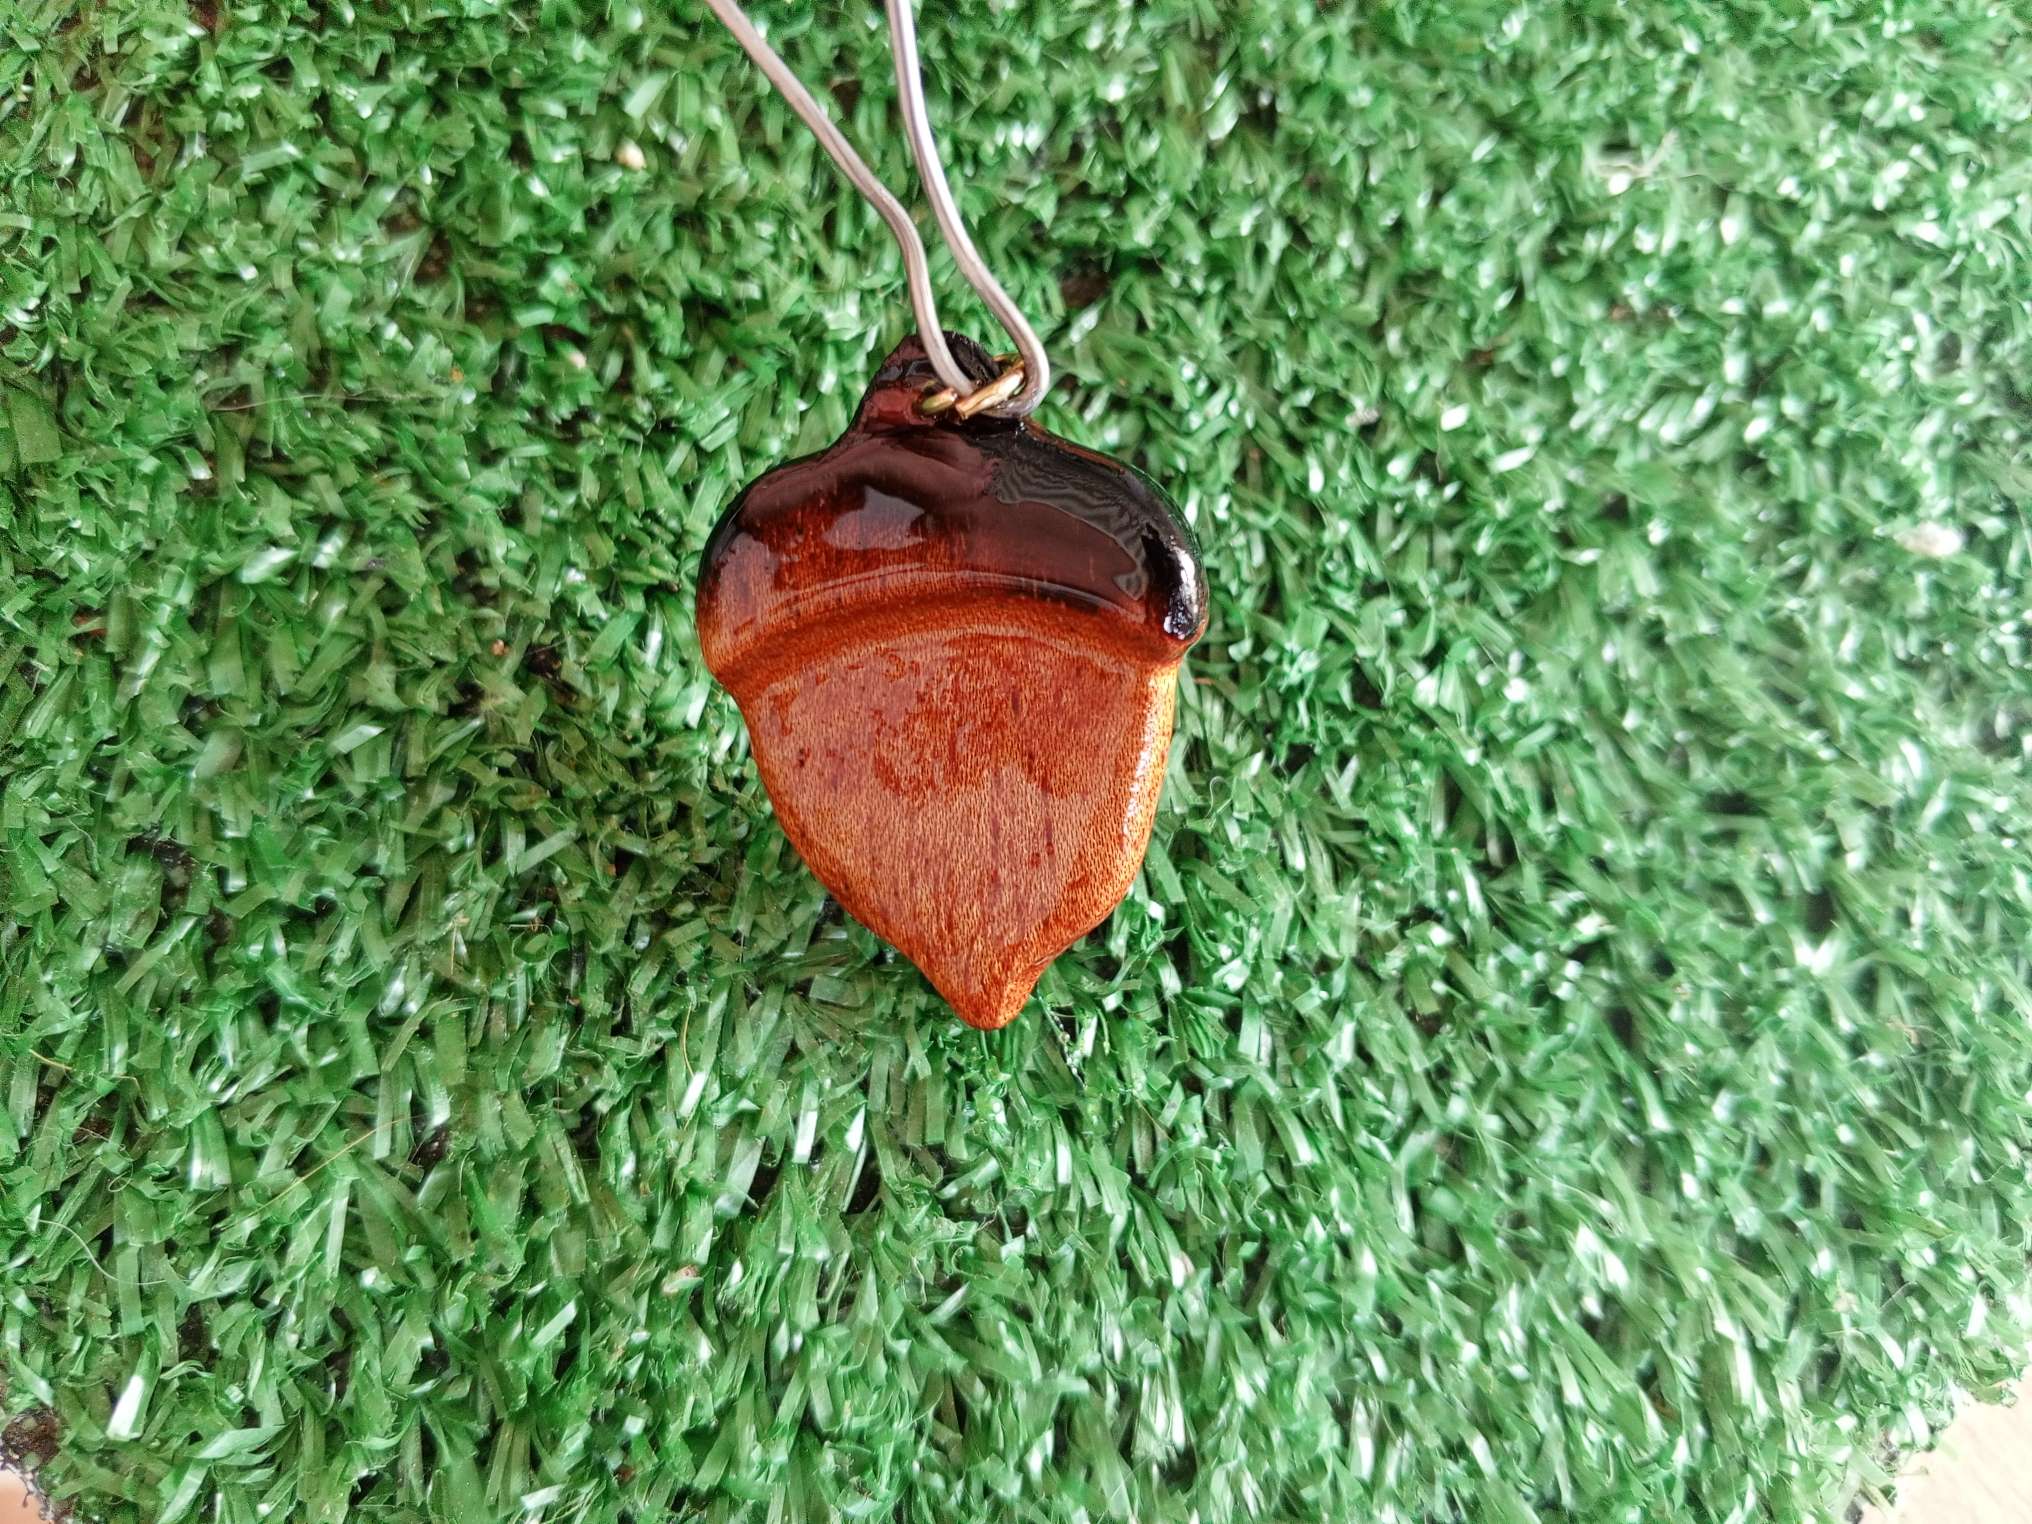
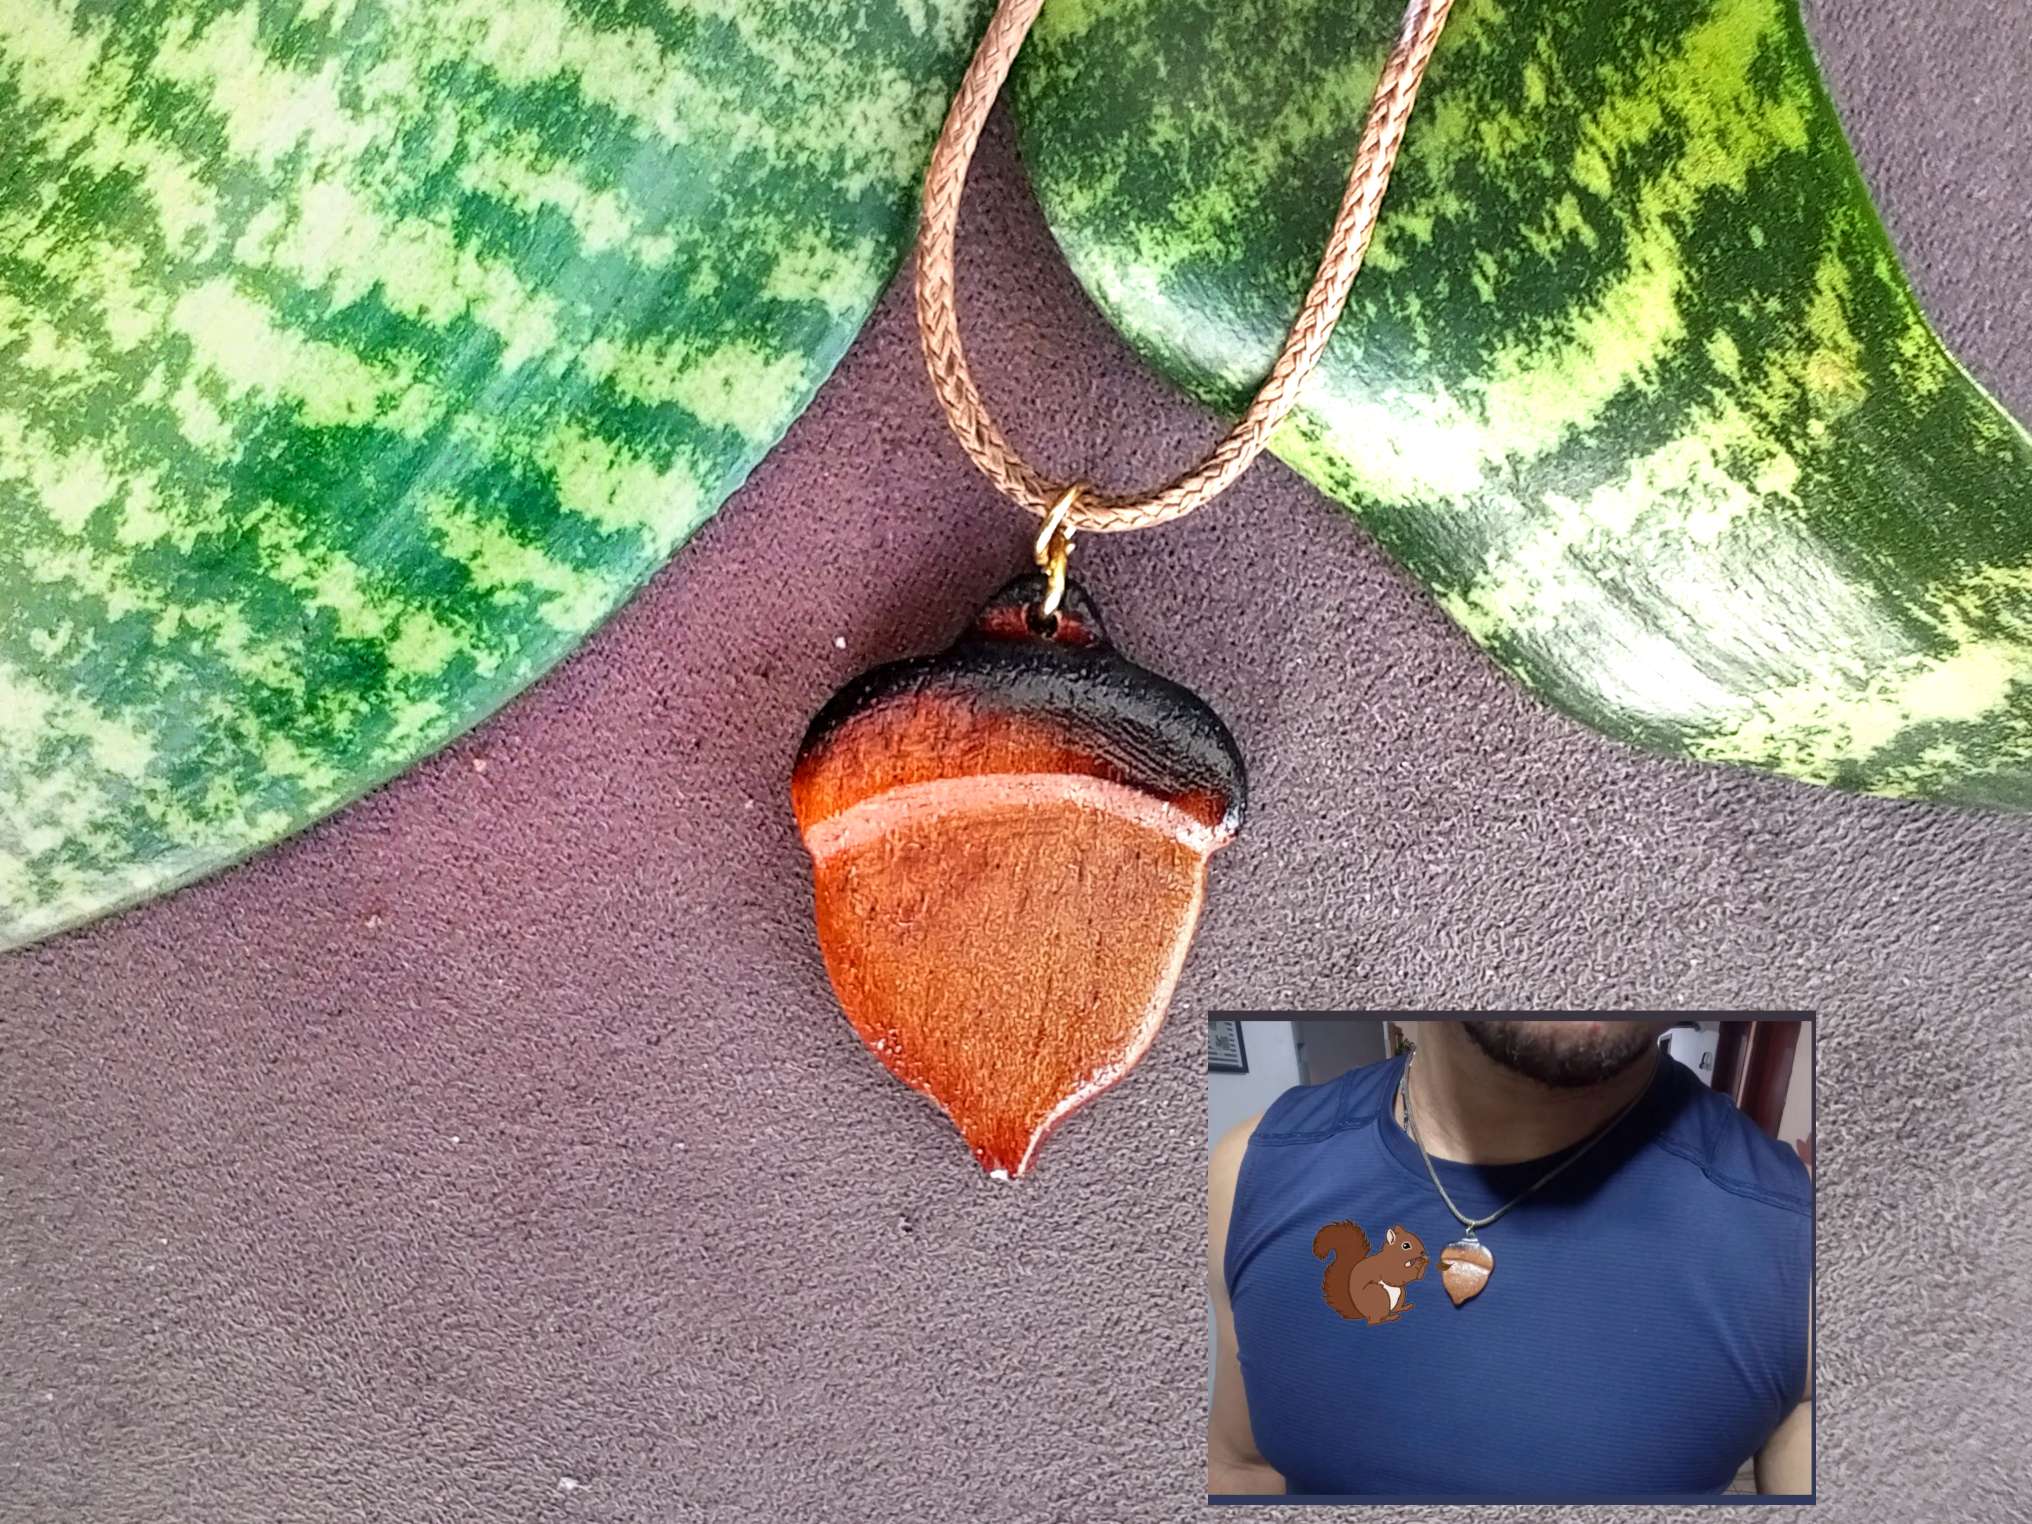
Por último coloque una argolla en un orificio que realicé en el vástago de la fruta, y le puse un cordón de piel de serpiente marron y me lo puse como un collar.
Espero sea de su agrado este sencillo proyecto en madera, nos vemos en una próxima entrada. Muchas bendiciones para todos !
Finally I placed a ring in a hole I made in the stem of the fruit, and I put a brown snakeskin cord on it and put it on as a necklace.
I hope you like this simple wood project, see you in the next post. Many blessings to all!
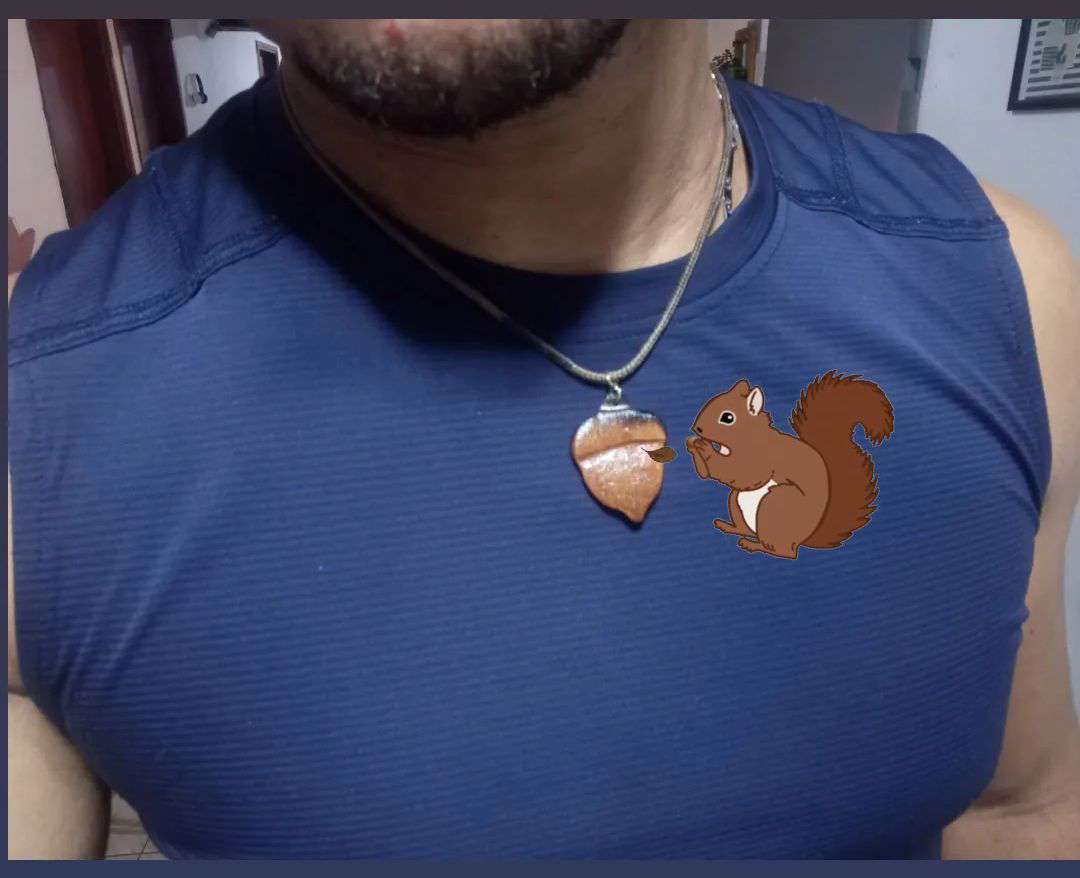
The top is brilliant. This is a nice piece of necklace. Great work
Thanks so much 😊
It's great to have the opportunity to have some free time to do these little jobs, firstly because it's a great way to relax and secondly it's great material for Hive so you win twice hahaha. I love the shine you achieved with the varnish and the different tones by burning the wood a little, very original.
Thank you very much, I appreciate your comment... Hugs..!!!
This is indeed creative, making art out of wood is something I really admire.
Nice one
I love it too, thank you very much for your appreciation
What a nice creativity, I love it.
Thanks so much, 😊
Qué precioso dije. Me encantó el color y cada detalle que le propinaste.
Muy ocurrente de tu parte haberte colocado el dije con una franelilla de ardilla jajaja.
Gracias por compartir tu trabajo en nuestra comunidad. Saludos...
!discovery 40
Jaja muchas gracias estimada @dayadam , un toque de chiste a lo Venezolano. Saludos y abrazos
This post was shared and voted inside the discord by the curators team of discovery-it
Join our Community and follow our Curation Trail
Discovery-it is also a Witness, vote for us here
Delegate to us for passive income. Check our 80% fee-back Program
Thanks so much 😊
Nice one
Thanks so much 😊
Great job 👍
Thanks so much 😊