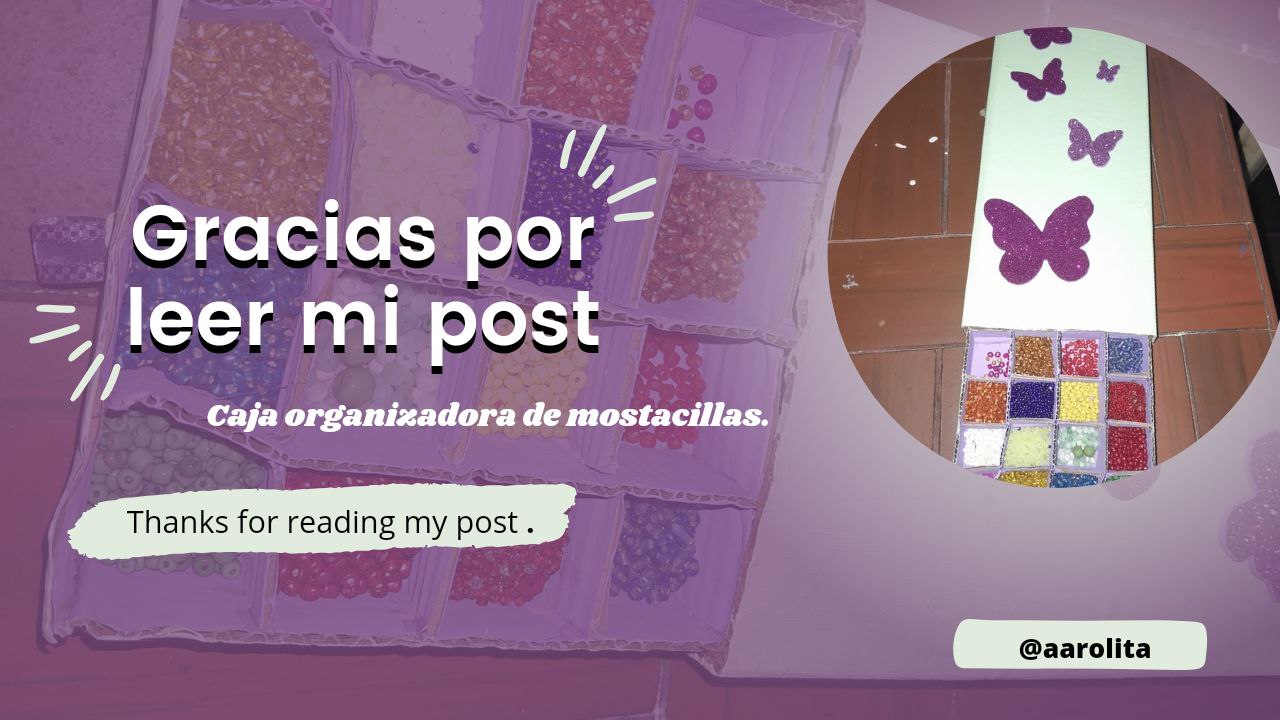
Hello my beautiful people from the DiyHub community, today I come to show you an organizing box for beads that I made with cardboard, if you are like me who has the beads in bags and every time you go to use them they throw away and get lost. water them all, this idea is for you.
Hola mi gente linda de la comunidad de DiyHub, el día de hoy vengo a mostrarle una caja organizadora para mostacillas que hice con cartón, si eres como yo que tiene la mostacillas en bolsitas y cada vez que vas a usarlas se te botan y se te riegan todas, esta idea es para ti.
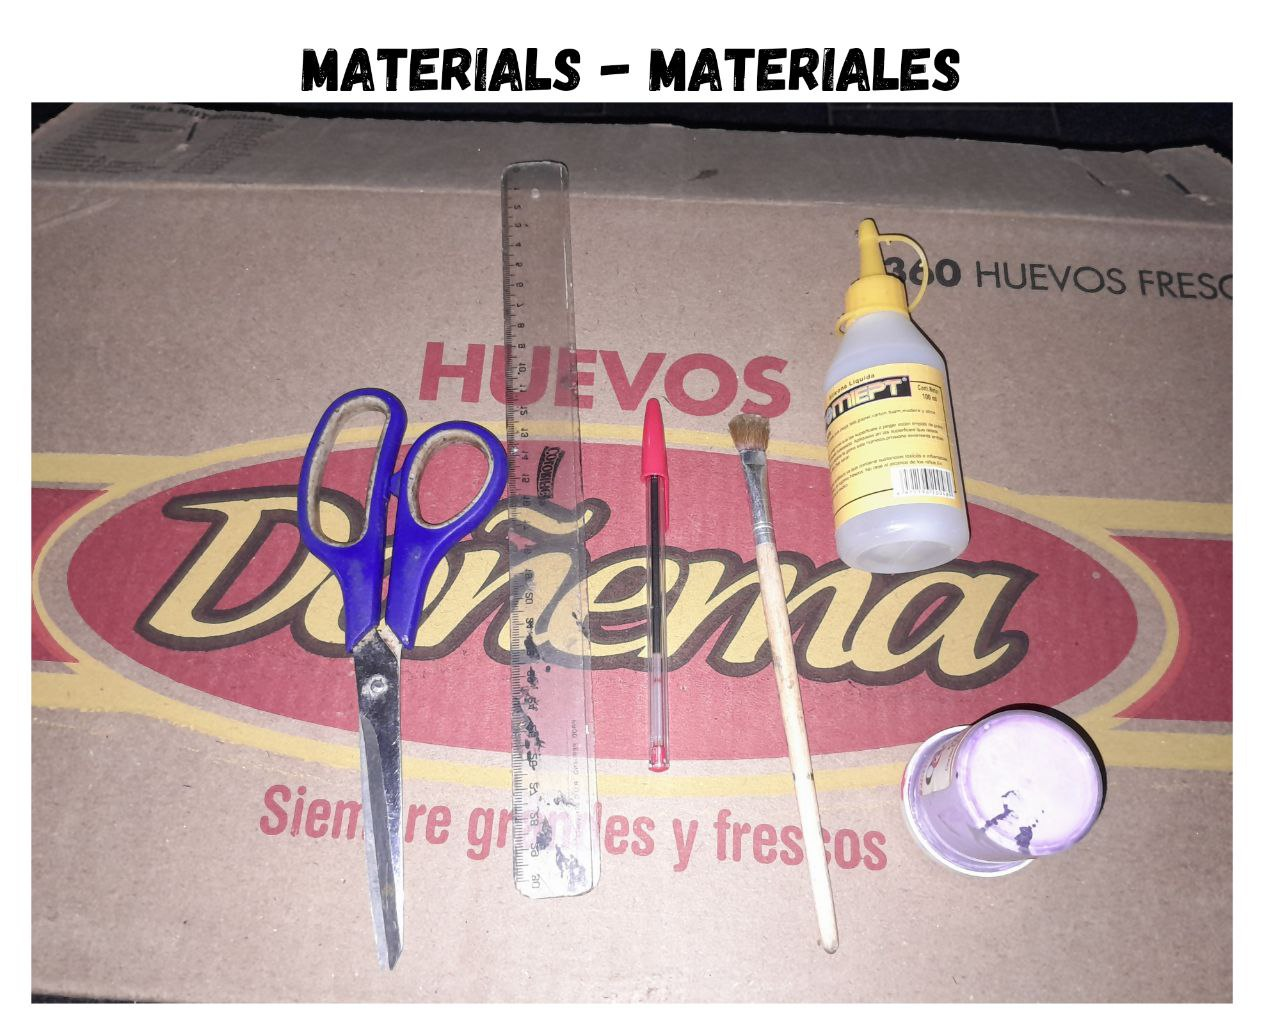
Materials:
- Cardboard.
- Pencil.
- Scissors.
- Ruler.
- Cold sylicon.
- Cold paints.
- Brush.
- Foami.
Materiales:
- Cartón.
- Lápiz.
- Tijeras.
- Regla.
- Silicón frío.
- Pinturas al frío.
- Pincel.
- Foami.
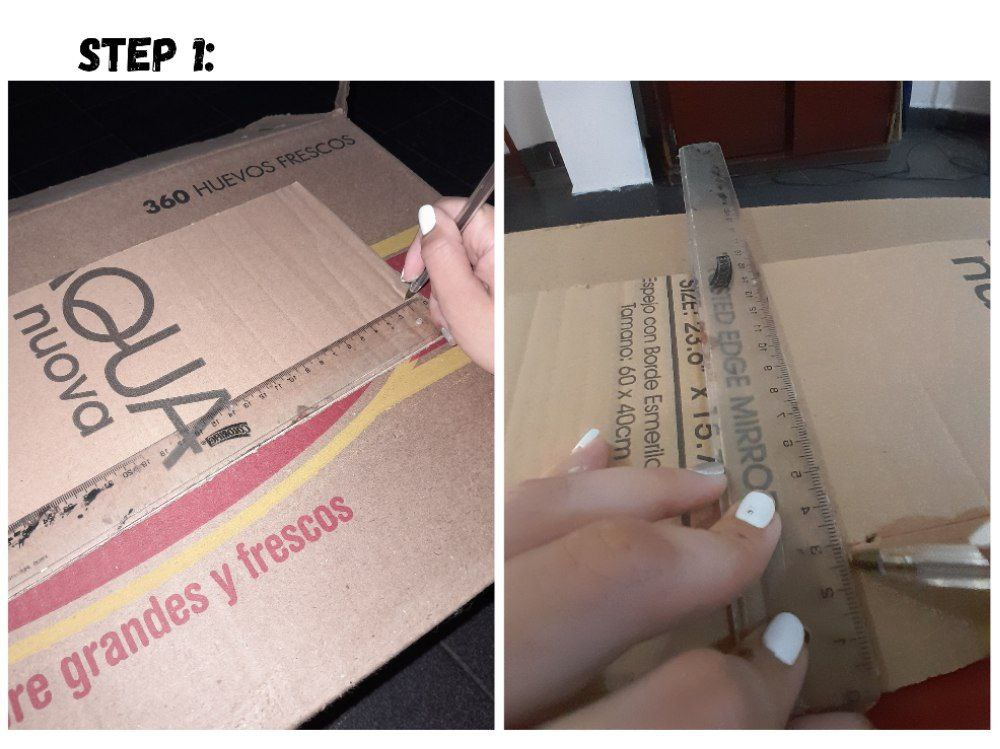
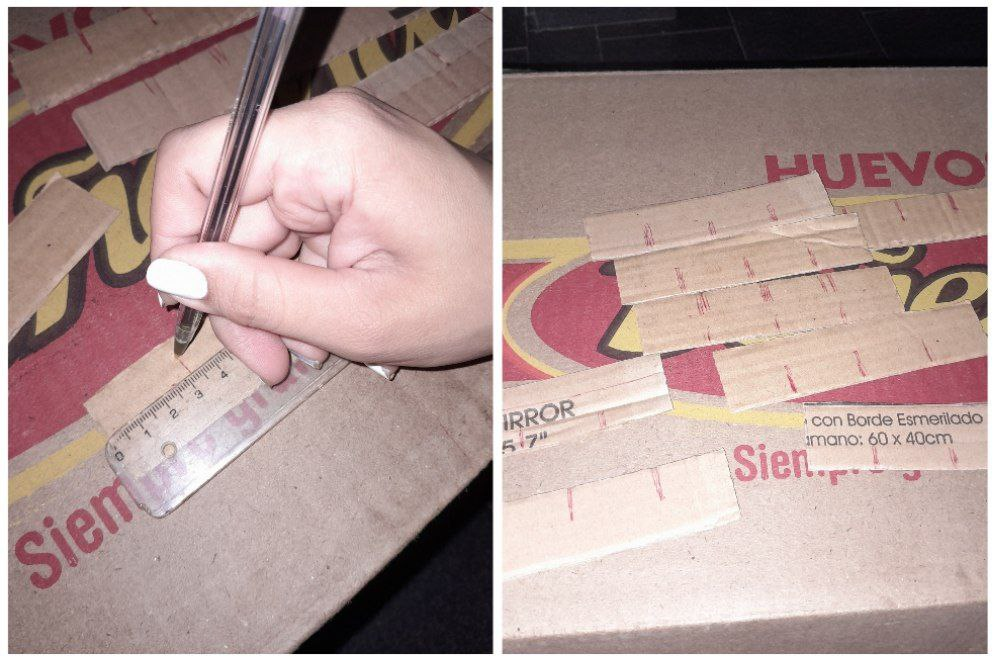
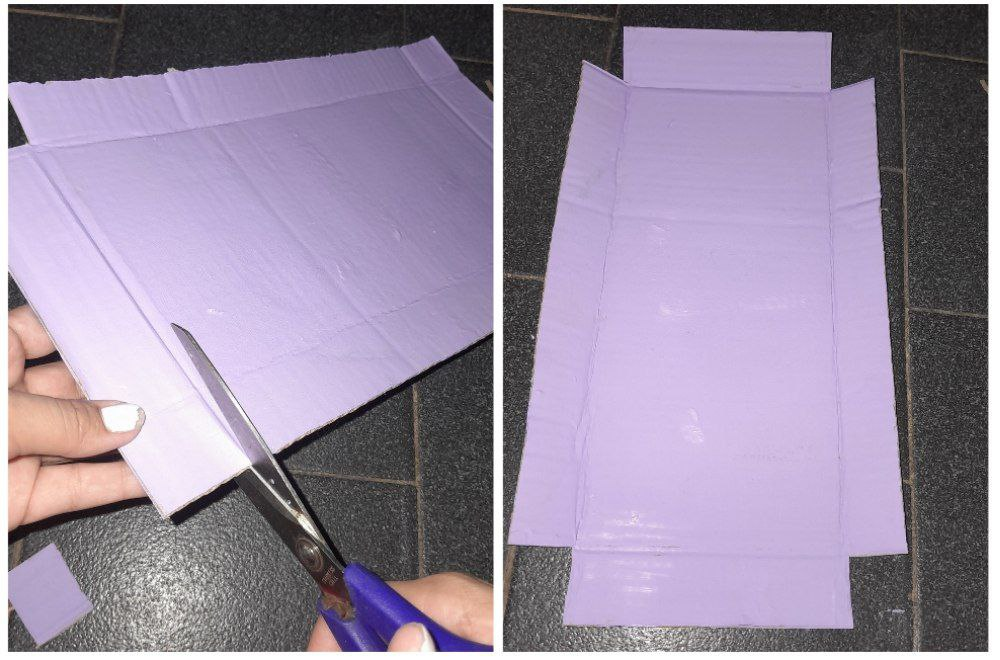
1.- I will start by making strips 3cm wide by 30cm long, I highlighted 3, these will be the divisions of the box.
1.- Comenzaré haciendo tiras de 3cm de ancho por 30cm de largo, yo remarque 3, estás serán las divisiones de la caja.
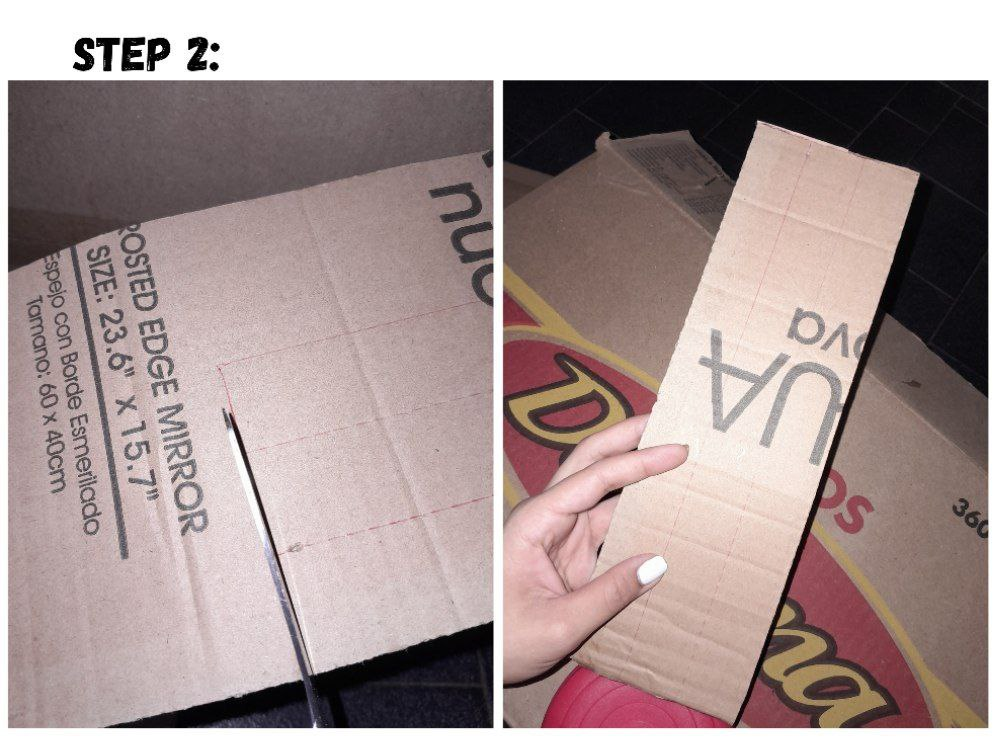
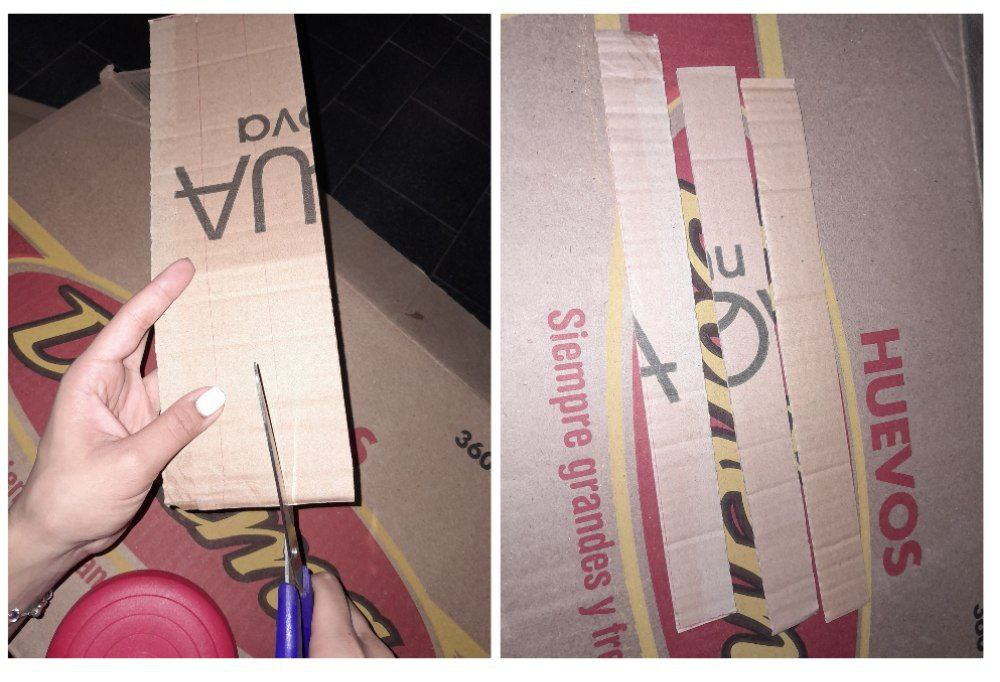
2.- Now I am going to cut and separate each one.
2.- Ahora voy a recortar y separar cada una.
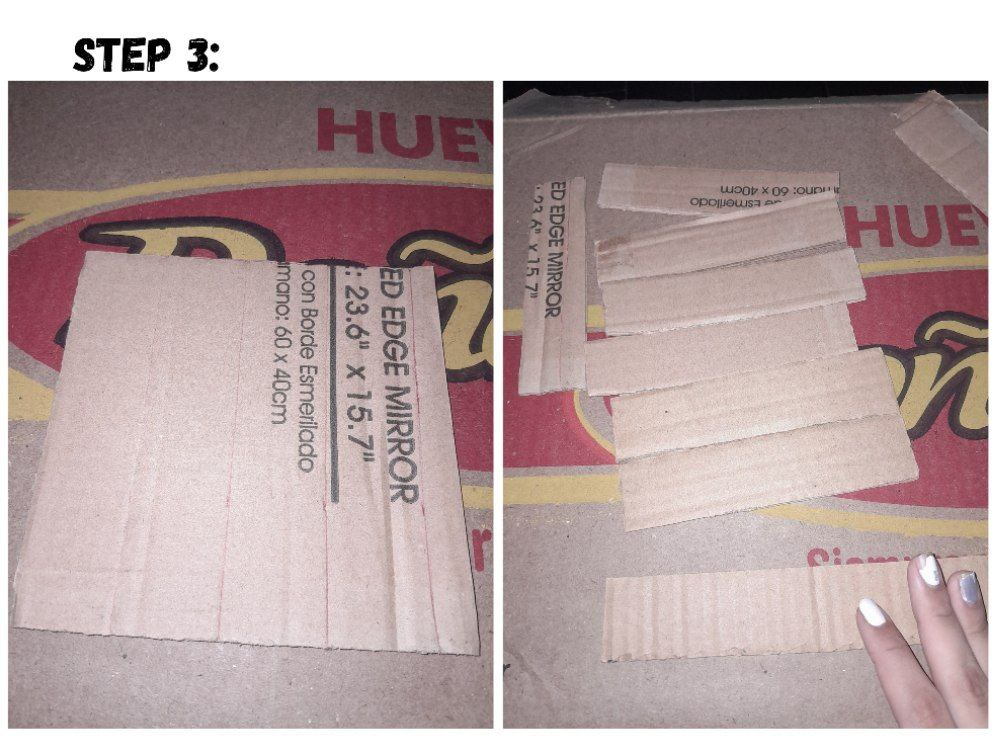
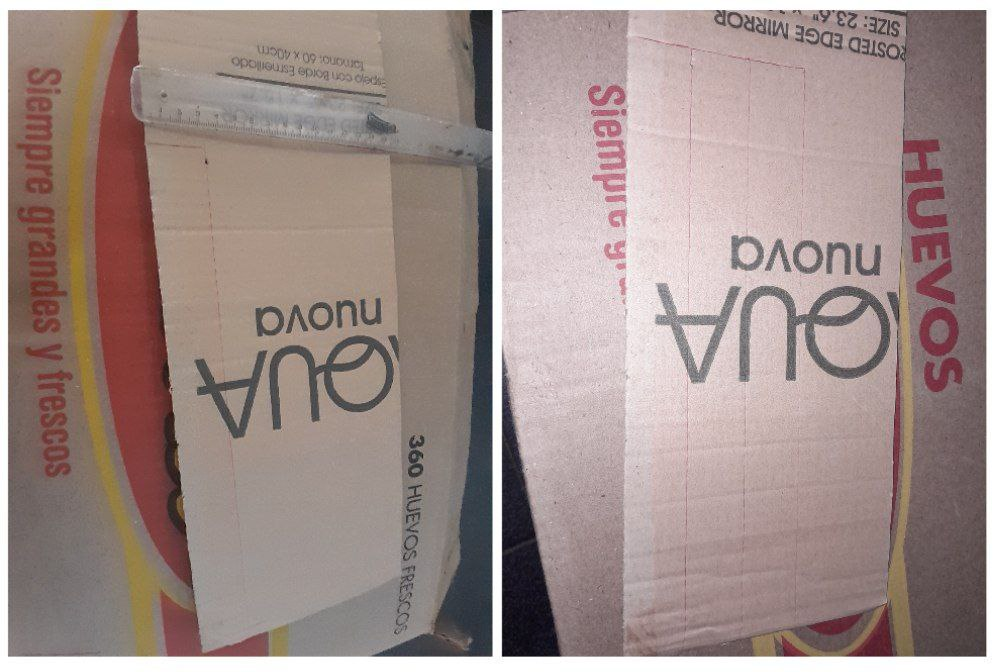
3.- Now I am going to mark and cut some strips 3cm wide, but 13cm long.
3.- Ahora voy a marcar y recortar unas tiras de 3cm de ancho, pero 13cm de largo.
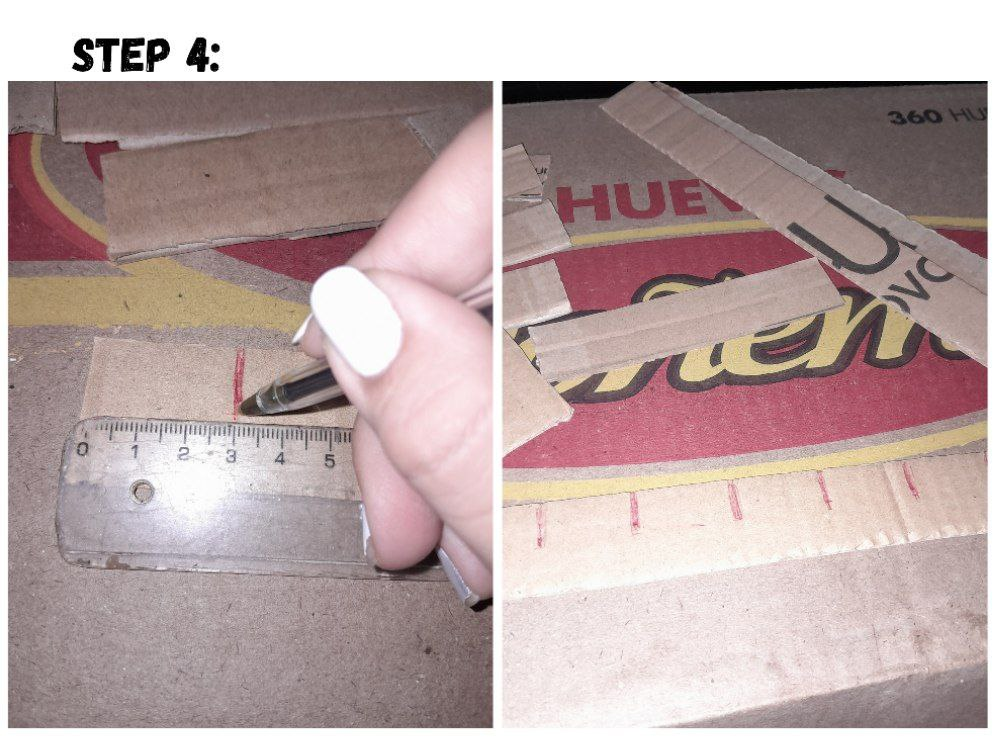
4.- I will take each of the strips and I will measure 3cm lengthwise and I will make a vertical line 1.50cm thick of the cardboard, since here we will join the divisions of the box.
4.- Tomaré cada una de las tiras y voy a medir 3cm a lo largo y voy a hacer una línea vertical de 1,50cm del grueso del cartón, ya que acá uniremos las divisiones de la caja.
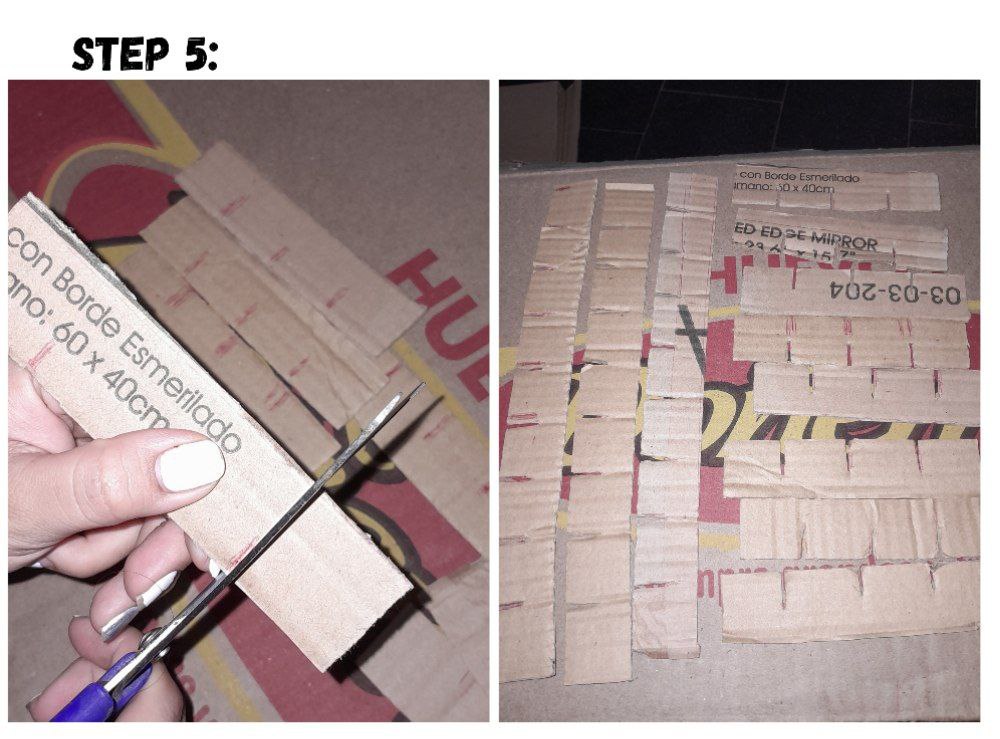
5.- Once they are all marked I am going to cut them.
5.- Una vez estén todas marcadas voy a pasar a cortarlas.
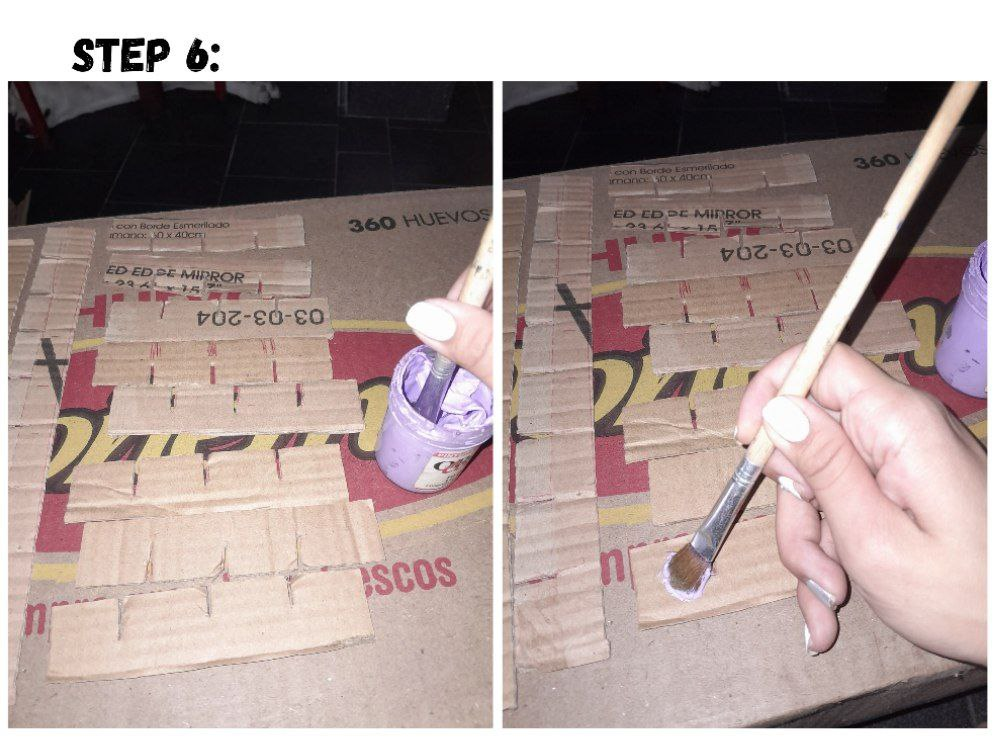
6.- Now that they are all cut, I can take my cold paint and my brush and paint all the strips.
6.- Ya todas estén cortadas puedo pasar a tomar mi pintura al frío y mi pincel y pintar todas las tiras.
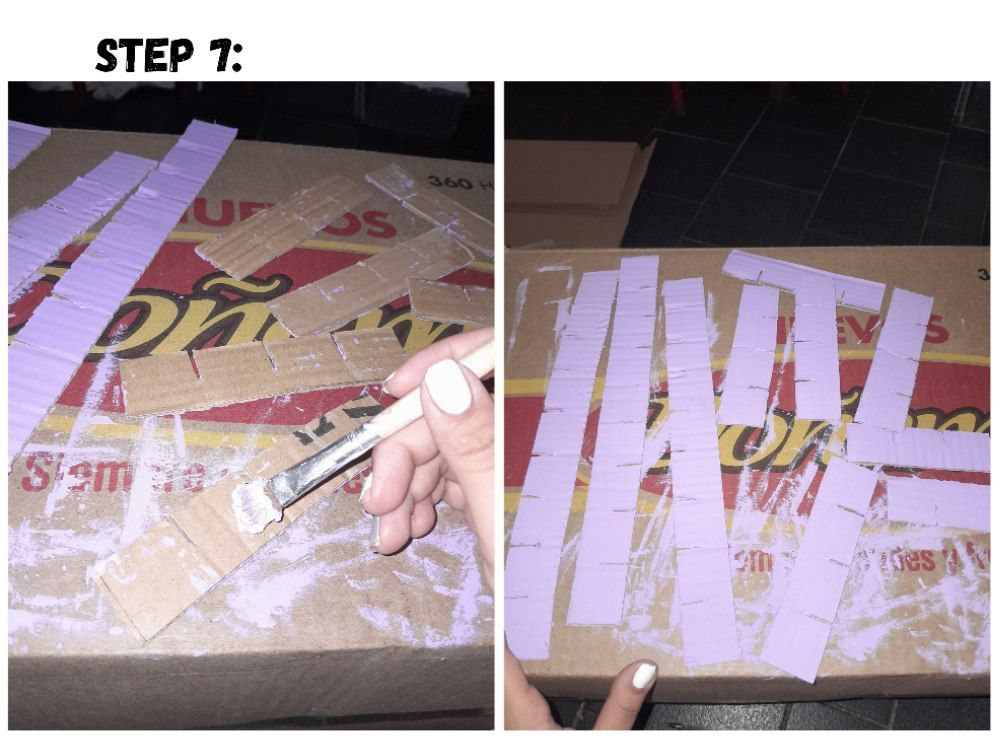
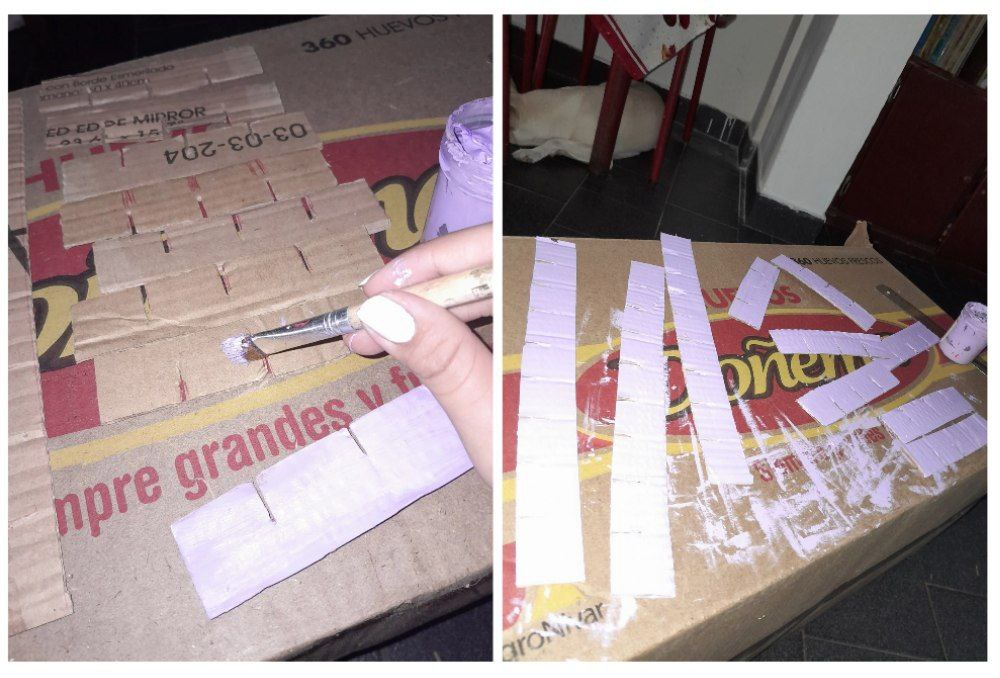
7.- When the dry on one side, I will turn them over and paint them on the other side.
7.- Cuando sequen de un lado les daré la vuelta y las pinto por la otra cara.
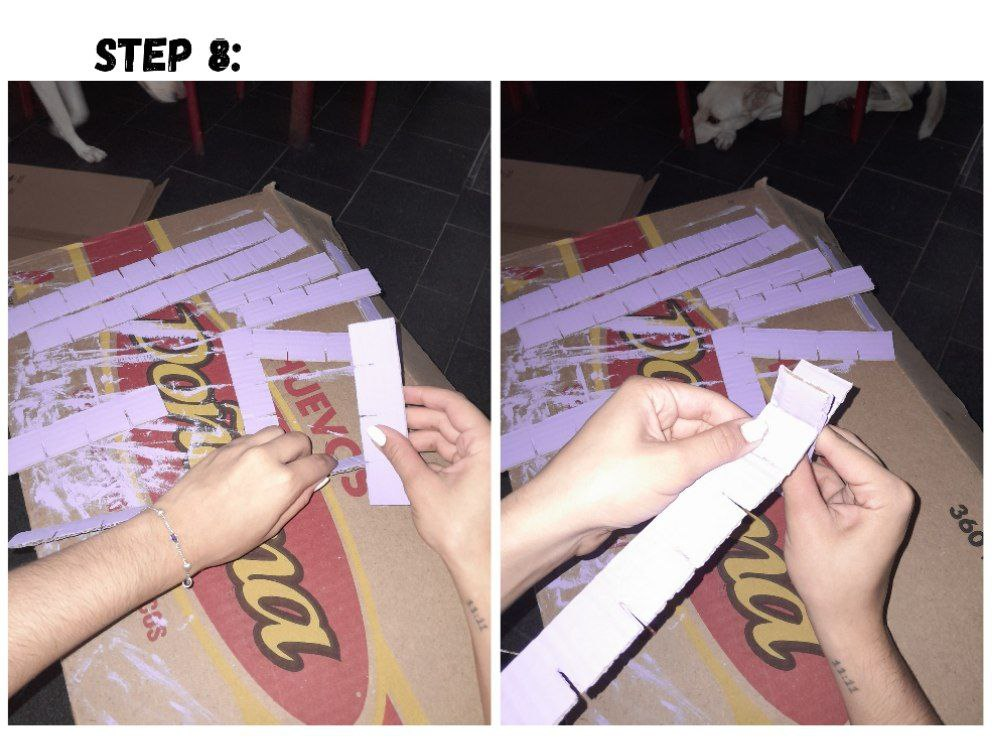
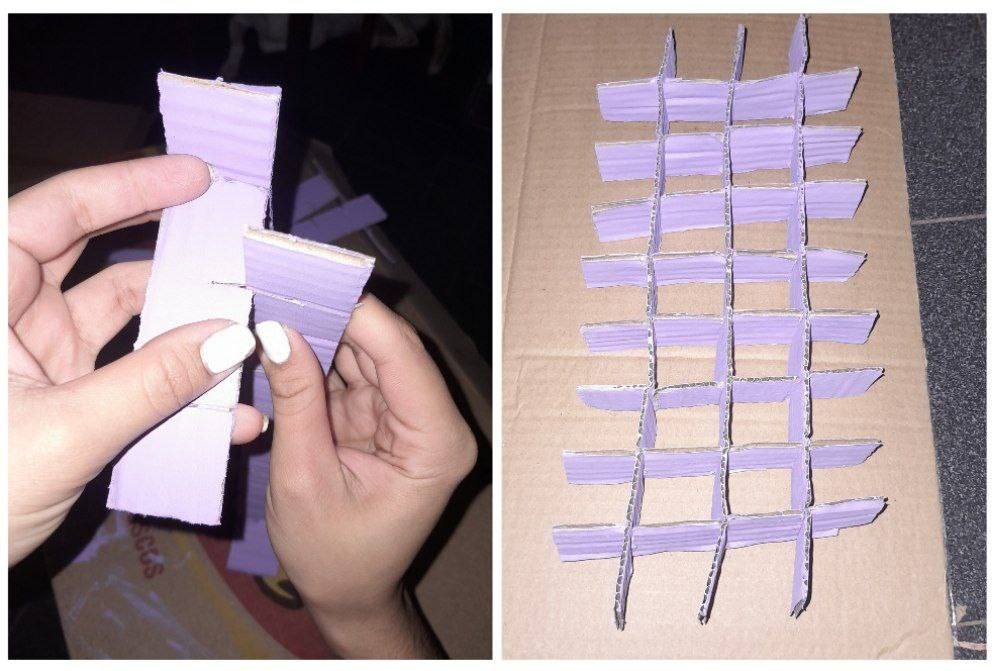
8.- When they are dry I will fit them together. I am going to fit the slots of the 13cm strip into three 30cm strips, as shown in the image.
8.- Cuando estén secas voy a encajar unos con otros. Las ranuras de la tira de 13cm las voy a encajar en las tiras tres tiras de 30cm, como se muestra en la imagen.
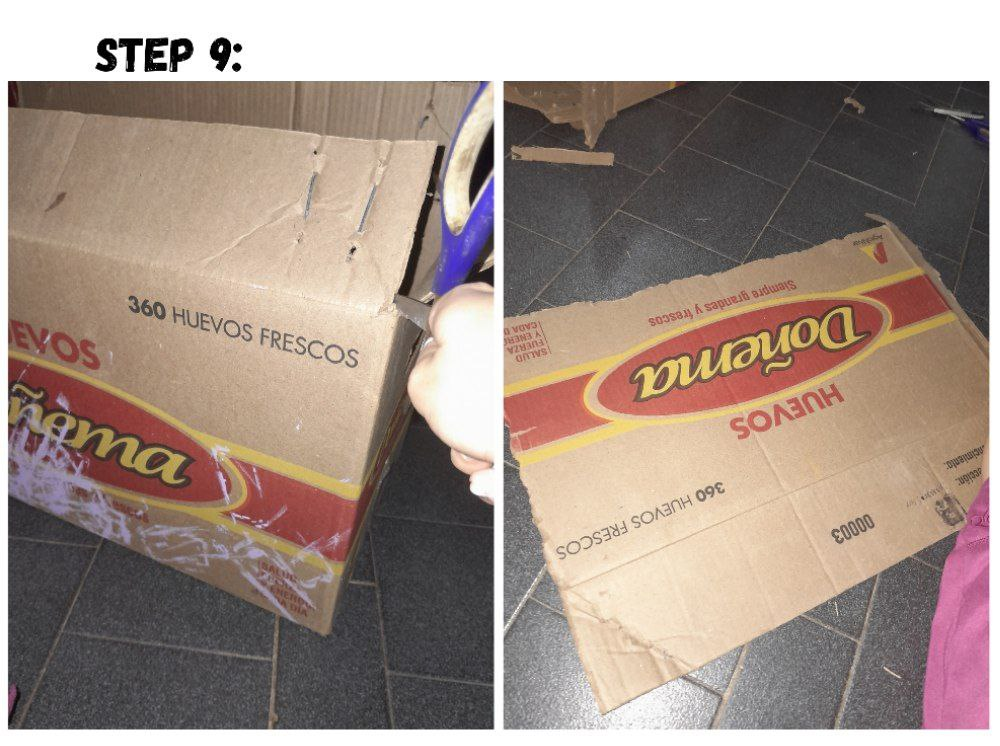
9.- I take a larger cardboard box and divide it into large pieces.
9.- Tomo una caja de cartón más grande y la divido en piezas grandes.
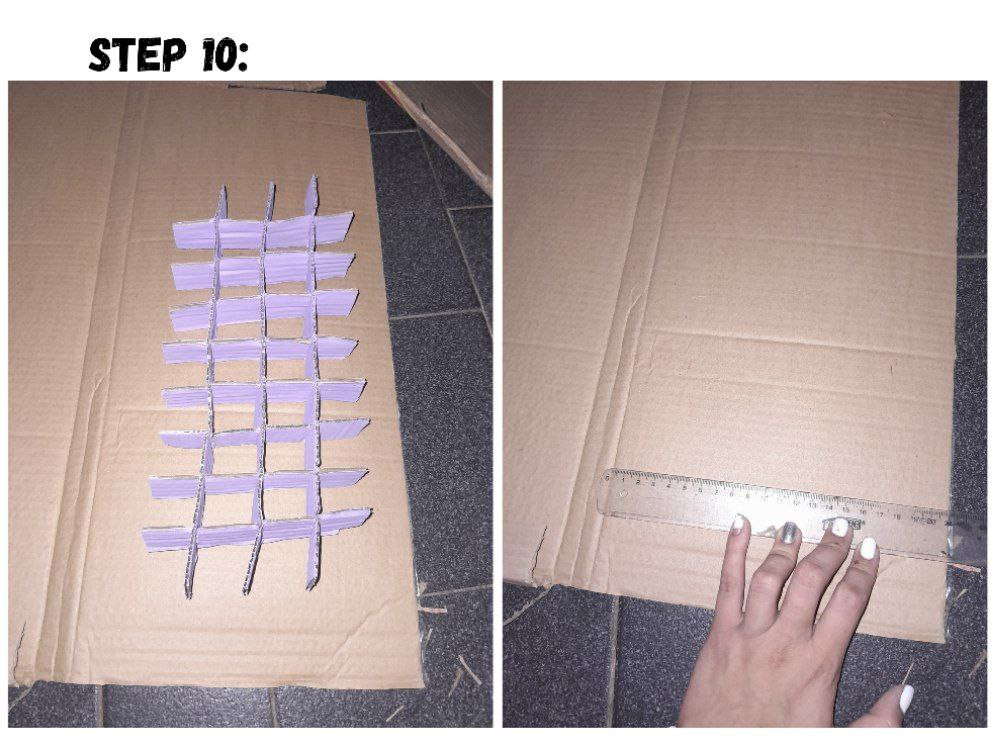
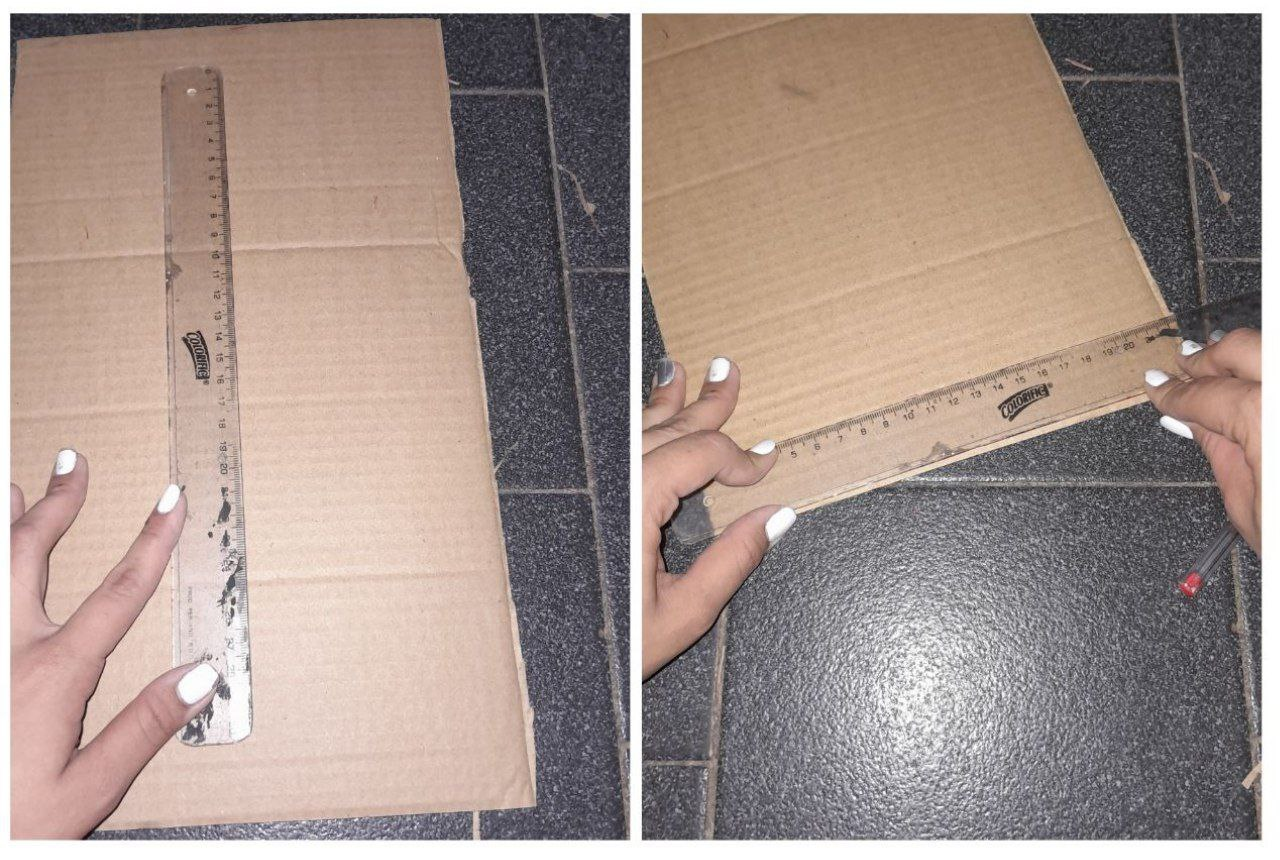
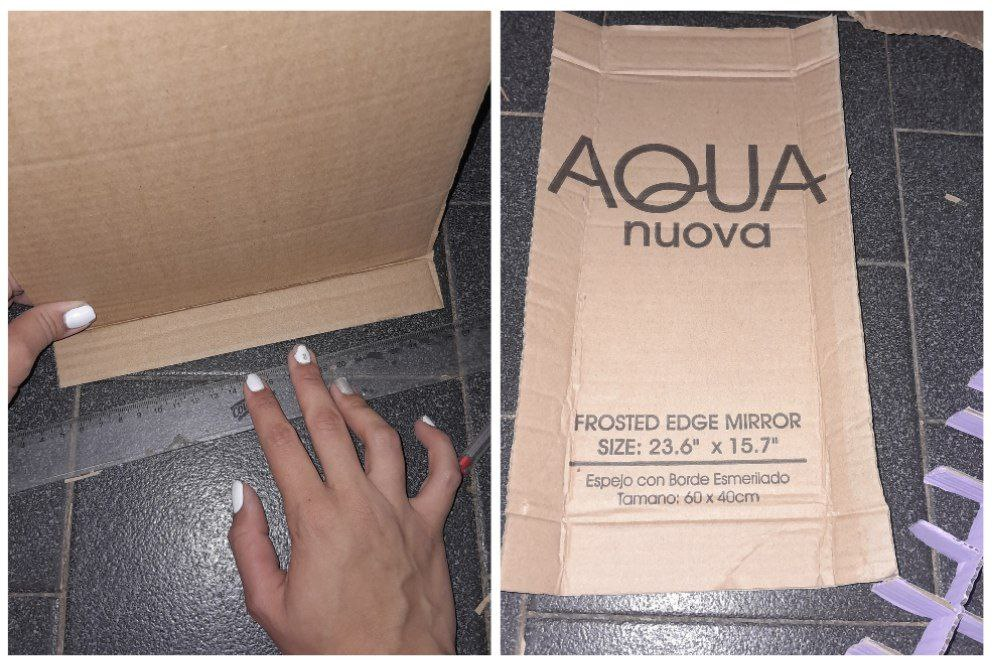
10.- I take the separation and I am going to measure to make a box with the same measurements, I draw the ends of 3cm and the center of 13.50cm wide and 30.50cm long. Once marked I fold the ends.
10.- Tomo la separación y voy a medir para hacer una caja con las mismas medidas, dibujo los extremos de 3cm y el centro de 13,50cm de ancho y 30,50 cm de largo. Una vez marcados doblo los extremos.
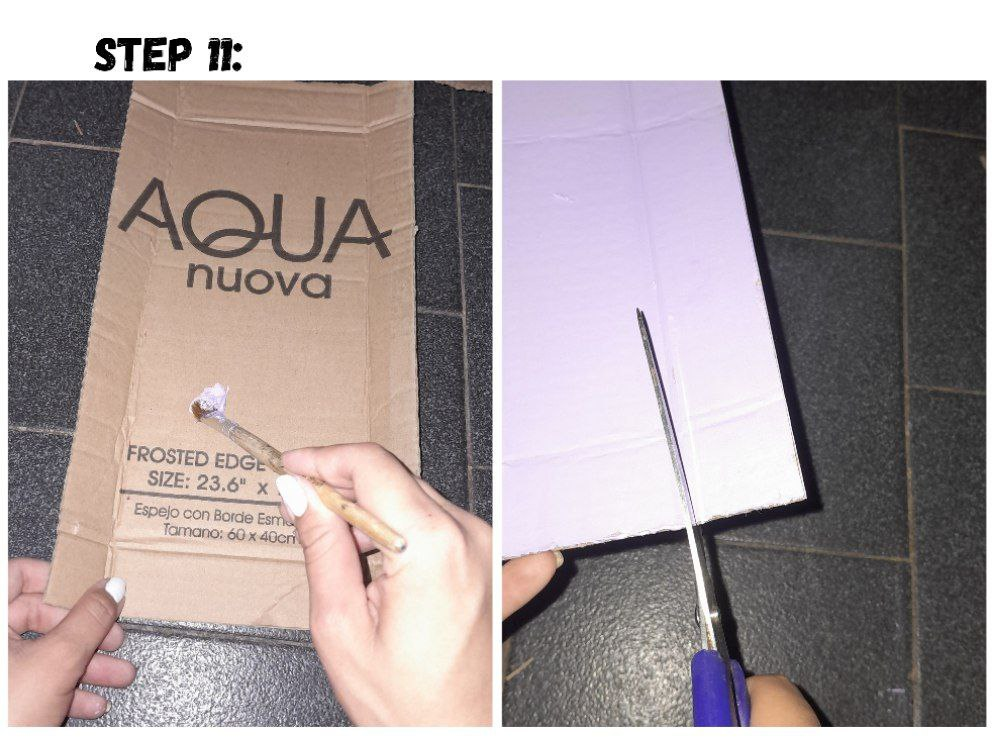
11.- Now I'm going to draw the same paint color as the divisions, and once finished I'm going to cut the corners to be able to assemble the box.
11.- Ahora paso a dibujar del mismo color de pintura de las divisiones, y una vez sexo voy a cortar las esquinas para poder armar la caja.
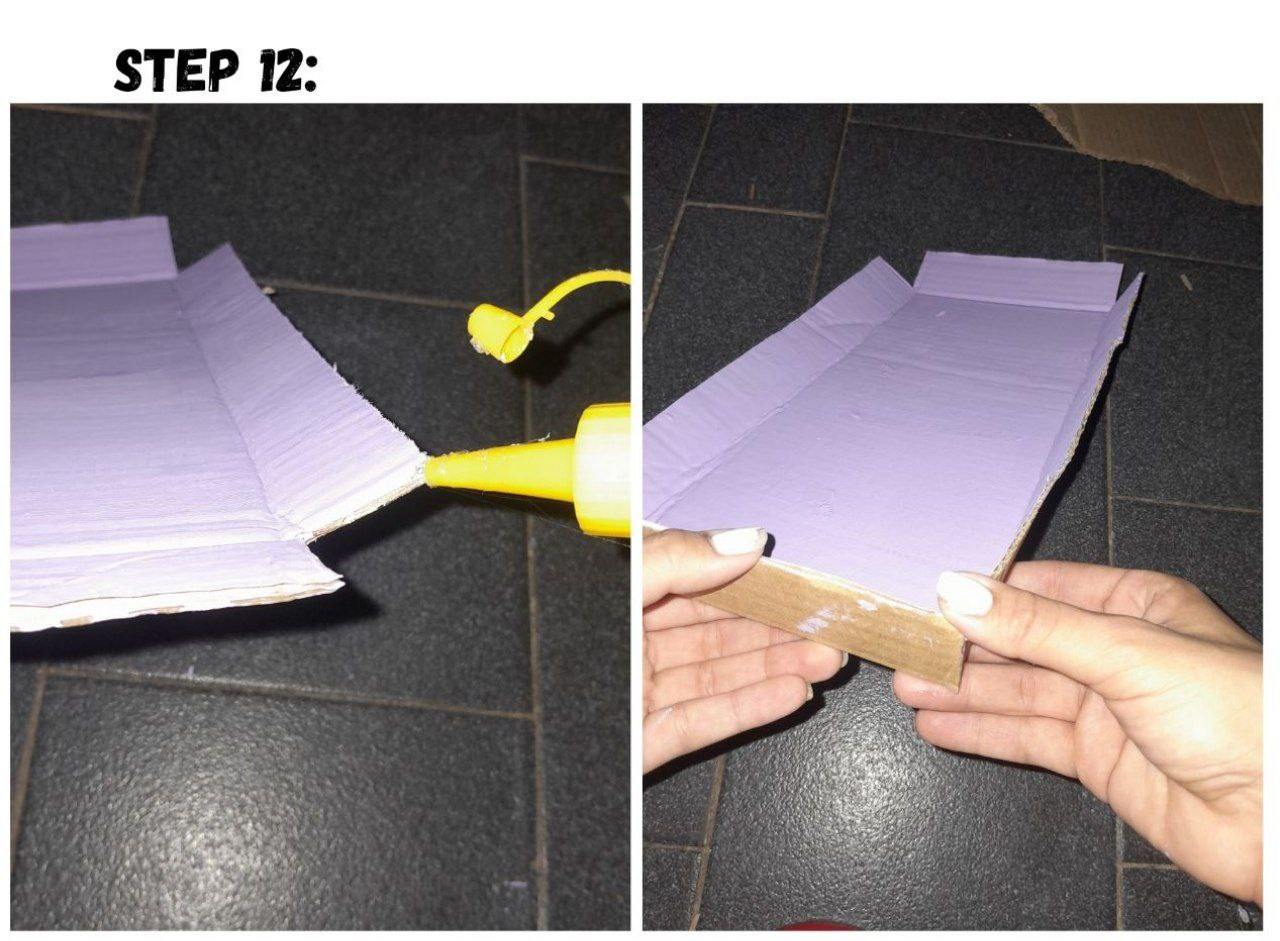
12.- I take a little silicone and place it on the edges and join them together.
12.- Tomo un poco de silicón y lo coloco en los bordes y los junto.
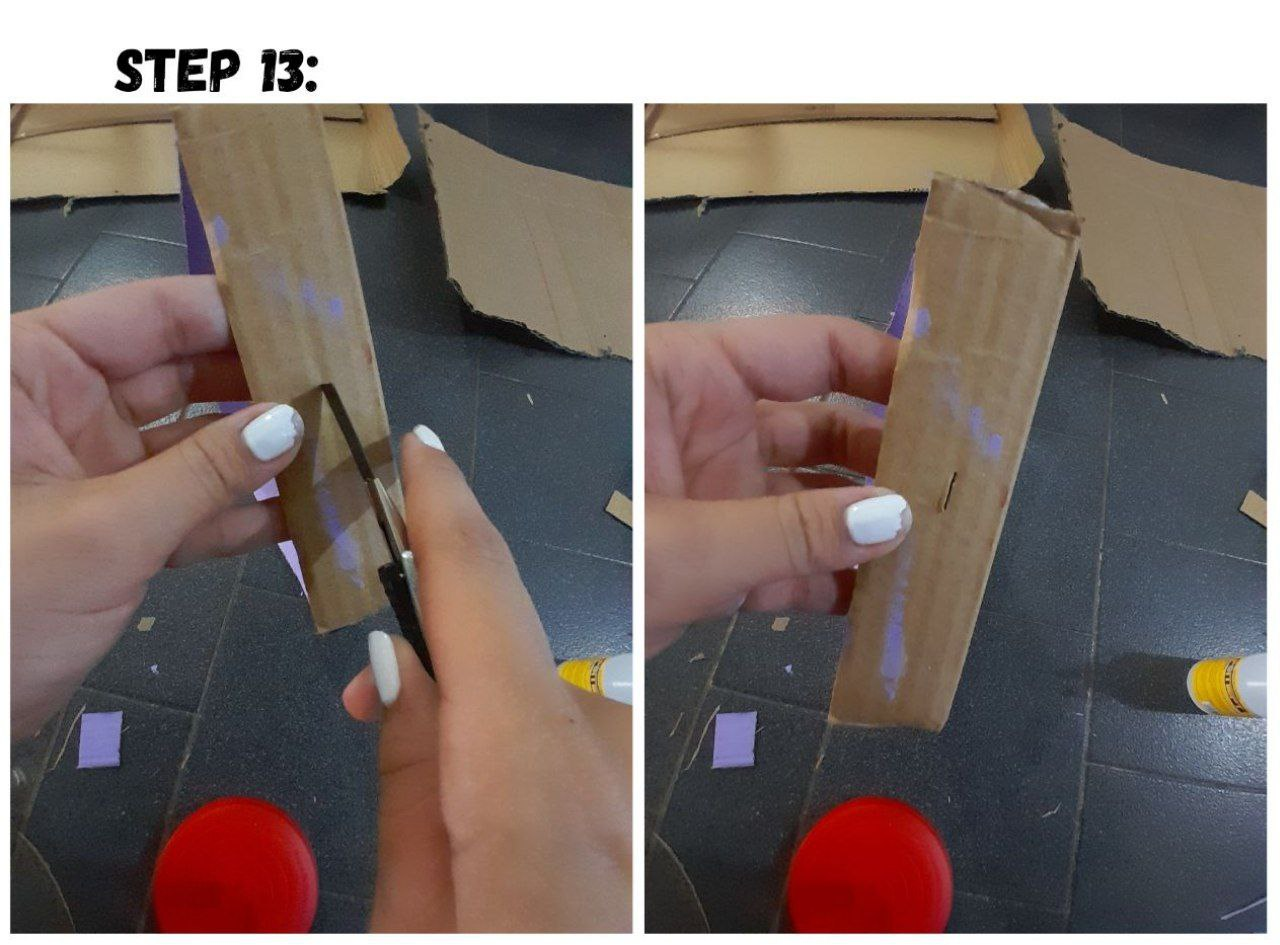
13.- I am going to take an exact and I am going to make a 1cm line in the center of the box.
13.- Voy a tomar un exacto y voy a hacer una línea de 1cm en el centro de la caja.
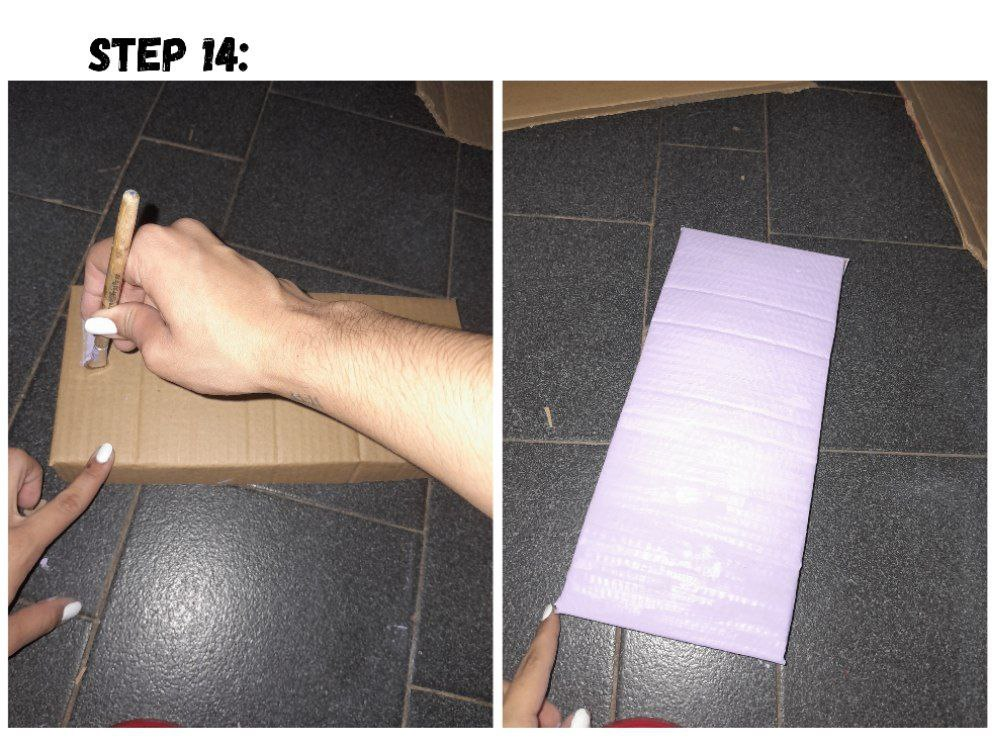
14.- I take the box and I am going to paint it on the back. I painted the front edge where I made the line a different color since it is the one I will use for the box that covers this one.
14.- Tomo la caja y la voy a pintar por la parte trasera. Yo pinté el borde del frente en donde hice la línea de un color distinto ya que es el que usaré para la caja que cubre esta.
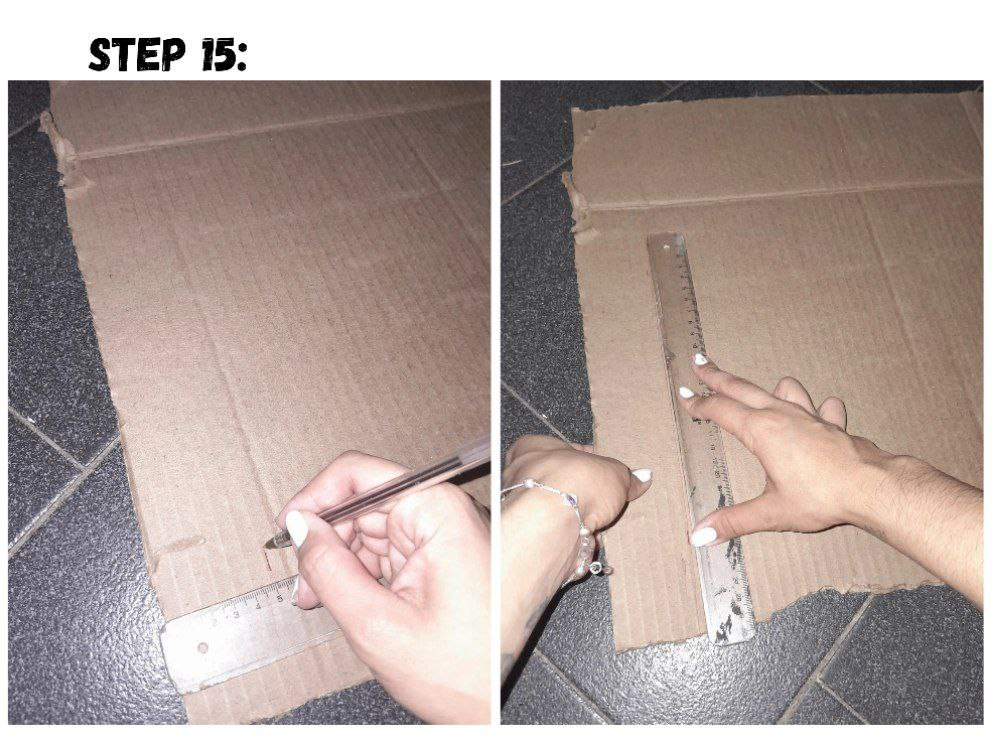
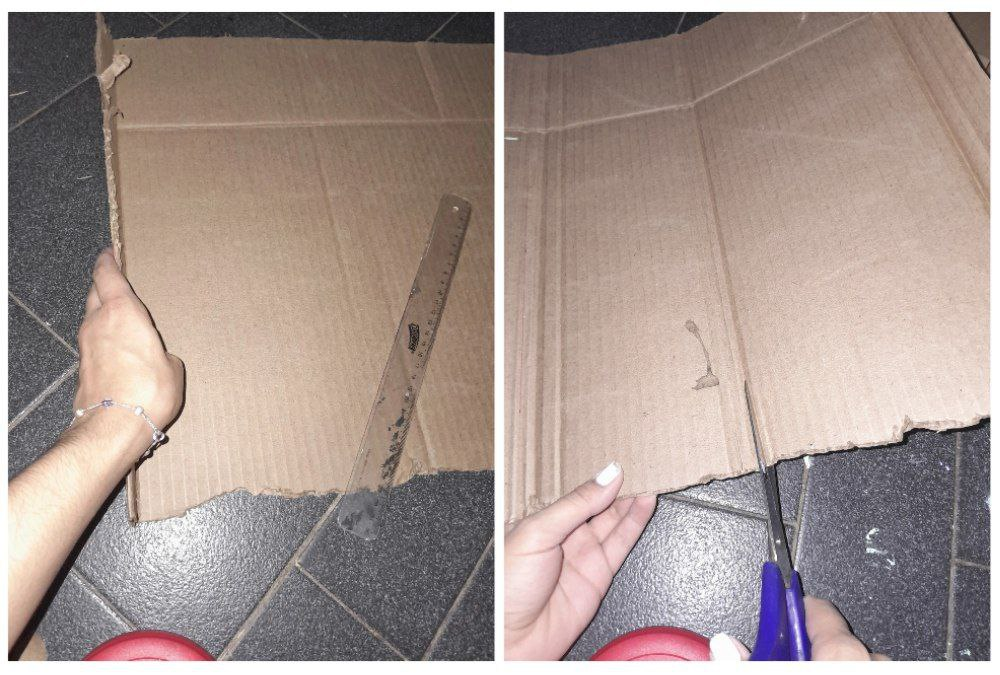

15.- Now I will make a box that will cover the previous one, I take another large cardboard and draw a box with the ends 5cm and the centers 15cm wide and 31cm long. I will cut the excess from the box.
15.- Ahora haré una caja que cubrirá la anterior, tomo otro cartón grande y dibujo una caja con los extremos de 5cm y los centros de 15cm de ancho y 31cm de largo. Cortaré los excedentes de la caja.

16.- I am going to cut the ends, but leaving a 5cm wing in one of the spaces in the centers.
16.- Voy a cortar los extremos, pero dejando un ala de 5cm en uno de los espacios de los centros.
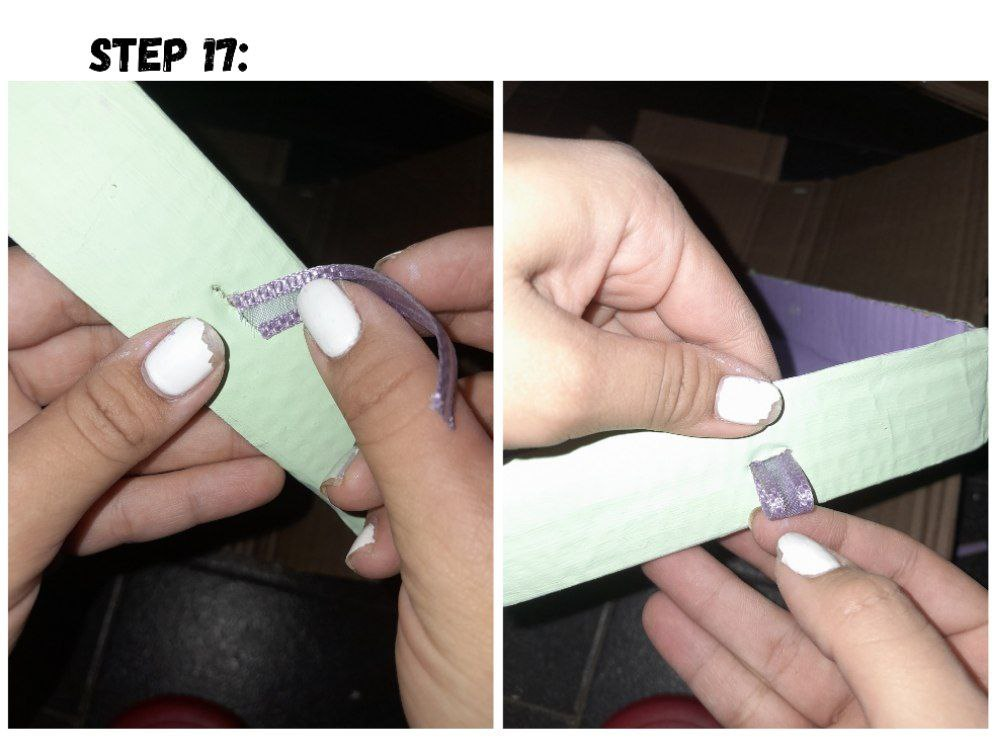
17.- Now I will take a piece of tape and insert it into the opening that we opened in the front of the other box. Gluing the ends like a little silocon to the box and leaving a double on the outside.
17.- Ahora tomaré un trozo de cinta y lo introduzco en la abertura que abrimos en el frente de la otra caja. Pegando los extremos como un poco de silicón a la caja y dejando un doble por fuera.
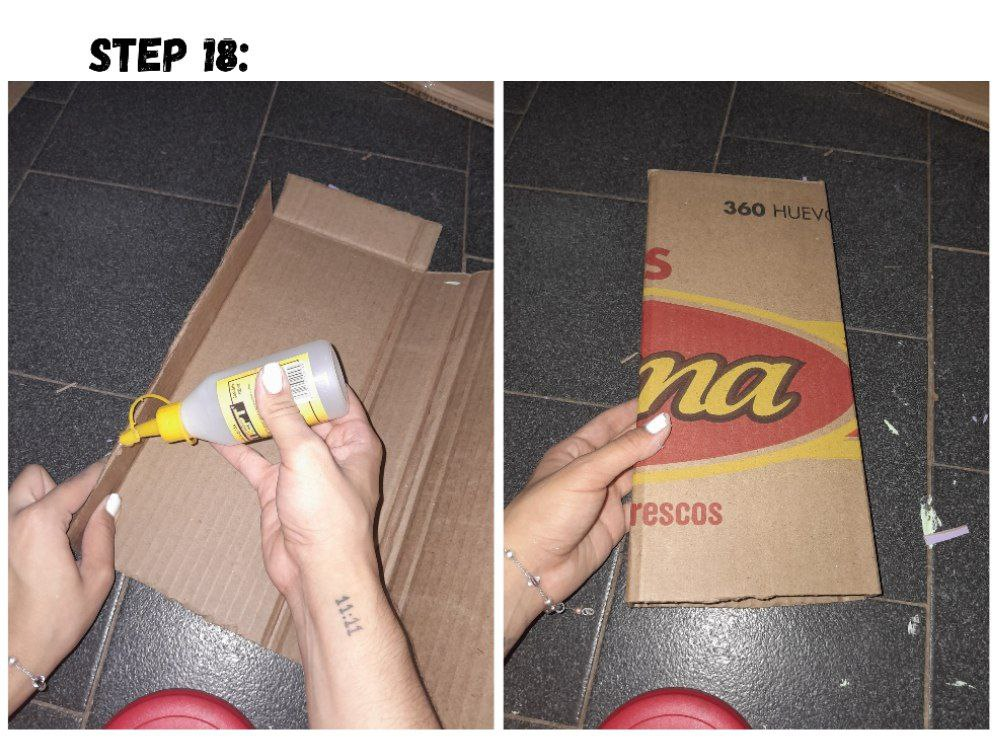
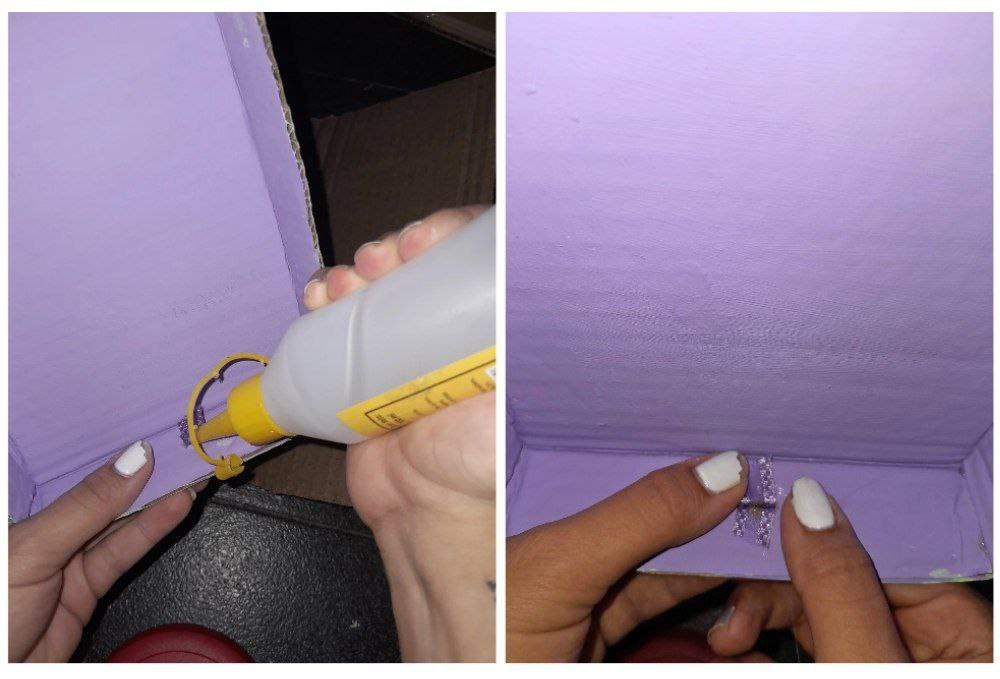
18.- I am going to take the silicone and pour it on all the edges of the other box and close it.
18.- Voy a tomar el silicón y echarle en todos los bordes de la otra caja y la cierro.
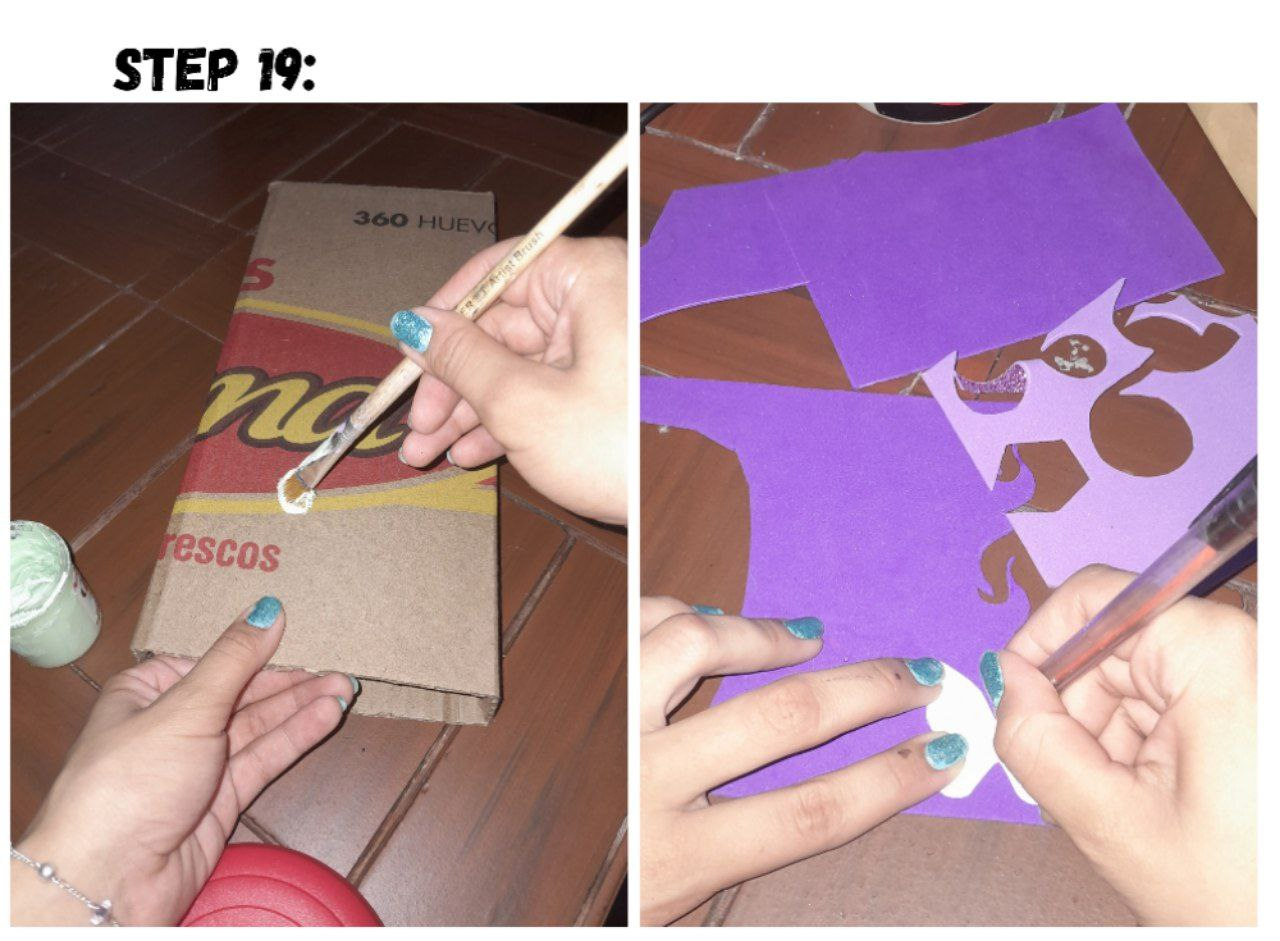
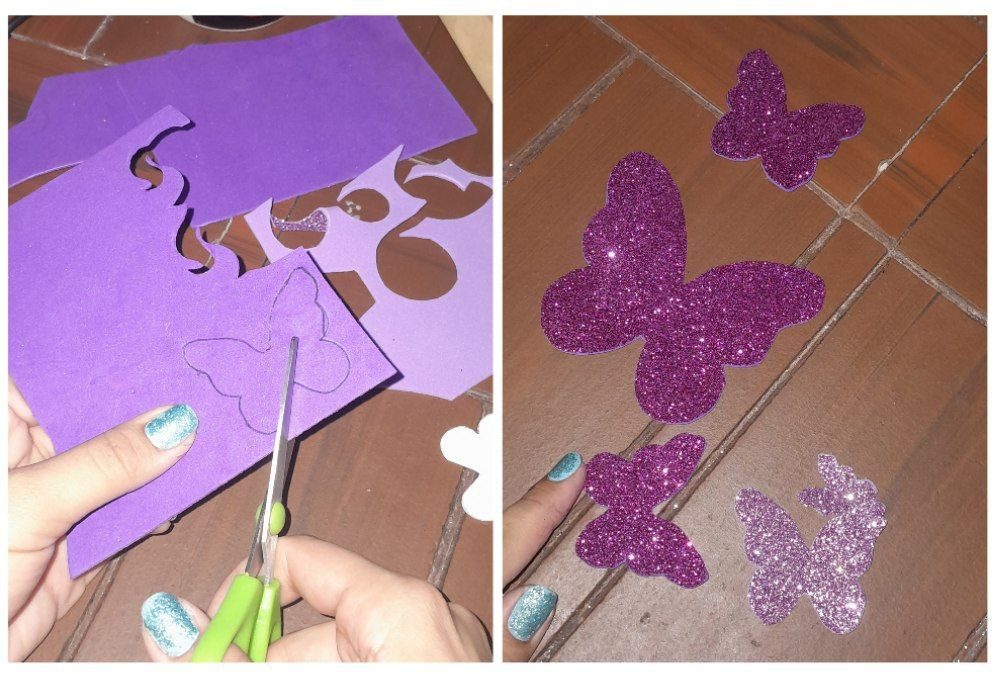
19.- I'm going to paint it with the color I chose and while I wait for it to dry I'm going to take some purple foam and draw some butterflies to decorate the front of the box.
19.- Paso a pintarla con el color que elegí y mientras espero a que seque voy a tomar un foami morado y dibujare unas mariposas para decorar el frente de la caja.
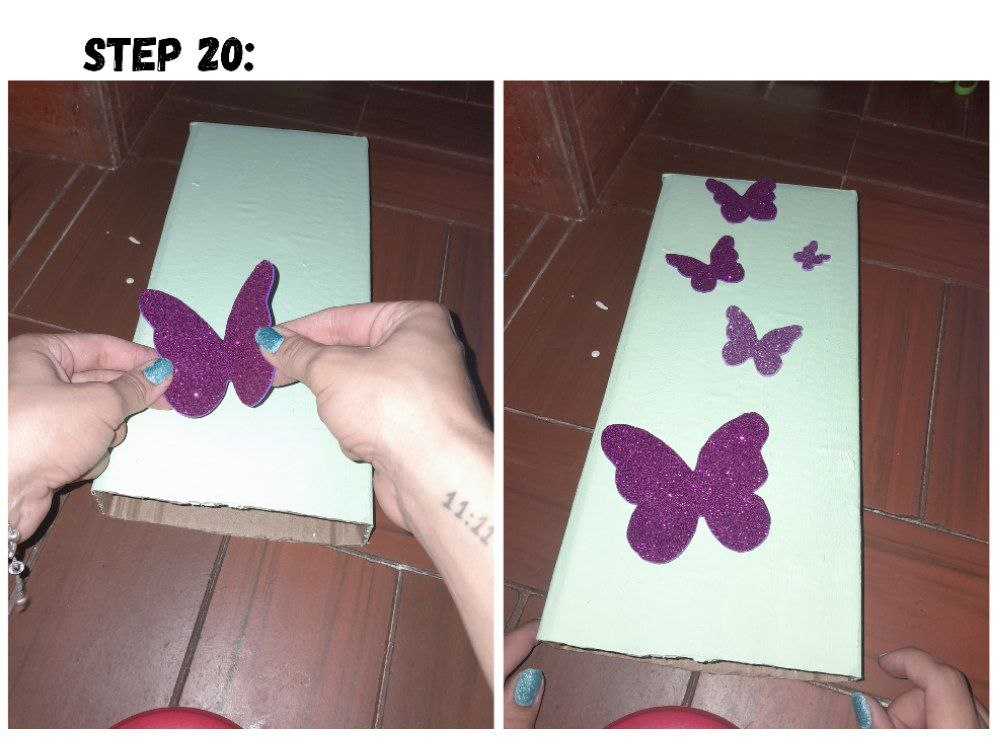
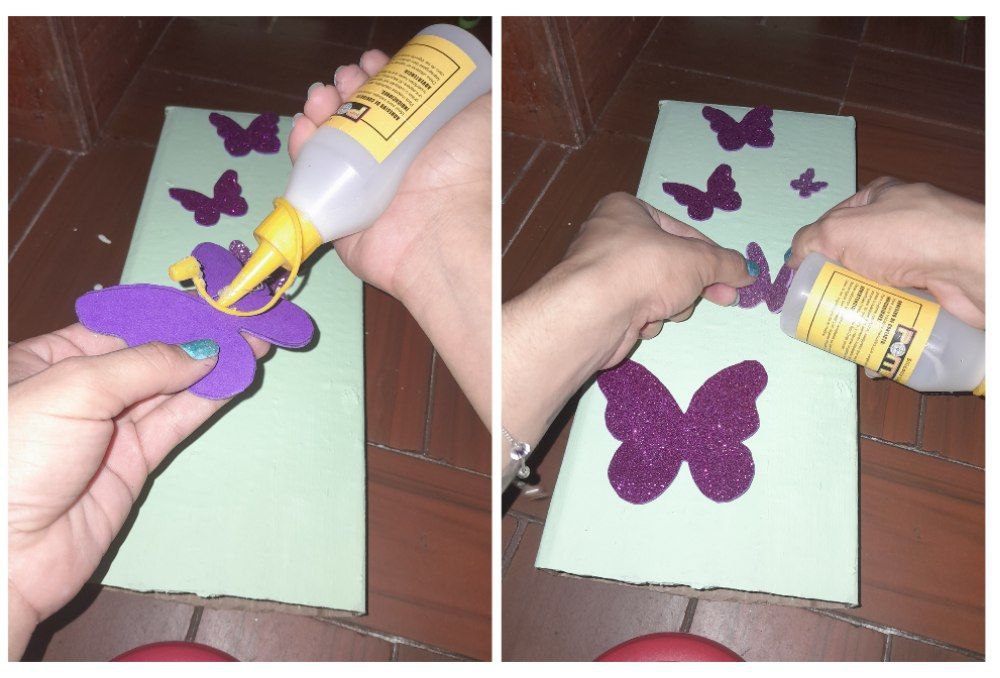
20.- Once dry, I place the butterflies in the place where I want them and I add a silicone dot and glue each one of them.
20.- Una vez seca ubico las mariposas en el sitio en donde las quiero y les añado y punto de silicón y pego cada una de ellas.
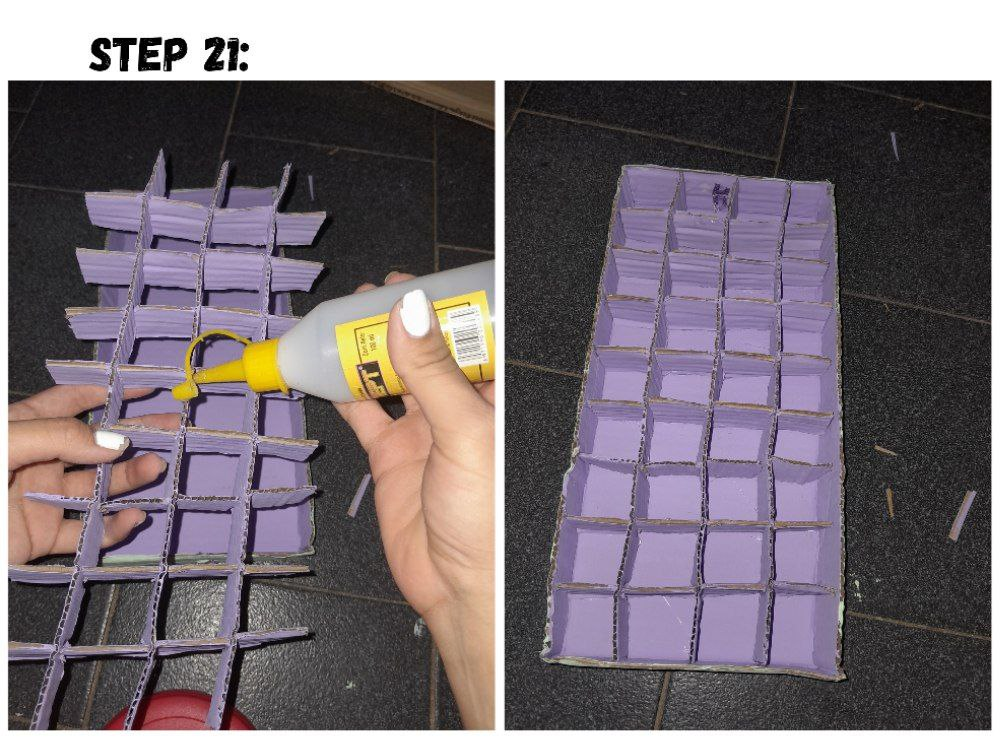
21.- I proceed to glue the separations of the box on the base, placing silicone on all the edges.
21.- Paso a pegar las separaciones de la caja en la base colocando silicón por todas las orillas.

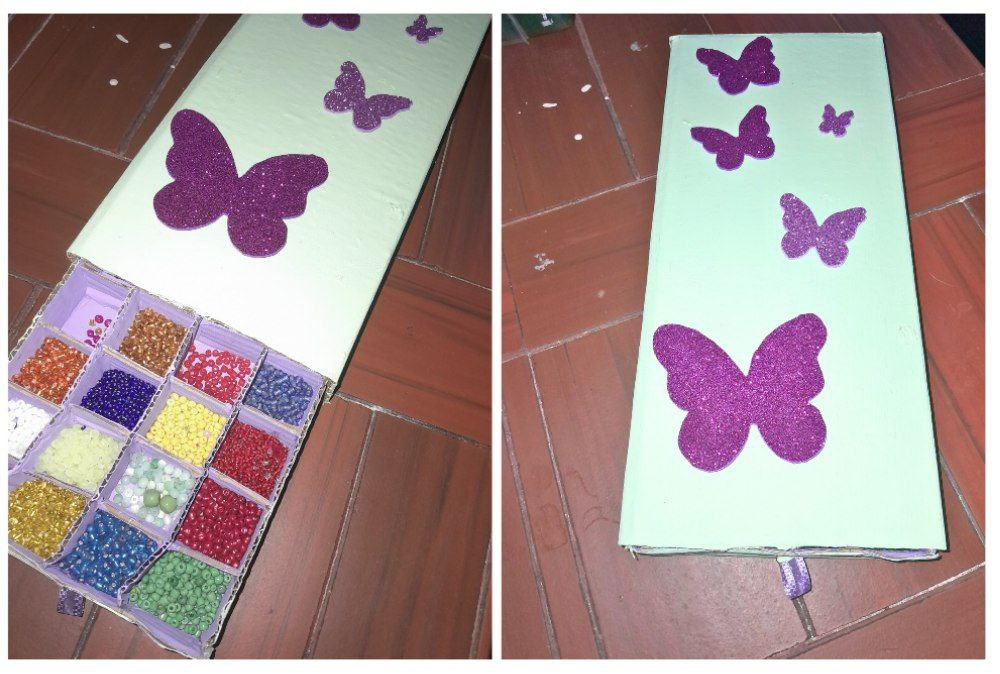
22.- Once dry I can add the beads and put them in the box that covers them so they don't get thrown away. This is how our organizer would look, like a kind of drawer.
22.- Una vez seco puedo pasar a agregarle las mostacillas y a meter en la caja que las cubre para que no se boten. Así quedaría nuestro organizador, como una especie gavetero.
Hola @aarolita 👋🏻
Me encantó este organizador, el trabajo de impecable y además muy bien explicado. Es muy útil para organizar los insumos. Te felicito 😌 muy lindo.
!diy
!discovery 30
This post was shared and voted inside the discord by the curators team of discovery-it
Join our Community and follow our Curation Trail
Discovery-it is also a Witness, vote for us here
Delegate to us for passive income. Check our 80% fee-back Program
This is a perfect tool for jewelry and bead makers. Now they won't forget thier beads. Nicely
You can query your personal balance by
!DIYSTATSWow. Quedó muy bonita y sobre todo muy util
Congratulations @aarolita! You have completed the following achievement on the Hive blockchain And have been rewarded with New badge(s)
Your next target is to reach 10000 upvotes.
You can view your badges on your board and compare yourself to others in the Ranking
If you no longer want to receive notifications, reply to this comment with the word
STOPBonito trabajo, la que me hace falta, yo la tengo separadas en bolsitas que al final se terminan mezclando, excelente idea.