Mi versión española.
¡Bienvenido a mi blog!
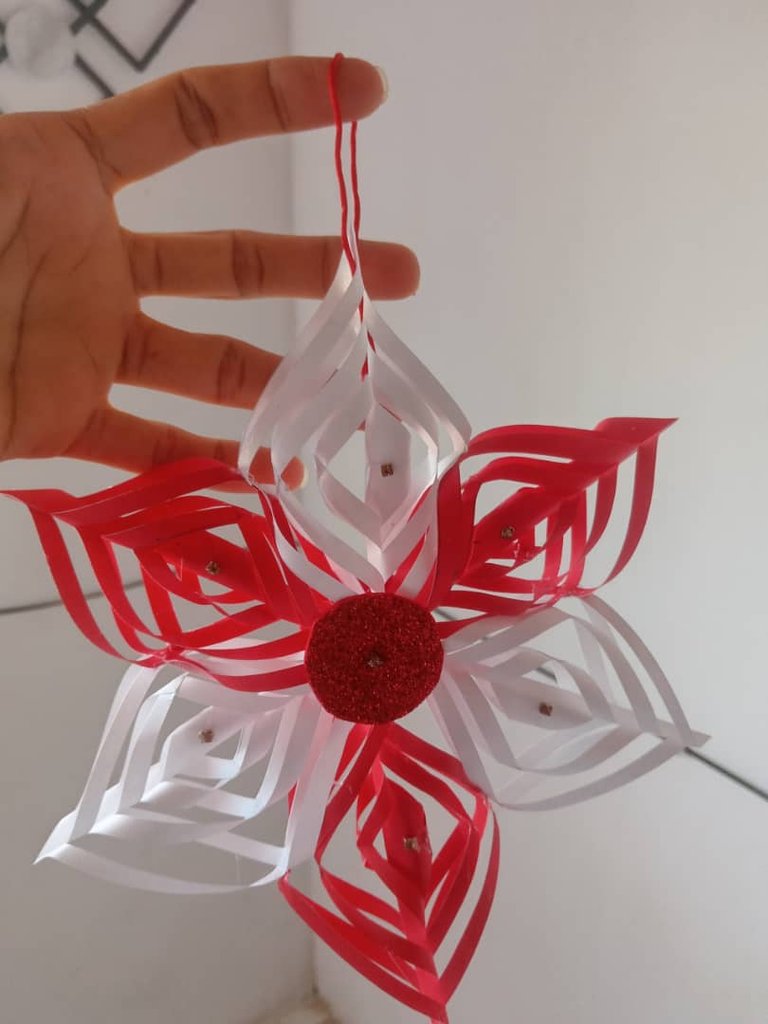
Hola a toda mi gente de esta comunidad, @DIYHub, es un placer regresar a esta linda comunidad, hoy le traigo como hacer un adorno Navideño, fácil para decorar en el arbolito, se utilizó cartulina blanca, roja, silicona, tijera, lápiz y alguna decoración de piedra brillante. Son adornos Navideños que sirve para decorar el algún espacio de la casa o el arbolito que a veces no tenemos muchos presupuesto, toca hacer adorno con materiales sencillo y fácil de hacer, solo es tener la creatividad y manos a la obra.
Vamos a mostrarle los materiales a utilizar y el paso a paso.
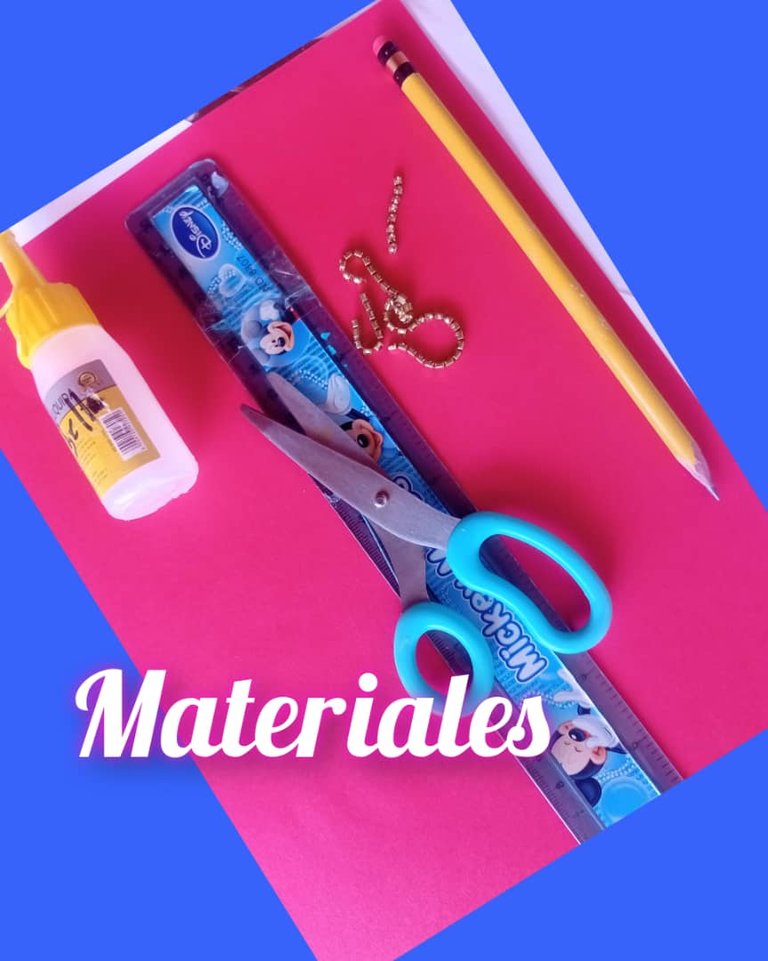
Materiales.
- 1 cartulina blanca.
- 1 cartulina roja.
- 1 tijera,
- 1 silicona,
- Lápiz.
Paso.
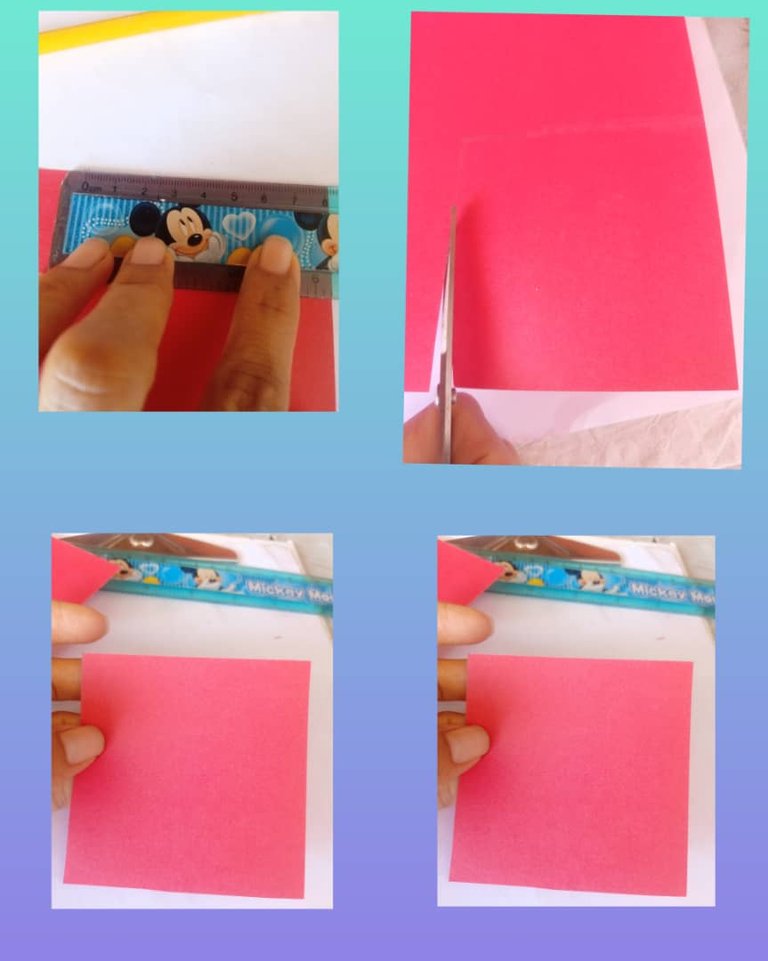
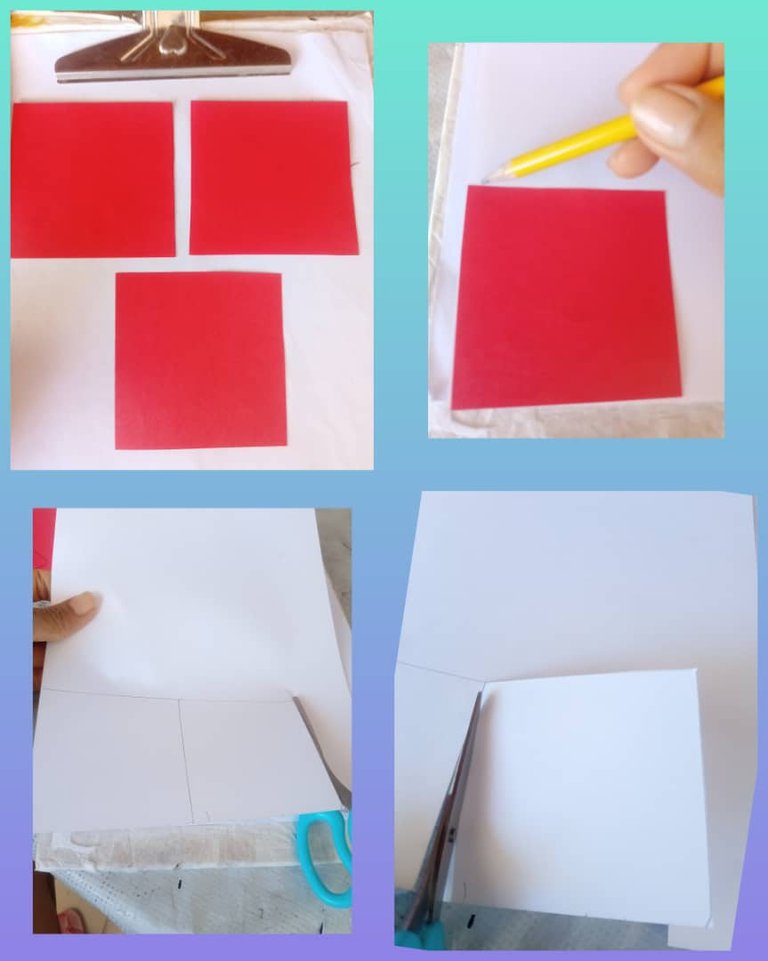
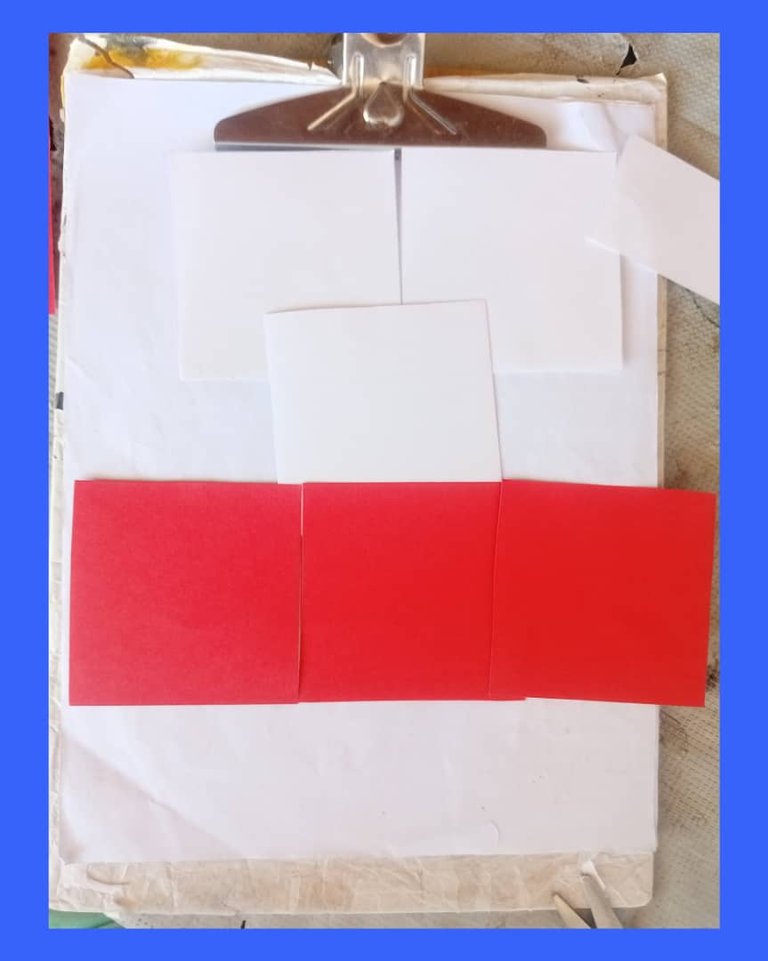
Primero marcamos en la cartulina roja un cuadro que mida 8 centímetros por los cuatro lados, la recortamos y sacamos 3 cuadros.
Ahora marcamos en la cartulina blanca un cuadro que mida 8 centímetros por los cuatro lados, lo recortamos, sacamos 3 cuadros, hacemos un total de 6 piezas con la misma medida para formar un copo de nieve.
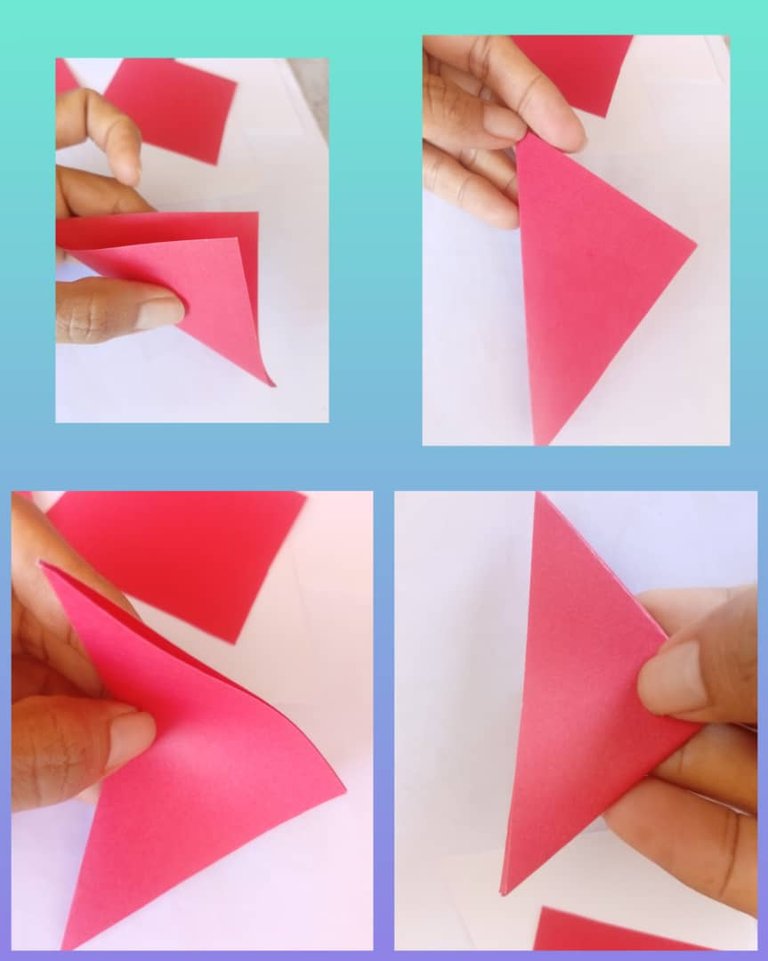
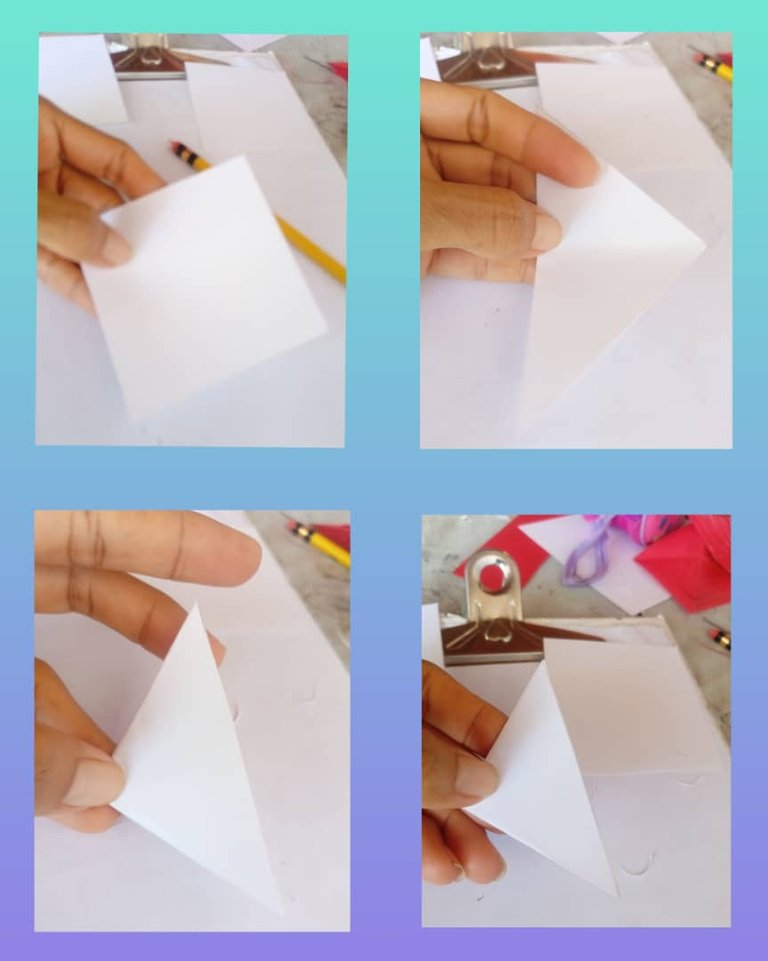
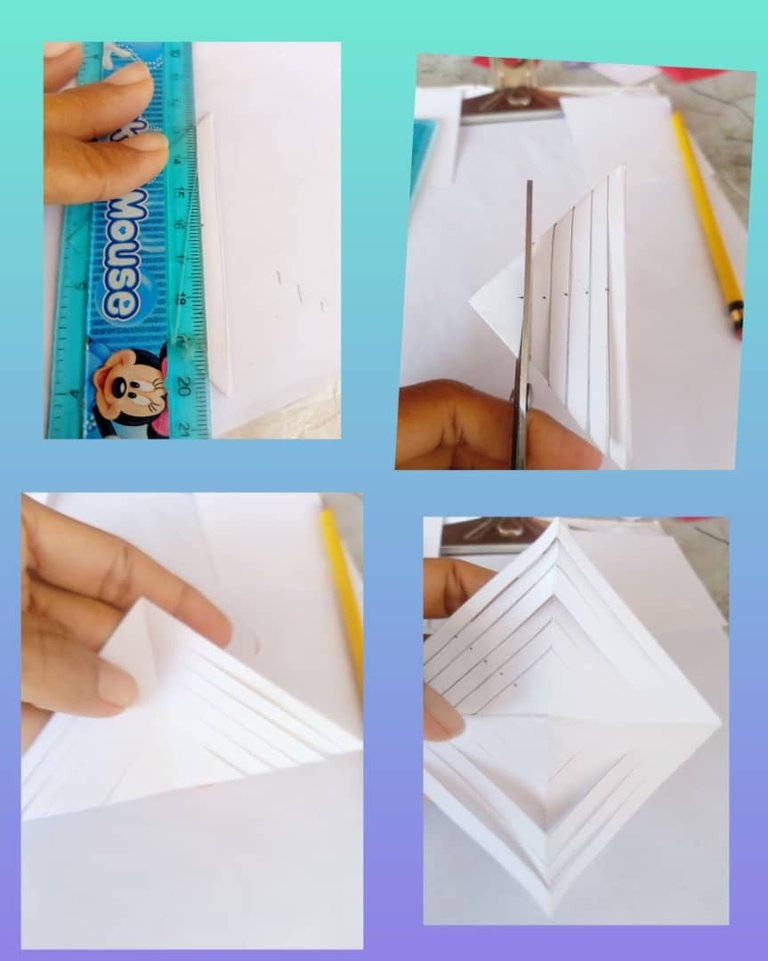
Ahora tomo la cartulina roja, un cuadro y lo doblamos en forma de triángulo y le volvemos hacer otro doblete de forma de triángulo, luego con una regla trazamos 5 líneas empezando desde la parte de abajo del triángulo hasta a la punta, recortamos por la línea marcada.
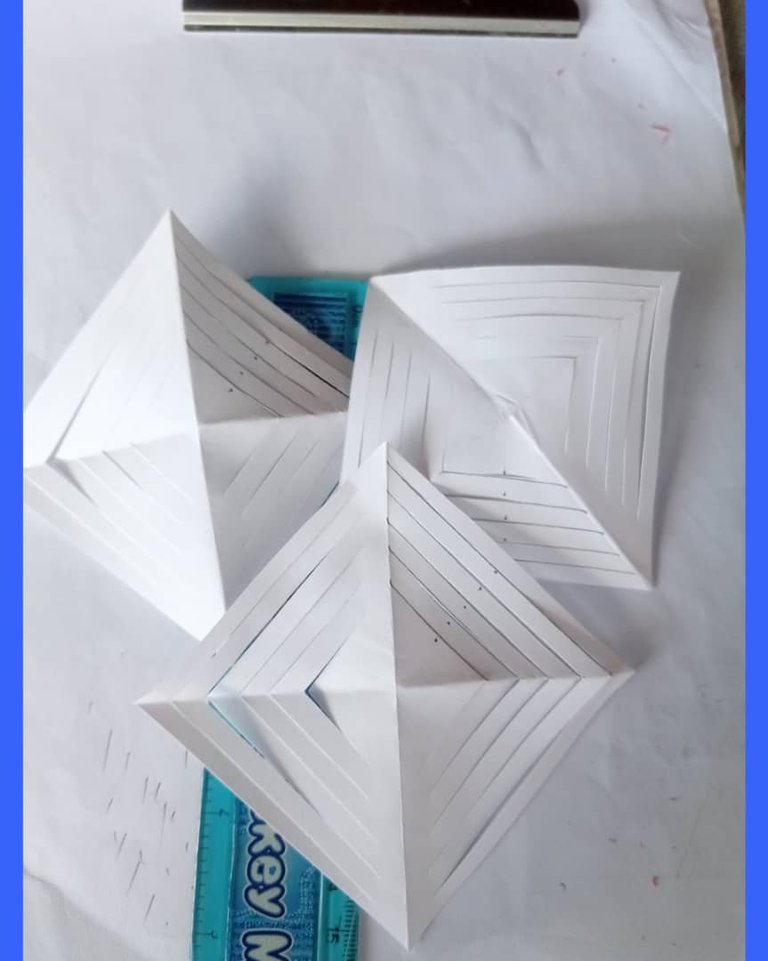
La desdoblamos y vea la forma quedo, así hacemos con los dos siguientes cuadros que me quedaron hasta tener los tres cortados.
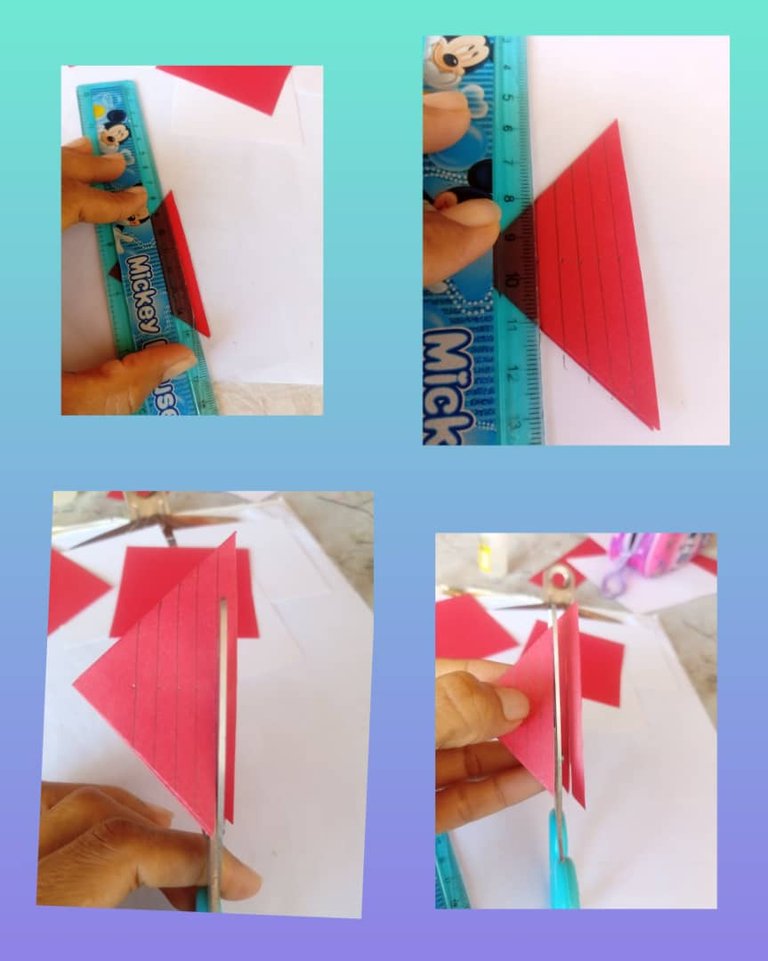
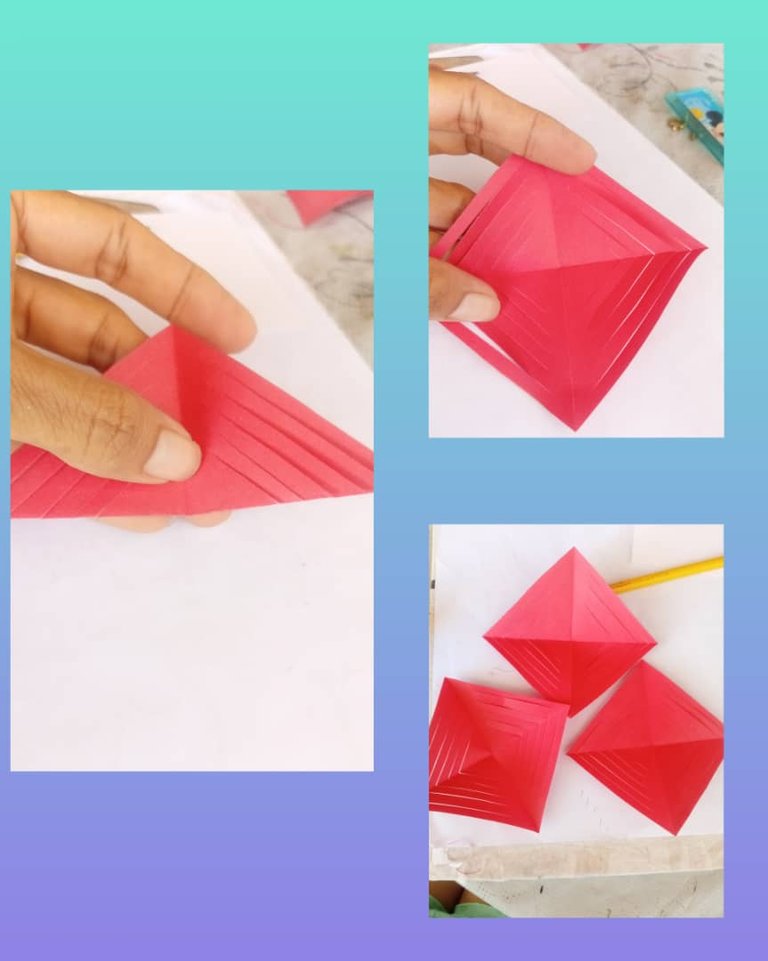
Luego comienzo a hacer el mismo procedimiento con la cartulina de color blanca, tomo un cuadro lo doblo de forma triangular, la volvemos hacer otro doblado, le trazamos 5 líneas con le regla, después la recorto por toda la línea que trazamos hasta arriba, la desdoblamos, así sucesivamente hacemos con los dos siguientes cuadros hasta tener los 3 cortados listos para formar los copos de nieves.
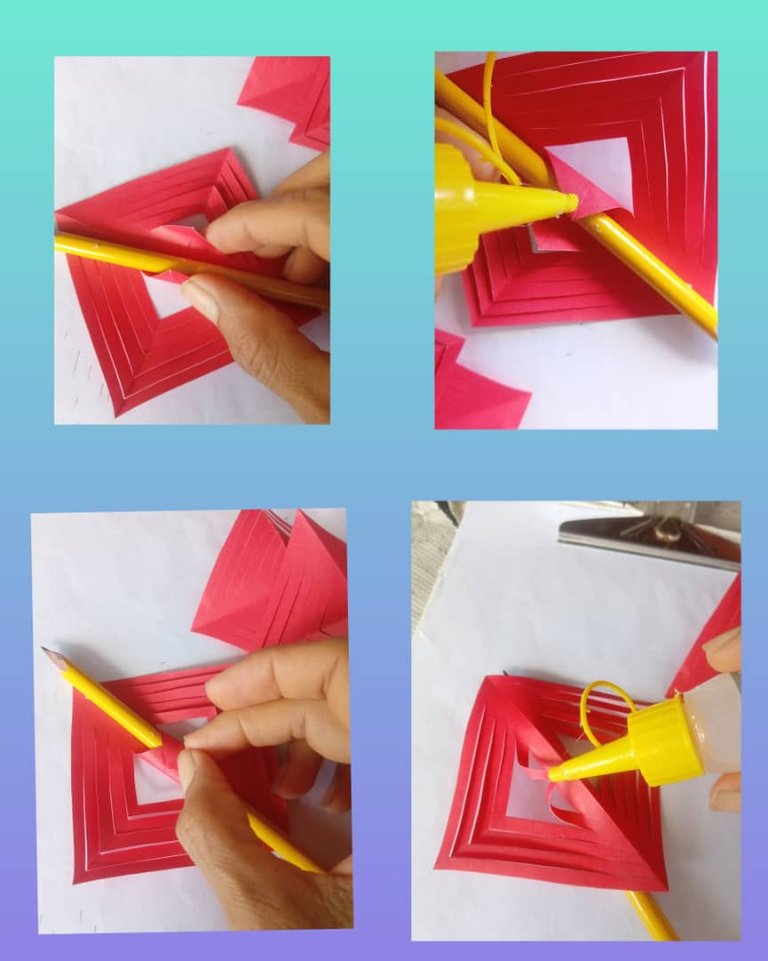
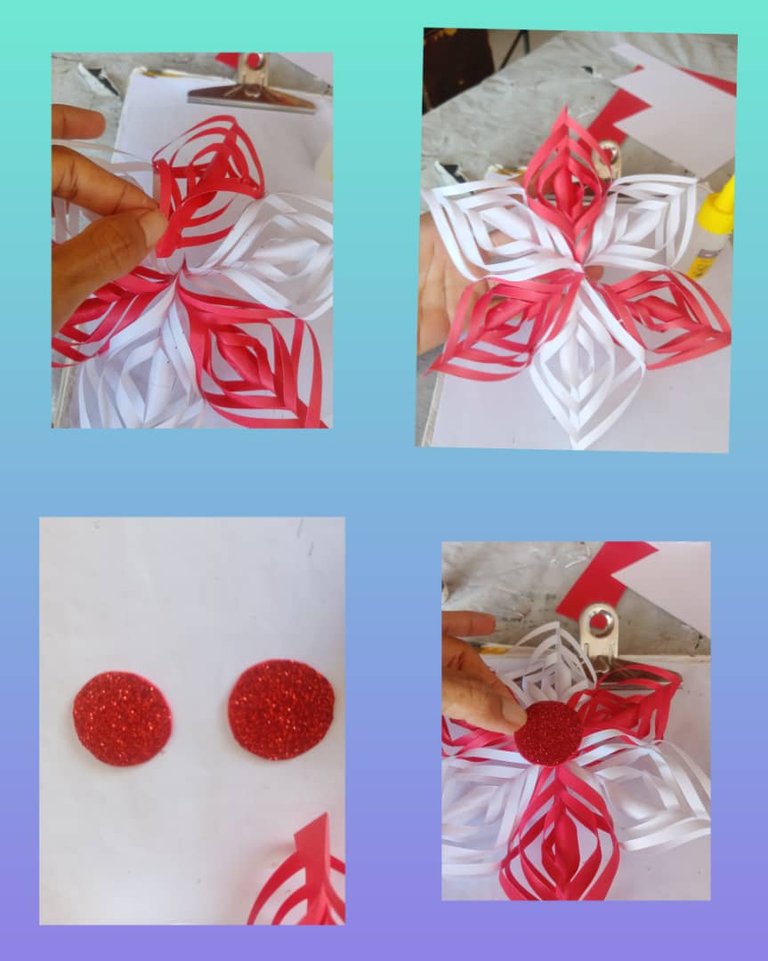
Tomo el primer copo de nieve, lo vamos pegando desde la línea del centro, le coloco un lápiz en el centro para ir uniendo cada tira que es desde la más pequeña hasta el más grande, ir formando por completo el copo de nieve en forma espiral, vea como no va quedando, luego formo los dos rojos que me sobra y tener los 3 listos.
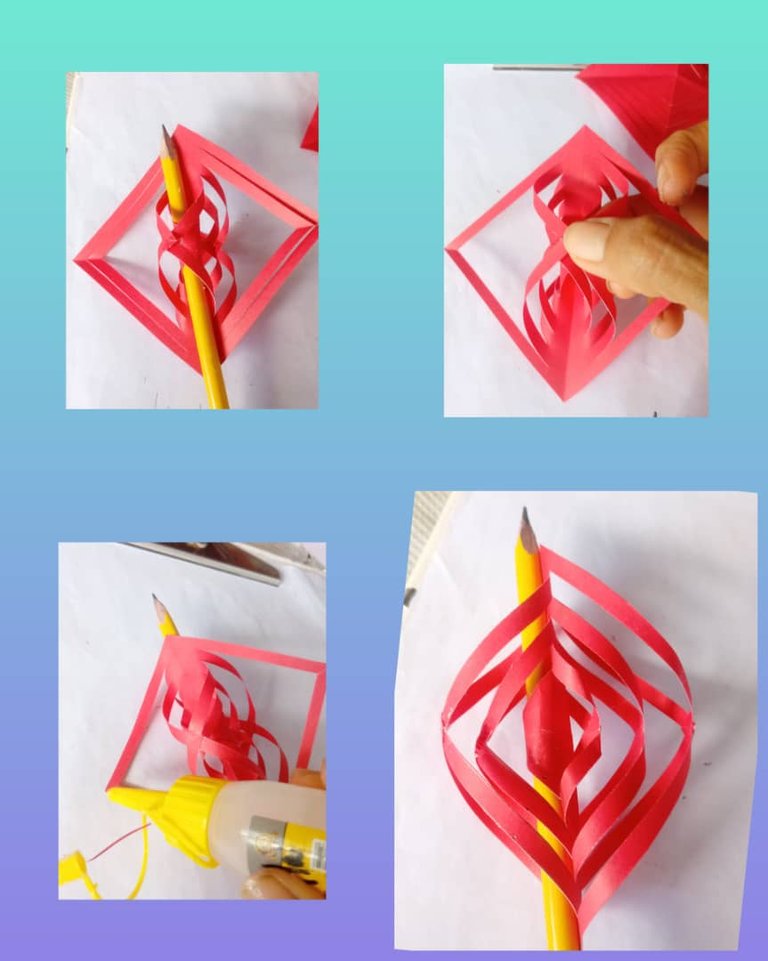
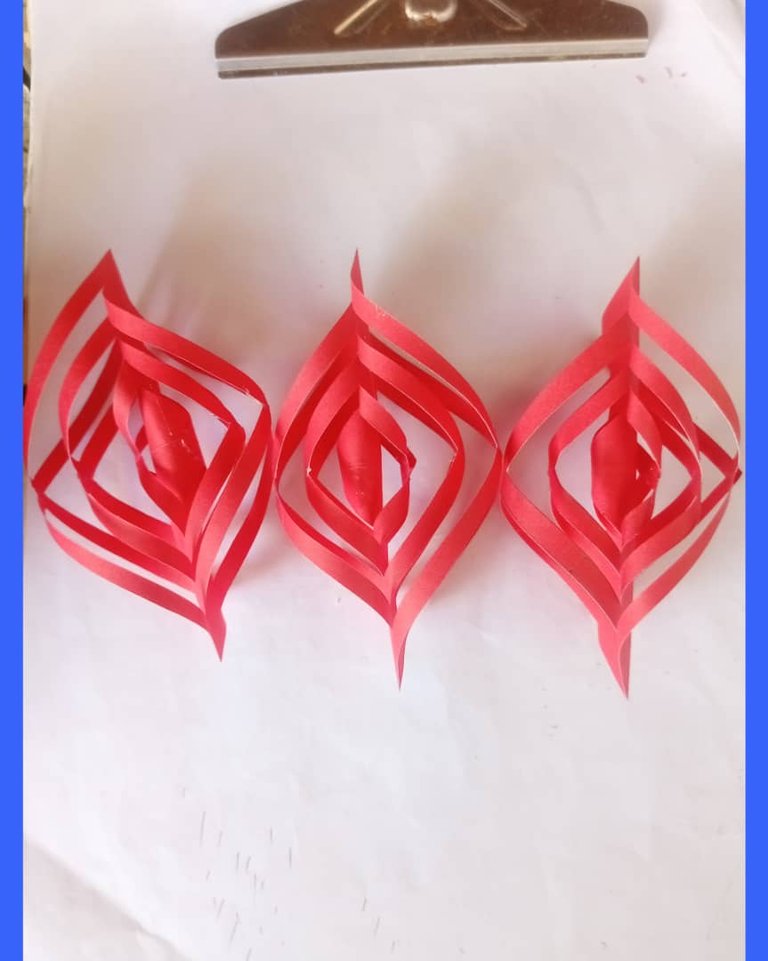
Ahora formo los 3 copos de nieves de color blanco, lo vamos pegando hasta que no quede en forma espiral, teniendo los 6 copos listos para empezar armarla.
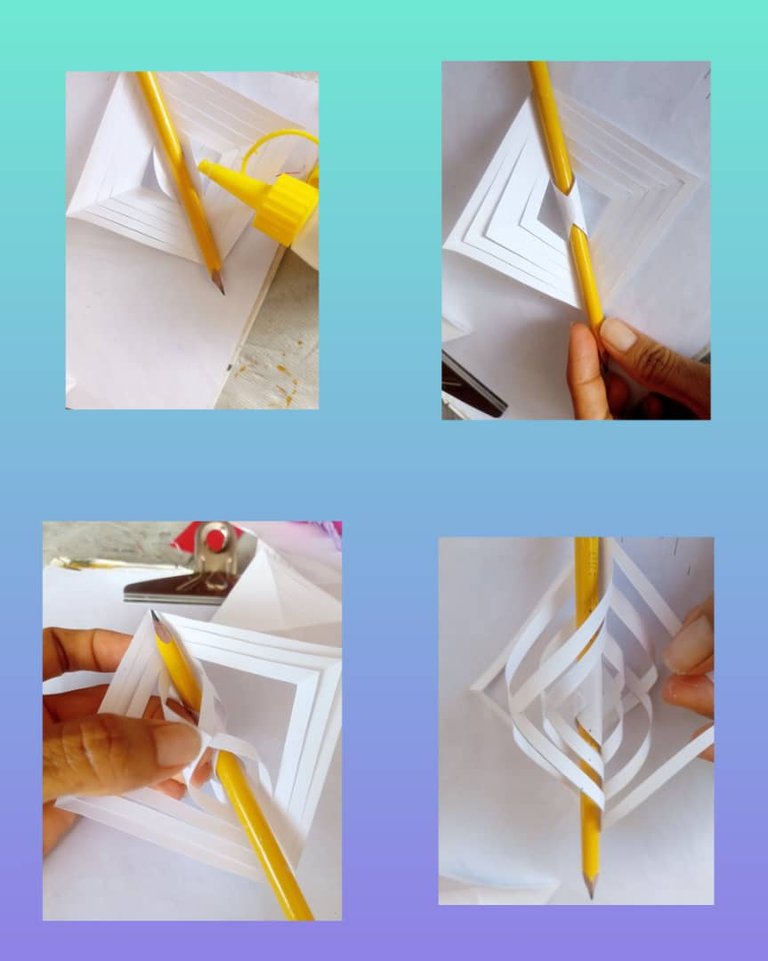
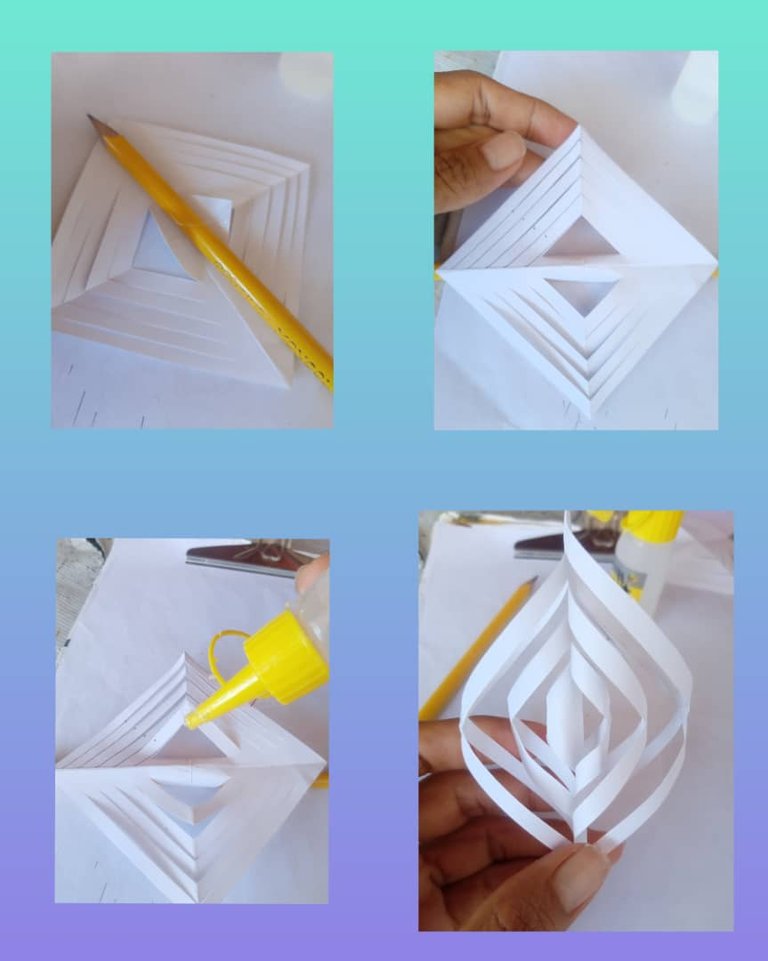
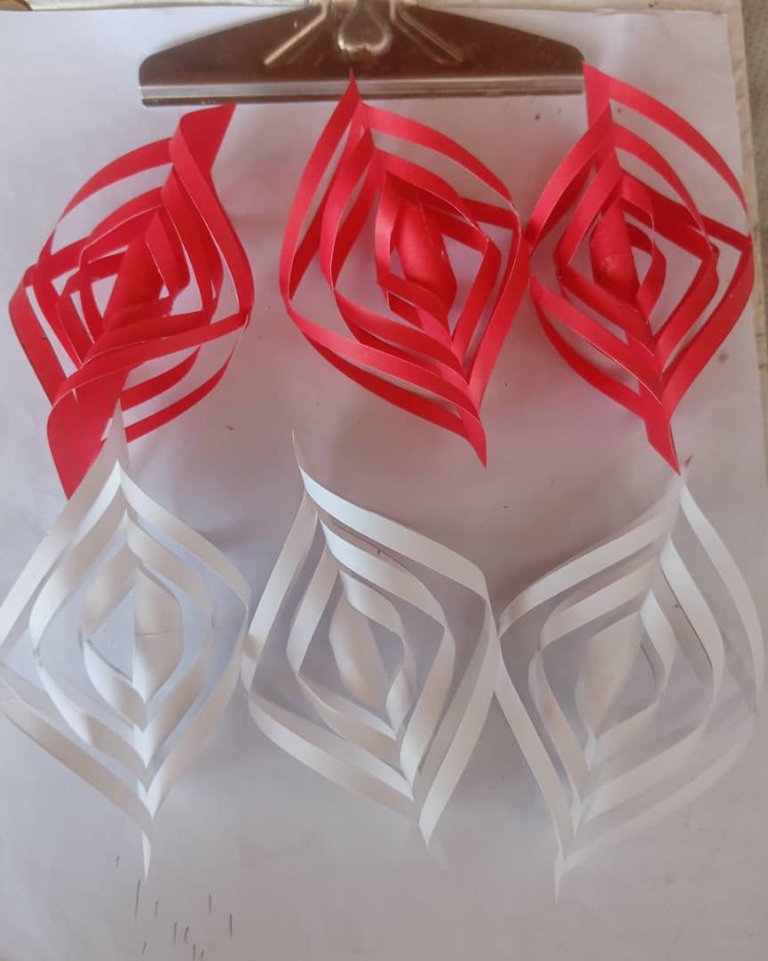
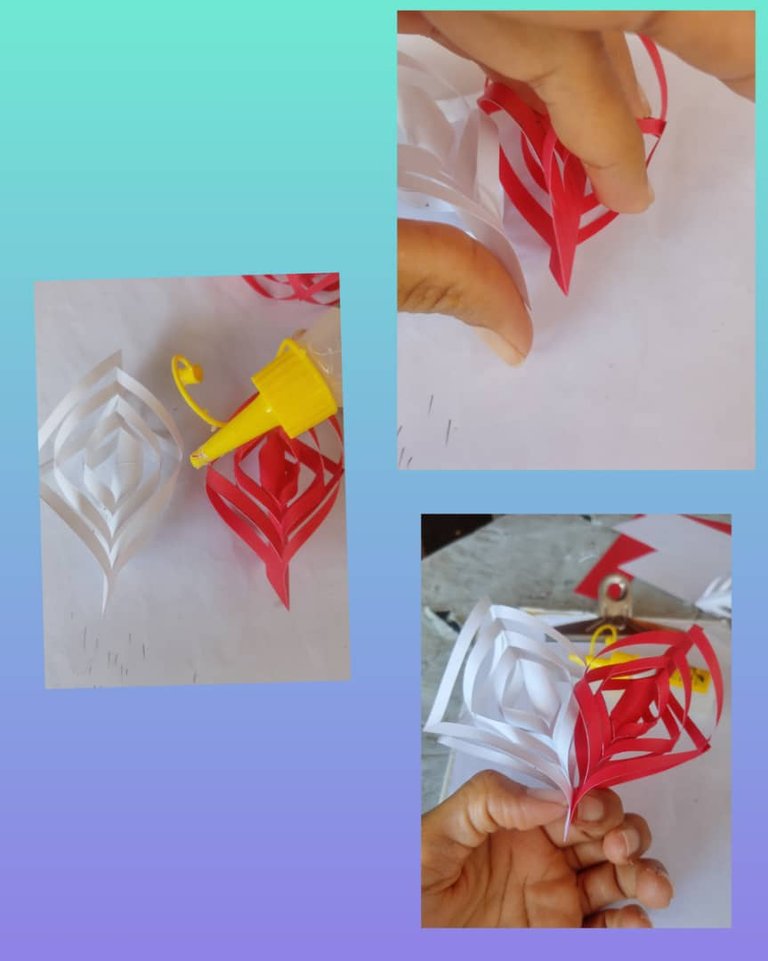
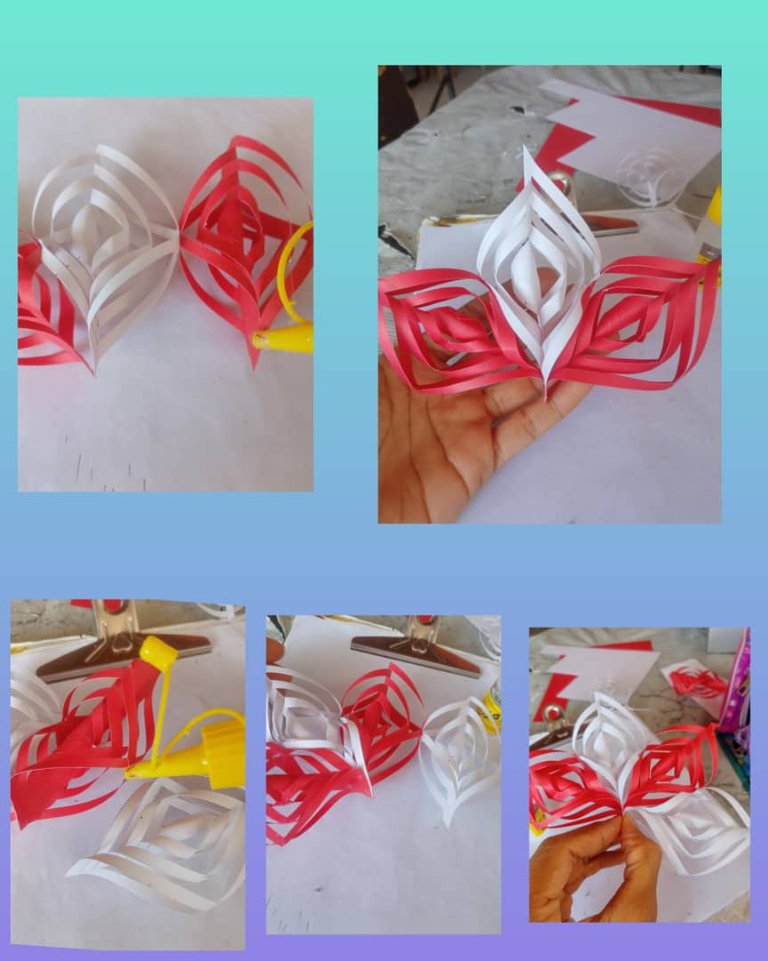
Empezamos unir los copos de nieves, voy pegando uno blanco con uno rojo, lo voy pegando uno seguido del otro hasta tener los 6 copos de nieve pegado, vea como va quedando nuestro adorno navideño, en el medio del adorno le pongo dos círculos de color rojo uno por cada lado, le coloco piedra preciosa por el alrededor para hacerlo más llamativo, le pongo un cordón para guindarlo donde quiera.
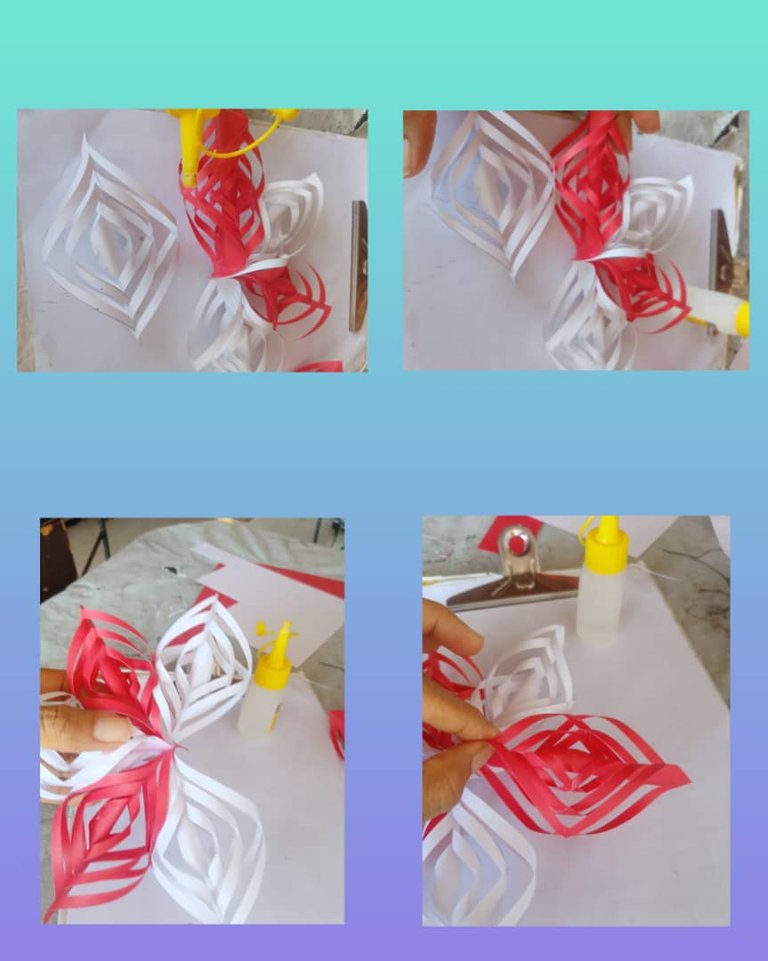
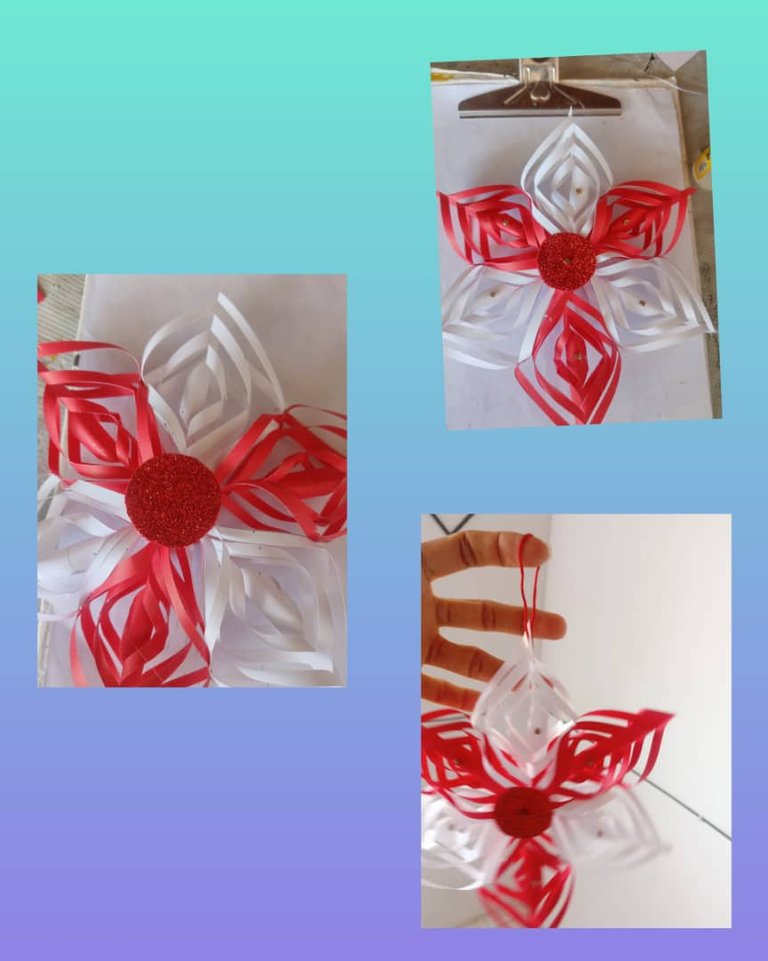
Vea el resultado final, es un adorno navideño ideal para el arbolito o decorar en las paredes donde usted lo desee colocar.
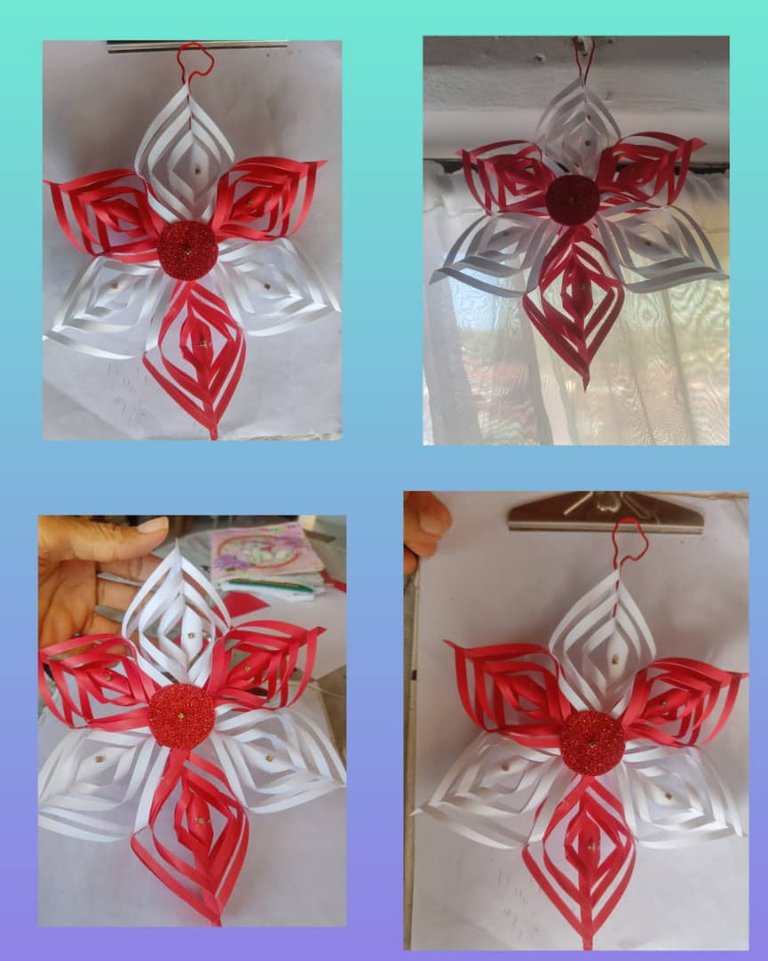
Tenga un feliz días y bendecidos para todos, muchas gracias por leer mi post.

Las fotos son mías, tomadas con teléfono, Alcatel, editadas con incollage y traducidas con DeepL.
Mi versión inglesa.
Welcome to my blog!
Hello to all my people of this community, @DIYHub, it is a pleasure to return to this nice community, today I bring you how to make a Christmas ornament, easy to decorate on the tree, we used white cardboard, red, silicone, scissors, pencil and some shiny stone decoration. They are Christmas ornaments that can be used to decorate a space in the house or the tree that sometimes we do not have much budget, it is time to make an ornament with simple and easy to make materials, just have the creativity and hands to work.
We are going to show you the materials to use and the step by step.

Materials.
- 1 white cardboard.
- 1 red cardboard.
- 1 scissors,
- 1 silicone,
- 1 pencil.

Step.
First we mark on the red cardboard a square measuring 8 centimeters on all four sides, cut it out and make 3 squares.
Now we mark on the white cardboard a square that measures 8 centimeters on all four sides, cut it out, cut out 3 squares, we make a total of 6 pieces with the same size to form a snowflake.


Now I take the red cardboard, a square and fold it in the shape of a triangle and make another fold in the shape of a triangle, then with a ruler we draw 5 lines starting from the bottom of the triangle to the tip, cut along the marked line.
Unfold it and see the shape left, so we do with the next two squares that I had left until we have the three cut.


Then I start to do the same procedure with the white cardboard, I take a square I fold it in a triangular shape, we make another fold, we draw 5 lines with the ruler, then I cut it along the line we drew up to the top, we unfold it, and so on we do with the next two squares until we have the 3 cut ready to form the snowflakes.


I take the first snowflake, we are gluing it from the center line, I place a pencil in the center to join each strip that is from the smallest to the largest, go completely forming the snowflake in a spiral shape, see how it is not staying, then I form the two red ones that I have left over and have the 3 ready.


Now form the 3 white snowflakes, glue them together until they are not in a spiral shape, having the 6 snowflakes ready to start assembling it.


We start joining the snowflakes, I'm gluing a white one with a red one, I'm gluing one after the other until I have the 6 snowflakes glued, see how our Christmas ornament is getting, in the middle of the ornament I put two red circles one on each side, I put a precious stone around it to make it more striking, I put a cord to hang it wherever you want.


See the final result, it is an ideal Christmas ornament for the tree or to decorate the walls where you want to place it.

Have a happy and blessed day to all, thank you very much for reading my post.

The photos are mine, taken with phone, Alcatel, edited with incollage and translated with DeepL.
Easy and practical, yet still worthy of sitting down and working out the details to make it look as good as the example you've shared here. Thank you so much for bringing it up to our DIYHub community. Other content creators are also making beautiful Christmas ornaments, it would be great if you visit them and support with a friendly comment if you find something you like 😉 Thanks for being here, happy start of the week!...
Gracias, me alegra que le guste si son adornos fácil de hacer que me gusta compartir en la comunidad.
This is a very beautiful and colorful paper decoration. It is a technique that seems to be simple, but few people look as good as you, thank you very much for choosing DIYHub to share your creativity.
Gracias me alegra que le guste, si es verdad no es fácil de hacer, pero con práctica se logra.
Christmas is coming! I loved this craft, it's easy and simple to make, as well as beautiful.
Me alegra que le guste, gracias por su visita. Saludos.
very beautiful.
Gracias, Saludos
This is so beautiful your colors are amazing and your work is awesome and neat.
Weldone