Hello, beautiful day! It's a pleasure to greet you✨. I hope you are all doing very well, dear and appreciated friends. I warmly welcome you to a new blog where I will be sharing with you the creative process of what we will do here step by step. Feel comfortable and thank you for being here reading this blog.🥰
.jpg)
Whenever I make my bracelets and clothes I don't necessarily have a base or support to place them on and make them look more presentable. I have searched in stores for supports to place the clothes on but I haven't found any. I have seen them on SheIn but without a doubt it takes around a year for the orders to arrive here in my city. Imagine that's a long time for me to wait and have it.
But since we are artisans here and we love to create and do things ourselves, I said enough of searching and decided to get down to work making this display with recycled materials and other jobs that I have here at home, I hadn't had any ideas but with a roll of lined paper it was an option that occurred to me and another was to put a base on it but I didn't know how, so to keep from complicating my life I left it like that only the cylinder lined with this very pretty and shiny pink fomi and you know that I love these types of shiny things and I didn't pass up the opportunity to do it like that, here I leave you the process of how I did it I hope you like it and tell me what you thought or what ideas you could recommend to me to do it better😄.
.jpg)
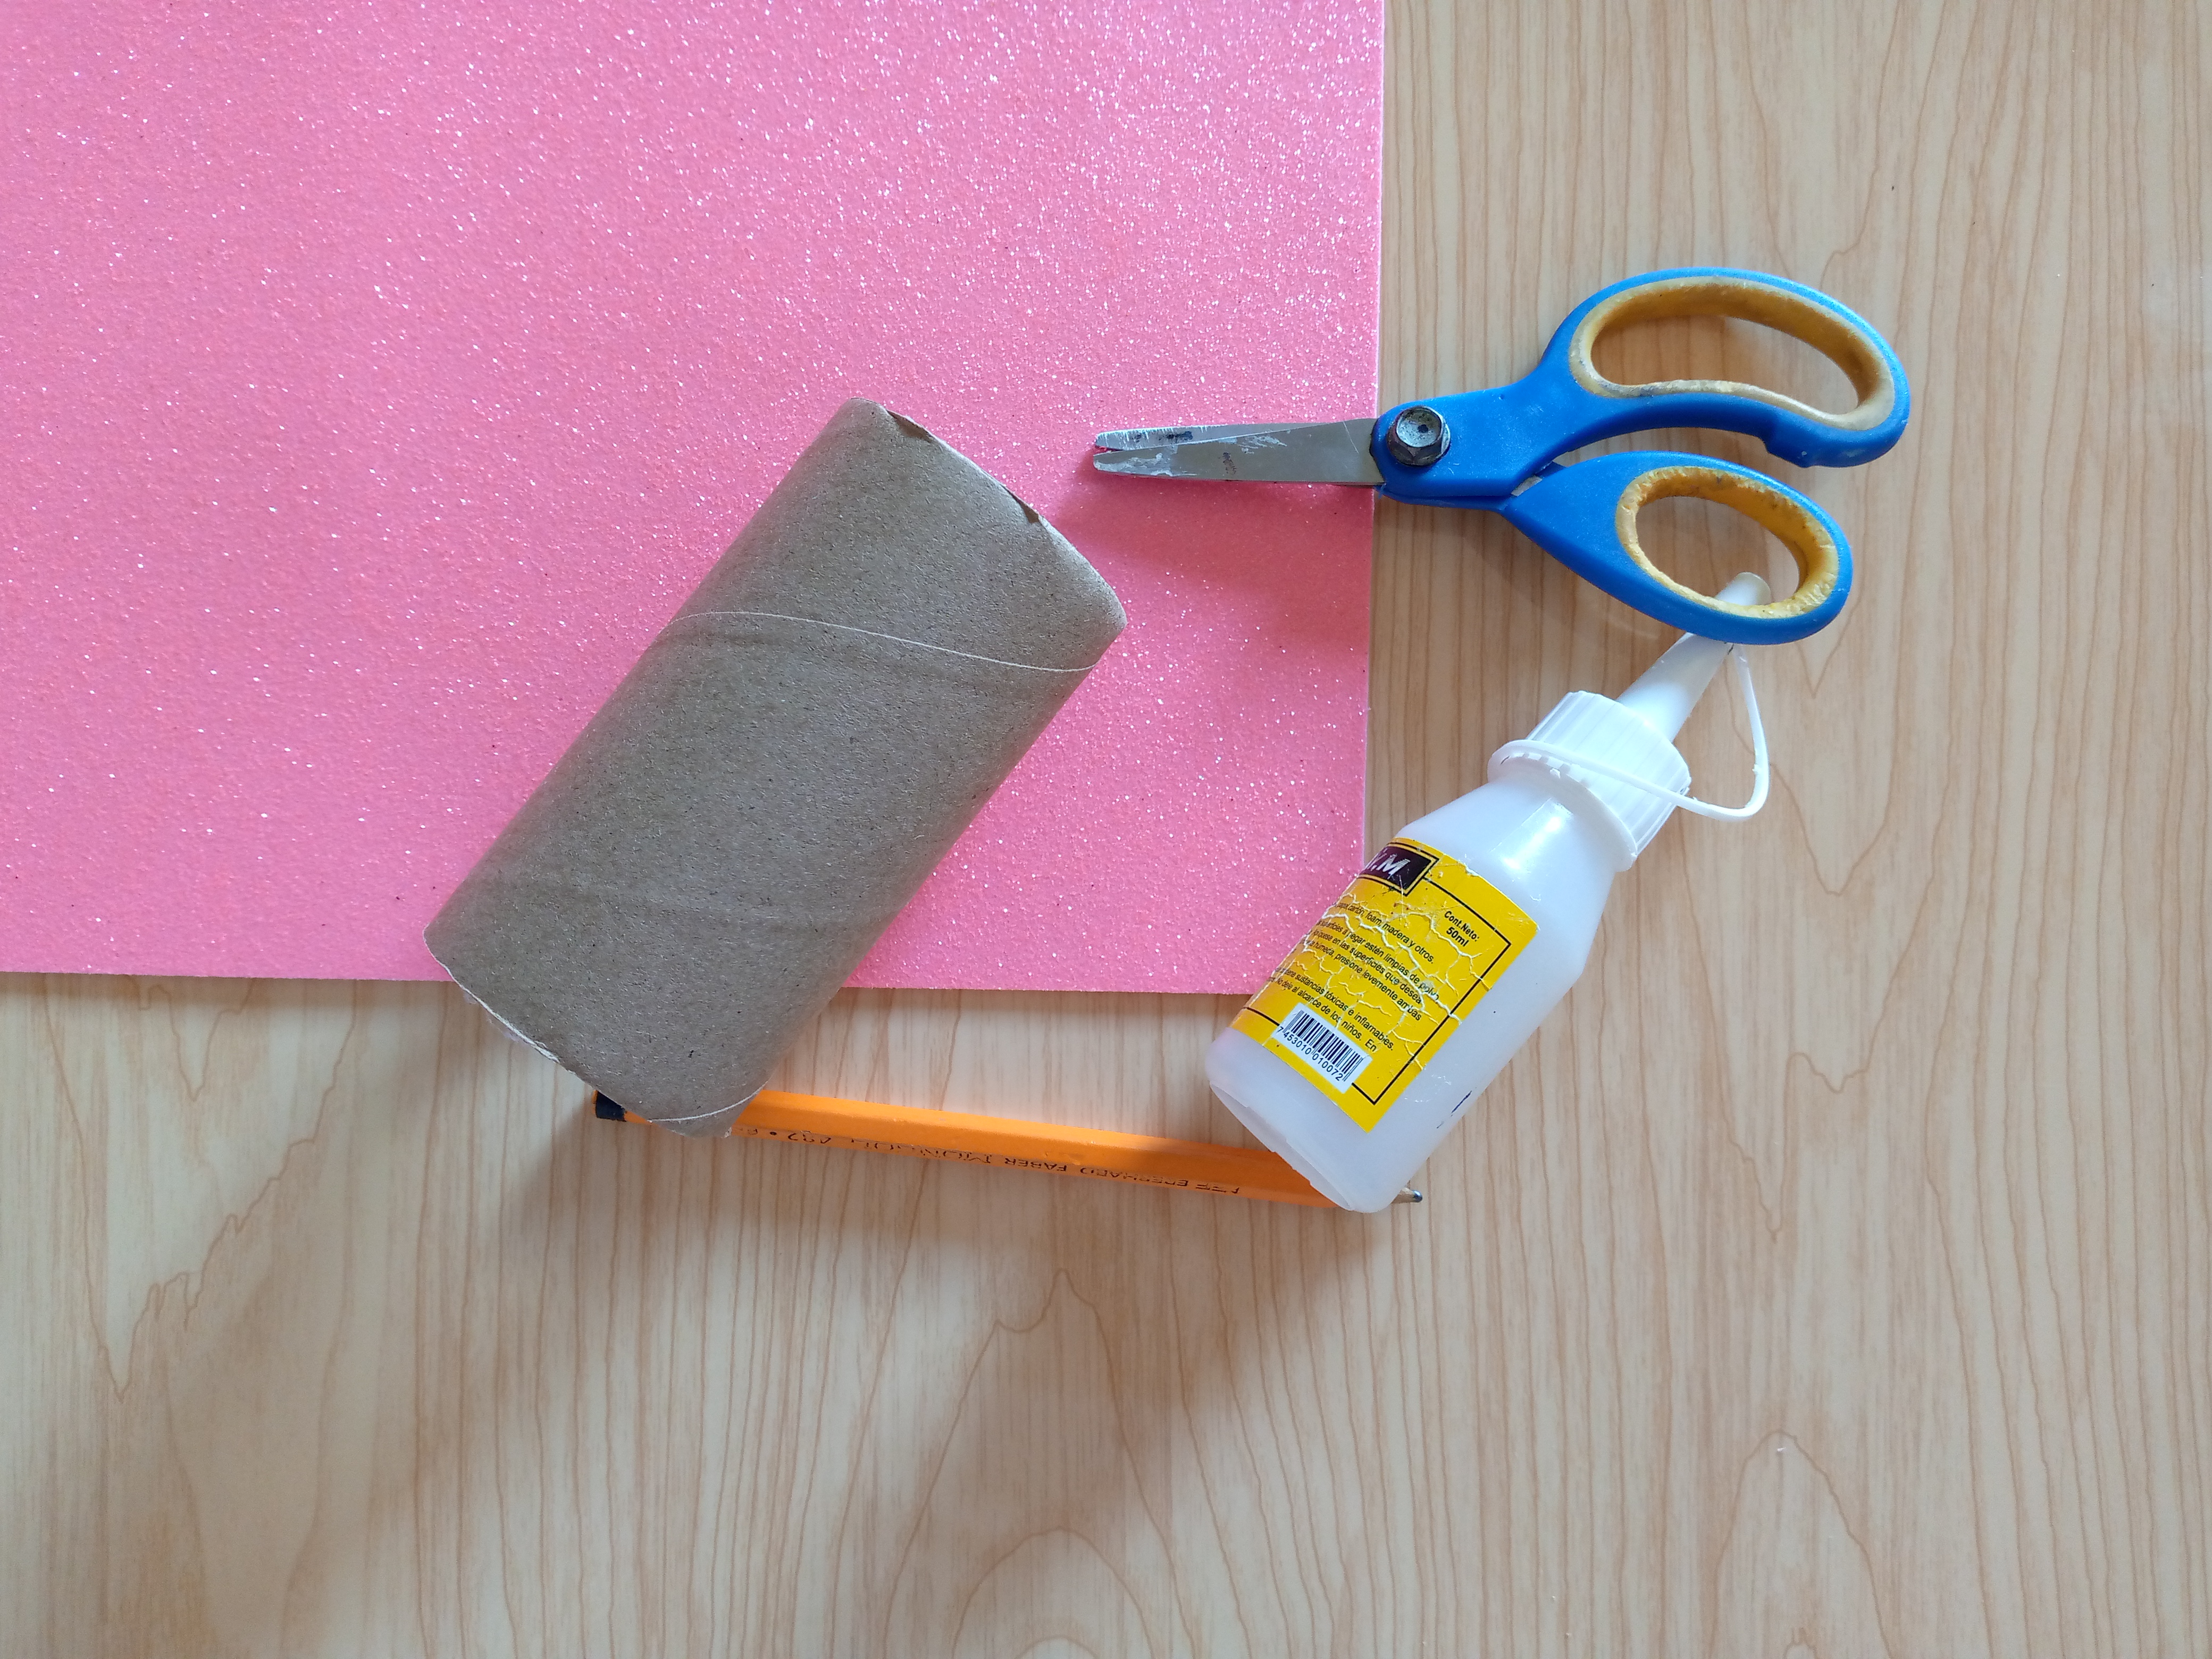
Materiales:// Materials:
- Cilindro de cartón de papel higiénico
- Fomi brillante en este caso rosa
- Tijera
- Silicón líquido
- Trozos de cartón de caja
- Lápiz
- Toilet paper cardboard cylinder
- Glossy foam in this case pink
- Scissors
- Liquid silicone
- Cardboard box pieces
- Pencil
.jpg)
Pasos a seguir://Steps to follow:
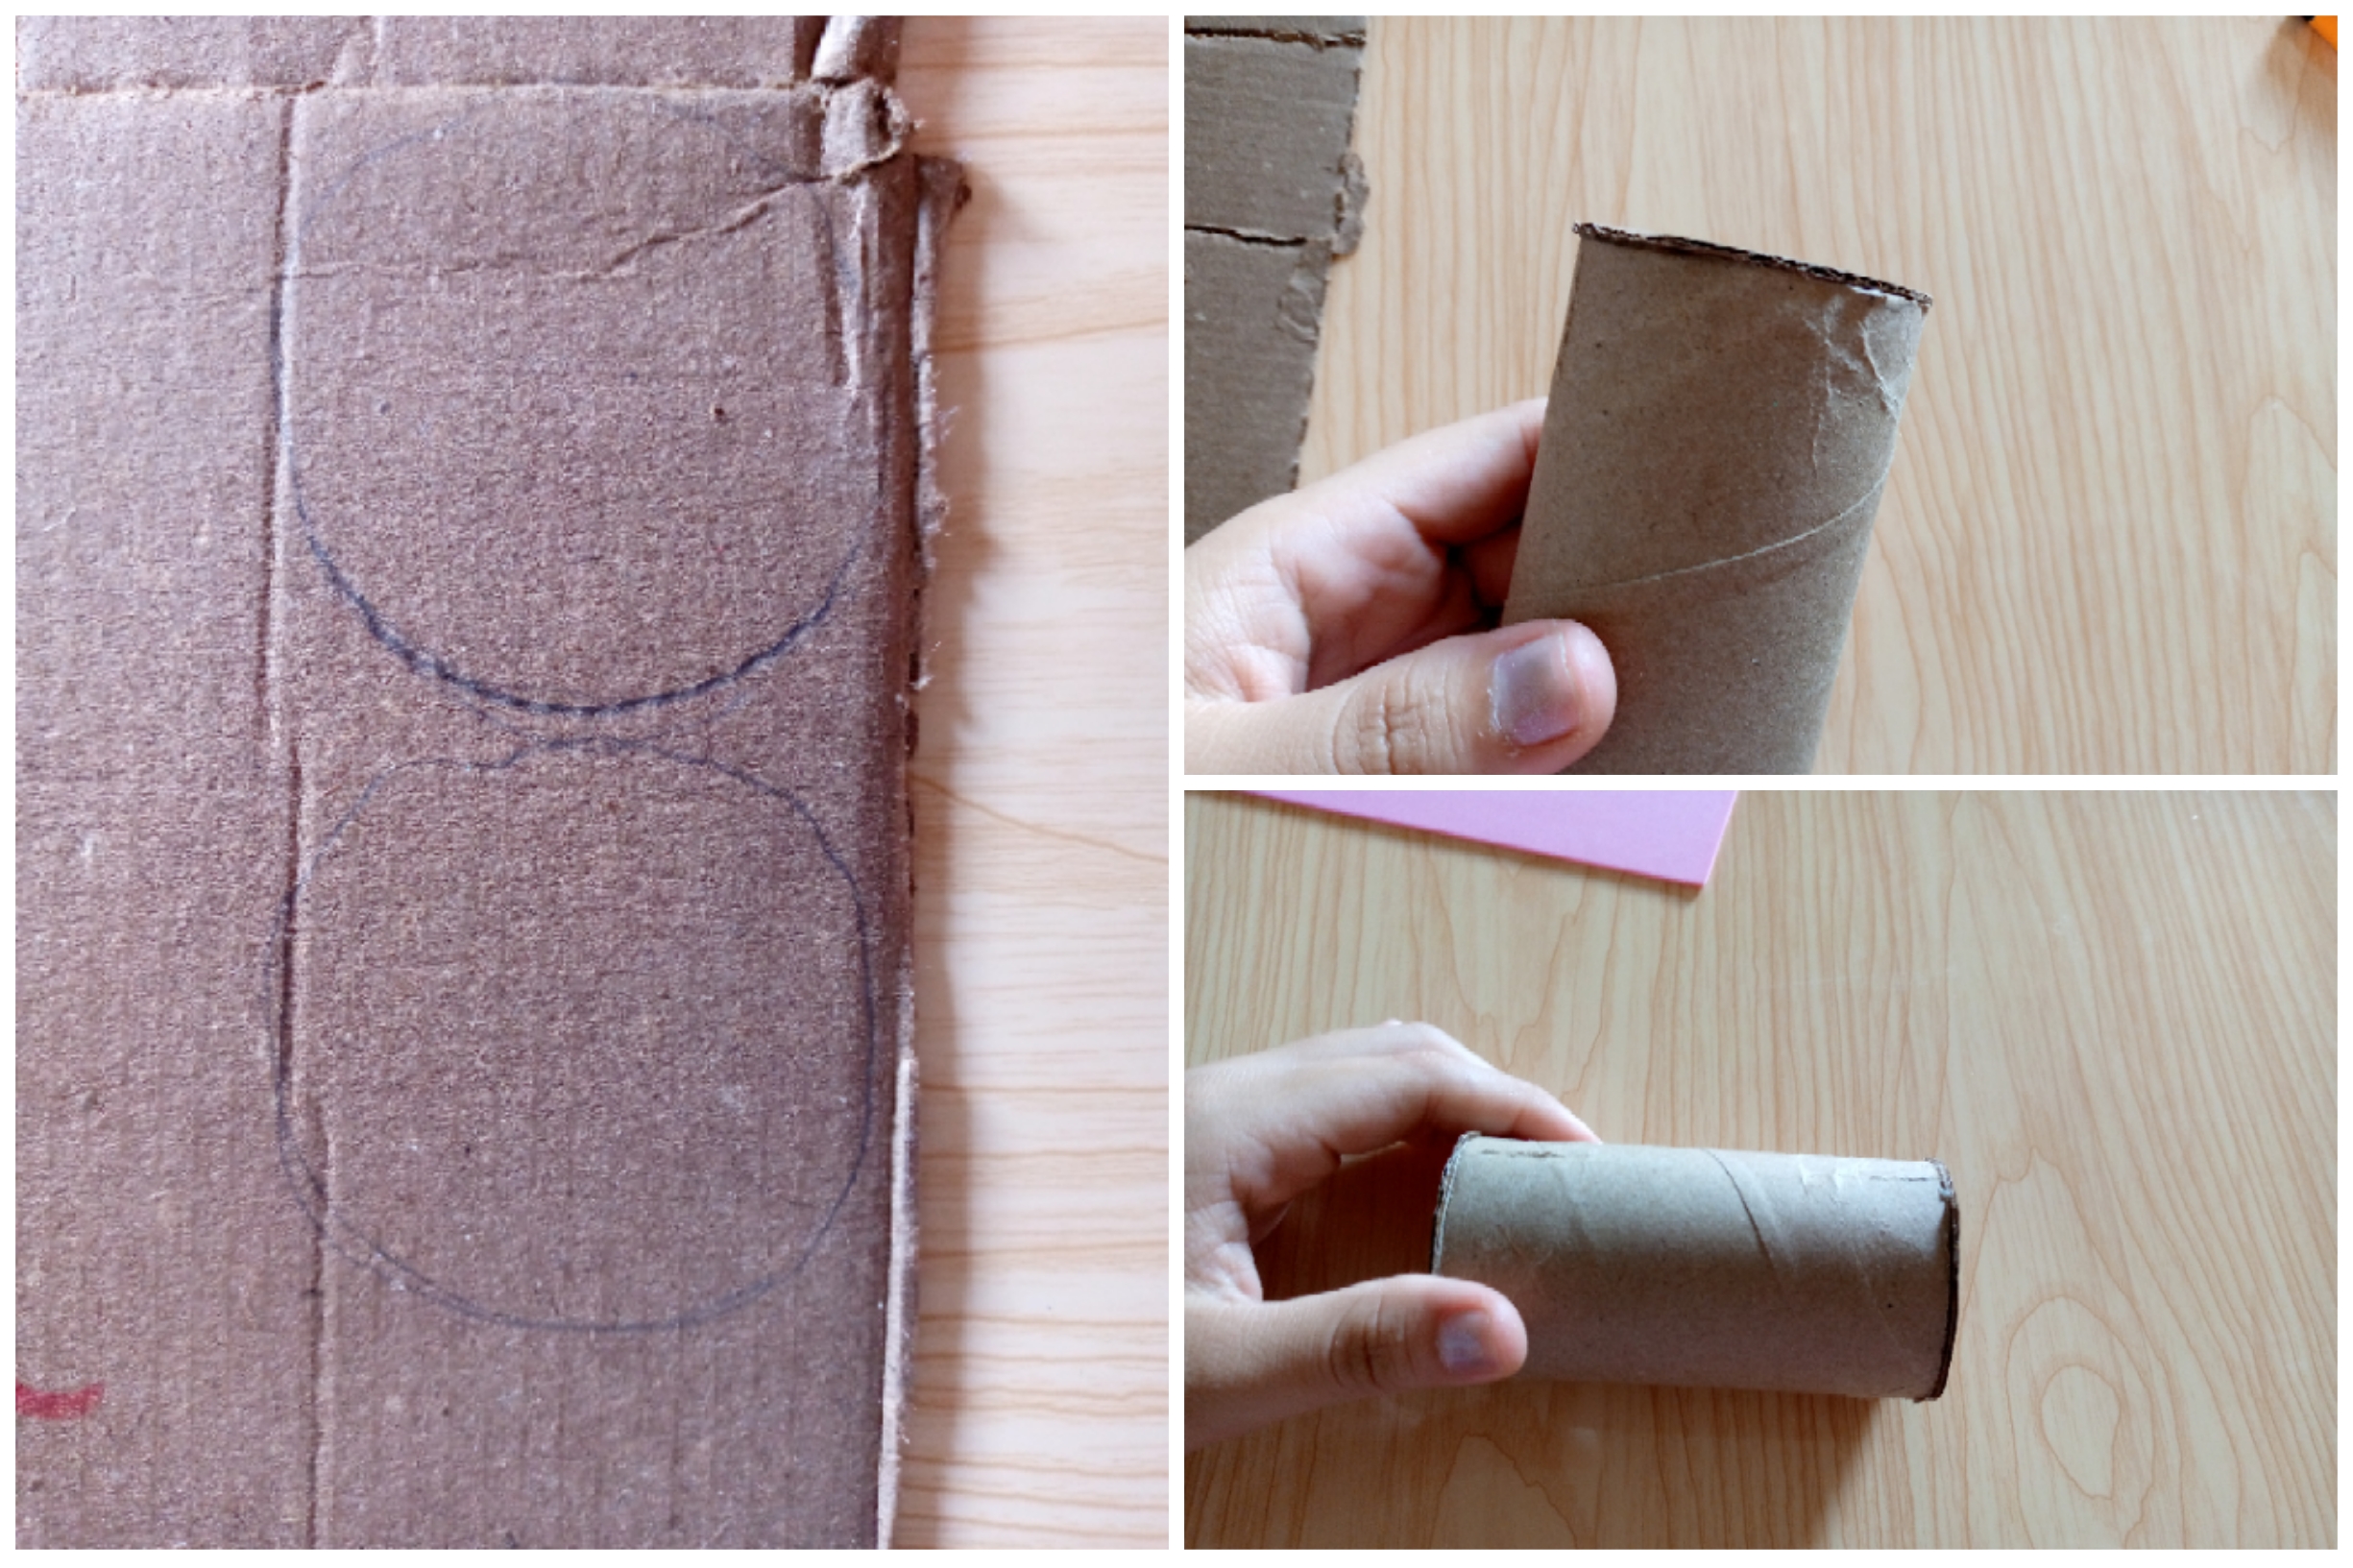
Paso 01
Step 01
The first step is super easy because it consists of cutting two circles of the same size as the diameter of the cylinder on both sides. To mark it, I placed the cylinder on top of the cardboard and marked it around it. I made two to cover the cylinder on both sides and leave it closed. I then cut them out and glued them together, gradually adding silicone and gluing them together.
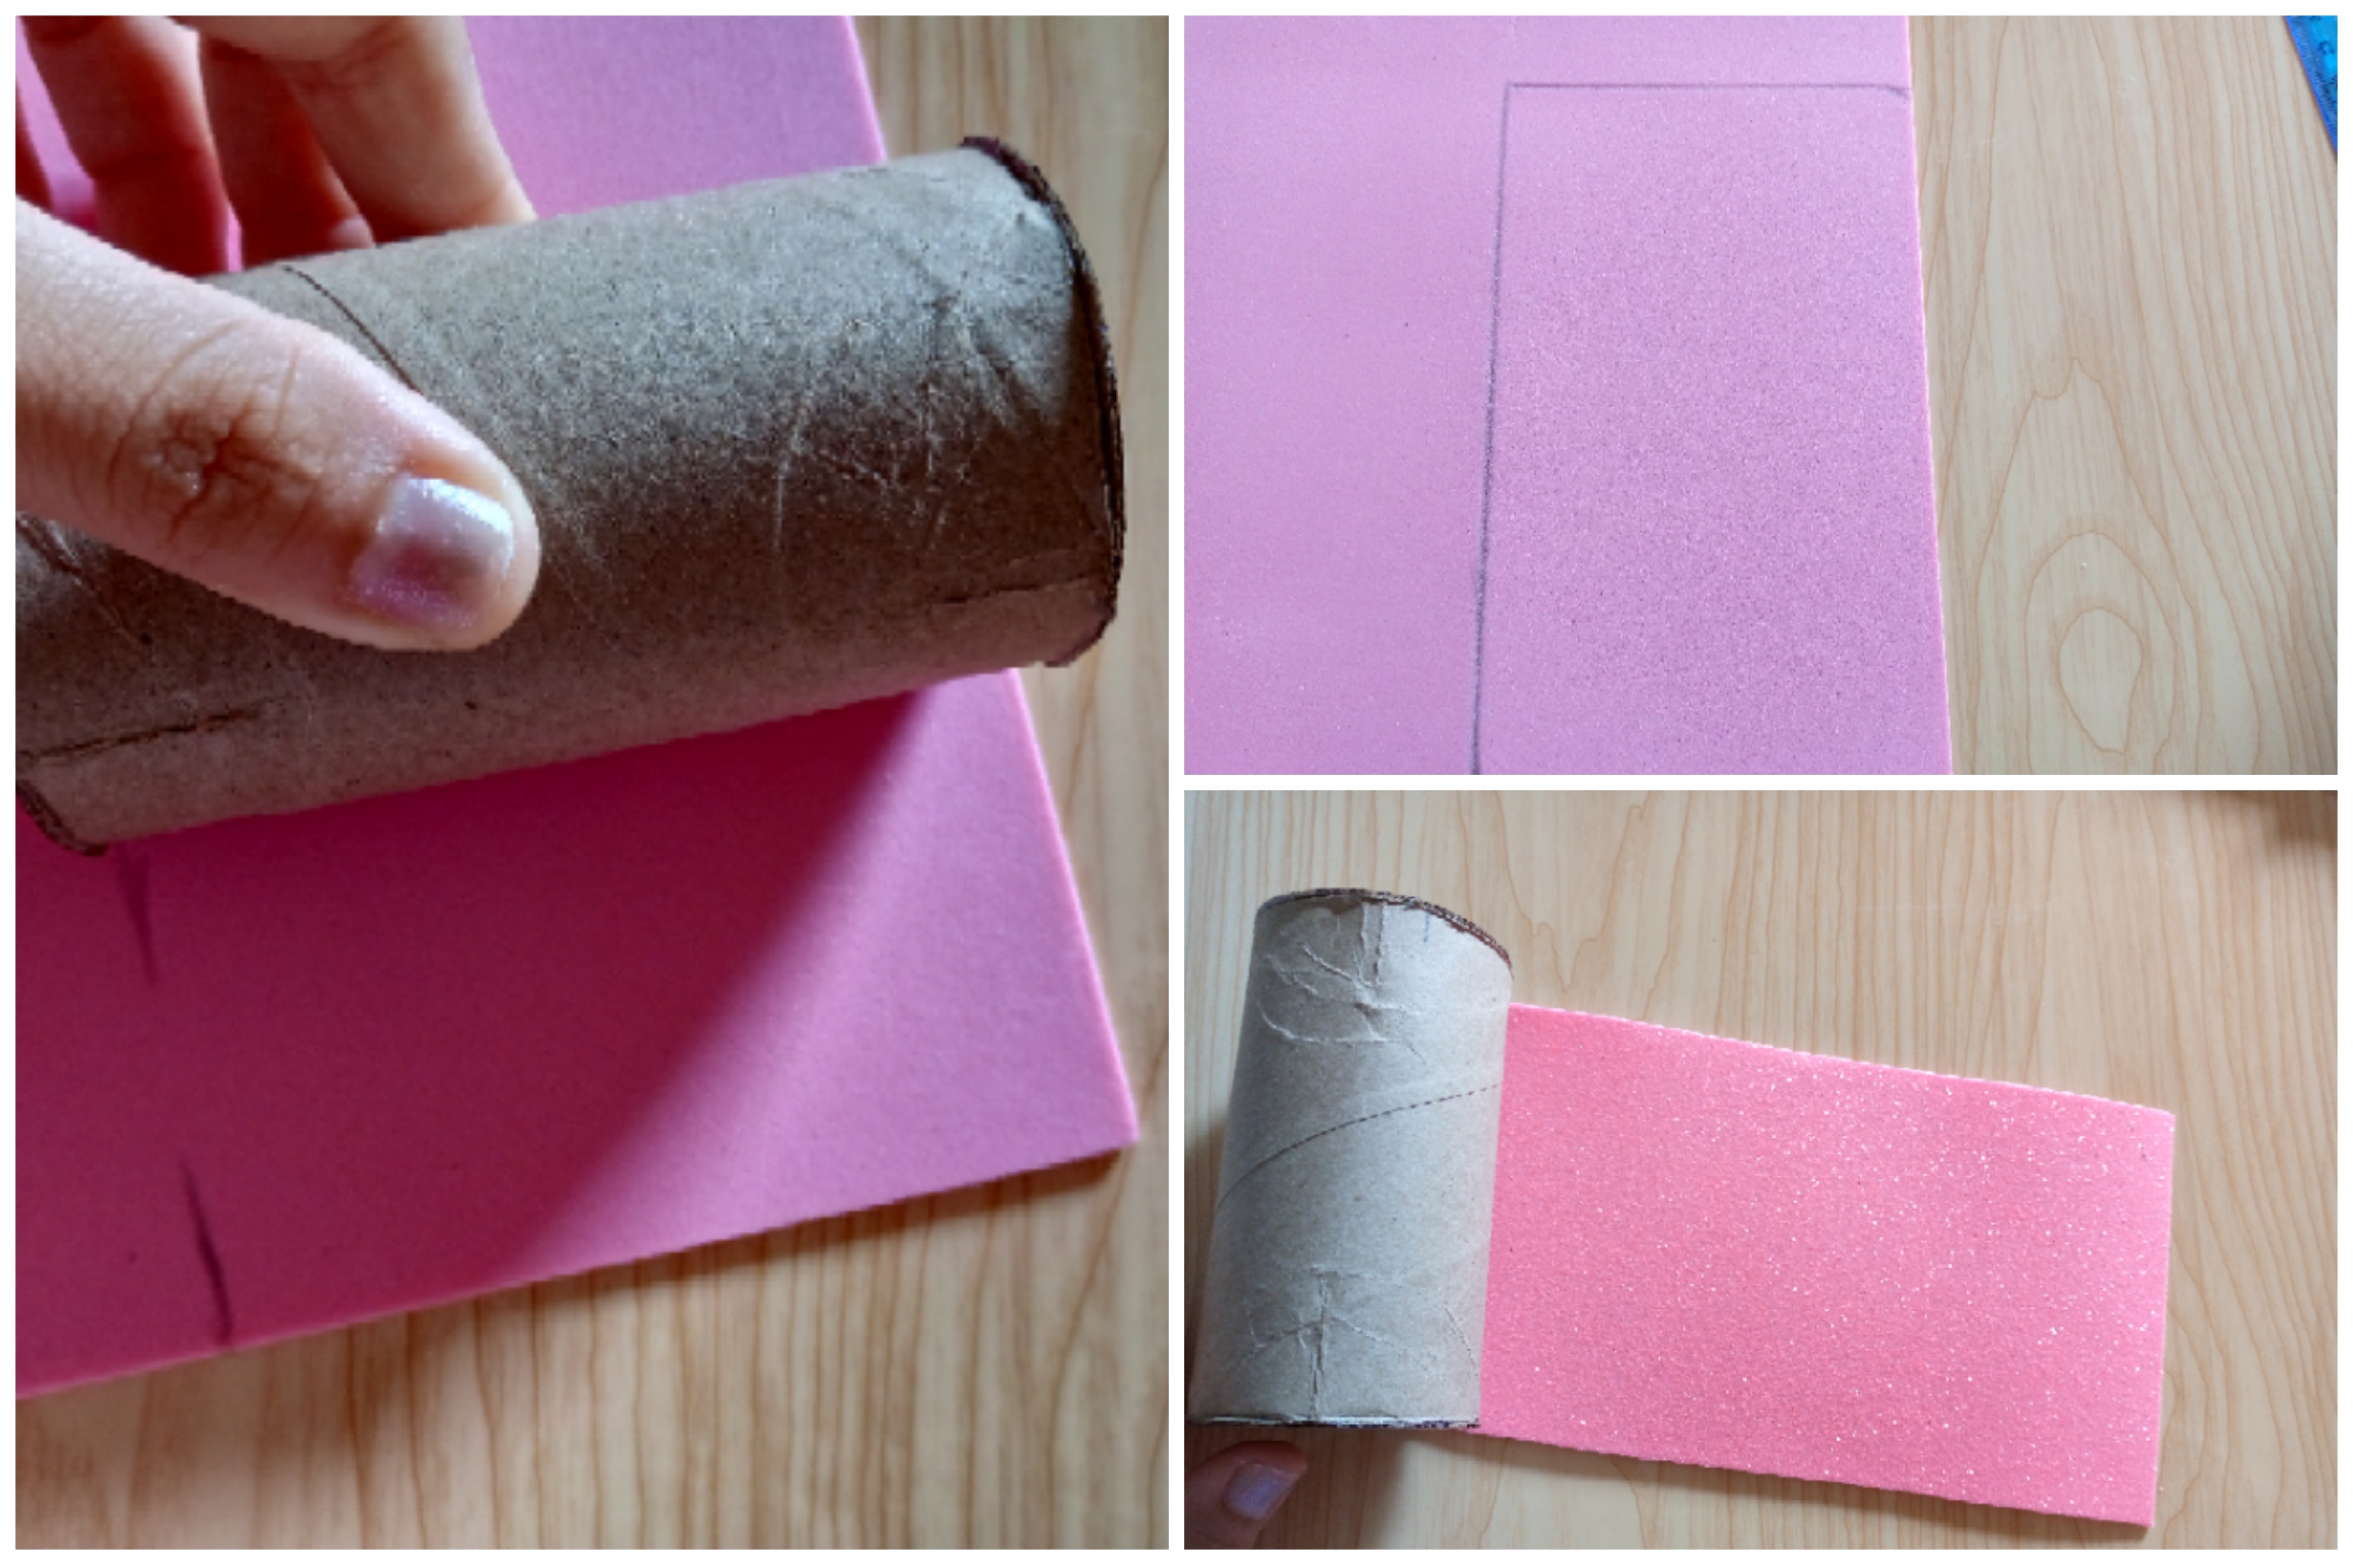
Paso 02
Step 02
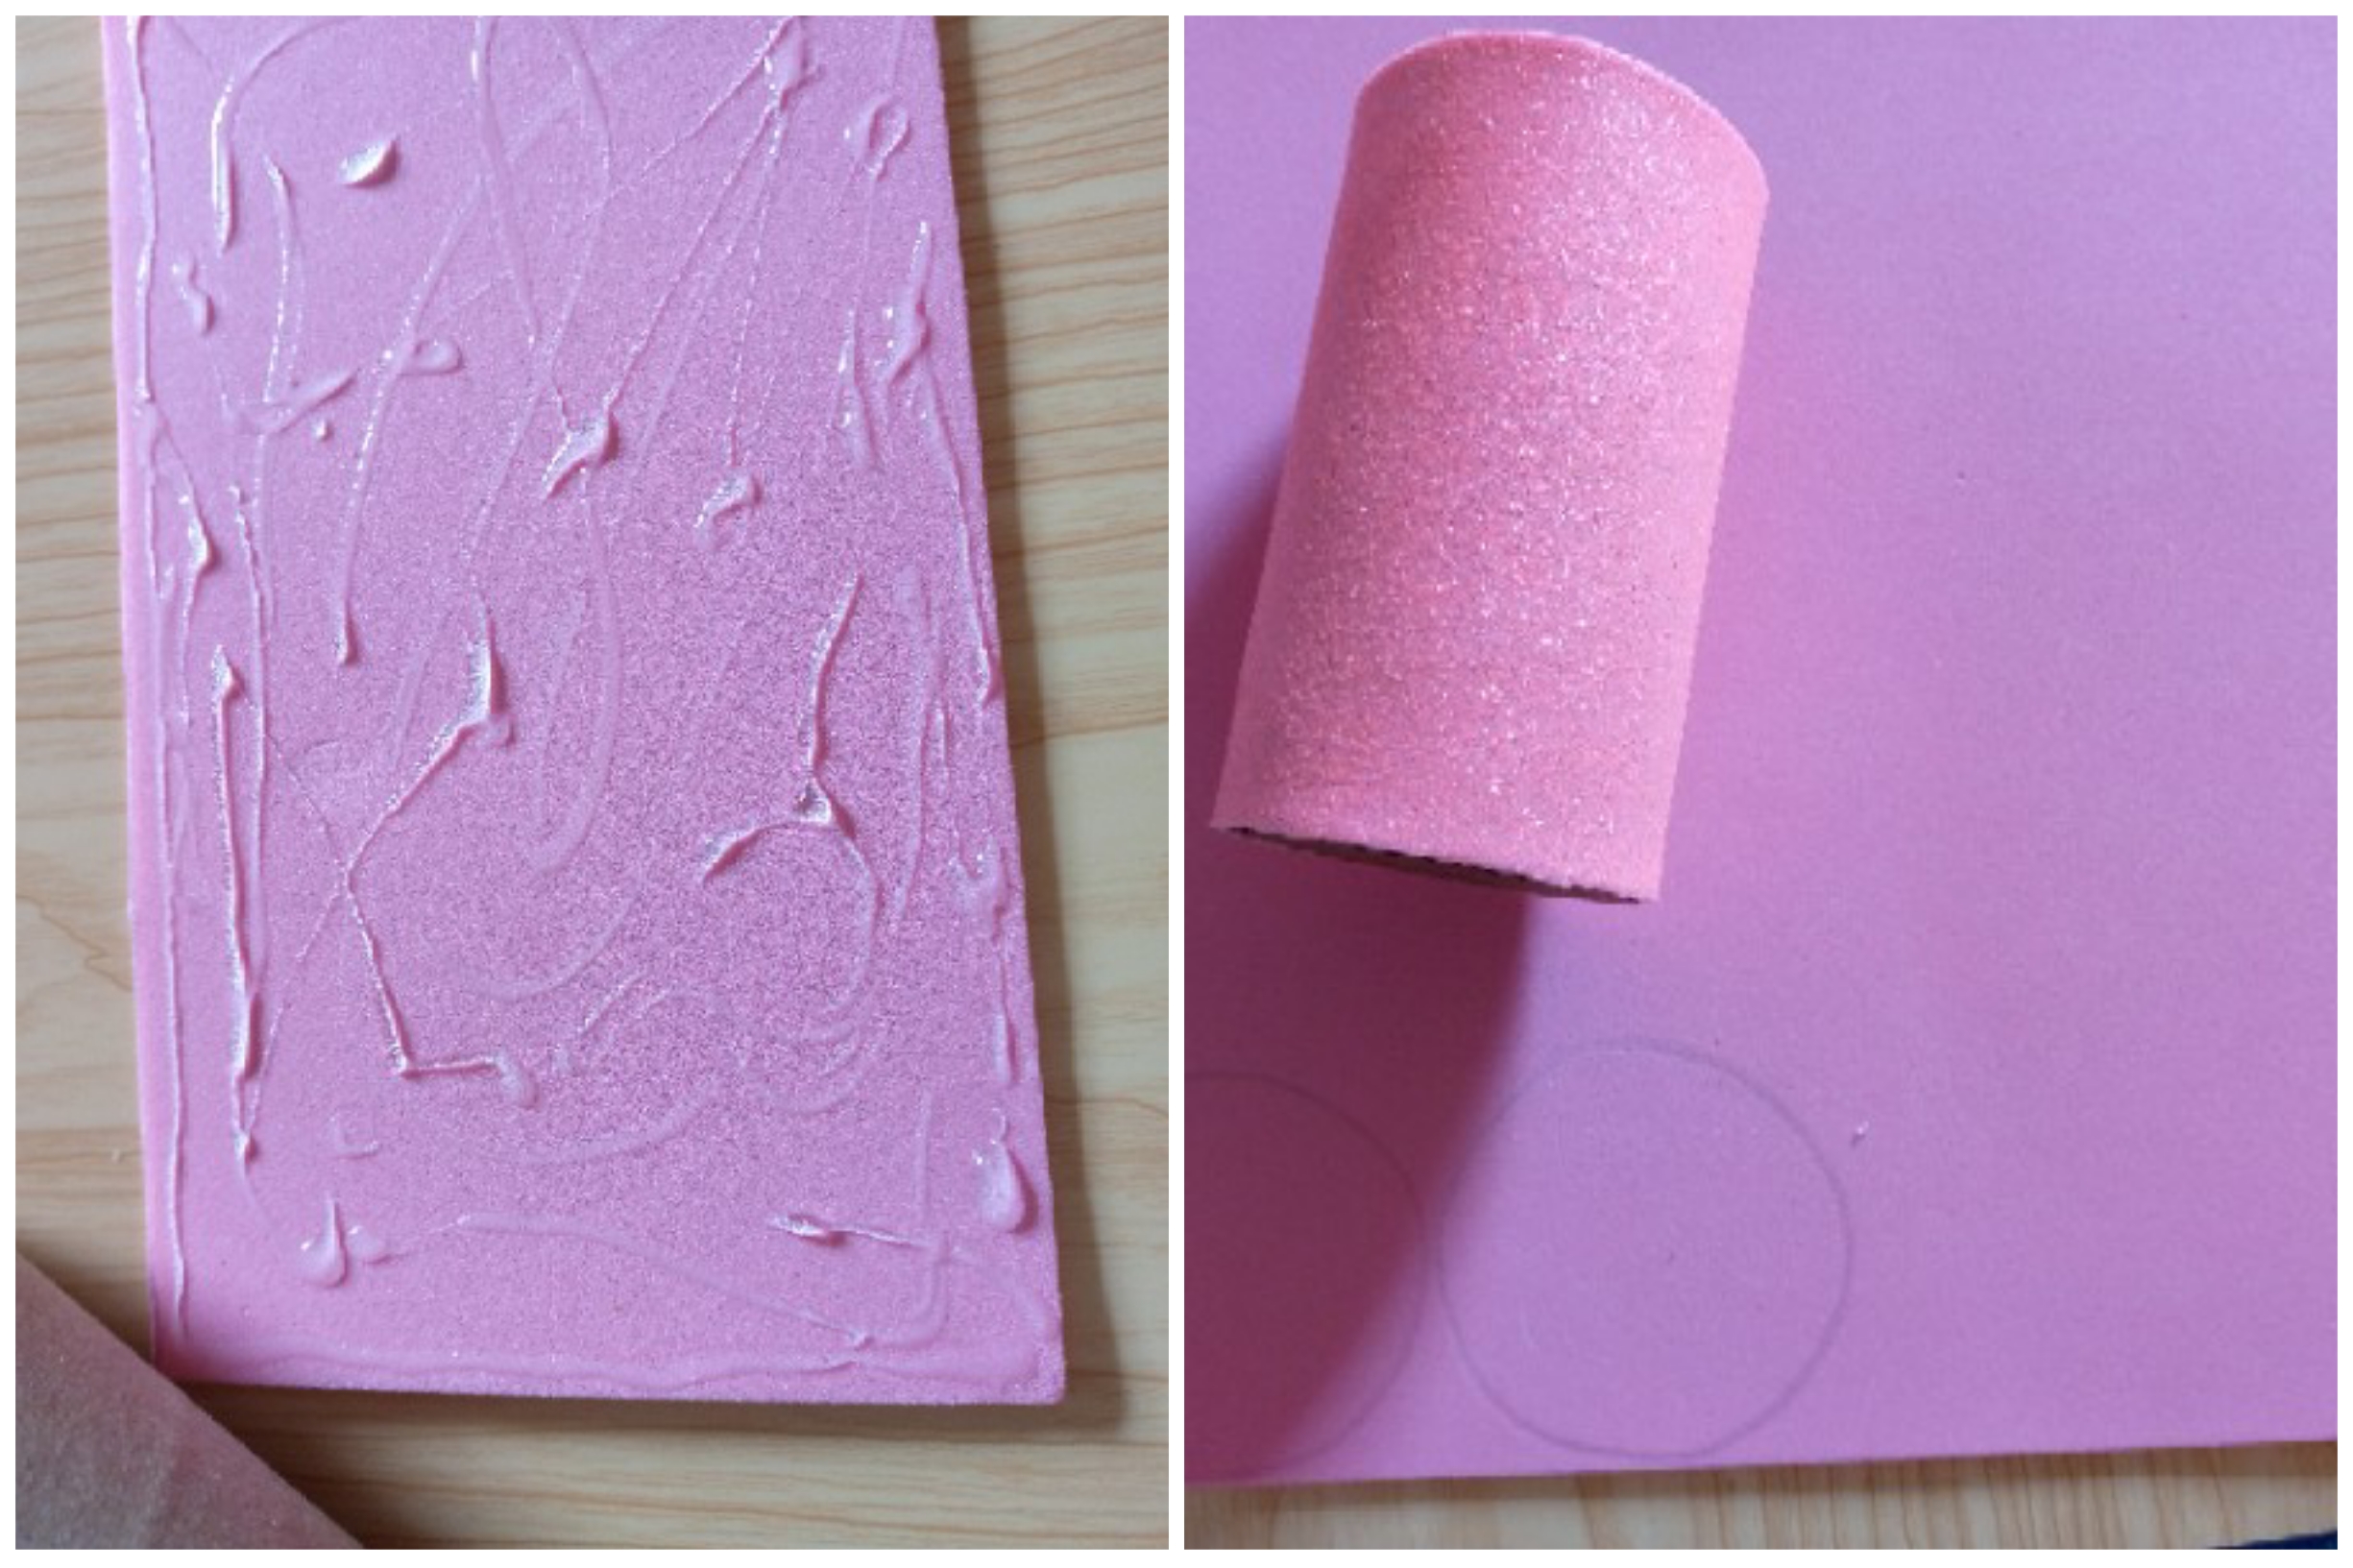
I proceed to mark the foam on the bottom side of it and with the length of the frame cylinder to guide me on the foam, I will be cutting a rectangle that is the same width as the cylinder and that when covered will be completely covered.
Paso 03
Step 03
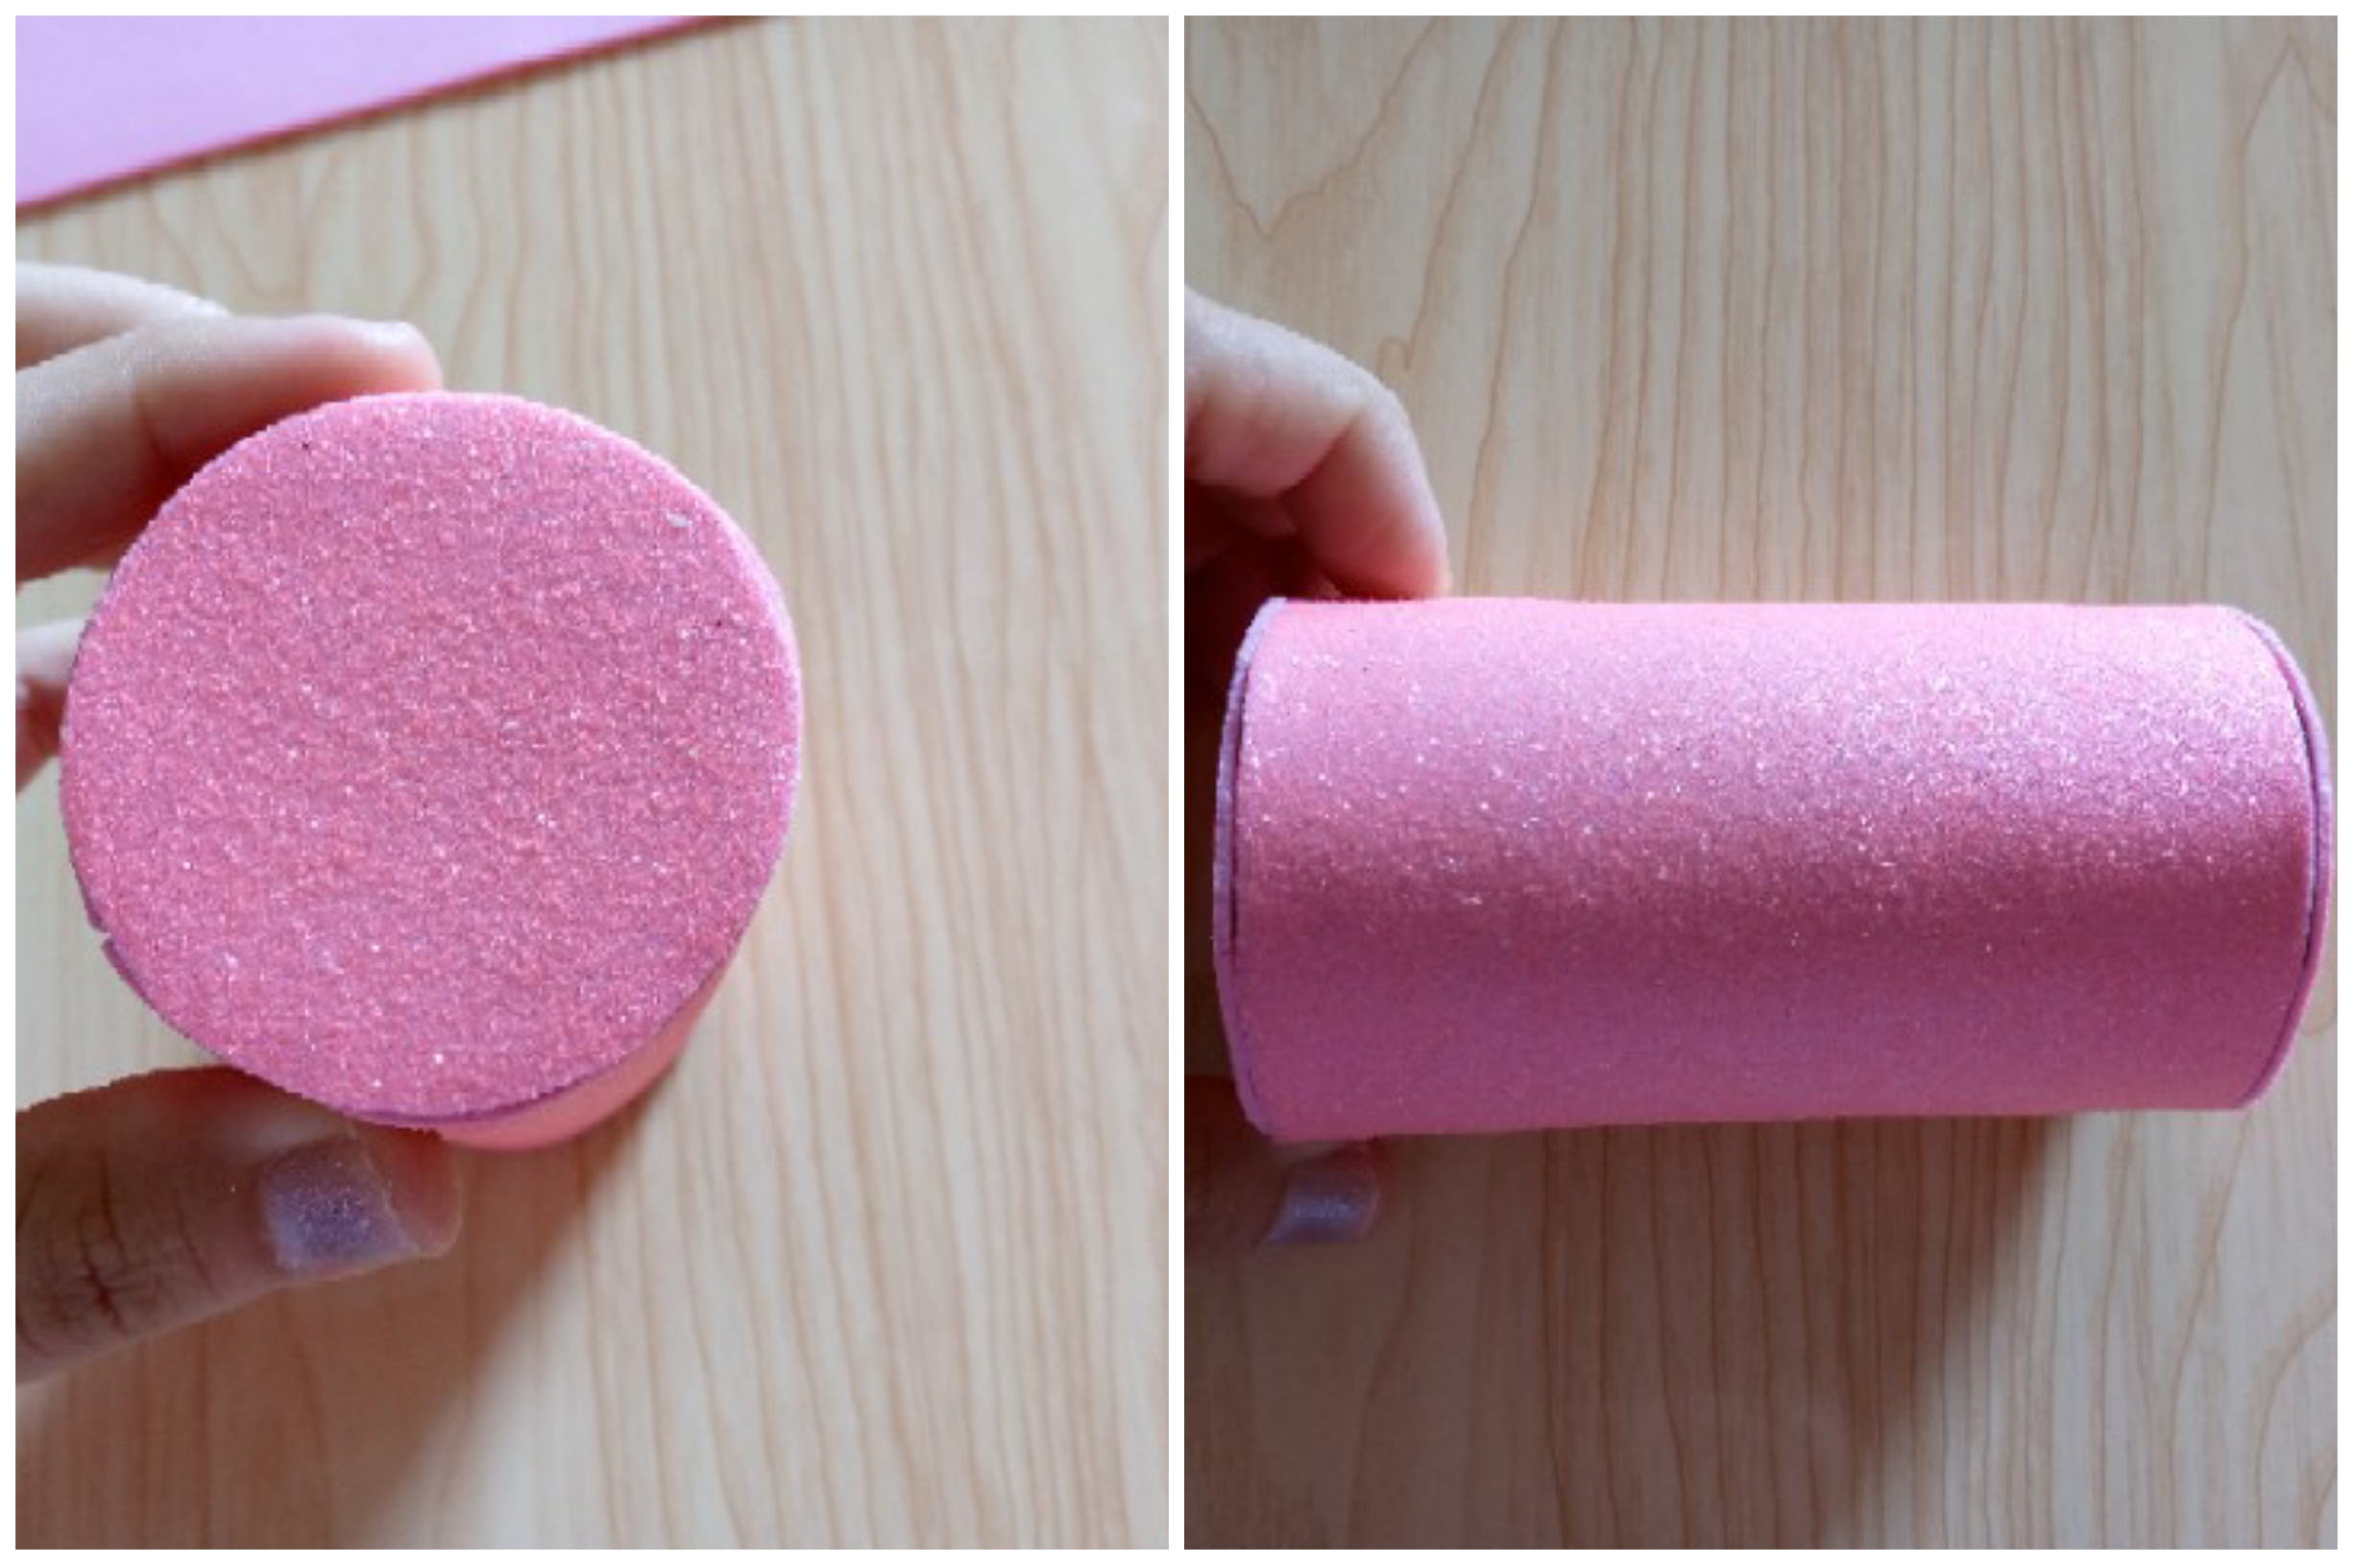
We proceed to pour silicone on the rectangle of foam that we have cut and let it dry for a few seconds, this with the objective that when the silicone is somewhat dry it will be easier for it to adhere quickly to the cardboard and stick much faster to the surface, then I have marked on the foam on the bottom side two circles also to line the sides of the cylinder so that our cardboard cannot be seen.
Paso 04
Step 04
To finish, we cut our foam circles and it is time to stick them side by side to the sides of the cylinder and thus we have the lined display, very simple and practical for your clothes.
.jpg)
Resultado:// Result:
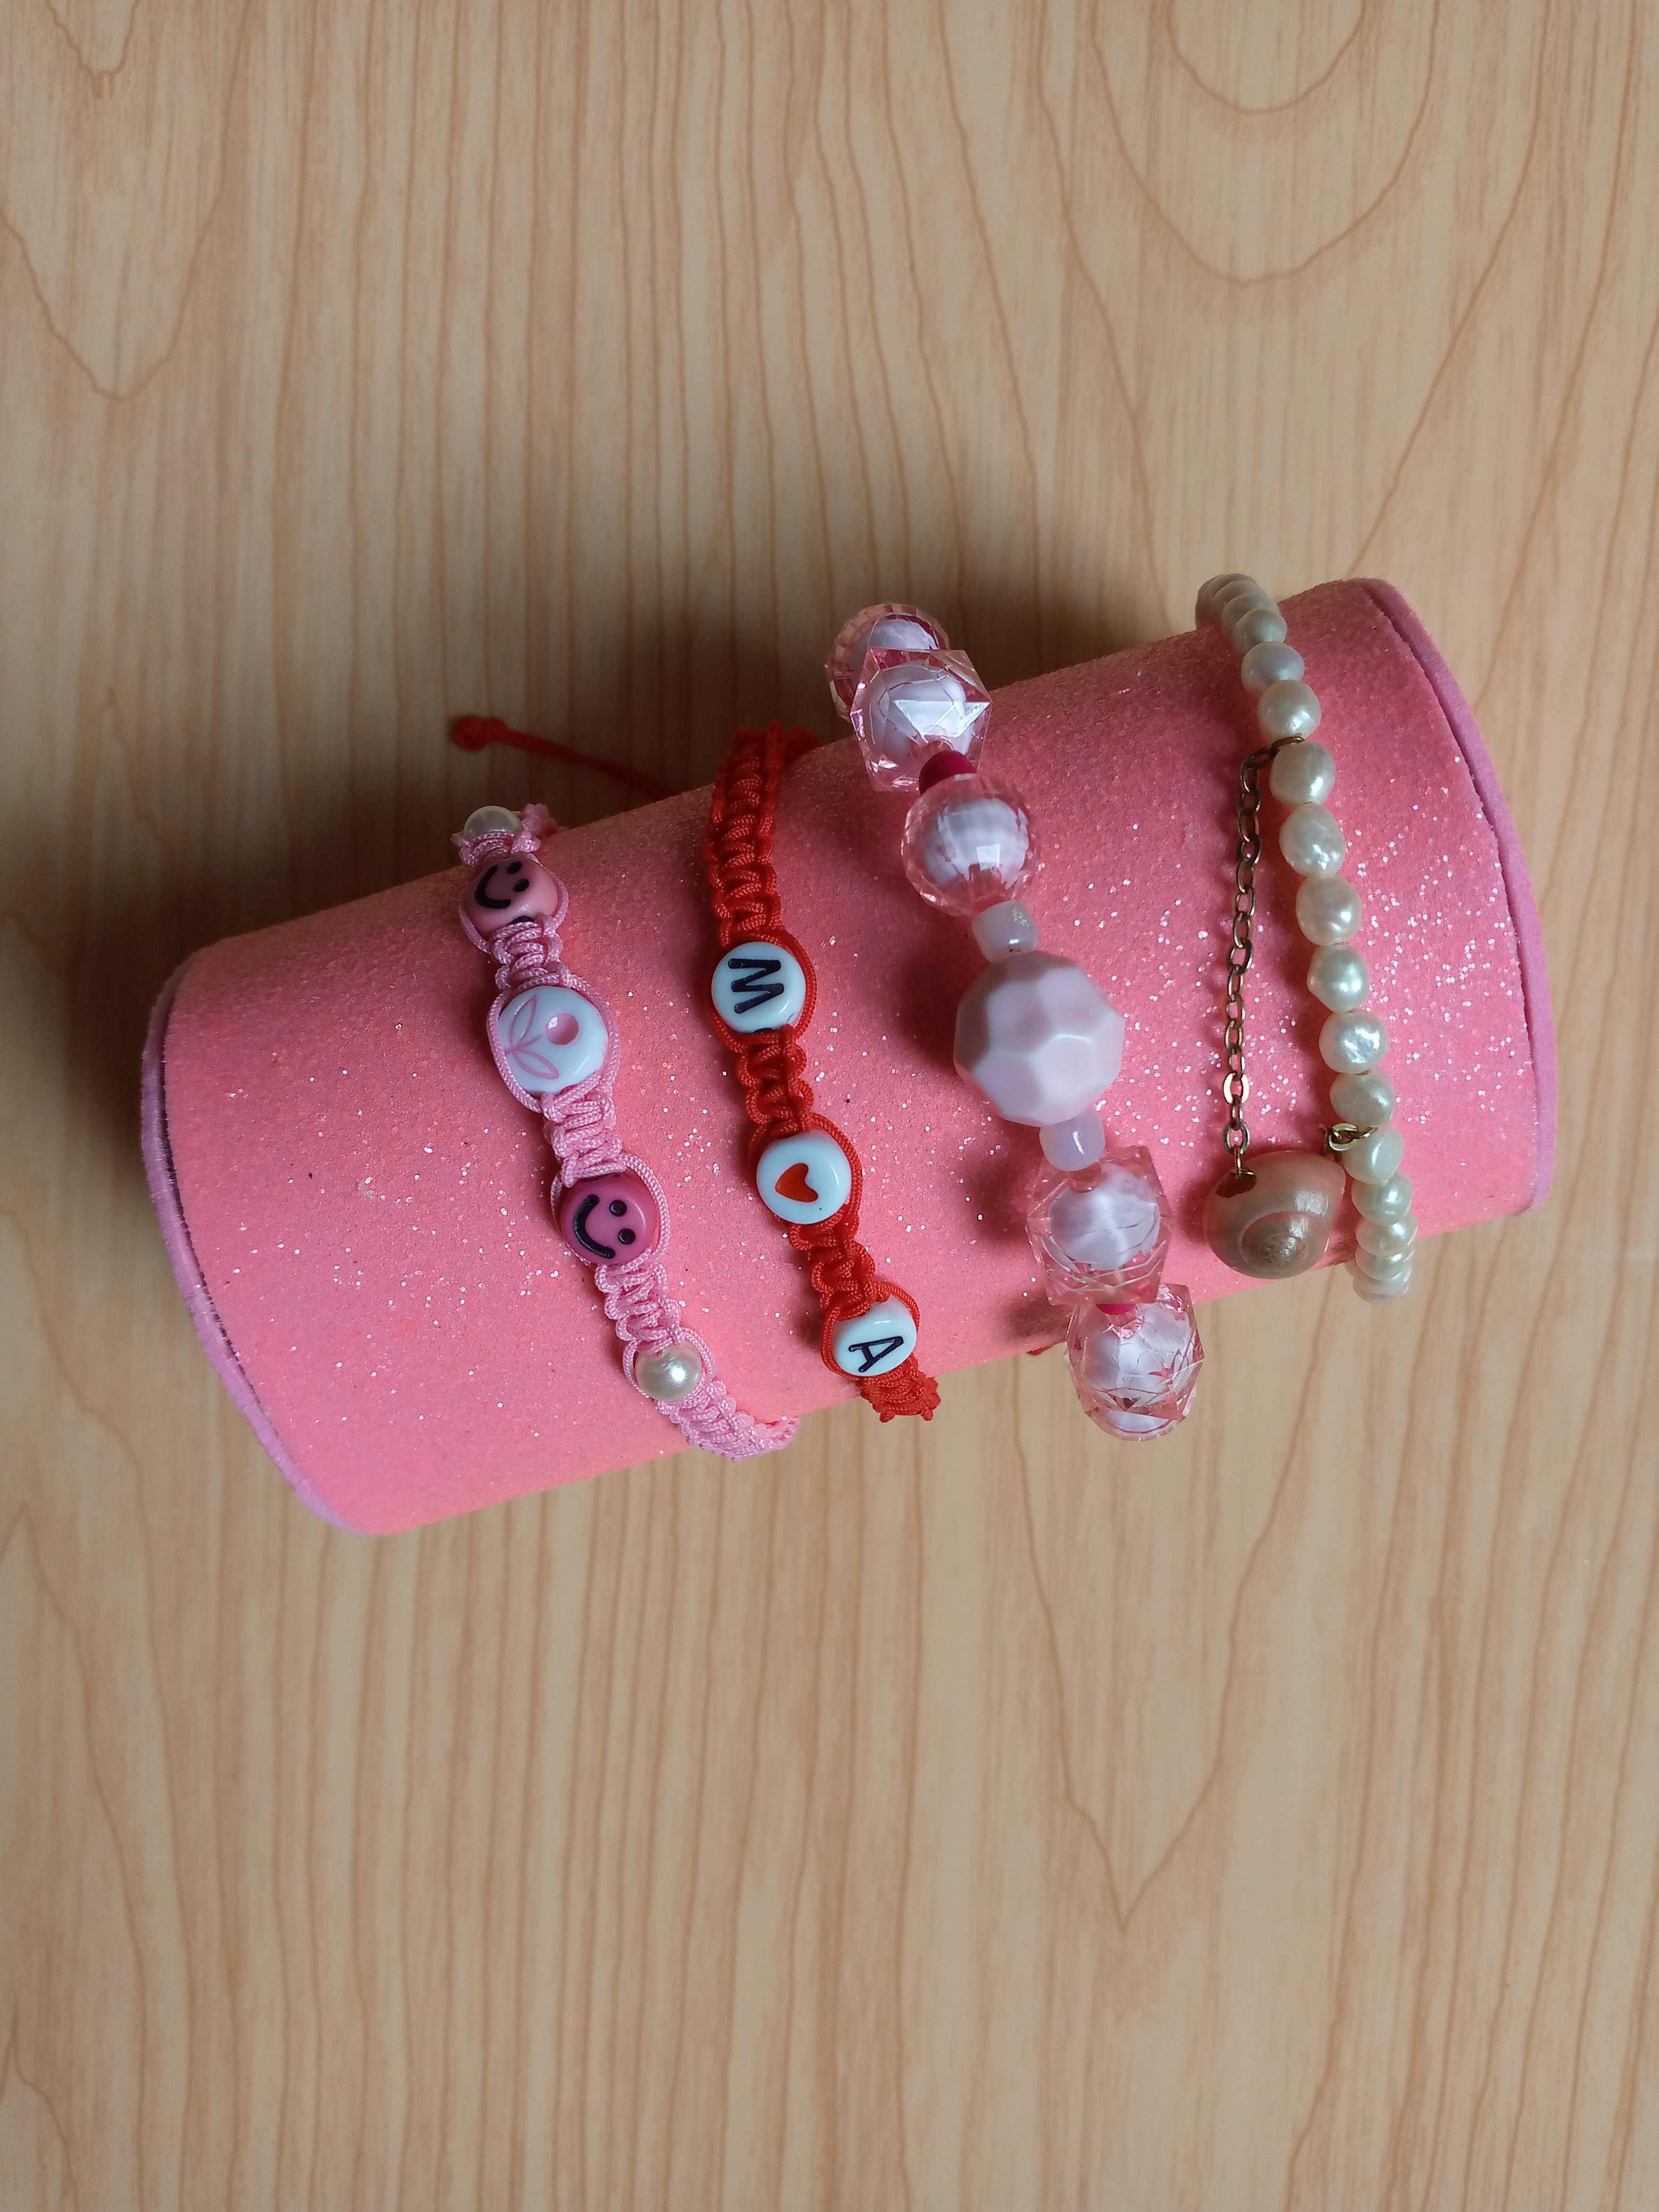
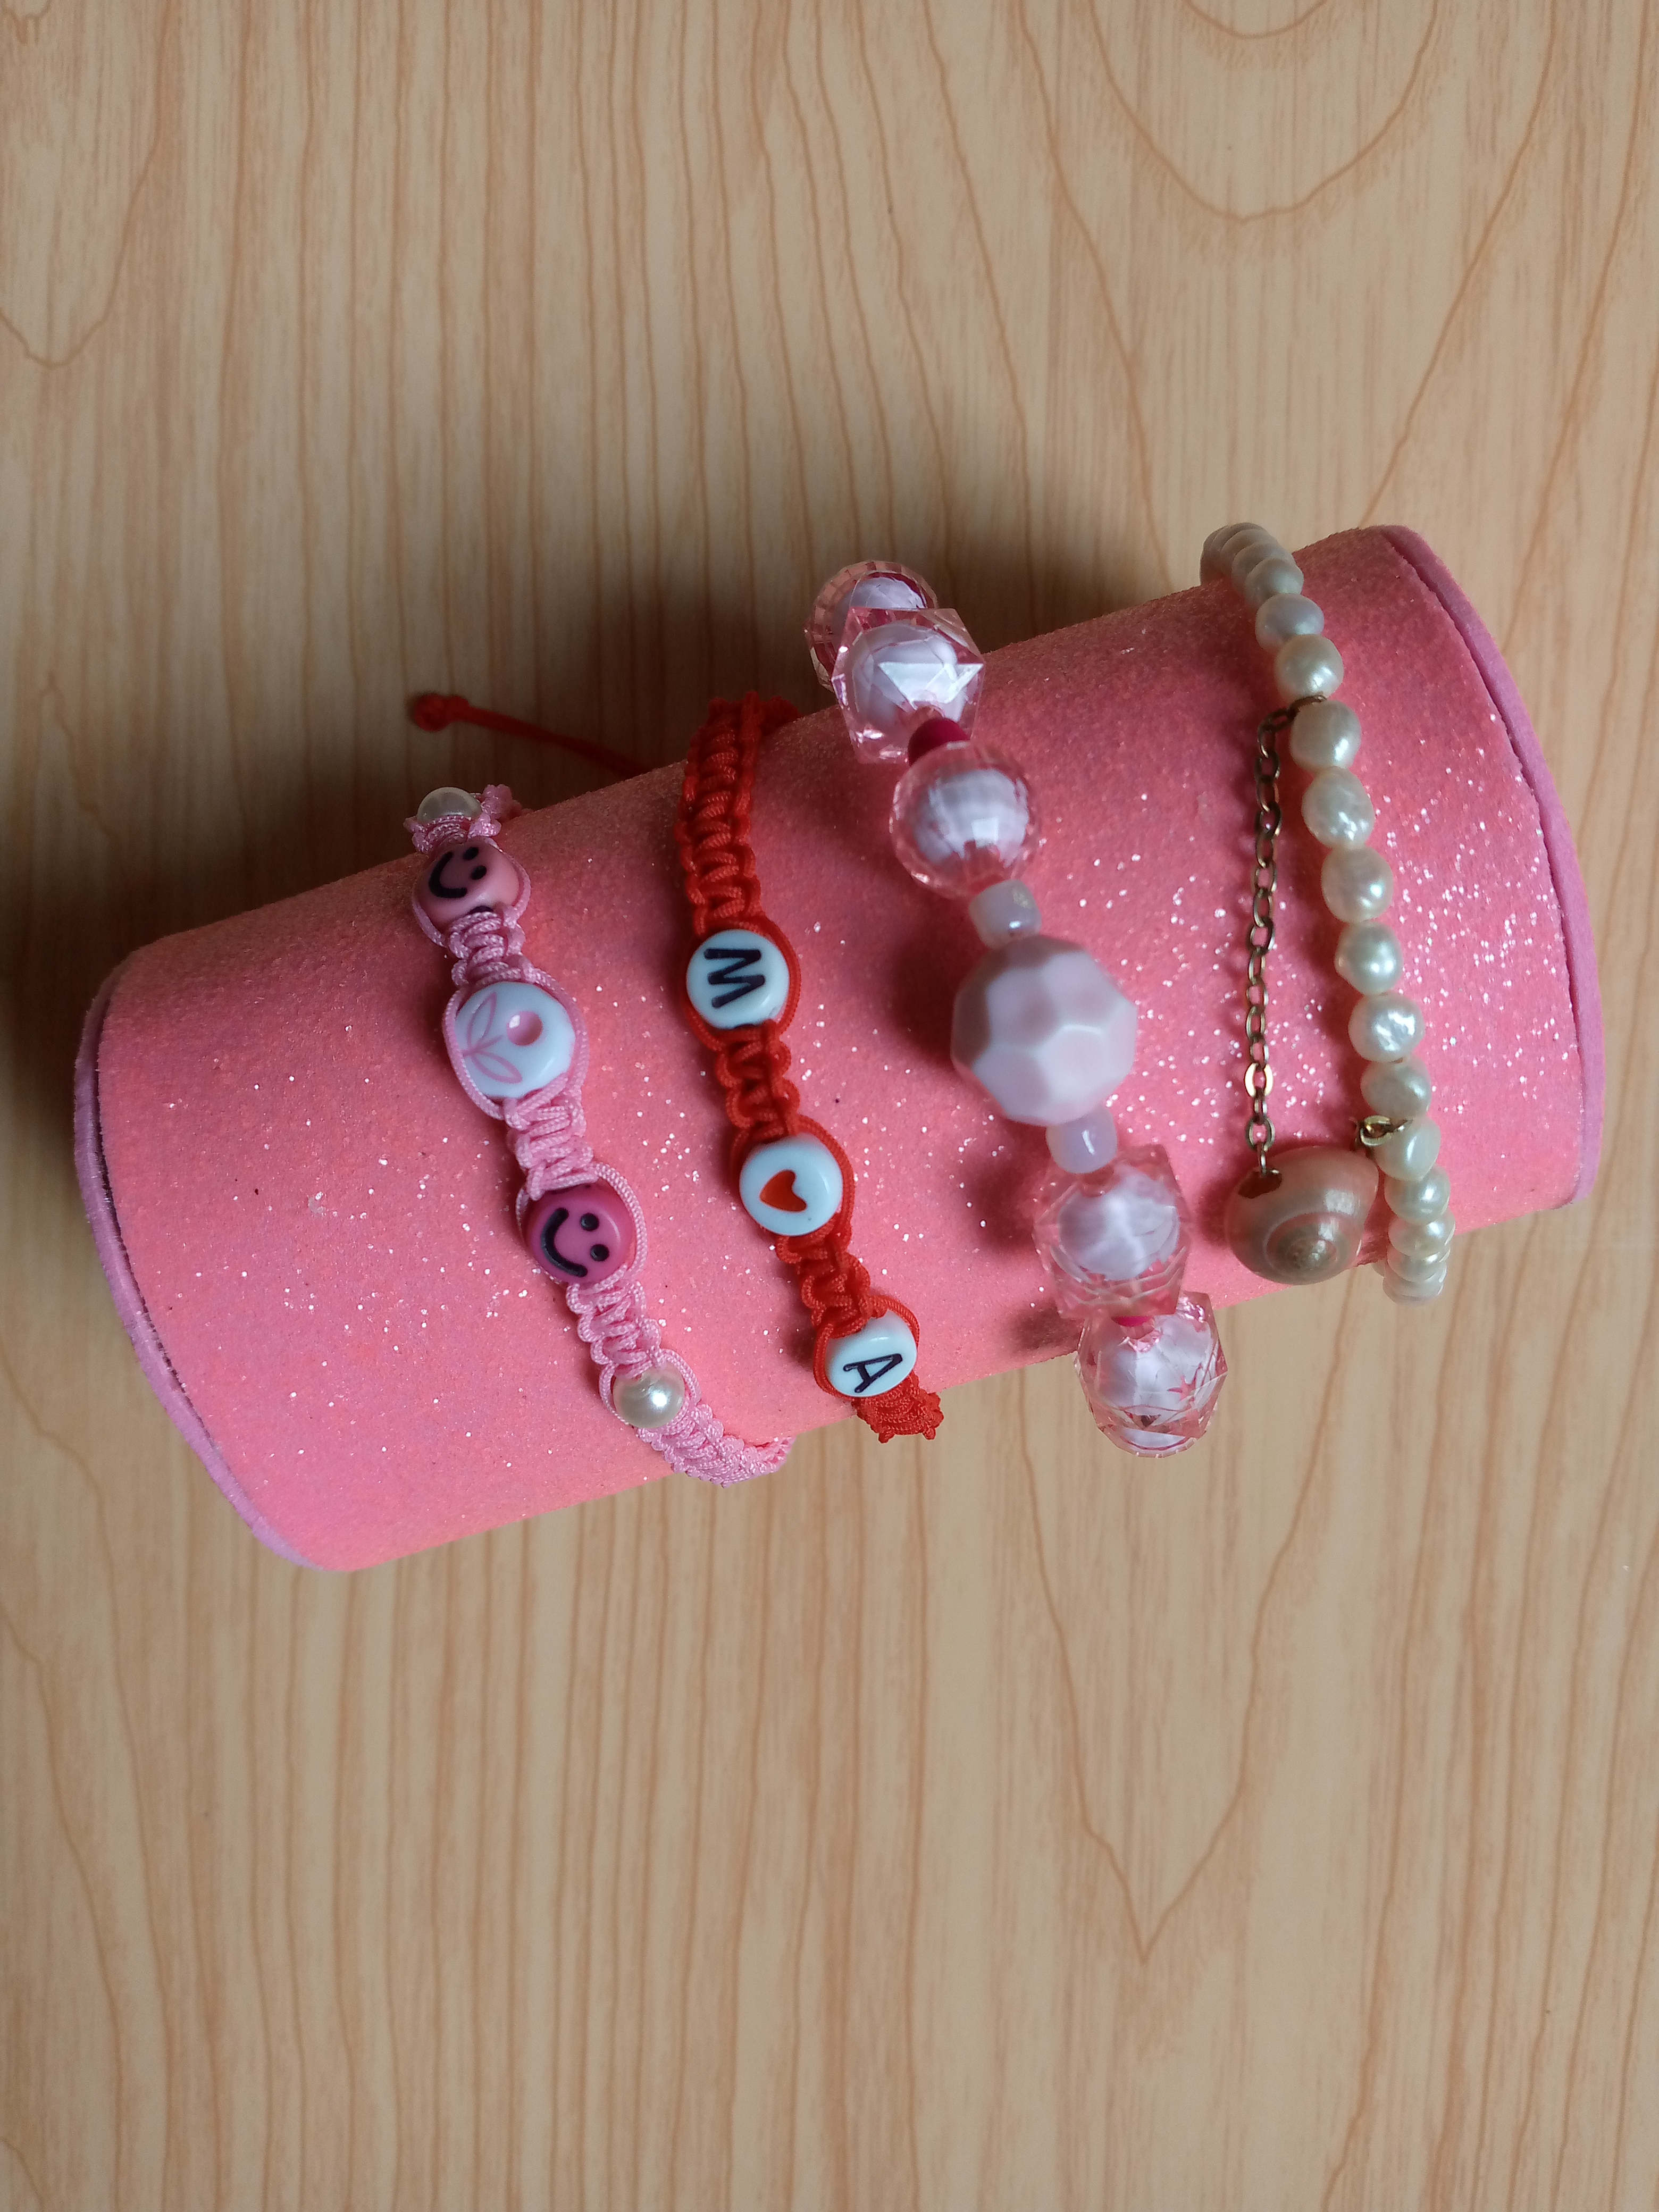
I did not leave for later to place my bracelets 🤭 because I wanted to see friends how this looked and how my bracelets looked good and what I find is that it looks very good on them and the color matches the bracelets that I had here, I love how it looks and I feel that it is something super simple and practical to do, I would be happy to know that you also liked this very easy step of how to do it and you can do it in the color of fomi that you prefer or cover it with another material, it all depends on your creativity 😊 With this I say goodbye to you wishing you a happy noon and a blessed day, may your plans always be successful, and we will read each other on another occasion, see you❤️🤗.
.jpg)
Creating things with love 🌷❤️
🦋✨ All the images in this publication are my author ,📱taken with my TecnoSpark8C cell phone |📸Photos edited in PicsArt and Canva. Text translated in Google Translate.
Amiga está genial tener un exhibidor de pulseras, de todo para mostrar nuestros productos de bisutería en nuestras publicaciones.
El color rosado que escogiste es muy tierno y suave, perfecto para que no compita con las pulseras y se puedan apreciar perfectamente.
Gracias querida sii yo pensaba hacerlo de un color suave el fondo para que exactamente ocurriese así ,se apreciarán más las pulseras que bueno tenía este color de fomi en casa 😄
Has sido votado por
PROYECTO ENLACE
'Conectando Ideas y Comunidades'
PROYECTO ENLACE es un proyecto de curación de habla hispana enfocado en recompensar contenido de calidad y apoyar autores en su proceso de crecimiento en HIVE.
Creemos y apostamos por el futuro de esta gran plataforma, y estamos muy emocionados de poder hacerla crecer junto a esta comunidad. Así que te invitamos a publicar en nuestra COMUNIDAD y estar atento a todas las actividades que tenemos preparadas y que estaremos publicando en breve.
¿QUIERES AUTOMATIZAR TUS GANANCIAS DE CURACIÓN? SE PARTE DEL PROYECTO ENLACE APOYANDO A NUESTRO TRAIL EN HIVE.VOTE INGRESA AQUÍ PARA CONOCER LOS DETALLES.
¿QUIERES INVERTIR ENLACE? DESCUBRE COMO HACERLO Y GENERAR INGRESOS DE FORMA SEMANAL MEDIANTE TU DELEGACIÓN DE HP AQUÍ TE EXPLICAMOS COMO.
Te invitamos a participar en nuestro servidor de Discord: https://discord.gg/3S9y7BbWfS
Atentamente
EQUIPO ENLACE 2024
muy útil, buen trabajo
very useful, good job
Holi hermosa tarde es un placer que te haya gustado esta sencilla idea para las pulseras 🥰
This is very nice and useful. Also helps to keep jewelries nice and tidy. Nice work
Oh thanks 🥰
¡Enhorabuena!
✅ Has hecho un buen trabajo, por lo cual tu publicación ha sido valorada y ha recibido el apoyo de parte de CHESS BROTHERS ♔ 💪
♟ Te invitamos a usar nuestra etiqueta #chessbrothers y a que aprendas más sobre nosotros.
♟♟ También puedes contactarnos en nuestro servidor de Discord y promocionar allí tus publicaciones.
♟♟♟ Considera unirte a nuestro trail de curación para que trabajemos en equipo y recibas recompensas automáticamente.
♞♟ Echa un vistazo a nuestra cuenta @chessbrotherspro para que te informes sobre el proceso de curación llevado a diario por nuestro equipo.
🥇 Si quieres obtener ganancias con tu delegacion de HP y apoyar a nuestro proyecto, te invitamos a unirte al plan Master Investor. Aquí puedes aprender cómo hacerlo.
Cordialmente
El equipo de CHESS BROTHERS