Hello friends once again welcome to my blog!
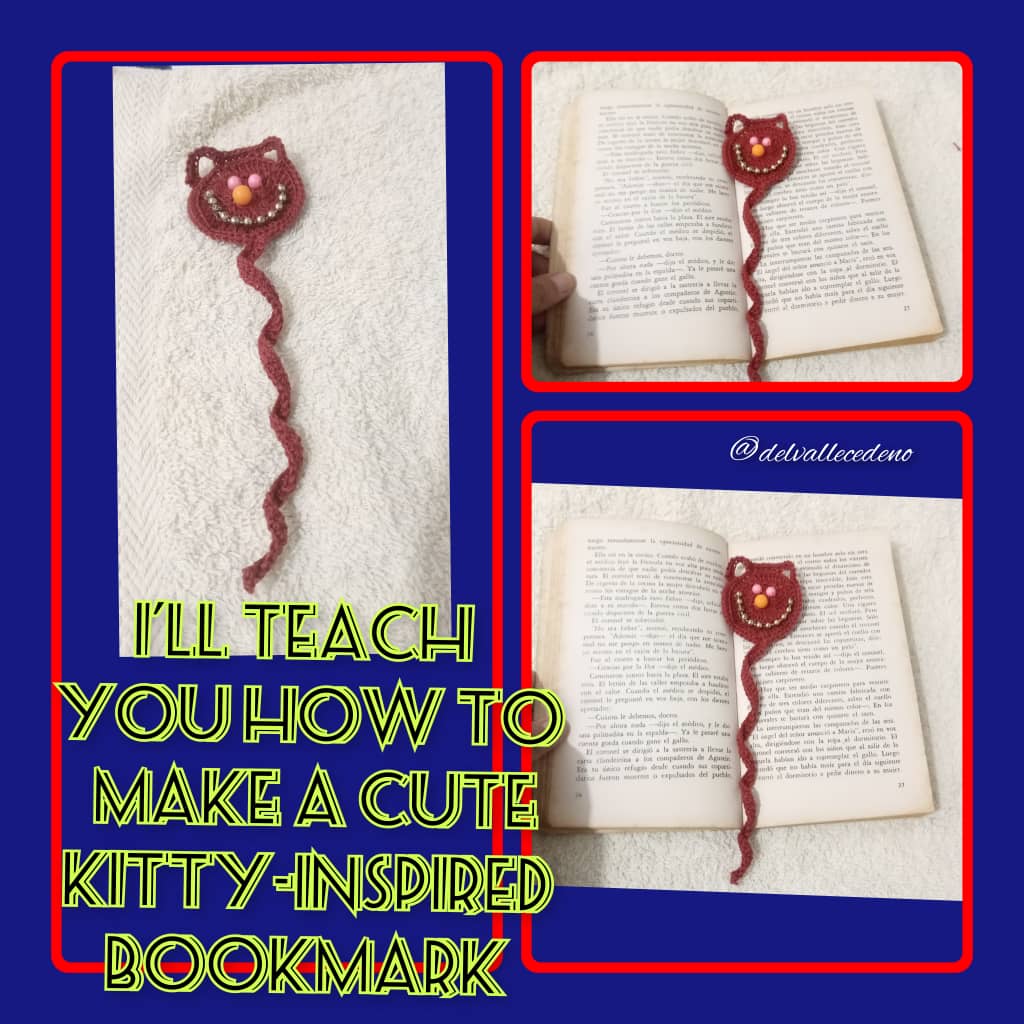
Happy night, blessings to all my creatives, a pleasure to greet you, I hope you are well. Knitting is one of the things I like, enjoying my free time that relaxes me, and clears my mind, I still always try to narrow down, I am not an expert in needles but what I do I do it with love ❤️.. So today I had a little time to complete my Hive Blog tasks and I decided to crochet a cute cat bookmark 🐱😺 in a few steps and in a very simple way, so I hope you like it and my friends are encouraged to make this practical bookmark. Below we indicate the following steps:

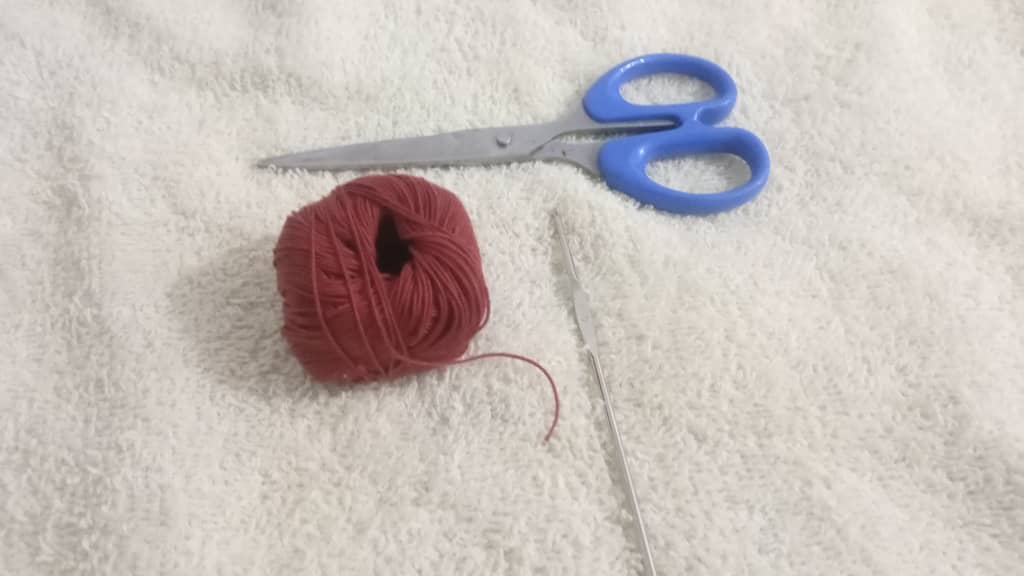
Materials.
🐱Needle.
🐱Knitting thread.
🐱 Bead scissors.
🐱Running pearls.
Materiales:
😺Aguja.
🐱Hilo de tejer.
🐱Tijera mostacillas.
😺Perlas corridas.
Paso a Paso
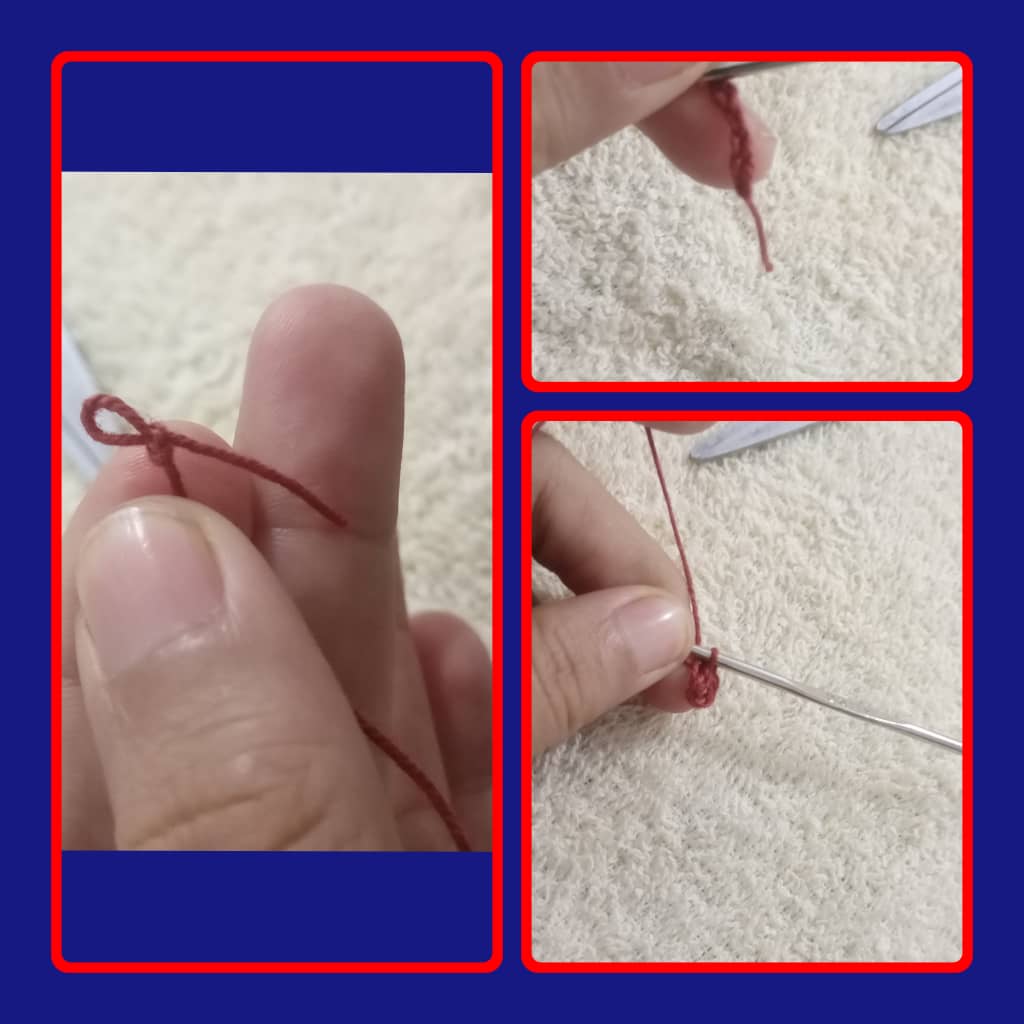
1st step: To start this project we are going to take the thread and tie a knot as usual, then we proceed to make a chain of 6 stitches and to close, make a slip stitch my creative friends.
1er paso: Para dar inicio a este proyecto vamos a tomar el hilo hacer un nudo cómo de costumbre, luego procedemos a realizar una cadeneta de 6 puntos y para cerrar hacer un punto deslizado mis amigos creativos.
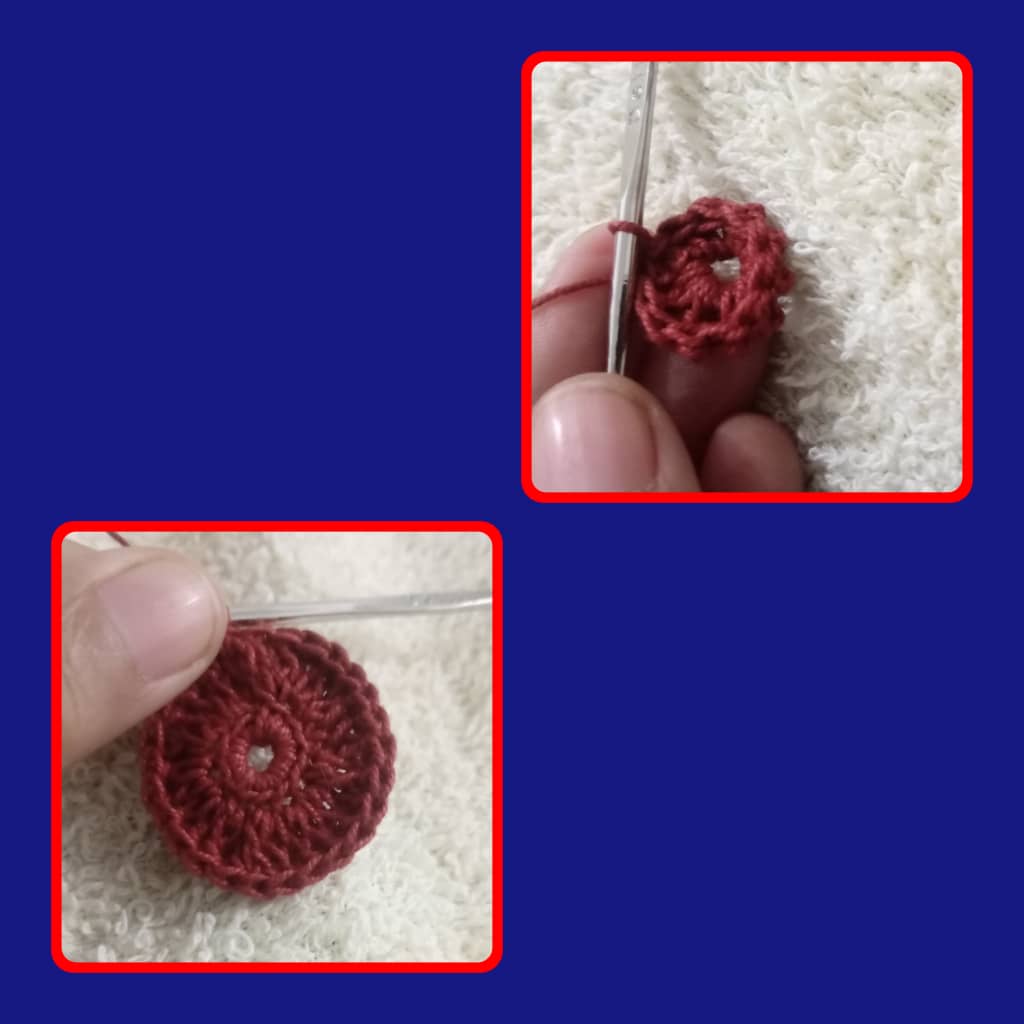
2nd step: Then we are going to proceed to make a chain of 3 stitches, then advance with double crochets taking into account two increases in each stitch for a total of 24 double crochets and close with a slip stitch and repeat the procedure in the next lap.
2do paso: Luego vamos a proceder a hacer una cadena de 3 puntos, para Seguidamente avanzar con puntos altos tomando en cuenta dos aumento en cada punto para un total de 24 puntos altos mis creativos y cerrar con punto deslizado y repetir el procedimiento en la próxima vuelta.
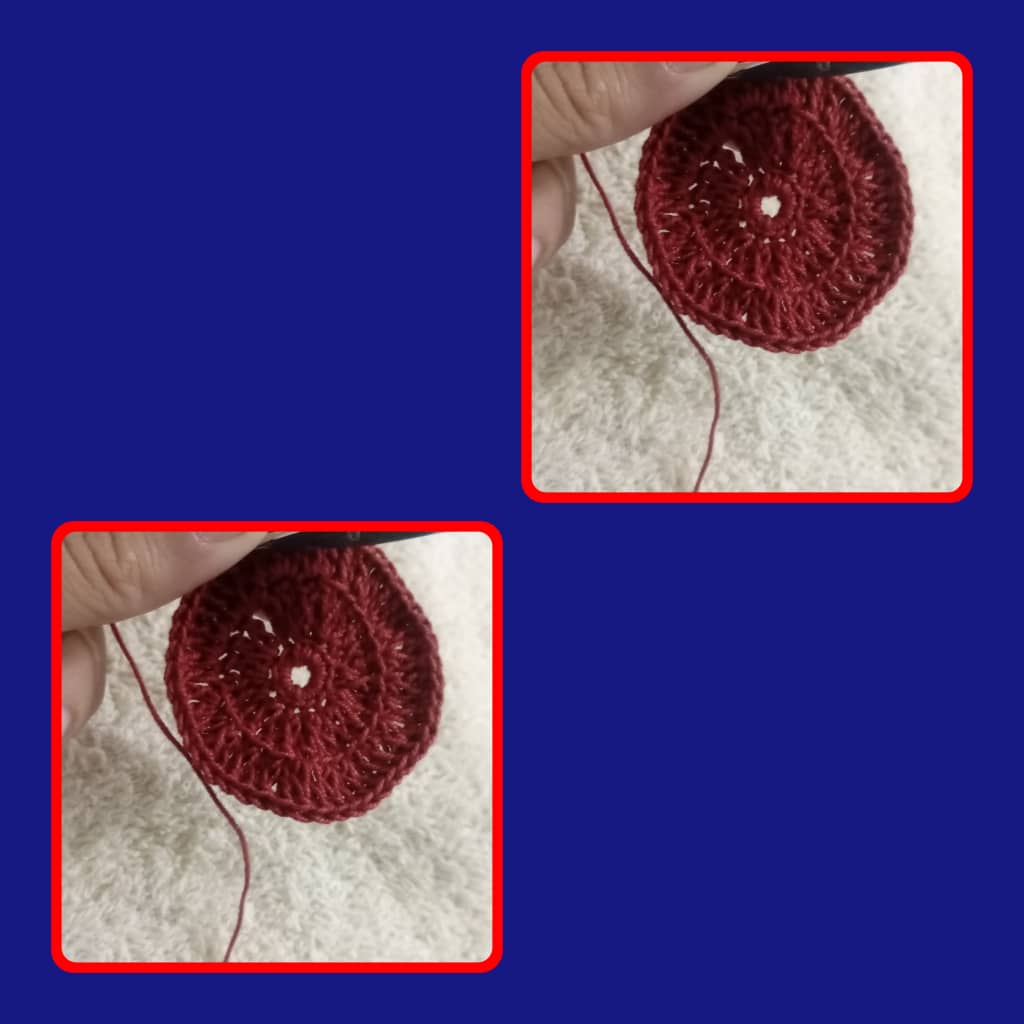
3rd step: Next, after having completed the rows, take and make a chain of 7 stitches, leaving a space of 3 stitches and close with a slipped stitch to make the ear of our cat, making 5 single crochets and then repeat the same with the other ear.
3er paso: A continuación después de haber completado las vueltas, tomar y hacer una cadena de 7 puntos,.dejar un espacio de 3 punto y cerrar con un punto deslizado para hacer la oreja de nuestro gato, haciendo 5 puntos bajos y luego repetir lo mismo con la otra orejita.
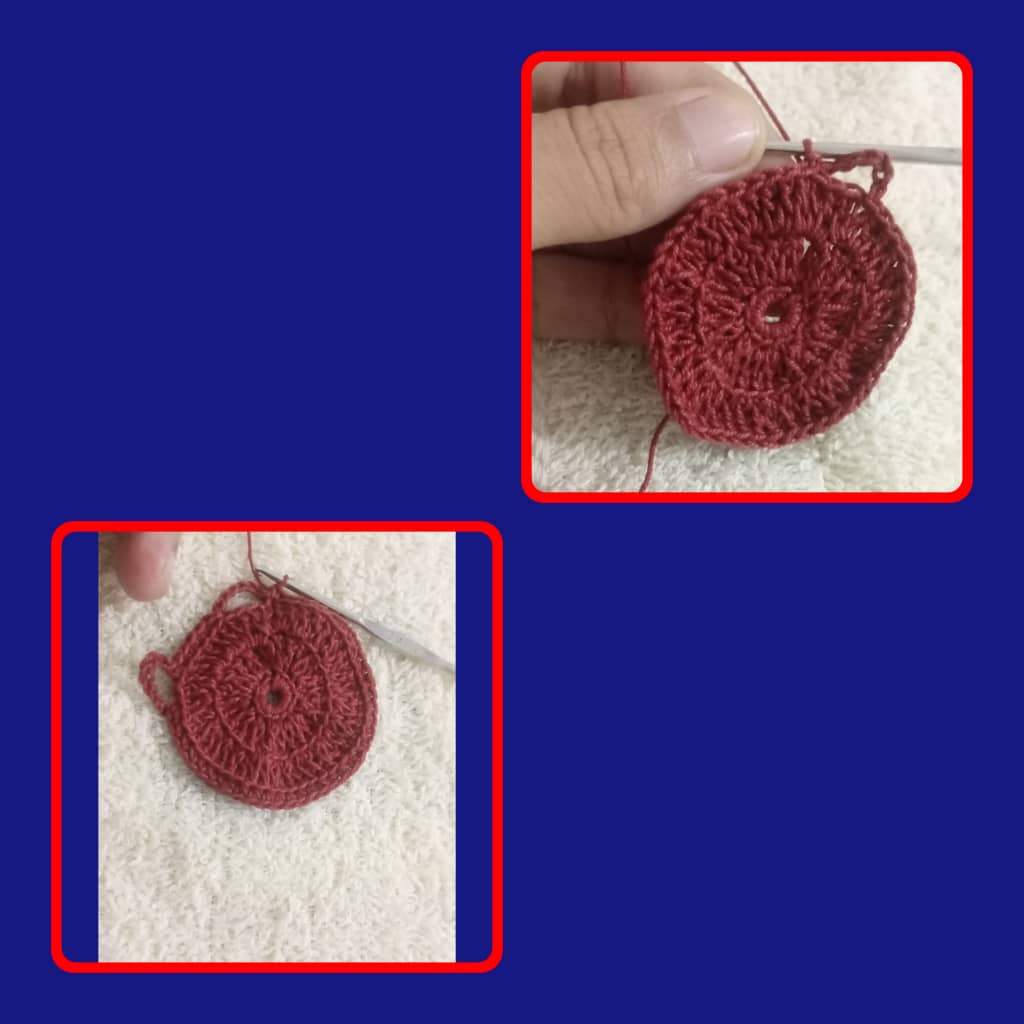
4th step: At the end of the next ear, go around the entire area with low stitches as you can see in the images taken.
4to paso: Al finalizar la próxima oreja dar la vuelta a todo el alrededor con puntos bajos cómo lo aprecian en las imágenes tomadas.
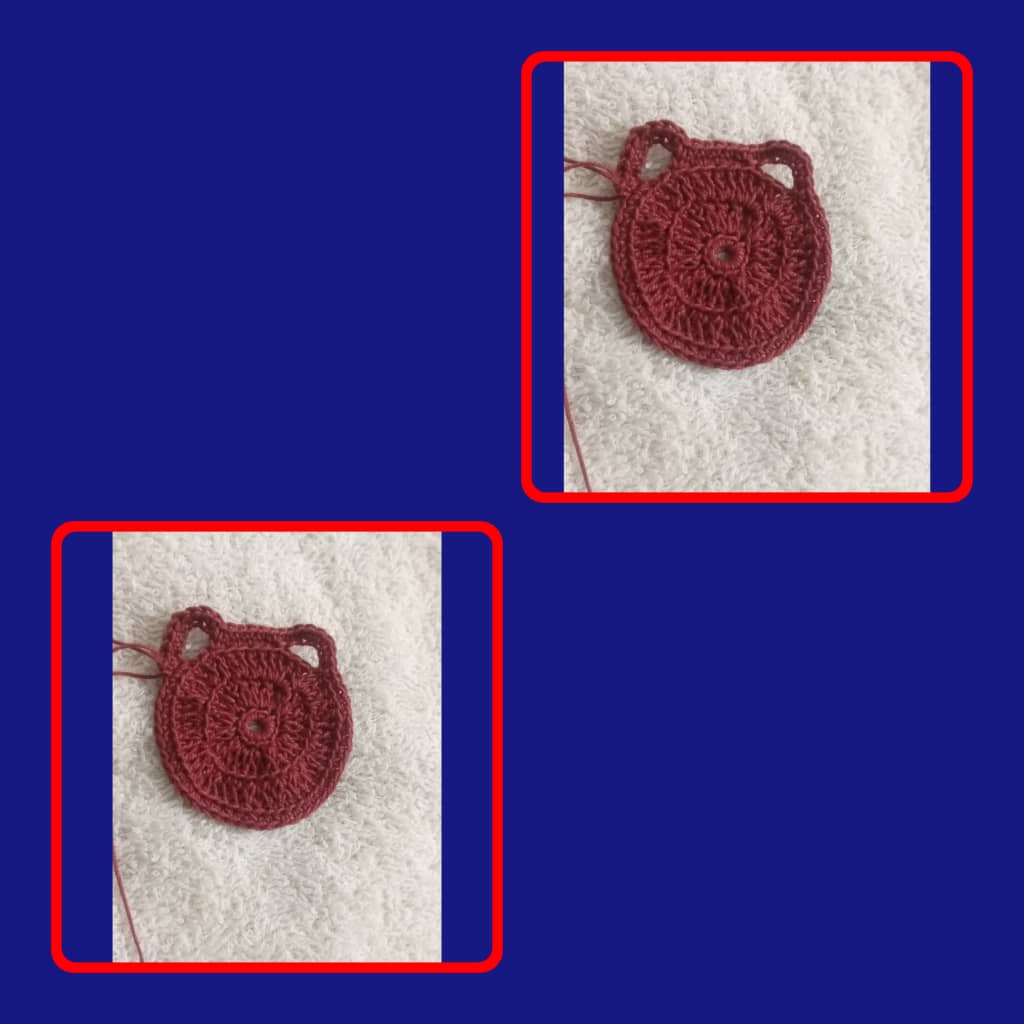
5th step: Next, take the thread at the bottom specifically in the center of the piece and make a chain of 6 stitches, make two or three rows of single stitches and then join the piece as it will be the tail of our cat.
5to paso: Seguidamente tomar el hilo en la parte inferior específicamente en el centro de la pieza y hacer una cadena de 6o puntos, dar dos o tres vueltas de puntos bajos y luego unir a la pieza ya que será la cola de nuestro gato.
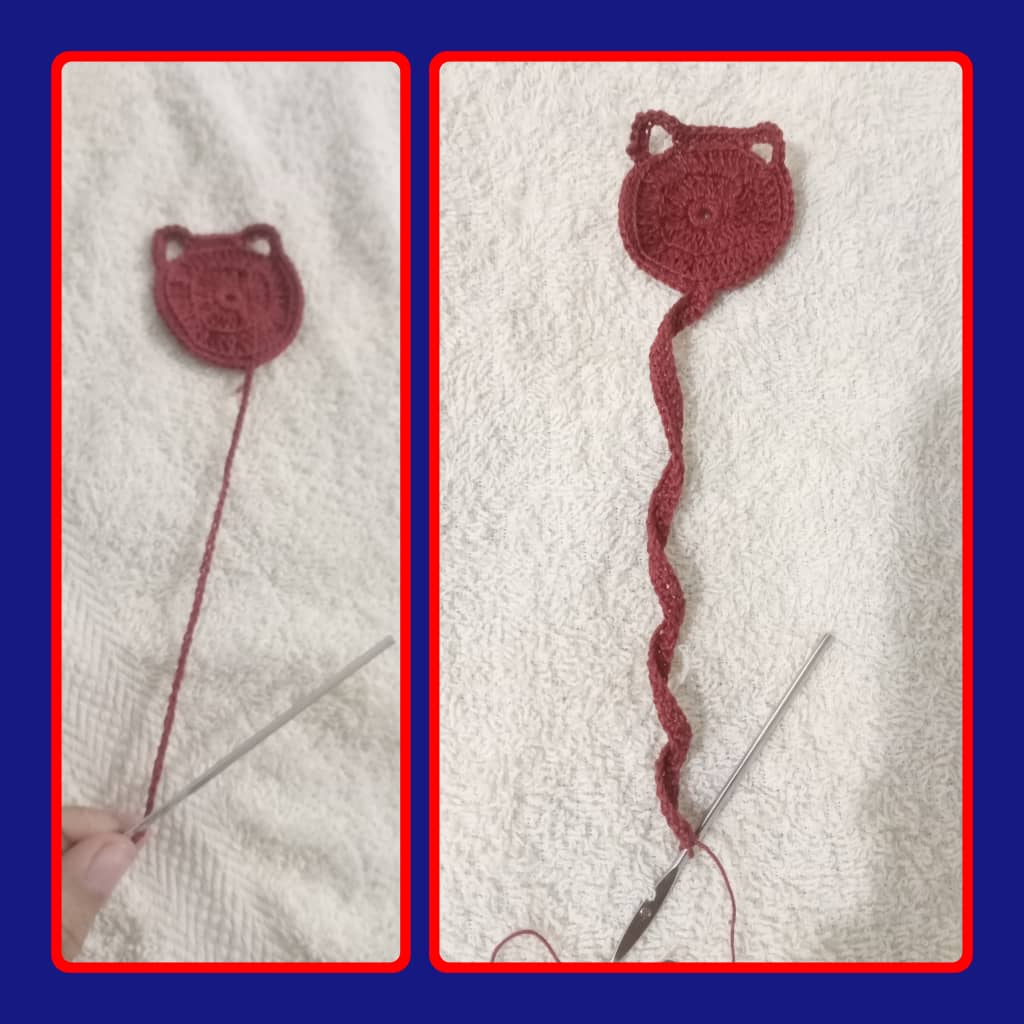
Finally, glue the eyes, nose and mouth and this beautiful bookmark inspired by a kitten is ready. I hope you liked the final result my creatives.
Para finalizar pegar los ojos nariz y boca y listo este bello marcapáginas inspirado en un gatito. Espero les haya gustado el resultado final mis creativos.
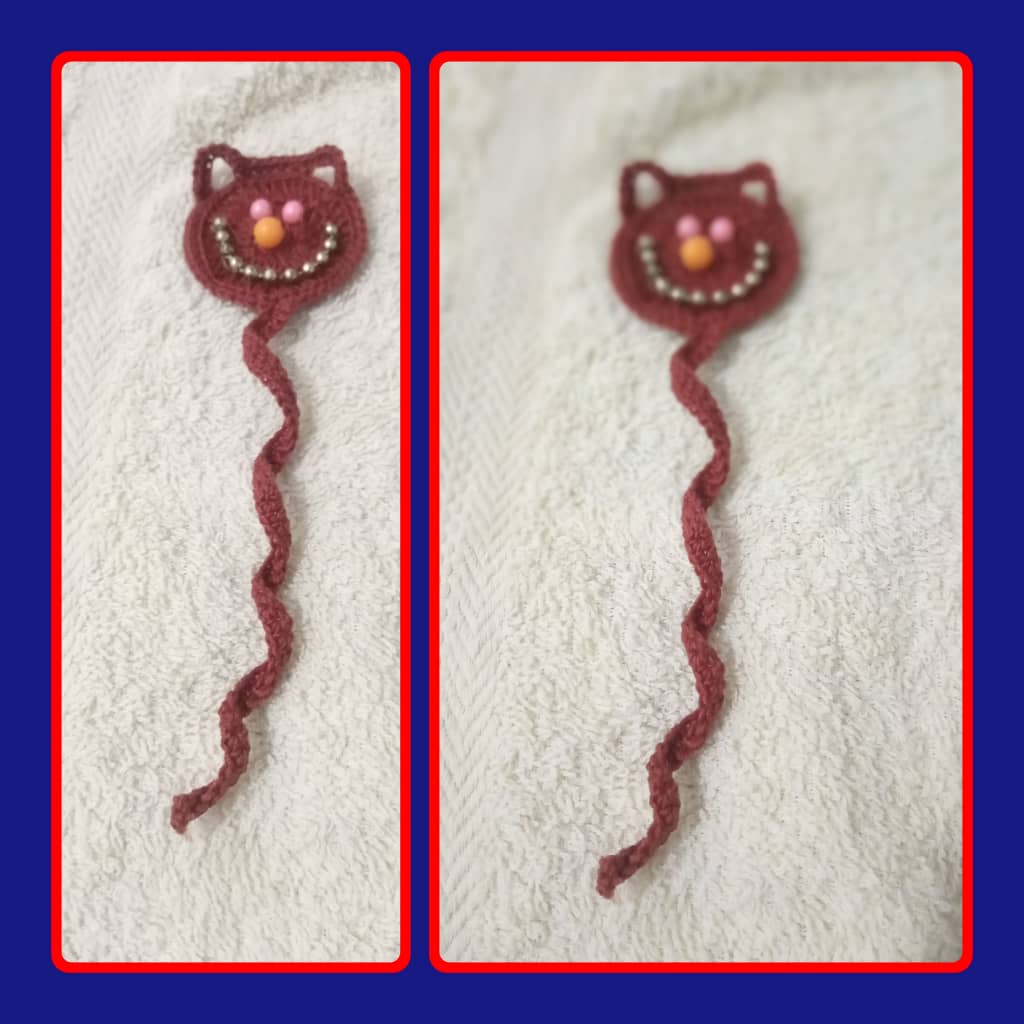

Thank you very much for reading me many blessings to all.
Muchas gracias por leerme bendiciones para todos.
Separador de Texto Source
Las fotos son editadas en el collage GridArt
Las fotos son tomadas de mi teléfono Alcatel 1s

Que creativa, gracias por compartir... Excelente opcion para quienes amamos leer y los gatos. Buen trabajo!!!
Muchas gracias por la visita y tu grato comentario.
Every booklovers delight. Nicely done
Thanks You the support provided
Me encantó, me hizo acordar al gato sonriente de Alicia en el País de las Maravillas 😁
I loved it, it reminded me of the smiling cat in Alice in Wonderland 😁.
Muchas gracias la visita y tu grato comentario ❤️ Que bueno que te haya encantado mi trabajo 😊 ❤️
Está súper lindo este separador. Me encantó mucho el color del hilo y el diseño, sencillo, pero hermoso. 🙋
Muchas gracias amiga por tu lindo comentario 😊