I hope you are doing well. It is always a pleasure to greet you. I hope this weekend is good for you and that you manage to enjoy in joy, and that each of your projects materialize soon!
Que tal amigos? Espero que se encuentren bien. Es un gusto saludarles siempre. Espero que este fin de semana sea bueno para ustedes y que logren disfrutar en alegría, además que cada uno de sus proyectos se materialicen pronto!

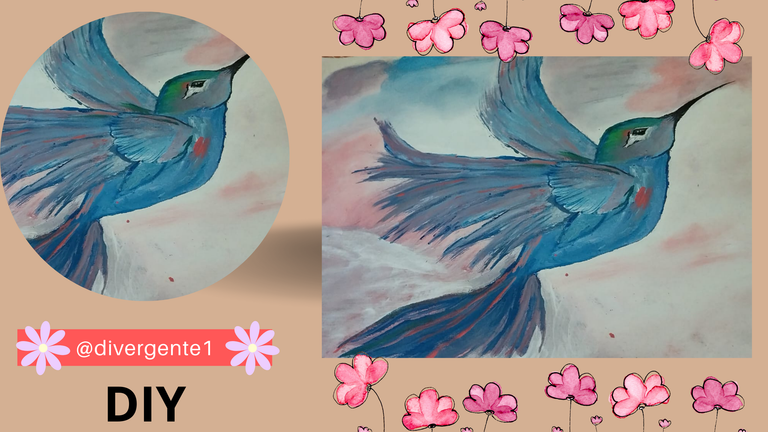
In this opportunity I want to present you the step by step of an oil painting of a Hummingbird.
En esta oportunidad quiero presentarles el paso a paso de una pintura de base de oleo de un Colibrí.
Materials - Materiales
- Canvas
- Oil and cold paint
- Brushes
- Toothbrush
- Pencil
- Lienzo
- Pintura de Oleo y al frio
- Pinceles
- Cepillo dental
- Lápiz
Step by Step - Paso a Paso
1
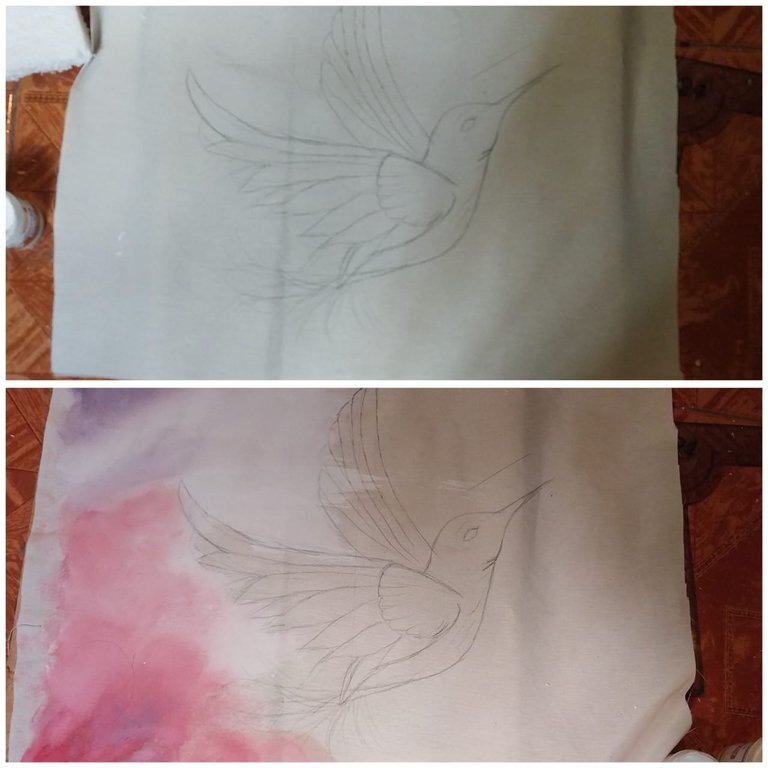
The first thing I did was to mark the silhouette of our beloved Hummingbird on the canvas with a pencil. After obtaining the desired figure, we proceed to place shaded colors on a color scale, pink and purple at first.
Lo primero que hice fue marcar la silueta de nuestro querido Colibrí sobre el lienzo mediante un lapiz. Luego de obtener la figura deseada, procedemos a colocar colores matizados en una escala de colores, rosado y morado al principio.
2

Then we must add other tonalities to the canvas, we also add the blue and white colors and with the help of a brush we mix these shades.
Luego debemos ir agregando otras tonalidades al lienzo, tambien añadimos los colores azul y blanco y con la ayuda de un cepillo mesclamos estos matices.
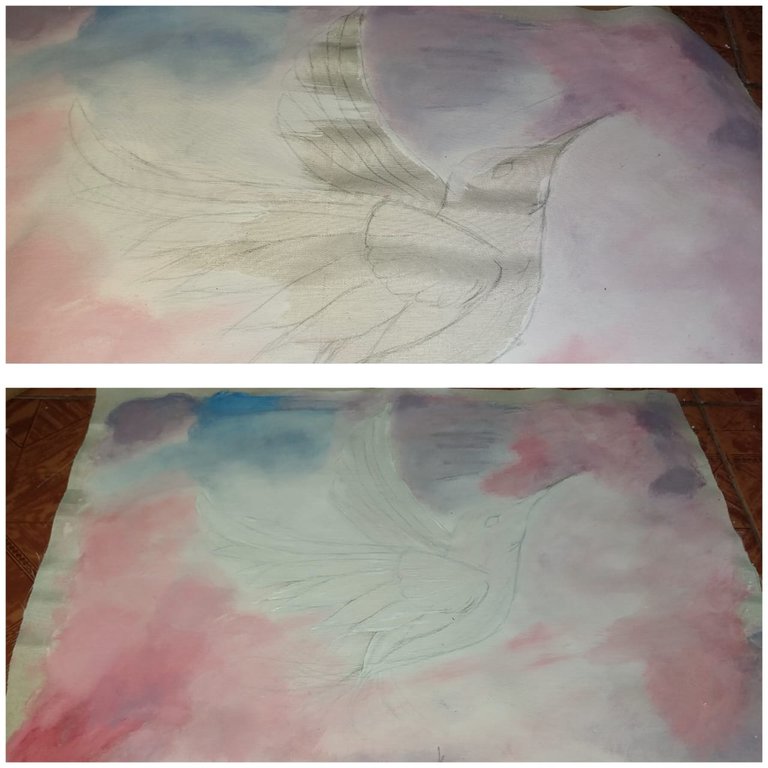
We did this whole procedure without painting the hummingbird area!
Realizamos todo este procedimiento sin pintar la zona del pájaro colibrí!
3
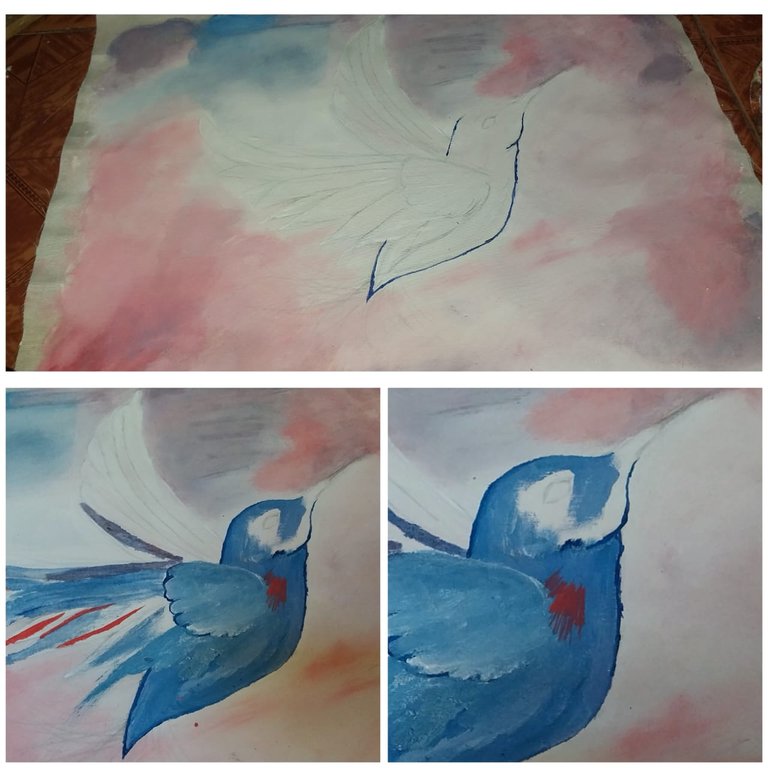
Then with the help of a fine-tipped brush we outline the whole area of the hummingbird. Then we add blue color to the figure of our hummingbird, with a pink color we should make lines on the figure of the bird.
Luego con la ayuda de un pincel de punta fina se delinea toda la zona del colibrí. Luego añadimos color azul a la figura de nuestro colibrí, con un color rosado debemos hacer líneas en la figura del pájaro.
4

Then we must use other shades of pink for the wings, and for the hummingbird's head we must paint the top area in green, then mark the beak and the eyes in black.
Luego debemos usar otras tonalidades rosas para las alas, y para la cabeza del colibrí debemos pintar la zona de arriba de color verde, luego marcamos de color negro el pico y los ojos.
For days I've been thinking about doing a drawing, I remember when I took some drawing classes the first thing I did was a bird. It was beautiful.💙
Thanks friend
It looks very cool 🥰👌👌 ... art is all time this what makes as happy and this work here makes as happy 👌👌😇😇😋
Thanks ♥️
Your painting is very beautiful 😍, and your process is easy to follow by anyone who wants to.
Thank you for sharing!DIY
Thanks friend
One of the best drawings I've seen since being part of the DiYHub team, really inspiring your little hummingbird. Thanks for sharing this very detailed step by step to appreciate the best of your creative process. Hugs!!!
Thanks my friend ♥️
Wow,this is a really exemplary post, thank you so much for sharing your art on DIYHub Community.
Thanks for you support
You can query your personal balance by
!DIYSTATSQue bonito quedó lo hiciste muy bien
Muchas gracias amiga.
Your hummingbird painting is totally superb and fantastic, the style and process used are quite unique and impressive also. Well done and keep it up
A beautiful drawing always inspires a bird. He created a remarkable bird especially through the use of oil colors and pencils. The bird looks very beautiful and flying in the sky with the clouds. Thank you so much for sharing your awesome skills. Each step is presented in a smooth manner which looks very smooth and charming bird.