
Saludos, hivers, llegó el viernes y con él iniciamos el fin de semana para descansar y también para compartir con quienes nos rodean. Por mi parte yo inicié este día terminando un tejido para compartir con todos ustedes, se trata de una amigurumi que me encanta mucho porque veo en él, ternura y belleza; además, es una pieza pequeña lo cual la hace más atractiva; les hablo de Migli un lindo personaje que representa el amor junto a su pareja Bigli, ellos viven una historia de amor en muchísimas imágenes que recorren las diferentes redes sociales.
Greetings, hivers, Friday is here and with it we start the weekend to rest and also to share with those around us. For my part I started this day finishing a knitting to share with all of you, it is an amigurumi that I love very much because I see in it, tenderness and beauty; in addition, it is a small piece which makes it more attractive; I am talking about Migli a cute character that represents love with his partner Bigli, they live a love story in many images that go through the different social networks.
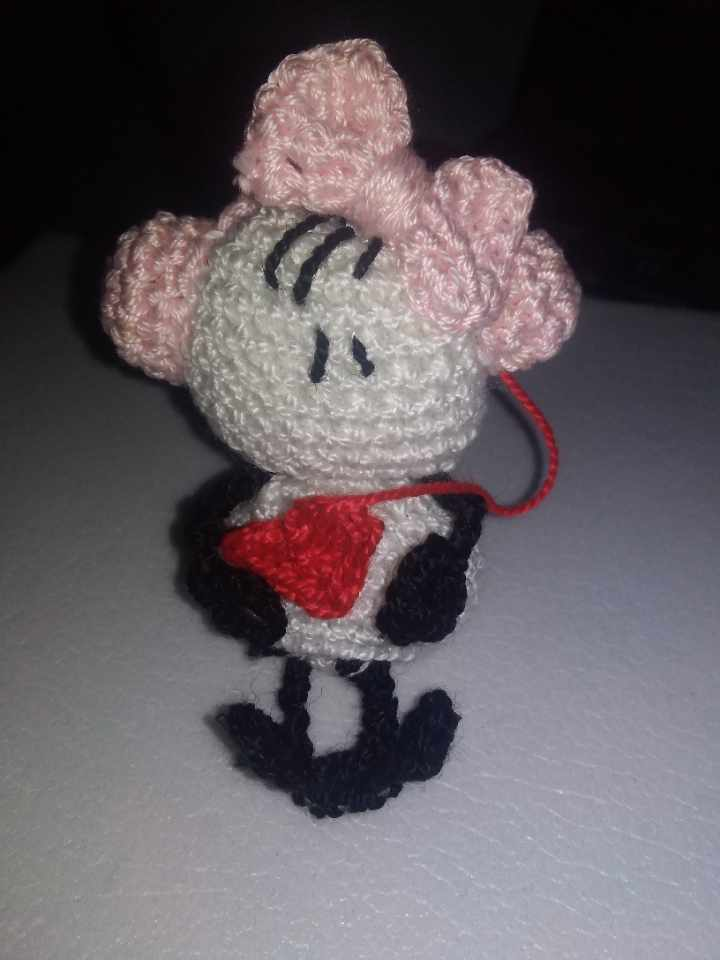
Así que por ser el mes del amor y la amistad se me ocurrió realizar este lindo detalle que se tituló "Escucha mi corazón", debido a que mi adorable Migli escucha lo que dice el corazón de su enamorado a través de la música que genera los audífonos que lleva puestos. Espero que les agrade mi propuesta para el concurso del mes de febrero que tiene @diyhub por el Día de San Valentín.
So for being the month of love and friendship I thought of making this nice detail that was titled “Listen to my heart”, because my adorable Migli listens to what her lover's heart says through the music generated by the headphones she is wearing. I hope you like my proposal for @diyhub's Valentine's Day contest for the month of February.
Materiales:
Hilo de crochet en colores blanco, rosa, rojo y negro
Relleno
Aguja para crochet
Aguja lanera
Alambre de floristería
Tijera.
Piqueta de costura
Materials:
Crochet thread in white, pink, red and black colors.
Stuffing
Crochet needle
Wool needle
Florist's wire
Scissors.
Sewing stick
Pasos/Steps
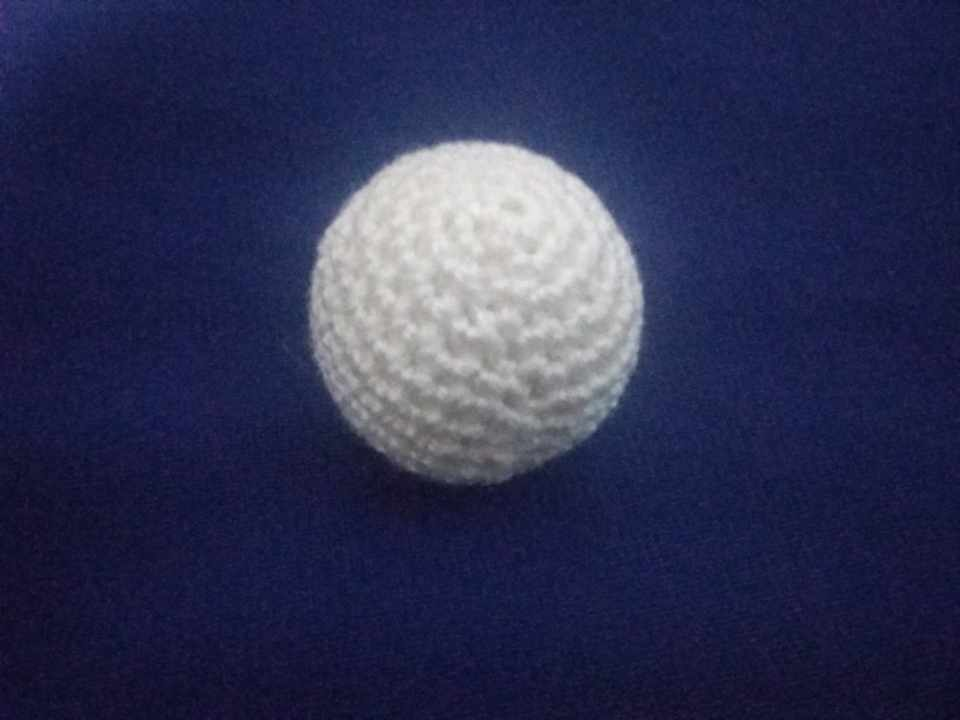
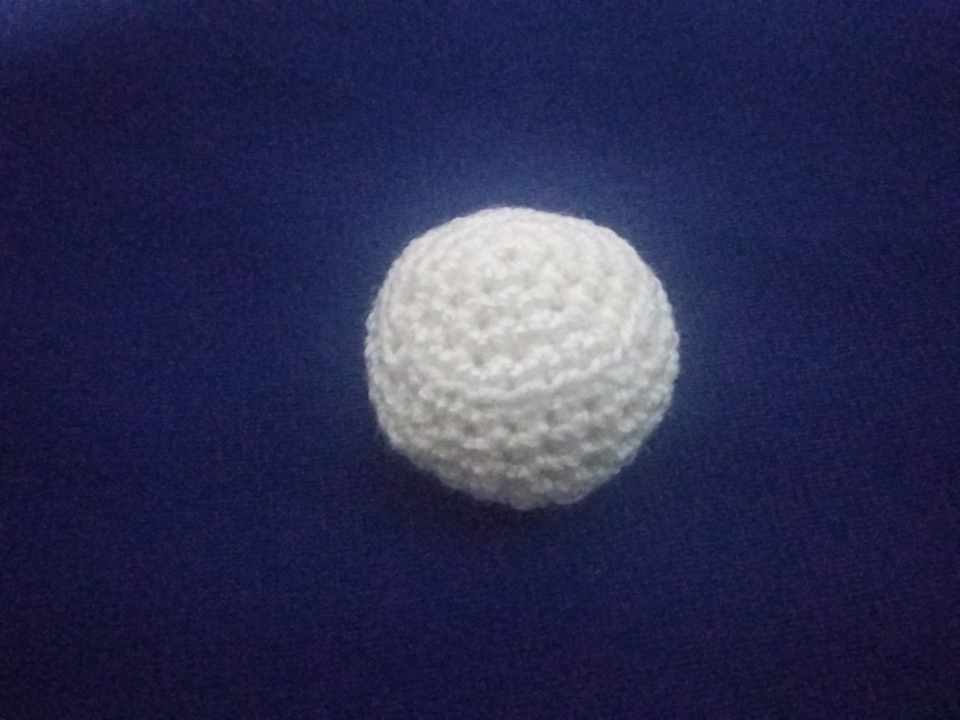
Lo primero es trabajar en la cabeza del personaje y para ello comenzamos con hilo de color blanco haciendo un anillo mágico de 5 puntos bajos. Cerramos el anillo y en la siguiente vuelta hacemos solo aumentos, obteniendo 10 puntos. Las siguientes 3 vueltas serán de aumentos, así que 1 punto bajo más aumento, 2 puntos bajos más aumento y 3 puntos bajos más aumento, consiguiendo 15,20 y 25 puntos bajos respectivamente. Luego continuamos con 5 vueltas de 25 puntos cada una para agrandar la pieza.
The first thing to do is to work on the head of the character and for this we start with white yarn making a magic ring of 5 single crochet stitches. We close the ring and in the next round we make only increases, obtaining 10 stitches. The next 3 rows will be of increases, so 1 single crochet plus increase, 2 double crochets plus increase and 3 double crochets plus increase, obtaining 15,20 and 25 double crochets respectively. Then we continue with 5 rounds of 25 stitches each to enlarge the piece.
Las próximas 3 vueltas serán con disminuciones; 3 puntos y disminución, 2 puntos con disminución y 1 punto con disminución; consiguiendo 20, 15 y 10 puntos bajos respectivamente; en esta vuelta rellenamos para proseguir con otra vuelta de solo disminuciones, rematar, cerrar con aguja lanera y cortar hilo.
The next 3 rows will be with decreases; 3 stitches and decrease, 2 stitches with decrease and 1 stitch with decrease; obtaining 20, 15 and 10 single crochet stitches respectively; in this row we fill in to continue with another row of decreases only, finish off, close with wool needle and cut yarn.
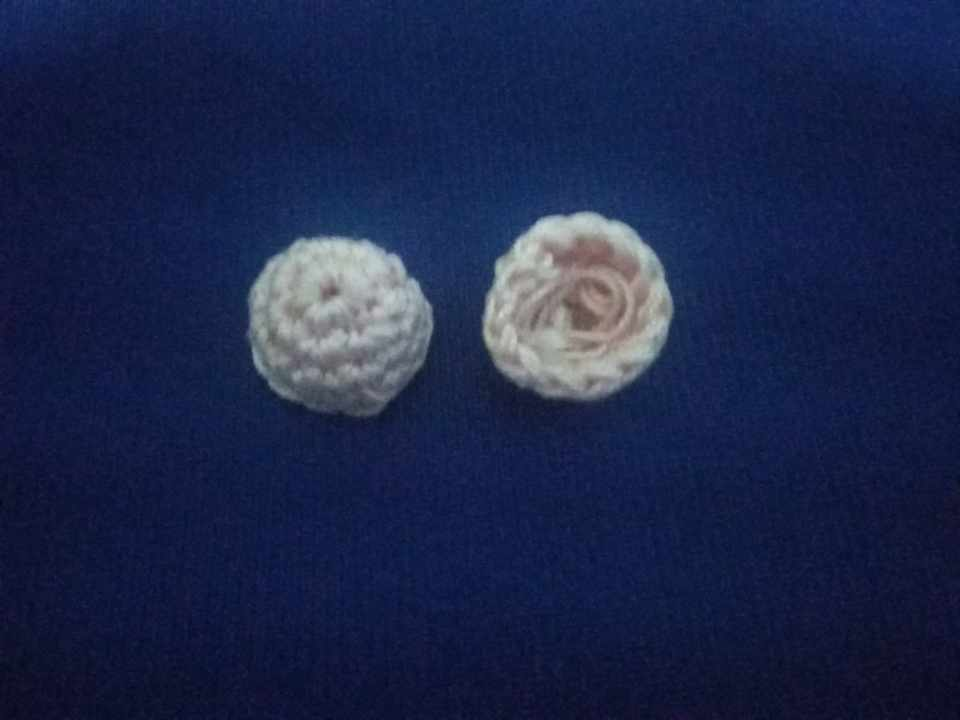
Para el cuerpo iniciamos con un anillo mágico de 5 puntos bajos, luego en la siguiente vuelta aumentamos logrando 10 puntos; seguidamente, 2 vueltas de aumento, 1 punto más aumento, 2 puntos más aumento, logrando así 15 y 20 puntos respectivamente. En la siguiente vuelta, tomando la hebra interior del tejido, hacemos una vuelta de 20 puntos bajos.
For the body we start with a magic ring of 5 single crochet stitches, then in the next row we increase the stitches to 10 stitches, then 2 rows of increase, 1 stitch more increase, 2 stitches more increase, thus achieving 15 and 20 stitches respectively. In the next row, taking the inner strand of the fabric, we make a row of 20 single crochet stitches.
Luego vamos con 3 vueltas, más de 20 puntos en cada una de ellas, tomando ambas hebras del tejido. La siguiente vuelta será de 2 puntos y disminución, logrando 15 puntos; y una última vuelta de solo disminuciones que nos llevará a 15 puntos. Rematamos y con la aguja lanera cerramos, terminamos cortando hilo.
Then we go with 3 rounds, more than 20 stitches in each of them, taking both strands of the fabric. The next round will be of 2 stitches and decrease, achieving 15 stitches; and a last round of only decreases that will take us to 15 stitches. We finish and with the wool needle we close, we finish cutting the yarn.
Para los audífonos tomamos el hilo de color rosa y hacemos un anillo mágico de 6 puntos, en la siguiente vuelta aumentamos a 12 puntos y las siguientes 2 vueltas serán de 12 puntos cada una, terminamos con punto deslizado y cortamos el hilo; el excedente del hilo del anillo mágico lo usamos como relleno.
For the headphones we take the pink yarn and make a magic ring of 6 stitches, in the next round we increase to 12 stitches and the following 2 rounds will be of 12 stitches each, we finish with slipped stitch and cut the yarn; the excess yarn of the magic ring we use as stuffing.
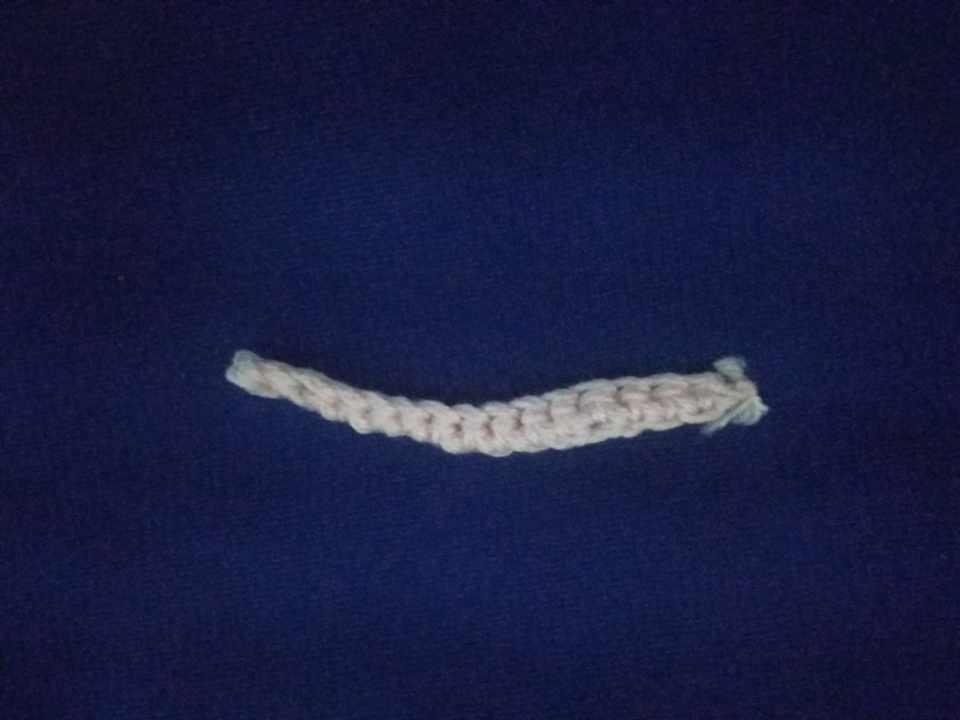
Esta parte es la que une a los audífonos, entonces; levantamos 10 cadenetas y dejando una sin tejer, iniciamos haciendo 9 puntos bajos, culminamos con punto deslizado y cortamos hilo.
This part is the part that joins the headphones, so; we raise 10 chains and leaving one chain without knitting, we start knitting 9 single crochet stitches, we finish with slip stitch and cut the yarn.
Para el lazo haremos un rectángulo de color rosa. Levantamos 7 cadenetas, nos regresamos con puntos bajos. Al llegar al final, levantamos una cadeneta; así, 3 vueltas más y, por último, vamos a tejer alrededor de toda la pieza con puntos bajos y cada vez que lleguemos a una esquina hacemos un aumento.
For the loop we will make a pink rectangle. We pick up 7 chain stitches, we go back with single crochet. When we reach the end, we pick up a chain, and so on, 3 more rows, and finally, we will knit around the whole piece with single crochet and every time we reach a corner we make an increase.
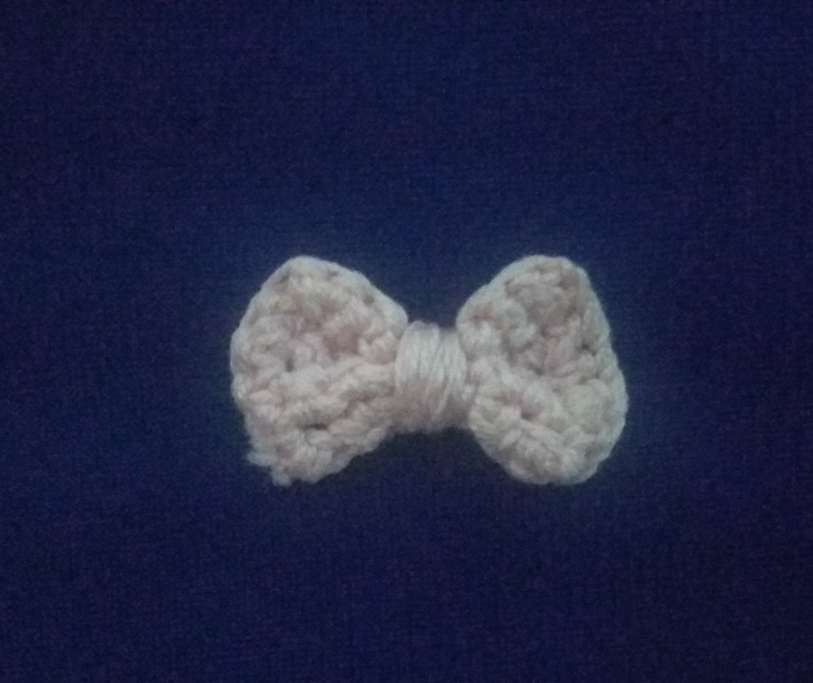
Con nuestros dedos fruncimos en el centro del rectángulo y con el mismo hilo vamos a dar varias vueltas para forma al lazo.
With our fingers we pucker in the center of the rectangle and with the same thread we will make several turns to form the loop.
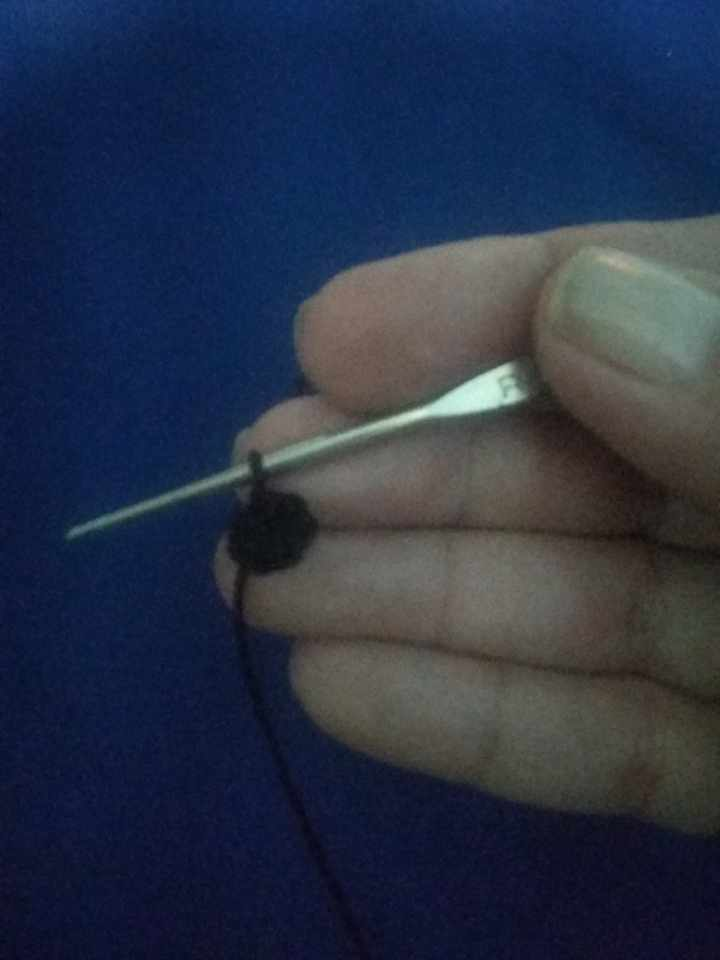
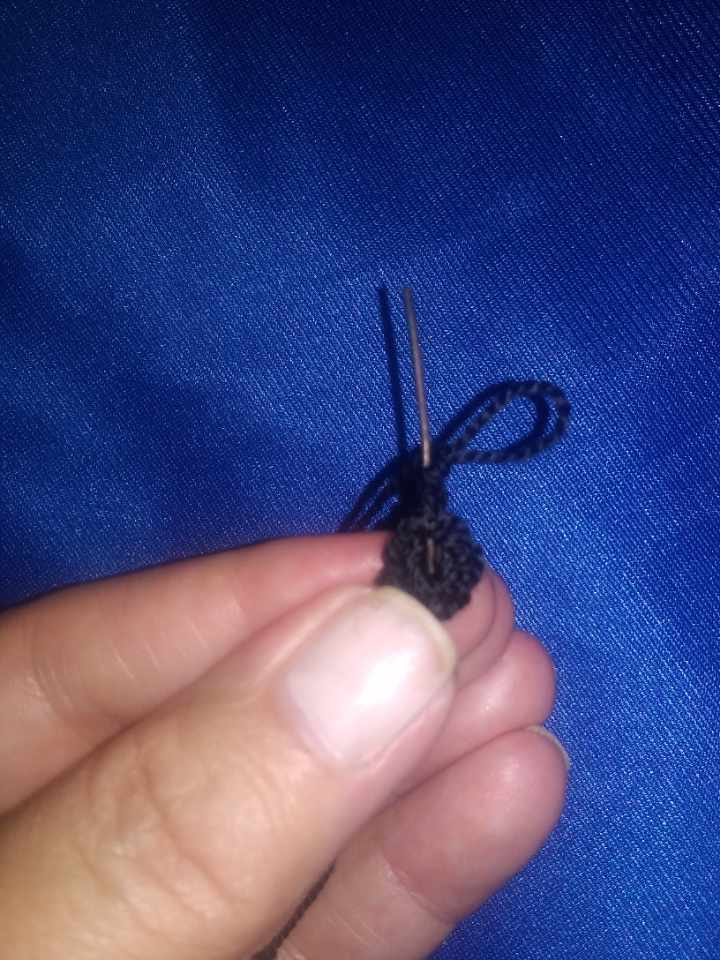
Brazos y piezas van de color negro y para ambas piezas vamos a crear un anillo mágico de seis puntos bajos. Lo cerramos y levantamos una cadeneta para insertar el alambre de floristería (4 cm brazos-5 cm piernas), en él tejemos cadenetas 8 para los brazos y 10 para las piernas. El alambre lo vamos a llevar hasta el anillo mágico para que toda la pieza tenga movilidad.
Arms and pieces are in black color and for both pieces we are going to create a magic ring of six low stitches. We close it and lift a chain stitch to insert the florist wire (4 cm arms-5 cm legs), on it we weave chain stitches 8 for the arms and 10 for the legs. We are going to bring the wire to the magic ring so that the whole piece has mobility.
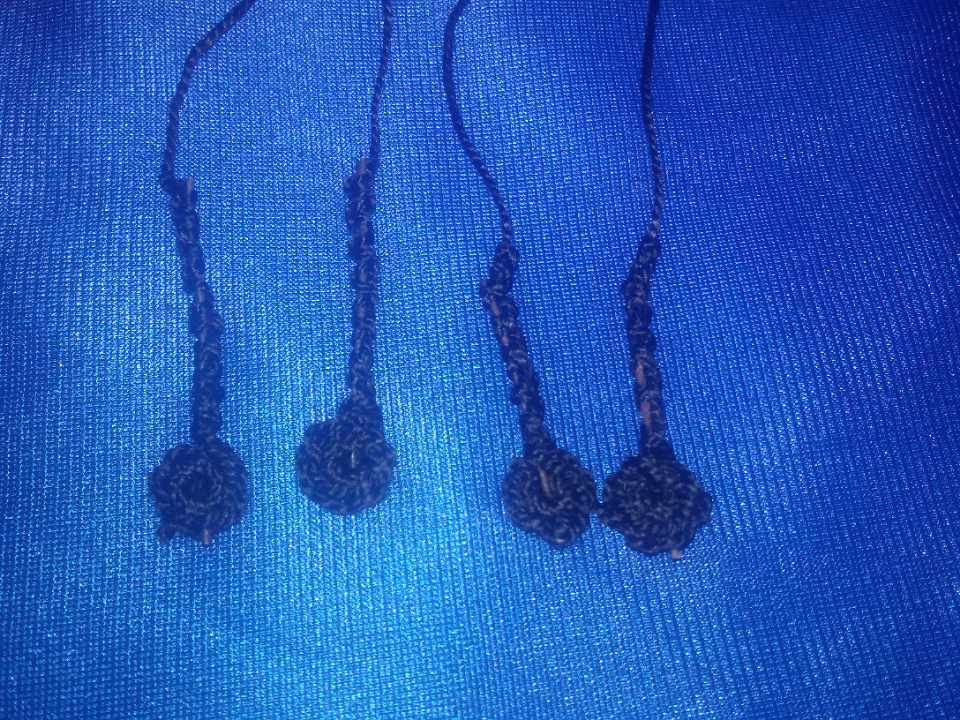
Así deben quedar tanto brazos como piernas.
Both arms and legs should look like this.
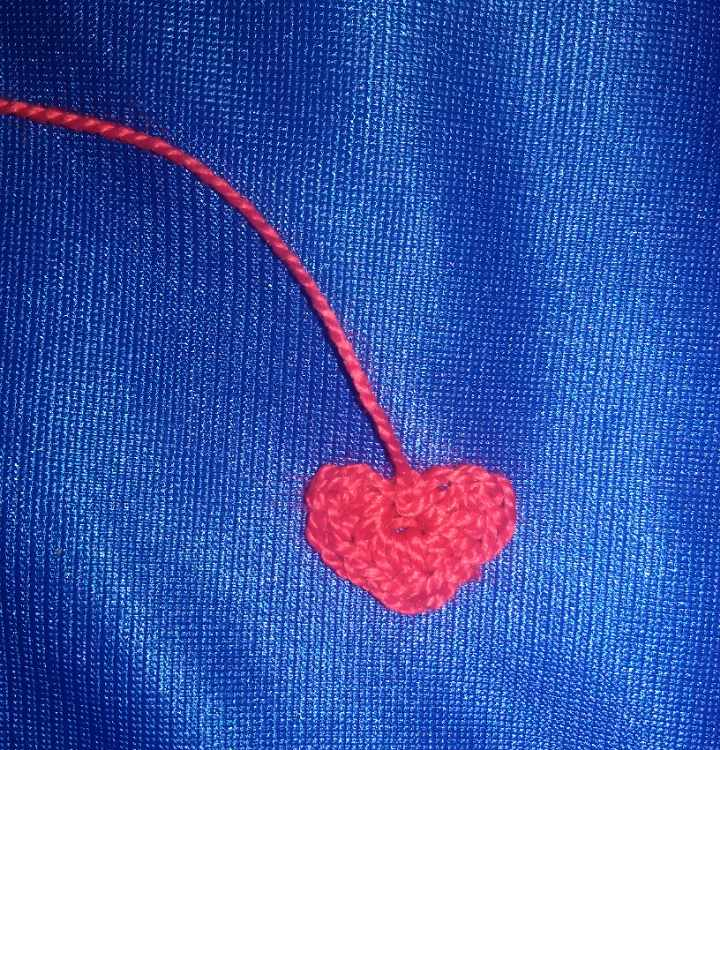
La última pieza será el corazón; con el hilo de color rojo hacemos 2 cadenetas. En la primera que hicimos comenzamos a tejer y siempre vamos a tejer allí. Entonces, 2 puntos altos, 2 puntos medios altos, 1 punto alto, 2 puntos medios altos, 2 puntos altos, 2 cadenetas y cerramos con punto deslizado; dejando hilo largo.
The last piece will be the heart; with the red thread we make 2 chains. In the first one we made we start knitting and we will always knit there. Then, 2 stockinette stitches, 2 medium high stitches, 1 high stitch, 2 medium high stitches, 2 high stitches, 2 chain stitches and close with slip stitch; leaving long yarn.
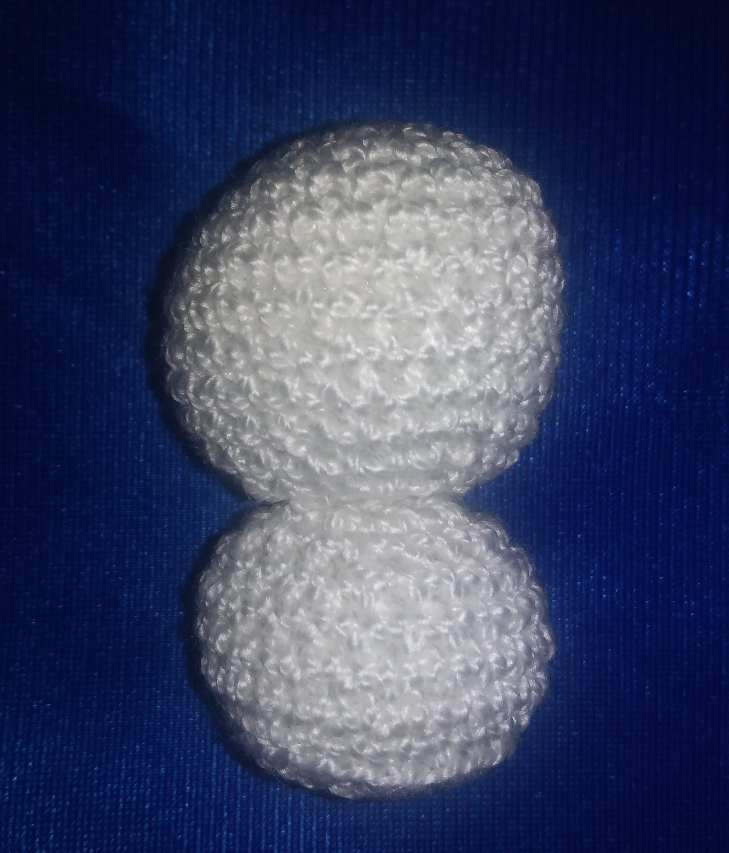
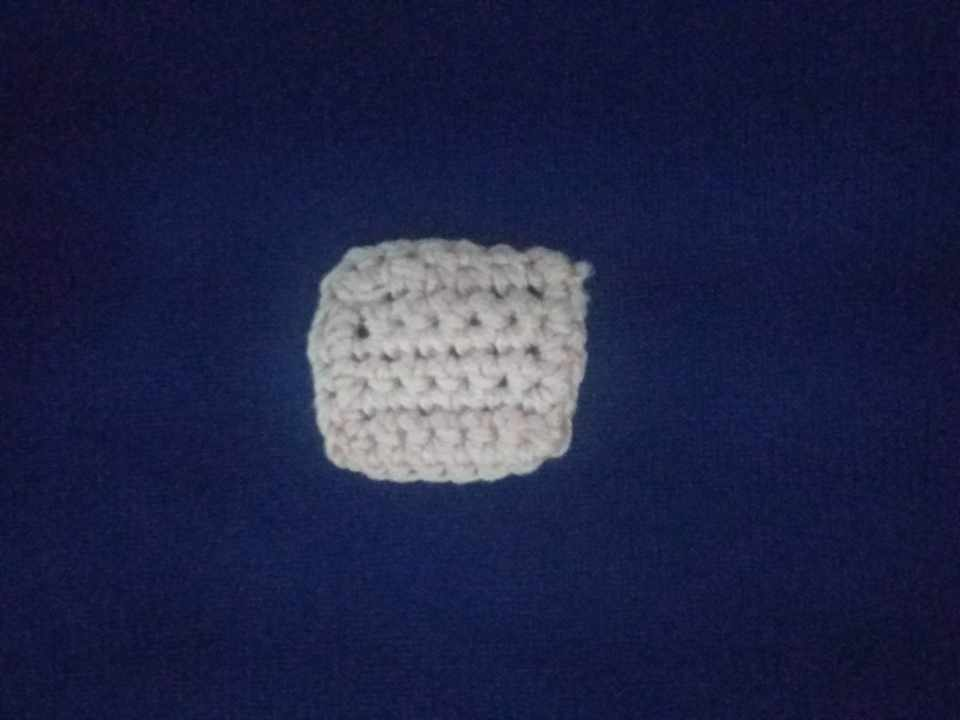
Comenzamos el armado así que unimos la cabeza con el cuerpo usando la aguja lanera con el hilo de color blanco.
We start the assembly so we join the head with the body using the wool needle with the white thread.
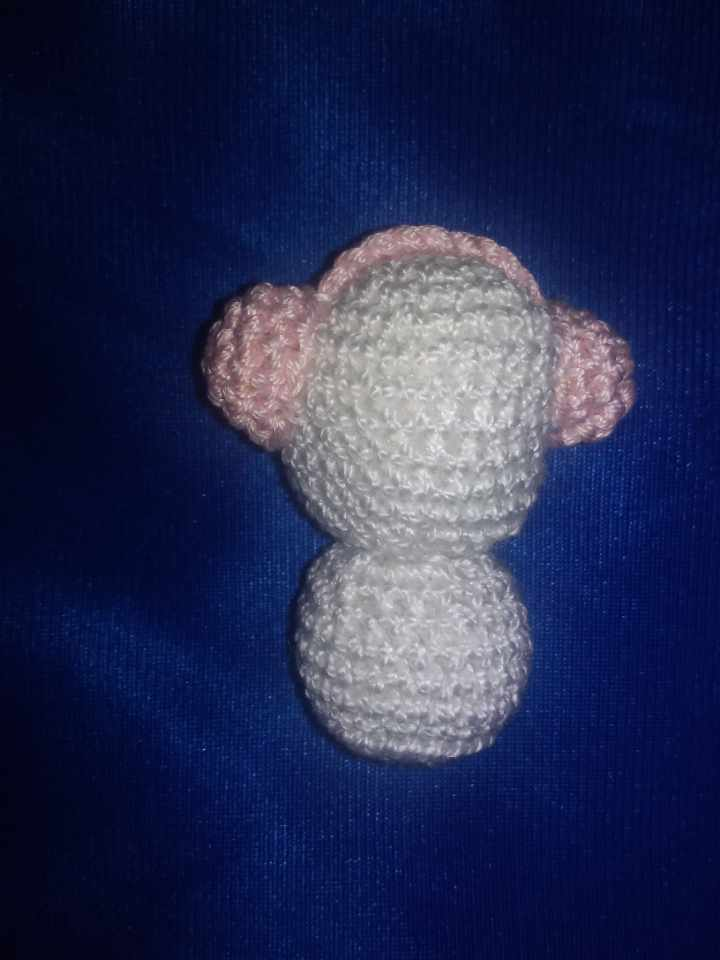
Con el mismo hilo que unimos la cabeza y el cuerpo, vamos a colocar la tira de los audífonos encima de la cabeza y proseguimos con el resto de la pieza en los laterales de la cabeza.
With the same thread that joined the head and the body, we are going to place the strip of the headphones on top of the head and continue with the rest of the piece on the sides of the head.
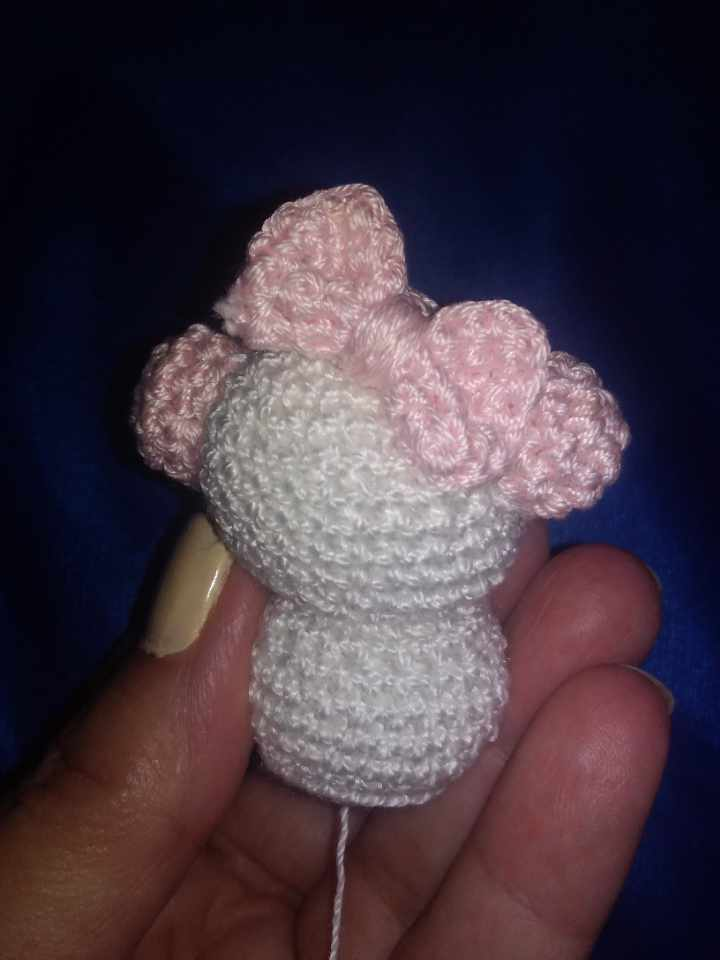
Lo siguiente será colocar el lazo. Yo lo coloqué a un lado, pero también se puede colocar en el centro; esto es a gusto de cada quien. Esto también fue con hilo y aguja.
The next step is to place the ribbon. I placed it on one side, but it can also be placed in the center; this is to each person's taste. This was also done with thread and needle.
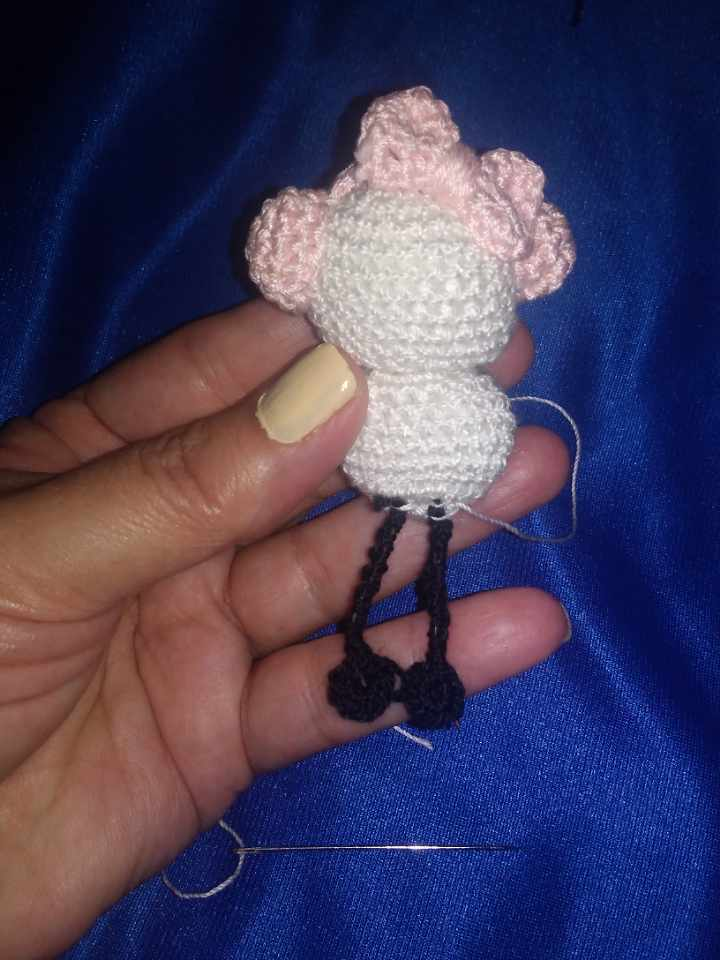
Las piernas las uni también con hilo de color blanco en la parte inferior del cuerpo; este hilo lo vamos a prensar un poco para que no se note tanto.
The legs are also joined with white thread in the lower part of the body; this thread will be pressed a little so that it is not so noticeable.
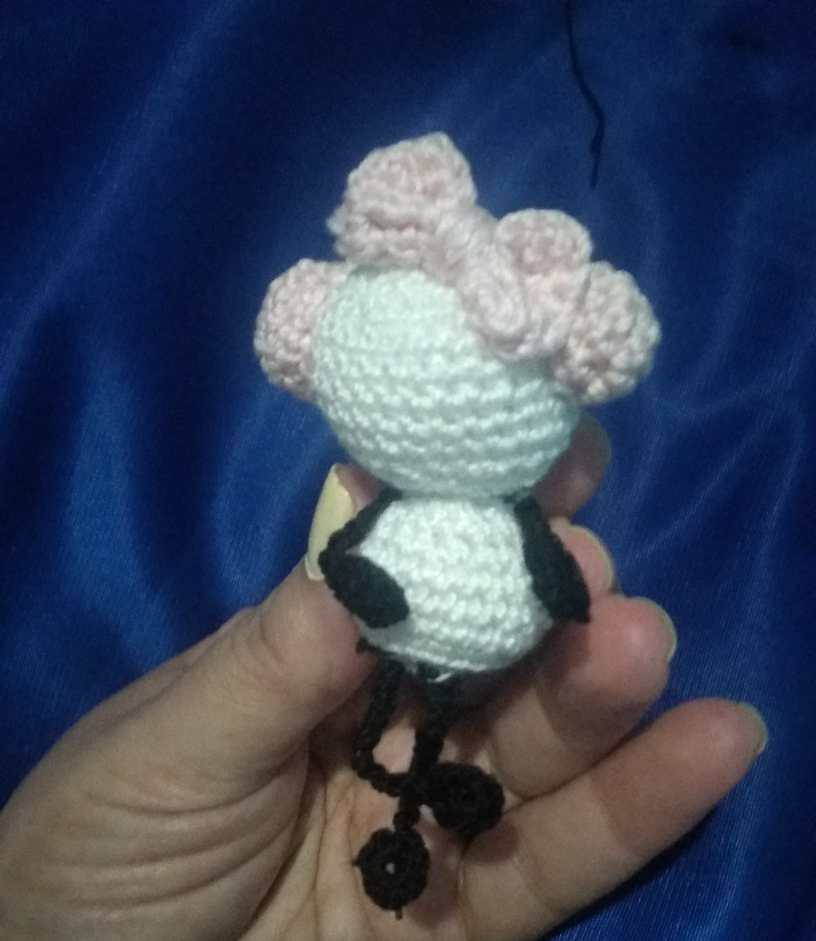
Al igual que las piernas, lo mismo hice con los brazos y fíjense cómo le damos movilidad a elección a brazos y piernas.
Just like the legs, I did the same with the arms and notice how we give mobility to arms and legs by choice.
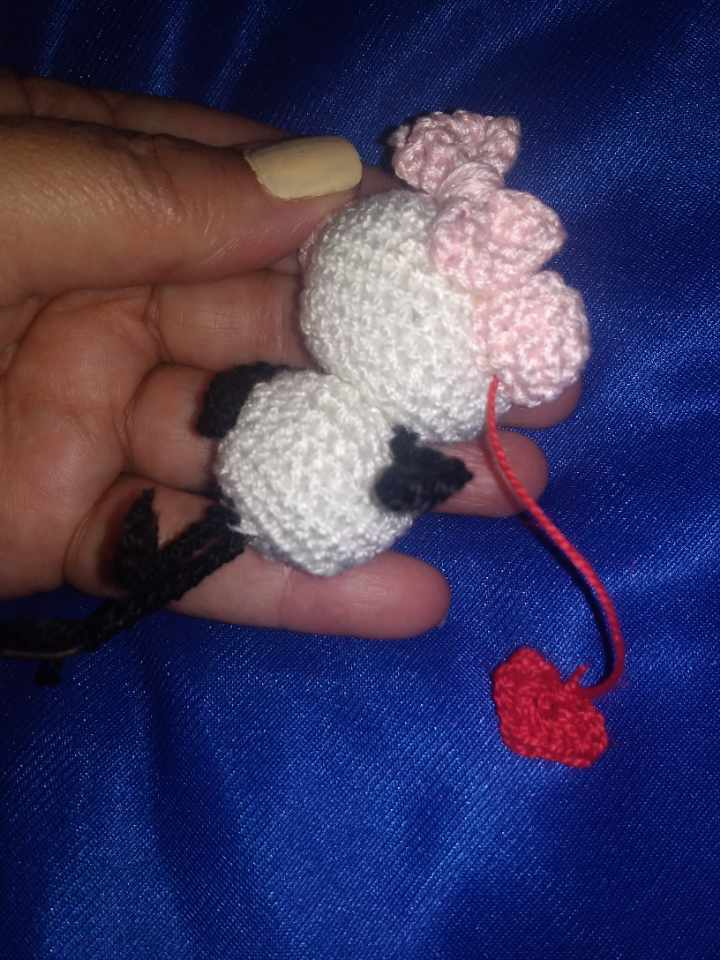
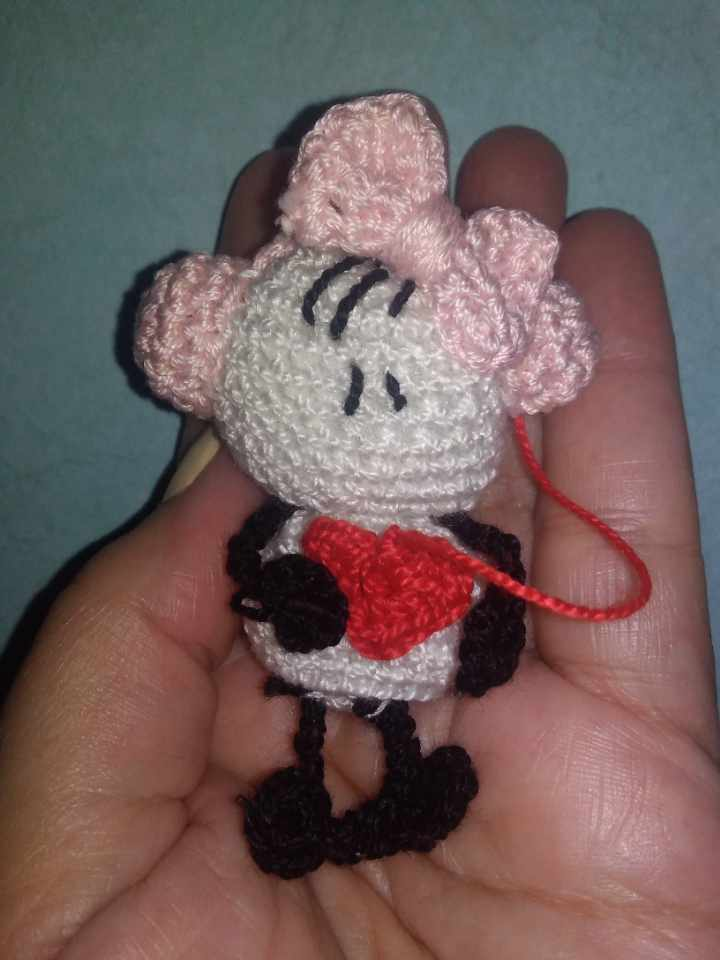
Como dejamos hilo largo en el corazón, este lo colocamos en la aguja lanera para unirlo a los audífonos tal como muestra la imagen.
As we left long thread in the heart, we place it on the wool needle to join it to the headphones as shown in the picture.
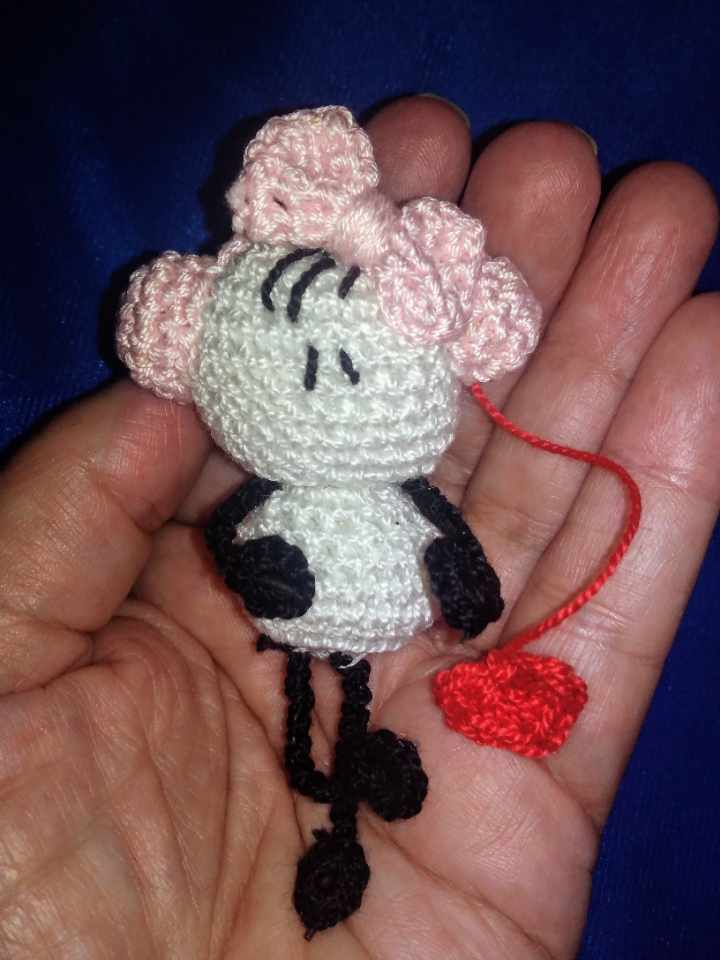
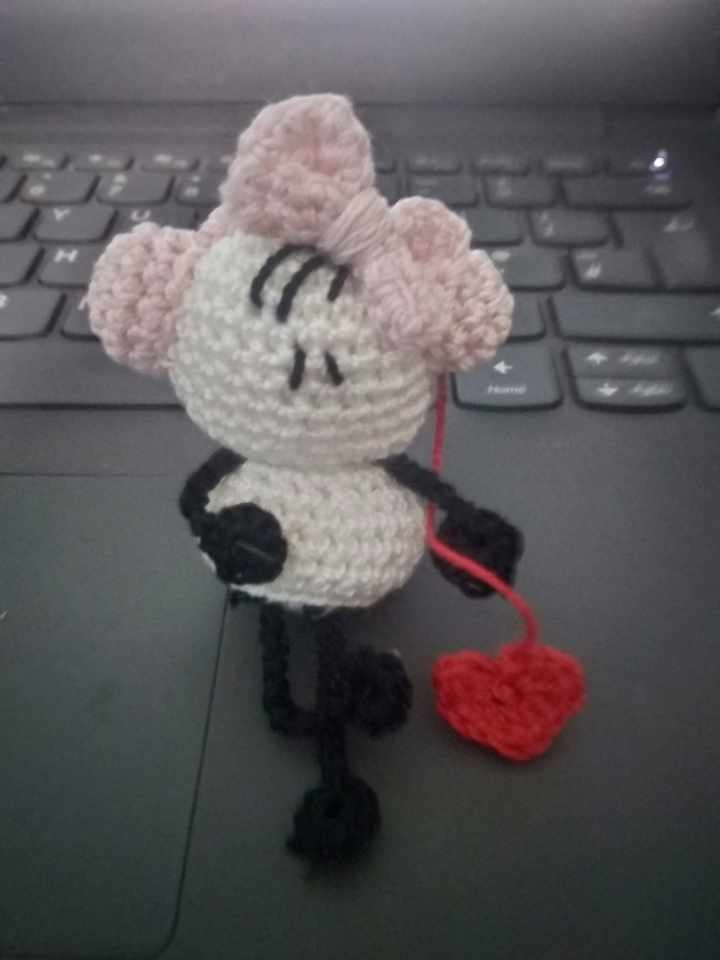
Lo último será bordar los ojos y cabello con ayuda de la aguja lanera y el hilo de color negro. Espero que les agrade mi propuesta.
The last thing will be to embroider the eyes and hair with the help of the wool needle and the black thread. I hope you like my proposal.
This turned out really great, we commend your creativity and we can't wait to see your future projects.
Wow, your work is very beautiful, I like it👍