Hola creativos de Hive! El dia de hoy, después de mucho tiempo les traigo un nuevo DIY. En esta ocasión les mostraré el paso a paso de como podrán elaborar este lindo marca paginas con material reciclable. Espero les guste tanto como a mi, los dejo con el tutorial.
Hello Hive Creatives! Today, after a long time I bring you a new DIY. This time I will show you step by step how to make this cute bookmark with recyclable material. I hope you like it as much as I do, I leave you with the tutorial.
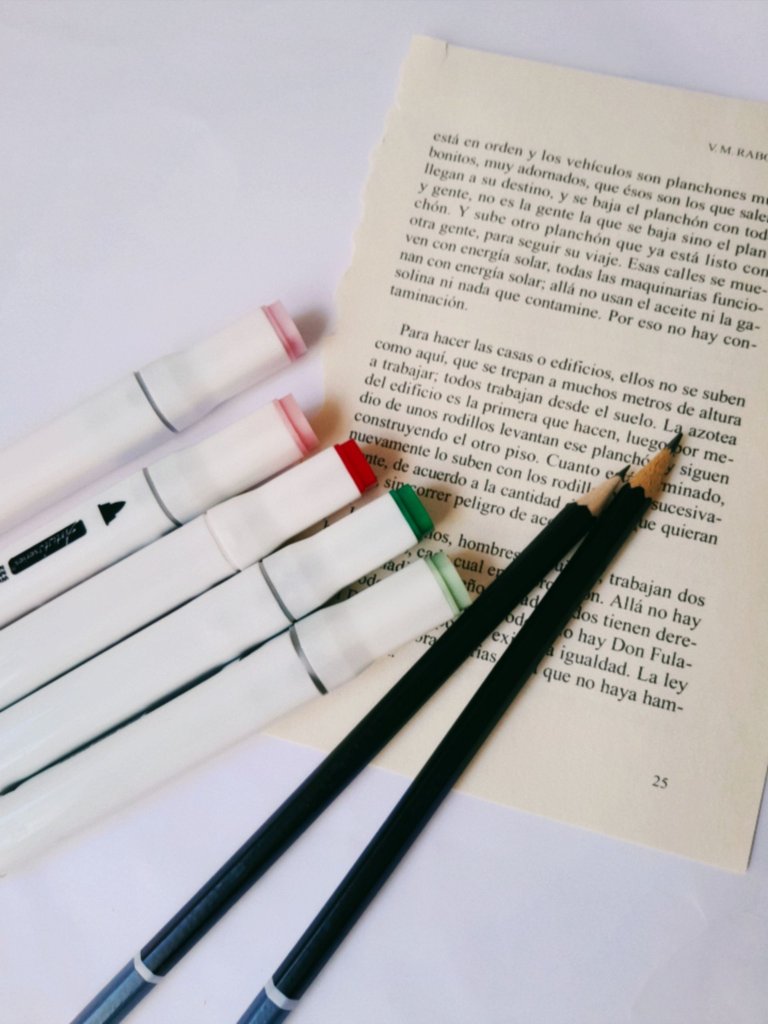
MATERIALES // MATERIALS
| Español | English |
|---|---|
| Cartulina blanca | White cardboard |
| Colbon y tijeras | Colbon and scissors |
| Papel periódico u hojas de libro viejo | Newspaper or old book pages |
| Marcadores de colores | Colored markers |
| Regla | Ruler |
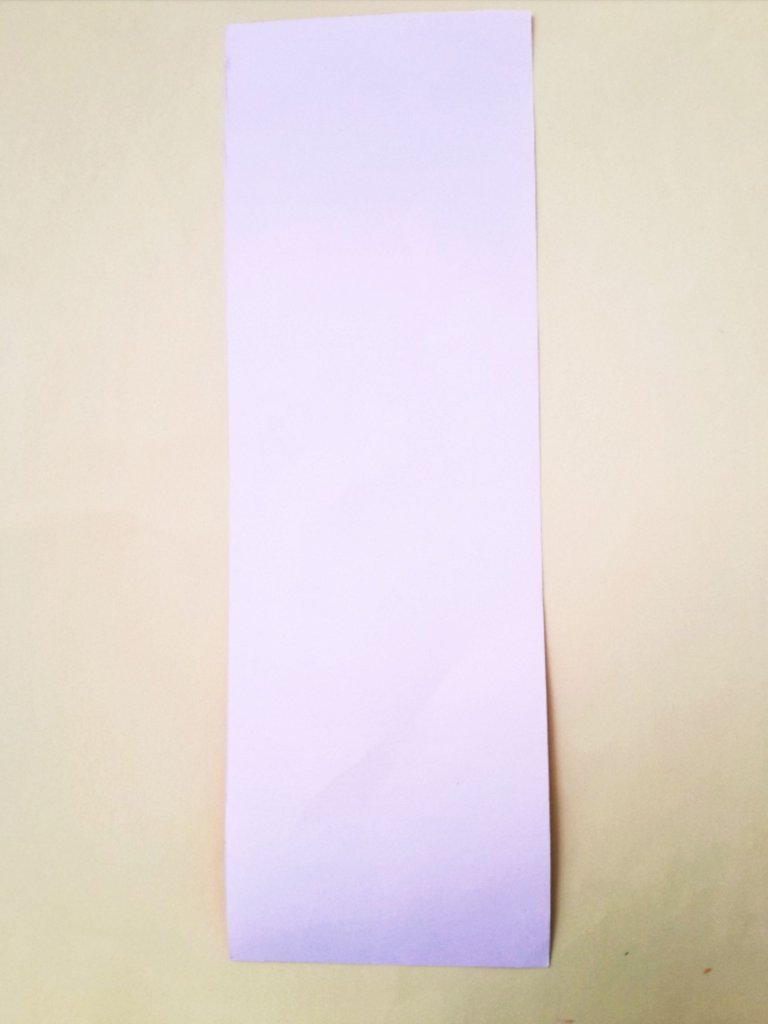
Empezaremos recortando un rectángulo de 6,5cm de ancho por 20cm de largo de la cartulina blanca.
Start by cutting out a rectangle 6.5cm wide by 20cm long from the white cardboard.
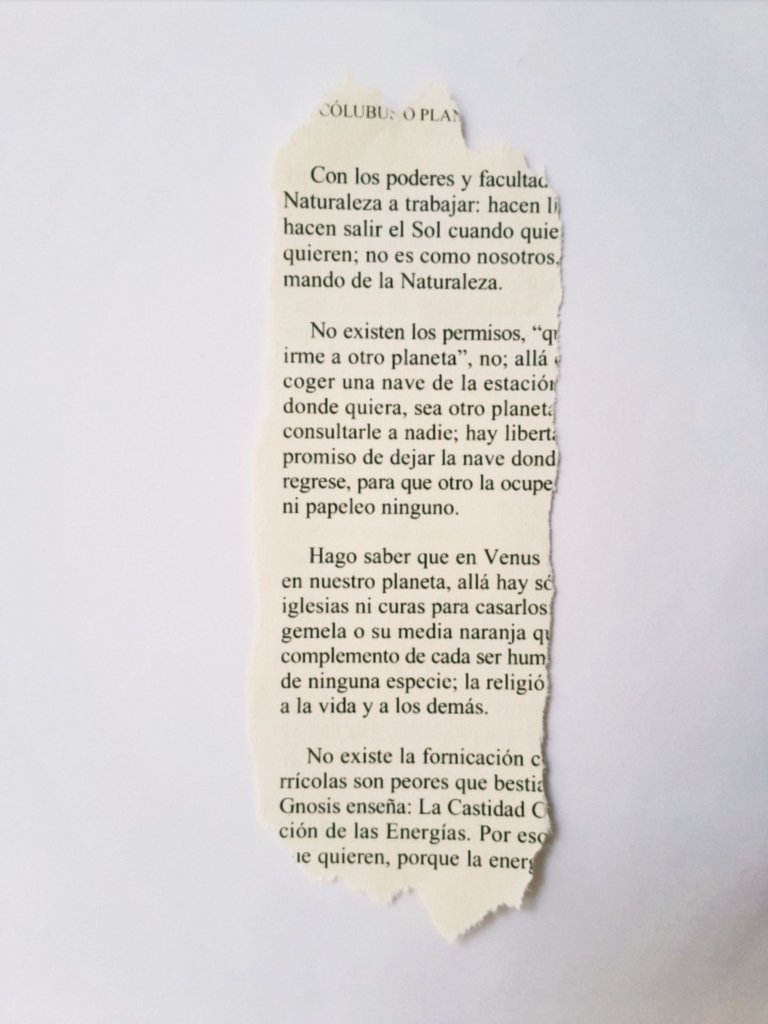
Luego de eso, rasgaremos un pedazo de hoja de papel periódico o de un libro viejo haciendo un rectángulo irregular. Pueden cortarlo con tijera si quieren, pero la idea es que se ve algo vintage.
After that, we will tear a piece of newspaper or an old book to make an irregular rectangle. You can cut it with scissors if you want, but the idea is that it looks vintage.
Una vez tengamos las dos partes listas, vamos a pegar la hoja del papel periódico o del libro ya rasgada encima de el rectángulo de cartulina, de esta forma:
Once we have the two parts ready, we are going to glue the torn sheet of newspaper or book on top of the rectangle of cardboard, like this:
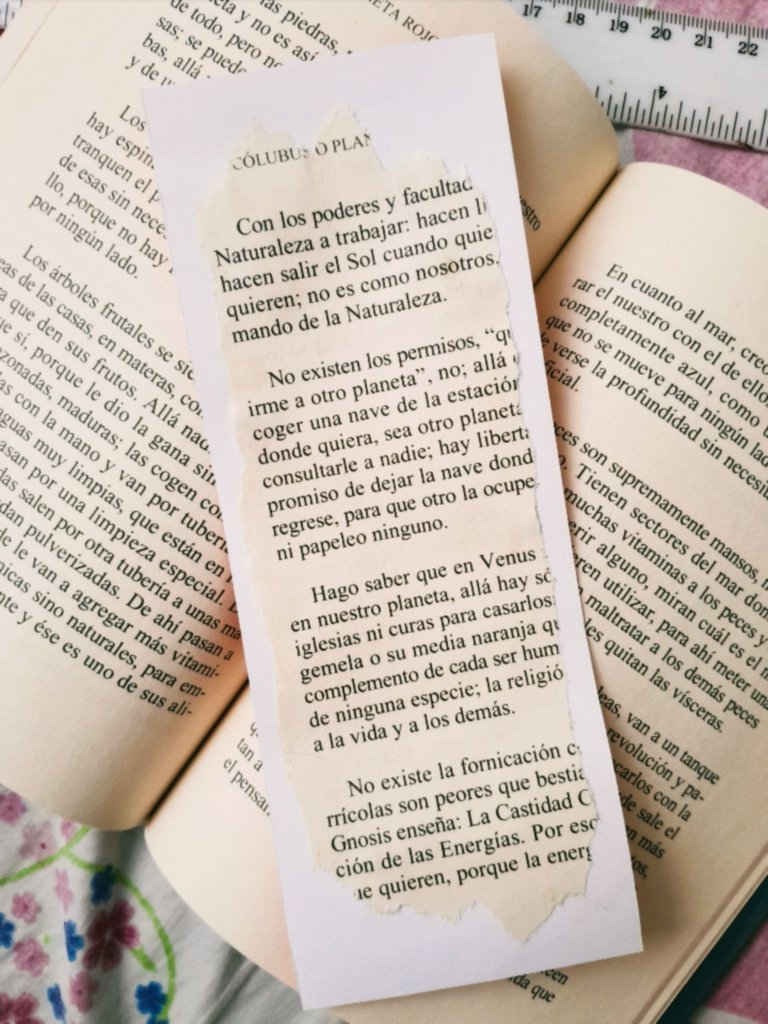
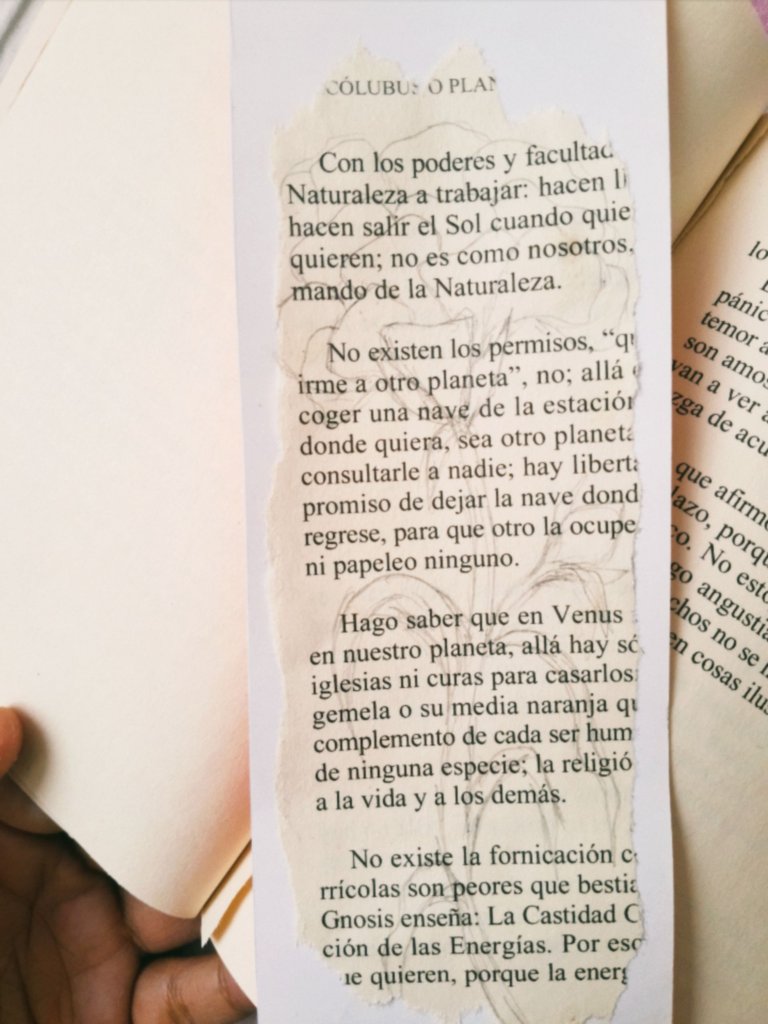
Lo pueden dejar asi si quieren, pero en mi caso quise hacerle un dibujo sencillo. Empecé por el boceto a lapiz...
You can leave it like that if you want, but in my case I wanted to make a simple drawing. I started with a pencil sketch...
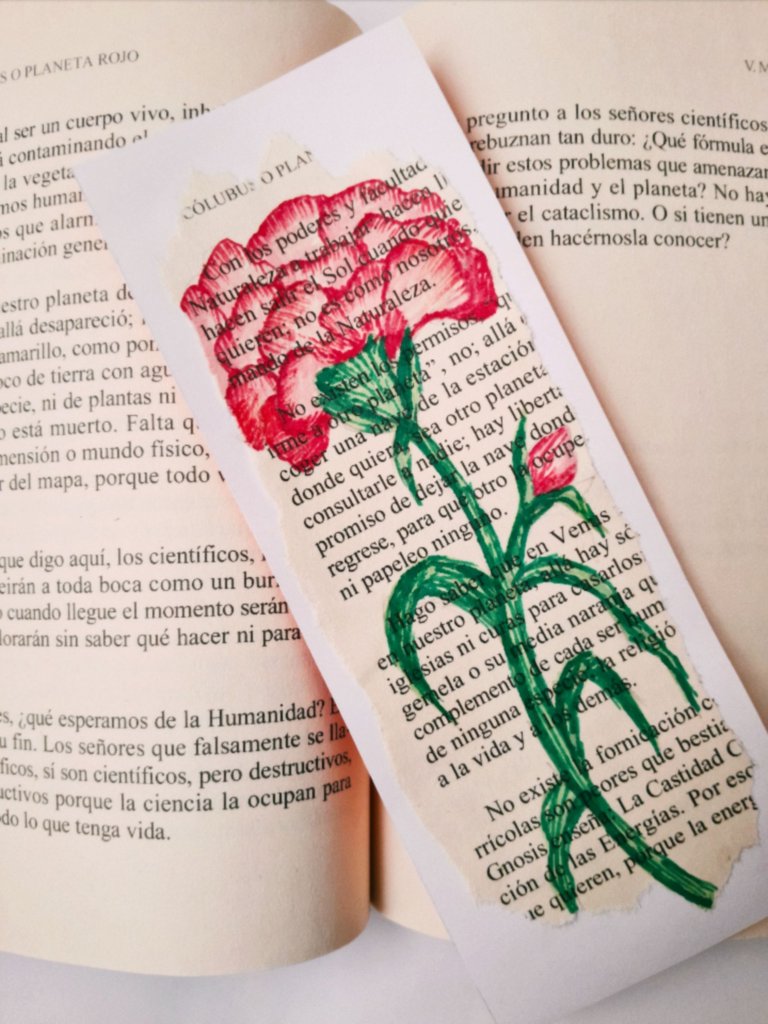
Hice un clavel porque amo los claveles... Y lo pinte con marcadores de agua: tonos verdes para el tallo y tonos rosas y rojo para los pétalos.
I made a carnation because I love carnations.... And I painted it with water markers: green tones for the stem and pink and red tones for the petals.
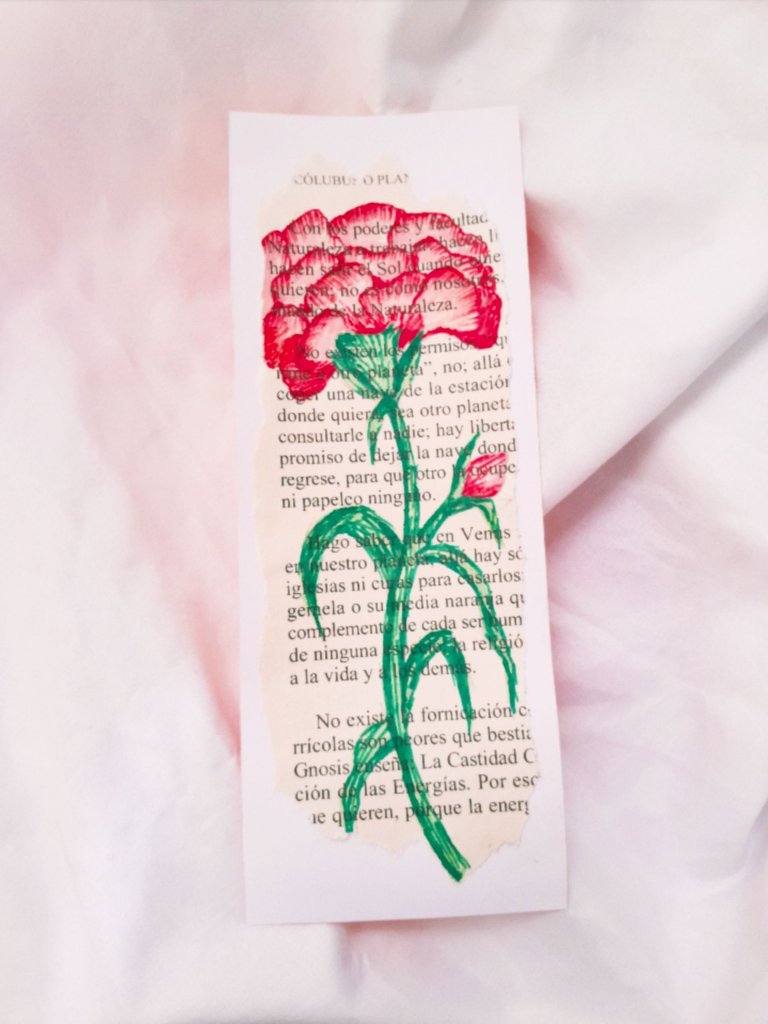
Y listo, ¿les gustó el tutorial?
And that's it, did you like the tutorial?
Thanks for reading and watching.
Publicado originalmente en Steemit
Excelente, te quedo hermoso. Me gustó mucho el estilo que le das. Voy a intentar realizar uno🩷🩷
Muchas gracias❤️ Me gustaría ver como te queda.
Por supuesto🩷
The ideas that you are sharing in the community are really beautiful and it is very nice to see a step by step with so much style in good quality pictures. Thanks for always giving your best.
Thank you very much! I hope to improve a lot more❤️
My friend, these are beautiful ideas. Thank you for sharing this post with so much detail, I will put it into practice at home myself... Good job!.
Thank you very much! I hope it looks very nice on you 💕.
Nice work. The flower looks so beautiful. Thanks for sharing your creativity.
Thank you💕