The title is a reference to the famous folk song which was first published as a poem in the 1870s, so if you're not familiar with it, I recommend the version by the Sons of the Pioneers. However, in this case, I'm also referring to the appliance which combines an oven and cooktop.
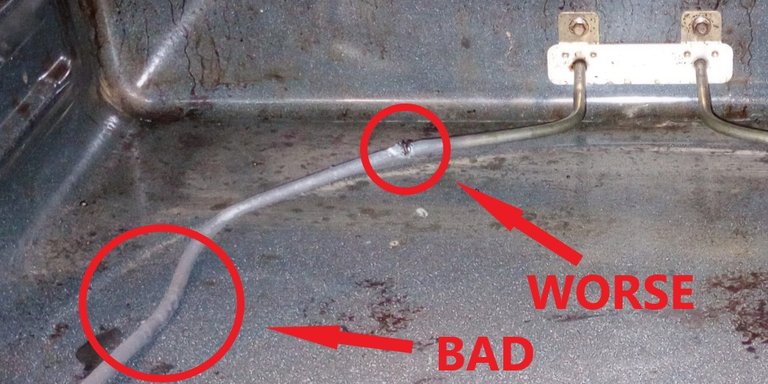
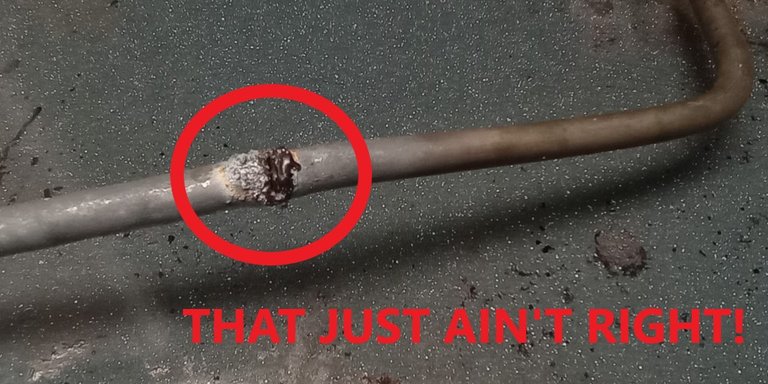
The Mother Thing had a problem, you see. The bottom element in the oven had begun to fail some time ago, slightly twisting and deforming. Then it burnt out altogether at one spot. Dad is getting less agile with age, and would have had a heck of a time contorting himself to get everything swapped out, so it fell to me.
This would all have been easier had manuals been available, but no such luck.
I sourced a replacement element semi-locally, and set to work a couple days later making the actual swap. As anyone does these days, I did some research online with sites like Wikihow. As one ought to expect, things went wrong anyway in short order.
Step 1: Safety first
Find your circuit breaker panel and turn off power to the oven. If things are poorly labeled, you may need to turn off power to the room, or even the entire house. Things were labeled here. Yay!
Step 2: Make room to work
If possible, remove the oven door. In this case, there wasn't an easy option, so I used a stool to make sure the door was supported, and worked around the obstacle.
Remove the racks from inside and set them aside. If there is stuff in the drawer under the oven, move that, too.
In fact, based on my experience, just go ahead and clear enough space to pull the oven away from the wall for access to the back. More on that later, though.
TIP: if you need to pull on folded sheet metal, use a towel to protect your fingies from the sharp bits.
Step 3: Remove the old element
Designs vary by manufacturer, but this is generally a matter of removing a few screws. In this case, there were just two in the back. You can see them in the image above. These are hex head, so I used a 1/4" nut driver. In metric land, a 6mm should work.
This is where the online sources let me down. The internet lied to me! No, you can't just pull the spade connectors and wires into the range to swap everything out from the front. Not on this model, anyway. One of the spade connectors popped off somewhere inside the insulation. Time for unexpected extra steps!
This is where I had to pull the range out from the wall, squirm behind it, unfasten more 1/4" hex head screws from a tin panel, and access the connections from the rear. Like I said, just plan on having to do this anyway.
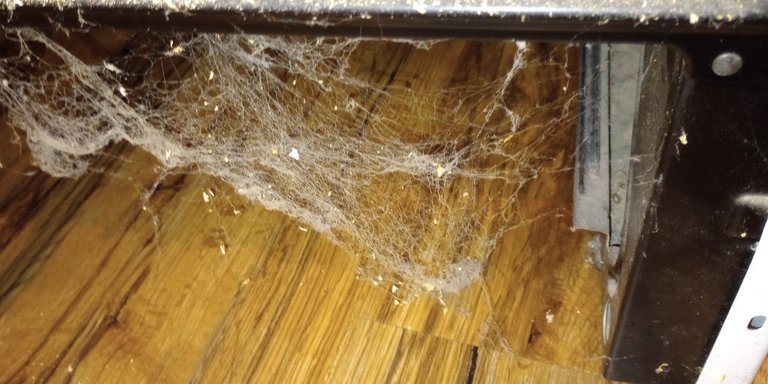
This also led to an interruption because there were dust bunnies, debris, and other messes hiding under and behind where the range usually sits. The Mother Thing had to be fended off as her instinct to commit a neatness was about to interrupt my progress. No time for that now!
Step 4: Connect the new element
After inserting the new element and screwing it into place from inside the range, I went around back again and put the spade connectors in place. This was simple.

Step 4a: Let the Mother Thing commit her neatness
Yeah, this probably needed attention anyway.
Step 4b: Replace a surface burner control switch while everything is already accessible
Apparently there were other neglected repairs, and I was there anyway.
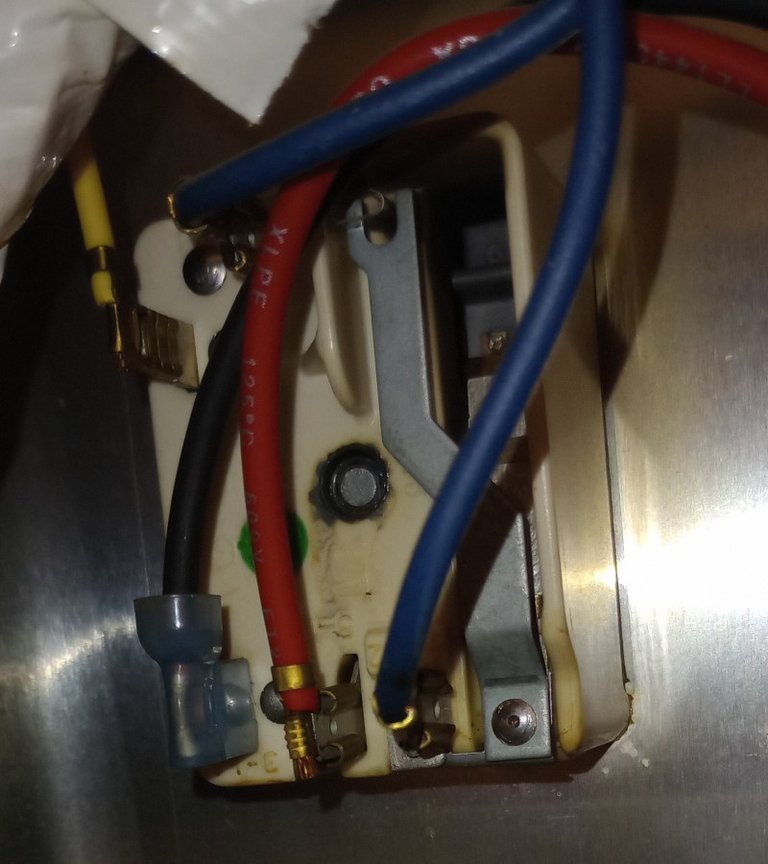
More spade connectors to pull. Yay.
The control knob on the front popped off easily, and there were two short screws behind it holding the control module in place. Yes, I managed to put the new one in upside-down. Yes, it matters. I caught it and put it back properly without much trouble. Then I used this crappy photo I took beforehand to make sure it was all connected again correctly.
Step 5: double-check all the wiring is properly reconnected
Yup, I got that right, but I made damn sure before I put the back panels on again.
Step 6: Test!
Turn the breaker back on and make sure everything works. All 4 burners warmed up within a few seconds of being switched on, and I could feel heat radiating from the top and bottom elements in the oven. Success!
Step 7: Put everything back
Make sure there are no stray pieces. Slide the range back home into its slot in the cabinetry. Make sure all tools are accounted for.
Step 8: Write a blog post
And here we are. Hopefully this was somehow entertaining and/or informative.

I love (no not really) how bizarrely things can go wrong when you're trying to fix anything that might be remotely complicated (or even not in my case XD).
Yay for being able to get it fixed even if it was shenanigans all the way :D
Just assume Murphy's Law will strike.
There is Murphy's Law and there is how in the actual freaking heck (or any of its more expletive-laden variations) does this even happen XD
No doubt The Mother Thing appreciated all of your efforts. Glad everything worked when you tested it! I don't know anyone who routinely pulls out major appliances to clean under and around them, so one usually finds a dreadful mess when one finally does. It can be a bit unnerving.
Between your cats and grandkids, who knows what now lurks beneath your kitchen appliances?
Awesome job dude, I just replaced my same heating element in my oven last winter lol. Just 2 weeks ago, the heating element on the dish washer went! I've got the new one hanging out downstairs, waiting for my son to have some time away from school and tutoring to get it installed. Fun little DIY projects like these are cool!
Indeed safety first though, especially with the electrical stuff! I will for sure be turning off the breaker for the dishwasher swap lol