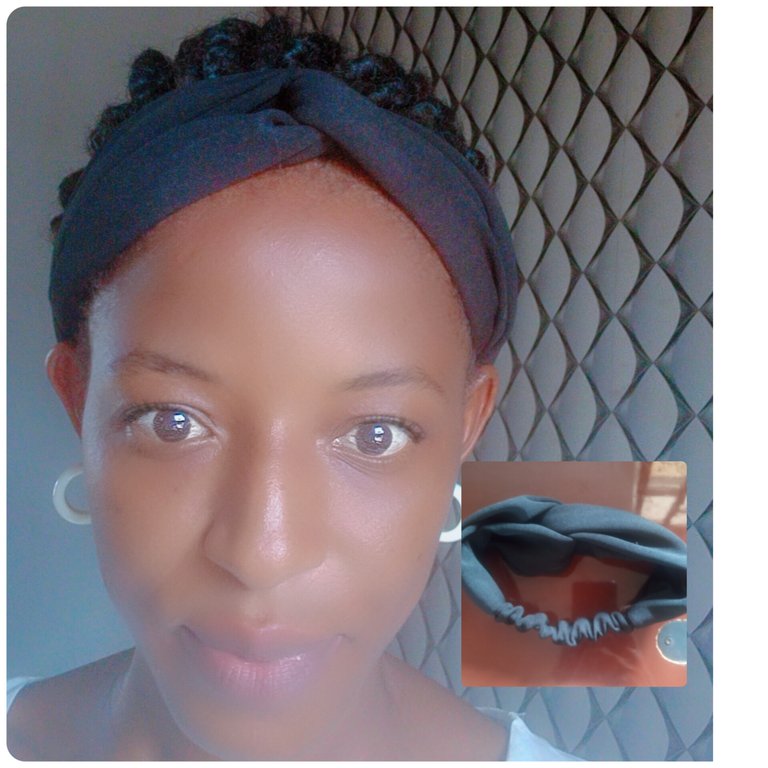
Easy Steps In Making Twisted Head Band.
Hello Hivians!
Trust your day is going on well and you are enjoying every bit of it.
I am excited to share with you all, the twisted head band I made over the weekend. Yeah, I did a nice work with my fashion designing skill on Saturday and everyone loved the head band when I wore it. So I decided to share with you how to make twisted head band with these simple steps below.
Firstly, what's twisted head band use for? A twisted head band is majorly use to keep hair out of the face and some people use it for fashion as it comes in different colors and pattern to add a stylish touch. Some other people use it to cover the edge of the loss hair.
The steps involve in making a twisted head band are highlighted below. To start with, you need the following materials.
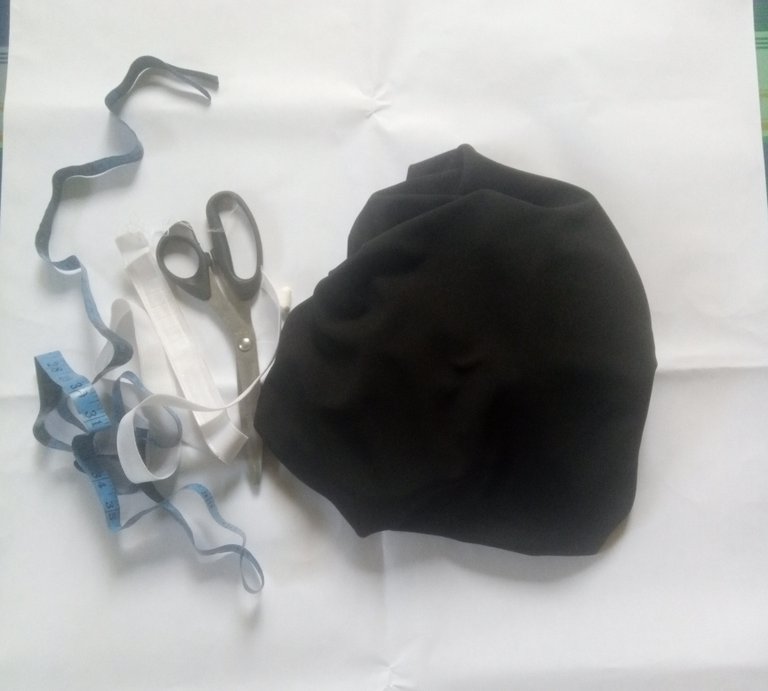
- Fabric of any patterns or colors
- Elastic band
- Thread
- Safety pin.
- Sewing machine.
- Tape rule and scissor.
The first steps is to take measurement of the head circumference of the person that want to wear it. Then divide the measurement into two part, not equally. Let's say 20 inches is the head circumference of the user, the measurement will be divided into 16inches long for frontal side/part and 4inches for back side/part.

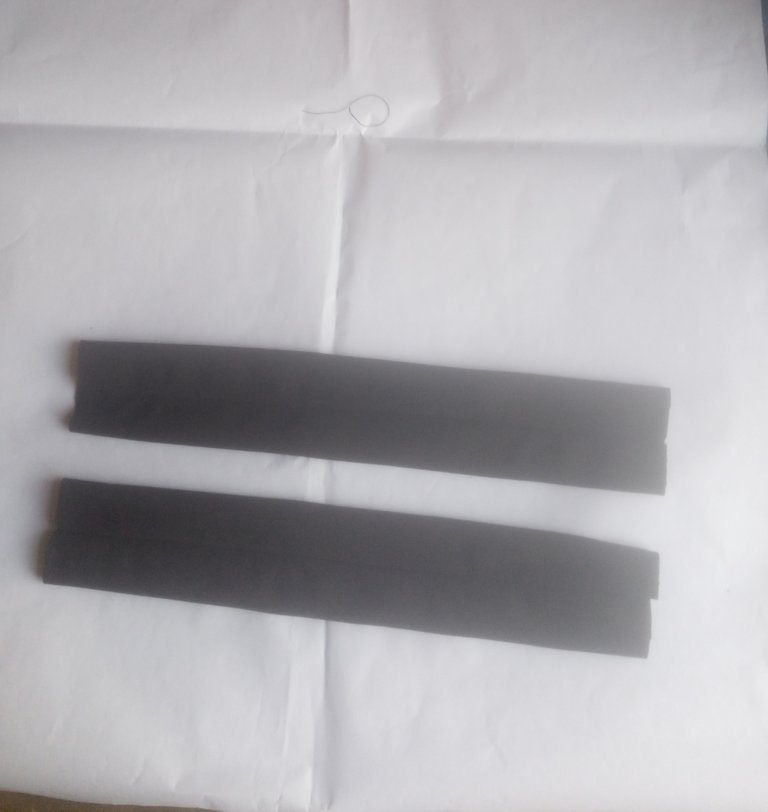
1st Step : lay your fabric flat on the table and mark out the front part measurement for head band which could be any inches long and wide depending on how you want it e.g 16 inches long and 7 inches wide. Then cut two pieces of that length and width out.
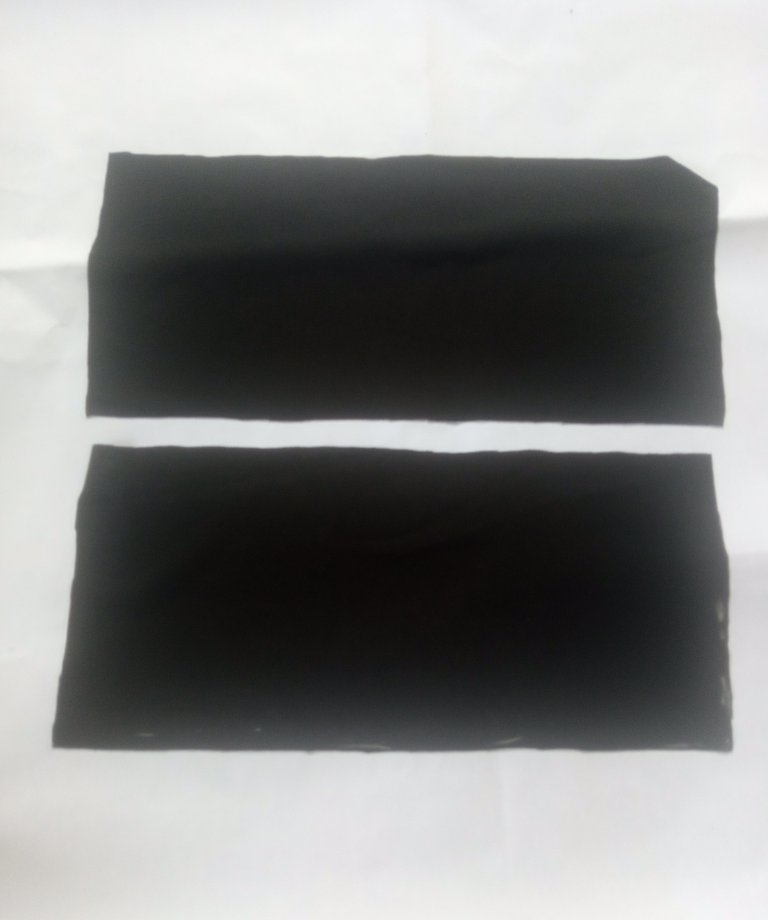
The two pieces of the front part of the head.
2nd Step: Mark out the back measurement, let say 4 inches to complete the actual head circumference but this measurement must be double because of the elastic that'll go inside it ( that will now be 8.5 inches by length and 3.5 inches wide,altogether with sewing allowance) which will serve as elastic casing at the back. Also cut out the elastic too which could also be in any inches long.
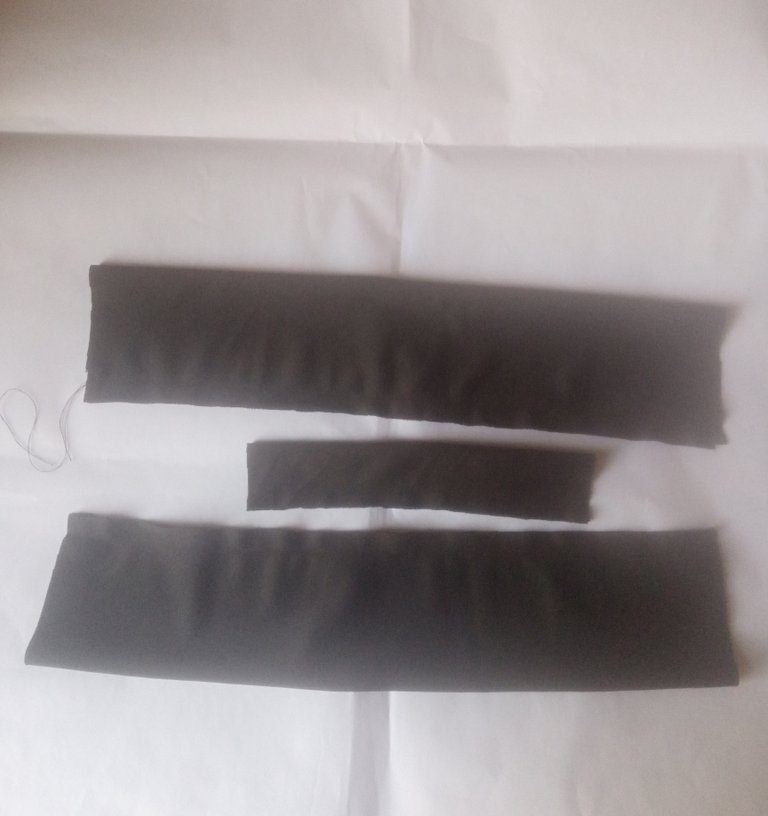
3rd Step: Take the front and back fabrics cut out and fold them into two equally, right side facing each other and sew the edges of the wrong side round. Then flip the right side of the three pieces out.
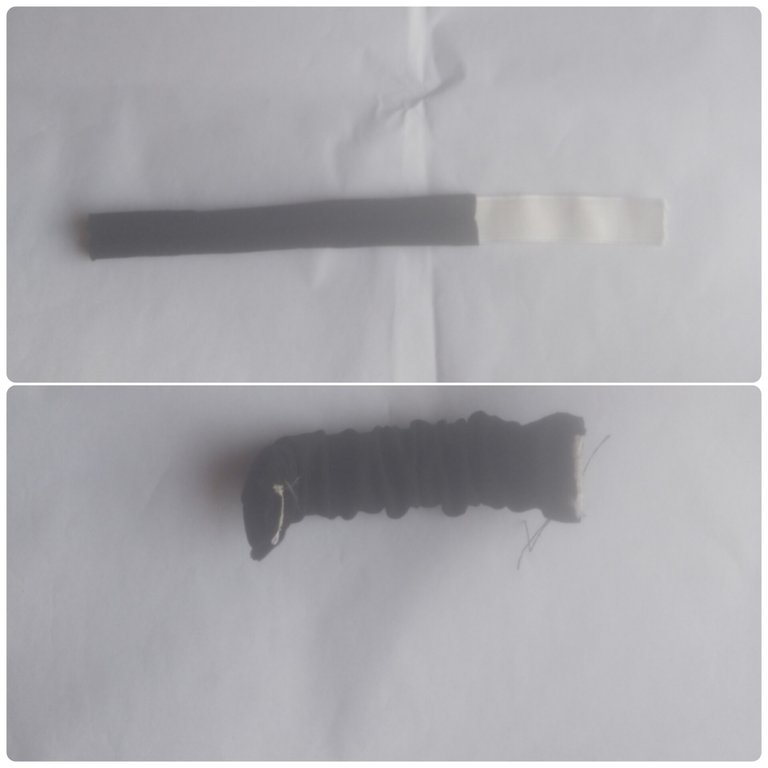
4th Step: Insert the elastic band into the elastic casing or tube( back fabric) using safety pin to pass it through, then stitch the two end down.

5th Step: Next step is to bring those pieces ( both two front fabrics and back fabric) together to form the twisted head band. Here, fold the front fabric into two and place the two on each other by crossing it and arrange it well, then place the elastic casing or tube into one end of the one of the front fabric and stitch together, do the same for the second front fabric for other end. After stitching them together, turn it out to have a perfect twisted head band.
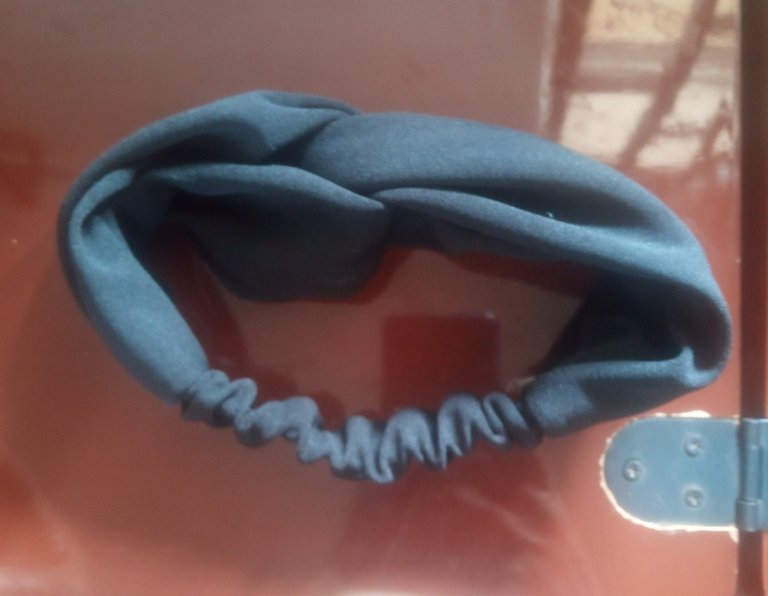
I hope you found it helpful and you would agree with me that, the twisted head band is simple to make. Thanks for reading through.
All images used here are mine.
You received an upvote ecency
simple and beautiful.
So useful and beautiful
Your twisted headband tutorial is clear and easy to follow. The head band looks good on you too. Nice work.
selected by @stevenson7
Congratulations @jimohlamide! You have completed the following achievement on the Hive blockchain And have been rewarded with New badge(s)
Your next target is to reach 500 upvotes.
You can view your badges on your board and compare yourself to others in the Ranking
If you no longer want to receive notifications, reply to this comment with the word
STOPCheck out our last posts:
Excelente idea, estas cintas para el cabello me encantan.
How easy it is for you to make it, I made one and it didn't go so well, now I see your techniques to make a better one.
So nice @jimohlamide
You have got a lovely creative skills
Am.looking up to more of your creative post
Wow! This is great! It's very easy to follow. Thanks for sharing 🥰