¡Hola, amigos de Hive!
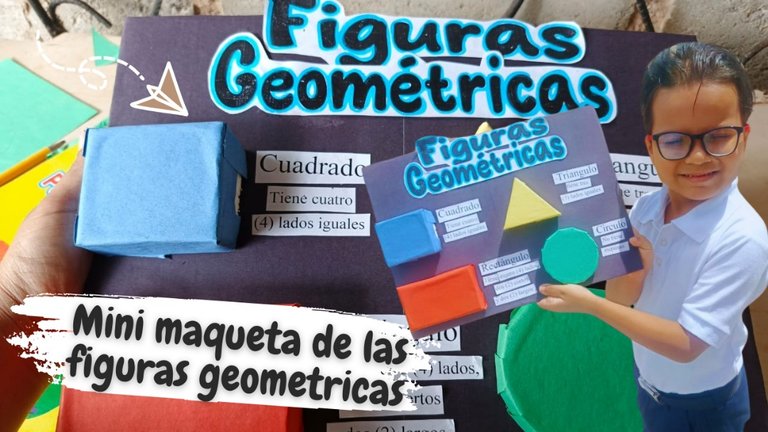
Espero que se encuentren súper bien esta noche. Hoy quiero compartir con ustedes una pequeña maqueta que realicé para mi hijo sobre las figuras geométricas para una actividad en su escuela, una pequeña exposición para sus compañeros. Así que quiero compartir con ustedes este fácil y rápido proceso. ¡Espero de todo corazón que les guste!
Hello, friends of Hive!
I hope you are doing great tonight. Today I want to share with you a little model I made for my son about geometric figures for an activity at his school, a small exhibition for his classmates. So I want to share with you this easy and quick process, I wholeheartedly hope you like it!
Materiales utilizados:
• Cartón
• Anime
• Papel de colores
• Marcador negro
• Pega y silicón
Materials used:
- Cardboard
- Anime
- Colored paper
- Black marker
- Glue and silicone
Paso a paso:
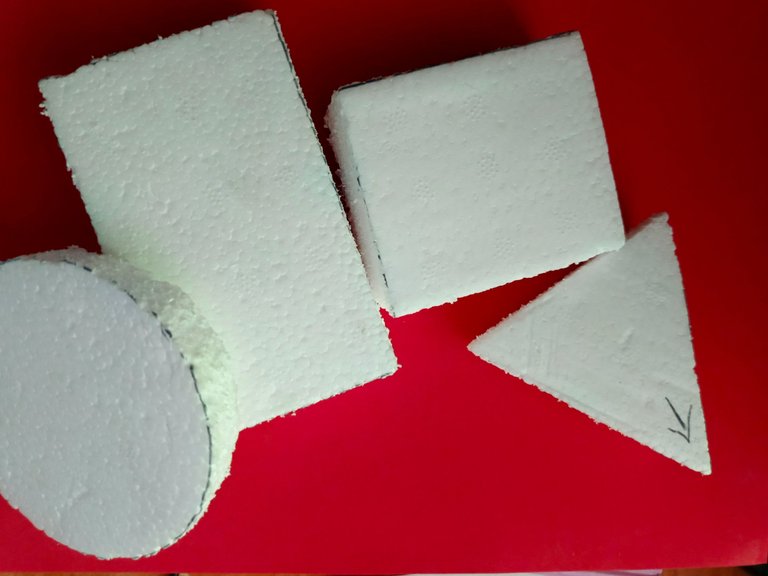
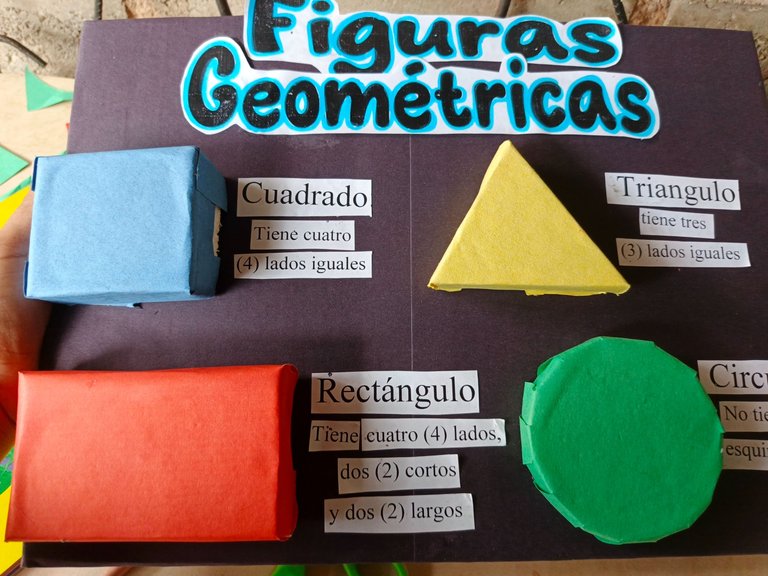
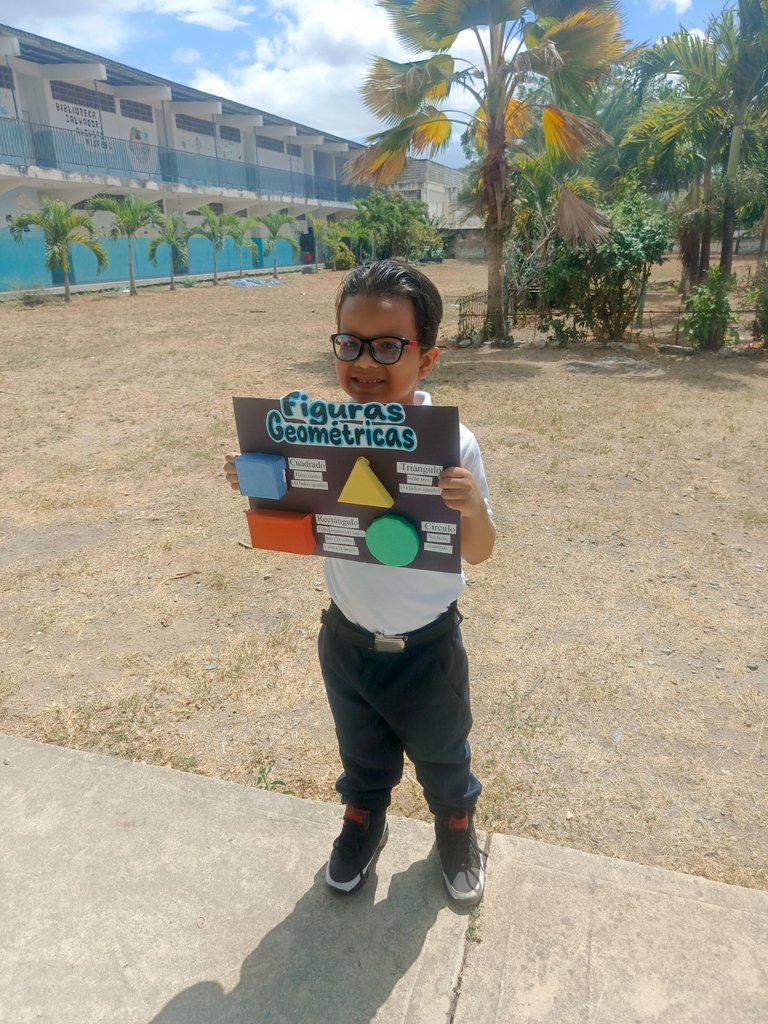
- Primero, tomé unos pedazos de anime que tenía en casa y dibujé y corté algunos moldes de figuras con la intención de que quedaran en 3D, como el cuadrado, círculo, rectángulo y triángulo, para luego forrarlos con papeles de colores.
Step by step:
- First, I took some pieces of anime I had at home and drew and cut some molds of figures with the intention of making them in 3D, such as the square, circle, rectangle and triangle, and then lined them with colored paper.
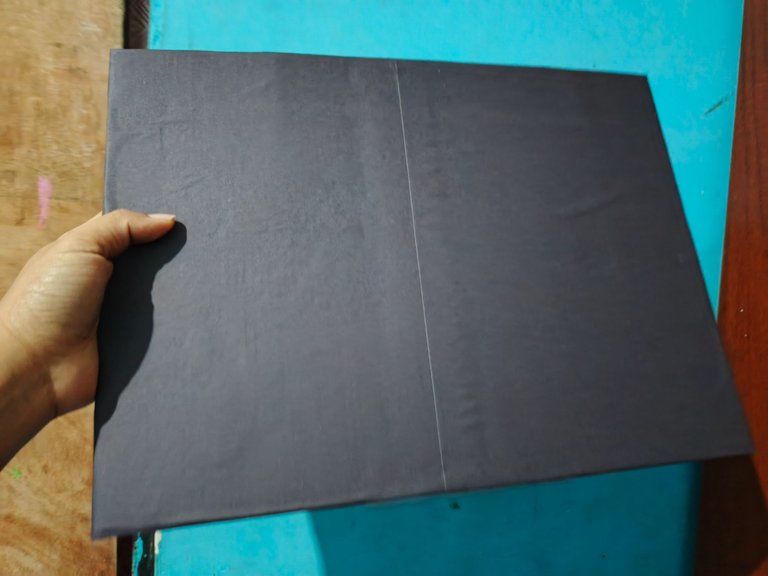
- Tomé un cartón de más de 30 cm de largo y 20 de ancho para también forrarlo con un papel negro opaco, con la intención de que todo lo demás resaltara. Para luego pegar con silicón las figuras ya forradas con papel sobre esta base de cartón.
- I took a cardboard more than 30 cm long and 20 cm wide to also line it with opaque black paper, with the intention that everything else would stand out. Then I used silicone to glue the figures already lined with paper on this cardboard base.
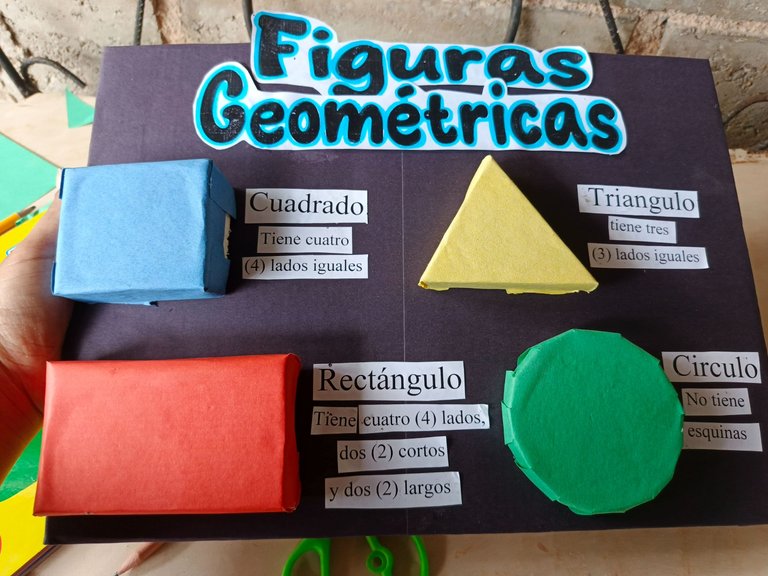
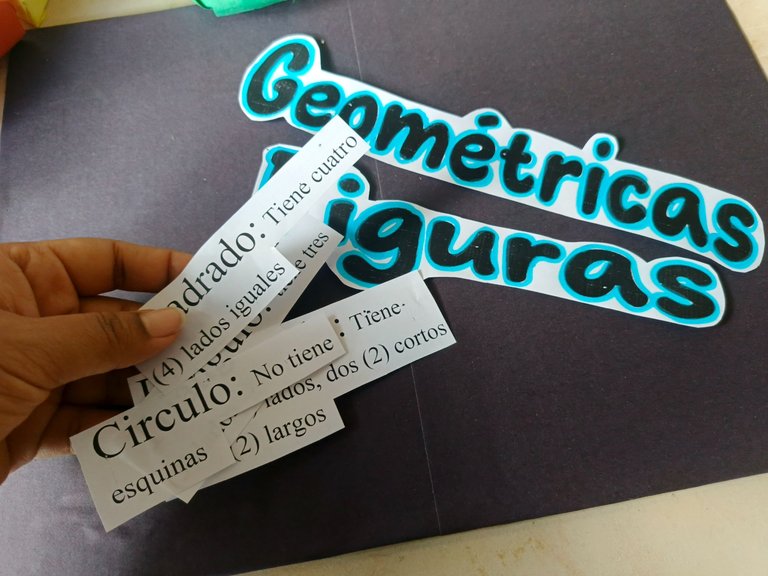
- Seguidamente, tomé el nombre y la pequeña información que había impreso y fui armando todo, colocando el título sobresaliendo del cuadro, mientras que fui colocando pedazos de información justo al lado de cada figura según corresponda. ¡Y listo!
- Next, I took the name and the little information that I had printed and put it all together, placing the title sticking out of the box, while I placed pieces of information right next to each figure accordingly. And that was it!

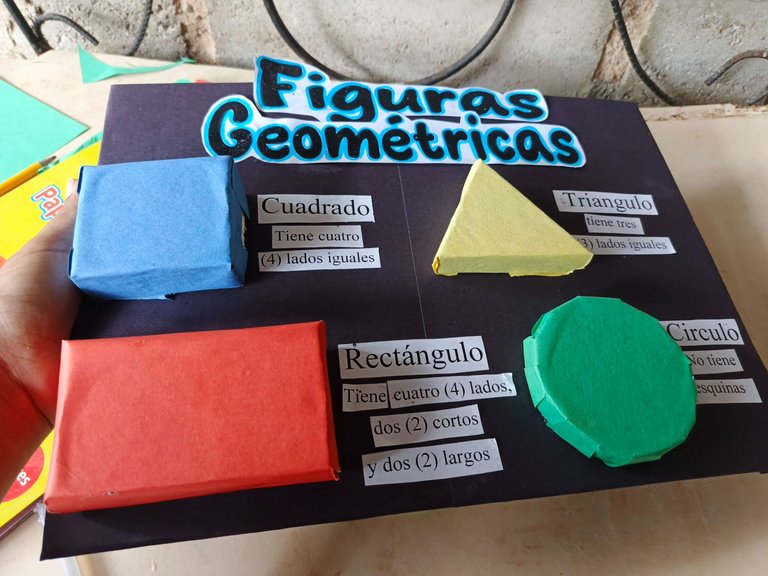
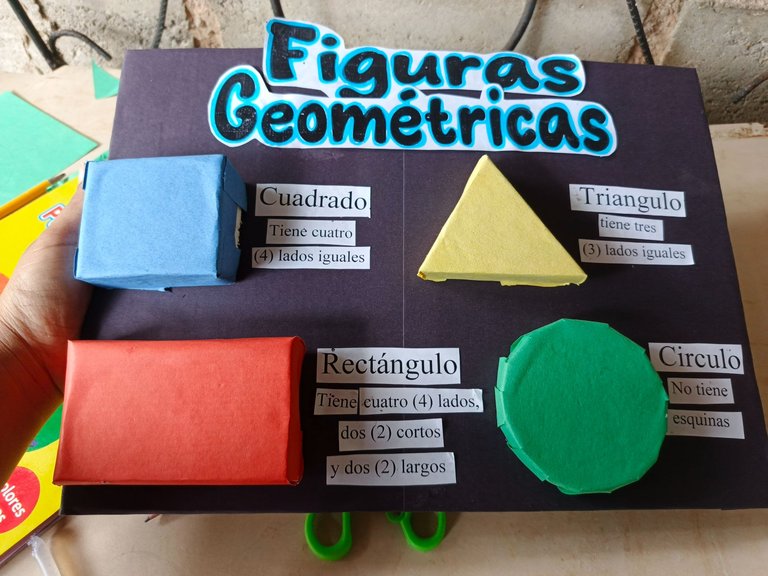
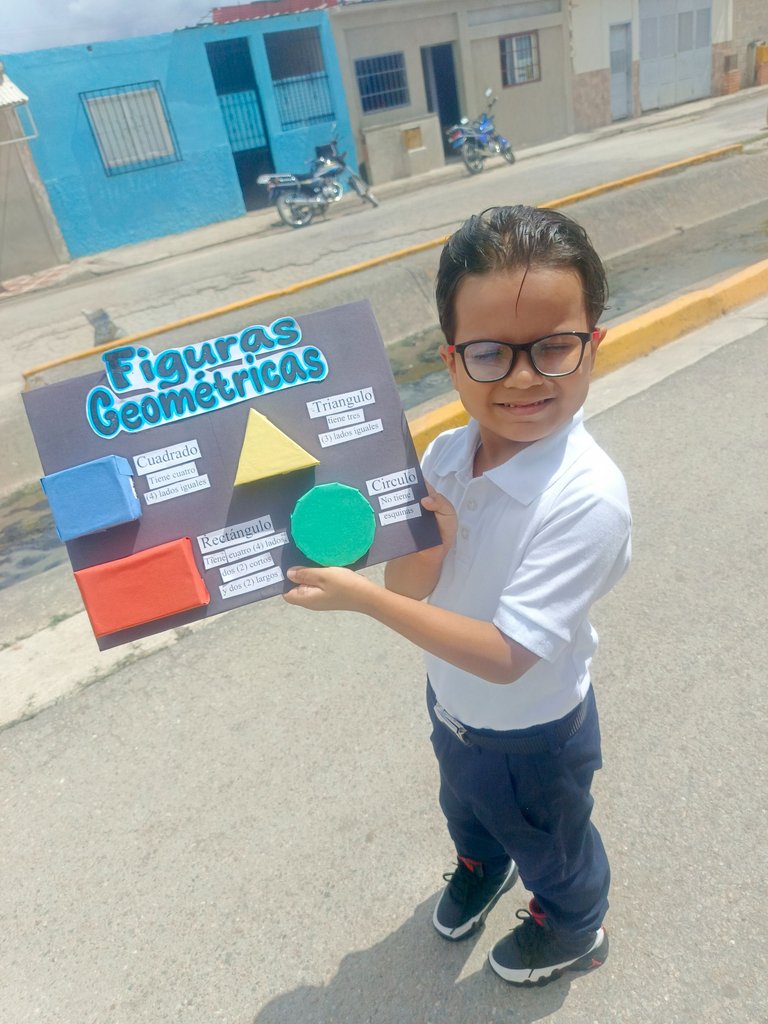
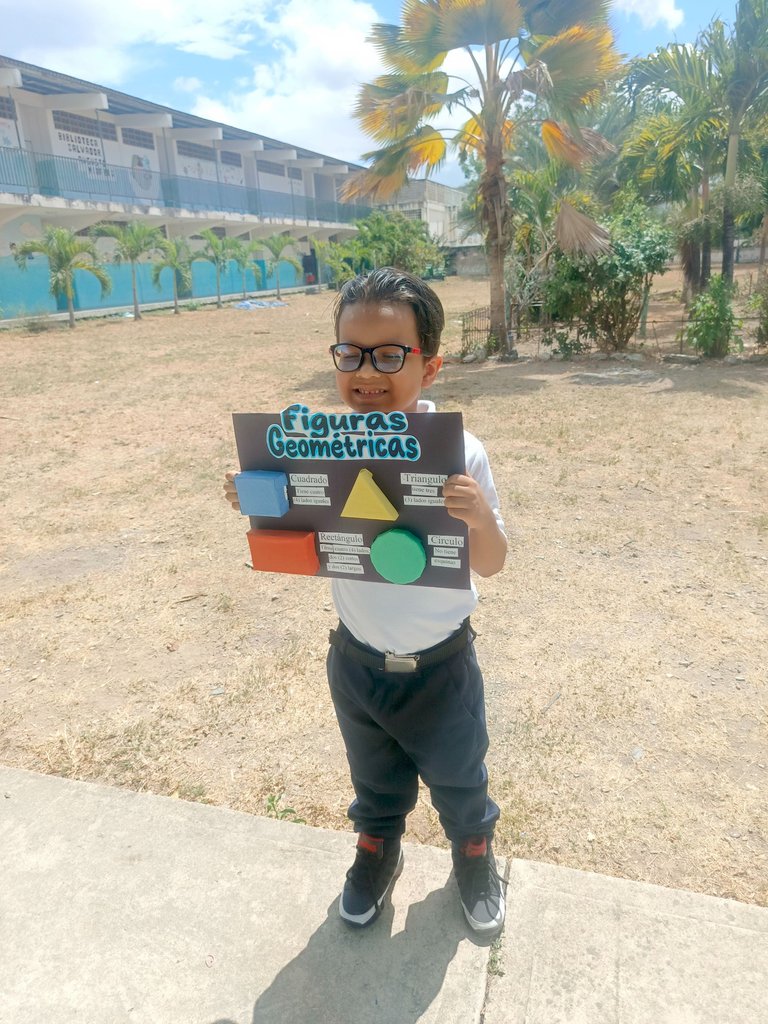
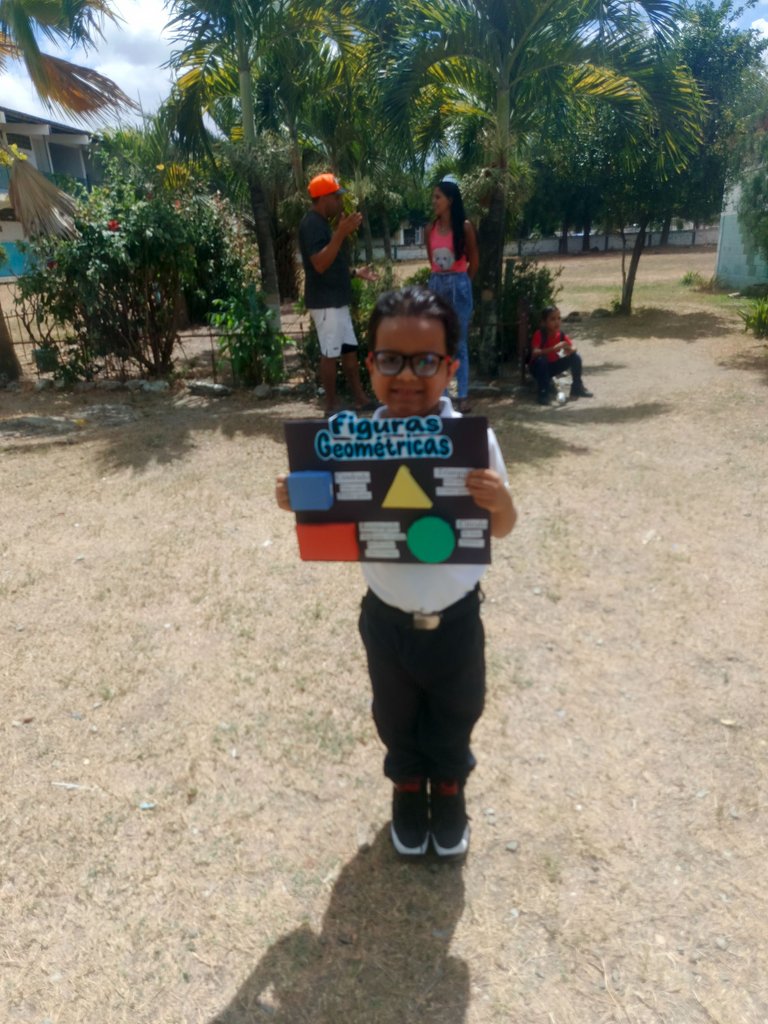
La verdad que fue una maqueta bastante sencilla y muy fácil de hacer, sobre todo porque las figuras que mandaron solo fueron estas. Yo tenía pensado abarcar más información y más variedad de figuras, pero las órdenes de la maestra fueron estas. Pero me gustó cómo quedó el resultado final y mi hijo, por supuesto, iba feliz con su maqueta a presentarla. Espero de todo corazón les haya gustado. Como siempre, quiero darles las gracias por quedarse a leer y regalarme un ratito de su tiempo. Nos vemos en una próxima publicación. ¡Un abrazo!
The truth is that it was a pretty simple model and very easy to make, especially because the figures that were sent were only these. I had planned to include more information and more variety of figures, but the teacher's orders were these. But I liked the final result and my son, of course, was happy with his model to present it. I sincerely hope you liked it. As always, I want to thank you for staying to read and giving me a little bit of your time. See you in a future post, best regards!
Definitivamente nosotras volvemos a estudiar con nuestros hijos, apenas está empezando pero ya te tocará hacer trabajos y maquetas y repasar toda tu primaria e incluso la secundaria.
Te quedó muy linda esta maqueta y ese bebé se ve que estaba muy orgulloso de llevar su trabajo al colegio.
Te ha quedado muy bonita la amqueta amiga! Saludos
Muy linda este trabajo! bien
Congratulations @keilis! You have completed the following achievement on the Hive blockchain And have been rewarded with New badge(s)
Your next target is to reach 23000 upvotes.
You can view your badges on your board and compare yourself to others in the Ranking
If you no longer want to receive notifications, reply to this comment with the word
STOP