Español
Saludos amigos creadores 👸🎉🍬.
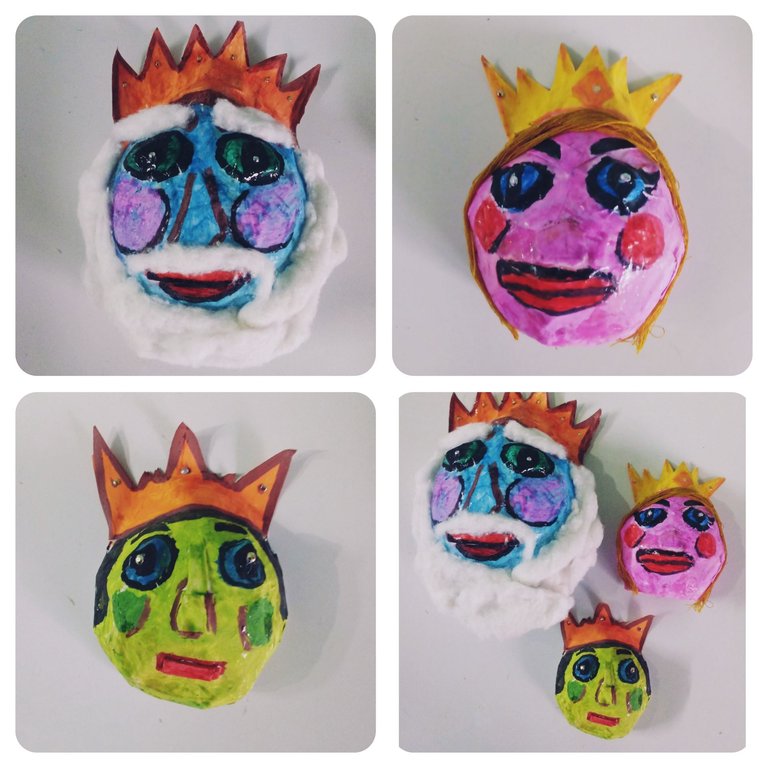
Encontrándonos en vísperas de celebrar unas de las fechas hermosas en este nuevo año: la llegada de los reyes magos. He querido compartirle en forma de tutorial los colgantes de caritas de reyes , que confeccioné con la técnica de papel maché, para decorar ese día mi hogar, colgantes que reflejan la unión, amor, al representar una familia de rey, reina y príncipe.
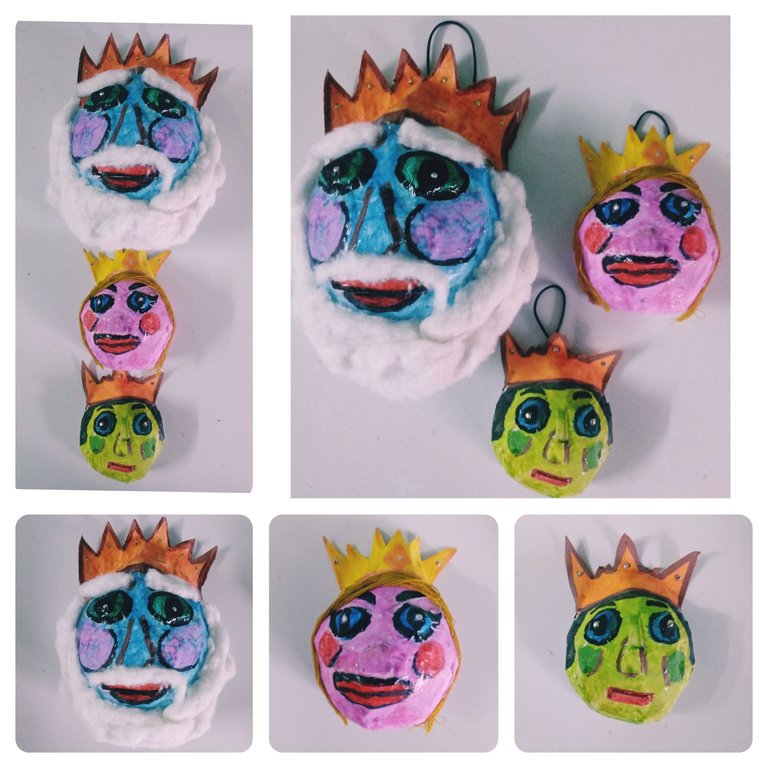
Los invito a que me acompañen pues a parte del decorado de nuestros hogares , esta confección puede ser utilizada como cestas para las confituras de los pequeños de la casa. ¡Comencémos!
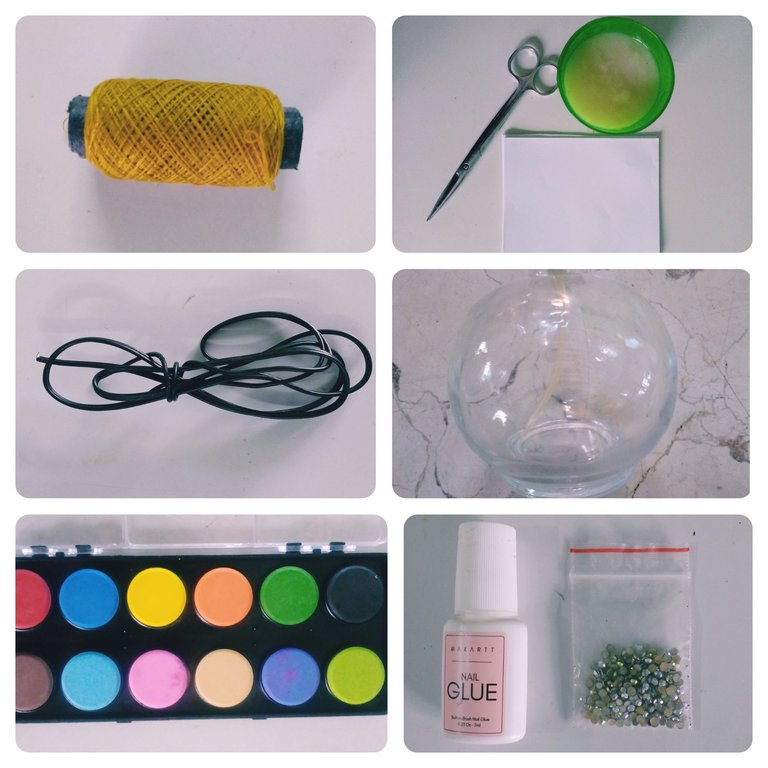
Materiales
.Moldes: Objetos redondos
.Tiras de papel blanco
.Cartulina
.Pega elaborada de harina
.Pegamento
.Acuarelas
.Tijera
.Algodón
.Cable
.Hilo
.Barníz
.Pequeñas piedras brillantes
Modo de confección
1-Primeramente tomamos los moldes redondos y con un algodonsito humedecido en aceite, impregnamos toda su superficie.
2-Realizar tres capas de empapelado al molde con tiras de papel blanco y la pega elaborada de harina. Dejar secar por ocho horas.
3 -Utilizando una tijera, realizar una grieta cuidadosamente por todo el centro del molde, y luego, desmontar la estructura resultante .
4-Al desmontar, obtenemos dos semicircunferencia de igual diámetro, a las que por su parte posterior cerraremos hasta su medio, utilizando tiras de papel y pegamento.
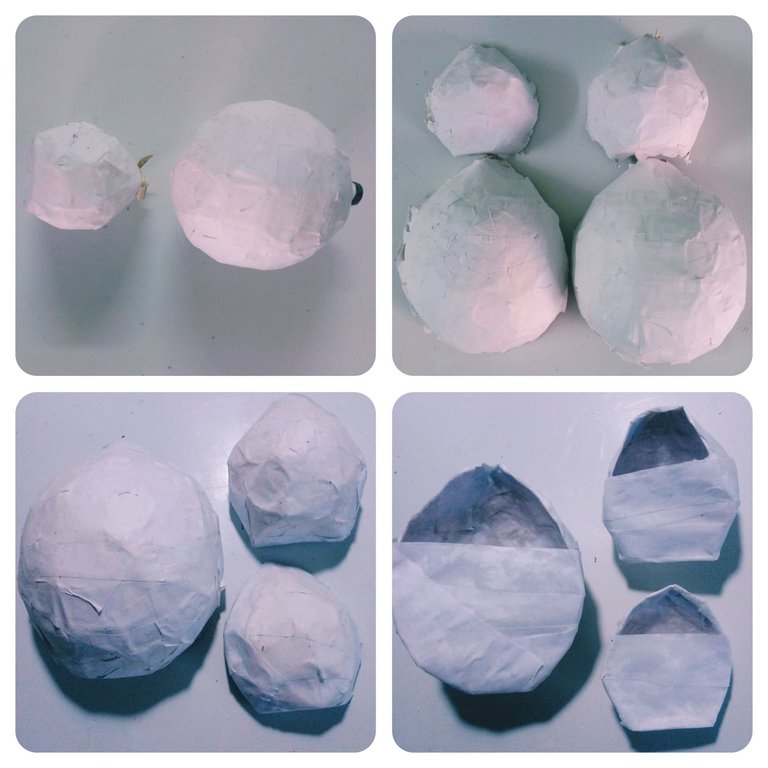
Hasta aquí, tenemos la base para nuestros colgantes de reyes, ahora, pasaremos a personalizarlo conformando rasgos faciales.
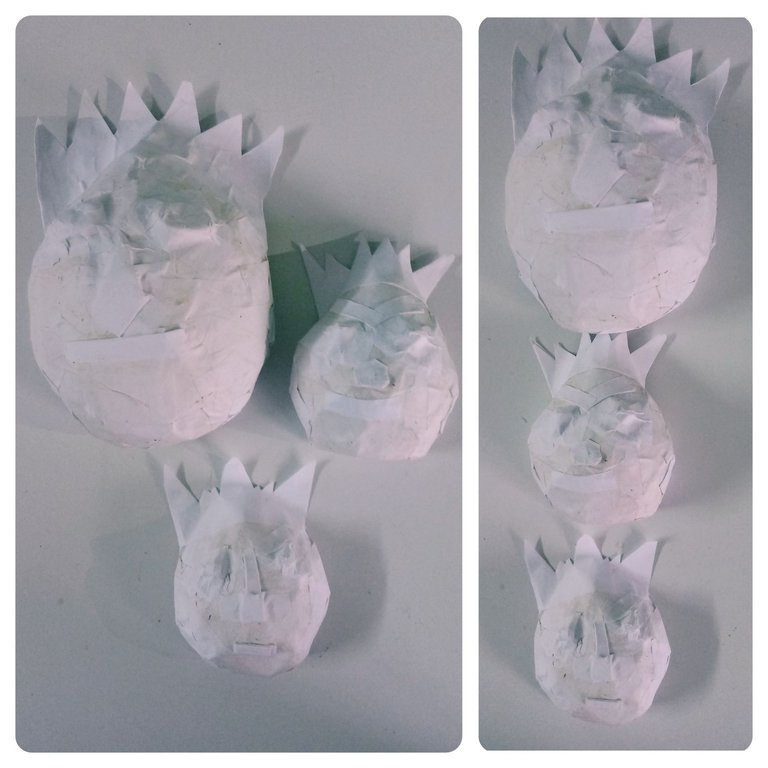
Para los ojos y boca:
1-Estrujamos papel conformando bolitas pequeñas, para los ojos, y tabaquitos largos, para la boca.
2-Adherimos con pegamento estas estructuras a la base de los colgantes previamente confeccionada.
Para crear las coronas:
1-Dibujar en la cartulina el modelo de corona deseado.
2-Cortar siguiendo la guía trazada con la tijera.
3-Adherir con pegamento a la base de las carita de reyes.

Los colgantes de reyes se encuentran listos para ser pintados con acuarelas y pinceles.
Los colores:rojo, amarillo, naranja, azul, fueron escogidos por mi pequeña primita, quién me acompañó y disfrutó todo el proceso creativo de la familia de reyes. Para generarle brillo, utilicé barníz y pequeñas piedras coloridas.
Para darle su acabado, le adherí con pegamento pequeños pedasitos de algodón a la que constituiría la barba prominente del rey, mientras a la reina con recortes de hilo, conformé su cabello.
Para colgarlos confeccioné pequeñas asitas de la siguiente forma:
1-Cortamos cuatro centímetros de cable.
2-Adherimos con pegamento a los colgantes de reyes.

Como pueden apreciar amigos es una manualidades sencilla, que nos permite a travéz del trabajo con papel maché , reciclar e integrar a los pequeños de la casa en el proceso de creación, manteniendo la magia de este bello día.
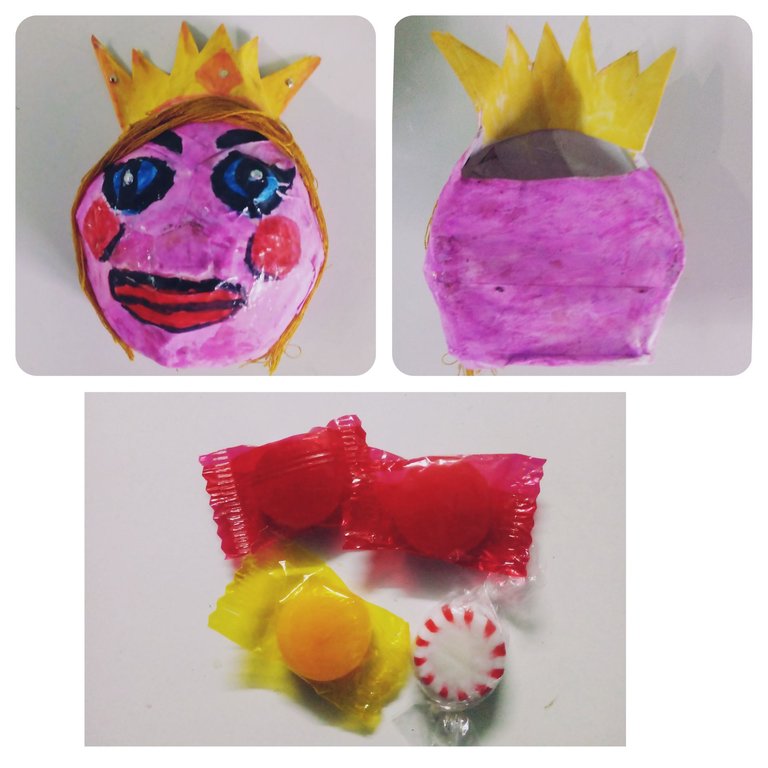
Espero que les haya gustado y se animen a su confección, les aseguro que lucirán hermosos y serán bien recibidos si deciden obsequiarlos con confituras ó jugueticos pequeños.
Bendiciones y excelentes semanas a todos🙋☀.
Fotografías y escritos propios.
English
Greetings fellow creators👸🎉🍬.
Meeting on the eve of celebrating one of the beautiful dates in this new year: the arrival of the three wise men. I wanted to share in the form of a tutorial the pendants of little faces of kings, which I made with the papier mache technique to decorate my home that day, pendants that reflect the union, love, by representing a family of king, queen and prince.

I invite you to join me because apart from the decoration of our homes, this confection can be used as baskets for the jams of the little ones of the house. Let's get started!
Materials
.Molds: Round objects
.White paper strips
.Cardboard
.Paste made of flour
.Glue
.Watercolors
.Scissor
.Cotton
.Cable
.Thread
.Varnish
.Small shiny stones

Mode of preparation
1-First we take the round molds and with a cotton ball moistened in oil, we impregnate its entire surface.
2-Make three layers of wallpaper to the mold with strips of white paper and the glue made of flour. Leave to dry for eight hours.
3 -Using a scissors, carefully make a crack all over the center of the mold, and then, disassemble the resulting structure.
4-When disassembling, we get two semicircles of equal diameter, which on the back side we will close up to its middle, using strips of paper and glue.

So far, we have the basis for our kings pendants, now, we will move on to customize it by shaping facial features.
For the eyes and mouth:
1-We squeeze paper forming small balls, for the eyes, and long cigarettes, for the mouth.
2-We glue these structures to the previously made base of the pendants.
To be the crowns:
1-Draw on the cardboard the desired crown model.
2-Cut following the guide traced with the scissors.
3-Adhere with glue to the base of the little faces of kings.

The pendants of kings are ready to be painted with watercolors and brushes.

The colors: red, yellow, orange, blue, were chosen by my little cousin, who accompanied me and enjoyed the whole creative process of the Reyes family. To generate shine, I used varnish and small colorful stones.

To give it its finish, I glued small pieces of cotton to the one that would constitute the prominent beard of the king, while to the queen with thread cuts, I shaped her hair.
To hang them I made small asitas as follows:
1-We cut four centimeters of cable.
2-We adhere with glue to the pendants of kings.

As friends can appreciate it is a simple craft, which allows us to work with papier mache, recycle and integrate the little ones of the house in the creation process, maintaining the magic of this beautiful day.

I hope you liked it and are encouraged to make them, I assure you that they will look beautiful and will be well received if you decide to give them as gifts with jams or small toys.
Blessings and great weeks to all🙋☀.
Own photographs and writings.
Linda manualidad para hacer con los pequeños, un proceso bien explicado saludos
Muchas gracias.Feliz y bendecido día de reyes 🙋🎆
A creative and fun way to celebrate Three Kings Day. The pendants are both decorative and functional, perfect for involving kids in a festive DIY project. Great job.
Thank you very much.Blessed week🙋🌈
Congratulations @marydeluz! You have completed the following achievement on the Hive blockchain And have been rewarded with New badge(s)
Your next target is to reach 11000 upvotes.
You can view your badges on your board and compare yourself to others in the Ranking
If you no longer want to receive notifications, reply to this comment with the word
STOPCheck out our last posts: