The Home Assistant smart home server integrates multiple smart home devices into an easy to use home control system.
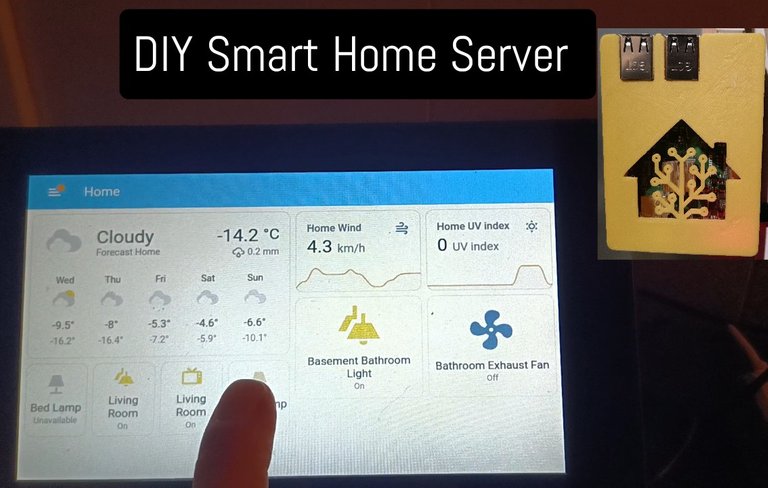
Smart Home Server
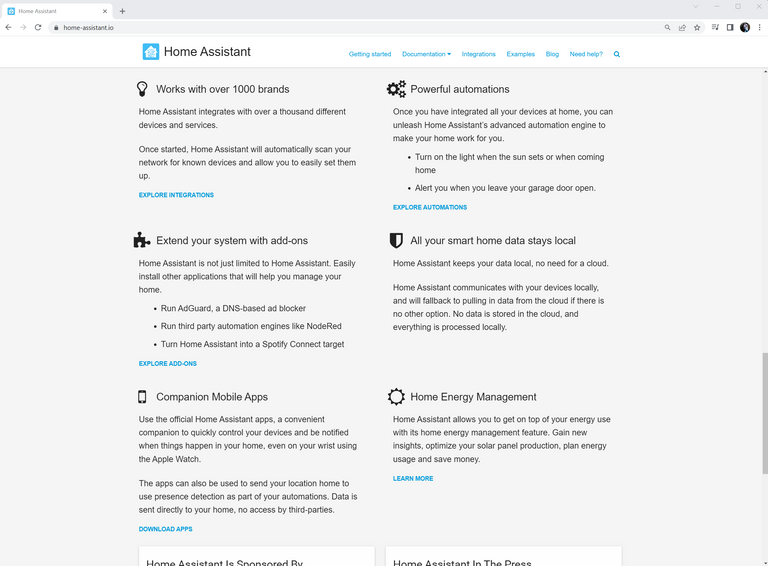
A Smart home server brings various smart devices together for easy automation and cooperation - for example, a light can automatically turn on when motion is detected, a light can be turn off at a scheduled time, or a fan can automatically turn on when a specific temperature from a sensor is detected. Amazon Alexa, Google Home, and Apple iHome are examples of integrated smart home servers - however, those companies have access to your smart home, and do not work when the internet is off. Home Assistant is private and runs on the local network, it does not need the internet connection to function.
Smart Home Devices
Smart home devices, like light switches, electrical outlets, light bulbs, security cameras, motion sensors, motorized blinds and curtains, light sensors, TVs, door and window sensors, temperature sensors, and many more, can be controlled or accessed wirelessly.
Wifi Connected Smart Home Devices
Wifi connected Smart Devices connect to a Wifi router, easily accessible by the smart home server that is also connected to the Wifi router.
 |  |
|---|
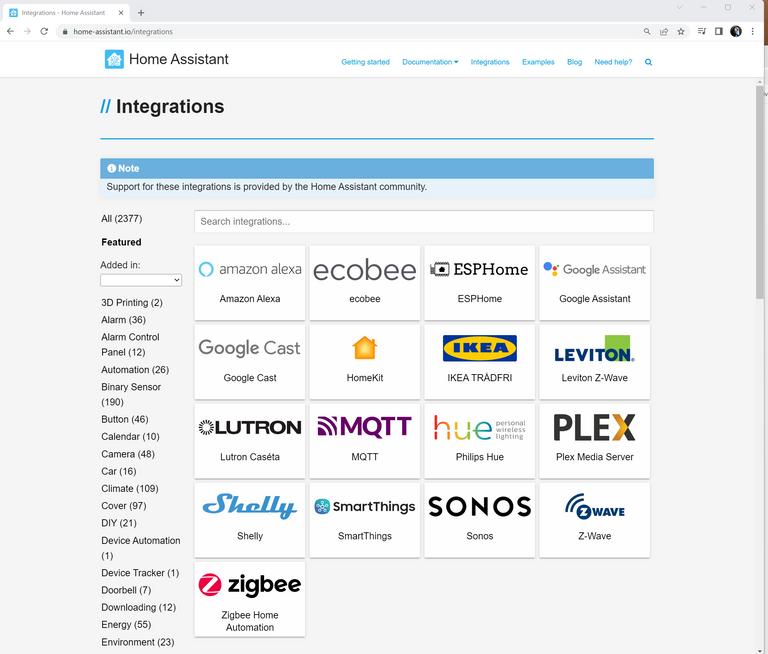
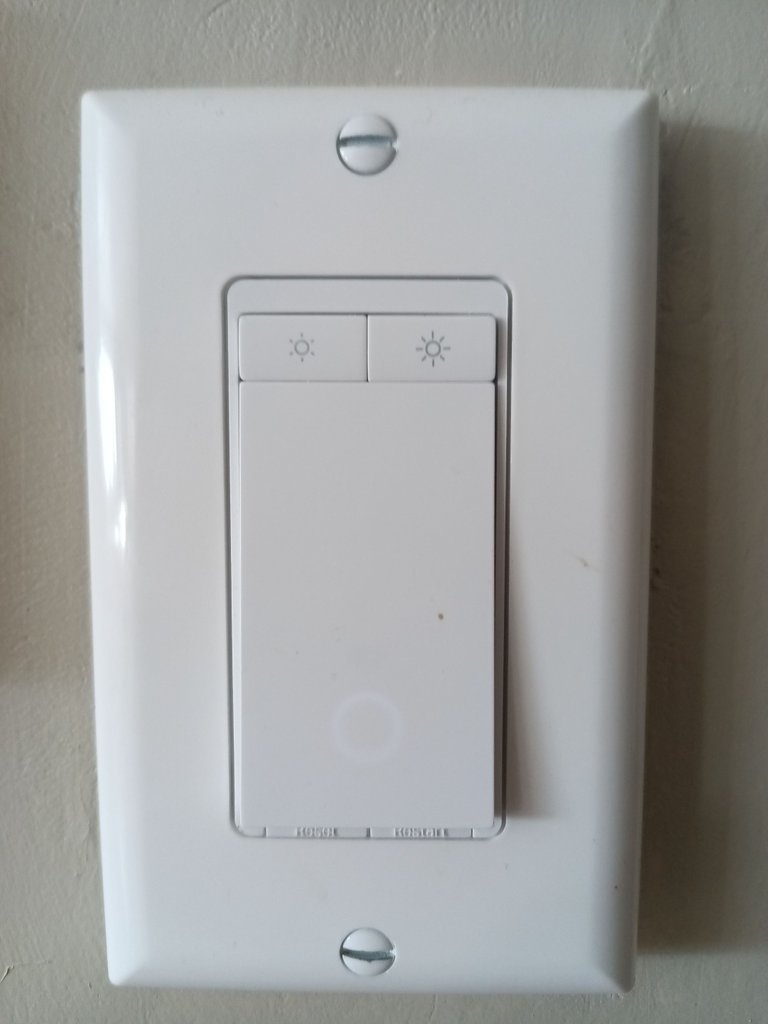
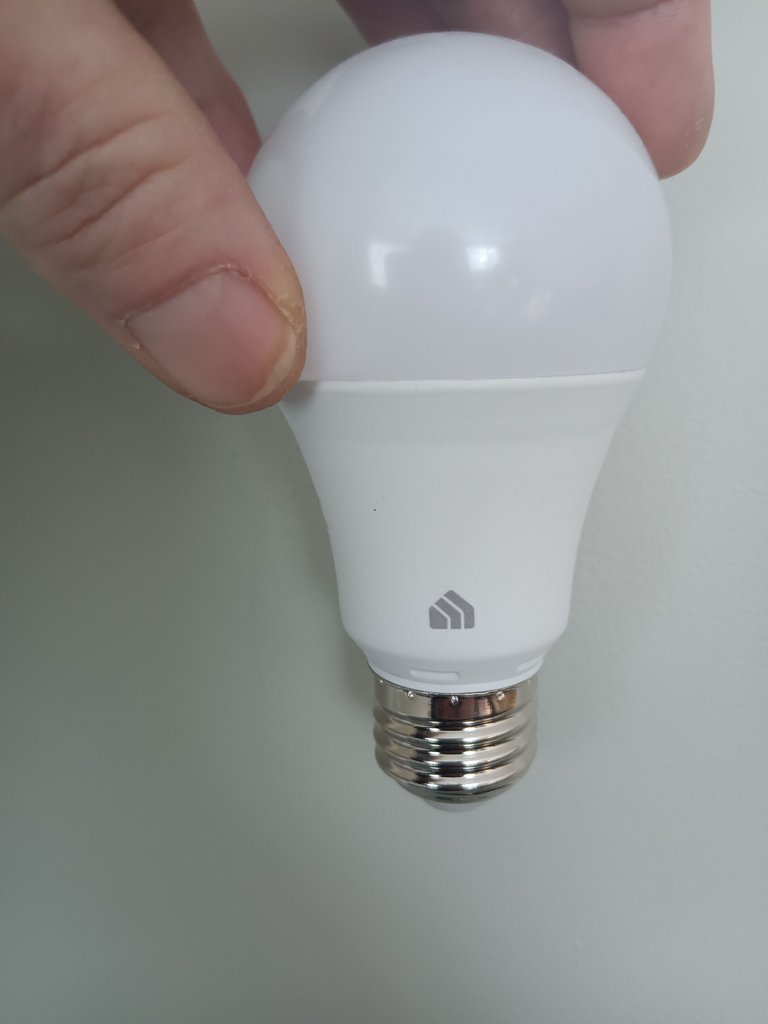
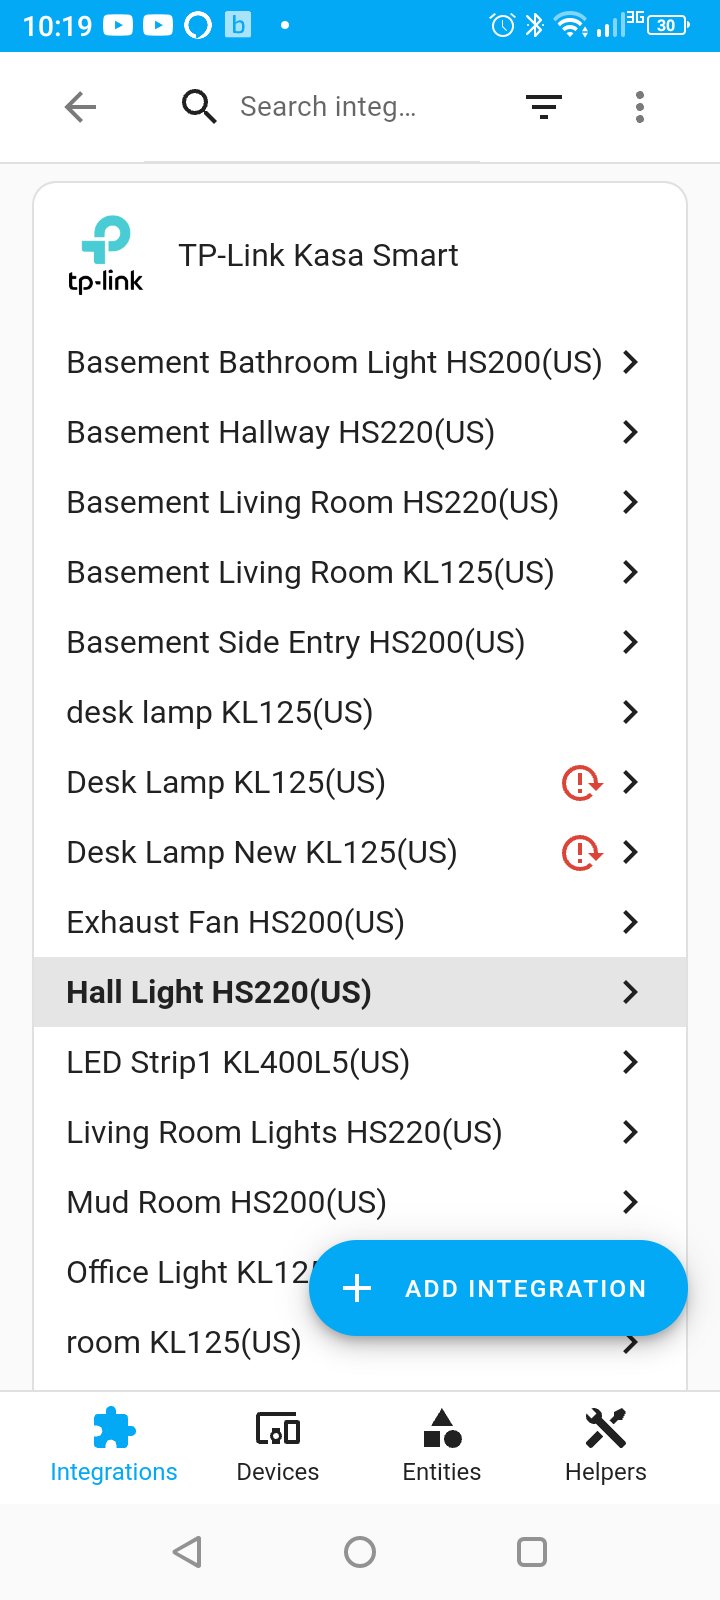
The Home Assistant smart home server easily integrates with most of the available smart home devices - above you can see a TP-Link Kasa dimmable light switch and wireless RGB light bulb.
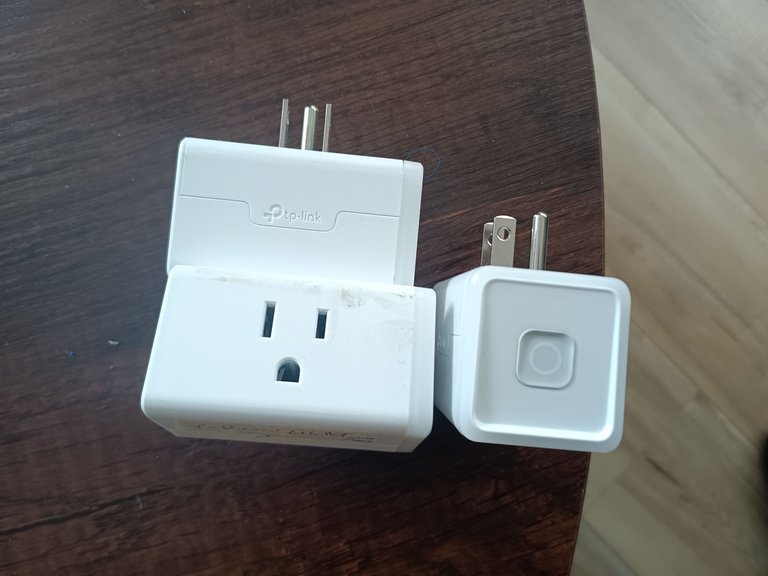
Above you can see a TP-Link outlet that includes a button on the device for turning it on and off in person.
ZigBee Wireless Protocol

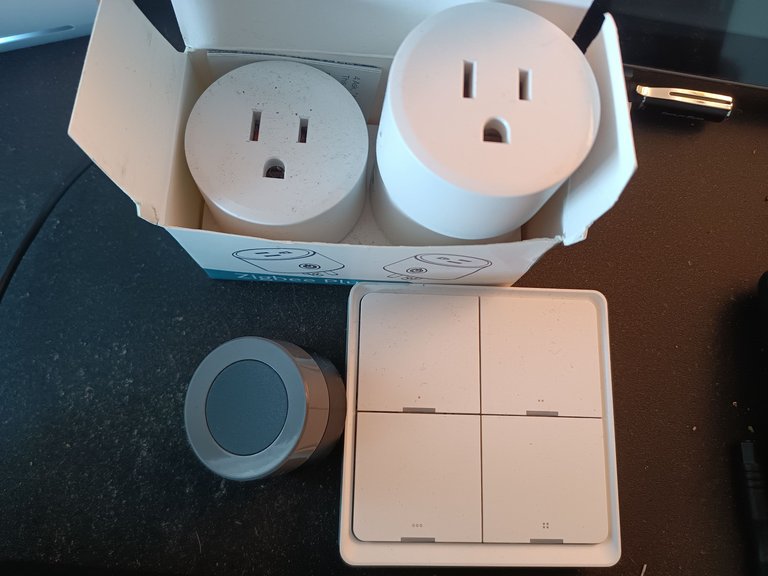
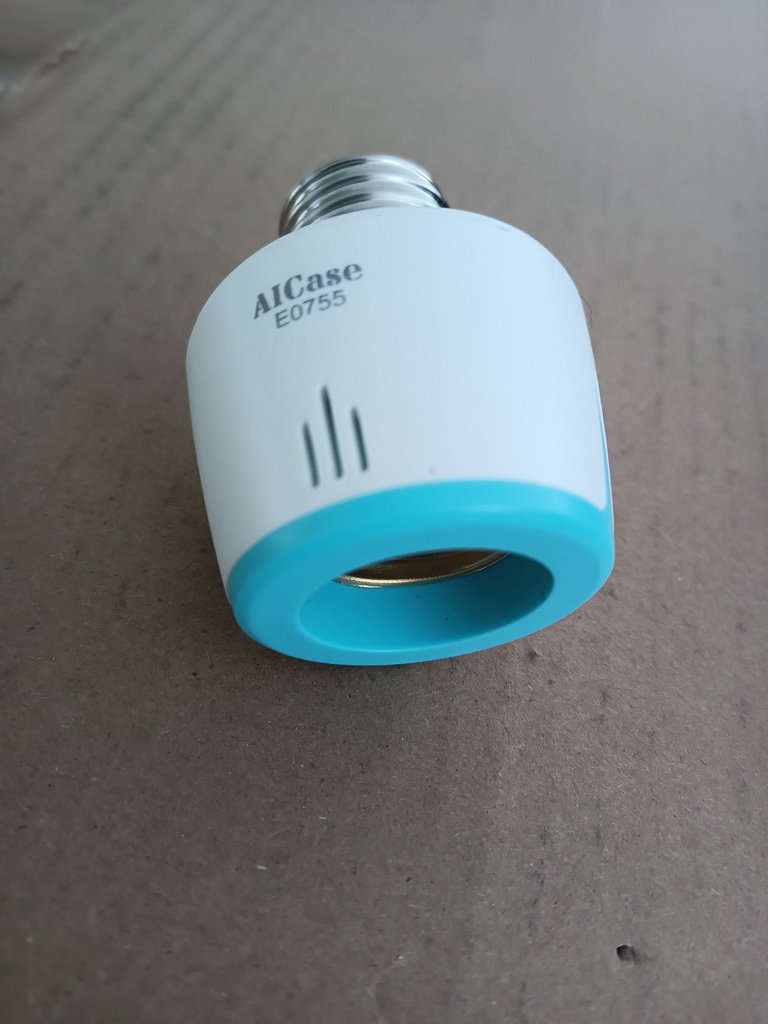
ZigBee is another popular wireless protocol that some smart home devices run on. ZigBee uses the 800-900mhz frequency, so it doesn't congest the 2.4 or 5ghz that Wifi is on, but they do require a ZigBee hub as a gateway to connect them to the Wifi router. ZigBee devices are generally cheaper, but the Wifi is a little easier to setup. Above on you can see a couple ZigBee hubs, below are ZigBee electrical outlets, bulb control outlets, and various buttons for triggering events.
 |  |
|---|
Home Assistant Smart Home Server Hardware
The Home Assistant Smart Home Server can be ran on a Raspberry Pi, ODROID, Asus Tinkerboard, x86-64 PC, Windows, macOS, or Linux. The server needs to always be on - I'm running mine on a headless (no monitor) Raspberry Pi (a low power all-in-one Linux PC).
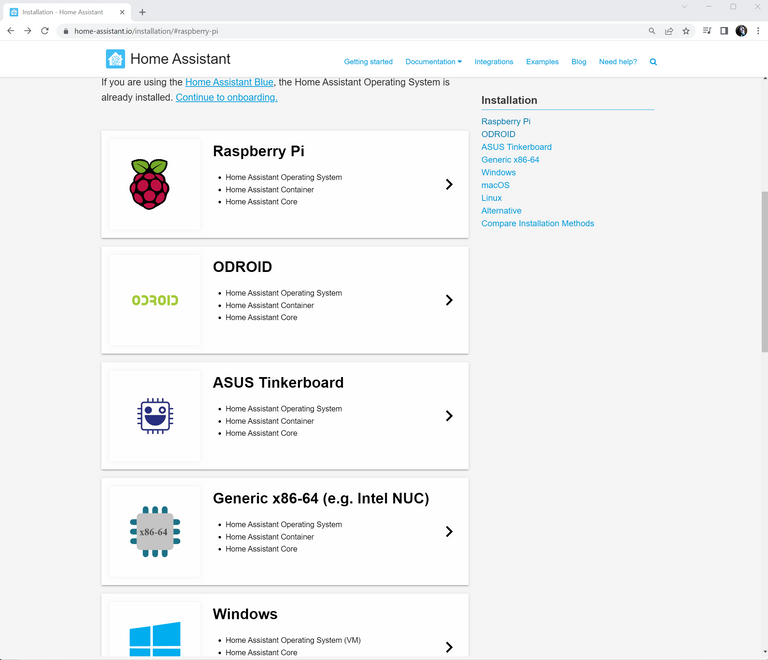
The Home Assistant open source server software is available for download for free from the HomeAssistant.io web site.
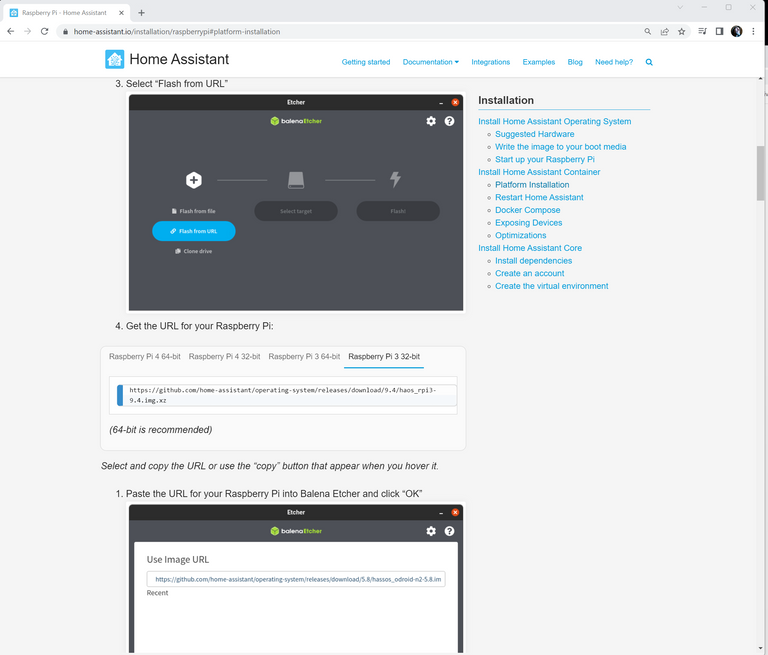
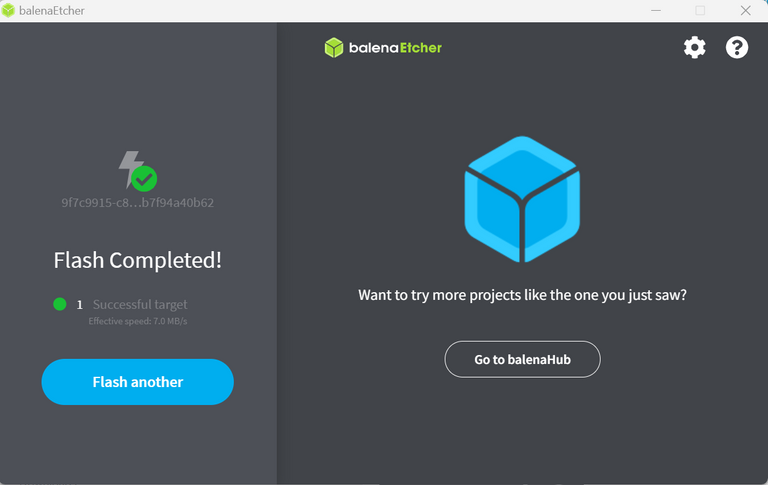
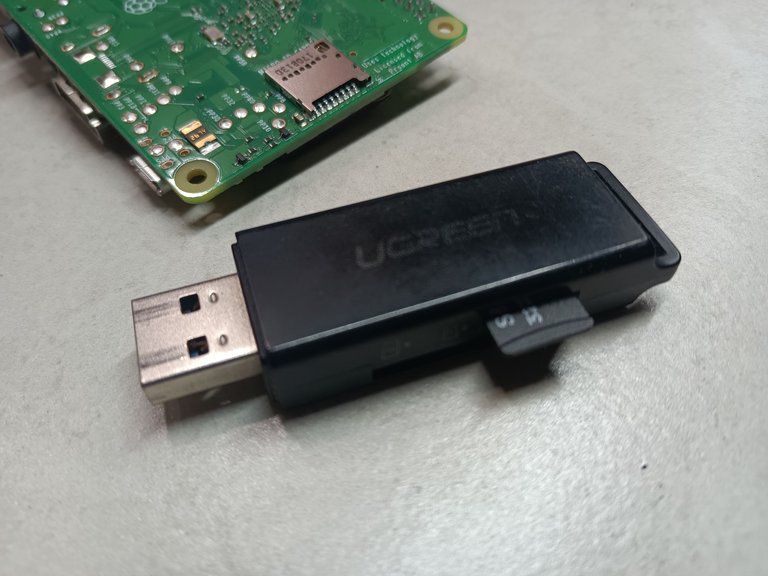
Etcher Image Flasher
The Raspberry Pi's hard drive is a SDCard - the Etcher software from the website will download and write the Home Assistant operating system to the SDCard.
 |  |
|---|
After copying the download link to the Raspberry Pi 3 32bit server software, the link is pasted into the Etcher flash link, the empty SDCard target is selected, the OS is written to the SDCard.
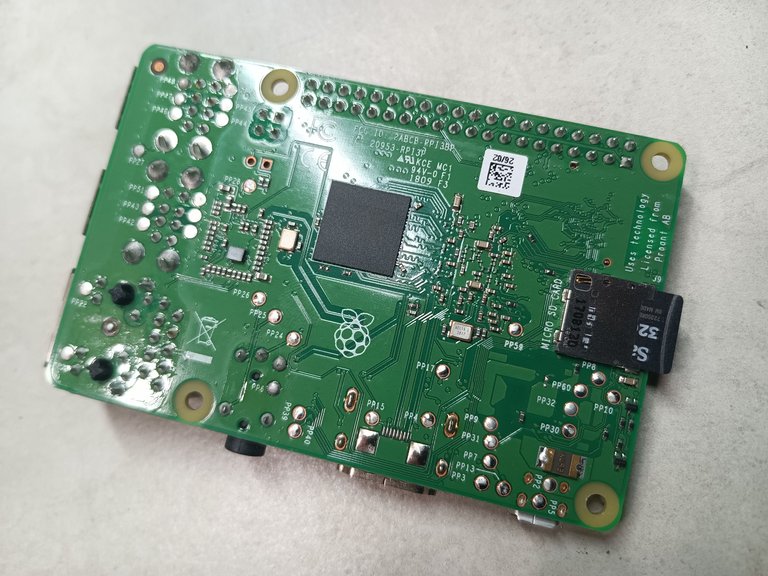
SDCard Install & Startup
The SDCard is inserted into the Raspberry Pi.
 |  |
|---|
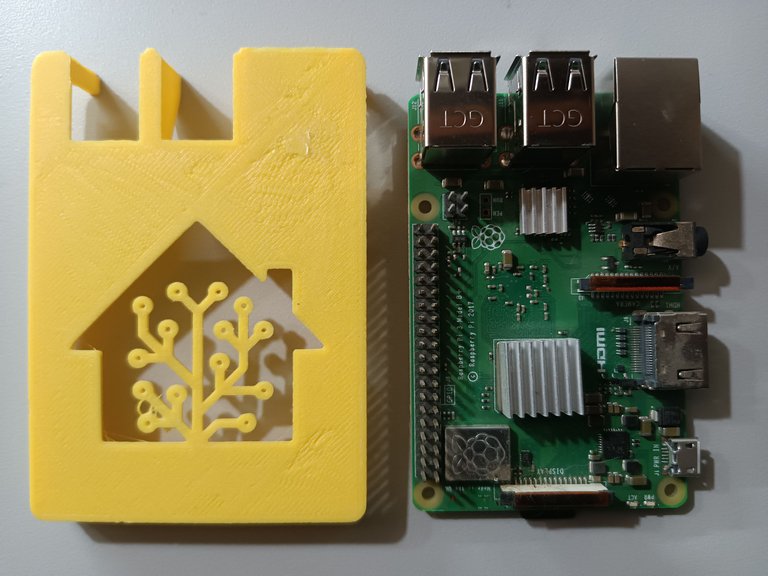
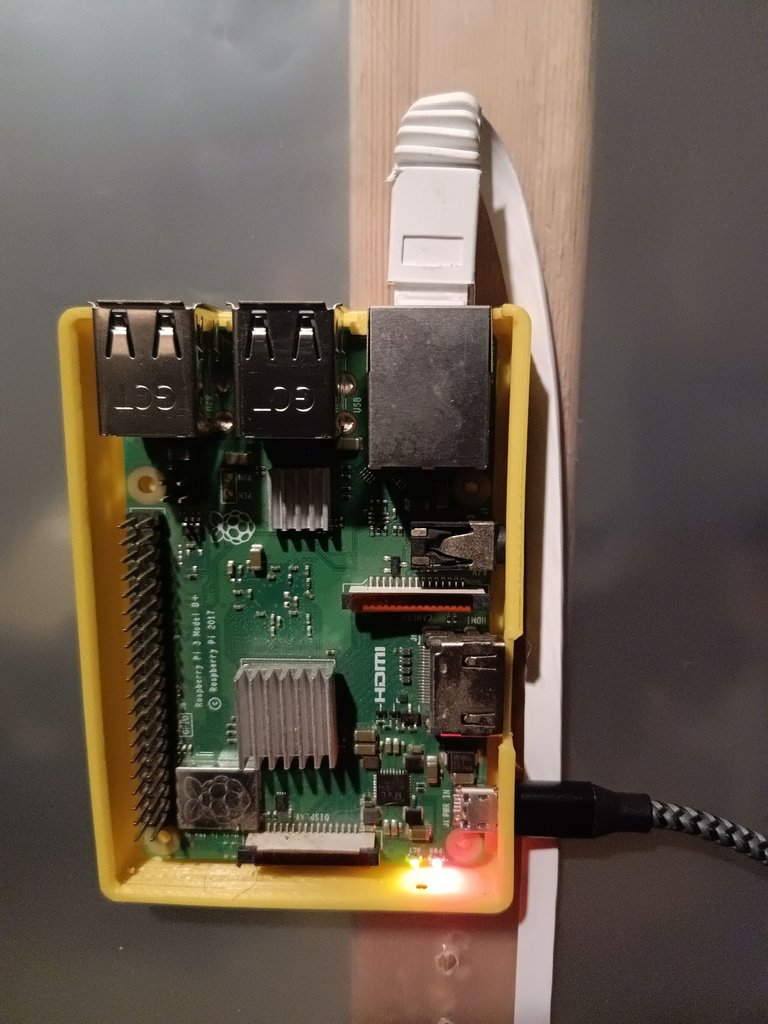
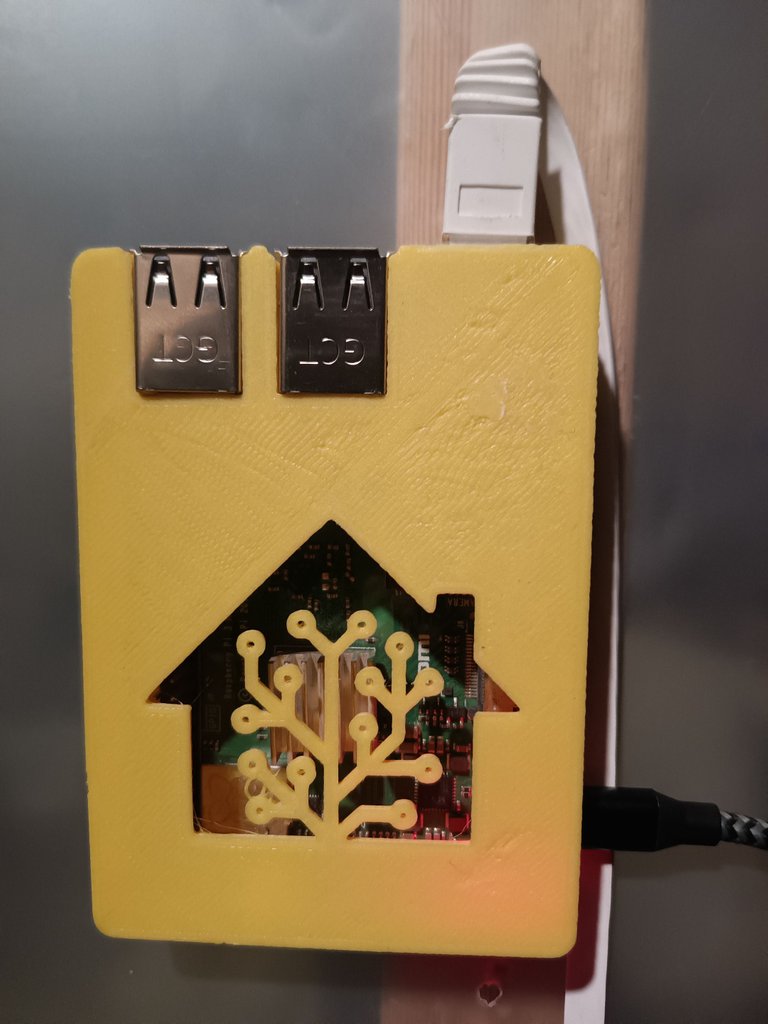
The 3D printed case bottom is mounted, the Raspberry Pi is placed into position. The Ethernet cable going to the Wifi router is connected.
 |  |
|---|
The micro USB power source is plugged in to power up the smart Home Assistant server.
Accessing the Home Assistant Interface
The Home Assistant can be accessed with a phone app or simple web browser. The default Home Assistant server address is http://homeassistant.local:8123 - be sure to be connected to the same Wifi router.
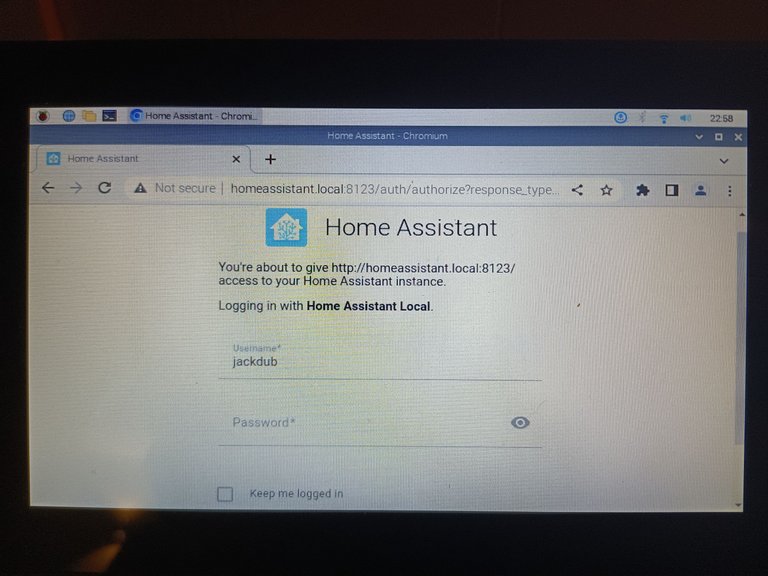
Multiple User Names
Different users can be added with different levels of control for different use cases. The full control user name is signed into my phone, for settings and layout changes. The user name with no access to settings is logged into the terminals, another user could be added for view only mode with no access to switches.
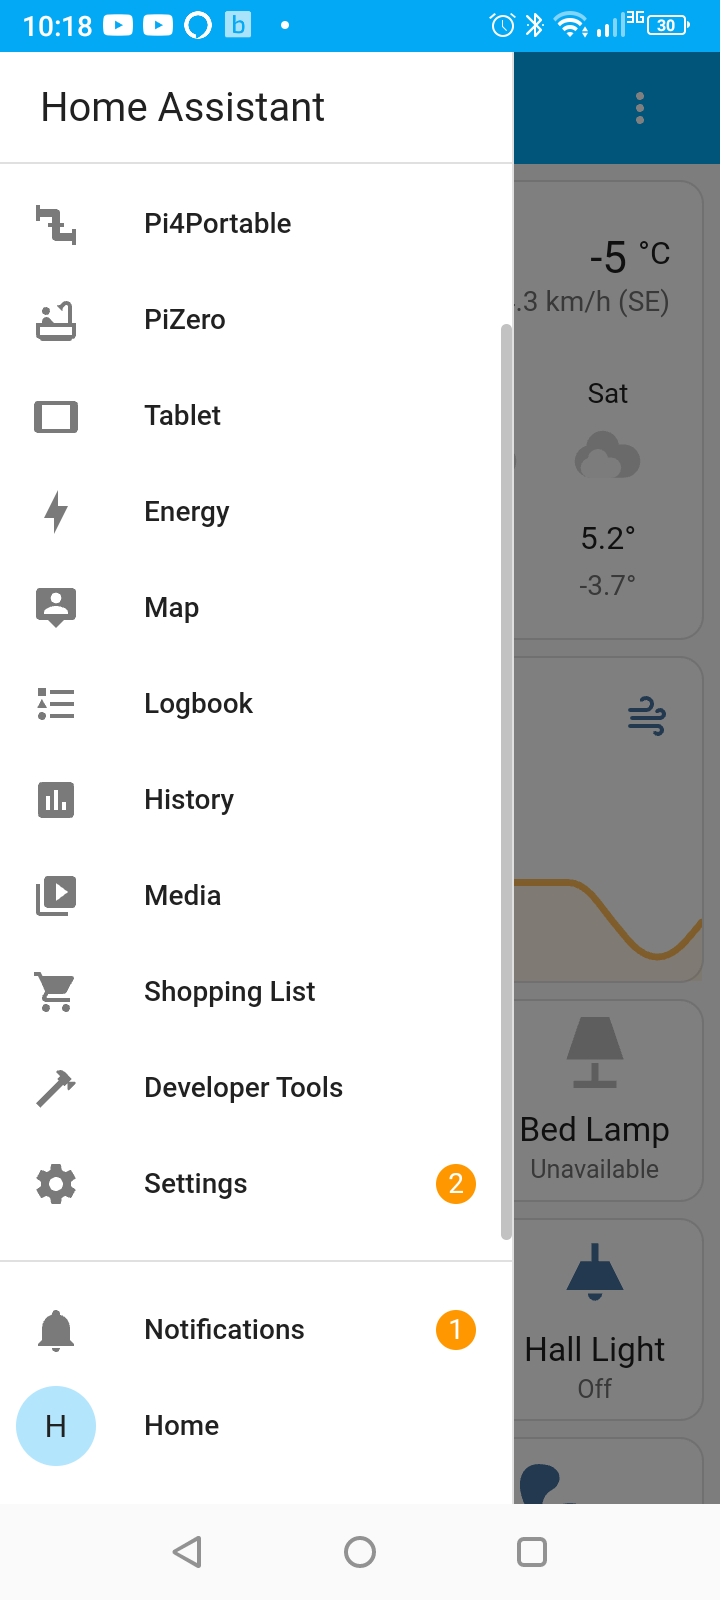
Home Assistant Phone App
 |  |
|---|
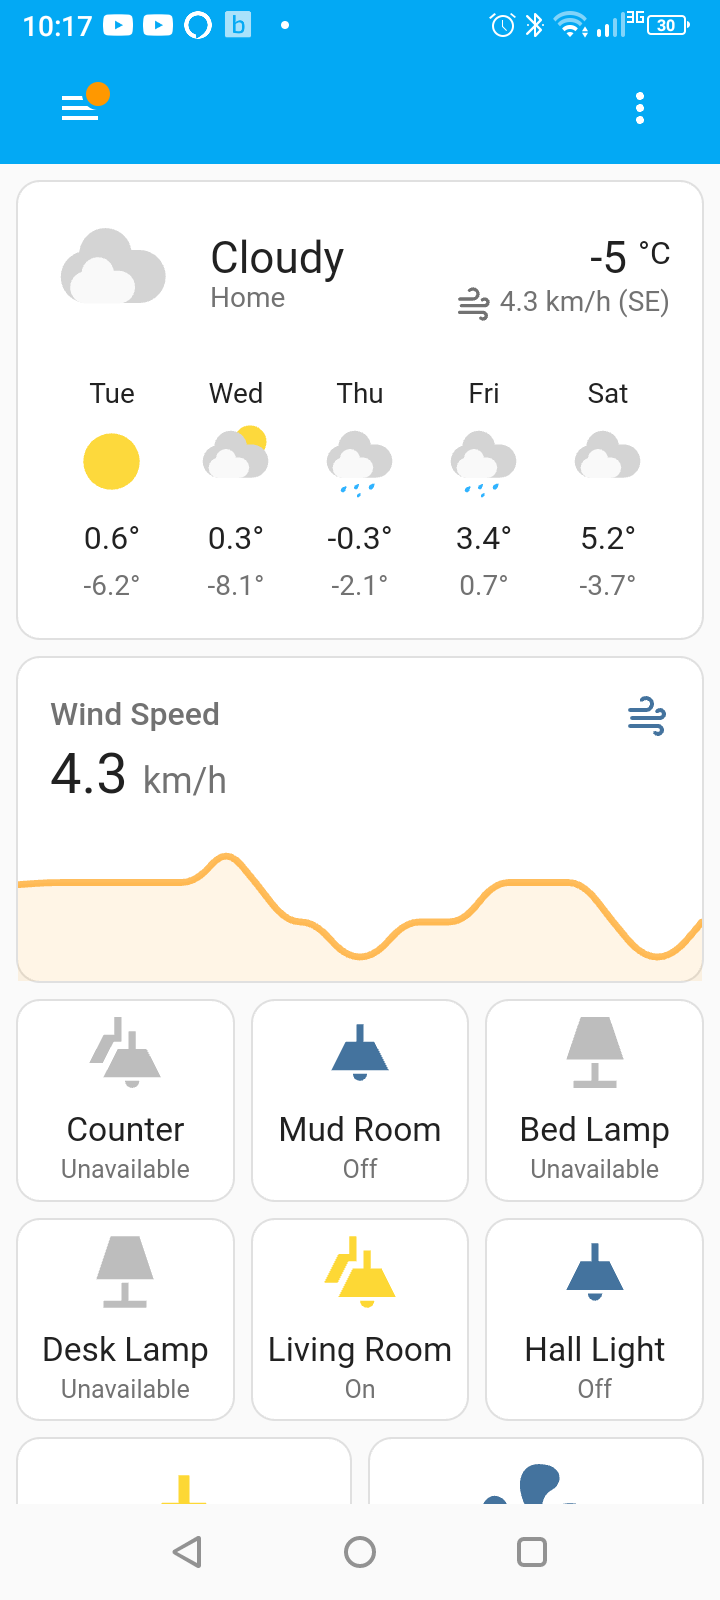
The layout is the same on the phone app or the web browser, the user interface can be completely customized with many available skins buttons, switches, and integrations.
 |  |  |
|---|
The weather forecast is an added integration - web pages, cameras, and many more integrations can be added to make a useful home interface. Pre-set scenes, schedules, and if-then triggers can be easily added.
Home Assistant in a Web Browser
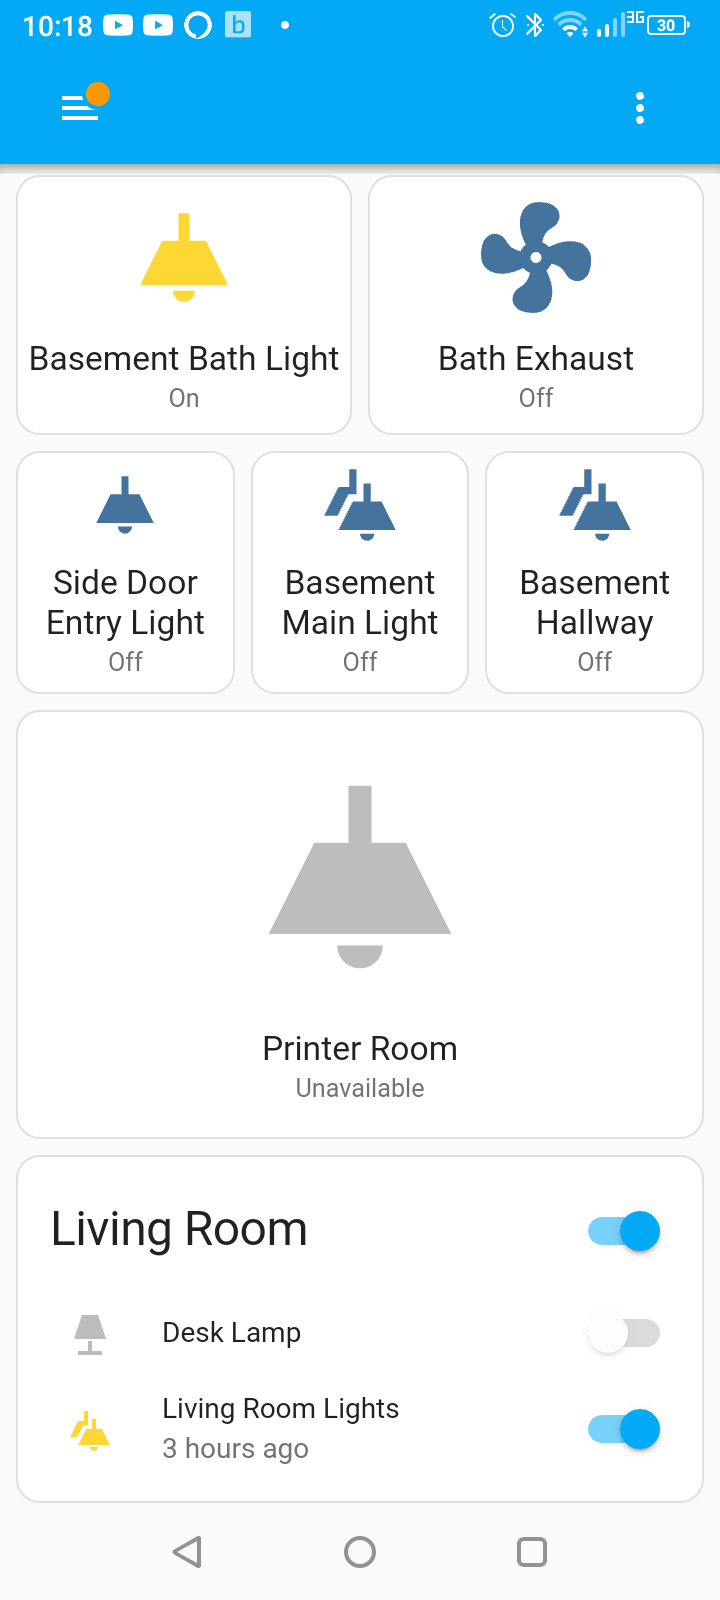
Lights, fans, or other devices can be turned on or off with the push of a button on the screen.

Holding down a button or switch brings up more information or options. The Kasa wifi bulb can be set to any RGB color from the Home Assistant front end.
 |  |
|---|
I check the weather on this console in the morning, at night I look on my phone to be sure all the lights in the house are off. Soon I will use the smart Home Assistant to automate my grow tent, eventually a green house - time saving automation.