Bienvenidos a mi blog!
Temporada de pascuas!
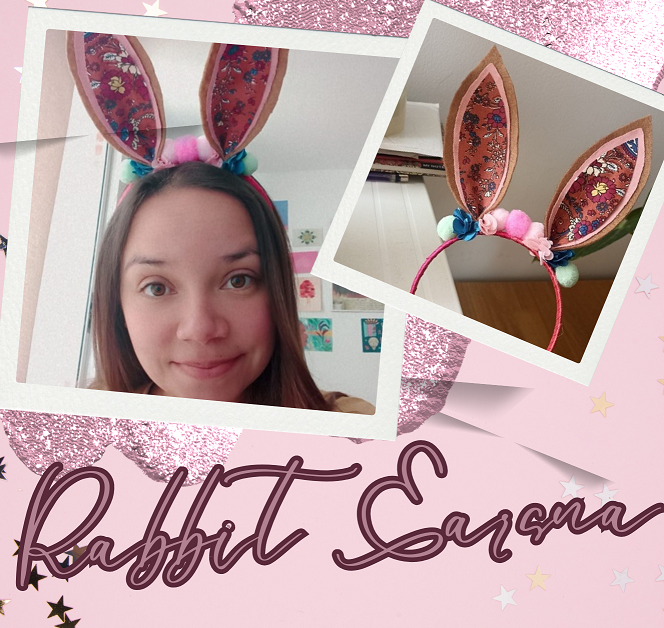
En estas fechas los conejitos están de moda, así que me propuse realizar unas orejitas de conejo para las pascuas. Para enseñarles como yo las hago y podamos hacer para los niños o para divertirnos nosotros.
Este tipo de manualidades sirven para cualquier época del año, carnaval, Halloween, alguna fiesta, etc. Porque los disfraces nunca pasan de moda, y sí ya tienes las orejas te será mucho más fácil.
Vamos a la obra!!
Welcome to my blog!
Easter season!
At this time of the year, bunnies are in fashion, so I decided to make some bunny ears for Easter. To show you how I make them and we can make them for the kids or to have fun ourselves.
This kind of crafts are good for any time of the year, carnival, Halloween, a party, etc.. Because costumes never go out of style, and if you already have the ears it will be much easier.
Let's get to work!
![] )
)
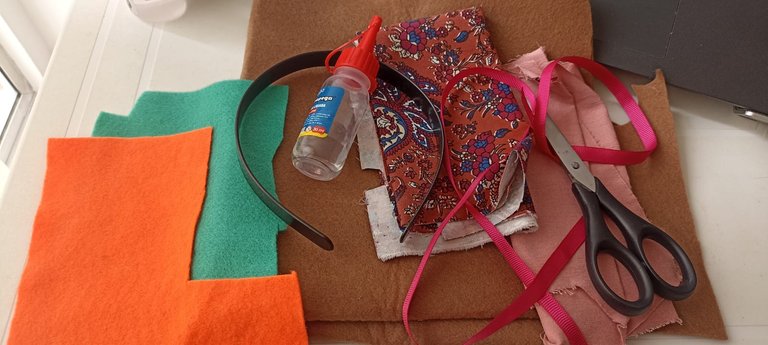
Materiales que utilicé:
- diadema flexible
- retazos de tela
- silicón frío
- florecitas de tela
- bolitas de algodón
- fieltro
- cinta de 1 cm.
Materials I used:
- flexible headband
- fabric scraps
- cold silicone
- fabric flowers
- cotton balls
- felt
- 1 cm. ribbon
Las orejitas suelen ser en blanco con rosado, esta vez yo me atreví a hacerlas con otros colores, para reutilizar retazos que tenía en casa.
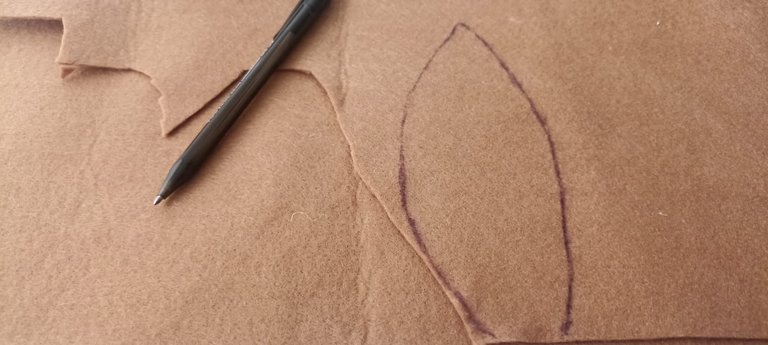
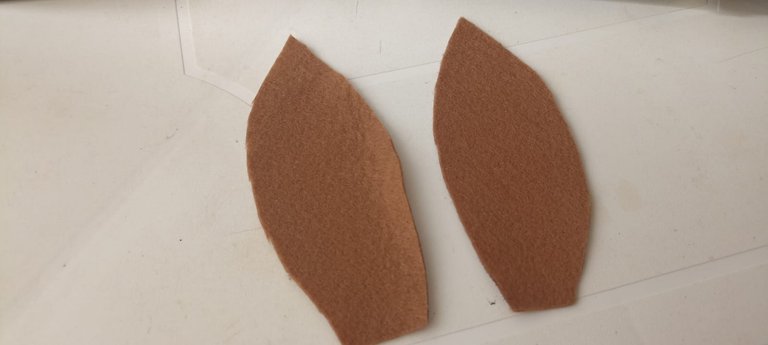
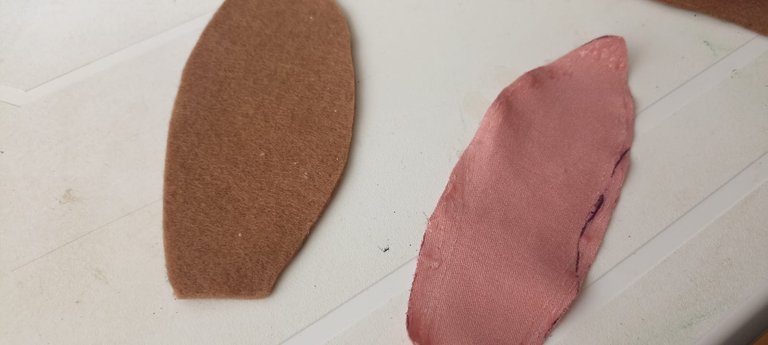
Tomo el fieltro color marrón o camel y dibujo una oreja a mano alzada, también puedes hacerlas con un molde, pero no es tan difícil a mano.
Marco y la recorto, y la uso para hacer la segunda.
The ears are usually in white with pink, this time I dared to make them with other colors, to reuse scraps I had at home.
I take the brown or camel felt and draw an ear freehand, you can also make them with a mold, but it is not so difficult by hand.
I mark and cut it out, and use it to make the second one.
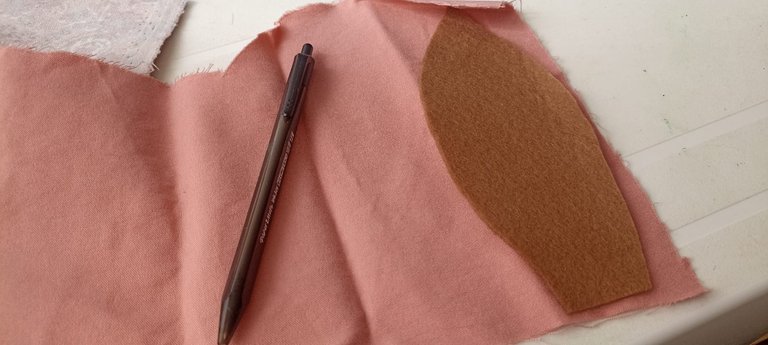
Para hacer el fondo rosado de las orejas, voy a tomar una marrón y la voy a marcar en la tela. Lo que haré es cortarla dentro de la línea, aproximadamente medio centímetro menos. Para que al unirlas me deje ver la otra.
To make the pink background of the ears, I'm going to take a brown one and mark it on the fabric. What I'm going to do is cut it inside the line, about half a centimeter less. So that when I join them together I can see the other one.

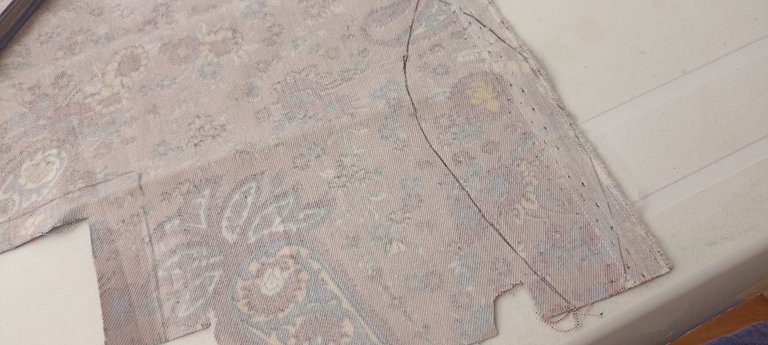
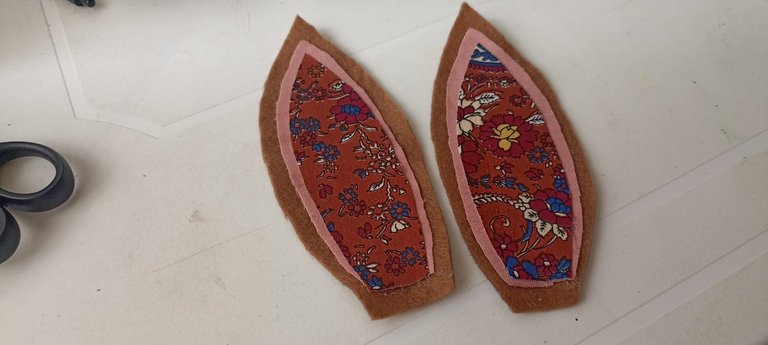
Con la rosada marco en un retazo de tela estampado con florecitas, hago el mismo procedimiento. La dibujo y recorto por dentro medio centímetro.
Así se verán las tres capas de color y será más tierno.
With the pink one I mark on a piece of fabric printed with little flowers, I do the same procedure. I draw it and cut out half a centimeter inside.
This way the three layers of color will be seen and it will be more tender.
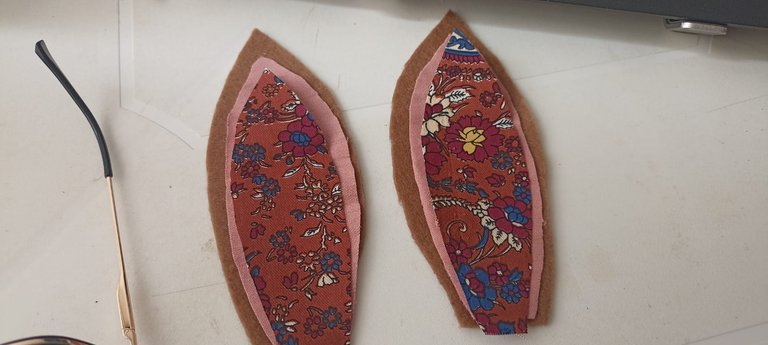
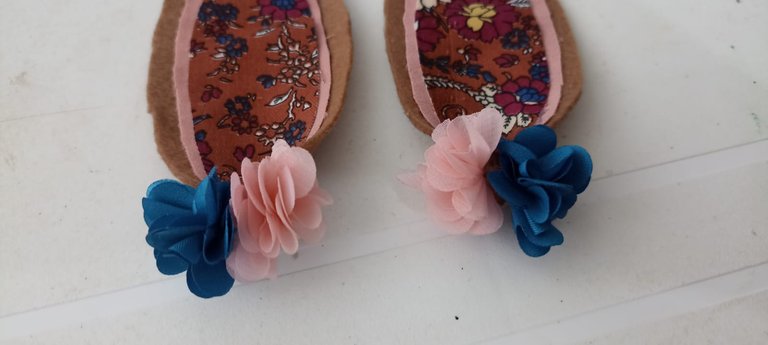
Con las tres capas listas, voy a pegarlas de mayor a menor tamaño. Para que se vean más lindas y divertidas.
Las pego con silicón frío que es muy bueno para unir las telas, porque es muy difícil de despegar cuando ya están secas.
With the three layers ready, I'm going to glue them from largest to smallest. So that they look more cute and fun.
I glue them with cold silicone, which is very good for joining the fabrics, because it is very difficult to peel off when they are dry.
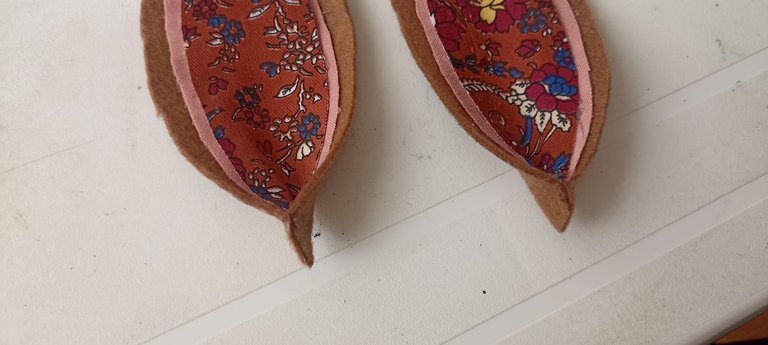
Para darles el efecto cóncavo, voy a unir ambos extremos de abajo con silicón.
To give them the concave effect, I will join both bottom ends with silicone.
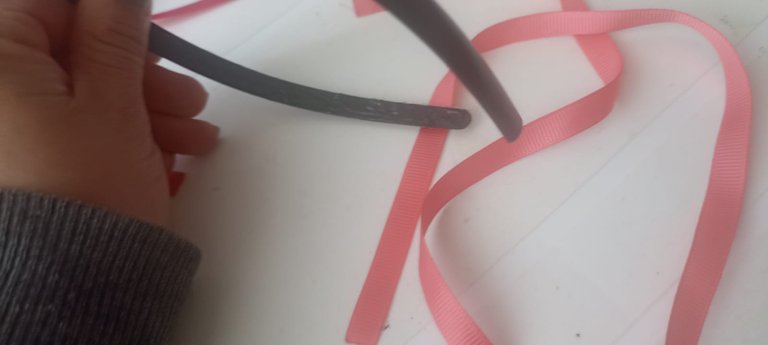
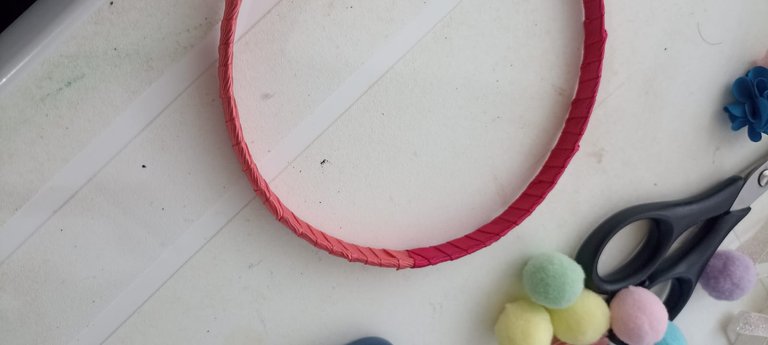
Mientras se seca, voy a forrar mi cintillo con cinta rosada, pero como tenía solo un pedacito, voy a usar un pedazo funcia para completarla. Hay que ver posibilidades no limitaciones.
While it dries, I'm going to line my headband with pink ribbon, but since I only had a small piece, I'm going to use a funcia piece to complete it. Let's look at possibilities, not limitations.

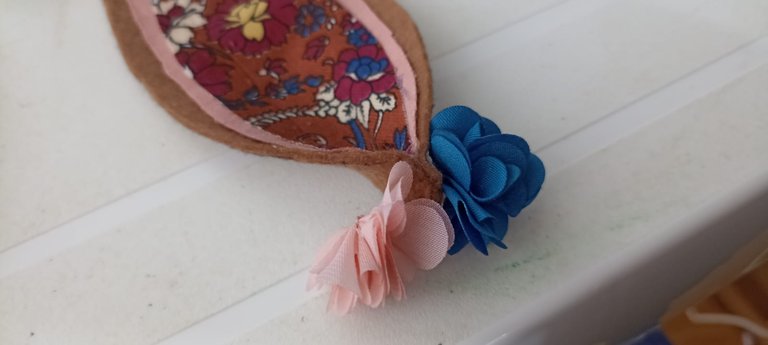
En la base de cada orejita voy a pegar unas florecitas de tela que tenía por ahí olvidadas, también las puedes hacer con fieltro.
Así le doy más agarre a las orejitas antes de pegarlas a el cintillo.
At the base of each ear I'm going to glue some fabric flowers that I had forgotten, you can also make them with felt.
This way I give more grip to the ears before gluing them to the headband.
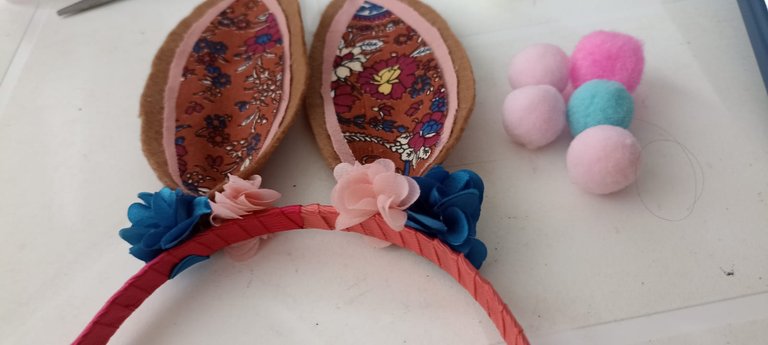
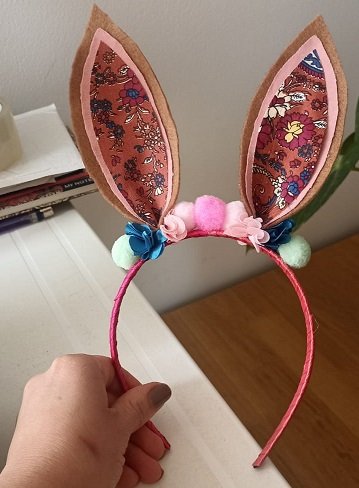
Las bolitas de algodón las pondré en los lados de las orejas, así le damos soporte y un poco más de color.
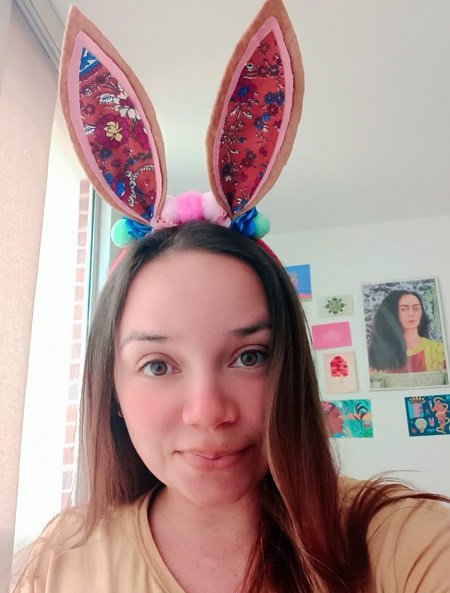
Con este toque terminó mi cintillo de conejo, y ya esto y lista.
I will put the cotton balls on the sides of the ears to give support and a little more color.
With this touch I finished my bunny headband, and that's it.
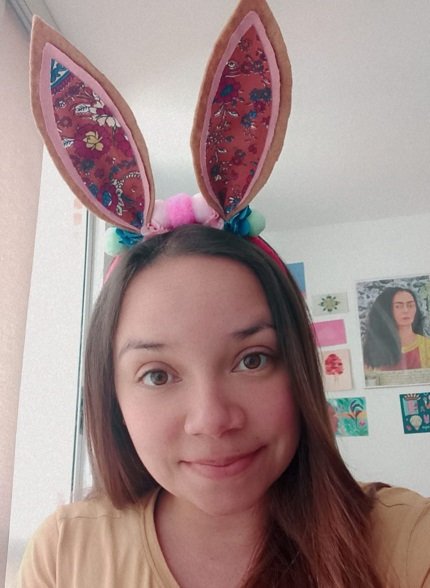
Deseo que esta idea te guste y la pongas en práctica.
Fotografías y texto de mi autoría
Diseños con Canva
Traducción con Deepl, versión gratuita.
I hope you like this idea and put it into practice.
Photographs and text by me
Designs with Canva
Translation with Deepl, free version.

Están muy tiernas, me gusta mucho el material estampado con el cual las hiciste, porque se sale un poco del molde en cuanto a cómo estamos acostumbrados a que se recreen las orejas de conejo. Es un accesorio muy divertido y fácil de hacer, sobre todo para un niño; o para usarlo en carnavales, por los colores alegres. Que tierno y creativo trabajo. ❤️
Muchas gracias, aprecio mucho tu comentario. :)
Are super lovely 😍 I love cats and rabbits ears so much 🤩6
ohhh thank you, are so sweet
Those bunny ears are so adorable.
yes :)
Una muy hermosa manualidad y un paso a paso muy sencillo y didáctico
La curación manual del testigo de @hispapro valorando tu contenido
Muchas gracias
Congratulations @soyaruska! You have completed the following achievement on the Hive blockchain And have been rewarded with New badge(s)
Your next target is to reach 2500 comments.
You can view your badges on your board and compare yourself to others in the Ranking
If you no longer want to receive notifications, reply to this comment with the word
STOPWow, the design is beautiful and unique.
Wow! So nice, a bunny ear headband is a perfect craft for Easter. Such a cute idea. 🥰
Your rabbit ears are lovely 😃