
Hola amigos de la comunidad de Diyhub, Dios les bendiga, espero que se encuentren muy bien y que la estén pasando increíble. Ya gracias a Dios estoy nuevamente por acá y en esta ocasión les traigo una práctica bastante sencilla, pero sin duda alguna muy útil, la instalación de un apagador. Esto fue hace un par de días, mi hermano me pidió que lo ayudara a instalar varios apagadores en la universidad, en un salón que están reacondicionando para utilizarlo como un laboratorio, y bueno, nos movimos hasta allá, y aquí les muestro el paso a paso.
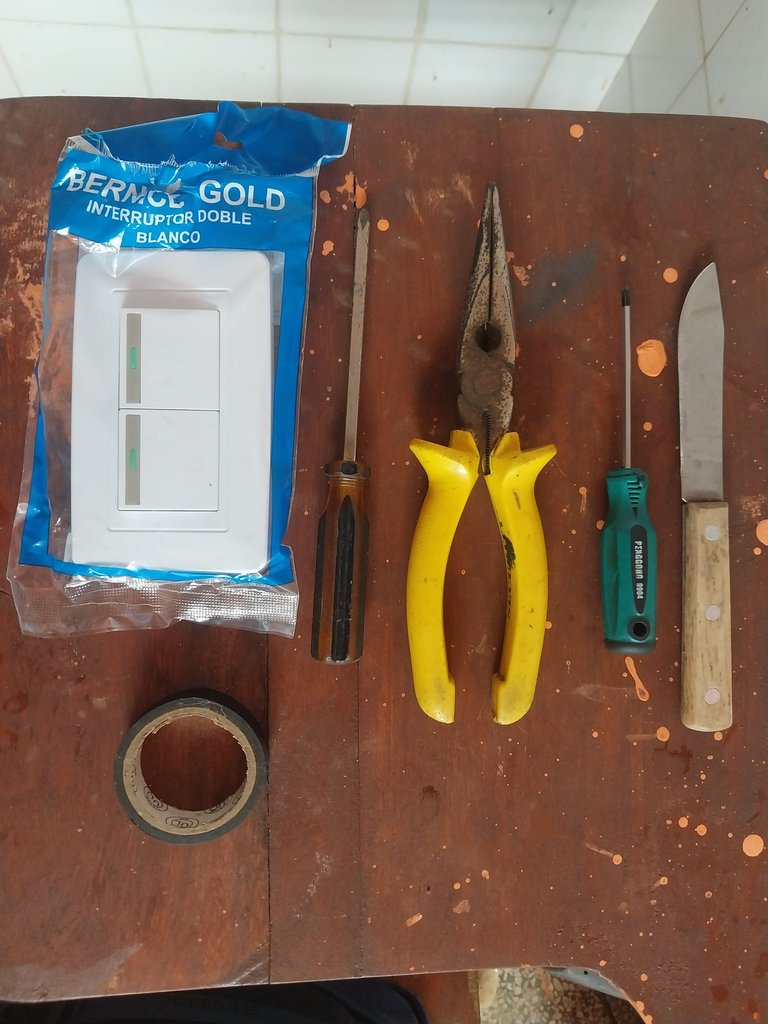
Lo primero fue tener los materiales y herramientas a la mano. Utilice el aparador, una pinza, 2 destornilladores de estría (una grande y uno pequeño), y teipe negro y un cuchillo por si hacia falta.
Hello friends of the Diyhub community, God bless you. I hope you're all doing well and having a wonderful time. Thank God I'm back here, and this time I'm bringing you a fairly simple, but undoubtedly very useful, tutorial: installing a light switch. This was a couple of days ago. My brother asked me to help him install several light switches at the university, in a room they're refurbishing to use as a lab. Well, we went there, and here I show you the step-by-step instructions.
The first thing was to have the materials and tools on hand. I used the workbench, pliers, two slotted screwdrivers (one large and one small), black tape, and a knife just in case.
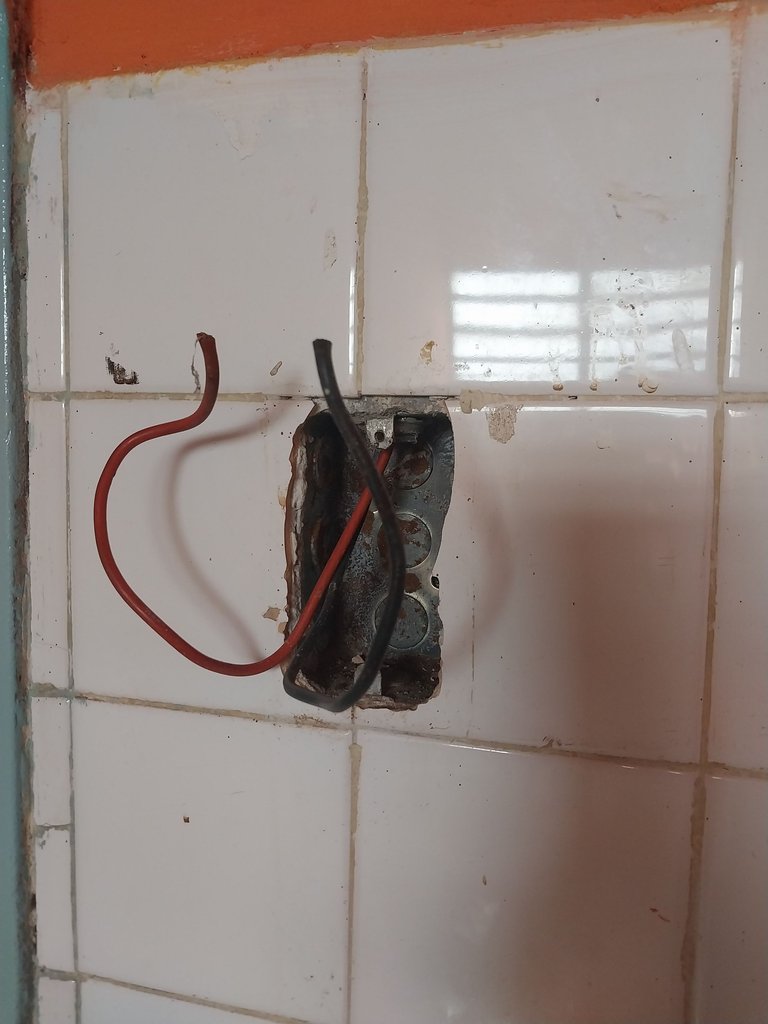
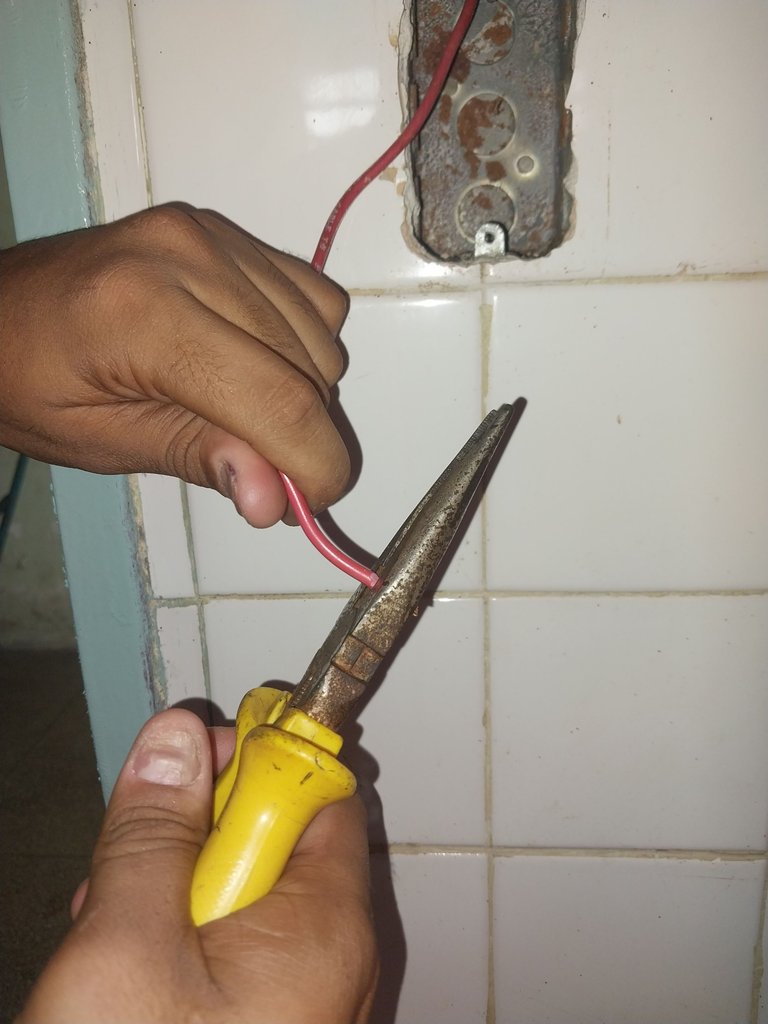
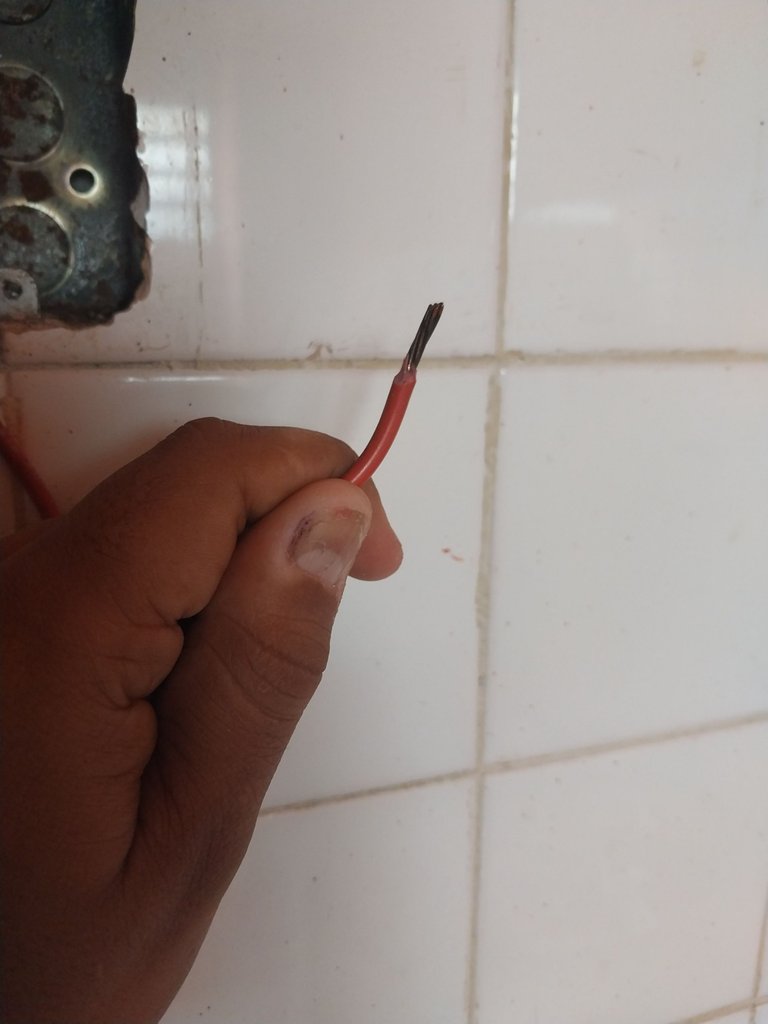
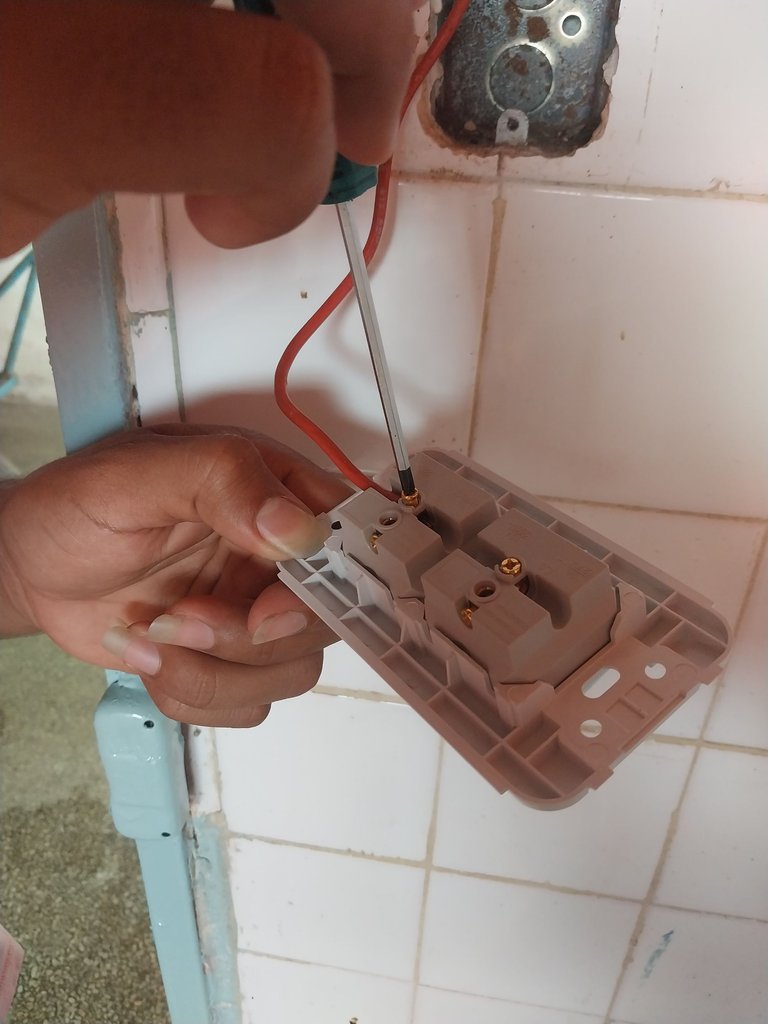
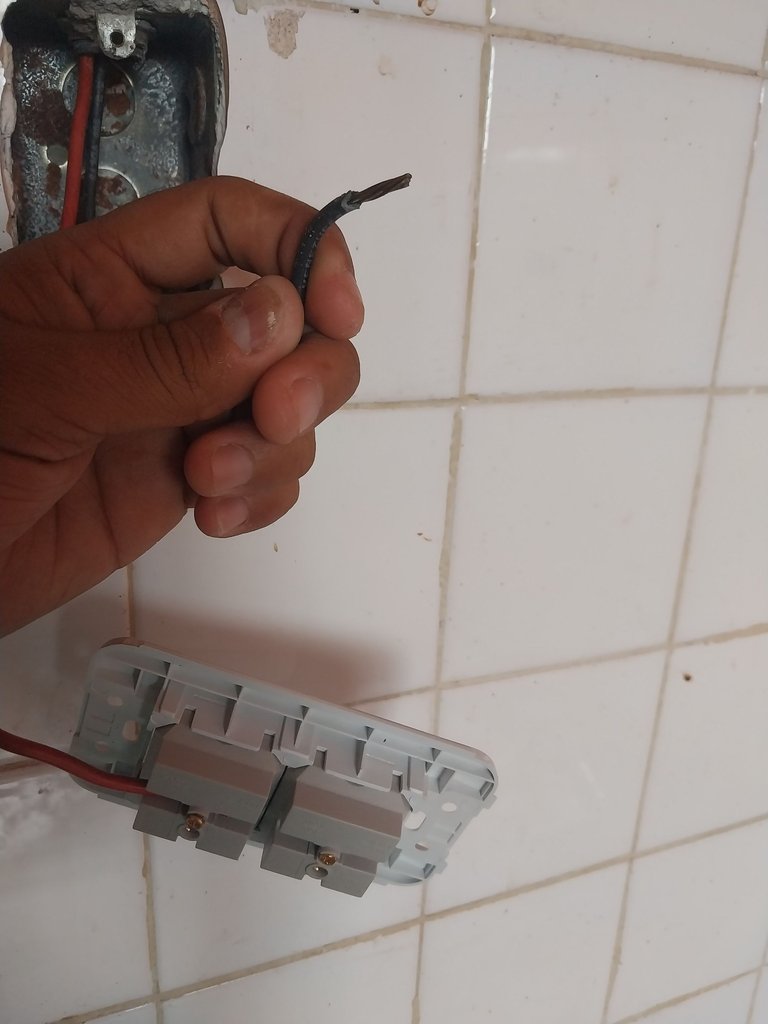
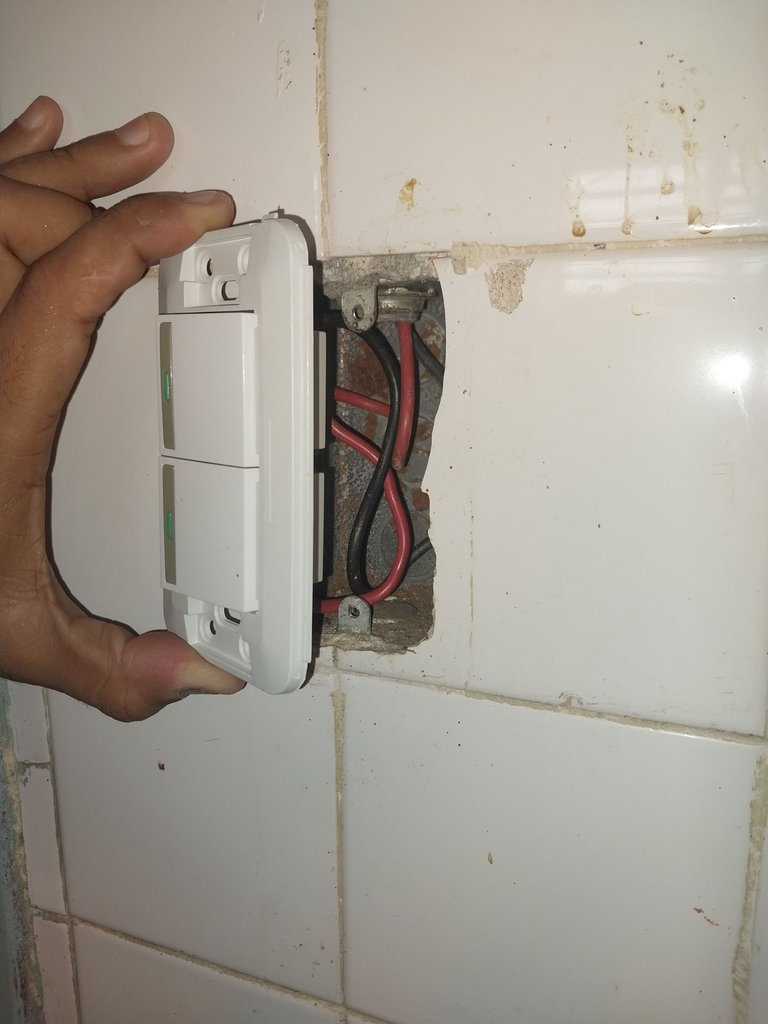
Empece revisando el cajetin, para asegurarme de que las bases donde van los tornillos estuvieran bien, y también revisé los cables para ver que no hubiese ningún pelón que fuese a hacer contacto y ocasionar un corto. Una ves hecho eso tome mi pinza y procedí a pelar la punta del primer cable para sacar el cobre, cuando ya tenia la punta lista y suficiente cobre descubierto, tomé el apagador, metí la punta del cable en la línea correspondiente, y con ayuda del destornillador apreté para que no se fuese a soltar o a quedar con mal contacto, ya teniendo la primera línea lista, hice lo mimos con el segundo cable, lo pele, tomé la punta, la metí en la otra línea, y con el destornillador nuevamente volví a apretar.
I started by checking the box, to make sure that the bases where the screws go were good, and I also checked the cables to see that there were no bare wires that could make contact and cause a short. Once that was done, I took my pliers and proceeded to strip the tip of the first wire to remove the copper, when I had the tip ready and enough copper exposed, I took the switch, put the tip of the cable in the corresponding line, and with the help of the screwdriver I tightened so that it would not come loose or have bad contact, already having the first line ready, I did the same with the second cable, I stripped it, took the tip, put it in the other line, and with the screwdriver I tightened it again.
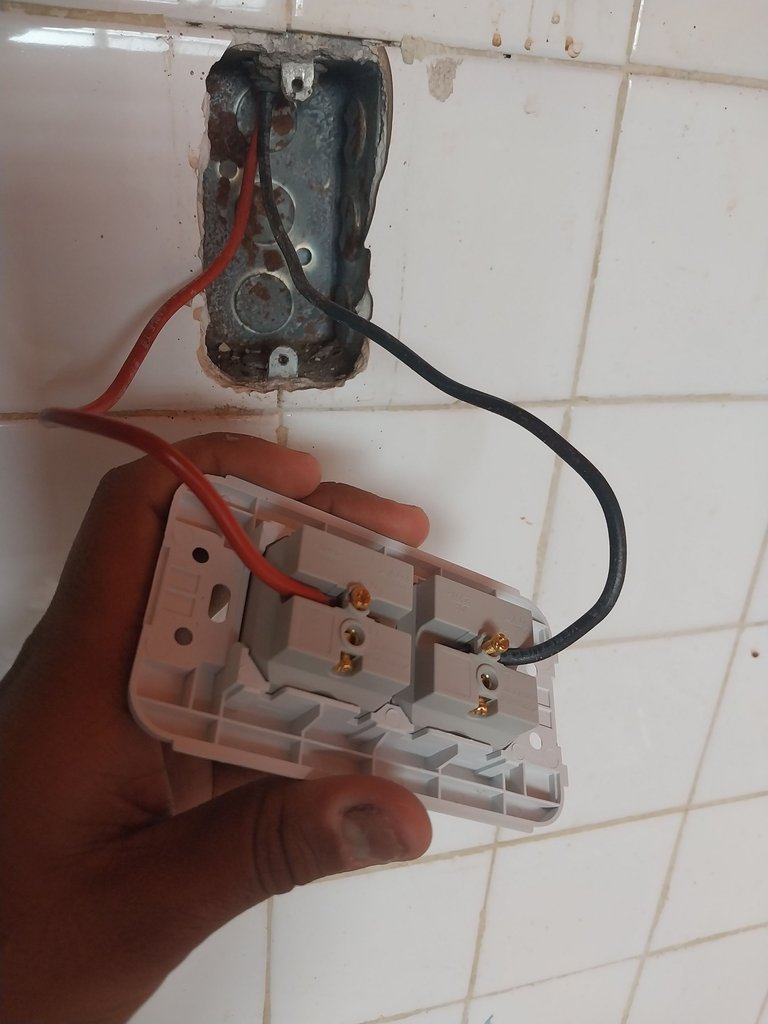
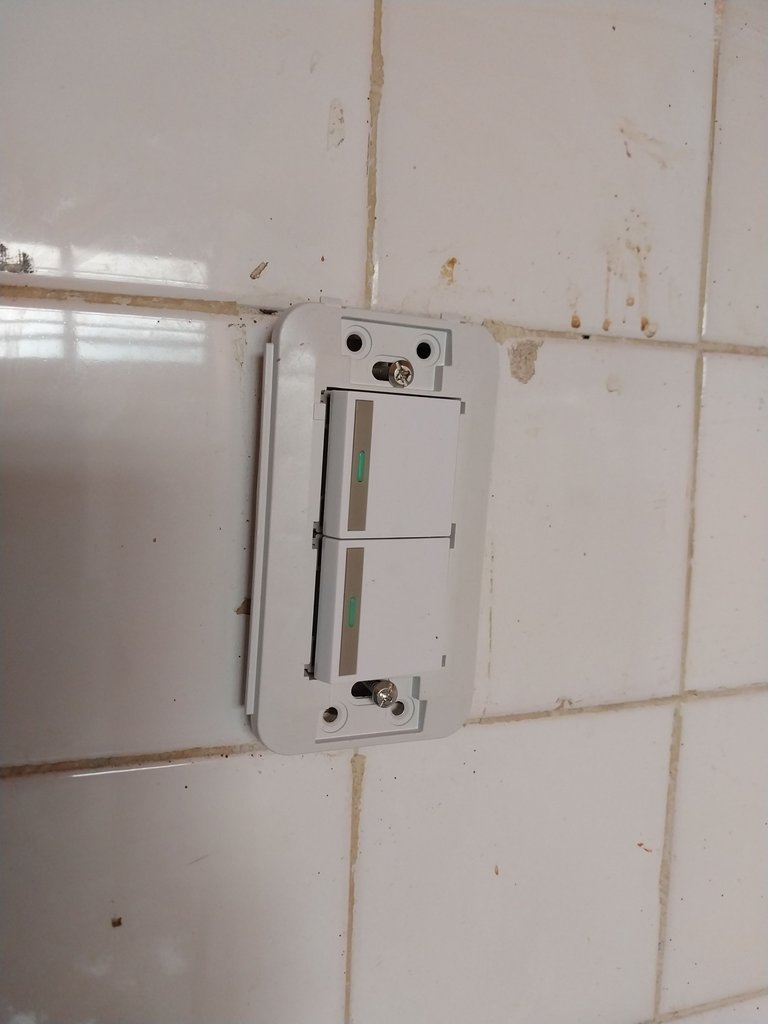
Una ves que mis conexiones estaban listas, presente mi apagador ante el cajetin, luego tomé los cables y los acomode bien en el cajetin para que no fueran a hacerle presión al apagador; una ves eso listo, acomodé bien el apagador y lo sujete con los tornillos en su base pero sin apretar aún, de manera que pudiera verificar primero que todo calzara bien.
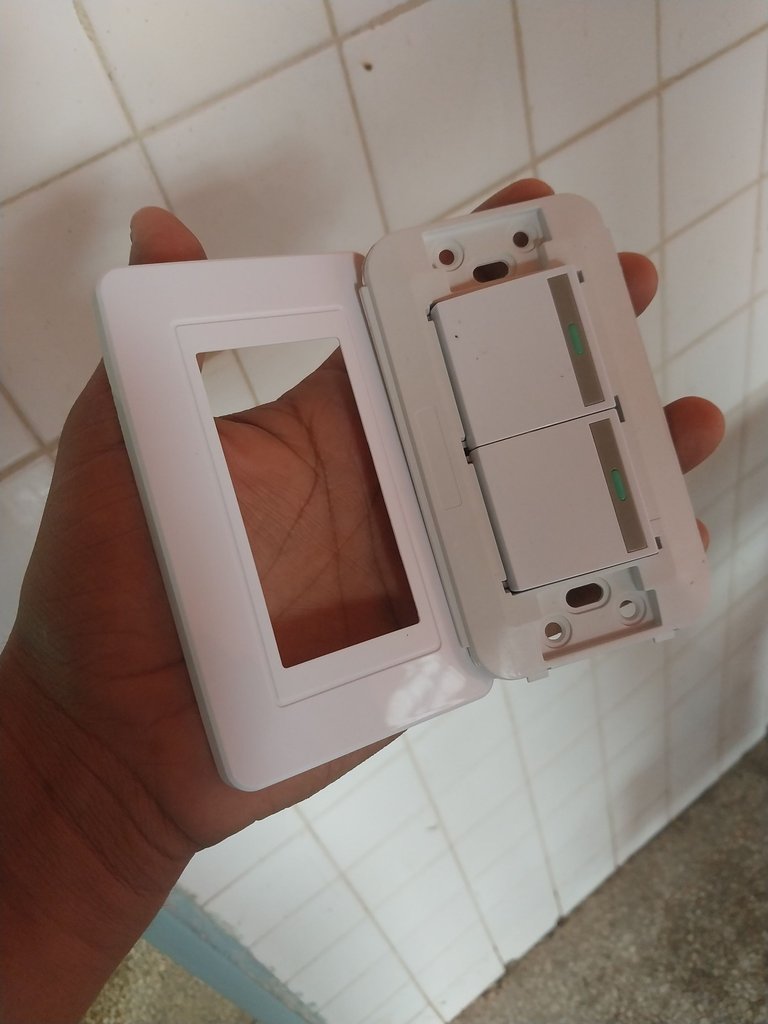
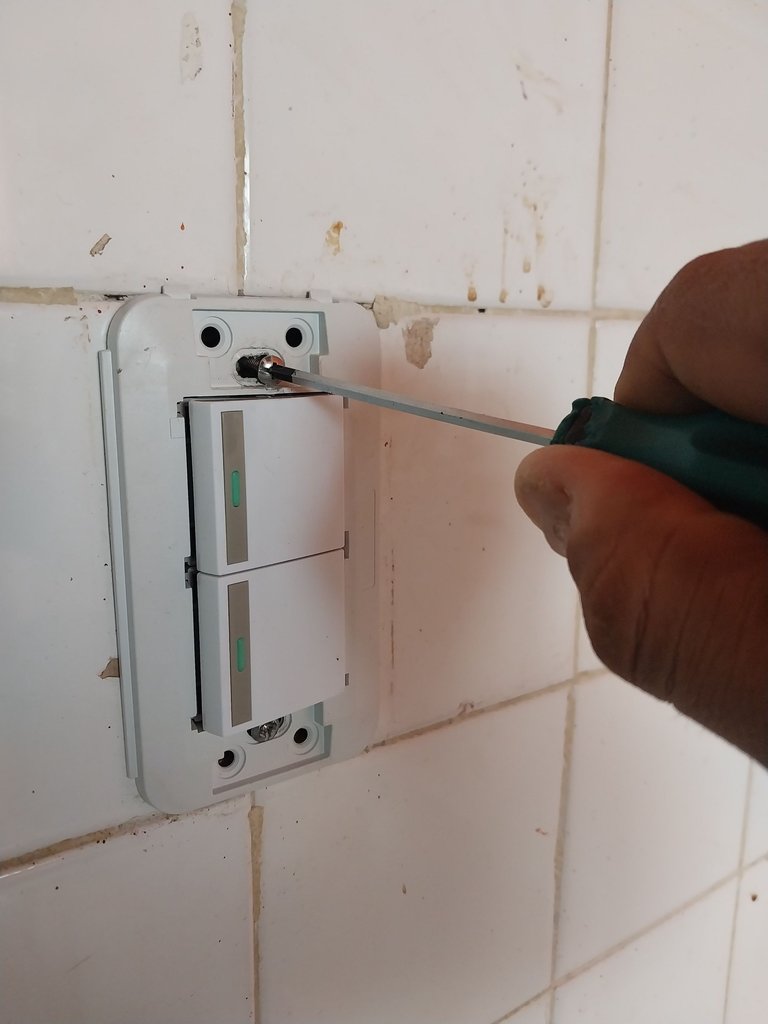
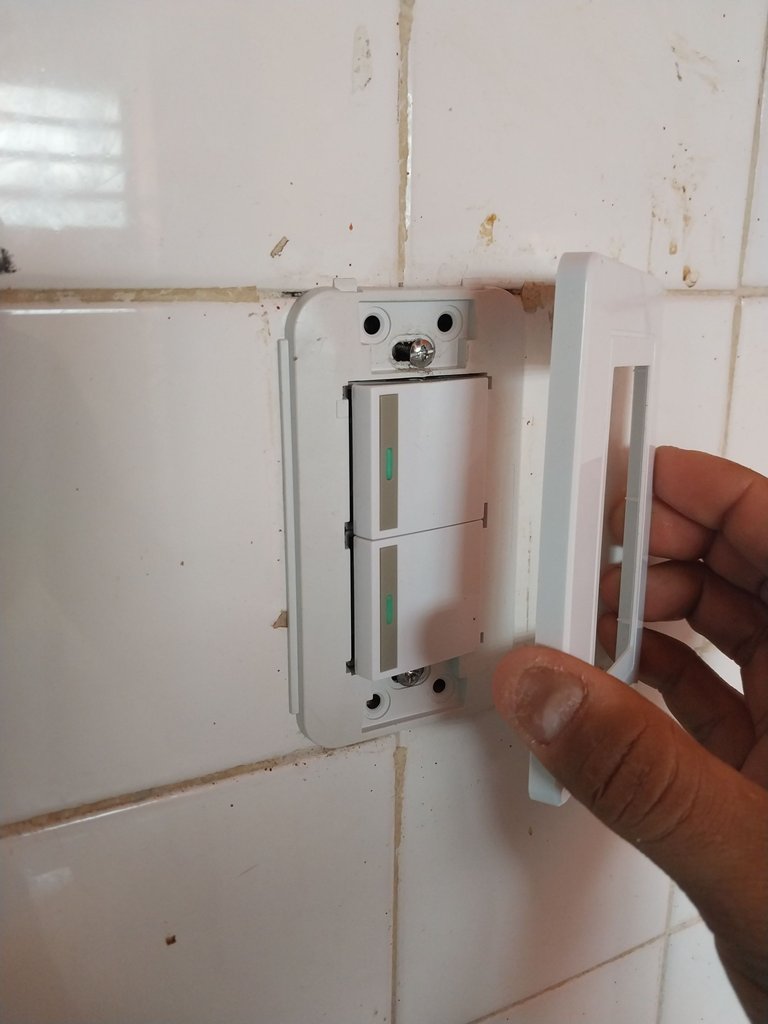
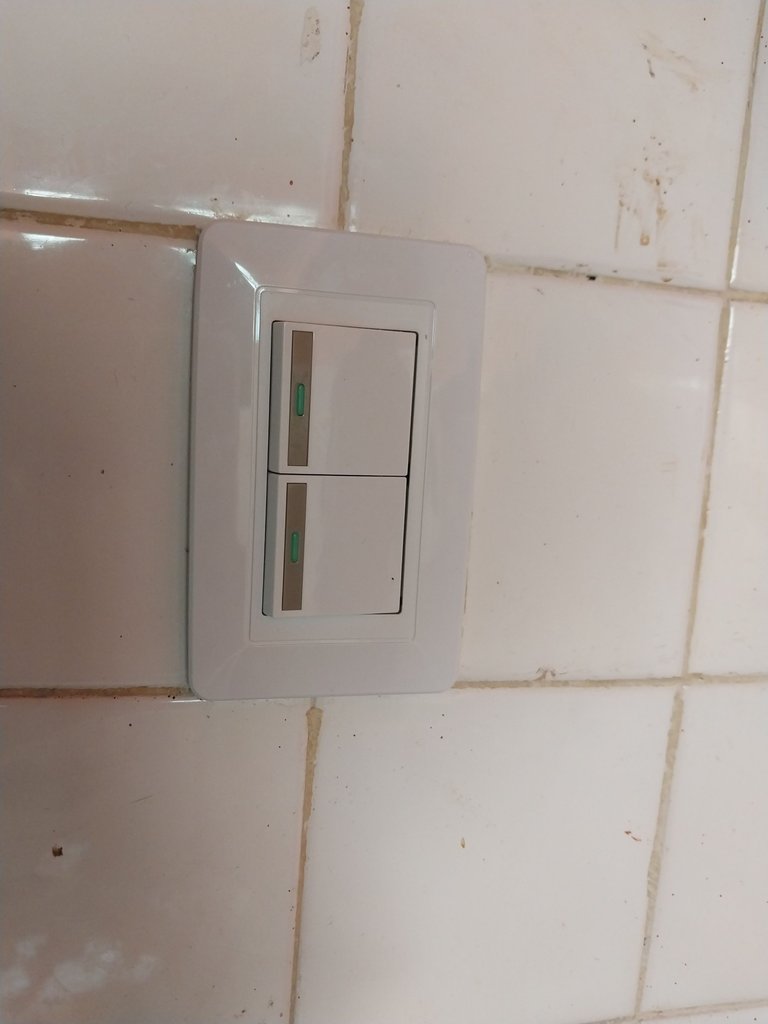
Luego tome mi destornillador y apreté ambos tornillos hasta que quedase bien ajustado, una ves fijado bien el pagador, tomé la tapa protectora, la presente, y luego la calce, y listo! Trabajo terminado, un apagador 100% operativo.
Posdata: hice las conexiones una a la ves para así evitar una descarga eléctrica, porque créanme, ser precavido nunca está demás.
Once my connections were ready, I presented my switch in front of the box. Then I took the wires and arranged them snugly in the box so they wouldn't put pressure on the switch. Once that was ready, I positioned the switch and secured it with the screws at its base, but without tightening them yet, so I could first check that everything fit properly.
Then I took my screwdriver and tightened both screws until it was snug. Once the switch was securely fastened, I took the protective cover, laid it out, and then fitted it, and that's it! Job done, a 100% working switch.
P.S.: I made the connections one at a time to avoid electric shock, because believe me, it never hurts to be cautious.
Y bueno, ya sin mas que decir, espero que les haya gustado esta pequeña y sencilla práctica,y nos vemos luego. Saludos y Bendiciones.
Well, without further ado, I hope you enjoyed this simple little practice, and I'll see you later. Greetings and blessings.

Translated with https://www.deepl.com/translator
Aunque parezca muy fácil no tengo das las personas se atreven a colocar estos interruptores, y más si se trata de electricidad, buen tutorial...
!discovery 30
The quilling work is absolutely stunning. The details in the design is so expressive. Great creativity.
selected by @stevenson7
Muchas gracias por el apoyo! Bendiciones.
Muchas gracias por el apoyo amiga @dayadam 😊. Y totalmente cierto, no todos se atreven a hacer esta tipo de trabajos, porque por muy sencillos que sean siempre hay riesgo, y por eso es sumamente importante ser precavidos. gracias por pasar. Saludos y Bendiciones.
This post was shared and voted inside the discord by the curators team of discovery-it
Join our Community and follow our Curation Trail
Discovery-it is also a Witness, vote for us here
Delegate to us for passive income. Check our 80% fee-back Program
Muchas gracias por el apoyo!
Good step-by-step, very useful process to easily carry out this type of installation at home. Thanks for sharing in our DIY community
selected by @dayadam
Mucha gracias 😊. Y un gusto poder compartir un poco de mi conocimiento en esta gran comunidad. Bendiciones.
Esas instalaciones no son complicadas, pero no todos se atreven. Además que hay que hacerlo de manera cuidadosa para no generar fugas que puedan terminar produciendo un corto circuito.
Excelente el paso a paso en fotos, para ver de manera gráfica todo el procedimiento. Espero que hayan logrado acondicionar todo el espacio para el provecho de los estudiantes.
Muchas gracias amiga @mamaemigrante 😊. Recuerdo que hace algunos años estaba soldando un regulador, y luego de terminar lo enchufe para probar como habia quedado, pero sin haberle puesto su carcasa, y en un descuido lo agarre con la mano y toque un cable y quede pegado como 1 minuto, tremendo susto jajaj. Pero si, la corriente es bastante peligrosa, y a la hora de trabajar con ella hay que ser muy precavidos. Gracias por pasar. Saludos y Bendiciones.