As a professional photographer who has worked for (inter)national clients, I thought it would be helpful to share some of my tips and tricks. I remember how difficult sometimes things could be when I was just starting to photograph for brands and corporate businesses. There were a lot of times that I wish I had learned these tips below sooner.
I've found myself often to be in situations that could've been a little bit better prepared, or better handled. Now, 16 years later, I can photograph and adapt quickly to most situations that I find myself in. All thanks to... practice and all those clients!
Here are 5 tips to get yourself prepared when you're shooting in unfamiliar environments!
Tip 1: Research beforehand
The best tip that I can give you if you're shooting in unfamiliar environments is to do your research. If I work on a low-budget project, I ask my client to take wide photographs of all the available shooting locations. The photographs don't have to be pretty, actually, they need to be as objective as they can be. If you already have a set date for the shoot, it is a good idea to have more than one location available. It's even better that you don't have a date set.
If I have a client with a higher budget, I will scout the location(s) beforehand myself and take photographs of the location for further planning. These photographs help a lot when planning for compositions, and cleaning, and give you a great insight into how the light will be.
In both scenarios, you'll learn if a location is capable of complimenting the shoot. If a location is absolutely incapable of delivering the required photography to your client, it is wise, to be honest about it and to consult and share additional advice about locations. While most locations are suitable for photography, this is a scenario that I had to deal with the least of my shoots.
I also ask my clients to make these locations "shoot-ready" before I arrive, which means they have to make sure the location is clean and everything that isn't supposed to be is gone. There is still a 9/10 chance that you have to clean the room and prepare it for the shoot yourself. There is a difference between working in an environment that isn't clean and isn't prepared. The latter is the job of the photographer; preparing the room.
You can also apply a bit of branding to your research: what is the current style and level of quality of the photography that your client uses.
Tip 2: Be there on time
If you haven't had the opportunity to scout the location yourself before you made the planning of the shoot, it is a good idea to be there on time. While this is most of the time done in your "free time", it will contribute to delivering a higher quality product as it can remove any obstacle that you encounter on your arrival. Here you can apply the last paragraph from the first tip; make sure the location is clean and shoot-ready.
The first thing that you want to do is to look for and identify light sources, light bulbs, and power outlets if you require power. If you're uncertain what the temperature of the light sources is, you should always ask, the chances for an office manager, or project manager, to know this is slim, but there is a chance they know it is either TL bulbs, daylight bulbs, or a variety of bulbs.
Being early on the location also allows you to check out potential compositions and plan your shoot. It's always good to look for more than one composition in case something may change during the day, for example, the movement of the Sun that's altering the light of the location.
3) Bring additional gear
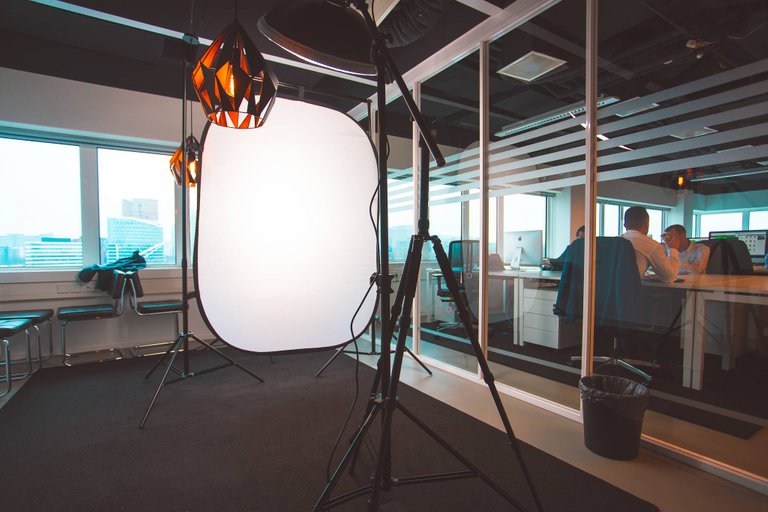
If you have no clue what you're up against, it is a great idea to bring additional gear. The list can go on and on. But here are a few things that you want to bring.
- Additional lenses (also the ones you rarely use), bring a wider range when you select lenses
- Light sources and modifiers (flash, reflector screens, etc)
- Tripod for your camera, but also your modifiers and light sources
- Batteries
- extension cord reel
- If you have one, an additional camera body
All the gear that you'll bring will cost you extra time to transport to the location. Before you get everything there, you first want to check out the location and make a decision about what you'll be bringing to the location. Of course, never keep expensive gear in your car not supervised.
4) Prepare yourself
Practice makes perfect. Shooting in unfamiliar environments takes some balls and should never be done if you're inexperienced and charging your client. The more you do shoots at unfamiliar places, the more experience you'll gather.
You have to prepare yourself for unexpected events. Ask yourself questions about what you would do if you don't have enough space, not enough light, a difficult subject/object/person to photograph, if you're getting hungry, and so on. Is there a place for people to go to if they're not feeling comfortable when taking their photographs? What do you do if someone is late, not showing up, or has to leave abruptly? Being able to answer all of these questions makes you well-prepared.
Usually, I plan the day. I start with key points, keep track of when people may or need food/a break, etc. The rest of the day is planned along those key points.
5) Work with the available light
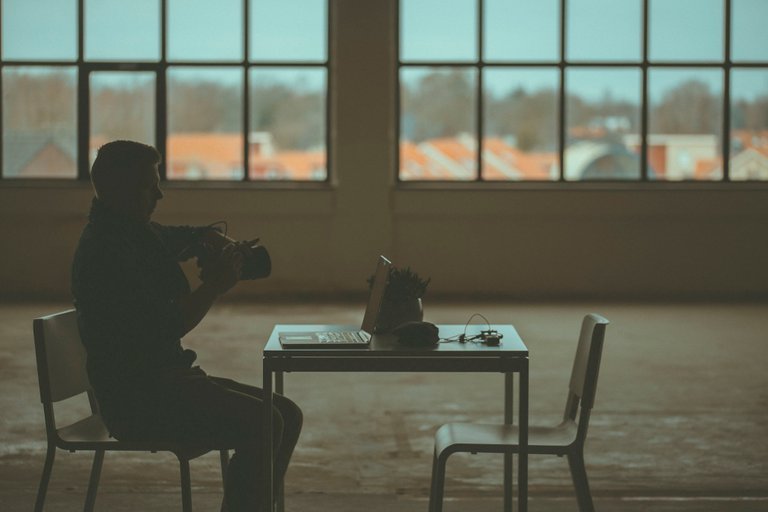
If you've done tip 2 correctly, you should know what light to work with, and you can adjust your camera settings to that.
In low-light scenarios, you would want to work with wider lenses, as you can shoot with a much faster shutter speed (and you gain a stop or 2 this way). Also, shoot with big apertures (small number) so a lot of light is coming in through the lens.
Prime lenses are king. They often have a big aperture and as they are not zoom lenses, they have less glass for light to travel through. All of these properties are beneficial as you will require less light to take photographs.
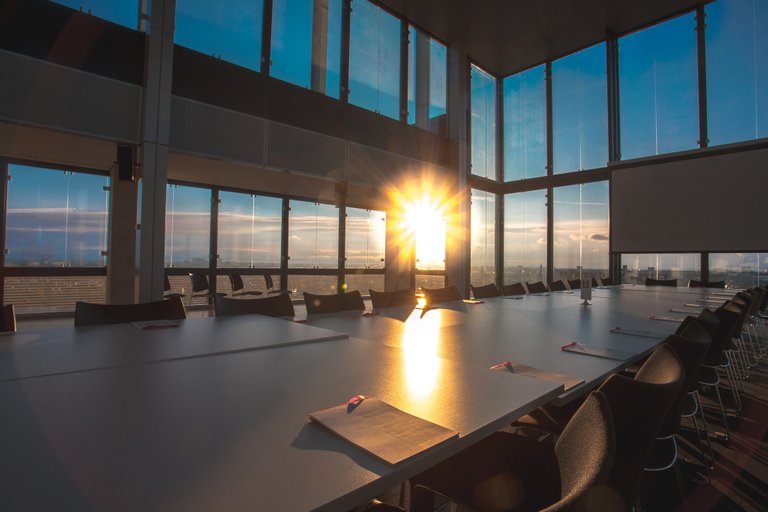
If you're working with a variety of lightbulbs meaning: different temperatures, turn off -all lights, and make sure to bring your light sources. You truly do not want to find yourself working in such an environment, as your camera will capture all these different color temperatures of these light sources. This is a highly detailed process to color correct during post-processing. This doesn't mean that -all light sources need to be of the same temperature (windows: daylight ~5400K (yellow) / TL: ~3000K (blue) / difference = 1200K), you need to make sure that one of them is dominant.
Hopefully, these tips will help you prepare for a shoot when you're going to photograph an unfamiliar environment. It is always a good idea to bring more gear to a location that you're not yet fully comfortable shooting in. You'll learn along the way, but as you learn, it is good to be well-prepared. This will make it a smooth learning curve, and you'll be surprised how well it will work for you.
Bonus tip: outdoor locationsIf you want to prepare for an outdoor location shoot, the best tip that I can give you is to drive to the location beforehand and take photographs before, during and after Sunset. Download Apps for your phone like "Magic Hour", and check out Google Earth before picking a location. This will help you plan like a king! |
I never leave the house without packing enough gear. At this point, I have complete lists that I use when I have something specific to photograph. Having these lists available for me works like a charm, as all the pre-work is done, and I just have to collect my gear and can leave the house pretty swiftly after a check. I started doing this when I forgot to bring an extension cord reel multiple times, for example, this was always the thing that I forgot the most. So annoying.
Alright, now you know how to fully prepare yourself and show up as a pro! If this was helpful, please let me know and follow me for more.
Cheers,
Ruben

Follow me on Foundation | Follow me on Twitter | Follow me on Instagram
Great tips man. I have a wedding I am shooting in a few months and it is in a whole different state, so I am going to be making sure I have plenty of time and equipment to get ready for it. Luckily I am going to have a couple extra days to familiarize myself with the venue and everything beforehand so I am not surprised the day of the wedding.
This is good intel… as a photog, I have to admit, many times I’m woefully unprepared.
Today’s a good example…
Good sharing my friend. Tips no 3 had always worked for me. 😅 I have a lot of unplanned shoot before this and it becomes my habit to bring extra gear for a job.
I am also very fond of taking pictures, if there is one at home or friends go anywhere, then I take all the pictures. I will use the methods you have shared and improve my photography skills.