Homesteaders - Save Money by Cloning Your Plants or Earn Money by Selling Your Plant Clones!
“The eternal flame of life once kindled upon this earth has passed from organism to organism, and is still, going on existing and propagating, incarnated within the myriad animal and plant forms of everyday life.”
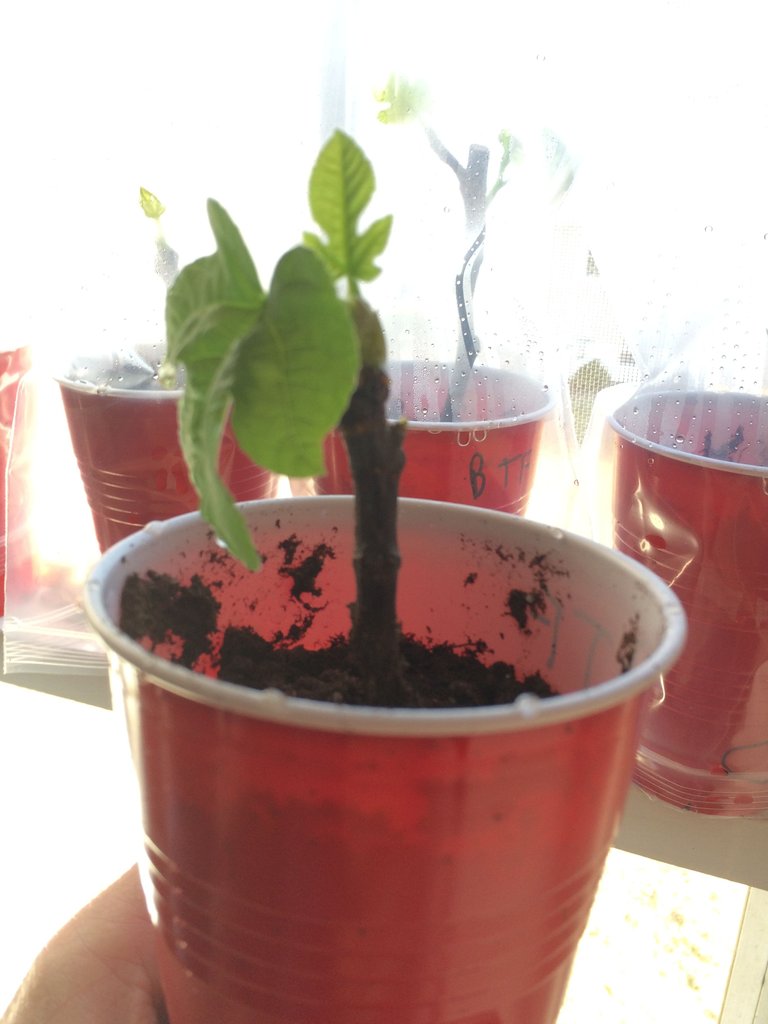
One of my winter projects was cloning or rooting cuttings from my fig trees. The local home improvement center was selling these small rooted fig cuttings for $10 each. I figure I saved over $100 and have enough new fig trees for my summer fig project and leftovers for gifts to family and friends.
This same process will work with many different plants. Some will root quicker and easier than others. The best way to learn what will work is to experiment. That is, try it!
Here’s the process in photos.
Start with cuttings 6 to 8 inches long and as thick as a pencil. I wash and scrub (gently) the cuttings with a brush and a bit of antimicrobial dish liquid. This removes unwanted things like insect eggs and fungal spores.
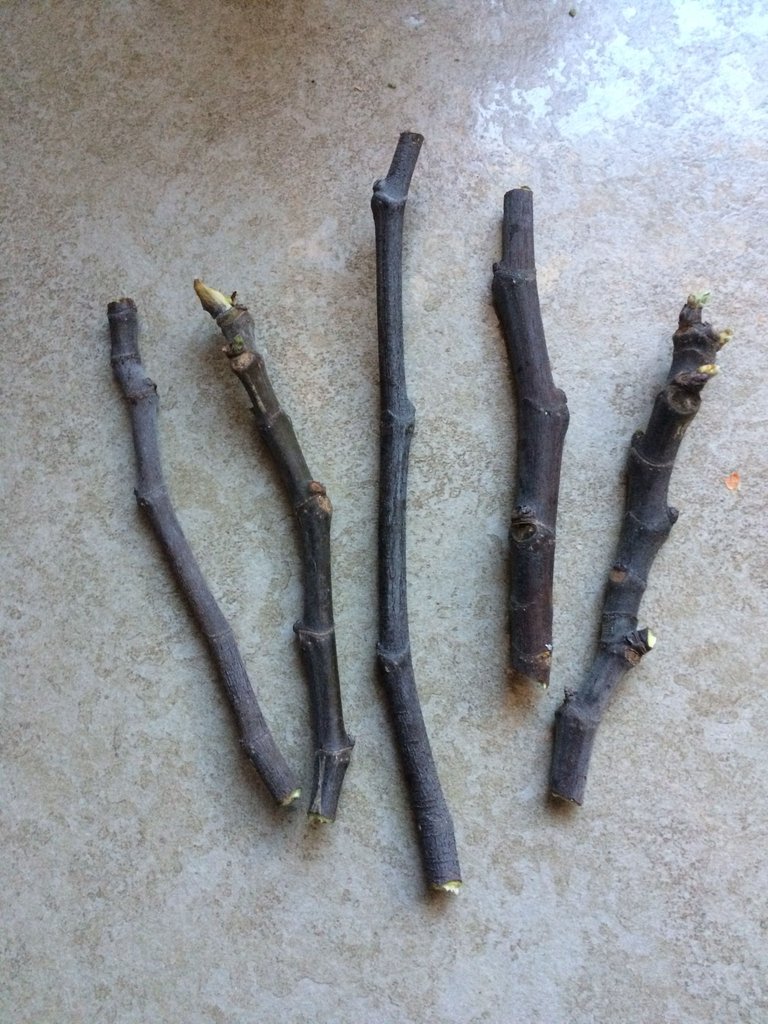
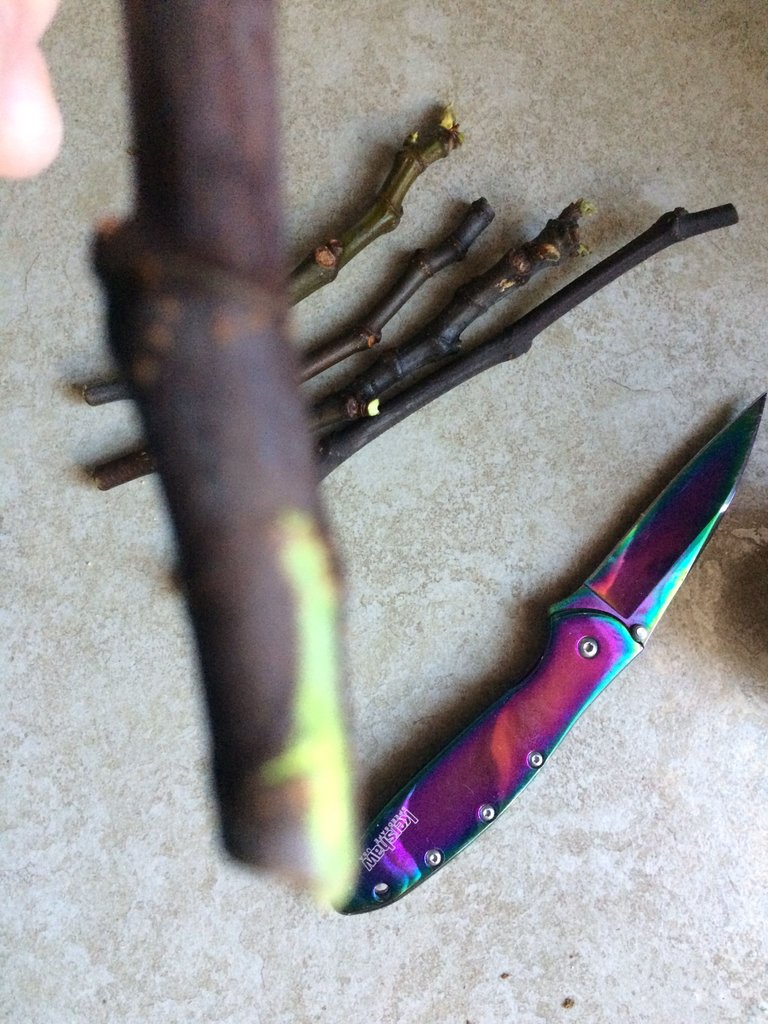
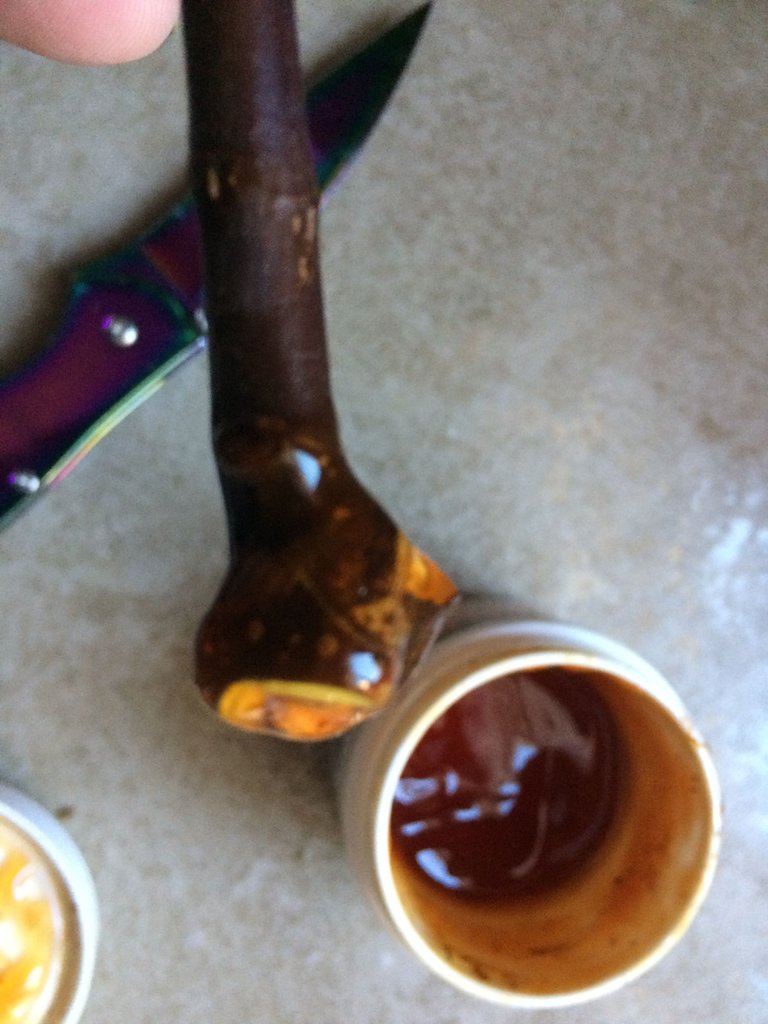
Trim the cuttings so the cut is just below a node, that’s a bud location where the leaf would grow out of. I scraped the end of the cutting with a knife. The wound will help initiate rooting. (Sorry about the blur, but you get the idea.)
I used a cloning gel to help with the rooting process. It contains the hormones a plant uses to grow roots. Not absolutely necessary, but I had some leftover from another project. I used the gel on half the cuttings to see how much difference it made. All the cuttings rooted, gel or not.
Figs root easily. The gel might be necessary only for hard to root cuttings.
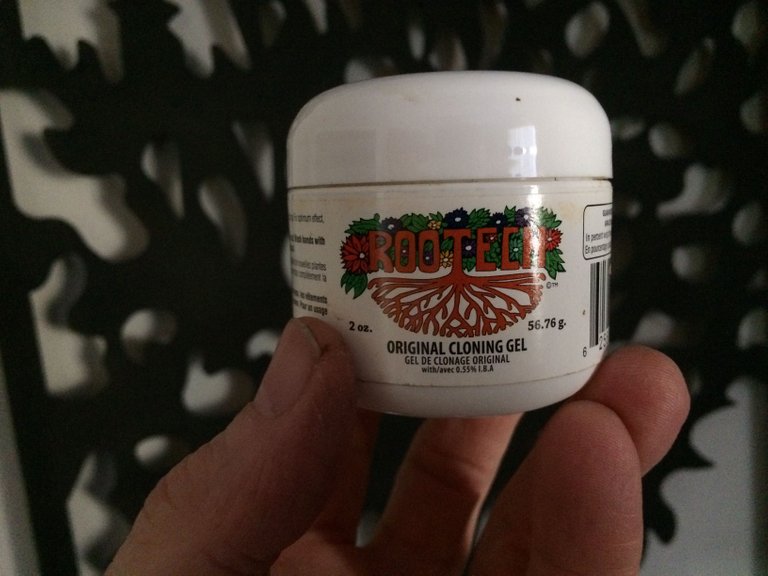
Dip the ends of the cuttings in the cloning gel. Skip this step if you don’t have it.
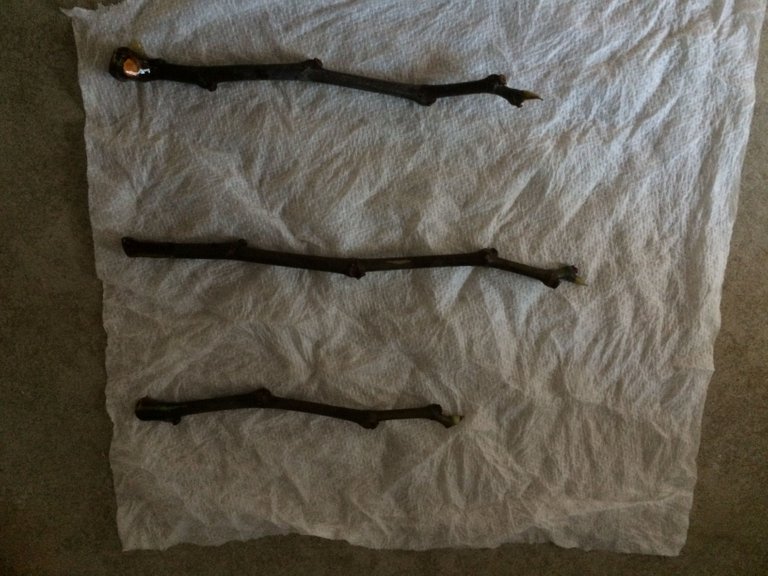
I lay the cuttings on a damp paper towel.
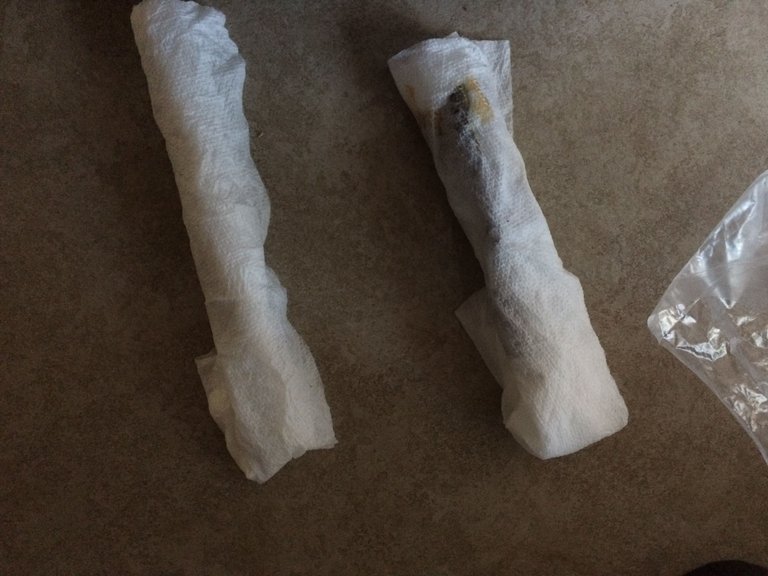
Wrap the cuttings into a bundle by rolling them up in the damp paper towel.
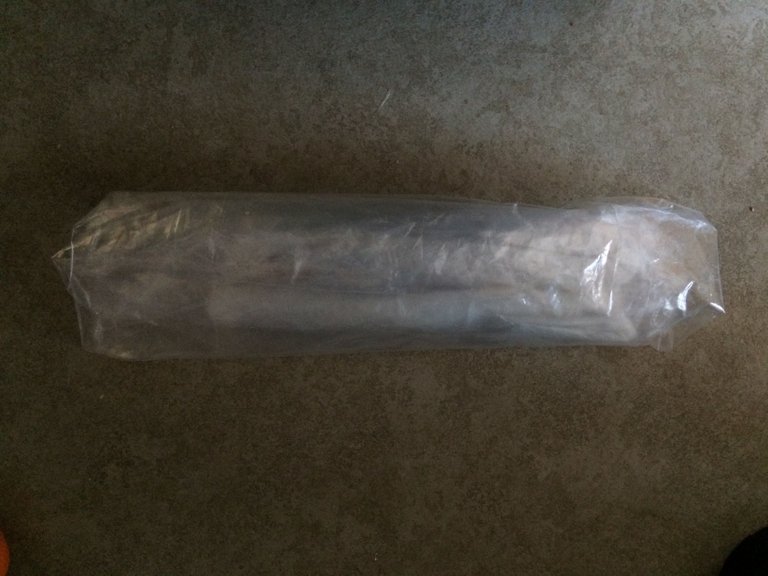
Put the rolled up cuttings into a plastic bag.
Put the cuttings in a warm place. I use a germination box I made. Here’s a link to the instructions for it. https://steemit.com/homesteading/@beyondordinary/easy-and-simple-germination-box-you-can-make-for-less-than-usd10
Check the cuttings every few days. This gives the cuttings some air and allows you to notice any problems. After a few weeks the cutting should show root development.
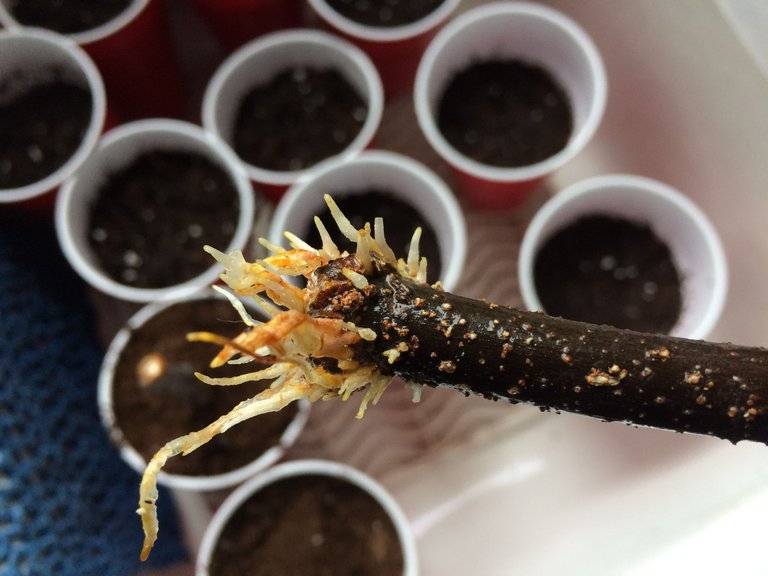
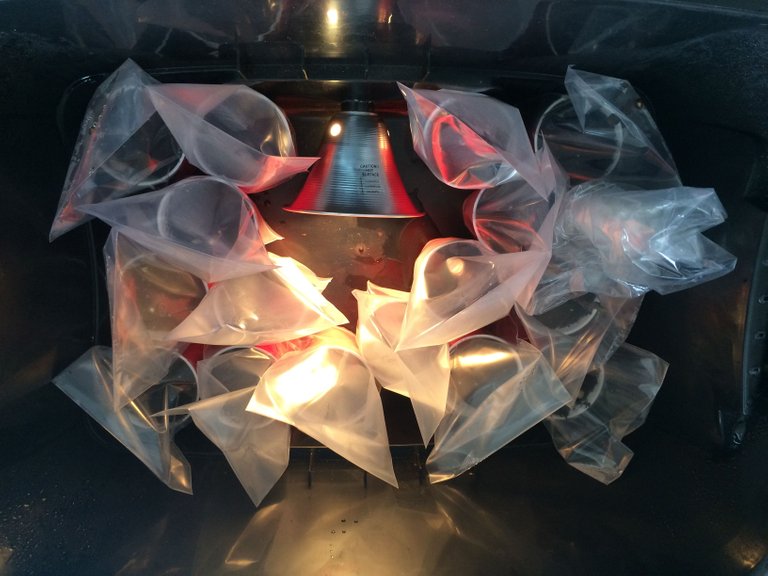
At this point I planted the rooted cuttings in large cups, covered them it’s a plastic bag, and put them back in the germination box. They will stay in there so the roots will continue to grow. When the leaves start to grow its time give them sun.
Here’s a peek in the germination box with some of the planted cuttings.
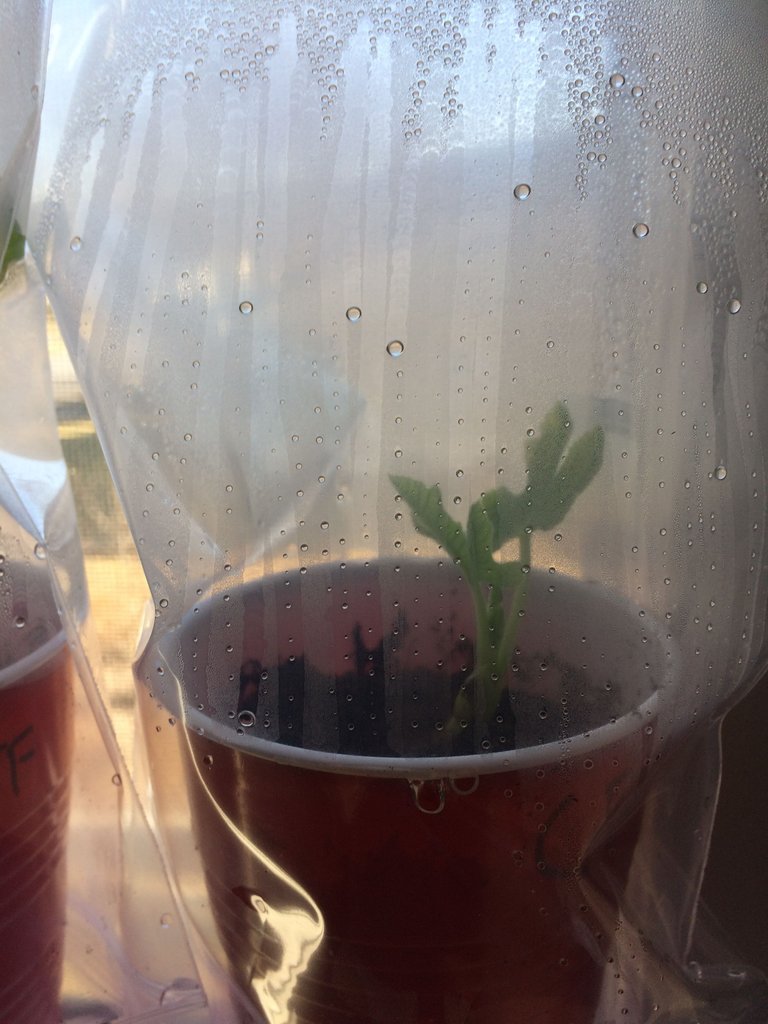
Here are the new fig trees in a sunny window. I leave them bagged to keep the humidy levels high. Never let them dry out at this point.
In the coming weeks, I will transplant the new fig trees to a larger container. The plants will tell you it’s time when you see roots growing out the drainage holes.
The larger containers will be outside in the cold frame to harden off the plants and get them ready for their life in the outside world.
If you have ever tasted a tree ripened fig, you will understand why I want more trees!

@sotall
@homesteadersonline
That's good, very interesting.
Nice tutorial I like the wrapping in paper towel step. I think I will give that a try next time I try rooting cuttings.
Yes, the results speak for themselves. Much easier than trying to bury bundles of cuttings in the frozen ground for Spring rooting.
I am trying pear trees. I put the cutting in a plastic jug about 2 weeks ago. I see white spots on the side and hope that is roots just starting. If it works and I have extra I will trade you for one of your fig trees. If it don't work I will try it your way to see if that works better. See you soon.