So I was finally able to put my first multi GPU mining Rig to mine! I'm so excited to share my experience with you guys :)
Hopefully some of you will find this post usefull when trying to build your own mining Rig.
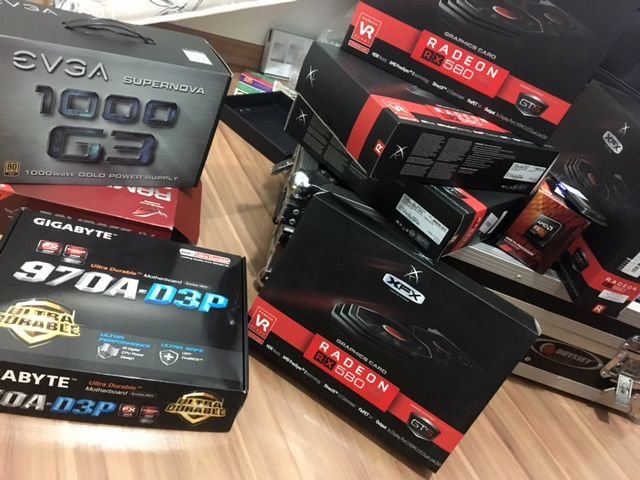
Lets start off with the list of equipment I used on this RiG
- MotherBorad: Gigabyte 970A-D3P
- Processor: FX6300
- Memory: 4GB Kingstone 1333
- HardDrive: Sata 250GB RPM7200
- Adapter: 5 Riser Cables
- Video Cards : RX580 4gb XfX OC Gts
- powerSupply: EVGA 1000W Gold Modular
- Openair Frame: Homemade
- Operating System: Windows 10
The first challenge is to put the frame together. An open Air frame will help to keep all the components nice and cool allowing great airflow throughout the rig. Also on the plus side is the cost to build one of these. They are not expensive at all.
QUICK GUIDE - OPEN AIR FRAME
You will need:
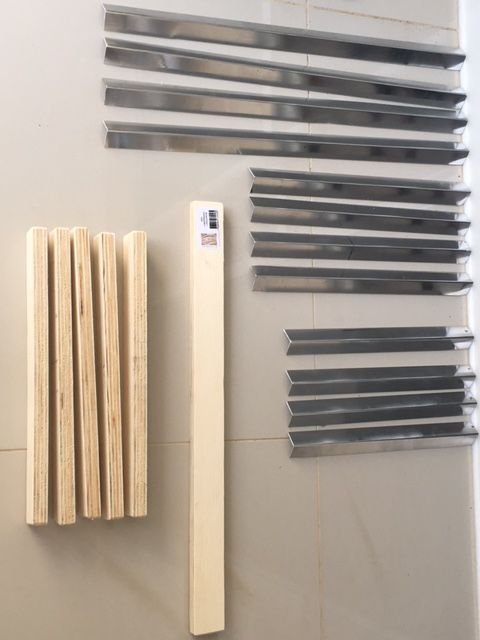
4x55cm aluminium angle
4x35cm aluminium angle
4x30cm aluminium angle
1x55cm wood
5x35cm wood
hack saw
sand paper
arch saw
self drilling screws
small rubber rings
screw driver
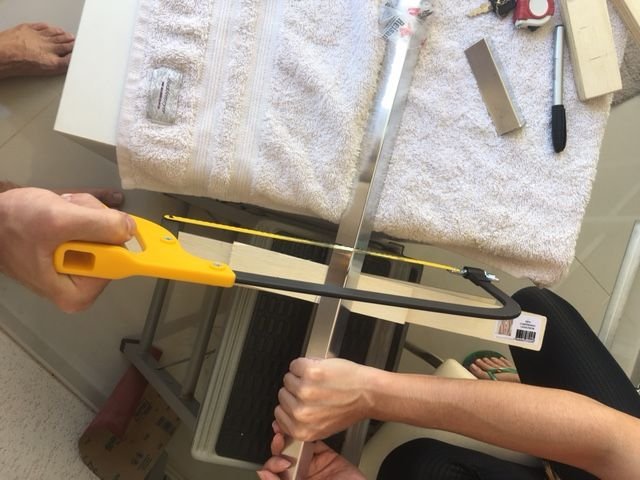
try to keep the edges at squered angles when working with the hack saw, it will make the assemble easier
a sandpaper to give it a smooth finish to the wood parts
use the arch saw to cut the aliminium parts
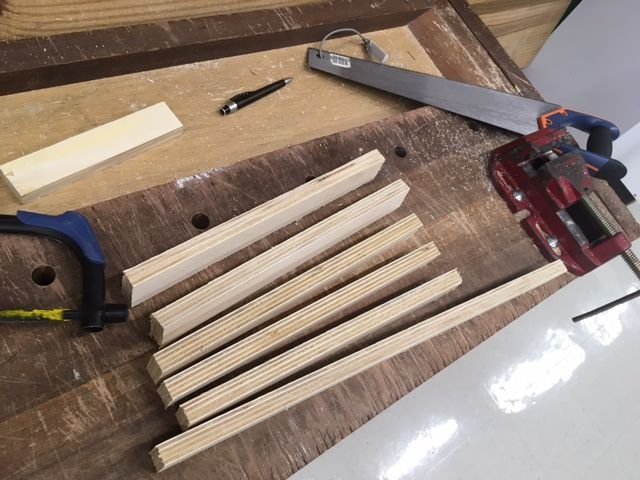
You Should end up with something that looks like this
Now it would be a good idea for you to watch this video to guide you in putting it all together. (shout out to Guntis Vitolins)
MOUNTING THE PARTS ONTO THE FRAME
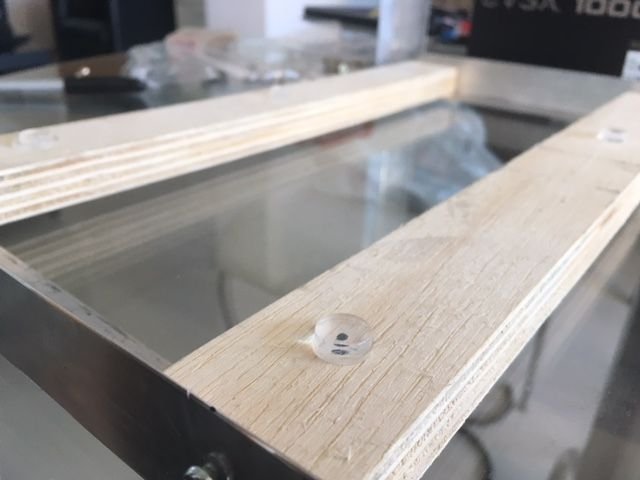
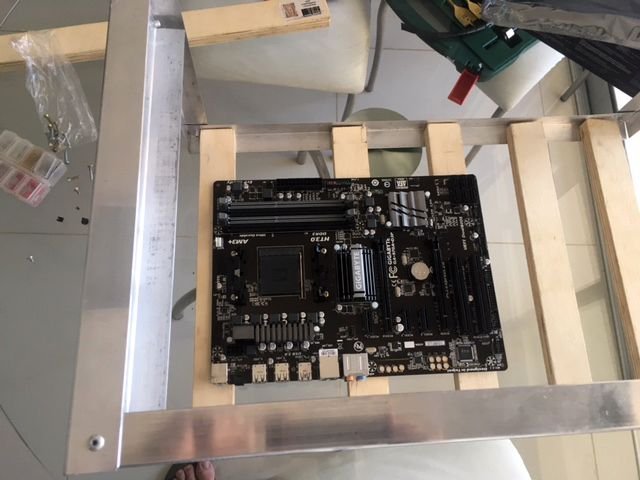
- First lets secure the Motherboard. You don´t want to set your board directly on wood. The wood is technically not a conductor, but it could possibly accumulate humidity overtime and that would not be good for your system. I suggest you use these rubber peices to make sure the board won't touch the wood.
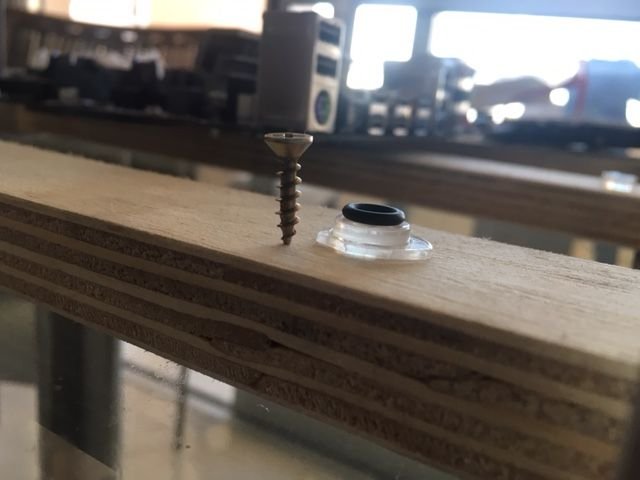
as you can see I used this little silicone adhesive and placed the rubber rings on top of it.
Just make sure you have a long enough screw to go through all of that into the wood.
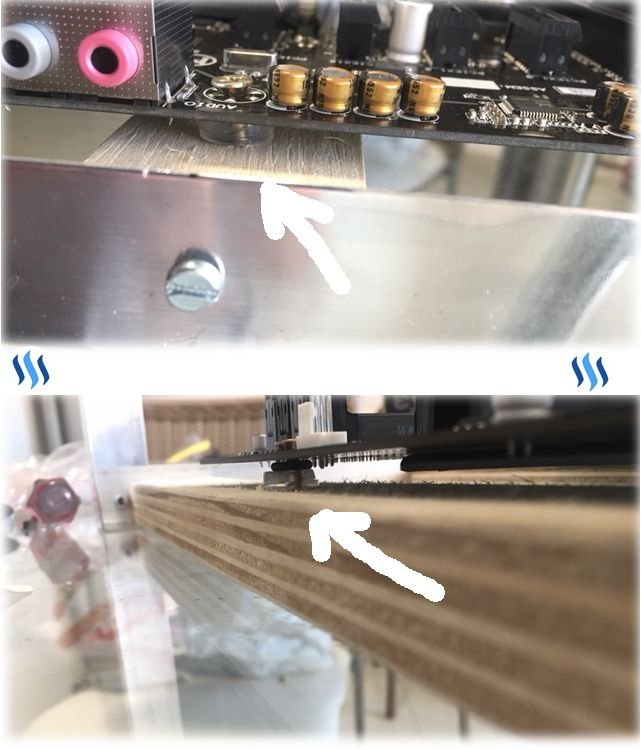
wow i have just noticed how big my toes are lol
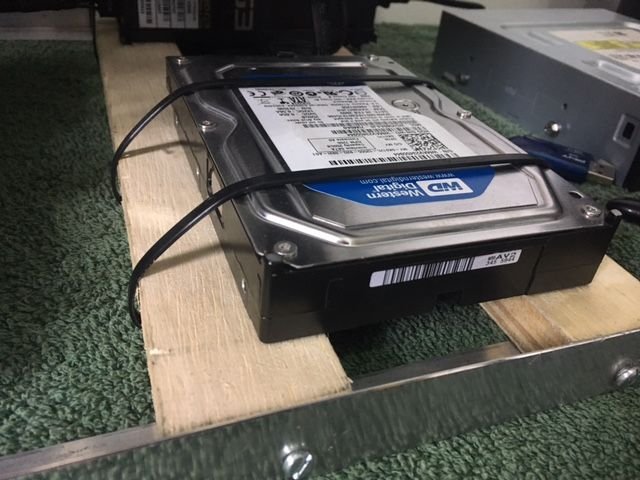
- Now lets secure the hard drive and the PSU
You can get creative on where exactly to place them. I chose to use these little straps so its easy to move them around the frame if you decide they need to be rearranged.
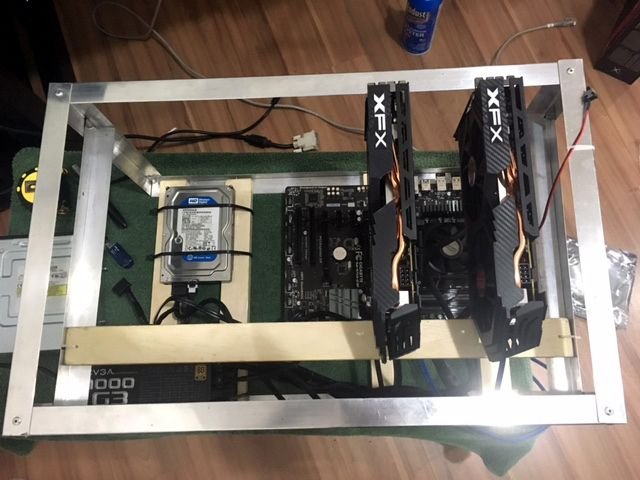
It should look something like this.
Now all I'm missing to be able to plug everything in and fire this bad boy are the Riser cables. They are adaptors that allow us to connect the GPUs using a sata and usb cable. That way the GPU won't be fisically pluged in the Mobo making it possible for us to use several video cards without worring about space in between the PciE slots.
I have ordered them from China a couple weeks ago and they should arrive anyday now. Reason being, unfortunatly these Risers cables are all sold out here in Rio de janeiro. Matter of fact they are pretty much sold out at this time in the entire country lol.
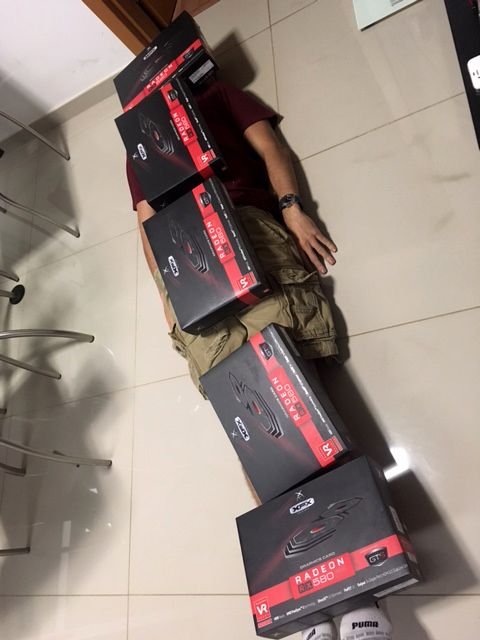
Any how, I will leave you guys with a picture of me wating for the Riser cables to arrive in the mail. I'll be taking a Nap till then ...
Follow @MrPliven
I'll post more as soon as them risers arrive. Thx for reading.
Upvote and resteem please!


Great post ♥ upvoted and resteemed ☻can you please list prices and where you bought it? thank you♥
Hello @patrickmohr , I got all os these in Rio de janeiro Brazil. So I dont know if the prices will make much sense for non Brazilians. But I will make sure to post a reference price on my next post for these parts.
Cool ☻
Welcome to steemit ...Great Setup Atlast found some of the same interest
I have Upvoted this post...
Do check my blog for amazing Tech related content as well as I have written about the City of Gods that you might wanna check
Follow me and I'll Follow Back
I will check your blog too.
Sure thing :)
Nice artical, let us vote and follow@svtechnik
ty for the nice words.
Great post! Good luck!
@minotaura , ty for the kind words !
Good one indeed and great way to being self relliance and make money
yeap. I hope Ill be able to make some :)
absolutely...lets stay in touch
Nice!
ty!
It's great to be. Recently, too, think about collecting such an installation) I apologize for my English)
Ty so much for taking the time and commenting even tho english may not be your first language.
Using irrelevant tags, especially popular tags, makes it hard to find good and relevant content.
Please try to use only relevant tags when posting!
#introduceyourself
The “introduceyourself” tag is for creating a post that tells us about you. Users are encouraged to use this tag exclusively for that, and not to reuse it.
Hello @steemcleaners I see your point. I was thinking about introducing my new rig to the world. Almost as if Normambates was a pet to me. But I guess I didnt convey the idea properly . I do thank you for your cleaning services :) trying to make our ecosystem smooth explainging the ropes the new members like myself.
Would it be possible to change a tag now?
Good job!.. upvoted it!
Wow ive been dreaming of mining my own bitcoin too but its too expensive to start with. Goodluck to you buddy :)
Thx!!
A big warm Steemit welcome goes out to you Mr P. :-D
Upvoted and High Pawed!
Flatrider