Holiday projects
My exams are finished as well as my second year of university! I finally have time to sort things out and fix things. My closet was the first thing I wanted to get my hands on. I threw out a lot of clothes and found one of my dresses that needed some love.
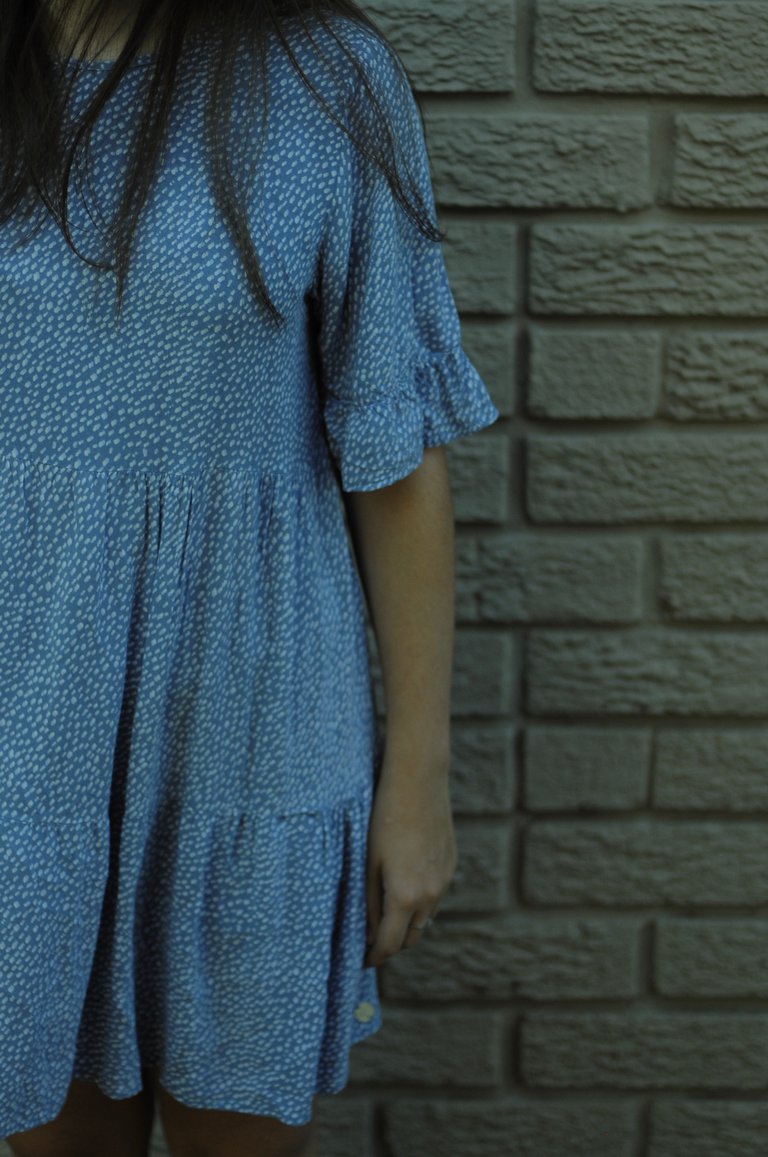
A favourite dress
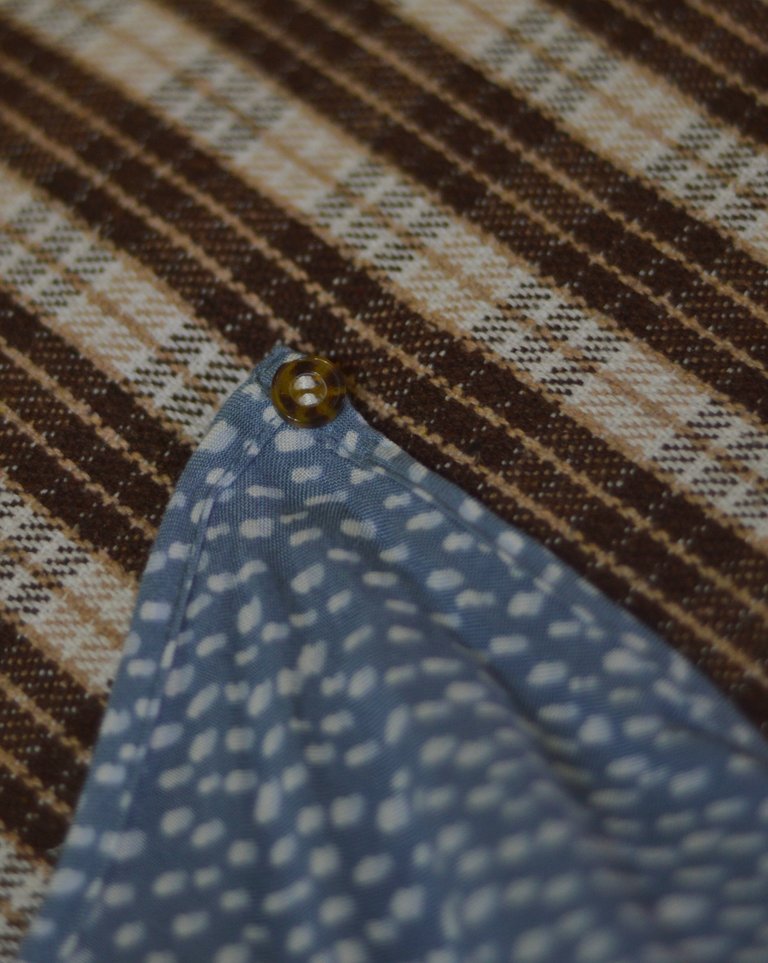
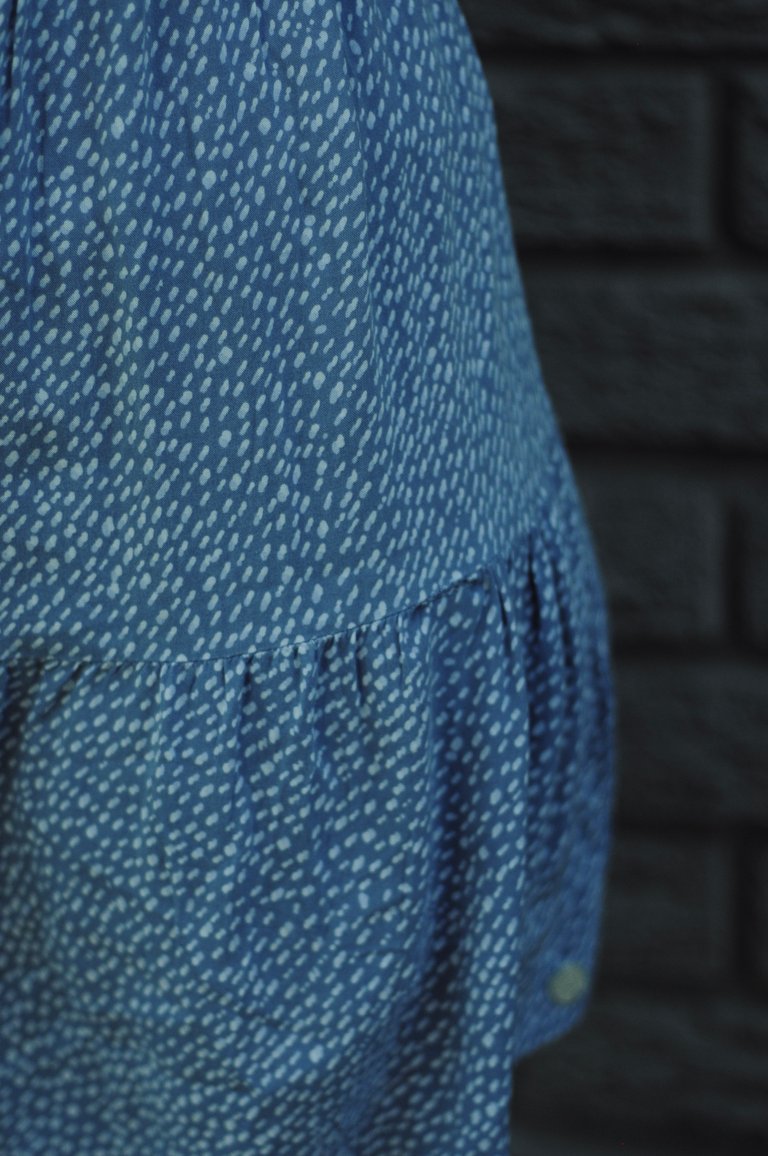
I bought this white spotted dress a year ago and I wore it often to class since then. The flare and the loose fit is my ideal for a dress. But, with thin and pretty material as well as unique details, it is inevitable to become my favourite. All good things come to an end and my dress being one of them. There were three places where the seam ripped apart, how did this happen one might ask. Well, bad quality unfortunately. This happens a lot where the seams are not stitched properly and this leads to holes on the seam. The button on the back also broke in half which is a mystery.
I am not a sewing expert, but I taught myself and got a few tips from my mother. I have a bit of experience but not a lot, please have grace with me in this post.
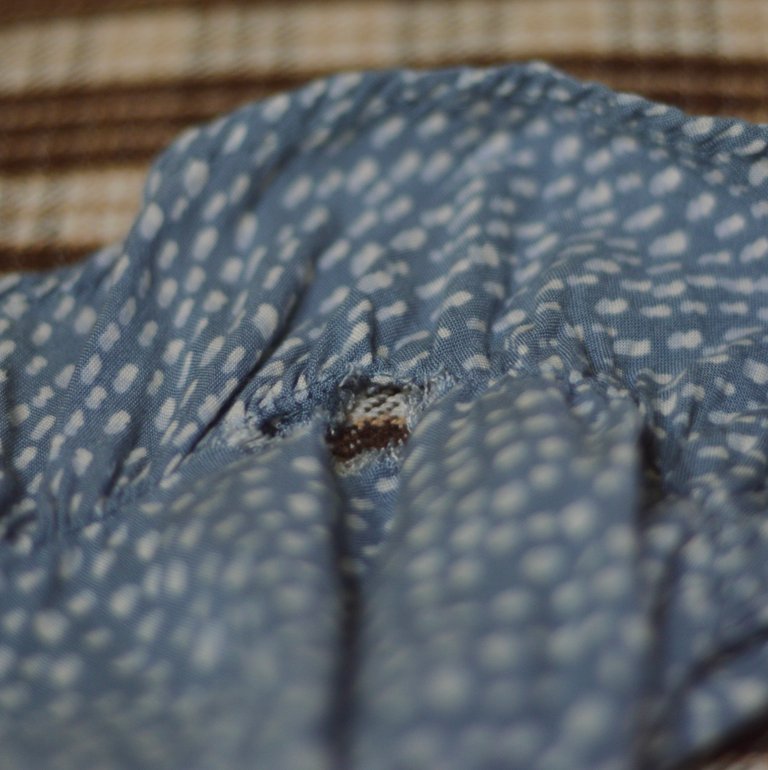
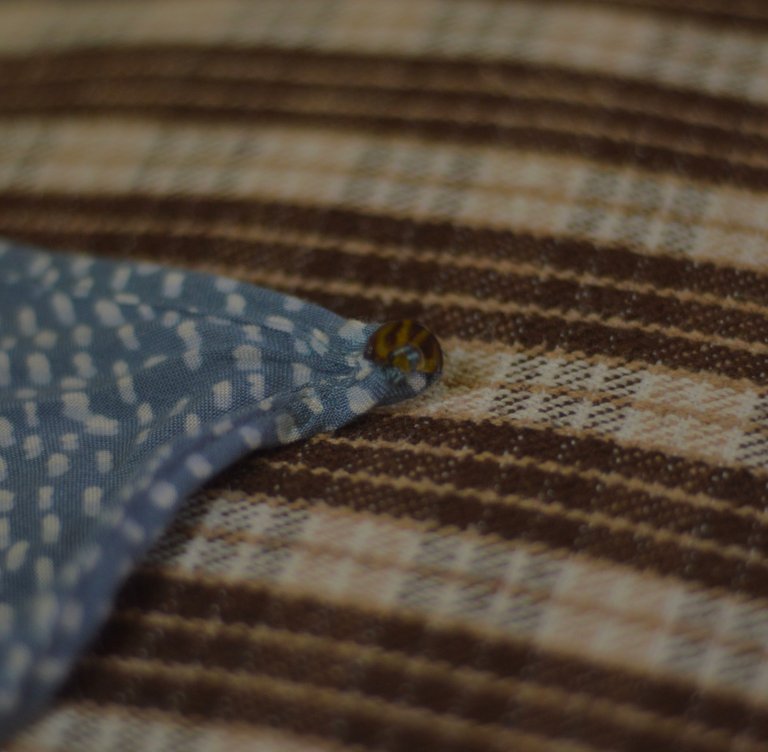
Inspecting the damage
At first I thought there were two holes, but when I did a more thorough inspection I saw three holes. Great…
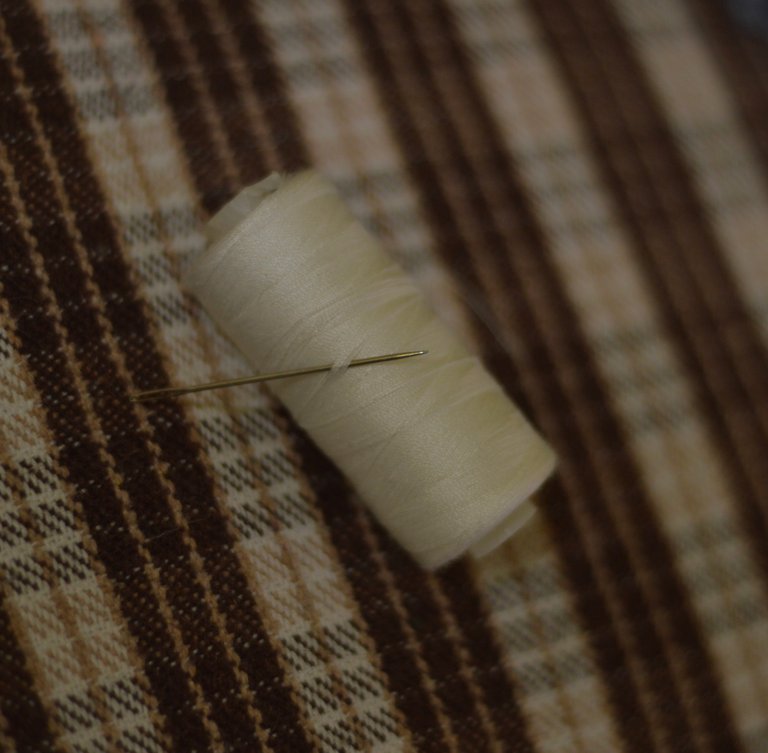
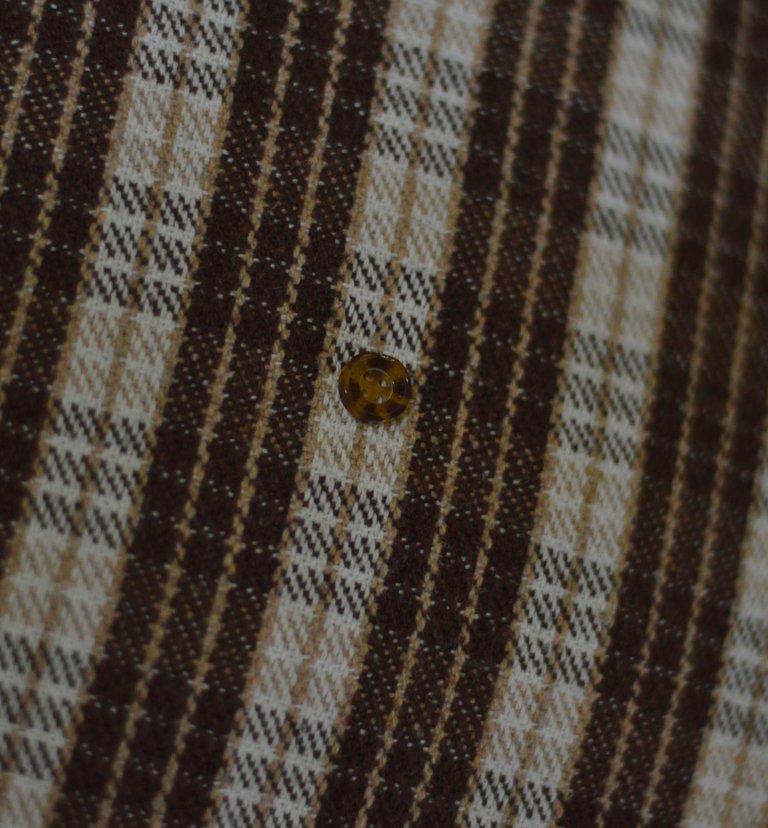
Well, only way to finish is to start. I got my scissors, thread and needle. On the tag of the dress was a spare button so at least I did not have to go and search for a similar one.
Process
I started with the button which was the easiest. I made it solid with white thread and disguised it in one of the spots so it would not stand out. Not that one would see it, but I will know and I am a perfectionist. I am proud of myself that I made it this neat and sturdy altogether.
 |  |
|---|
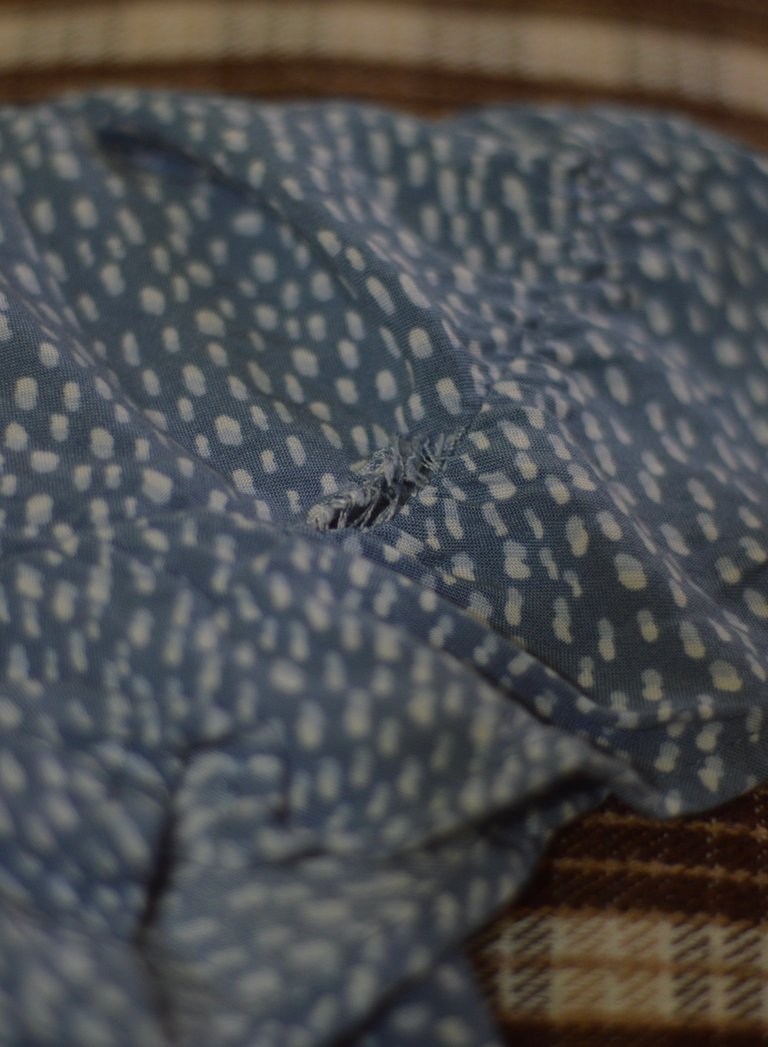
The holes were more difficult. I thought about which stitching technique I should use. At first I did the simple running stitch, but I was not satisfied. It was a bit loose and the frayed ends went through the spaces. I undid the stitches and thought for a while what method I should use. I asked my mother and she suggested the overcast stitch which made a lot of sense. I did it on the first hole and it came out rather nice. The frayed ends stayed in place and didn’t peak out like before. I carried on with this method on the other holes. There was hope for my dress to see another day after almost 6 months.

Satisfied
The button and holes were now fixed and I am happy with my work. With this hot weather we are experiencing now in South Africa, I can wear my favourite dress again and not pass out from the heat.
Thank you for reading this post and going through the fixing process with me.
(This post is my own creation and the photographs were taken with @fermentedphil’s Nikon D3200.)
You surely have magical hands. It looks fabulous
Thank you <3
My pleasure 😊
Oh good for you! I can't sew to save my life!
Thank you! Everybody have to start somewhere :p
I love this cloth for my wife
It was sheer luck to have come across it!