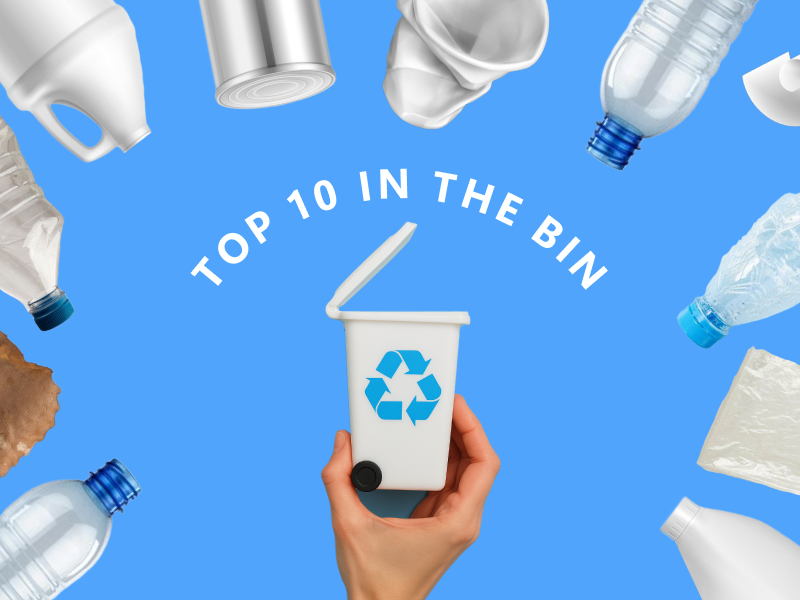
The average recycling rate in the United States for Municipal Solid Waste (MSW) is roughly about 31.1%, which isn't bad, but we need to do better to help save Mother Nature; people need to recycle more. It is for this reason that we are kickstarting our newest initiative, "Top 10 in the bin", an initiative born out of the need to encourage and educate people about recycling, which in turn boosts the quality of air that we breathe by reducing greenhouse gas emissions and conserving energy.
You'll agree with me that disposable waste products are bad for our environment, and they can lead to several hazardous consequences, such as increased waste in landfills, pollution, habitat destruction, resource depletion, and climate change. All of this can be avoided we all come together and rescue Mother Nature by recycling our environment.
Paper
I knew you were expecting to see plastic first, right? ;) Paper waste is nowhere near the damage it does to the environment like plastics. At your office or hairdressing salon, you'll admit you dispose of a great deal of paper and cardboard. However, some businesses run "paperless" (i.e, you don't offer receipts of purchase), and at the office, folding and throwing of papers into the waste good must feel good.
At the end of the day, you do nothing with those papers, and they become a heap of trash. The good news is that paper can be recycled and discarded responsibly!
- 3D Picture Frame
 Image Credit: The Kitchen Table Classroom
This is a fun and easy step-by-step project you can try with your family. The tools needed for this project are as follows:
- Scissors
- Multicoloured cardstock
- Pencils
- Picture frame template.
Step 1: First thing you want to do is print your picture frame template on a multicoloured cardstock (feel free to choose any color you wish).
Step 2: Cut out the square corners of your frame
Step 3: Get your kids to cover up the decorating aspect, since they're smart, they can beautify their photo frames however they'd like. They can play with colors using their markers or coloured pencils.
Step 4: Each edge should be wrapped tightly around a pencil. Thereafter, make sure each sides are rolled up so that the pattern is facing upward. Once that is done, you want to slide out the pencil. By so doing, this gives your picture frame a "3D" look.
All rewards from this post will be sent to null.