The sea is a harsh environment, everything corrodes or degrades in some way, even stainless steel if it is not the right grade. When I was in hospital being rebuilt after my accident I was told that my ankle would be stainless steel and my collar bone would be titanium. I asked what grade of steel they were using and the surgeon responded "316", I offered my approval at this choice much to his curiosity. I then explained I was a sailor and he understood. It would appear that the insides of the human body is almost as harsh as the marine environment.
If the salt water, constantly churned and aerated by the waves, does not degrade your kit then the wind and the sun have a good crack at it too. Ropes bleach, canvas turns to dust and alloys slowly turn to mush. So, with this in mind we set about making the rudder as hardy as we could.
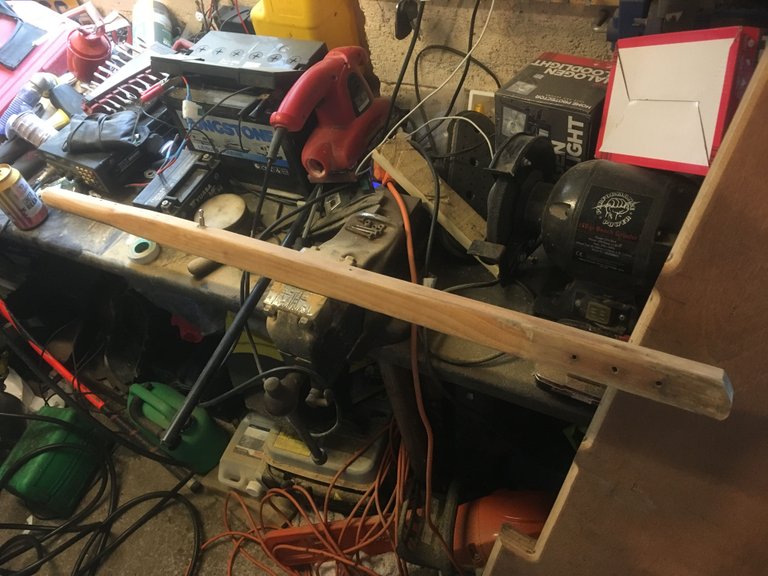
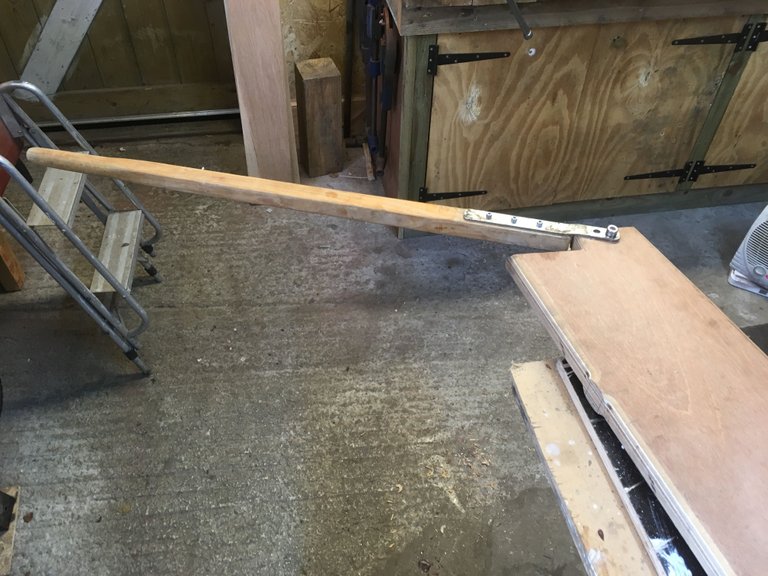
So first things first - I set about sanding down the tiller handle and offering it up to the rudder. I was happy with the result and everything looked "right".
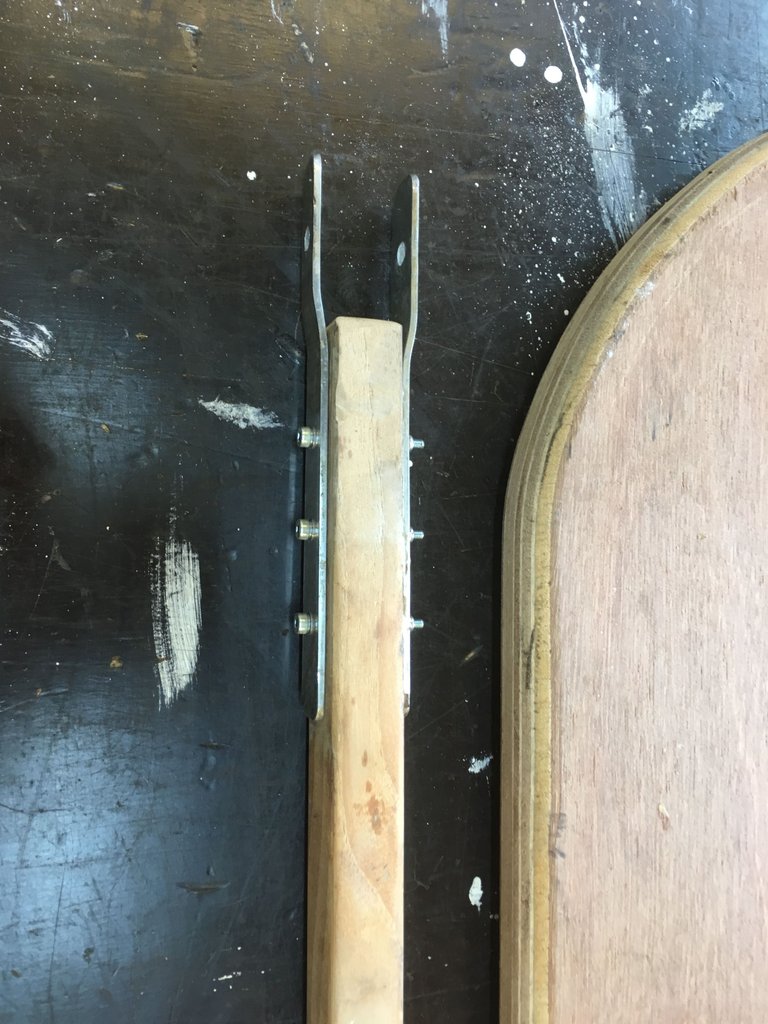
We did a little adjustment to get the stainless steel brackets to hold onto the rudder nicely, then did some thinking. I did not like the idea of putting the hole for the tiller handle directly into the wood, it felt too weak. Shigley's Mechanical Engineering Design book is a bible for me and has some nice Rules of Thumb. One I always remember is that a hole should be no closer than 2.5 times its diameter from an edge. Now times have moved on and we can cheat by taking a composite approach. We decided to make a bush.
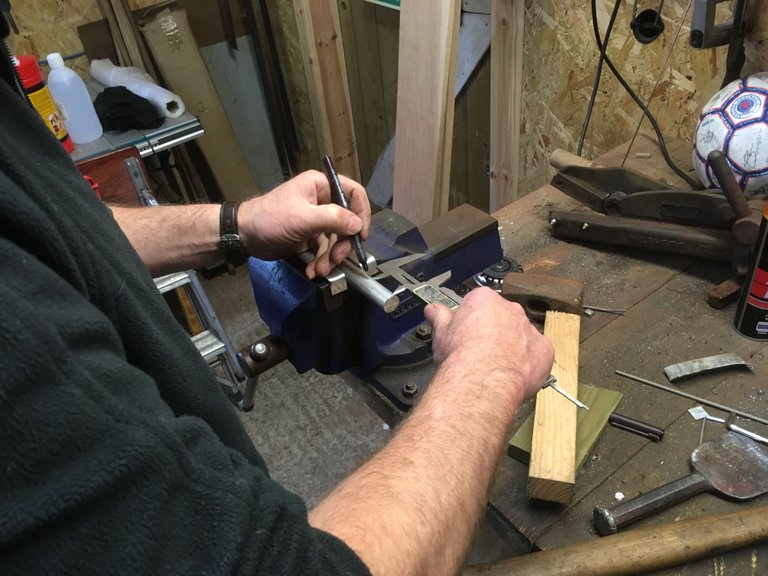
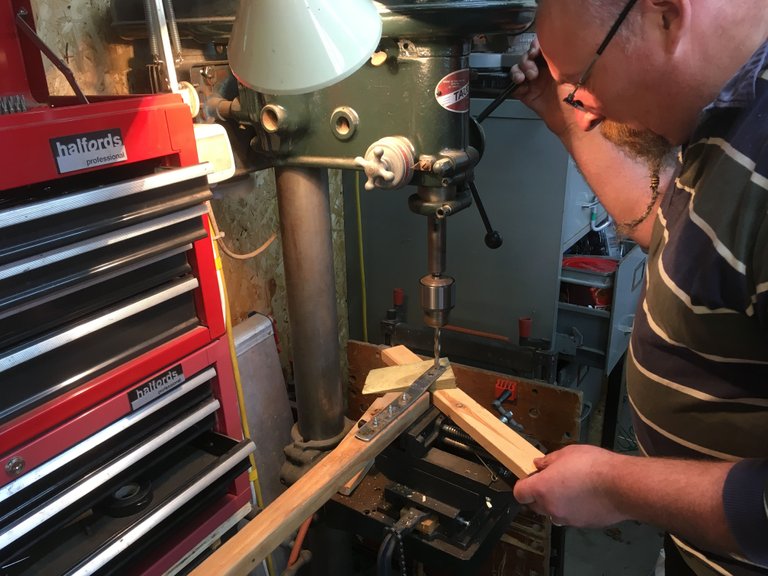
Once again I find myself back with my Angus. He also does metal, which he treats like "hard wood". I am comfortable with metal and was able to help a little more than when it was the pure woodwork of the first stage.
The first step was to select a chunk of aluminium rod of the right diameter. Fortunately Angus has a box of handy bits and we found what we needed straight away. We parted off a section https://steemit.com/sailing/@agrestic/2huxbpac
and then bored it to the right internal diameter. https://steemit.com/sailing/@agrestic/vkksrm5e
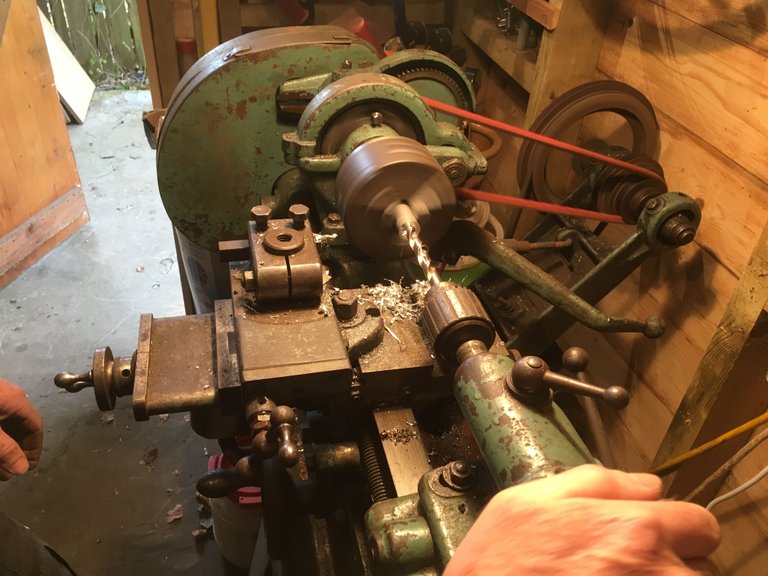
This was done on an old Myford lathe. It still works perfectly well for our purposes and is such a handy thing that Angus keeps it in his "dirty" shed. The whole process took less than 30 minutes.
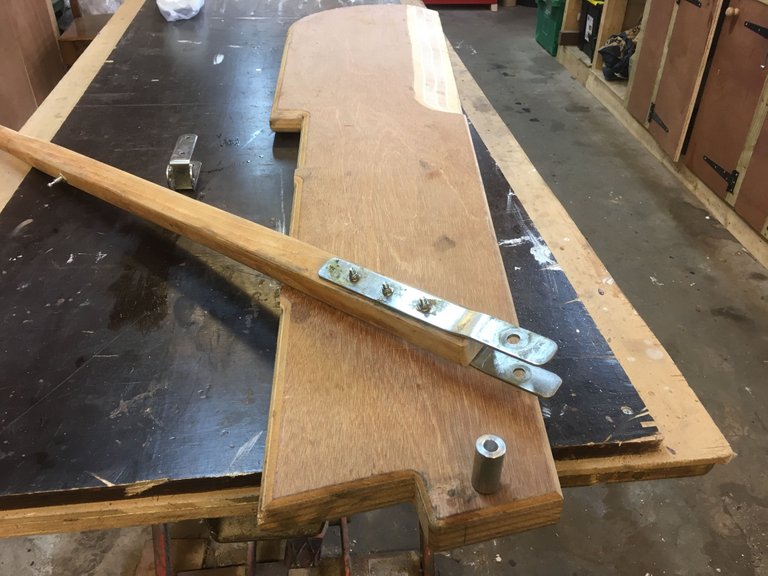
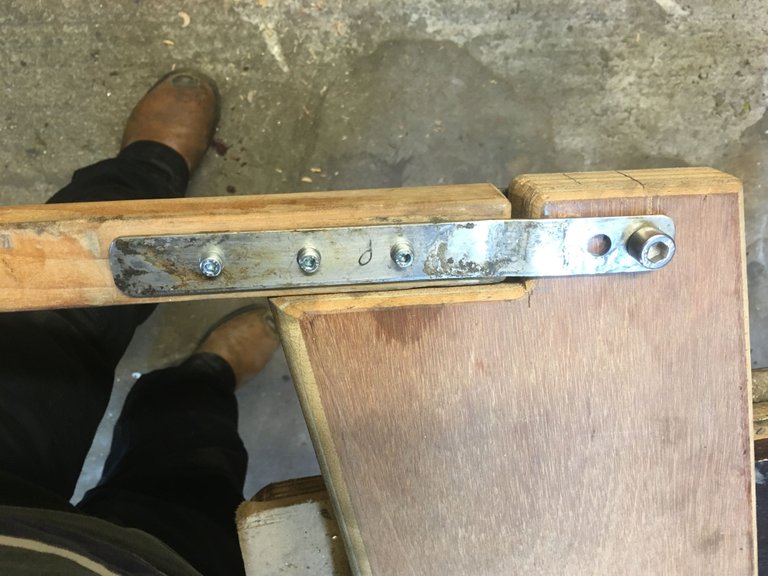
We then placed all the parts in the right location and gave a final visual check before committing to drilling out the hole for the bush. The holes on the tiller brackets needed adjusted too, to make sure we had enough arc to clear the wood of the rudder when the tiller handle is in the raised position.
I was feeling happy now, in my zone and able to do a lot more than just stand and watch. It really felt like it was coming together and every step we took was a leap forward.
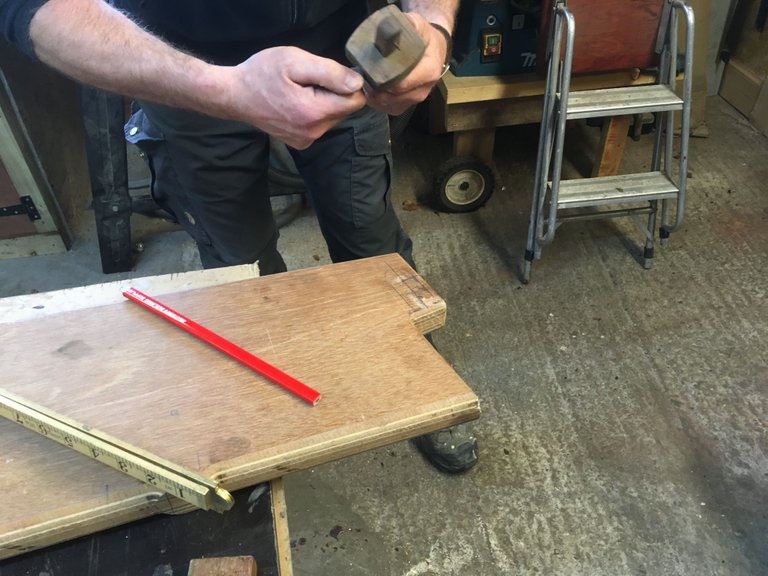
We did some calculations based on diameter and arc to ensure that the tiller handle would clear the rudder. I commented that we should really have had our maths teachers nearby as they would have been proud of us.
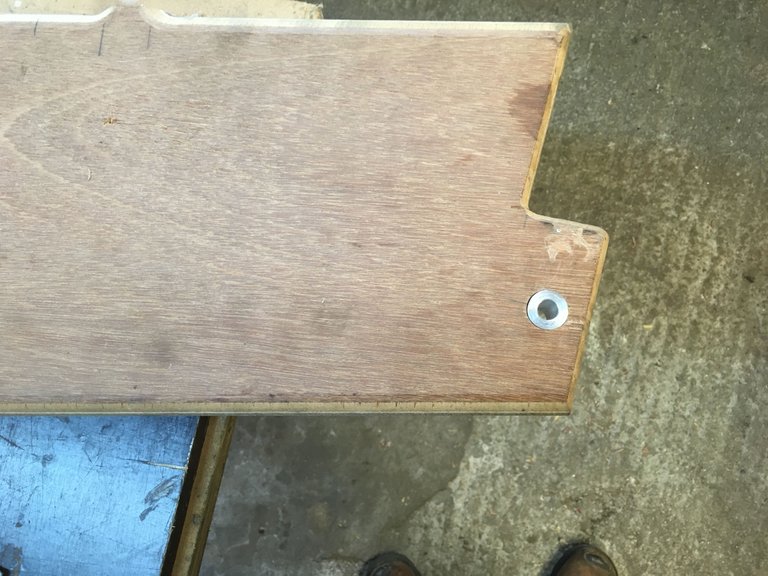
We drilled the hold and gently tapped the bush into place, providing a good interference fit without the risk of splitting the wood. It looks amazing in situ, well at least to me it did.
Aesthetically is looked good and sleek. I was also confident that we had honoured Shigley enough to ensure that it was mechanically strong.
Final physical check and everything worked out exactly to plan. I was really happy at this point, knowing that my goal was near to completion.
To me it just looks "right". A balance between sleek design and strength. The Ancient Greeks had one word for art and technology, "technae", I think they were right, it is important to make things with an aesthetic that pleases the eye. Angus and I both agree on this and we have a similar taste. It is perhaps not refined or artistic put screams functional reliability from its form.
The next section will be laminating sanding and finishing - I had forgotten how much was involved in getting to this point, mostly because it was actually rather quick even though there were a lot of steps.
I'd love to hear your thoughts on our process.
Happy sailing!
Great post! I'm looking forward to reading the rest of the process :)