Hello steemianos friends, in this chapter we will see how to install SQL Express 2014 to later be able to integrate our application and make it transactional.
After completing this chapter, they will be able to create basic tables and procedures necessary to create future maintenance.
==============================================================
Downloading SQL Express 2014
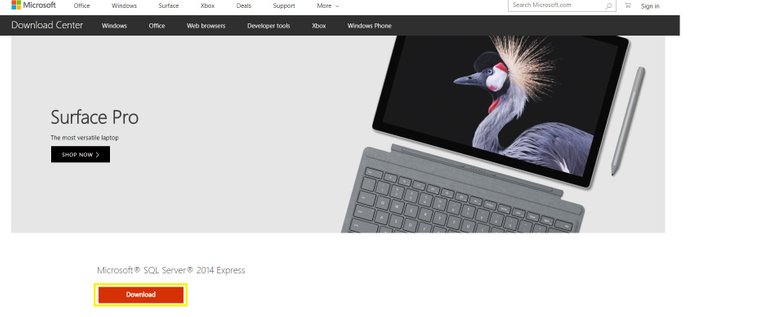
To download the tool we must enter this link, when we enter we click on the orange box that says download.
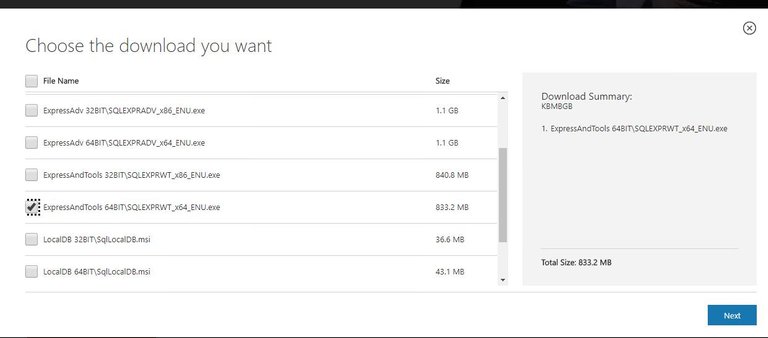
Then we select the option ** ExpressAndTools 64Bits\ SQLEXPRWT_x64ENU.ext ** and we give it in the Next button
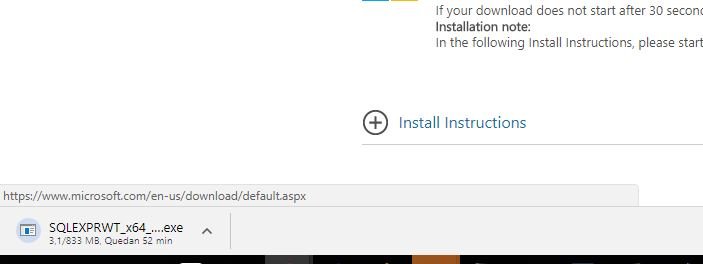
The download will start automatically, we hope you download and start the installation.
Installing SQL Express 2014
We execute the downloaded file to unpack all the files and install the database.
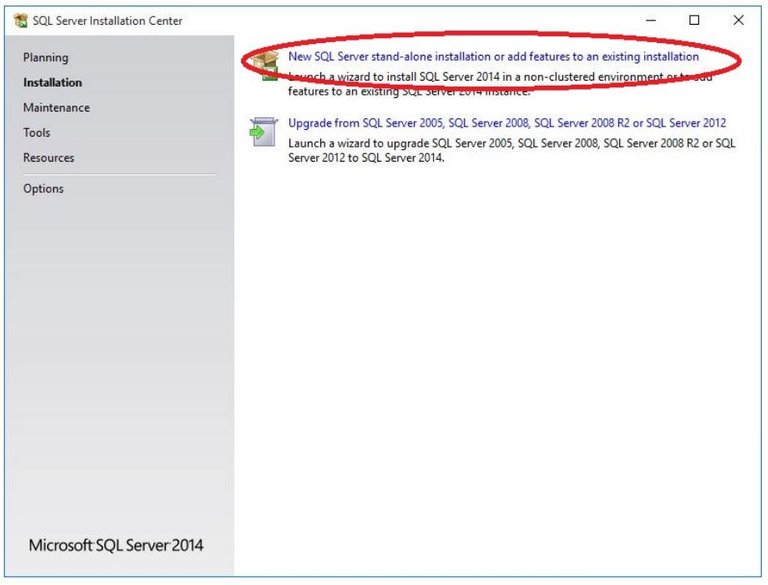
Starting the installation process, the following dialog opens. Check the option to install another new database.
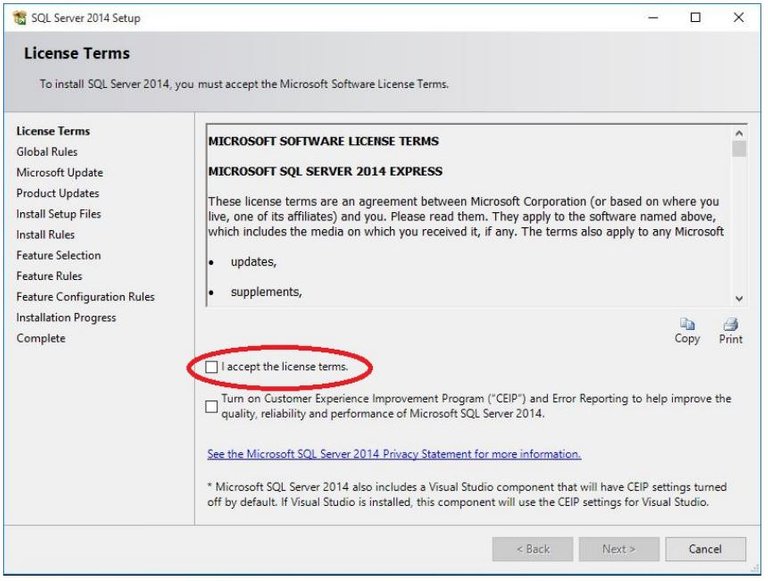
Then a new dialog box is opened in which we must check the box of I accept the license terms and we give it in Next.
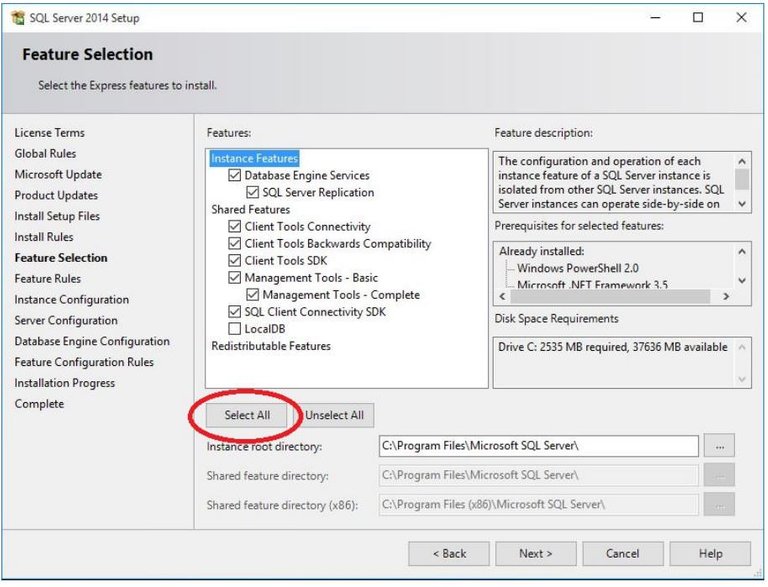
Then we give you the following until you reach the selection screen of components, click on the button Select all and then we give you the following.
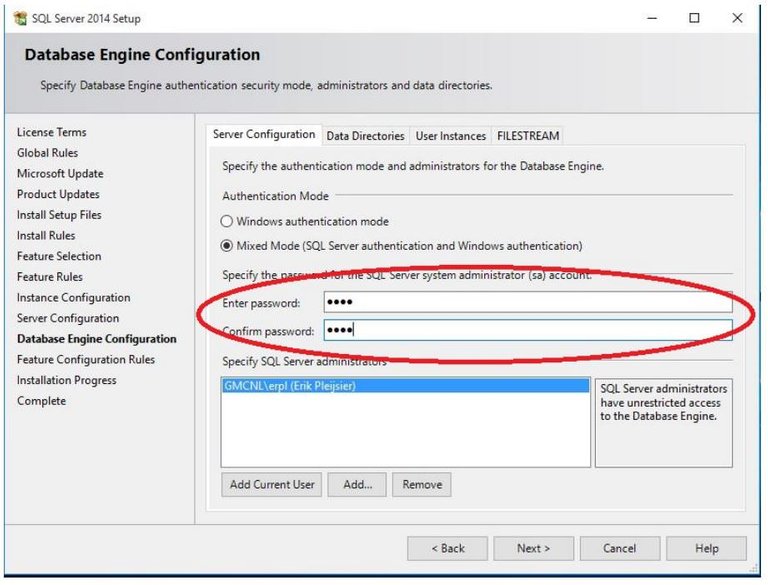
Now we give it in next until the screen of configuration of access to the database appears to us. On this screen we select mixed mode to be able to enter with a super administrator password. Then click on the button Add Current User to be able to add the local user and then we give it in following.
The installation of SQL Express will begin and at the end we will click on close.
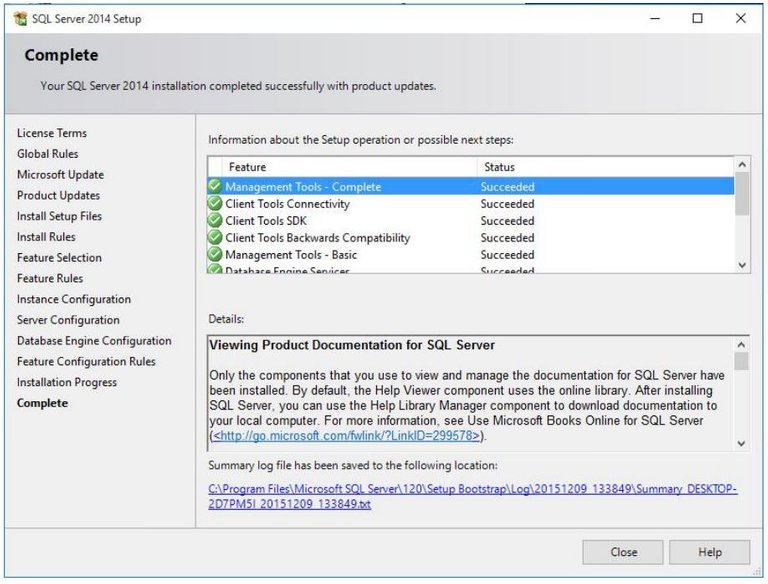
Introduction to SQL Express 2014
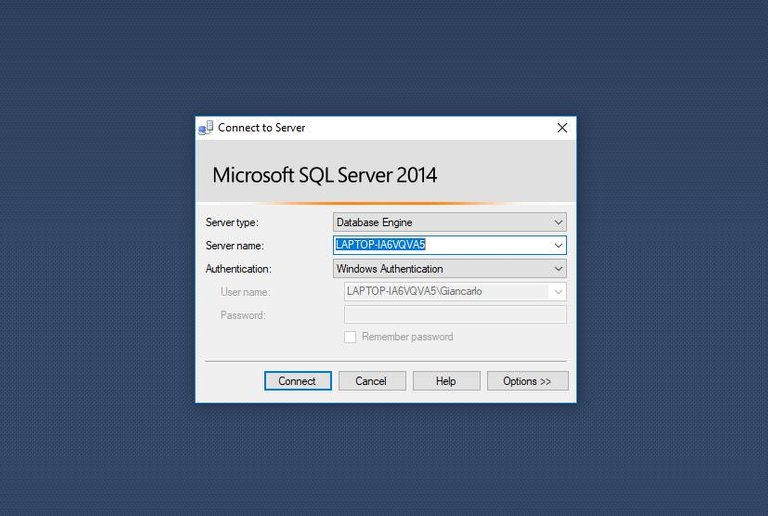
We entered the SQL Server Express 2014 installed on our computer.

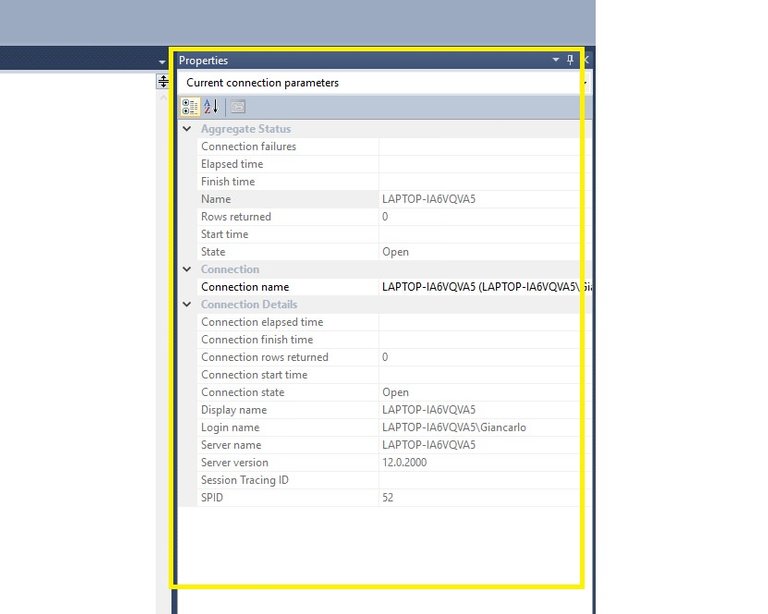
It will not show the SQL Server application and it will ask us for access data, by default we will use the local user and enter it.
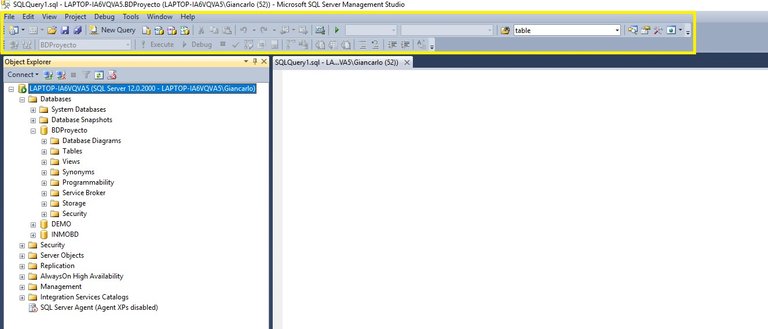
In the upper section we can find the basic controls for editing and creating new scripts.
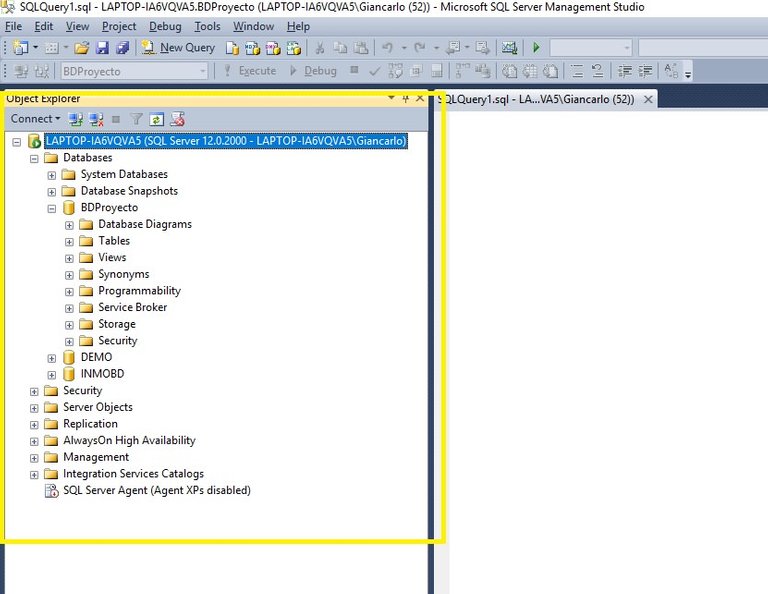
In the section on the left you can find all the objects created in the database server.
In the section on the right you will see the options of the database, objects, etc.
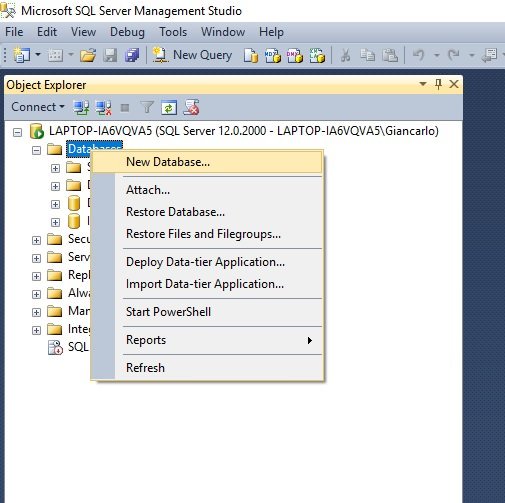
Now we will create our database that we will use in the development of our entire project, for this we will go to the database section and select a new database.
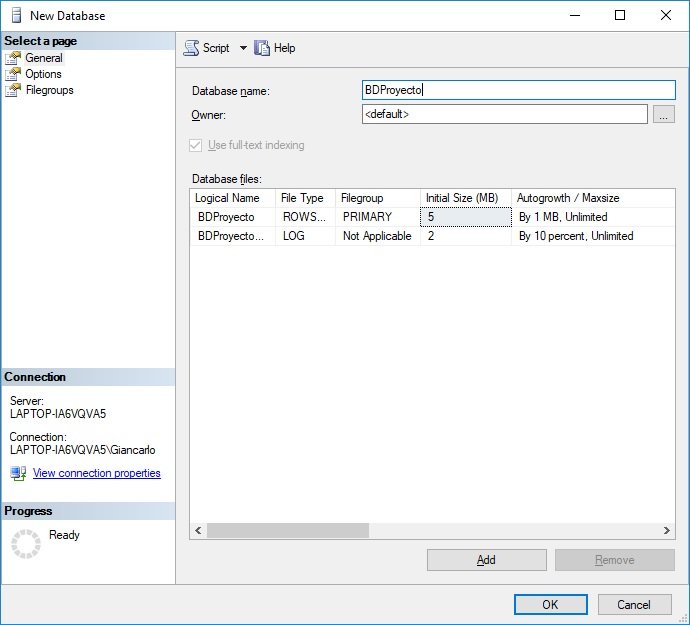
We see a sale where we enter the name of our database and then we will give it in Ok.
Creating my first table
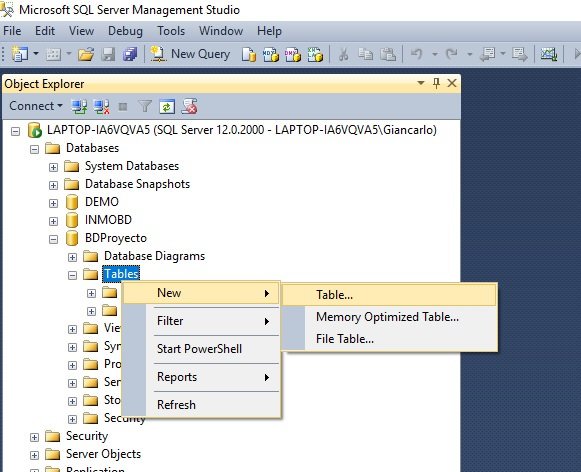
Expandimos nuestra base de datos creada previamente y luego nos vamos a la sección de tablas, en ella hacemos clic derecho y le damos en crear nueva tabla.
We will load a window where we can enter the fields that will have our table with their respective types of data, once we have entered all our data we give in record and a dialog will appear to enter the name of the table.

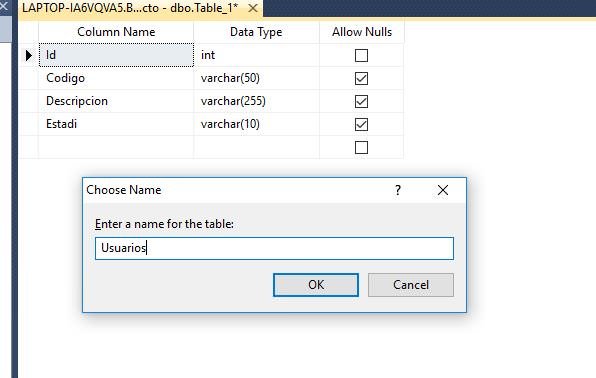
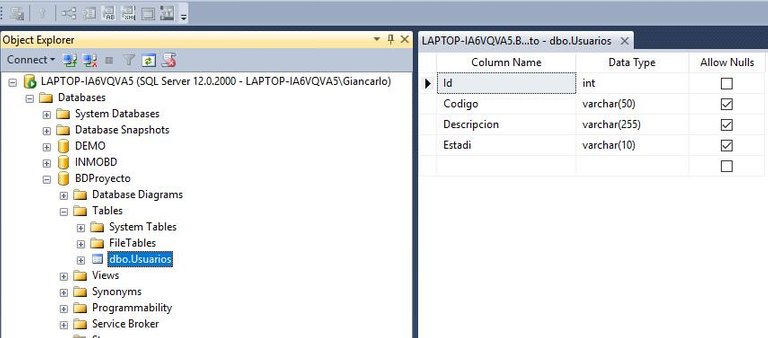
After entering the name of the table we will accept and the table created in the tables section of our database will appear.
Creating my first procedure
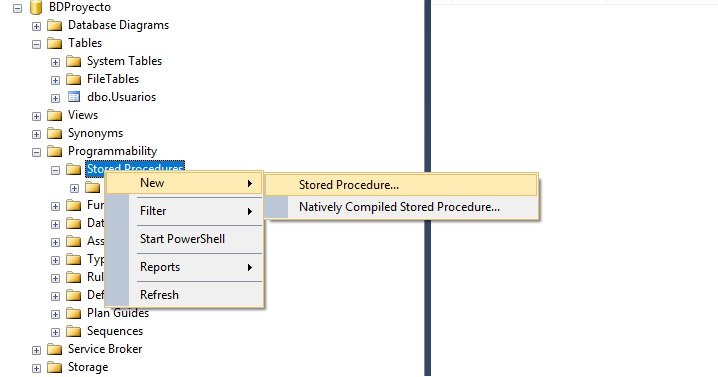
We go to the section of stored procedures, we give right click and select new stored procedure.
A script window will appear where we will write the syntax of the stored procedure, for this example we will create an insertion procedure. After finishing the syntax, press the F5 key to execute our procedure.
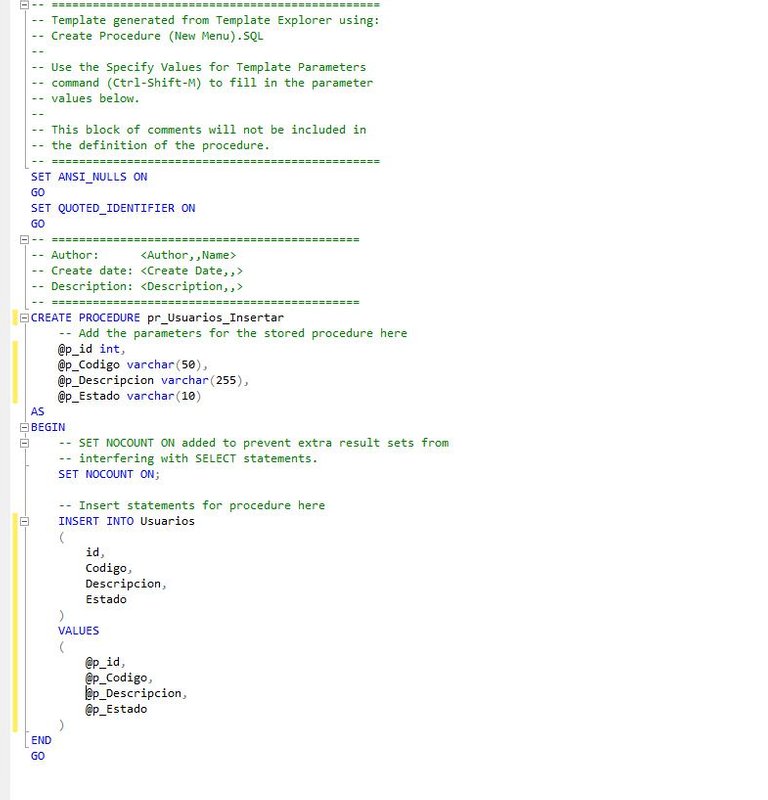
Once executed our procedure will appear in the section of stored procedures.

==============================================================
I hope that this chapter has seemed easy and didactic, in the next chapter we will generate our first maintenance. And it will be great.