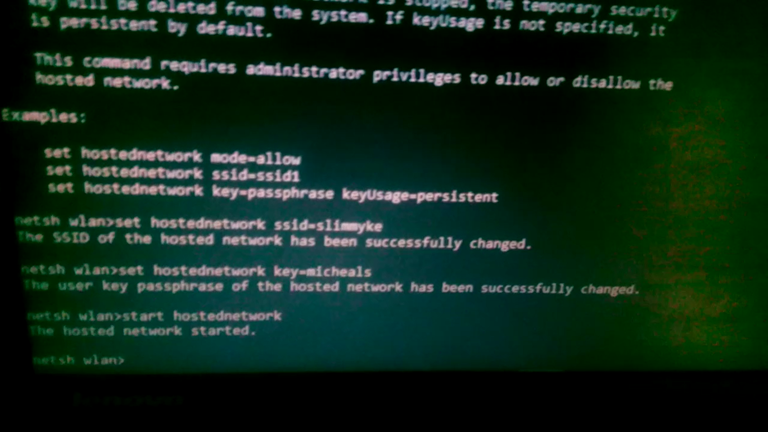
One of the features of the windows OS is the ability to make your PC serve as a hotspot. Although it is not a new feauture, you can attest to the fact that it is rarely used and is probably not known to many people. The wireless hosted network was first introduced on the windows 7 platform and on windows server 2008 R2 and has been installed on all other windows os after that. As long as your pc has windows7 and above installed in it and has its wi-fi component, it can create a hosted network.
In the absence of external storage devices, the hosted network can be used when sharing files between PCs. Although one could also use bluetooth, it is easily known that transferring files through wi-fi is faster than transferring over bluetooth. Another advantage of this method is that it requires no data to transfer files. Pretty cool right? The steps below should help you create a hosted network on your PC.
*On the command prompt, type in netsh and press enter
*Type in wlan and press enter
*To set the name for the hostednetwork, type in "set hostednetwork ssid=name"
*To set the password of the hosted network, type in "set hostednetwork key=password"
*After setting the name and password, type in "start hostednetwork" to put on the hotspot.
That is all that is required. To understand the process better drop your comments
In my next post, am going to show how the hosted network can be used to share files. Thank you for reading. .png)
Sort: Trending