Simple step by step tutorial - How to create your own personal token using Waves Platform.
Are you interested in creating your personal token? This tutorial covers the steps necessary to issue your own token on the Waves blockchain. Waves is the blockchain with a built-in platform that allows you to create tokens in a simple and intuitive way. Thanks to Waves Lite Client you can create your token and also trade it on the Waves Decentralized Exchange.
Part 1: installation of the Waves platform. Click here to go to the Waves official website
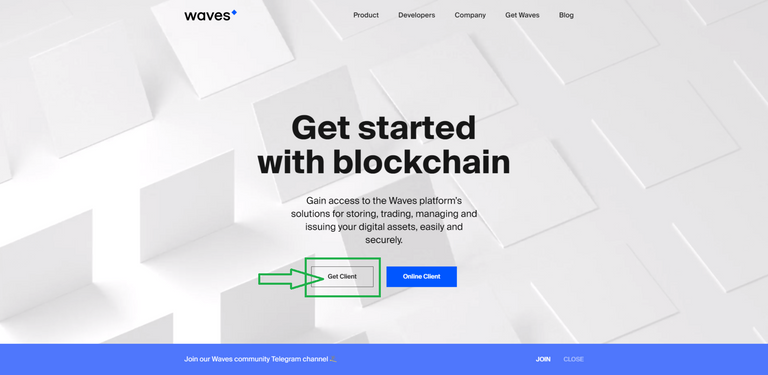
Step 1: Once you have opened the website click "Get Client"
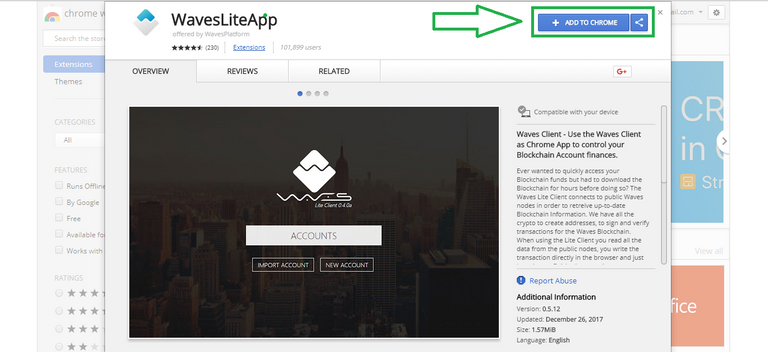
Step 2: Click “Add to Chrome”
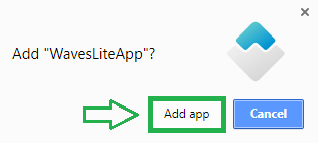
Step 3: Confirm adding the application to Chrome
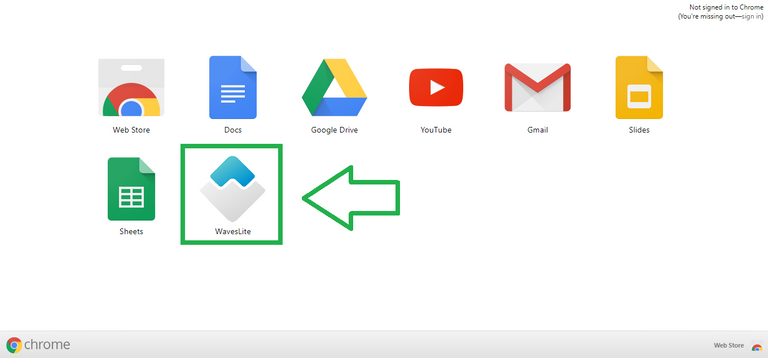
Step 4: After installing the application, you'll be able to find it in the Google Chrome apps tab
Part 2 Create a new account
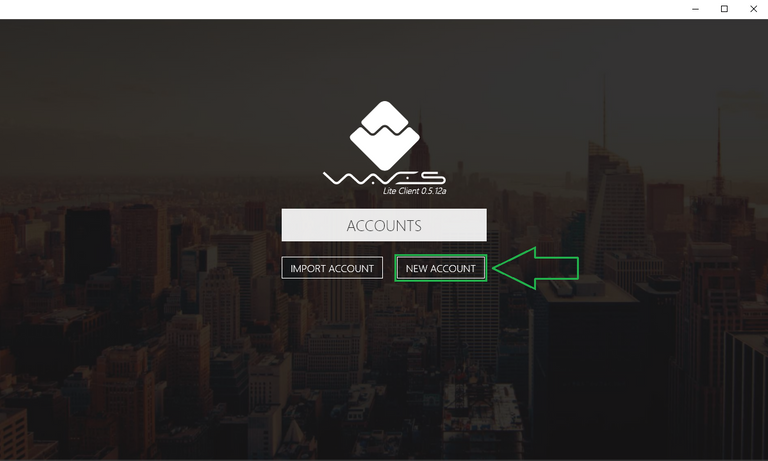
Step 1: If you do not have your account on the waves platform yet, click "New account''.
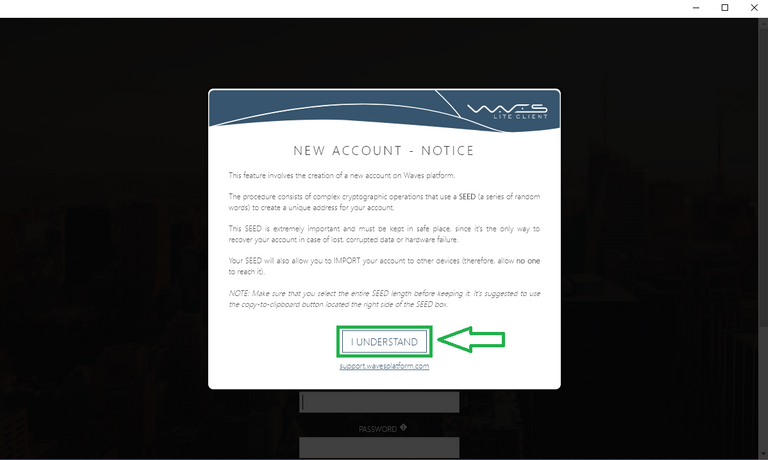
Step 2: Read the information carefully and if you fully understand it, click "I Understand"
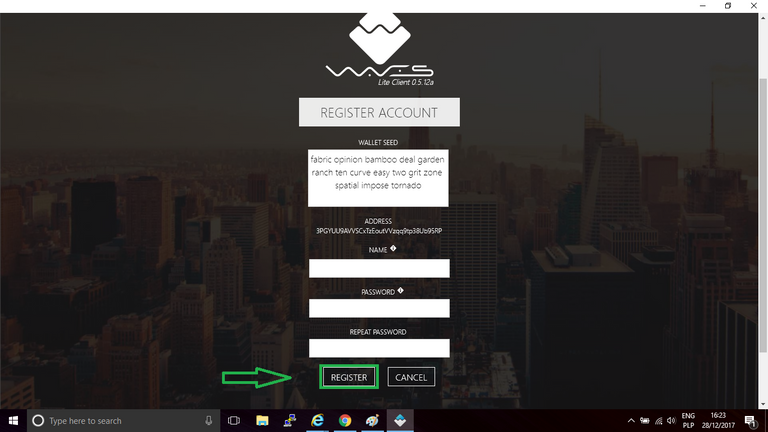
Step 3: Save and secure your seed. You need to create and save your name and password, then click "Register"
Part 3 Create your own personal tokens
Step 1: Once you are registered, click on the token creation tab as indicated below
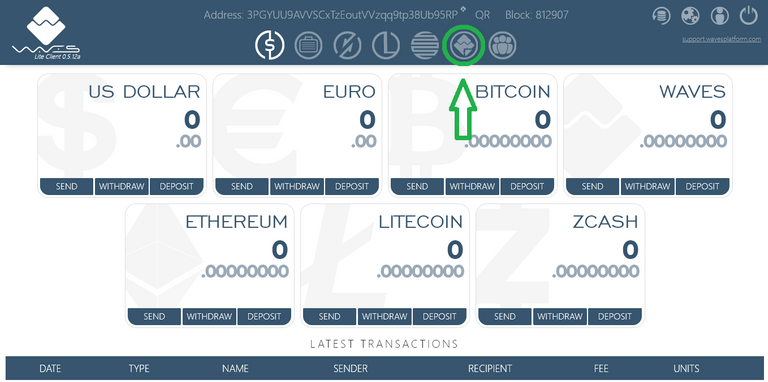
Step 2: You’ll be taken to the Create Token tab where you can choose the name, the total supply, the decimals for the token and whether your token should be reissuable or not. Token decimals field defines the number of decimals that your token will be divided in. In our example, we created RonaldoCoin and we gave it similar parameters as bitcoin.
Please note: The Waves Platform collects a commission of 1 wave for creating your personal token
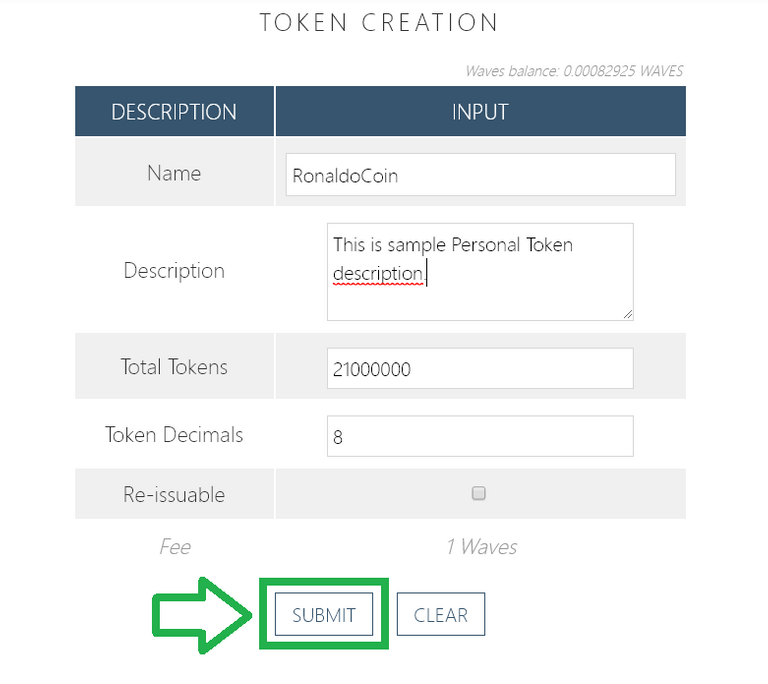
Step 3: Click “Submit” to issue the token
Congratulations, you have just emitted your own personal token! Now you can start working on building its value - good luck!
If you still aren't familiar with the idea of personal tokens please visit our blog.
Thx
https://www.clixsense.com/?12315177
have a nice day
Thx !! :)