
It has been long time since i wanted to start a blog and host it with my own Custom domain.Truth to be told , I am a lazy blogger - I only write occasionally.
Originally I wanted to setup my blog on Wordpress but configuring and hosting a blog on VPS server (no mater how cheap) , requires regular maintenance on monthly basis.
Add that with Keeping server up-to-date to avoid any risks, backups etc... just seems extra work that i really don't want to do.
Other option was host a blog on Blogger and redirect to custom domain. which again didn't seem right because external dependency on Google.(They can remove your blog without any warning if they feel like it. Doesn't matter if they actually do or don't, but they can)
Now being from Technical background and my curiosity to learn , I turned to Static site generators. I have heard some great thing about Hugo so thought why not give it a try.
Hogo is a great choice as it has Github pages support and i can host entire thing for free with Github.
Setting up Hugo server locally.
Installing Hugo
There is entire section dedicated to installation for different environment detailed instructions .
Selecting Theme
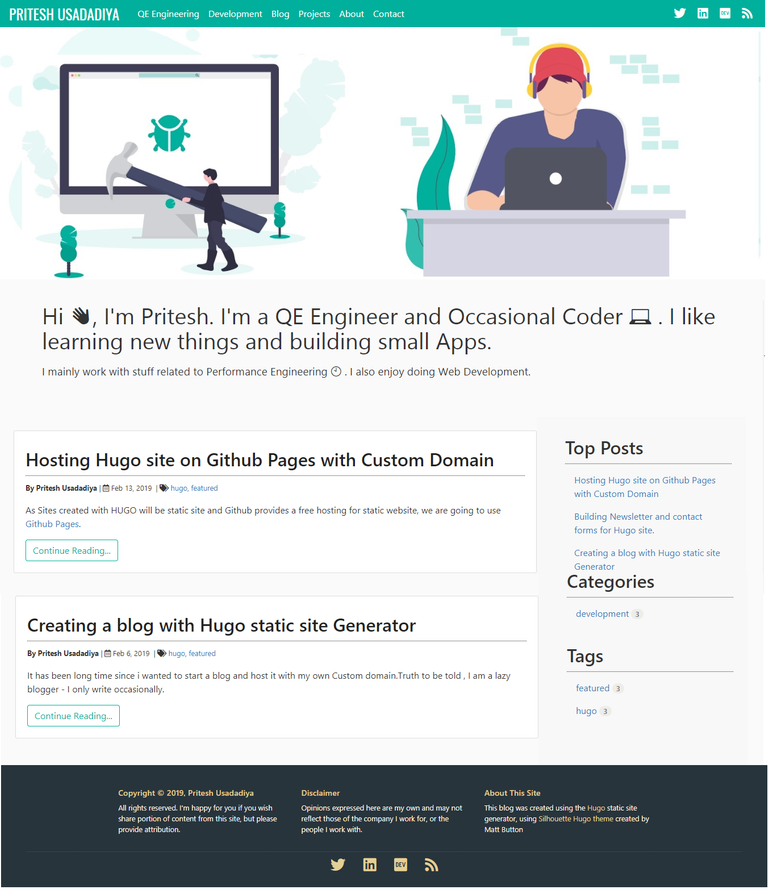
after browsing some themes (and there are too many themes) i decided to go with silhouette-hugo.
Creating a new project template and forking a theme.
hugo new site SITENAME
cd SITENAME/themes
git clone https://github.com/mattbutton/silhouette-hugo.git
Adding the theme to project's config file.
cd..
echo 'theme = "silhouette-hugo"' >> config.toml
Starting the Hugo server locally
Hugo server
Once the Hugo is started ,site can be previewed on http://localhost:1313
Changing the site data
Go to config.toml file of your project's main directory and from there you can change your sites configuration data like baseurl , title of site , social links etc...
Using some CSS to slightly change look and feel of theme.
Navigate to SITENAME/themes/silhouette-hugo/assets/css
Here resides the styles.css file. you can change the style of the theme by editing this file.
From this
To this
I made a stupid mistake by editing the original theme and adding my own css with this.
Learn from my mistake and make a note of this , never ever ever edit the original files when you are using third part library/theme. Instead create your own new file and reference it.
[ One of the thing i love most about hugo is the instant changes in html page without any refresh. You could see the data changes in website as soon as you change/add css property.]
As Sites created with HUGO will be static site and Github provides a free hosting for static website, we are going to use Github Pages.
Read more at
Creating a blog with Hugo static site Generator
Hosting Hugo site on Github Pages with Custom Domain
Hello @pritpatel! This is a friendly reminder that you have 3000 Partiko Points unclaimed in your Partiko account!
Partiko is a fast and beautiful mobile app for Steem, and it’s the most popular Steem mobile app out there! Download Partiko using the link below and login using SteemConnect to claim your 3000 Partiko points! You can easily convert them into Steem token!
https://partiko.app/referral/partiko
Congratulations @pritpatel! You received a personal award!
You can view your badges on your Steem Board and compare to others on the Steem Ranking
Vote for @Steemitboard as a witness to get one more award and increased upvotes!