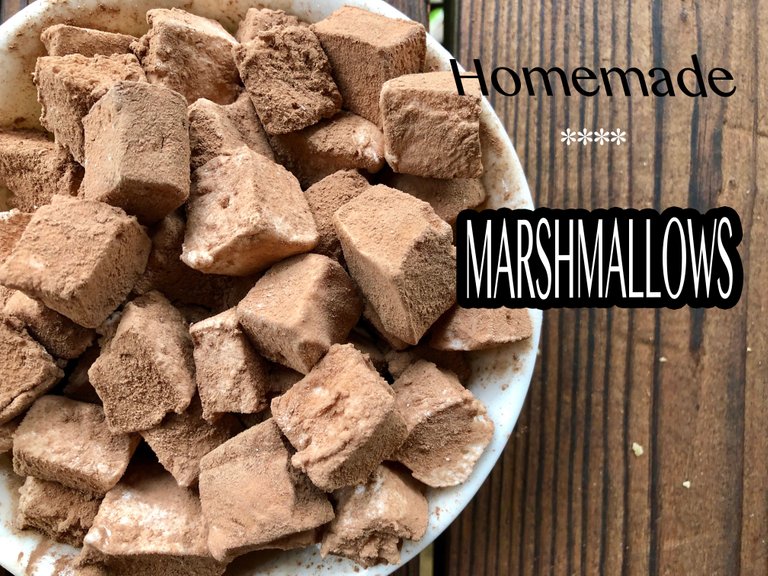
I am one of those people that just loves marshmallows... they are just so yummy- roasted over the fire, in trail mixes, in brownies. They're good in almost anything! So what wouldn't be better than making them yourself? You can do so much with colors, flavors, decorations, shapes, etc. when you make them yourself, so why not?
First off, you're going to need to make sugar syrup. This is not difficult at all, as long as you follow the directions:) Take your saucepan and set it over high heat with one cup of water in it. Then, add one and a half cups of granulated sugar, and one and a fourth cup light corn syrup over top.
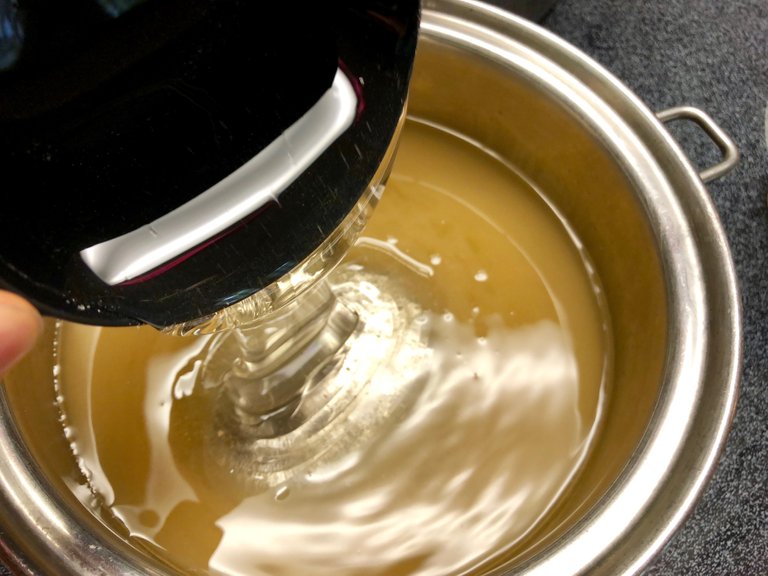
Even though it's so bubbly and your instinct is to stir it, don't! This might cause crystallization and for this recipe, it won't work:) Leave your syrup on high for a few minutes after it begins to boil, then insert your candy thermometer. You want it to get to 250° F before you take it off the heat.
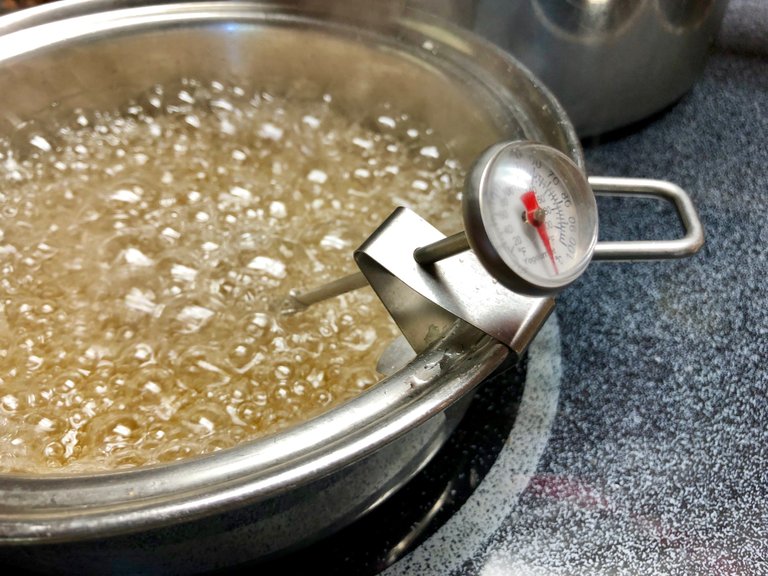
While the sugar syrup is getting to the right temperature, start to bloom your gelatin by taking three tablespoons gelatin and measuring it into a stand-up mixer bowl. You could do with a handheld mixer (or at least I think you could) but it might not be able to mix quite as fast as the stand-up. Anyways, back to the gelatin... Add one cup cold water and one tablespoon vanilla to the gelatin and mix on a medium speed until it is about the texture of applesauce.
Once the gelatin is the right texture, take your sugar syrup (it should have reached 250 by now) and pour it in very slowly into the bowl while the mixer is running around a medium speed. Once you have poured about half of it in, speed the mixer up a bit, and then slowly pour in the rest. It will begin to almost get frothy at the top at the beginning, but will soon begin to thicken. Turn your mixer as high as it will go and cover with a mixer cover or a towel to keep the marshmallow mixture from flying out. After endearing about two minutes of this, I unplugged my mixer and brought it outside. You might want to too:) But don't leave it all together! It's so cool to watch the watery mixture turn into a thick, melted marshmallow consistency!
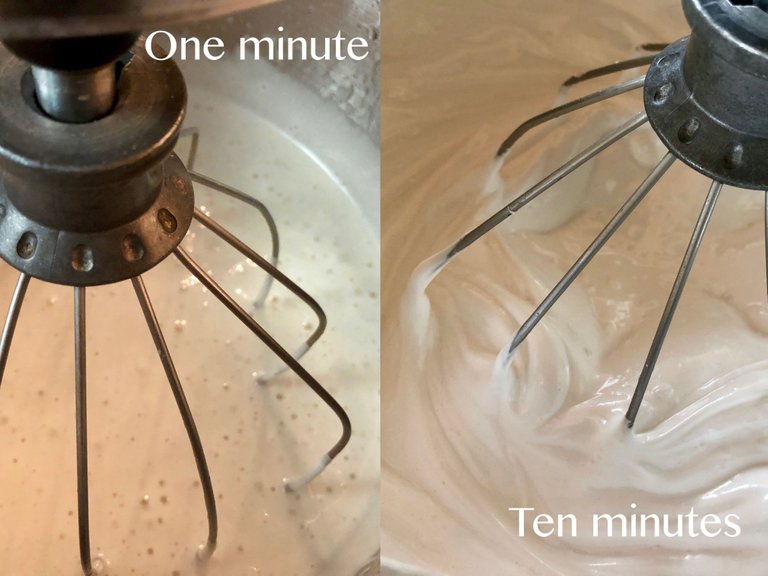
While the marshmallow mixture is thickening, take your baking pan and coat it very well with oil or cooking spray. Either way, it needs to be well coated! As soon as the ten minutes are up, quickly scrape out all you can out of the bowl and off the whisk handle. You only have about one to two minutes before it begins to "harden", so quickly scrape it off. Anything that you missed, feel free to eat. It's yummy! It tastes just like melted marshmallows, maybe even better! But before you start licking, make sure that you do your best to smooth out the top of the marshmallows in the pan. It becomes "firm" very fast and it won't be workable.
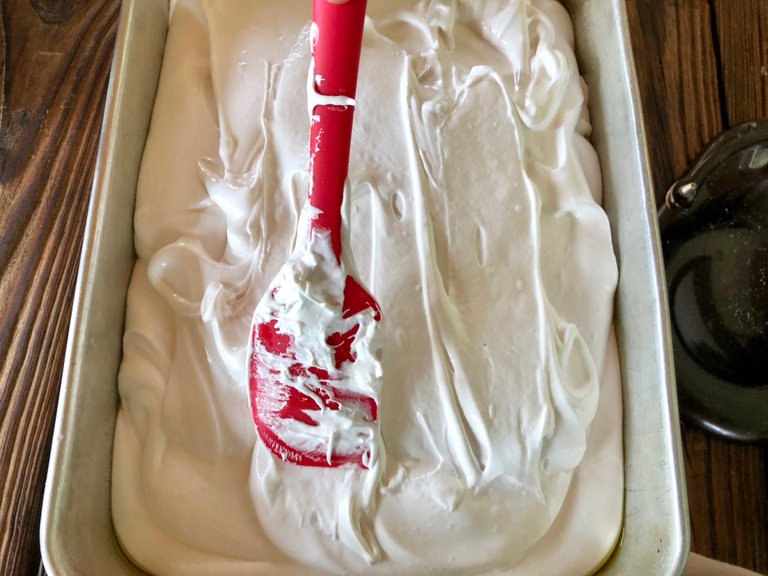
Once the marshmallows are smoothed out, stick them away somewhere where you aren't tempted to snack on them before their time:) Leave them there for twelve or more hours. This will allow them time to cure.
The next day, take your marshmallow pan out to a clean surface. I used a cutting board, just because it's easier to clean up. Take your bowl, and mix together an even amount of powdered sugar and cornstarch. Sprinkle as much as you need onto the cutting board, then flip the marshmallow pan upside down. If it doesn't come out, flip it back up and take a powder coated spatula and go around the outside of the pan. This should work, so flip it marshmallows out.
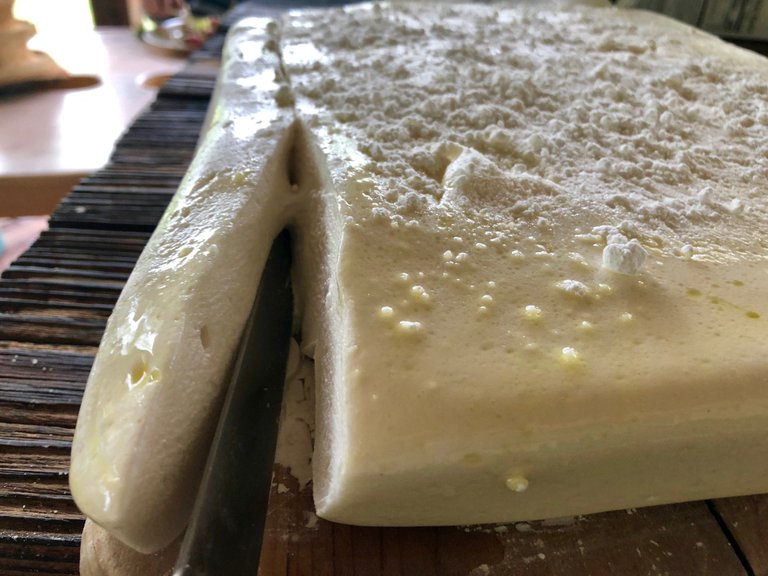
With them out of the pan, you will want to sprinkle the top with the powdered sugar/cornstarch mixture. Also, do your best to coat your knife with it. Then, cut the big marshmallow blob into strips, cutting those strips into squares and so on. If you want mini marshmallows, then cut those squares in half.
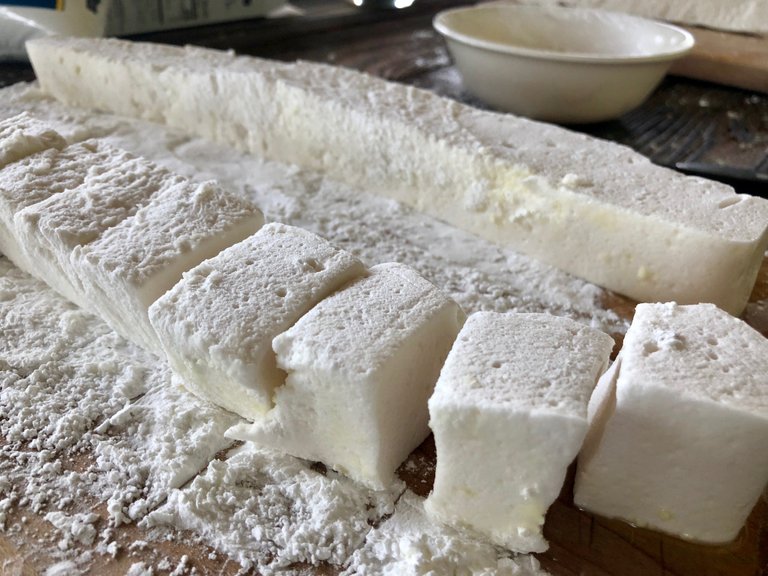
I'm not sure I recommend cutting all the marshmallows at once. They'll just get into a big, goopy pile and that won't be nice. So, just take it one strip at a time. Then, after that stip of marshmallows is cut, put them in the bowl of powdered sugar and move them around so that every part of them is dusted. That way, they won't stick to each other. Then, you can put them all in a big bowl or bag, depending on how or when you plan on serving them.
Even though making homemade marshmallows is cool, why not change those up a little bit more? Here are a few examples that I did:
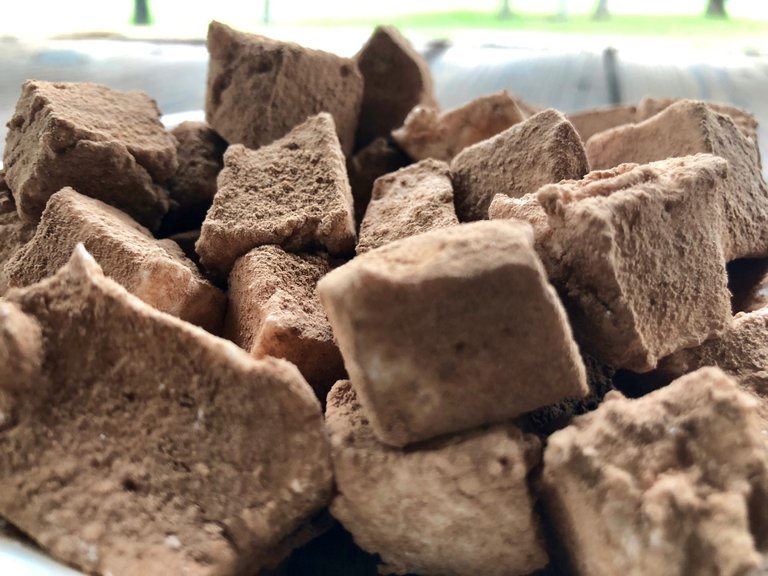
Coating them in unsweetened cocoa powder was really yummy! The slightly bitter chocolaty taste over the sweet marshmallow was delicious!
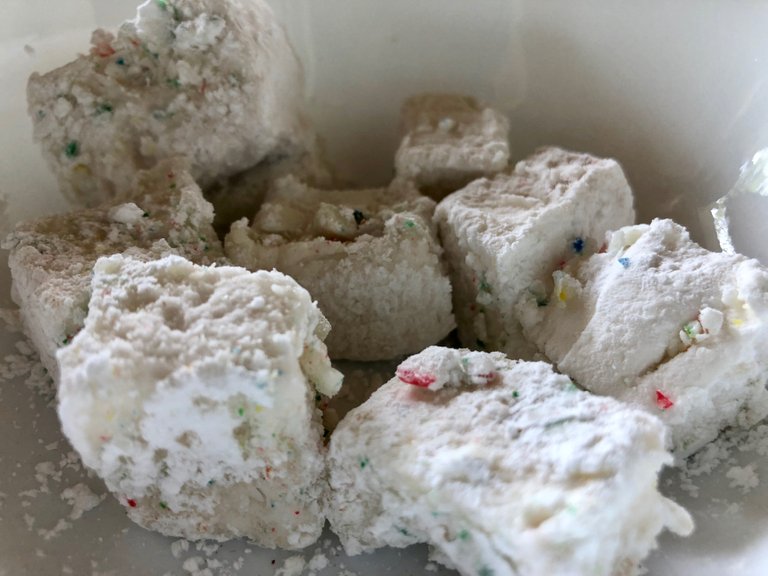
Coating them with ground candy canes and peppermints was interesting... no matter how small I ground the candies, they refused to stay on. The flavor wasn't my favorite, but if you like it (and can make them stay on!) great!
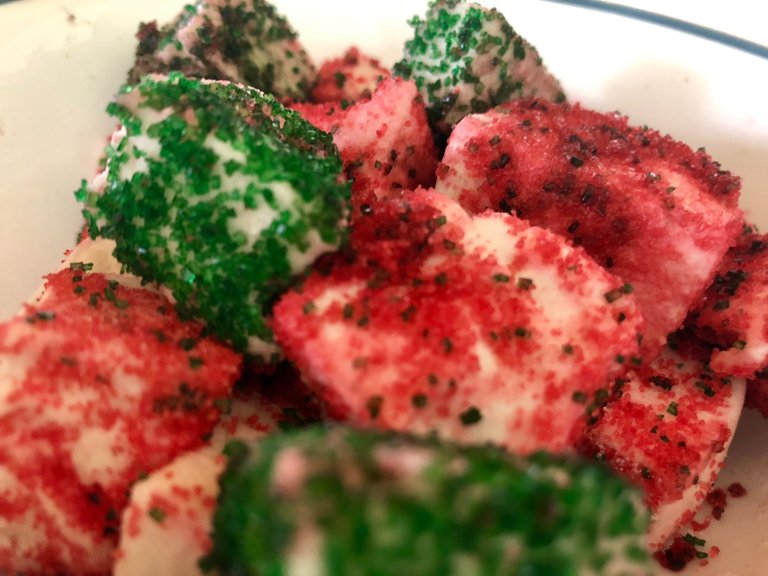
Coating them with sprinkles was good! Believe it or not, these actually taste quite a lot like peeps! The sprinkles were also kind of hard to keep on, so I slightly wet the marshmallows, which helped. What would be fun is to take the marshmallows before they set and pipe it into the shapes of peeps:)
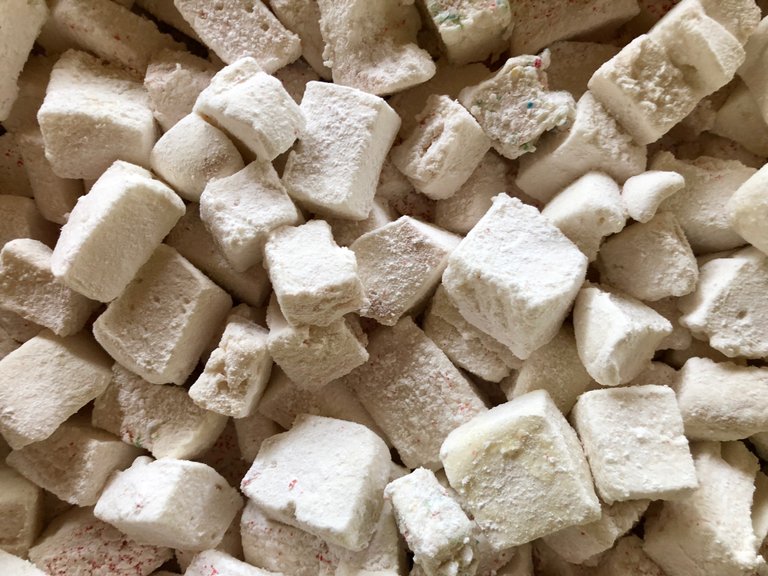
Adding sprinkles to the powdered sugar coating looked cool! This is fun if you don't want the sprinkles to be "overwhelming". In the first picture, quite a few of those marshmallows also had red sprinkles on top of them. It almost gave it a confetti look.
Dying. I didn't dye any of mine, but in some pictures I say, it looked like it would be cool to dye them if you wanted them fancy for a special occasion. I'm quite sure food coloring would work for that, and maybe next time I make these, I'll try!
Flavoring. Another thing I didn't do but want to! It would be really fun to put a drop of peppermint essential oil in these and them have them in hot cocoa! Yum! Or other flavorings would be fun as well, and you could dye them according to their "coloring".
Anyways, these are just a few ideas. Research and be creative! And even if you just leave them like normal marshmallows, they still taste delicious! Enjoy!
Hello! Welcome to Steemit.
In order to prevent identity theft, identity deception of all types, and content theft we like to encourage users that have an online identity, post for a website or blog, are creators of art and celebrities of all notoriety to verify themselves. Verified users tend to receive a better reception from the community.
In order to confirm your authorship of the content, please make a mention about Steemit or add a hyperlink to Steemit in your Instructables profile:
http://www.instructables.com/member/Anna-Grace/
You can remove this mention from your website, once we confirm the authorship.
Thank you.
More Info: Introducing Identity/Content Verification Reporting & Lookup
I added a link to my Instructables profile
Thank you Anna. We have verified you!
✅ @anna-grace, I gave you an upvote on your first post! Please give me a follow and I will give you a follow in return!
Please also take a moment to read this post regarding bad behavior on Steemit.
Congratulations @anna-grace! You have received a personal award!
Click on the badge to view your Board of Honor.
Do not miss the last announcement from @steemitboard!
Congratulations @anna-grace! You received a personal award!
You can view your badges on your Steem Board and compare to others on the Steem Ranking
Do not miss the last post from @steemitboard:
Vote for @Steemitboard as a witness to get one more award and increased upvotes!