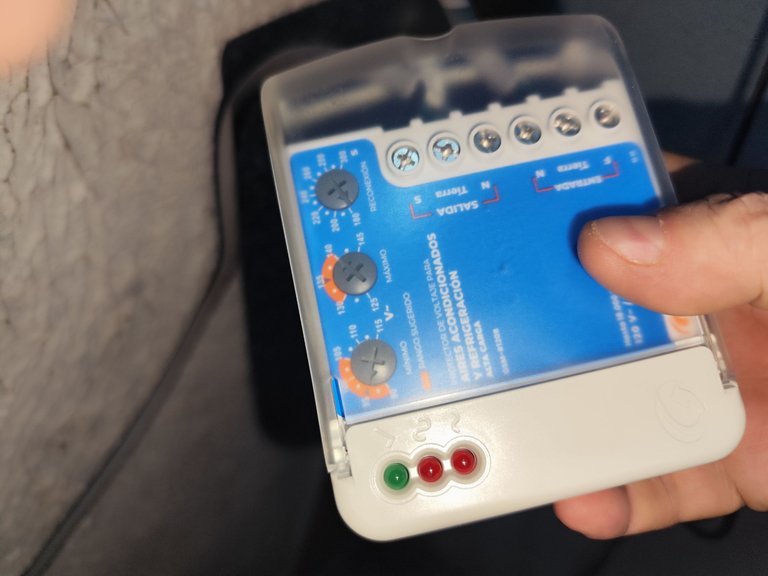
Instalando el Protector. Saludos mi querida familia hogareña; hace unos días atrás, les indiqué que había adquirido un protector de voltaje tipo bornera para evitar riesgos eléctricos con el aire de mi hijo; sabemos que en nuestro país y en nuestra ciudad, existen fluctuaciones graves del flujo eléctrico. Ahora, como les dije antes no soy experto en electricidad, pero teniendo los cuidados pertinentes todo puede salir bien.
Por ello; cuando trabajo con electricidad, siempre tengo la seguridad de bajar todos los breaker que sean posibles; sin embargo, en este caso no será necesario, ya que la conexión se va a realizar fuera de todo riesgo eléctrico. Digo esto, porque todo el trabajo de conexión de los cables que van instalados al protector, se hará directamente en el equipo. Ahora sin más que decir, vamos a la instalación paso a paso.
Installing the Protector. Greetings my dear home family; a few days ago, I told you that I had acquired a terminal type voltage protector to avoid electrical risks with my son's air; we know that in our country and in our city, there are serious fluctuations in the electrical flow. Now, as I said before, I am not an expert in electricity, but with the proper care everything can be fine.
Therefore, when I work with electricity, I always make sure to lower all the breakers that are possible; however, in this case it will not be necessary, since the connection is going to be done out of any electrical risk. I say this, because all the work of connecting the wires that are installed to the protector, will be done directly on the equipment. Now without further ado, let's go to the installation step by step.
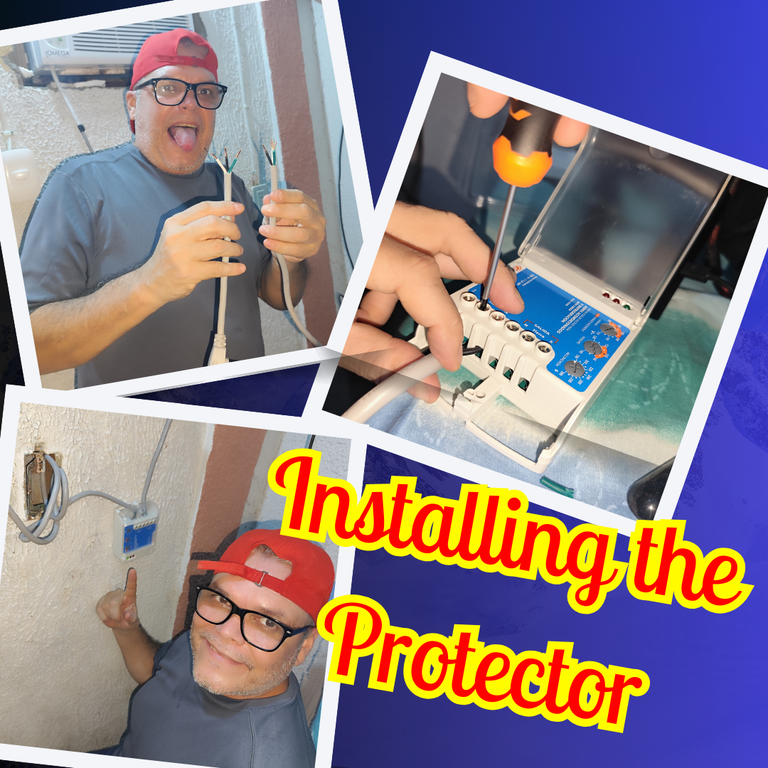
Portada y video portada Editadas en/Cover and video cover Edited in Canva
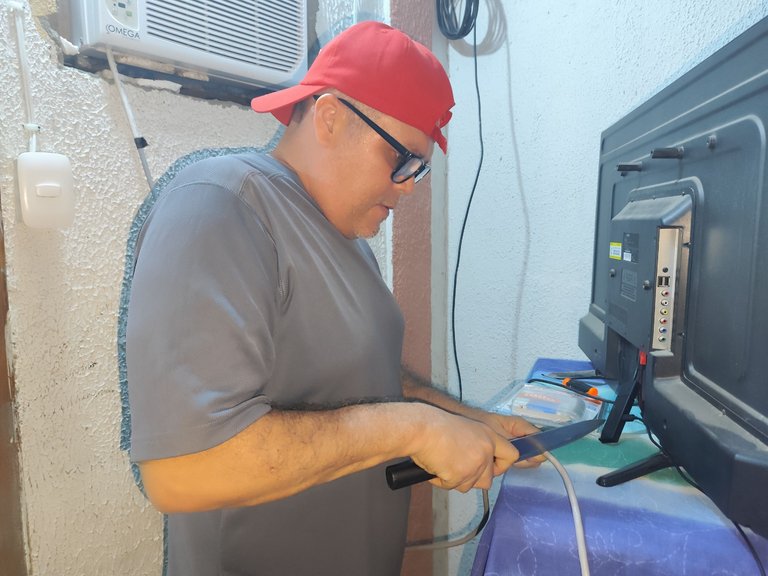
Antes de iniciar, quiero decir que voy a contar el cable de corriente del aire; esto lo hago, ya que el aire no tiene garantía porque tiene tiempo que fue comprado y este periodo culminó. Pero si el equipo de ustedes aun tiene garantía, no lo hagan; sencillamente, pueden conectar una extensión de cables directamente desde su enchufe. Bueno, ahora, tomamos el cable de corriente y lo cortamos a una distancia prudente; la parte que tiene el enchufe será la entrada de energía y la que queda pegada al aire, será la salida.
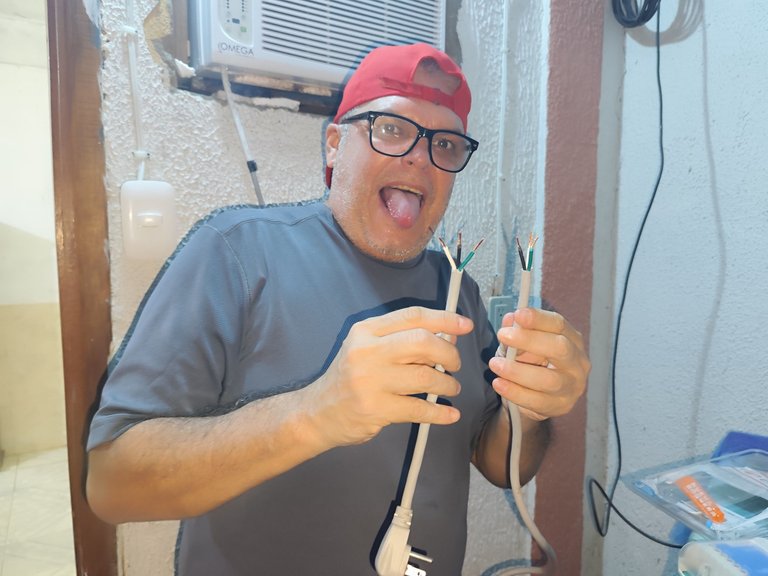
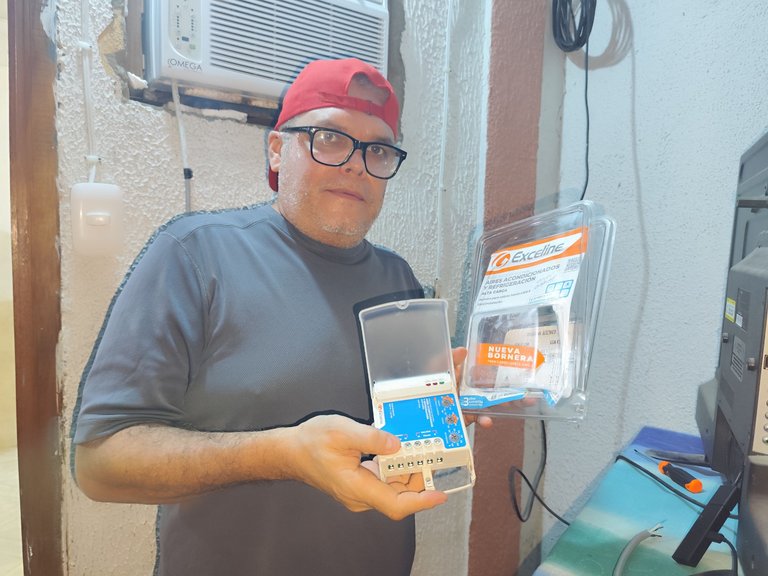
Luego de cortar el cable; ahora tomamos cada extremo y descubrimos los cables internos, los cuales corresponden a las fases y al cable de tierra; en nuestro caso, el cable verde será el de tierra. Ahora, sencillamente desempaquetamos el protector para proceder a la instalación de los cables en el mismo. Todo va bien y el proceso es sumamente facil; verán que en este caso no será necesario quitar la energía eléctrica.
Before I start, I want to say that I am going to count the power cord of the air; I do this because the air does not have warranty because it has been purchased some time ago and this period is over. But if your equipment is still under warranty, do not do it; you can simply connect an extension cord directly from your plug. Well, now, we take the power cable and cut it at a prudent distance; the part that has the plug will be the power input and the part that is stuck to the air, will be the output.
After cutting the cable, we now take each end and uncover the internal wires, which correspond to the phases and the ground wire; in our case, the green wire will be the ground wire. Now, we simply unpack the protector to proceed with the installation of the wires in it. Everything goes well and the process is extremely easy; you will see that in this case it will not be necessary to remove the electrical power.
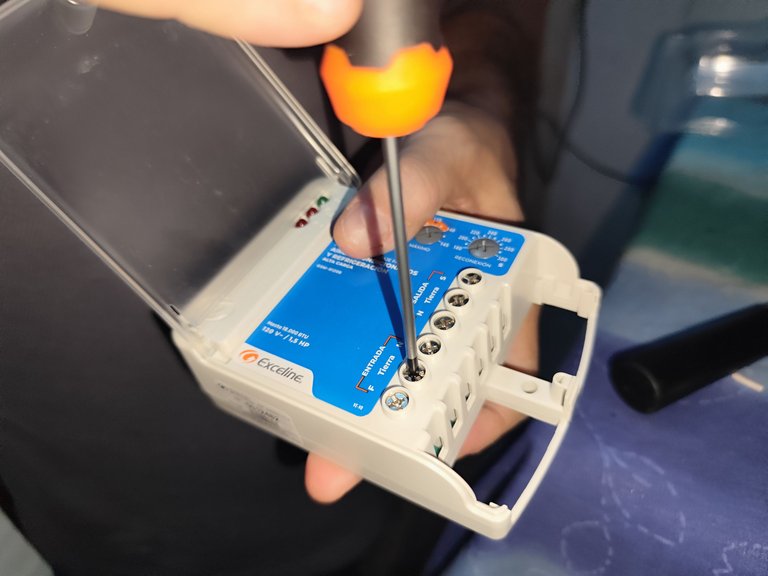
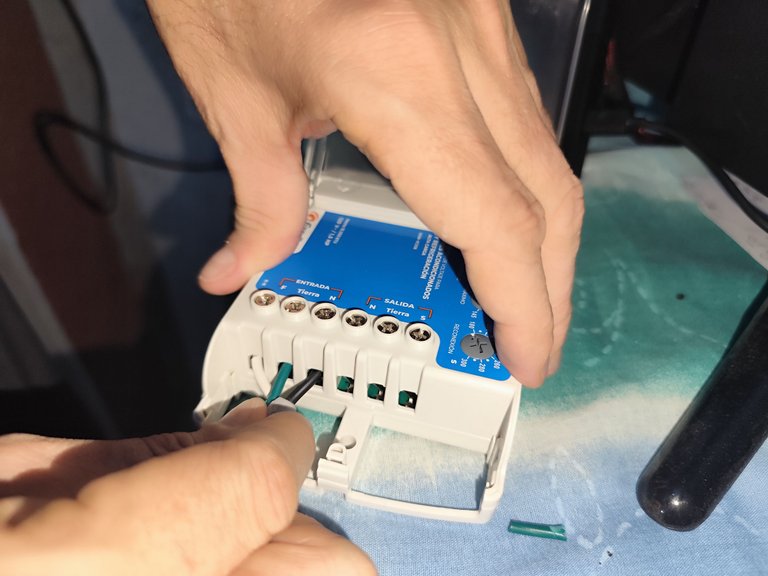
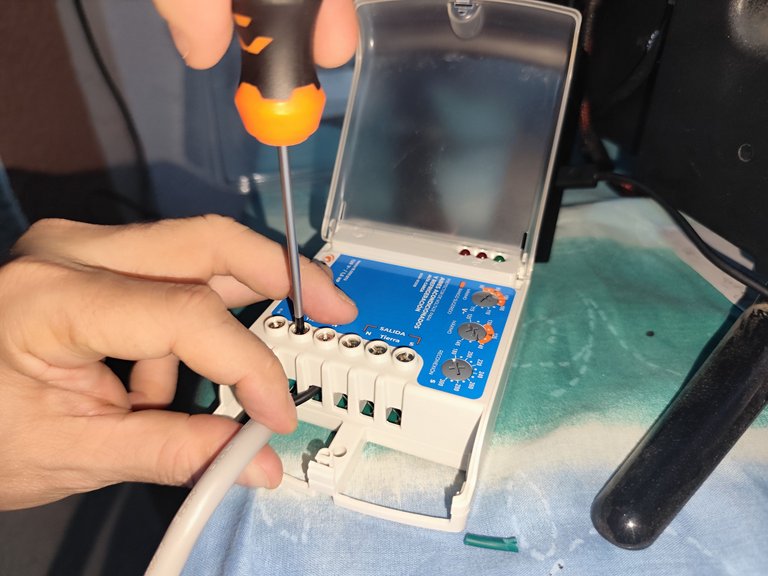
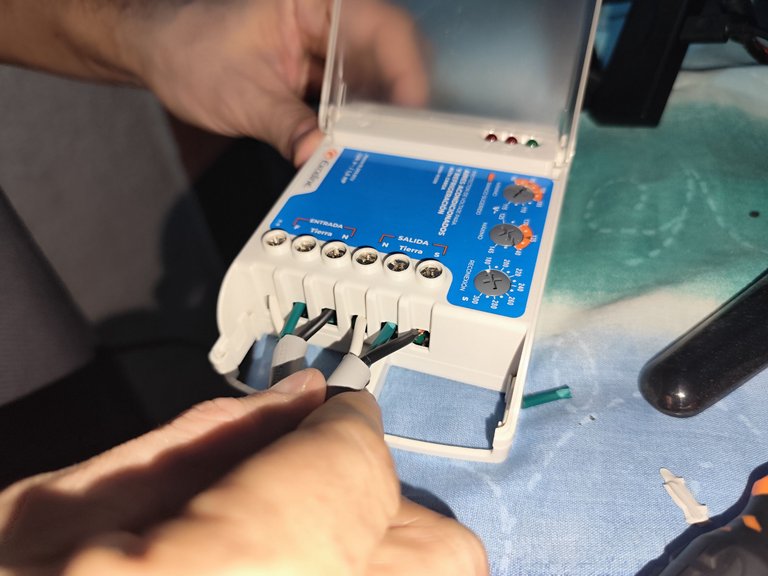
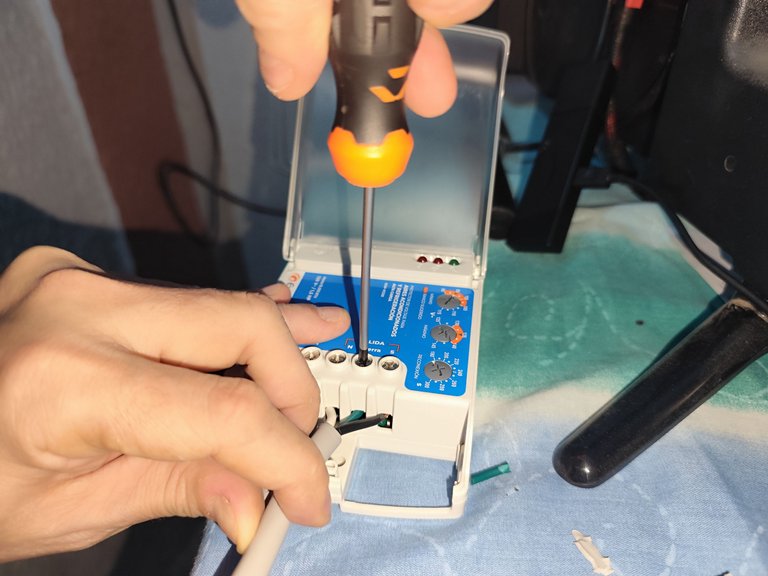
Ahora nos vamos a la instalación de los cables; pero primero, tomamos el destornillador y aflojamos cada tornillo donde se instalarán los mismos. Observamos ahora las zonas del protector donde van los cables de entrada y salida; entonces vamos para la sección de entrada; esta parte sería donde va el cable que tiene el enchufe, ya que al conectarlo al tomacorriente, rápidamente se inicia la entrada de energía.
En cada extremo de esa área van los cables de las fases y en el centro el cable de tierra; introducimos los cables y procedemos a atornillar, tratando en lo posible de que queden bien apretados; esto con la finalidad de evitar falsos contactos. Realizamos el mismo procedimiento en el área de salida; aquí van las puntas del cable que está conectado al aire.
Now we go to the installation of the wires; but first, we take the screwdriver and loosen each screw where the wires will be installed. We observe now the areas of the protector where the input and output cables go; then we go to the input section; this part would be where the cable with the plug goes, because when we connect it to the outlet, the power input starts quickly.
At each end of this area go the phase wires and in the center the ground wire; we introduce the wires and proceed to screw, trying as much as possible to tighten them well; this in order to avoid false contacts. We perform the same procedure in the output area; here are the ends of the cable that is connected to the air.
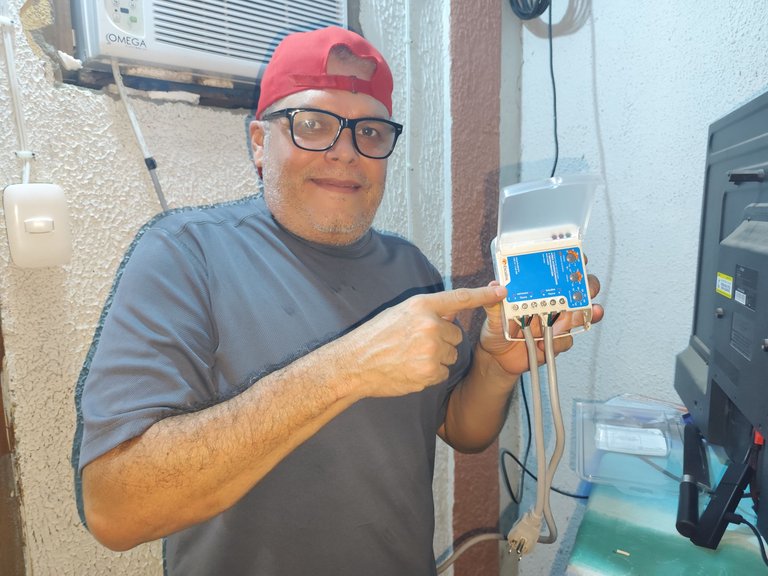
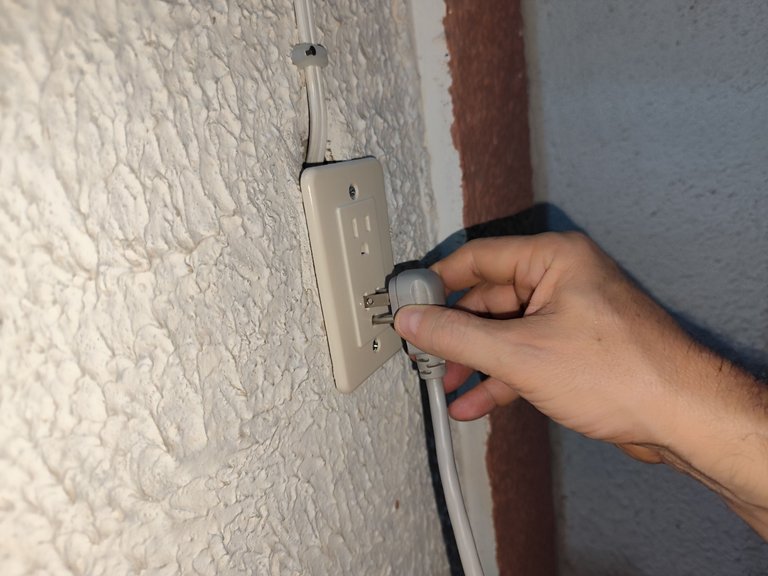
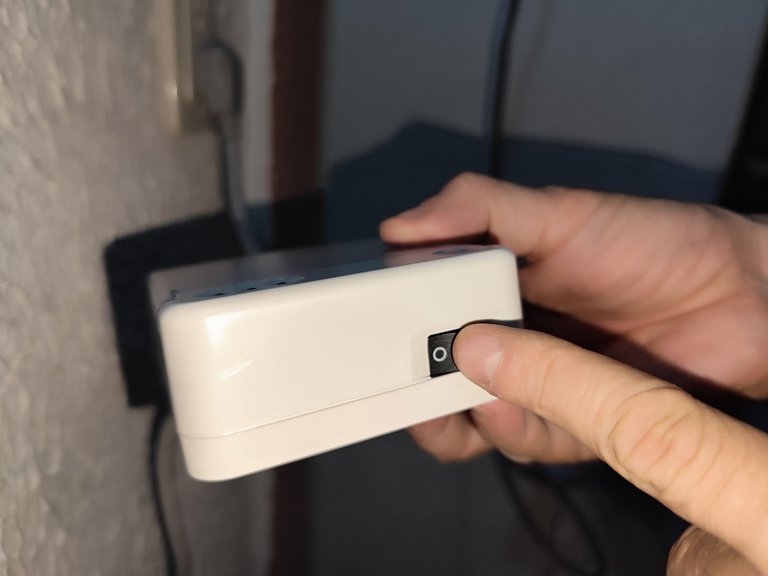
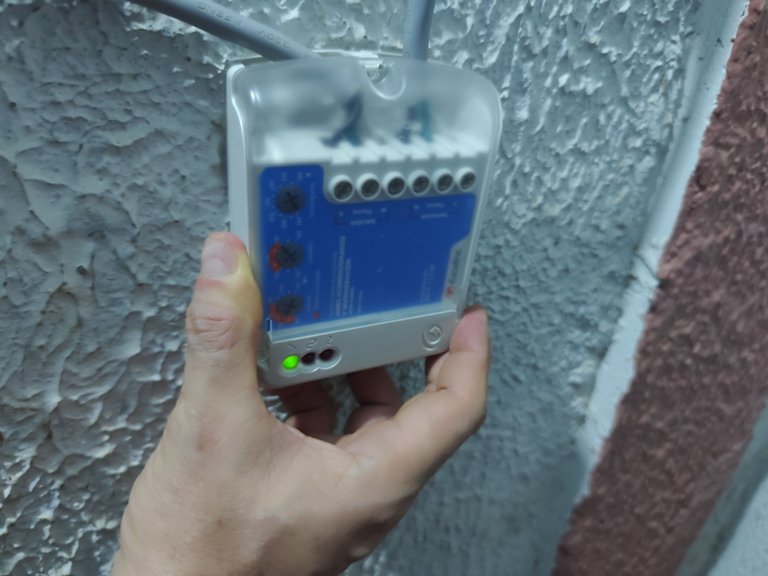
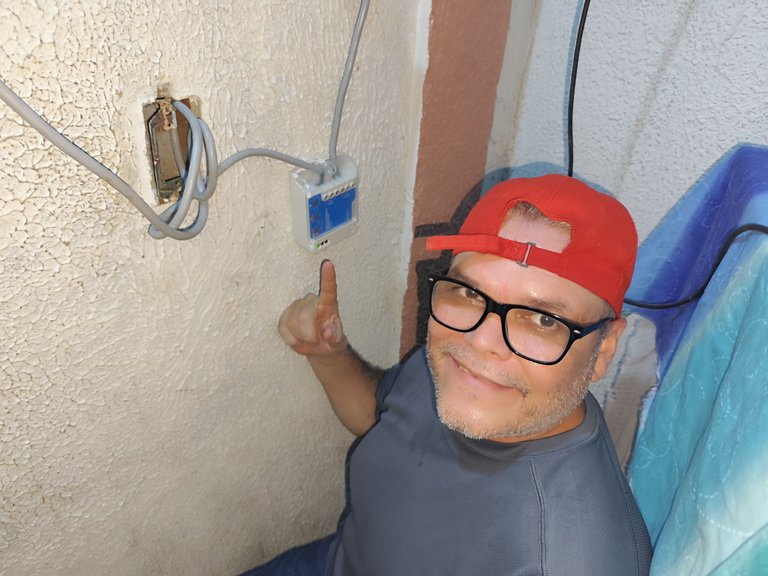
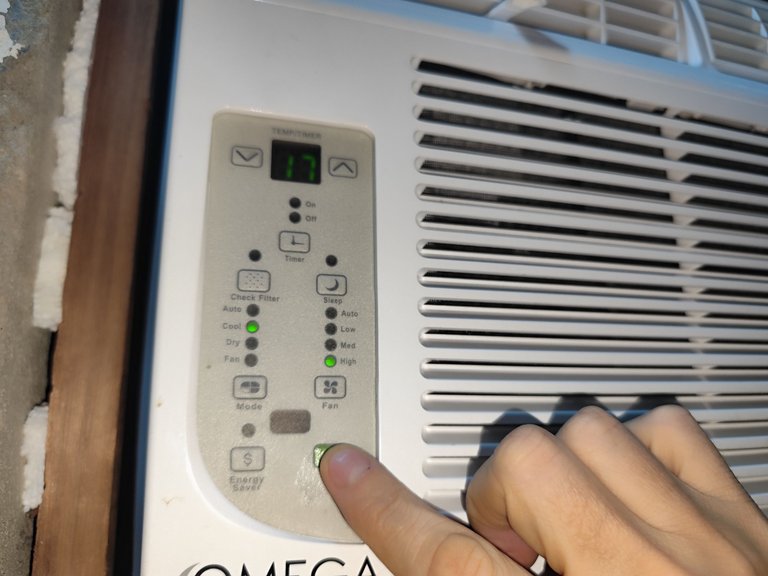
Ya tenemos lista nuestra instalación y ahora vamos a conectar la parte del enchufe en el tomacorriente; acto seguido, encendemos el protector, ya que este tiene un swich. Al pasar el swiche, inicia el ciclo de espera de 3 minutos, donde el bombillo verde titila hasta que termine ese tiempo. Colocamos el protector en la pared y vemos que ya el bombillo verde quedó fijo; ya tenemos todo listo y solo queda encender el aire acondicionado y terminamos, el aire enciende perfectamente. Bueno mis amigos, ya tenemos este paso a paso listo, espero le sea de utilidad y nos vemos pronto con más soluciones para nuestro hogar.
We have our installation ready and now we are going to connect the plug part in the outlet; then, we turn on the protector, since it has a swich. When passing the swich, it starts the 3 minutes waiting cycle, where the green light bulb blinks until the end of that time. We put the protector on the wall and we see that and the green bulb was fixed; we have everything ready and only remains to turn on the air conditioner and we finished, the air turns on perfectly. Well my friends, we have this step by step ready, I hope you find it useful and see you soon with more solutions for our home.
...Gracias Por Visitar...
...Thanks for visiting...


Imágenes tomadas desde mi teléfono Redmi Note 13 Pro 5g
Image taken from my Redmi Note 13 Pro 5g phone
Translated and formatted with Hive Translator by @noakmilo
Posted Using InLeo Alpha
Excelente adquisición amigo. En casa también me he armado de protectores de voltajes para cuidar mis electrodomesticos
Así es, hay que tener protegido nuestros equipos, es sumamente necesario. Saludos
Excelente explicación y súper útil ya que ahorita muchos estamos haciendo lo posible por comprar los aires acondicionados porque el calor es terrible, pero hay que cuidarlos muy bien con un protector, por eso esta información es tan valiosa.
Hola amiga, muchas gracias, estamos de acuerdo, el esfuerzo que hacemos para adquirir nuestros equipos es importante, por ello debemos protegerlos para alargar su vida útil. Sabemos cómo está el sistema eléctrico, fatal. Saludos.