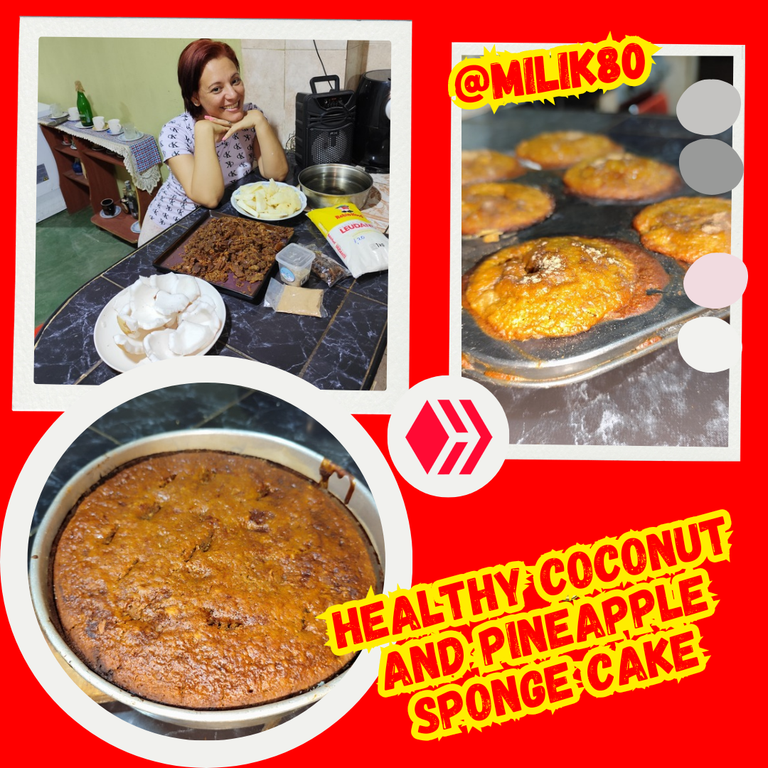
Imagen Editada en/Image Edited in Canva

Can you imagine the explosion of flavors in a single preparation? That's right my friends, I'm talking about two super special fruits and very healthy for our health, as it is; Today I want to share with you a delicious sponge cake based on coconut and pineapple, not to mention the ingredients of molasses, this is made with the ingredients of the coconut kisses, only that we do it this way, it is softer and fluffier, I recently shared with you the recipe for coconut and pineapple kisses and I promised that soon I would bring you this incredible recipe, well here I will show you the step by step of it, can you imagine the taste of the sweetness of the coconut, with the acidity of the pineapple? Well, I feel it is a feast for our palate.
I was craving for this delicious dessert, besides my mother-in-law was driving me crazy about when I was going to make the kisses and pineapple cake, ha, ha, ha, ha. She loves everything I prepare, since it is made with a lot of love, to spoil my family. This cake is excellent to combine with a good cup of coffee and share it with good company. Now I want to share with you its benefits.
BENEFITS:
✓ Benefits of Coconut: excellent to hydrate us, contains a lot of iron, calcium, vitamins, minerals, helps us to the health of our hair, coconut oil is wonderful to keep us healthy because it is edible and helps a lot to our health, it has fiber which helps us to maintain excellent digestive health.
✓ Benefits of pineapple: This is rich in vitamin C, helps digestive health and inflammation processes, excellent as a moisturizer, due to its high water content. Excellent antioxidants.
The ingredients used for this healthy cake are the following 👇

✓ 2 coconuts
✓ 1 whole Papelón grated
✓ Star anise to taste (I used half a packet).
✓ 1 tablespoon of sweet aniseed
✓ 1 pineapple already peeled and cut.
✓ 4 cups of leavened wheat flour.
✓ Cinnamon powder to taste
✓ 500 ml of water
Kitchen utensils used:
✓ Pans.
✓ Wooden spoon
✓ cake pans
✓ Punch bowl
✓ Blender
✓ pot for molasses
✓ Strainer
✓ Wooden board
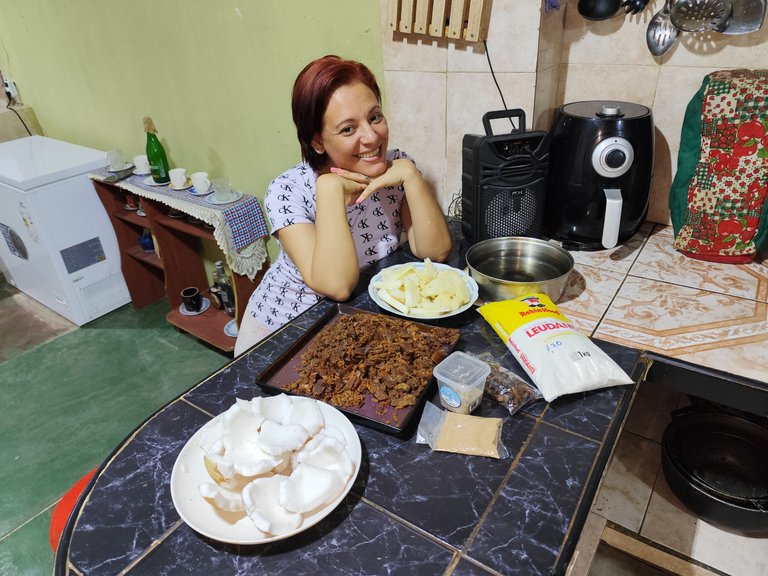
My lovers of foddies bee hive, now join me in the step by step of this delicious coconut and pineapple sponge cake.
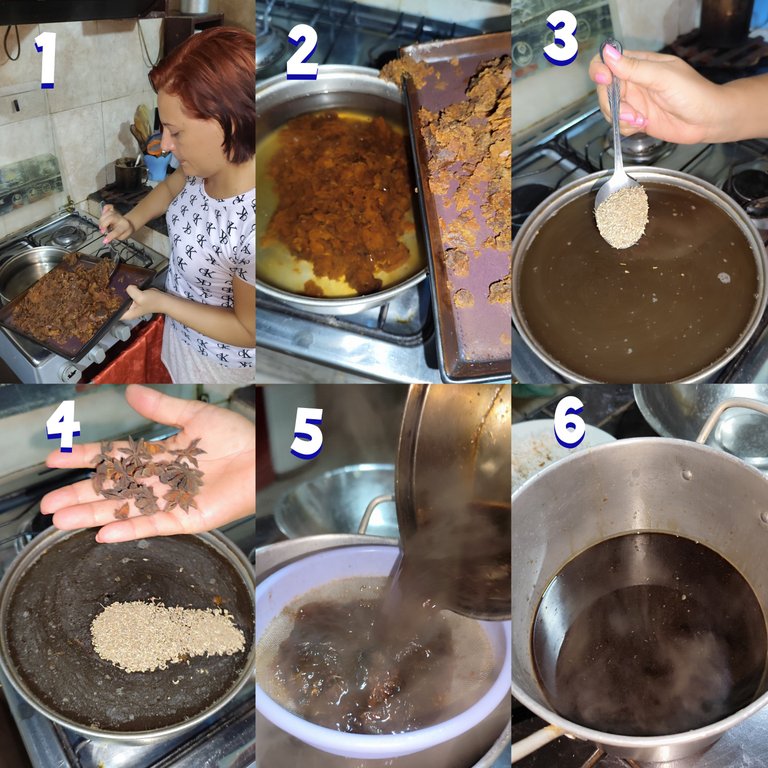
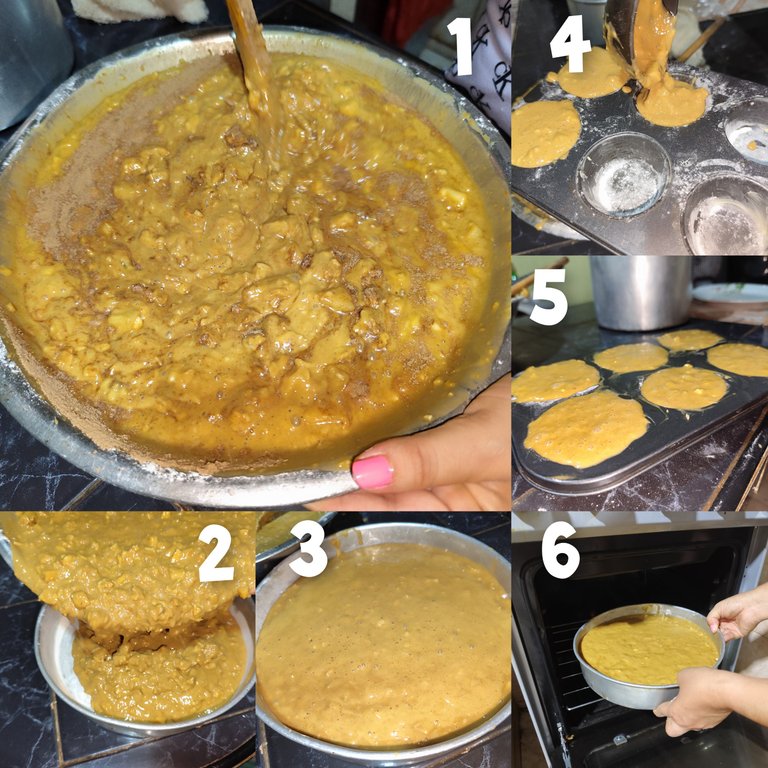
Step #1: Once we have previously grated the paprika, we proceed to prepare the molasses to boil and combine the flavors, when it is ready I strain it and let it rest.
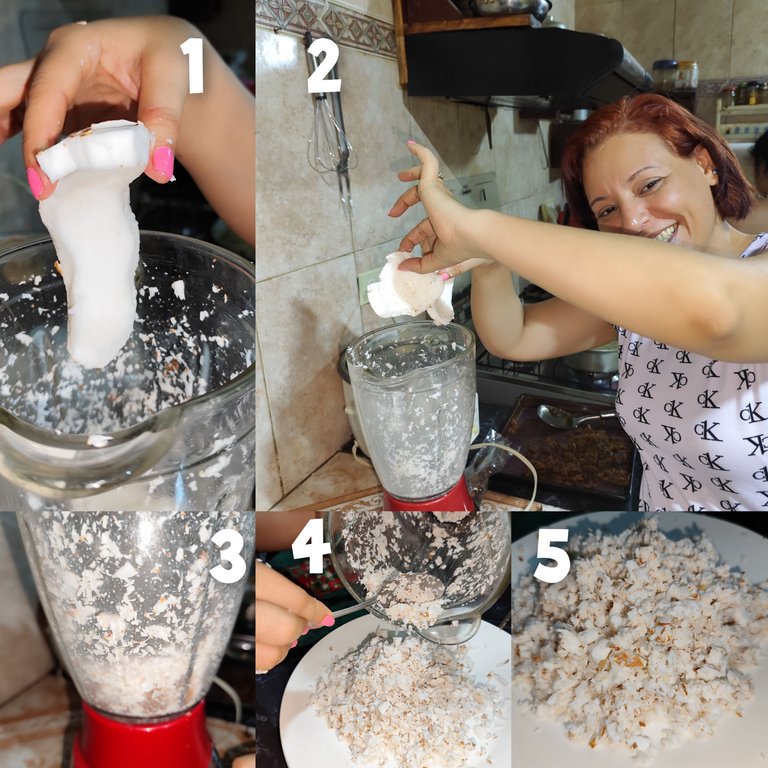
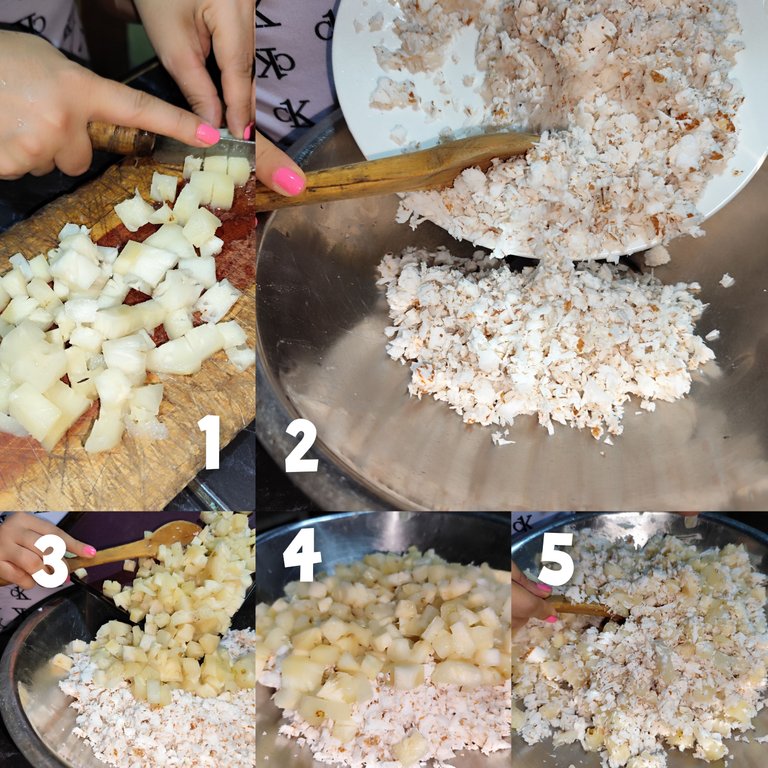
✓ Step #2: When the molasses is ready, I proceed to process the coconut in the blender.
✓ Step #3: Once the pineapple is cut, I proceed to add the coconut to the tray, along with the pineapple and stir to integrate them.
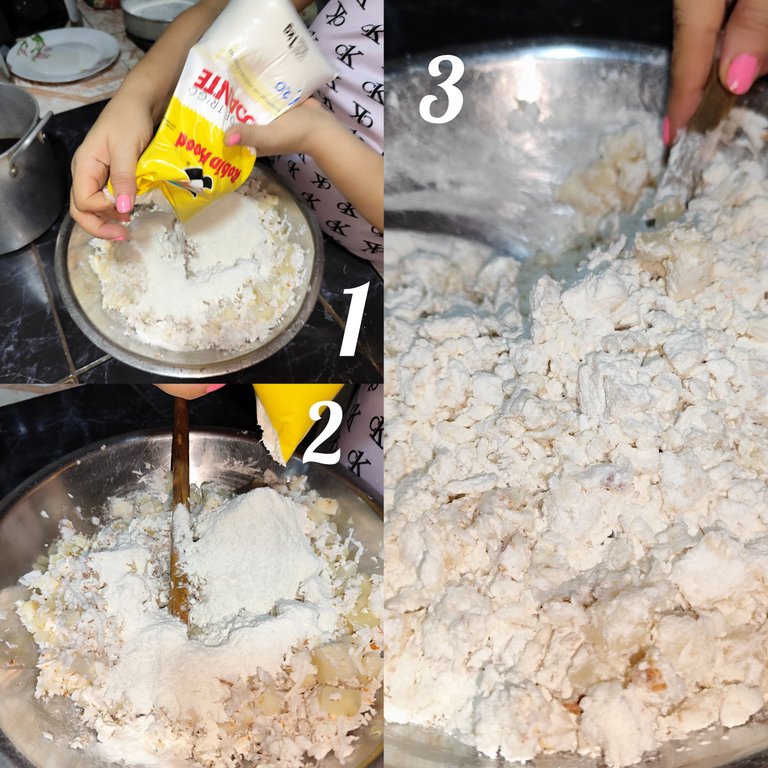
Step #4: Once the fruits are integrated, add the wheat flour and stir until everything is well compacted.
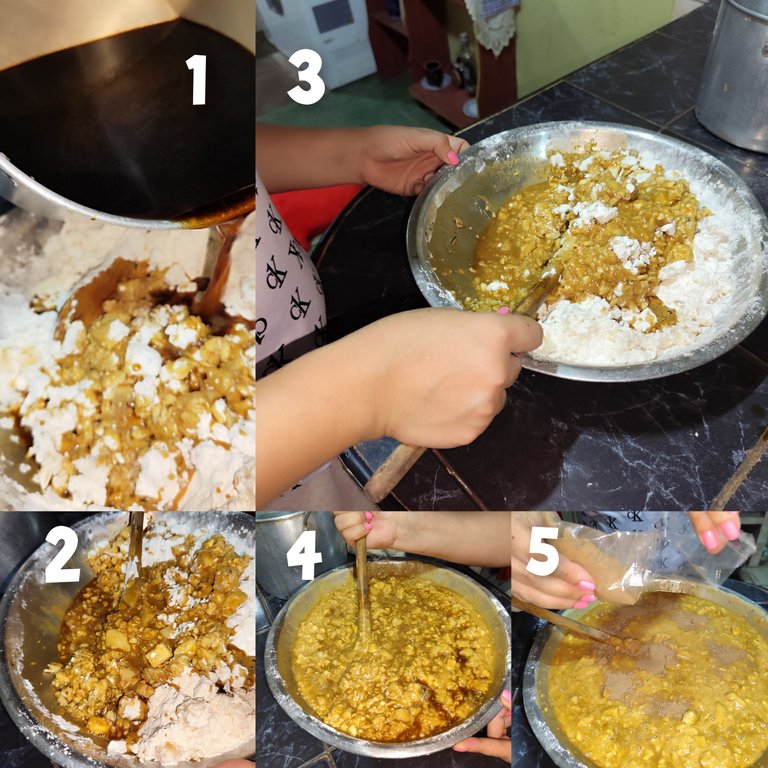
Step #5: Once the ingredients are compacted, start adding the molasses little by little until you obtain a creamy and smooth mixture, not too light and not too thick.
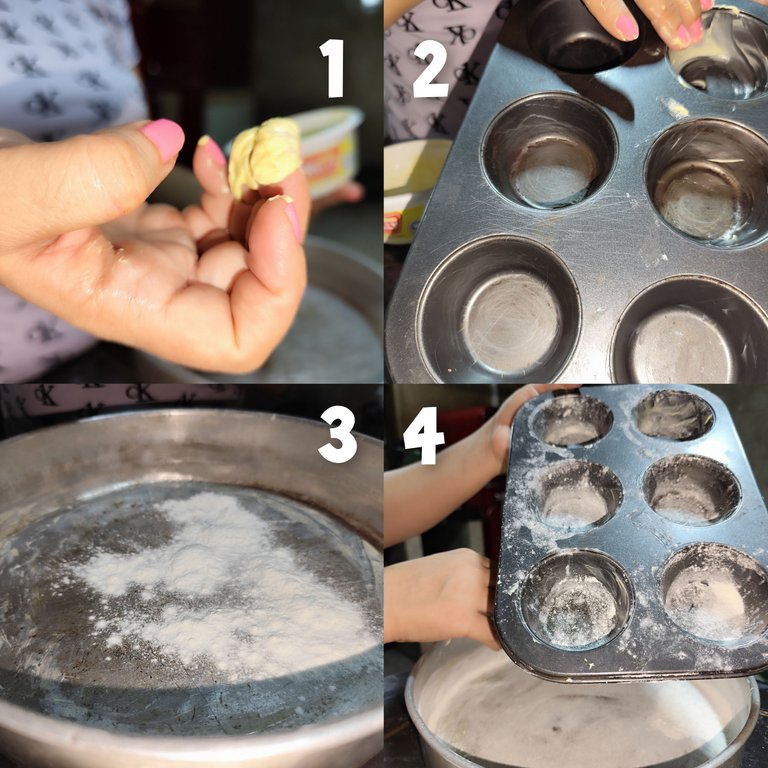
Step #6: Once the mixture is ready, begin to grease with butter and place wheat flour in the cake pan and the ponche pan so that it is easy to disassemble.
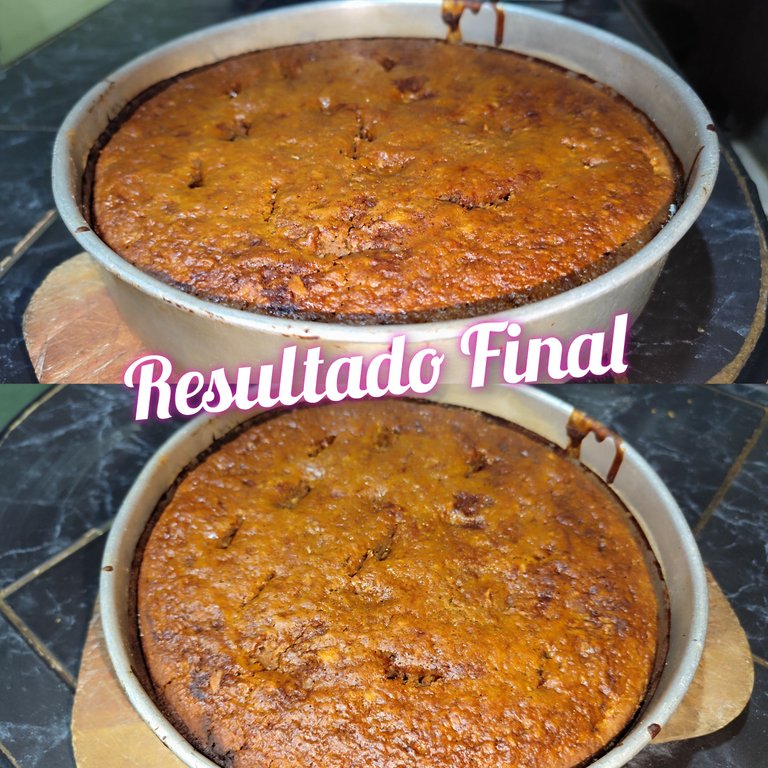
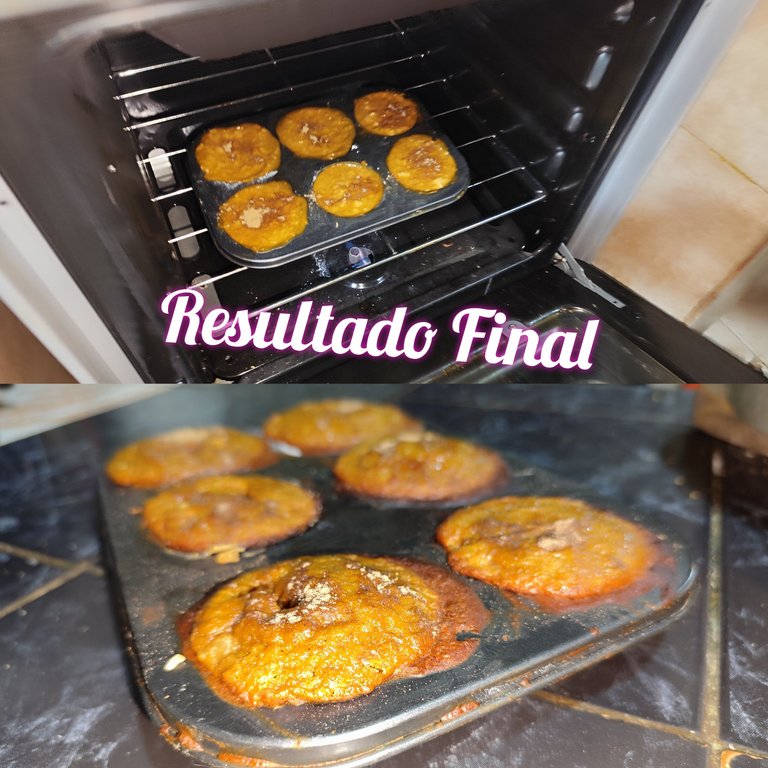
Step #7: Once the pans are ready, I proceed to pour the mixture in each one and take them to the oven at 280 degrees, I wait 30 minutes for it to rise and check how the process is going. I insert a toothpick to check its cooking and when it comes out clean, this cake and cake are ready to be tasted.
my friends, I hope you enjoyed this simple and practical preparation of coconut and pineapple cake, it is super delicious and easy to make, I hope you like this content, waiting for your good comments in my message box 📩 I wish you a happy start of the month, blessings and success for all. Good vibes🙏
Happy for your visit

Images taken by Ronmel Nuñez with my tecno camon 18p.

Imagen Editada en/Image Edited in Canva

Se imaginan la explosión de sabores, ¿en una sola preparación? Así es mis amigos, les hablo de dos frutas super especiales y muy saludables para nuestra salud, como lo es; la piña y el coco, hoy quiero compartirles un delicioso bizcocho a base de coco y piña, sin mencionar los ingredientes de la melaza, este se realiza con los ingredientes de los besos de coco, solo que lo realizamos de esta forma, queda más suave y esponjoso, hace poco les compartí la receta de besos de coco y piña y les prometí que pronto les traería esta increíble receta, pues aquí les presentaré el paso a paso de la misma, te imaginas el sabor de lo ¿dulce del coco, con lo ácido de la piña? Pues yo siento que es un festín para nuestro paladar.
Estaba antojada de deleitarme este rico postre, además de que mi suegra me llevaba loca que para cuando iba a hacer el bizcocho de besos y piñas, ja, ja, ja. A ella le encanta todo lo que preparo, ya que está realizado con mucho amor, para consentir a los míos. Este bizcocho es excelente para combinarlo con un buen cafecito y compartirlo con una buena compañía. Ahora quiero compartirles sus beneficios.
BENEFICIOS:
✓ Beneficios del Coco: excelente para hidratarnos, contiene mucho hierro, calcio, vitaminas, minerales, nos ayuda a la salud de nuestro cabello, el aceite de coco es maravilloso para mantenernos saludables por ser comestible y ayuda mucho a nuestra salud, posee fibra la cual nos ayuda a mantener una excelente salud digestiva.
✓ Beneficios de la piña: Esta es rica en vitamina C, ayuda a la salud digestiva y en los procesos de inflamación, excelente como hidratante, debido a su alto contenido en agua. Excelentes antioxidantes.
Los ingredientes utilizados para este bizcocho saludable son los siguientes 👇

✓ 2 cocos
✓ 1 Papelón completo rallado
✓ Anís estrellado al gusto (yo use medio paquete)
✓ 1 cucharada sopera de anís dulce
✓ 1 piña ya pelada y cortada
✓ 4 tazas de Harina de trigo leudante
✓ Canela en polvo al gusto
✓ 500 ml de agua
Utensilios de cocina utilizados:
✓ Bandejas
✓ Cuchara de madera
✓ torteras
✓ ponquesera
✓ Licuadora
✓ olla para la melaza
✓ Colador
✓ Tabla de madera

Mis lovers de foddies bee hive, ahora acompáñame al paso a paso de estos delicioso Bizcocho a base de coco y piña.
✓ Paso #1: Ya previamente tenemos rallado el papelón, procedemos a preparar la melaza para que vaya hirviendo y combinándose los sabores, al estar lista la cuelo y dejo reposar.

✓ Paso #2: Al estar lista la melaza, procedo a procesar el coco en la licuadora.

✓ Paso #3: Ya cortada la piña, procedo a agregar el coco en la bandeja, junto a la piña y los revuelvo para integrarlos.

✓ Paso #4: al tener integrado las frutas procedo a agregar la harina de trigo y revuelvo hasta que todo esté bien compactado.

✓ Paso #5: ya compactado los ingredientes inicio a agregar la melaza poco a poco hasta obtener una mezcla cremoso y suave, ni muy clara ni muy espesa.

✓ Paso #6: Al estar listo la mezcla, inicio a engrasar con mantequilla y colocarle harina de trigo a la tortera y la ponquesera para que al desmontarla sea fácil.

✓ Paso #7: Al tener las bandejas listas procedo a vaciar la mezcla en cada una y las llevo al horno a 280 grados, espero 30 minutos para que ella levanté y así chequear como va el proceso. Ingresó un palillo para verificar su cocción y cuando esté sale limpio, ya este bizcocho y ponqué están listos para degustar.

mis amigos, espero hayan disfrutado de esta sencilla y práctica elaboración de bizcocho de coco y piña, es super delicioso y facil de elaborar, espero sea de su agrado este contenido, esperando de sus buenos comentarios en mi bandejita de mensaje 📩 les deseo un feliz comienzo de mes, bendiciones y éxitos para todos. Buenas vibras🙏


Happy for your visit

Imágenes tomadas por Ronmel Nuñez con mi tecno camon 18p
Use of the Deepl translator to translate texts into English
~~~ embed:1807981088846864545?t=ktf7UXNdY2_oGJsXyumMdQ&s=19 twitter metadata:bWlsaWthcmluYTgwfHxodHRwczovL3R3aXR0ZXIuY29tL21pbGlrYXJpbmE4MC9zdGF0dXMvMTgwNzk4MTA4ODg0Njg2NDU0NXw= ~~~
Congratulations @milik80! You have completed the following achievement on the Hive blockchain And have been rewarded with New badge(s)
Your next target is to reach 3750 replies.
You can view your badges on your board and compare yourself to others in the Ranking
If you no longer want to receive notifications, reply to this comment with the word
STOPCheck out our last posts:
me encanto la receta, se ve genial y sabroso!
I loved the recipe, it looks great and tasty!
Se me hizo agua la boca, que divina la combinación de frutas. Esa merienda tuvo que haberse acabado el mismo día en tu casa jajaja
Realmente si se acabó el mismo día jajaja. No dura🤗
Esto se ve deliciosooooo... yo quiero oro... 😋😋 un abrazo amiga.
Estaba muy delicioso amiga, pero no dura un día en casa. Saludos mana
Join the foodie fun! We've given you a FOODIE boost. Come check it out at @foodiesunite for the latest community updates. Spread your gastronomic delights on and claim your tokens.
Una hermosa de torta y ponqué, los disfruté al máximo, súper delicioso