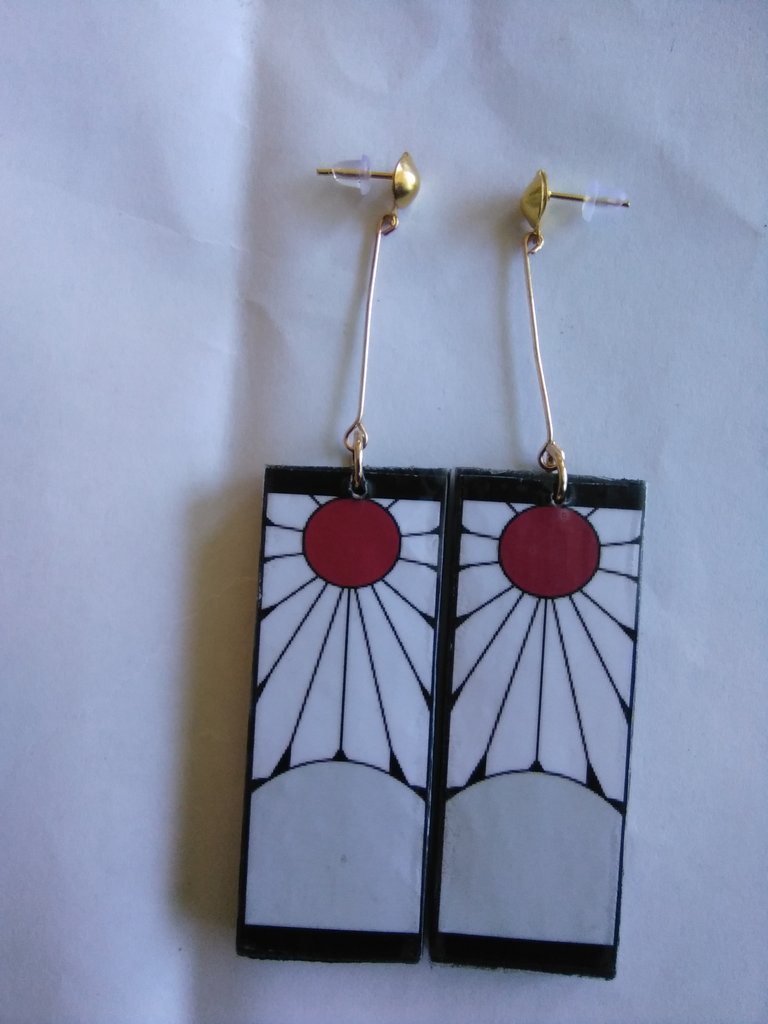
Hola a todos los miembros de esta comunidad, espero que estén muy bien, es mi primera publicación aquí y espero que sea el inicio de muchas. Últimamente me ha llamado mucho la atención la cultura asiática, por lo cual me dedique a elaborar estos pendientes. Están inspirados en un anime japonés llamado Kimetsu No Yaiba. El protagonista del anime los usa, así que me decidí a elaborar unos.
Hello to all the members of this community, I hope you are very well, it is my first publication here and I hope it is the beginning of many. Asian culture has caught my attention lately, so I dedicated myself to making these earrings. They are inspired by a Japanese anime called Kimetsu No Yaiba. The protagonist of the anime uses them, so I decided to make some.

Aquí les explicare detalladamente cada paso que realice al momento de elaborar estos pendientes, al igual que los materiales y herramientas que requerí para ello.
Here I will explain in detail each step I take when making these earrings, as well as the materials and tools I required for it.
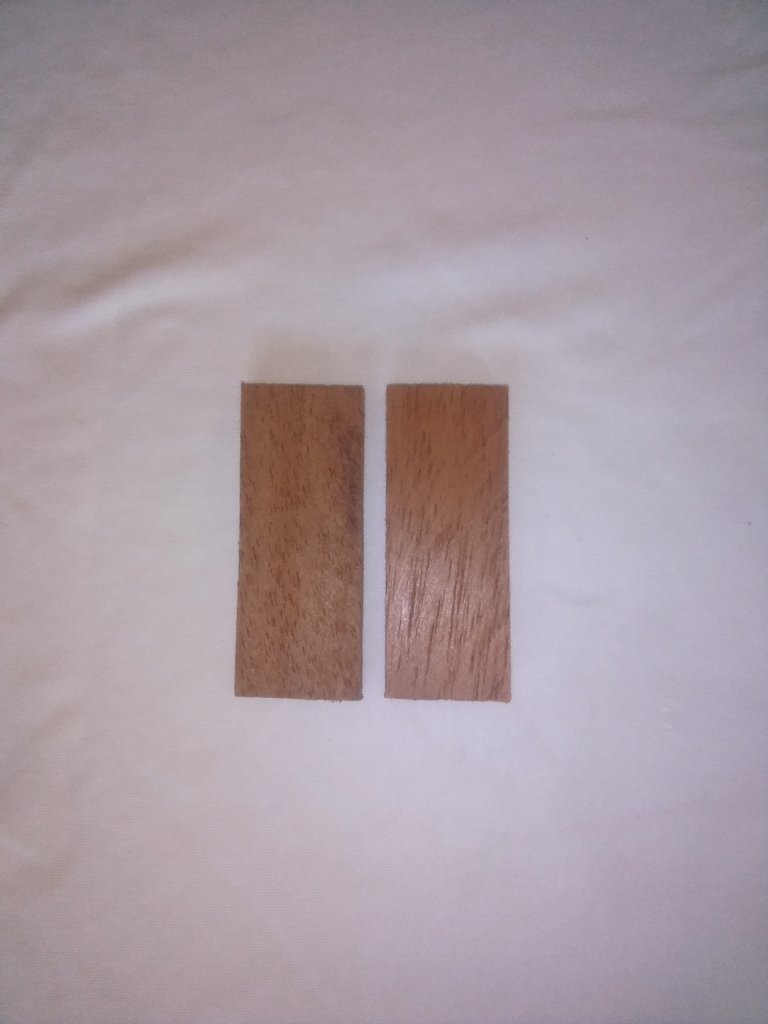
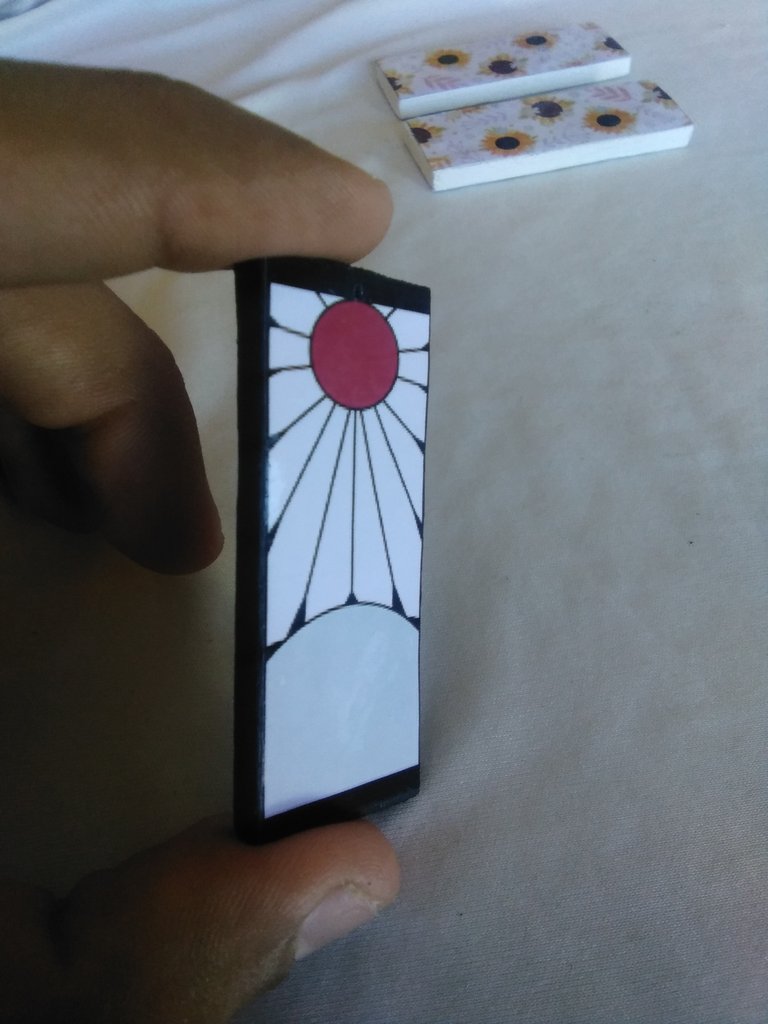
Paso 1: El primer paso fue obtener la forma de los pendientes, para esto utilice madera de ceiba delgada, la cual con ayuda de un carpintero cercano, pique a una medida de 6,10 cm de alto por 2,20 cm de ancho. Teniendo un grosor de 3-4 milímetros.
Step 1: The first step was to obtain the shape of the earrings, for this use thin ceiba wood, which with the help of a nearby carpenter, cut to a measure of 6.10 cm high by 2.20 cm wide. Having a thickness of 3-4 millimeters.
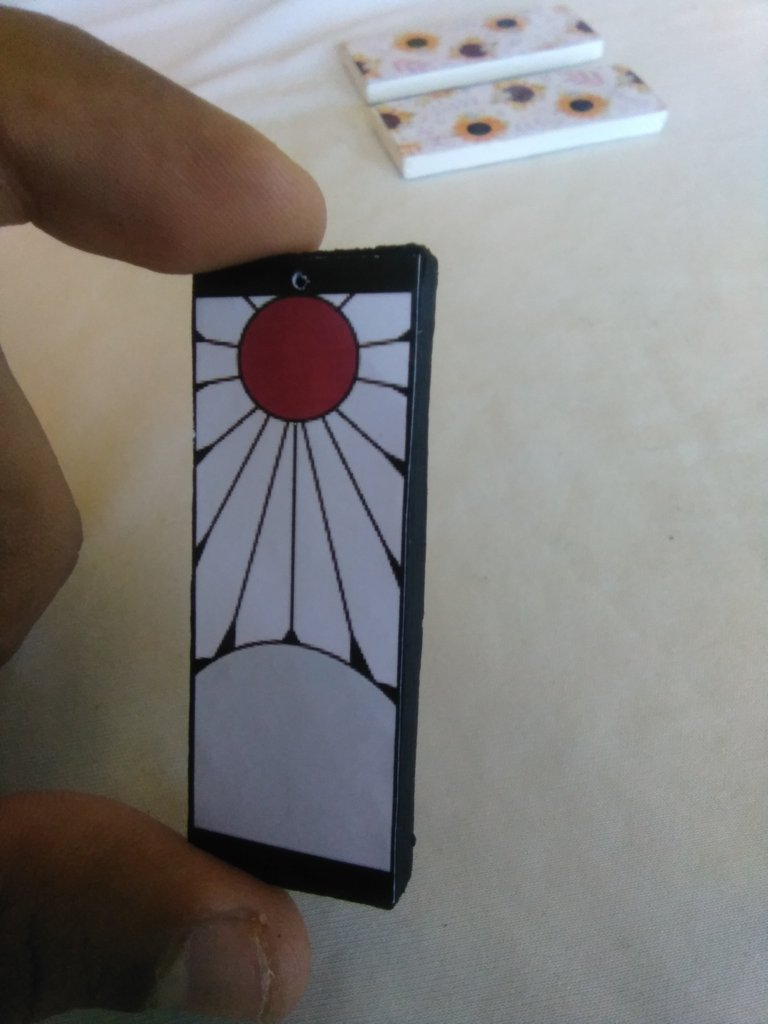
Paso 2: Este fue en realizar e imprimir el diseño del pendiente, en este caso fue el del personaje Kamado Tanjiro del anime Kimetsu No Yaiba. Pero, también pueden ser elaborados con otros diseños. Este fue diseñado a la misma medida de la madera, y fue impreso en papeles fotográficos y cortados para que encajen perfectamente ambas partes.
Step 2: This was to make and print the earring design, in this case it was the character Kamado Tanjiro from the anime Kimetsu No Yaiba. But, they can also be made with other designs. This was designed to the same size as the wood, and was printed on photographic paper and cut so that both parts fit perfectly.

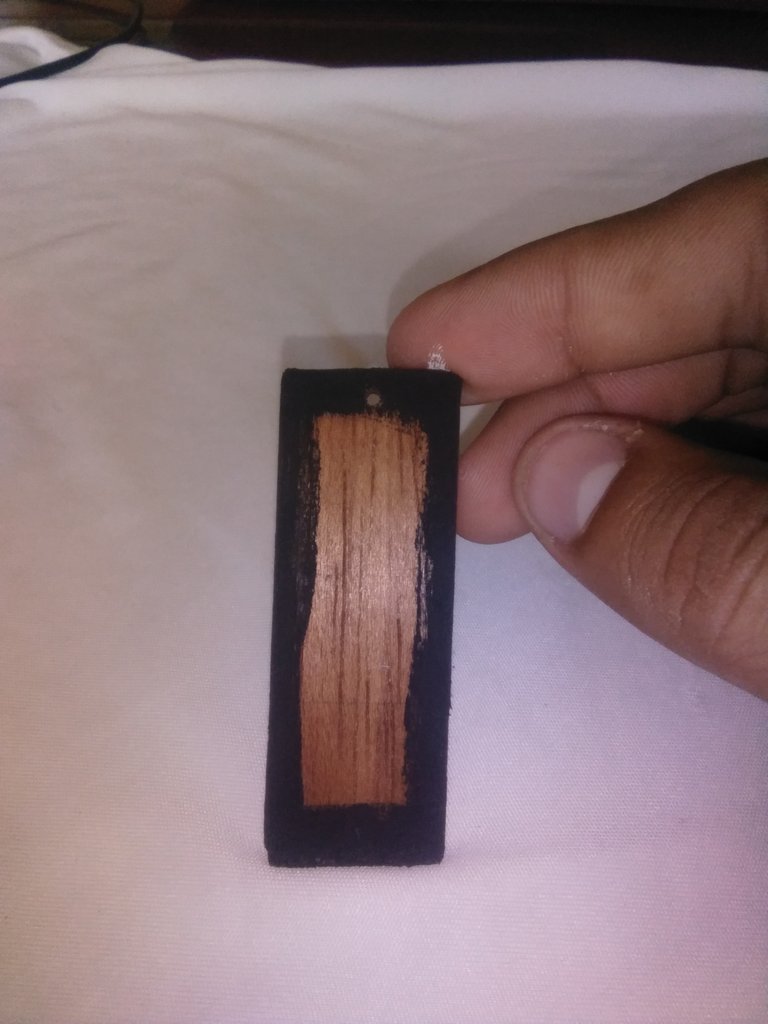
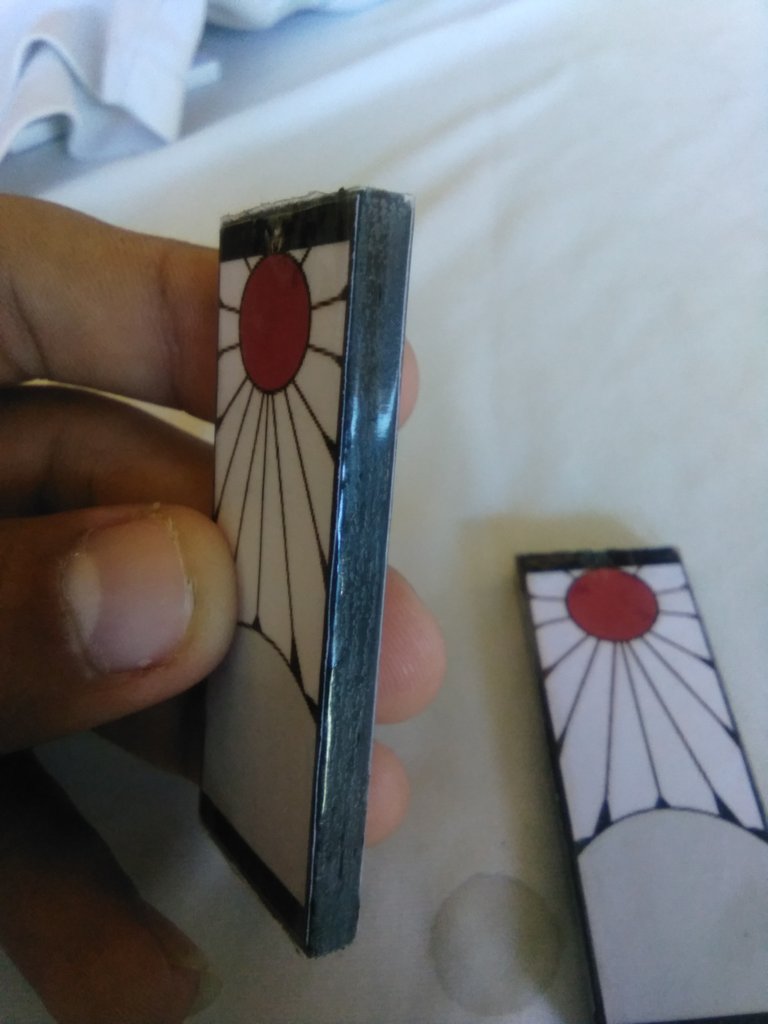
Paso 3: Tomamos los pedazos de madera ya picados, y les realizaremos un agujero en la mitad de la parte superior, tratando de dejar un espacio prudente para que estos resistan y no se rompan con el uso. Y luego pintaremos los bordes según el color del diseño, como en este caso el diseño cuenta con líneas negras en los bordes, pintaremos del mismo color los bordes de los pedazos de madera.
Step 3: We take the pieces of wood already chopped, and we will make a hole in the middle of the upper part, trying to leave a prudent space so that they resist and do not break with use. And then we will paint the edges according to the color of the design, as in this case the design has black lines on the edges, we will paint the edges of the pieces of wood the same color.
Paso 4: Pegaremos los diseños recortados a los pedazos de madera, primero un lado y luego el otro, haciéndole los agujeros con una aguja para saber el lugar por donde pasaremos el aro luego.
Step 4: We will glue the cutout designs to the pieces of wood, first one side and then the other, making holes with a needle to know where we will pass the hoop later.
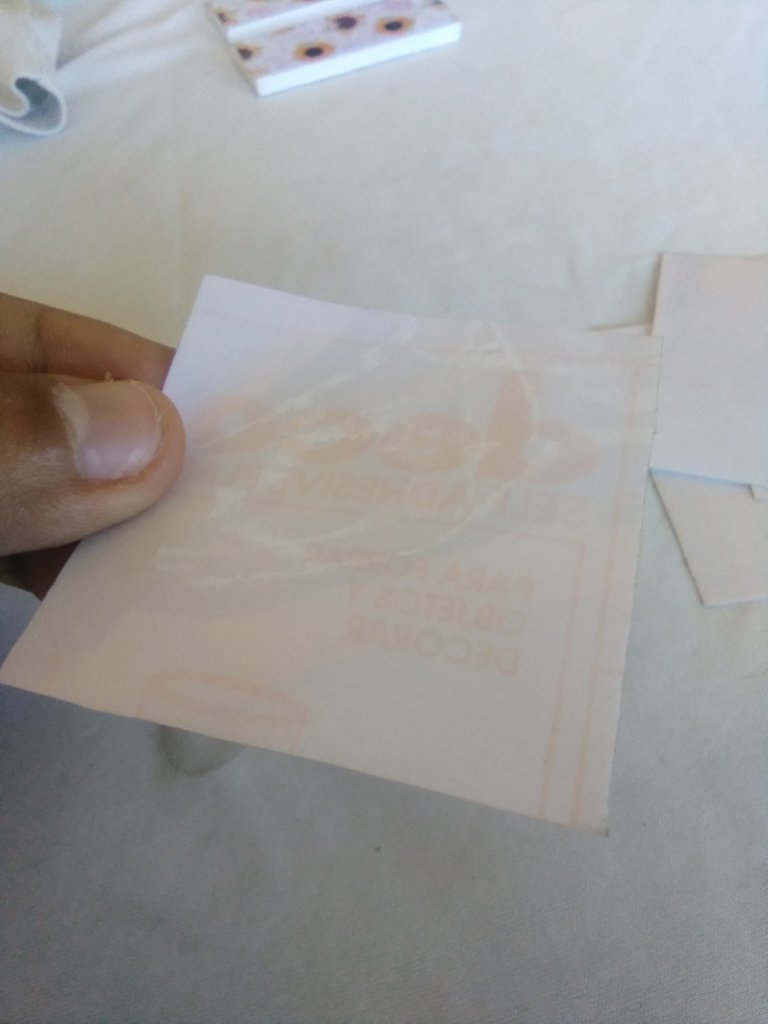
Paso 5: Procedemos a forrar nuestro pendiente con papel protector transparente, esto lo mantendrá protegido del cabello mojado, sol etc.
Step 5: We proceed to cover our earring with transparent protective paper, this will keep it protected from wet hair, sun, etc.

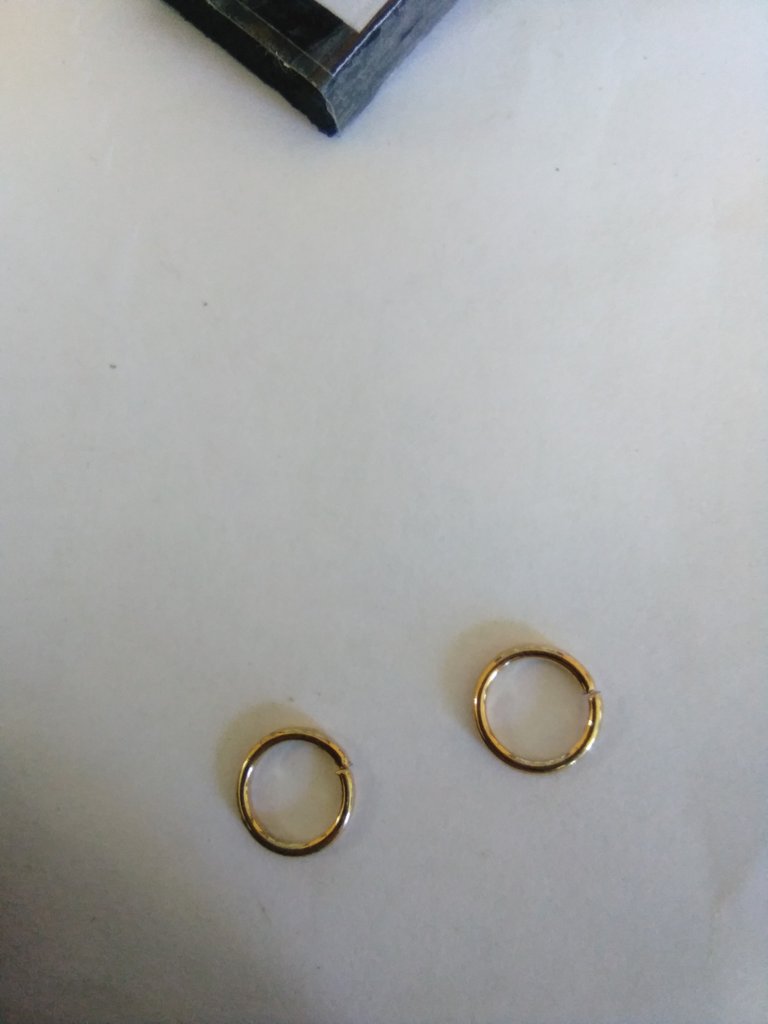
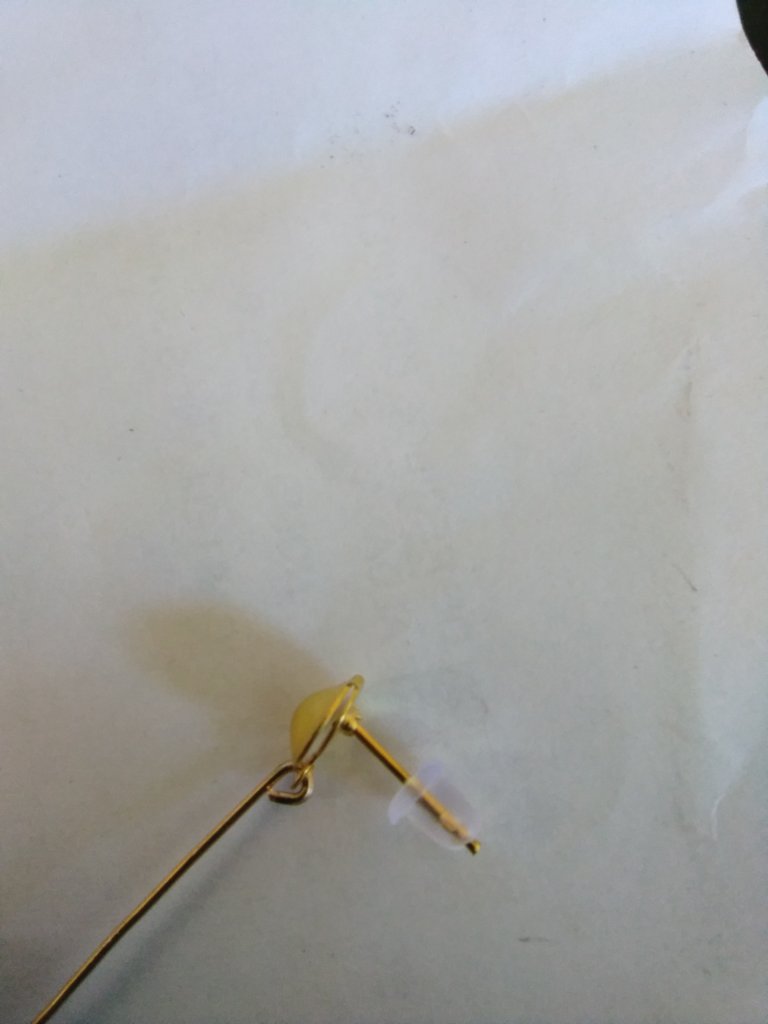
Paso 6: Procedemos a insertar el aro, el hilo de alambre y el zarcillo con su goma para ajustar al arete. Quedando todo ensamblado listo para usar.
Step 6: We proceed to insert the hoop, the wire thread and the earring with its elastic to adjust to the earring. Everything is assembled ready to use.
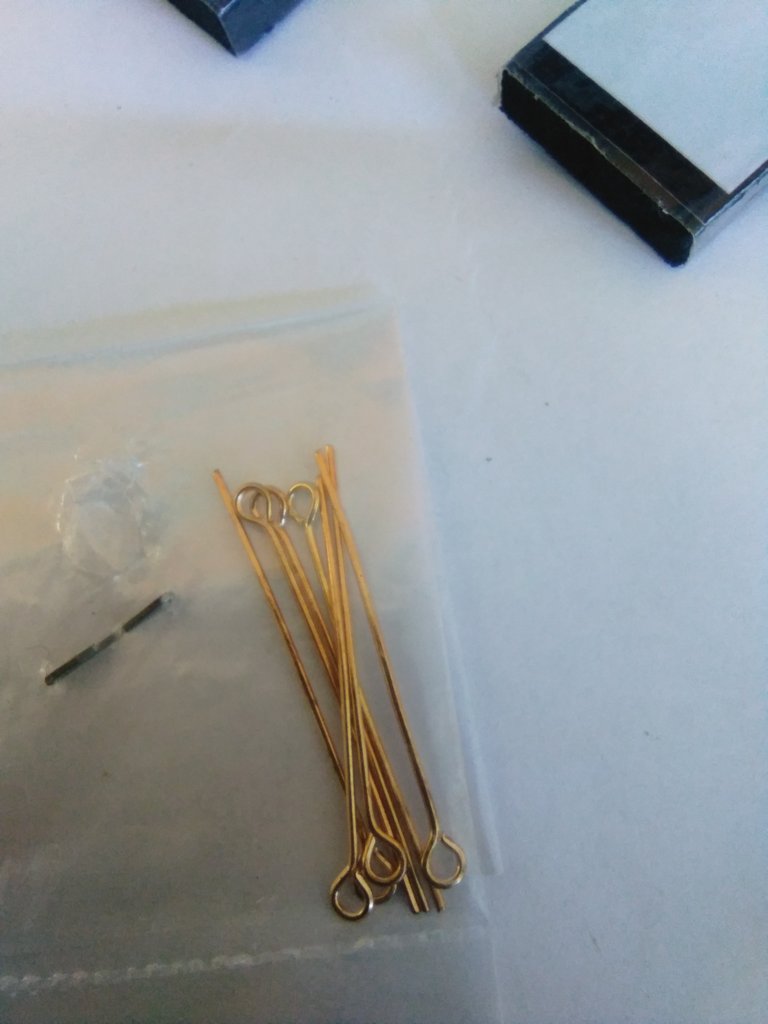
El aro lo abriremos usando alicates, luego se introducen en el arete y se cierran nuevamente.
We will open the ring using pliers, then they are inserted into the earring and closed again.

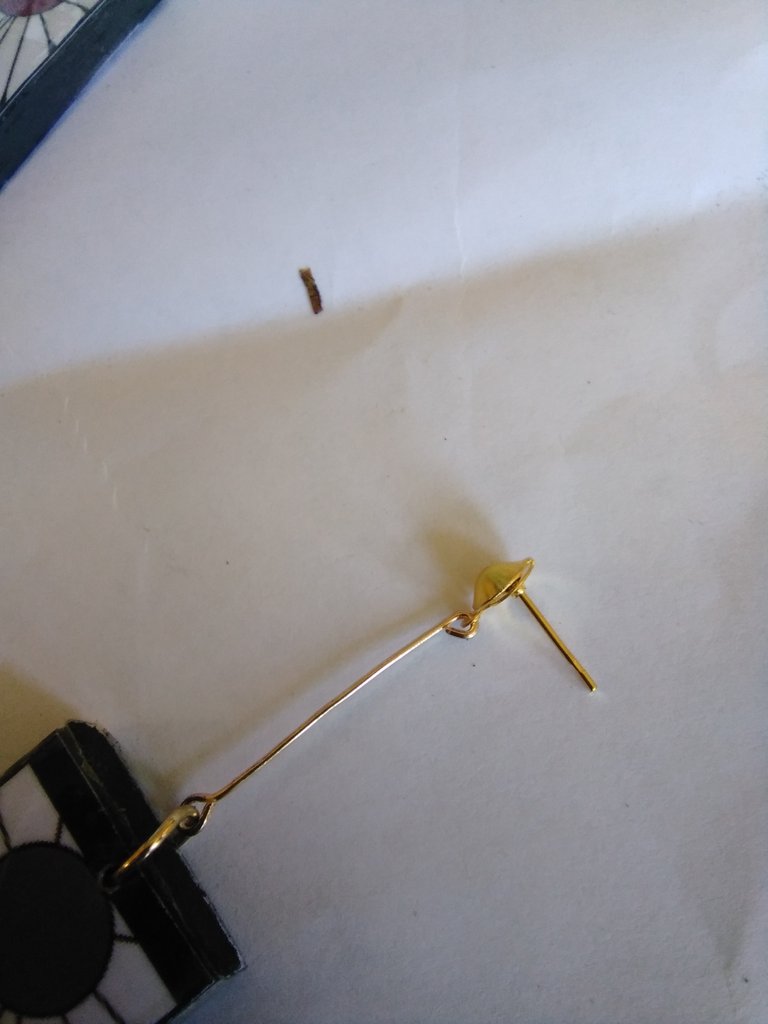
Con el hilo de alambre deberemos hacer un pequeño aro en el extremo recto, para pasar por ahí el zarcillo, en la parte que ya tiene el aro hecho, es la pasaremos por el aro mas grande que hicimos primero.
With the wire we will have to make a small ring at the straight end, to pass the tendril through there, in the part that already has the ring made, we will pass it through the largest ring that we made first.


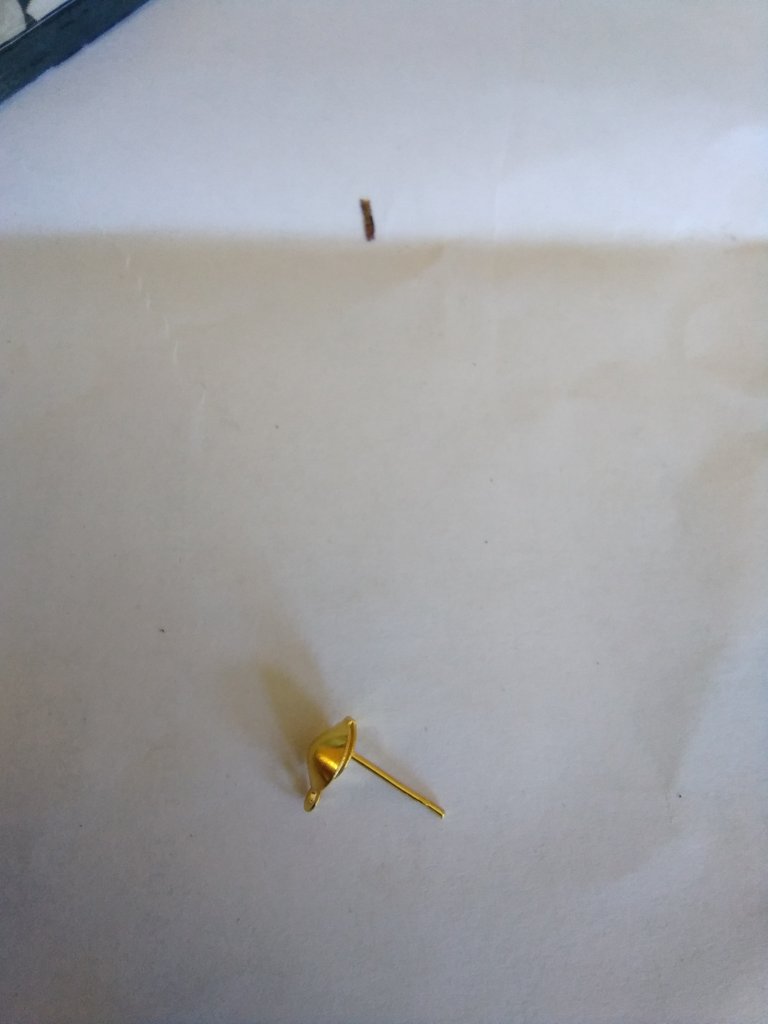
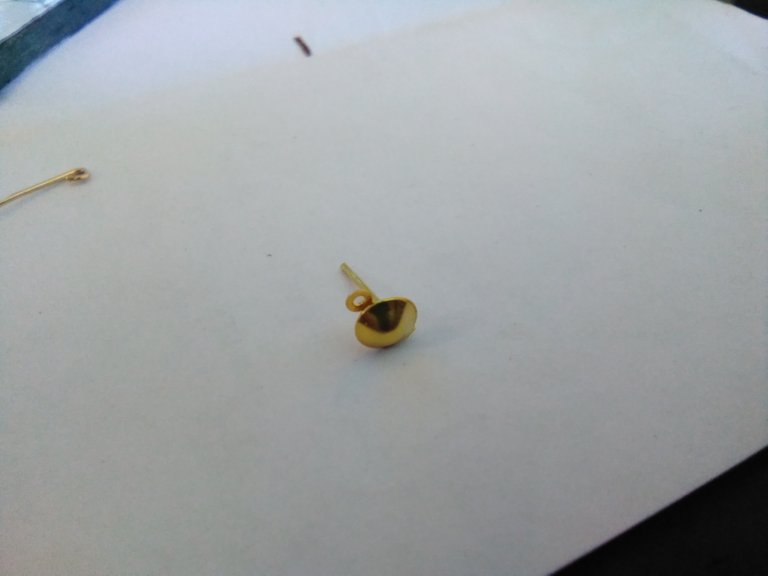
El modelo de zarcillo que usaremos tiene un pequeño orificio por donde introduciremos el alambre.
The tendril model that we will use has a small hole through which we will insert the wire.
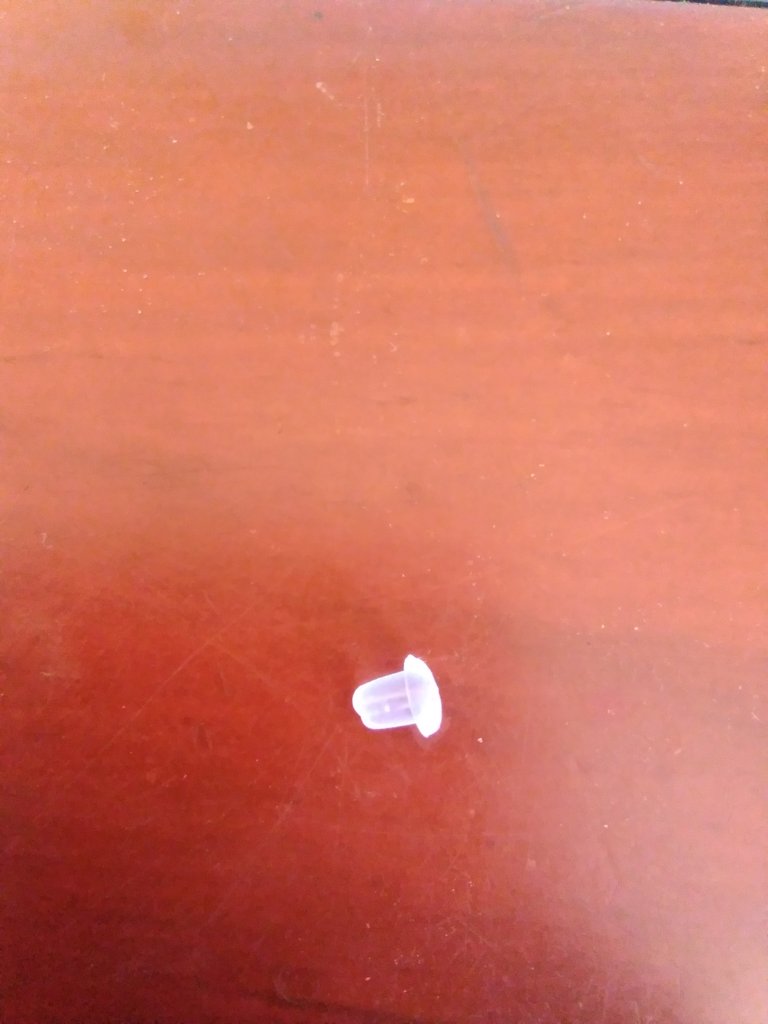
Y por ultimo tomaremos la goma para poder sujetar el zarcillo con la oreja de la persona que lo utilizara, así este no se caerá.
And finally we will take the rubber to be able to hold the earring with the ear of the person who will use it, so it will not fall.
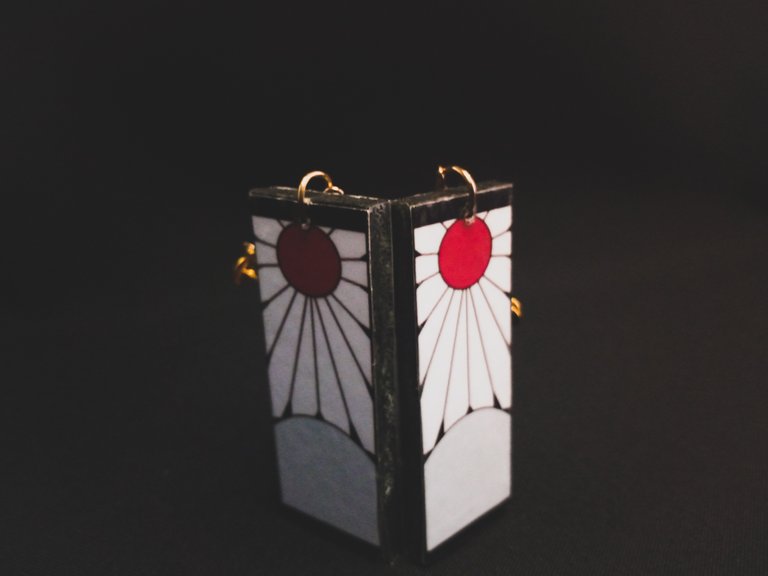
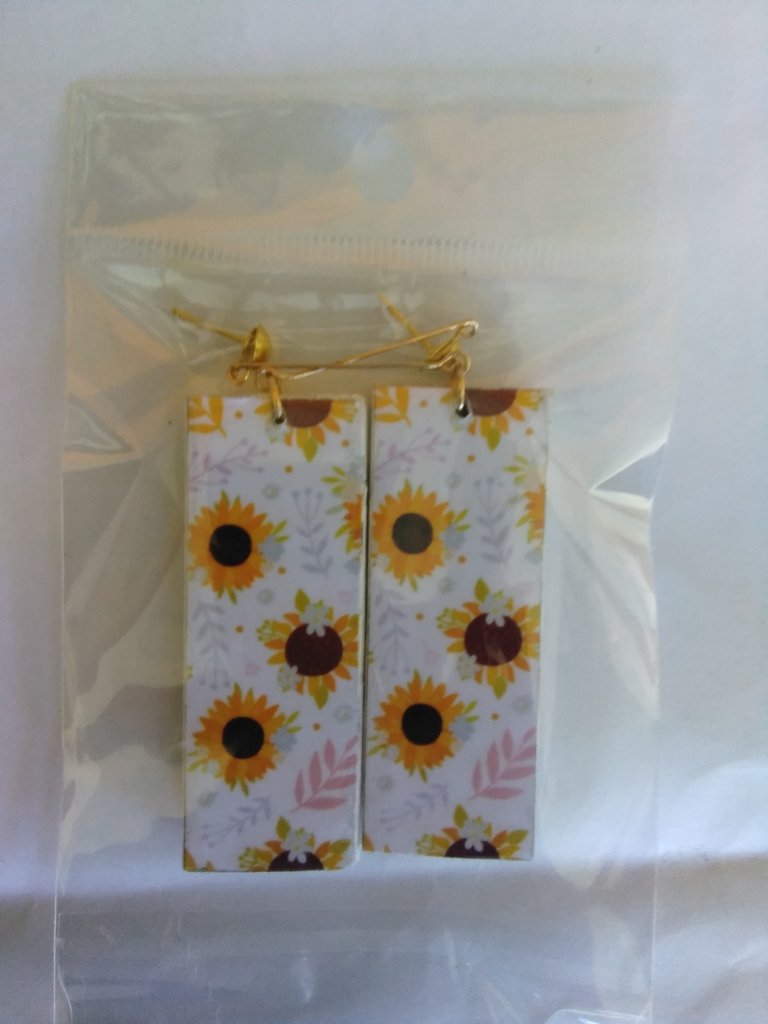
Y esta ha sido la publicación de cómo elaborar estos pendientes. Estos también pueden ser elaborados en diseños personalizados, como por ejemplo este de girasoles.
And this has been the publication of how to make these earrings. These can also be made in custom designs, such as this one with sunflowers.
Espero que les hayan gustado, y que puedan elaborar los pendientes indicándome que tal les fue. Me despido, hasta una próxima publicación, ¡Éxito y bendiciones!
Las fotografías fueron tomadas por mi, con mi celular Alcatel 1.
I hope you liked them, and that you can make the earrings telling me how they went. I say goodbye, until a next publication, success and blessings!
The photos were taken by me, with my Alcatel 1 cell phone.