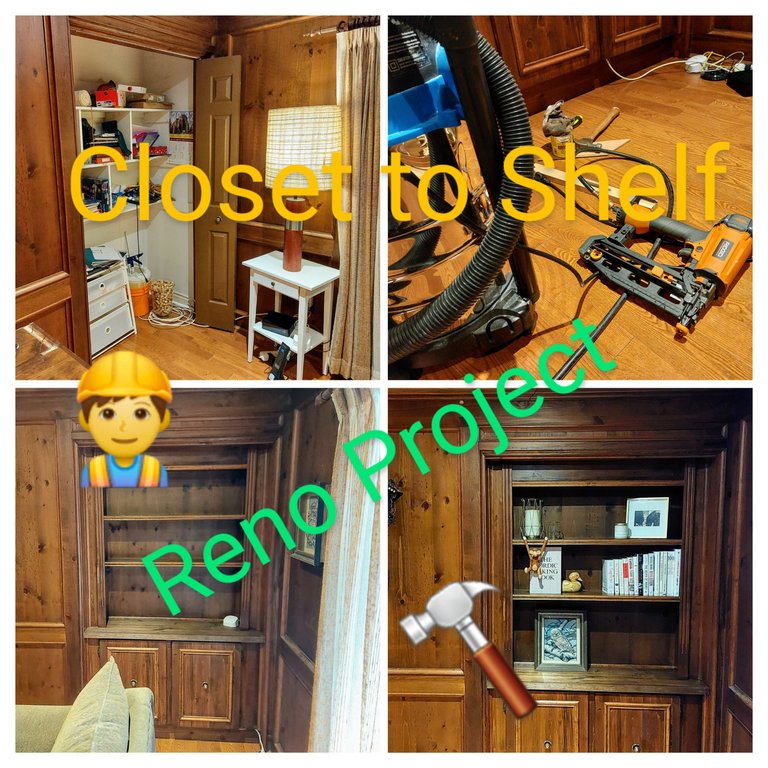
Surprise surprise, Leaky20 is doing work on his home. The guy loves renovation projects. Actually, its been a little while since I've done anything to the house and posted about it, but recently I took on another small-ish project and completed it with the help of my dad, so now I'm ready to show everyone. The basic project was removing a built in bookcase in my living room that was next to the fireplace and repurposing it in a closet in the our office library. It sounds easy enough, and I figured that it would be a simple project, but like always, there were some snags along the way.
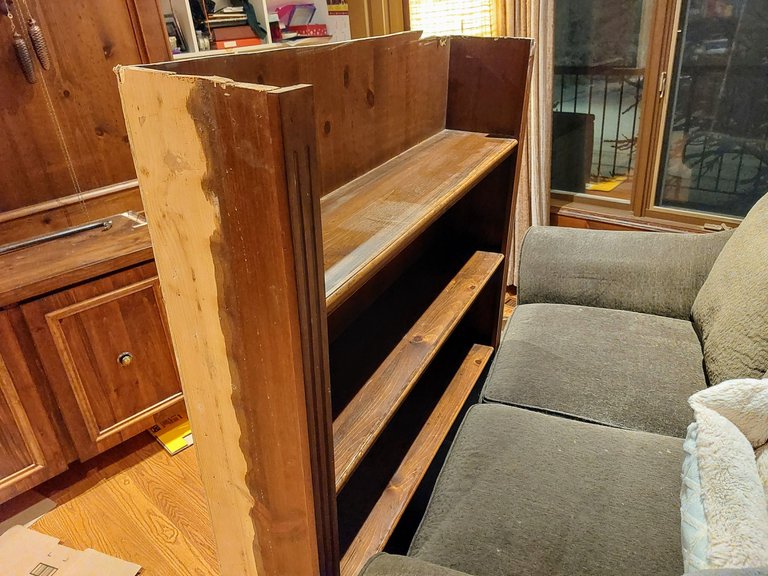
The first thing to do was to remove the bookcase from the living room wall, which ended up being the hardest part.
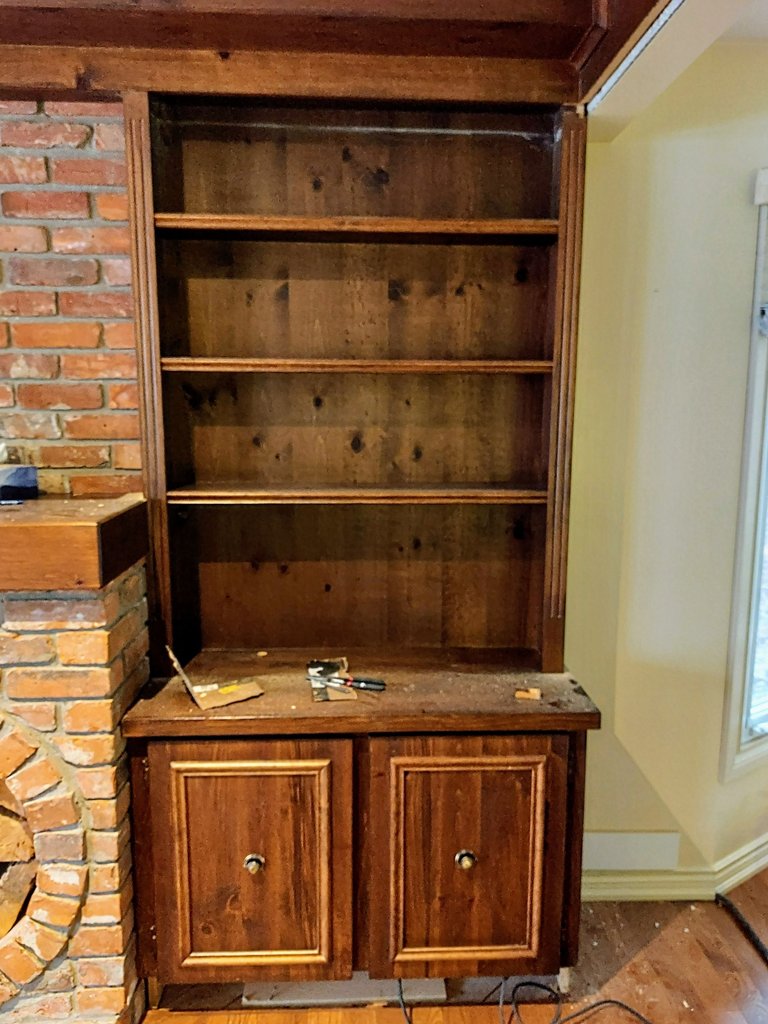
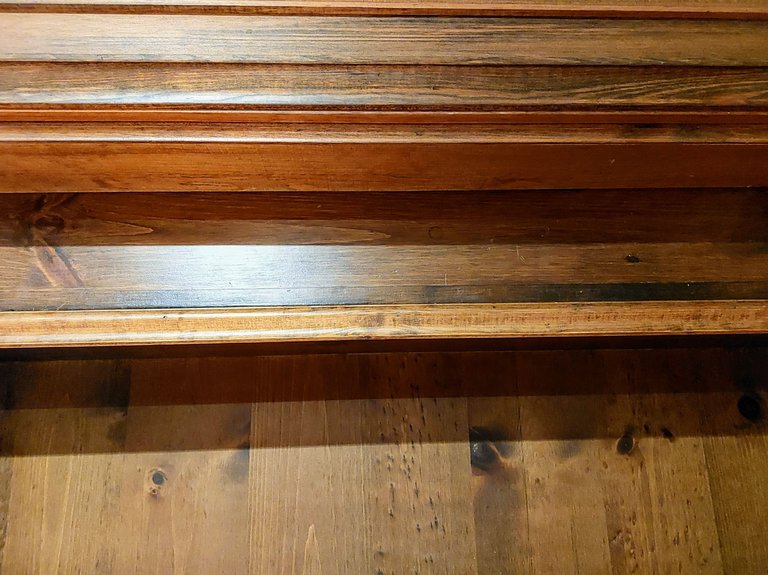
As you can see the cabinet was installed before the flooring and was built into the sub floor so it sat below the current hard wood.
First I had to pop the nails that connected it to the wall. I quickly learned that everything was well fastened to virtually everything else, which made for a pretty big struggle at times.
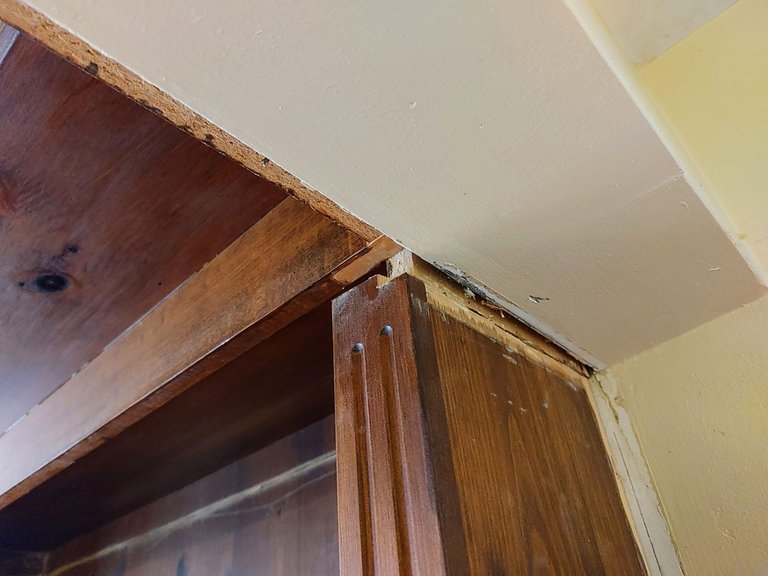
I actually had to cut the top with an oscillating saw just to remove it from the location. Even after cutting it though it was a major hassle to get it out.
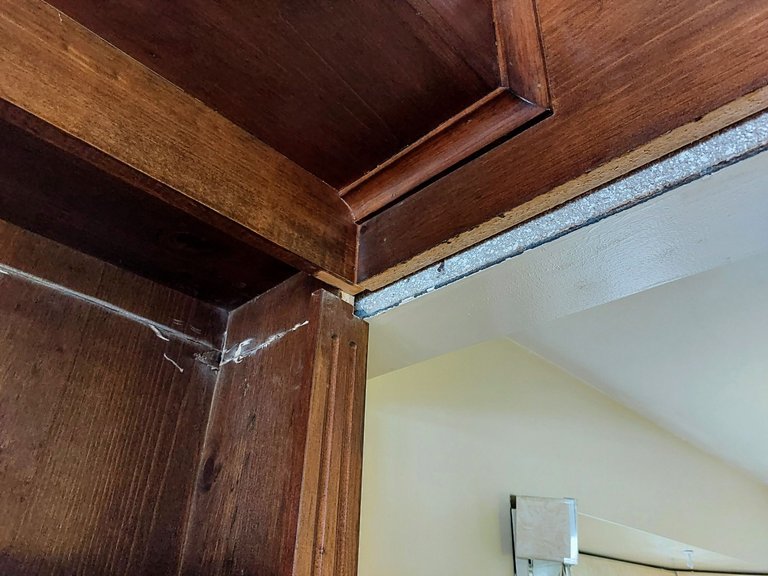
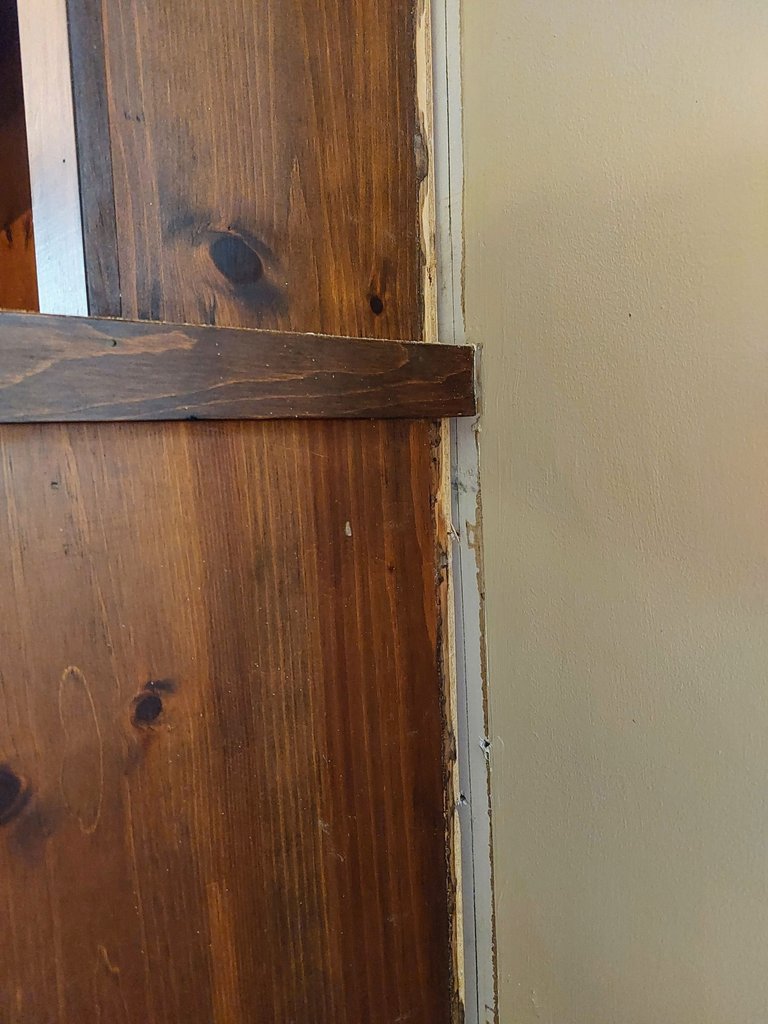
I ended up damaging the faux beam on the ceiling (not shown) which basically made me stop any further demo in that location.
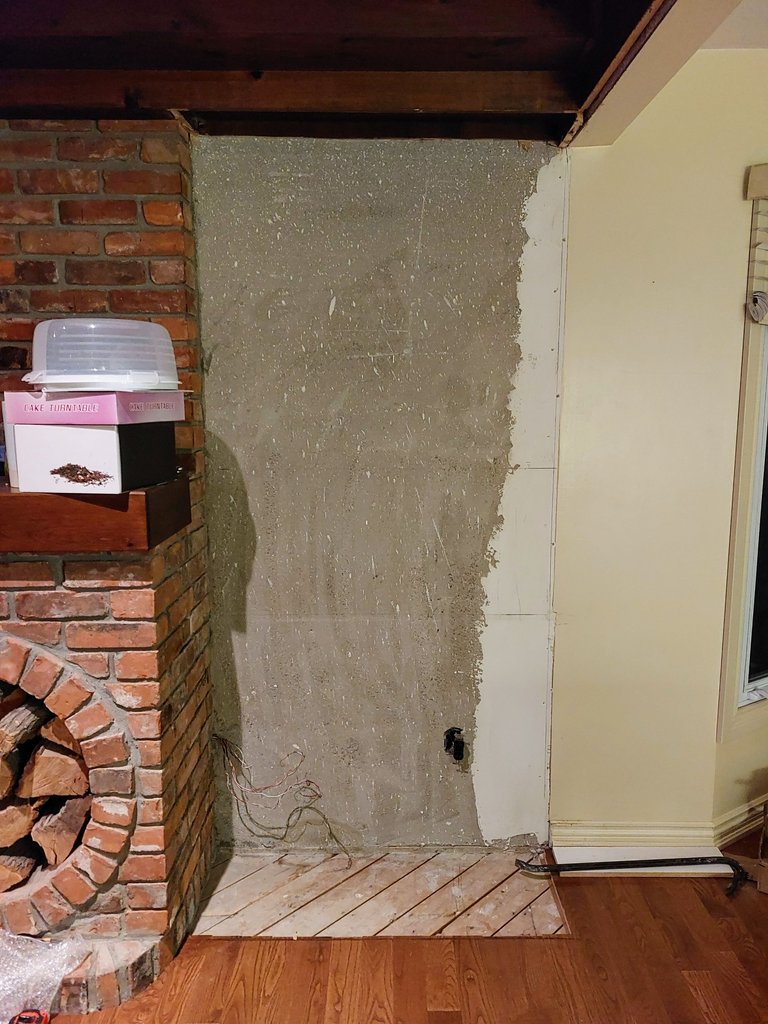
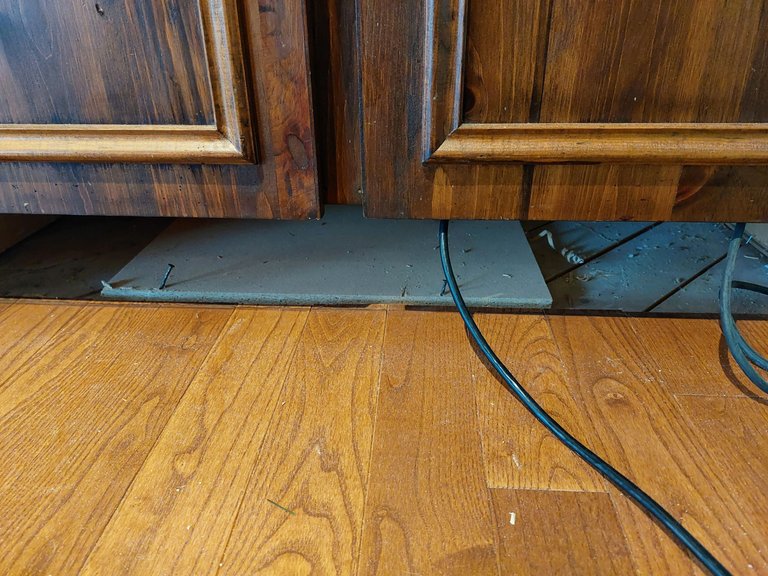
After much fiddling and prying and pushing and swearing, I eventually got the bloody thing out of there. And... well fuck, not only is the floor unfinished underneath but so is the wall behind the cabinet. Yaaayyy more work in the future... luckily I have an extra box of the hardwood floors to patch the hole.
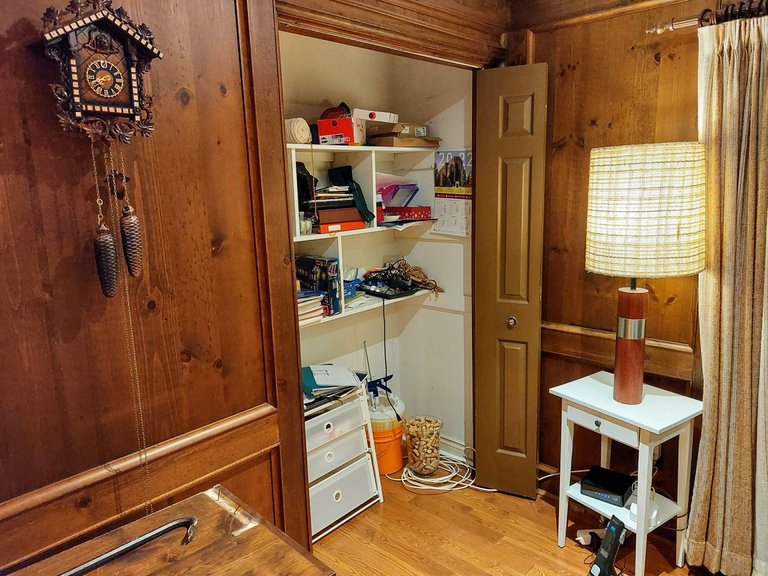
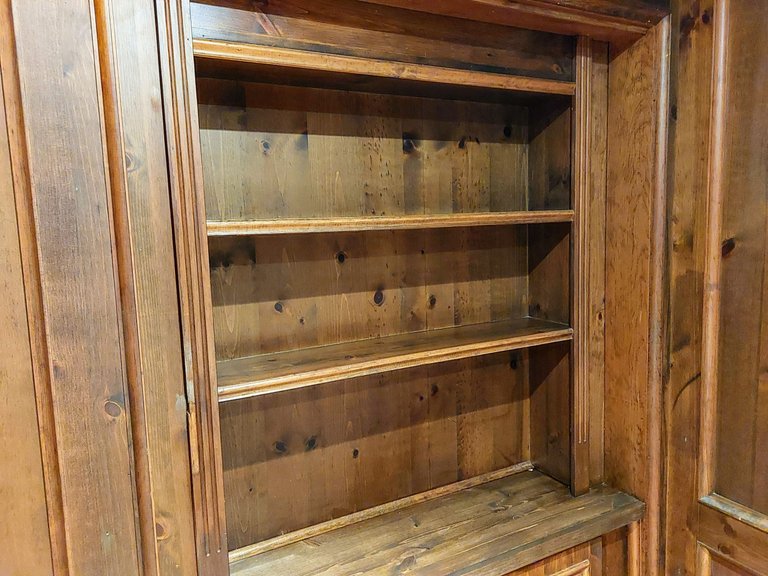
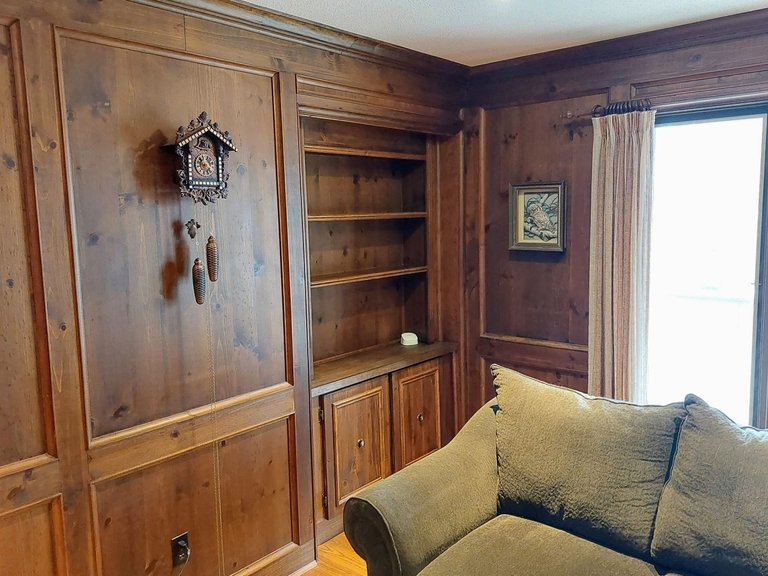
Here is the closet that I would be installing it in. It's a bit of a risk to cover up a closet, but we don't really use it effectively and efficiently and we installed new storage closets elsewhere in the house for all the overflow junk currently housed in there.
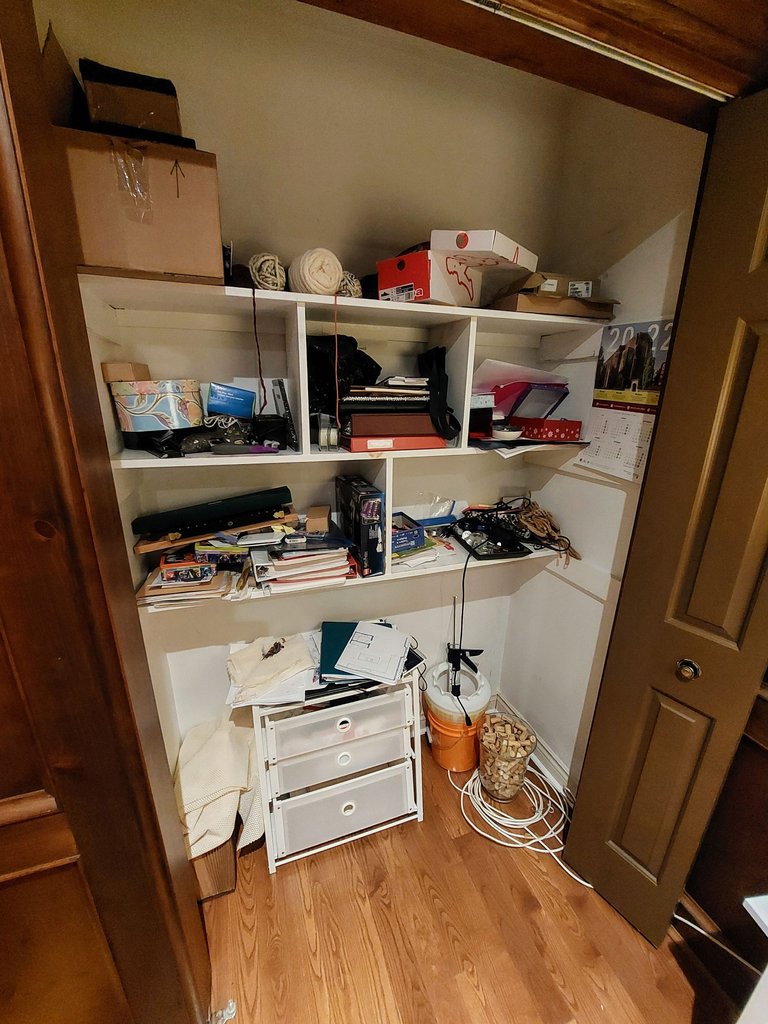
I also installed the new shelf in a way that it can be removed fairly easily. So if we change our minds down the road or if the next owners in the future would prefer it to be a closet that is still possible and quite easy to revert.
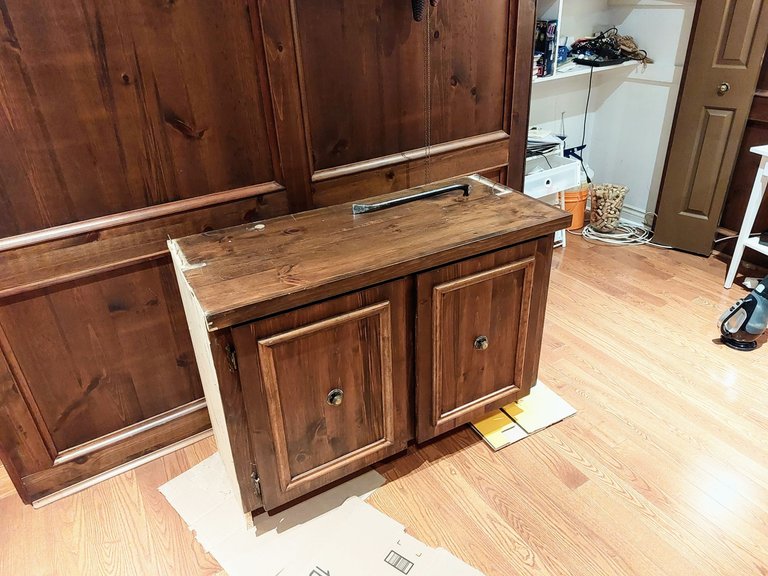
Somewhere along the way, I realized that I needed to seperate the top shelf from the bottom part of the cabinet. So that's what I did.
The cabinet was quite a bit smaller than the closet, so we spent some time planning everything out. My pictures of the steps I took from here sort of drop off a little but I'll walk you through the important pieces anyway.
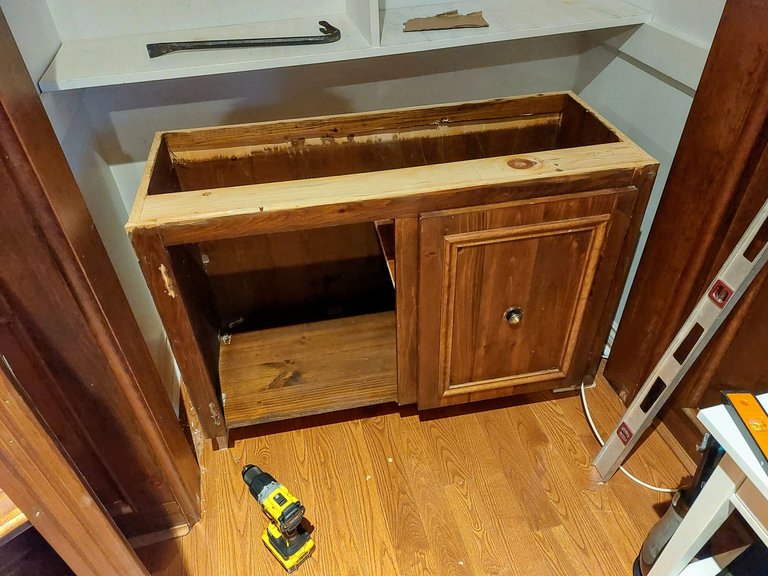
I took off the doors and replaced the piece of the cabinet that they were attached to. That allowed me to fill in the gaps at the sides of cabinet. Similarly, I replaced the top piece of the lower cabinet with a new piece of pine and stained it to match the rest of the room as best I could. Jacobean stain with some English chestnut for the win!

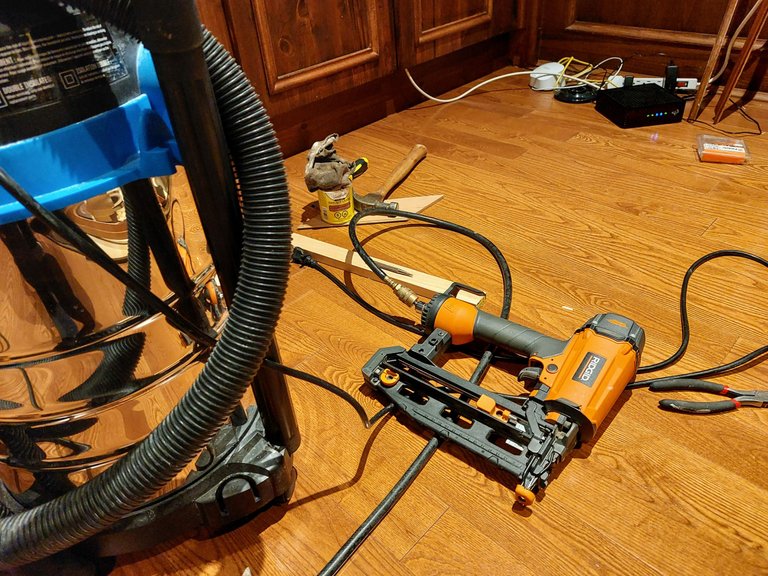
I like to keep my workplace tidy and organized to help with efficiency... okay that's a joke. As you can see the space was an absolute mess of tools and scrap wood that I was using.
I didn't bother to cut the top part of the shelf but instead let it extend well beyond the top of the inner closet.
The top shelf ended up being split in half by the closet wall, so it was effectively unusable and would have looked like crap if I left it open. I filled that part in with a piece of scrap wood.
I filled in the gaps at the side of the shelf with more scrap wood as well. I took it from the wood panels in our living room that are coming down.
From there it was just a matter of putting in a few trim pieces and sealing the new stained pieces.

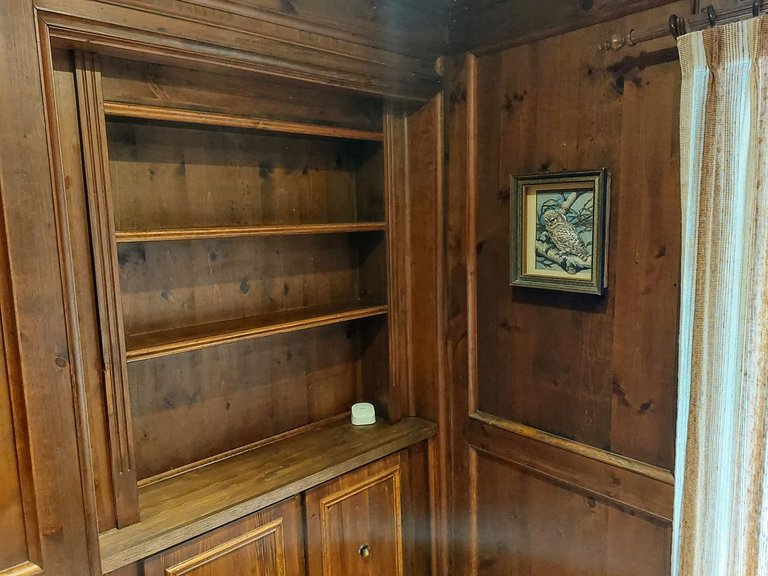
Oh, and decorating the shelf of course.
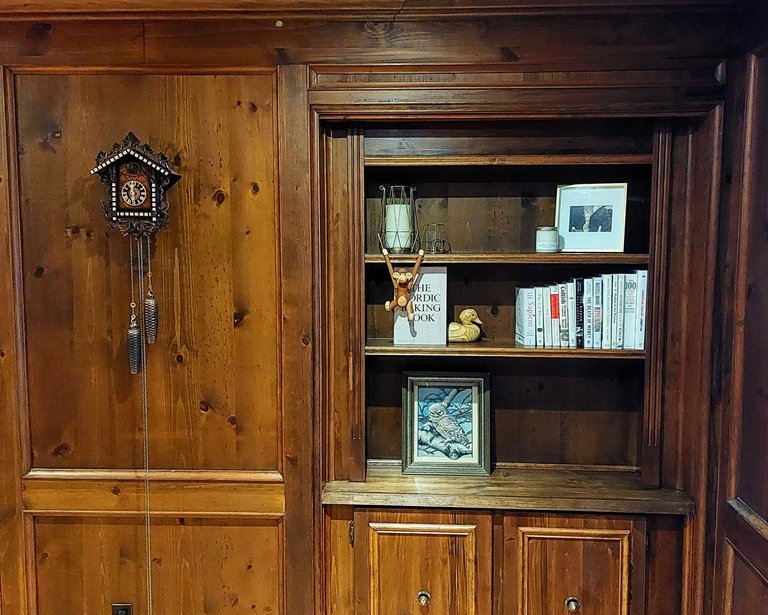
I need more books to fill it now. You can never have too many books!
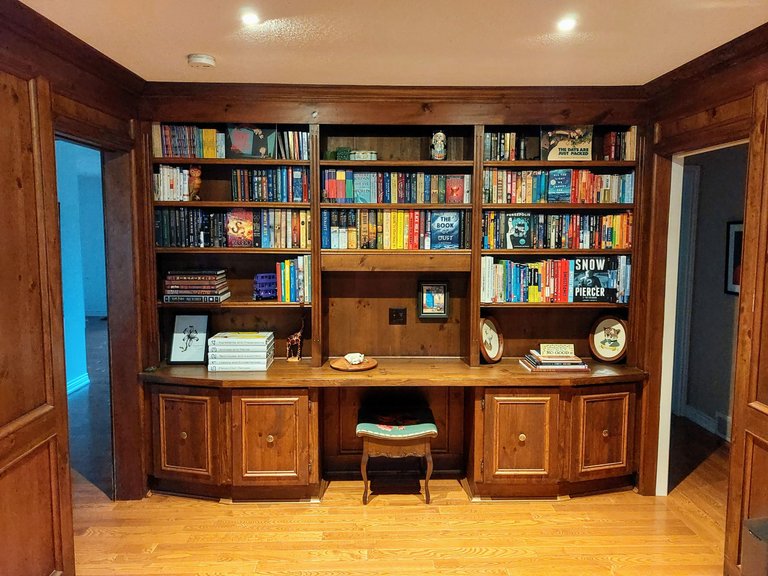
The workmanship isn't perfect but all in all I'm am pretty satisfied with how the project turned out. It looks pretty custom and like its meant to be there and it matches the existing shelves nicely. You really can't tell that it's covering up a closet, even from up close. So I'm pretty happy with the decision to install it.
Dude that turned out incredibly well. Good job on the staining. I have never had any luck when staining things. Always ends up the wrong shade! This looks stonking though, you should tiktokify it! 😀
Yeah the stain is close to being correct but you can definitely tell that it's different when standing up close. Its the table top portion that i had to stain. Eventually I'll put something in that spot to cover it more, but the light and shadows helps mask it as well
Shadows are a stains best friend 😀😀
It looks great though, you should be totally proud!
That's so true.
Thank you. I appreciate that.
😅😊
The risk of the job being far more complex than anticipated, is always the risk one takes when renovating. However, it looks like it was meant to be this way all along.
Well done👏
I wish I had your skills:)))
Thanks, I appreciate the compliment ☺️
I’m just like you who loves renovation but can be costly
The good thing is that you got it done by yourself which is better
You did a good job
Yeah renovations can definitely be costly. Luckily I was able to repurpose most of the material. I only had to buy two pieces of wood and they were fairly inexpensive
Looks awesome 😎 well done!
Thanks!
You are welcome 😊
You are really doing a great job
Thank you 😊