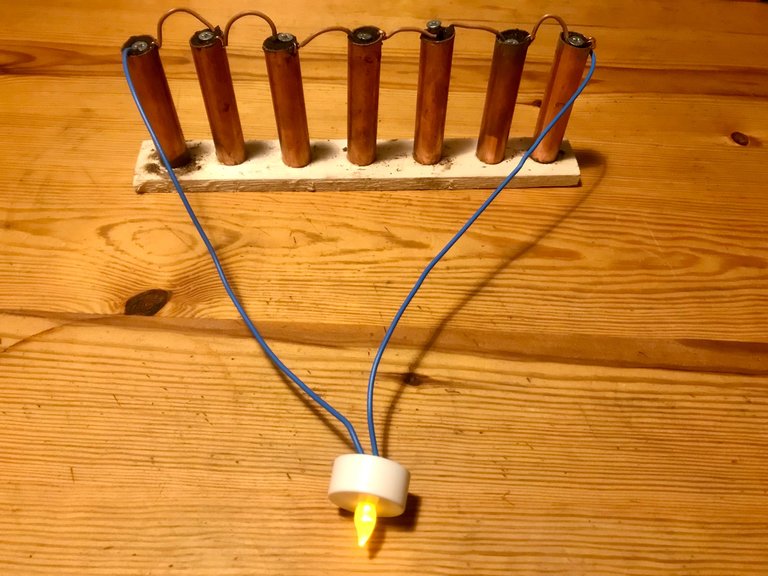
It was back in early December when I first showed you how it is possible to get around 5V from a configuration of nine copper cells with zinc-plated rods & damp soil. At that time I was using a glue gun to make my connections and this was not an effective system.

Since then I have been on the most incredible journey of discovery (electroculture & pyramids) but as spring approaches I am conscious of my aforementioned project to create an earth battery which sits in my garden for three months powering a waterproof camera, with the goal of creating a time-lapse film to categorically prove the effectiveness of electroculture alongside a control group.
With this in mind I spent the day re-designing my earth battery yesterday.
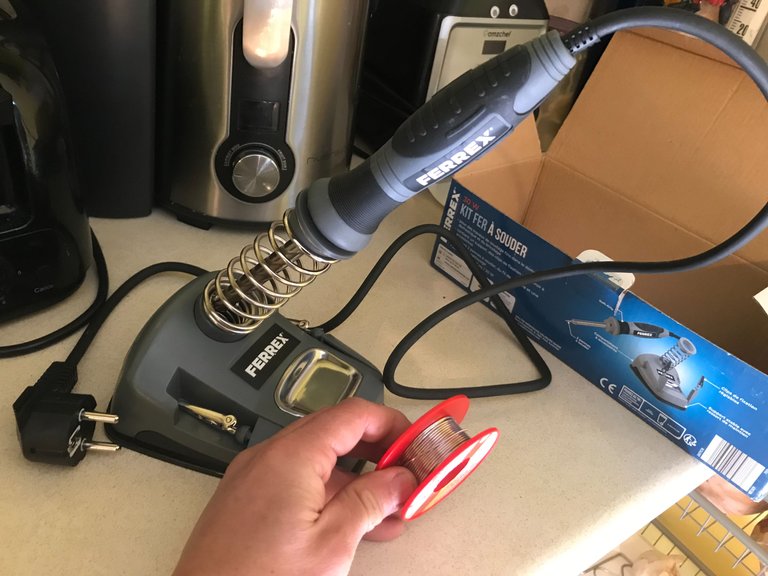
I had intended to solder the connections this time but failed to get hold of solder resin or the appropriate material to create an abrasive surface which would hold the solder in place (as recommended by @amberyooper) and for a while I was kicking myself for forgetting his message, unable to complete the job as intended.
I was at least able to fix this broken solar panel which charges a torch (with a USB port to power other devices too).
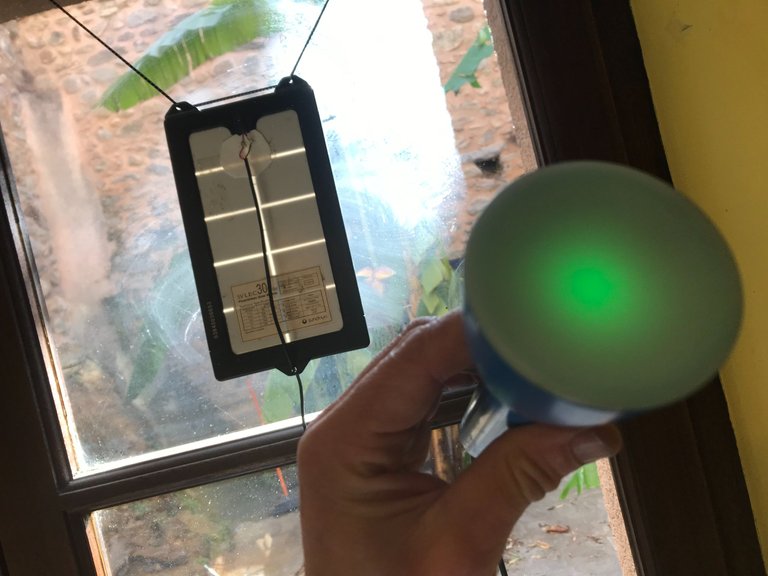
This is my first attempt at soldering!
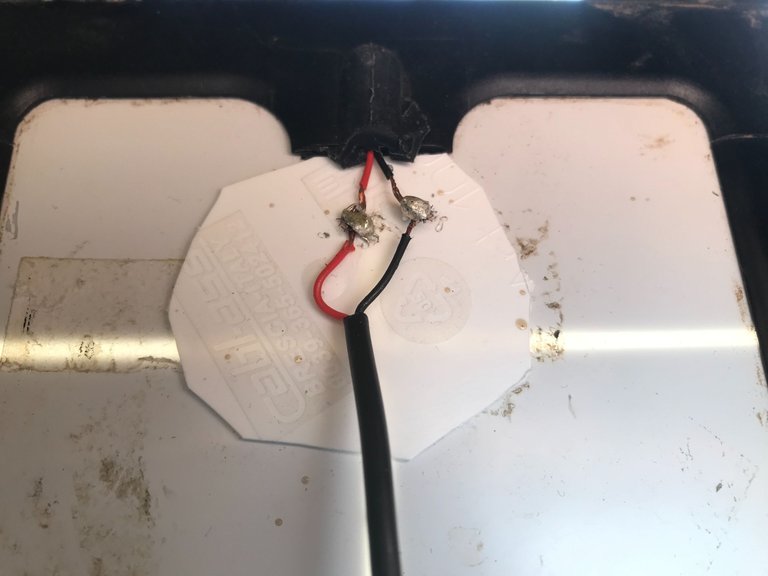
Bit messy but it works. Just need to close it up now and make it waterproof again.
Never one to let a mistake stop the flow I figured out another way to make my earth battery connections solid.
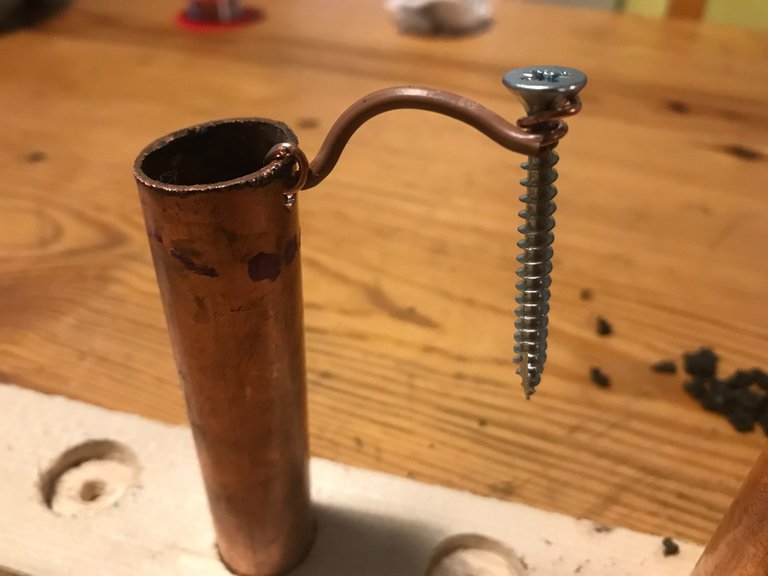
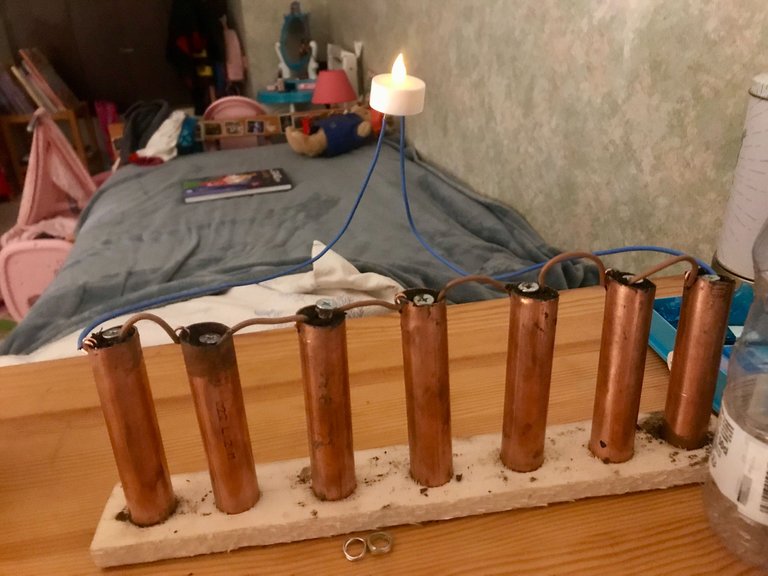
As you can see I am using screws this time instead of zinc-plated bolts and have drilled small holes in the top of each copper cell to complete the connection.
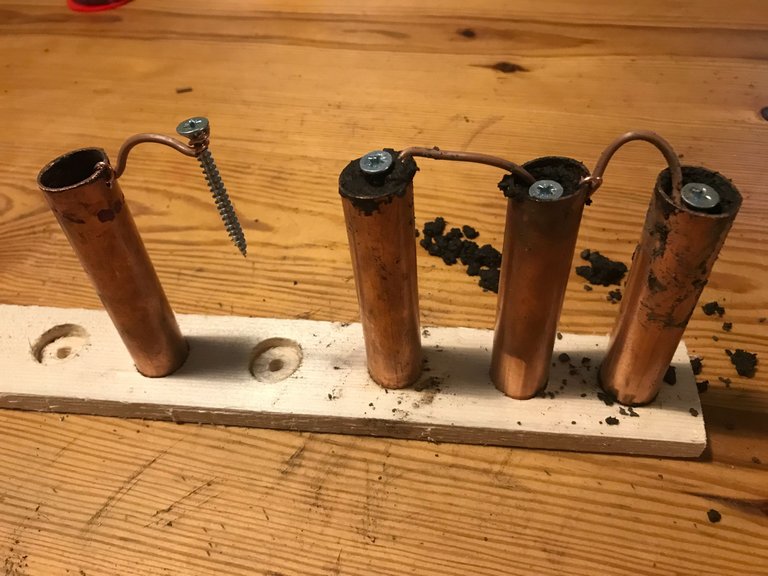
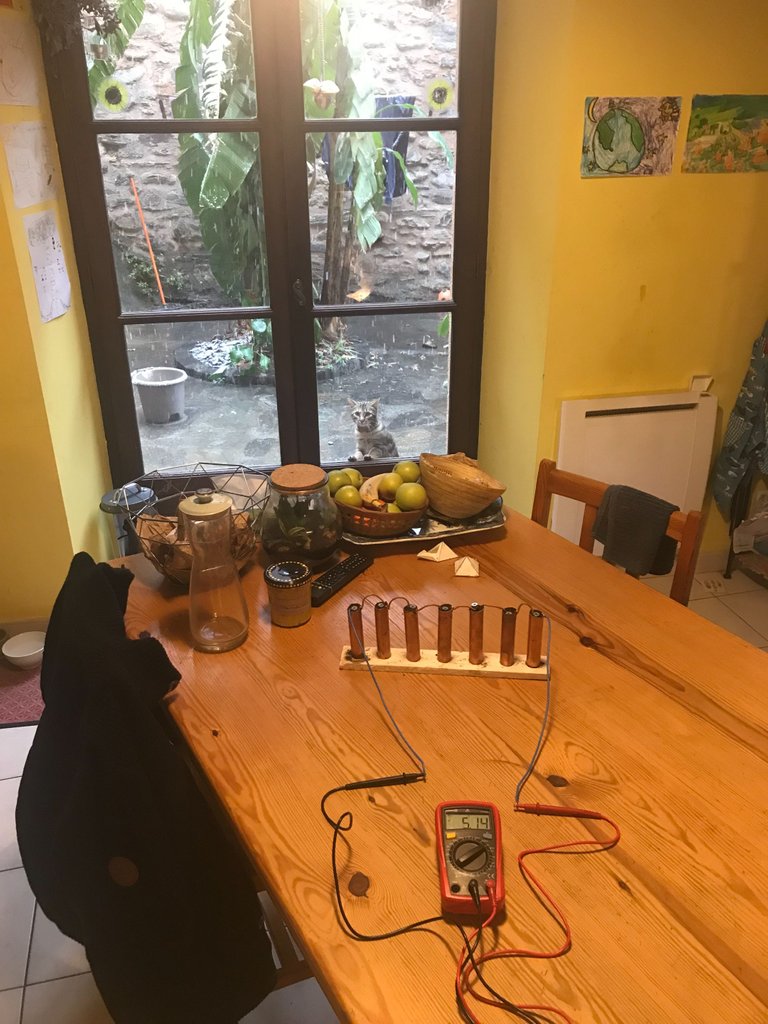
From a configuration of seven cells I was able to get around 5.2V. I say around because it fluctuates quite a lot from 4.4 to 5.4.
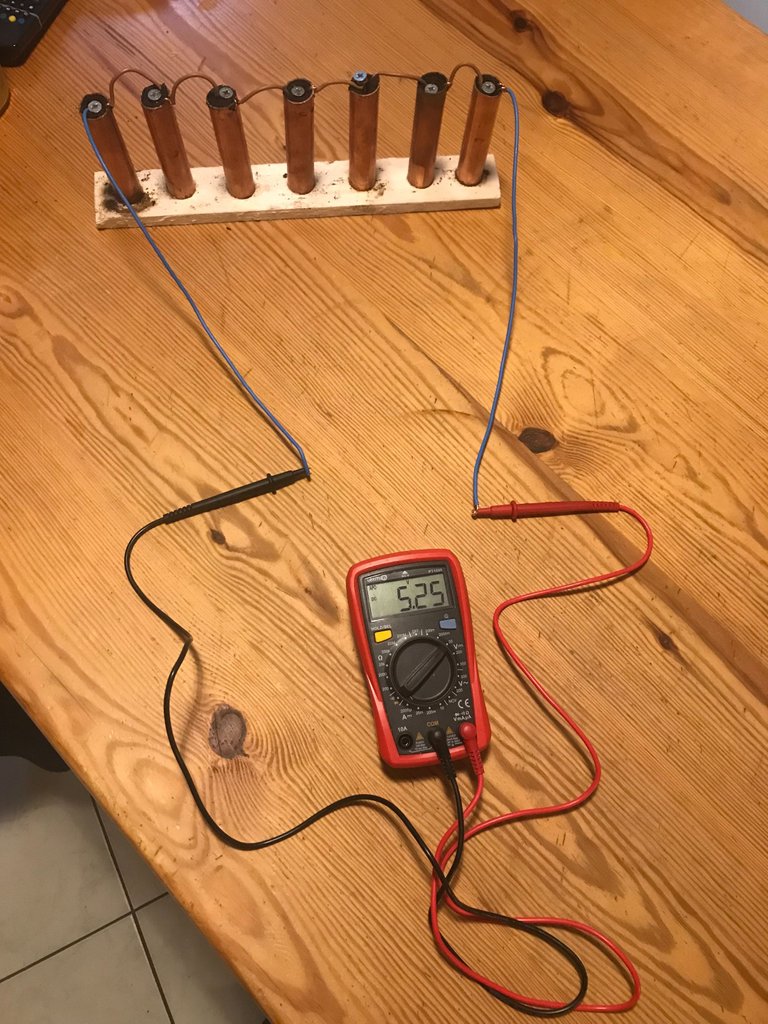
Interestingly the voltage actually jumps down when I make a loud noise or bash the table with my hand. Even my movement through the room seems to create small fluctuations.
The amperage was coming in at around 1A.
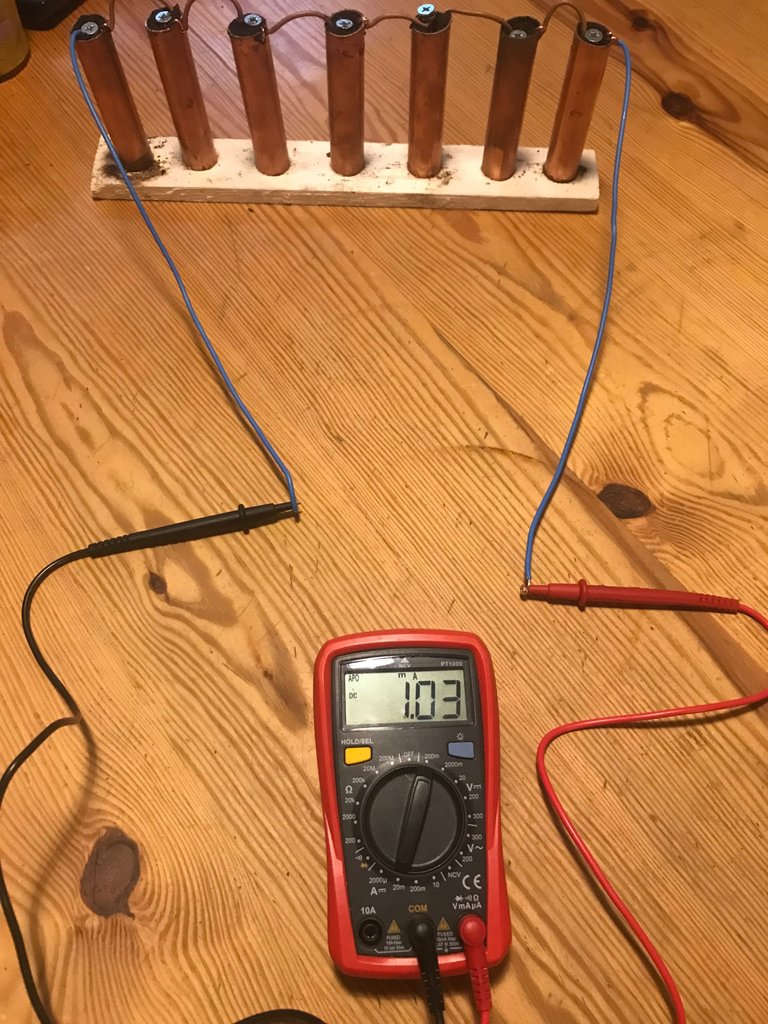
The Gopro camera I intend to use requires 5V 1A, so this fits nicely.
I noticed it was snowing outside in this moment and that one of the cats wanted to come in.
Checking the view on the other side of the house, our village currently looks like this.

It snowed in April last year so I am conscious that we may have three months of this ahead of us now. I've mentioned this before but when I arrived in the South of France five years ago they told me it doesn't snow here any more because of global warming. Yeah right!

Getting back to my earth battery I first connected up this little light which normally requires a 3V battery.
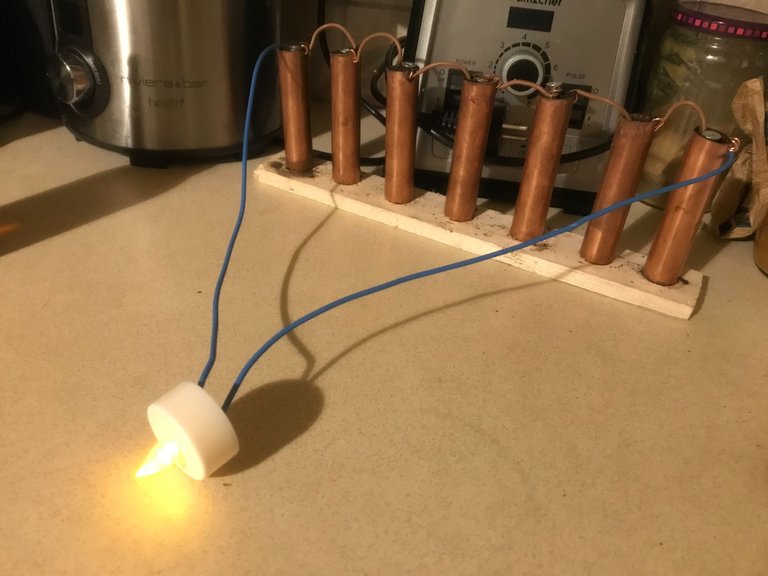
Turning the lights out it looks great! I could probably power a bunch of these lights in series with this set-up. Perhaps I will try that tomorrow.
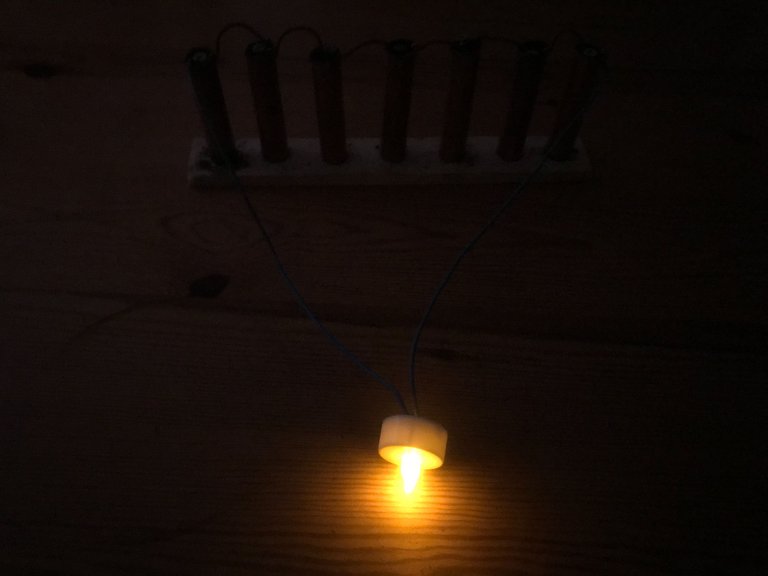
For now it is a night light for the children.
Please help!
I stopped at this point because I hit a brick wall.
According to this document the four cables found inside a USB type cable can be categorised in the following way.
I have a USB port here which I stripped back revealing the copper inside the red & back, as indicated above.
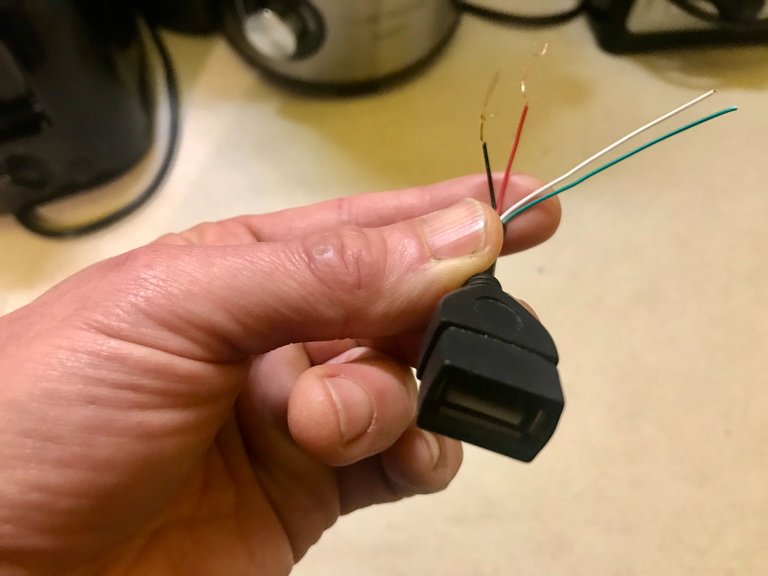
Upon connecting these wires to my earth battery however I am getting no reaction.
I tried many different types of USB cable in many different ways but I could not, no matter how hard I tried, get a charging light to appear on any device.
Do any of you happen to know what I should do to resolve this problem?
I watched a few vids before bed last night and found this guy who connects a USB port to a solar panel using a "buck converter/charger".
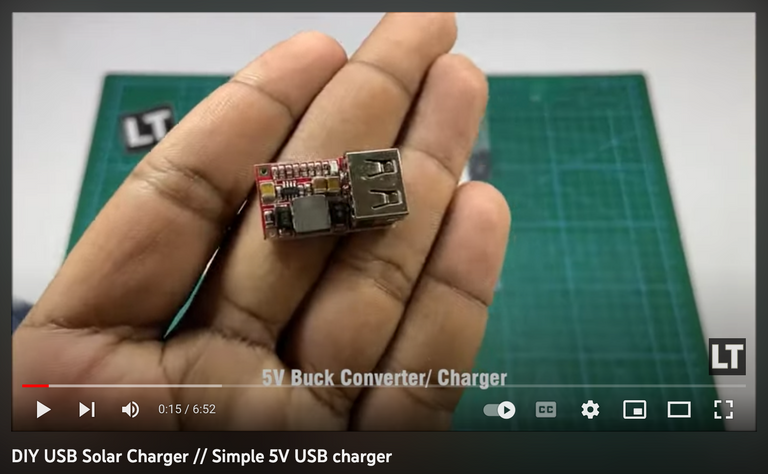
Looking into it I see this little device basically regulates the output to be consistent and bearing in mind what I mentioned earlier about the earth battery output not being consistent my feeling is that this is the solution.
But before I go ahead and buy one I just wanted to reach out to you, my Hive family, hoping someone can confirm I am buying the right thing.
Please tag your electrically minded friends and let's get to the bottom of this before the end of the week so I can show you how to power all USB devices from an earth battery.

Beyond this I am going to run a small light like the one shown in my children's bedroom indefinitely, posting an update at the bottom of every future post indicating the number of days the light has been on. The only fuel I will add is water, to keep the soil moist.

I wonder if USB heaters exist???
Could be useful moving forward.

Love & Light everyone 💡
UPDATE!
Since writing this post I have been in contact with the designer of the solar panel I fixed, an amazing man who knows the answer to most question I can throw at him, and his response was as follows:
USB needs a very stable voltage and therefore better to use a step up converter. There are 3 different types:
- boost = step up
- buck = step down
- buck boost = can do both
Efficiencies depend on what parts are used and who did the design... it can vary from just 50% up to 97%
Your setup is a bit weak. The multimeter shows 1 but its not amps, just milliamps.
So what you really get is a bit over 1 milliamperes WITHOUT a load. If you hold the multimeter terminals in your hand you will see that you provide that much yourself.
Why? Because you need chemical reaction for this kind of battery. And soil is very weak at that. It depends on the wetness of the soil, but if its dry enough it acts as an insulator. At that point you only have a fancy antenna which picks up electric noise in the house. That solves the mistery of fluctuating power.
Hi there! Many thanks for stepping in with your experience here. It is greatly valued as I am relatively new to this.
Okay! I wondered what that small 'm' meant. Got it. The thing I don't get about this is that the CR2032 3V battery I removed from the small light normally gives an output of 20mA, as indicated by this article. So how is it that the light was equally bright with the earth battery as it was with the standard battery? I imagined the brightness would be dimmer with just 1 milliamp.
Very much appreciate this tip. I won't forget now that I know.
Can't get any reading from my body. Tried all the settings.
The earth has been kept moist throughout so I don't see how the fluctuating power could relate to this. Weirdly the power output went down to 2.5V yesterday morning and spent the day rising back up to 4V where it sits this morning. So, the output is fluctuating even more now. Which seems odd to me.
Anyway, thanks again.
I have bought more copper and will prepare a set-up in parallel to increase the amperage.
The battery can provide 20mA, that's right. But that is just one side of the equation. The current flow depends on the load, the LED in this case, which only needs about that 1mA (these candle LEDs have a built-in resistor).
The battery output depends on the anode,cathode material and the electrolite between them. You use some uncontrolled composition soil so the results are uncontrolled too.
Your soil has a neutral PH, which won't do much work. You need a bit more agressive stuff, maybe add a little acidic solution (vinegar for start)
And use longer screws, so they go deeper into the body. The larger contact area means larger currents (and larger current will deplete the battery faster).
And I forgot the flux stuff yesterday. Solve zinc in muriatic acid for a diy flux. I usually peel off tha casing of a used non-alkaline AA battery. You will need as many zinc as the acid can solve.
AND DON'T INHALE THE GASES WHEN YOU SOLDER!
The way you were testing the current (amps) is not exactly a good indicator of your battery's actual power output, but more for testing the internal resistance of your battery. Instead you should have the meter in series with your load/light to get an accurate current/amp reading. The meter is also showing what appears to be 1mA not 1A. When you tested the voltage you are seeing 5v on an open circuit (no load) and that voltage will drop significantly once you add one (light/phone/etc). The best way to know your power output is to test voltage (at the load/light/etc) and current (meter in series with load) simultaneously, then just multiply the two to get watts. So 5v x 1A would be 5 watts, 5v x 1ma (or .001A) would be .005 watts. Once you add a load that exceeds the output of your power supply (earth battery) the voltage will drop so that little current will flow. You will probably need a much bigger setup and/or many more earth batteries wired in combinations of parallel and series to get maximum current + volts in order to get up to 1+A @ 5v for charging devices. Look up how wiring multiple batteries in different configurations can help you get the voltage/current you are looking for. Also, if you want more lights illuminated at the same time remember (when wired in series) that the voltage divides between each load depending on each load's resistance so if you have 2 - 3 volt lights wired in series you will need 6v+ to give each light 3v. If you wire them in parallel you will only need 3v but your current requirement will double since the resistance will be cut in half.
V=I•R
Voltage = I (current in amps) x Resistance (ohms)
I'm loving your experiments, blows my mind. Once I have finished my current projects I want to get into this, to this, thank you very much for sharing. Sadly I can't help you with the USB issue, hope you receive the answer!
Happy to say I now have the answer! Have added it as an update at the bottom of this post.
Am blessed to have so many incredible friends.
It blows my mind too yet I am assured by some this electrical process is taught to children in science class as the action of a galvanic cell. And therefore no big deal. This seems odd to me because 95% of the people I mention this to seem completely amazed and appear to have no knowledge of it. Certainly I cannot personally remember being taught this information in school. Though perhaps I just wasn't concentrating in that lesson!
If you mean USB powered heaters, then there are some on eBay, but I currently do not know how effective they are. I have not tried them so far. I have not even heard about them so far. Sounds like an interesting idea.
I had a look for USB powered heaters and there are loads! But it would seem they are not so effective. Better for warming your fingers than a whole room!
You can also run a mini fridge from a USB. Amazing.
By the way, if you are interested I have added the answer to my question as an update at the bottom of this post.
It turns out I need a step up converter.
Interesting project, Good idea to use the galvanised screws as it should give you more surface area. We used to use the zinc we found in spent batteries for the electrode.
I was interested to hear that you are getting 1A at 5V from this set-up. Did you try testing with a load in series with your multimeter?
As far as the cable goes did you check for continuity? It should be 5v and ground at either side of the plug. It could be a damaged wire.
I actually hadn't considered that but I did observe how these small screws produce a similar output to the much longer bolts which have a flat surface. This must be why! Thanks for clearing that up in my head.
Am a bit new to the electrical side of life so I don't know clearly what you mean when you say "Did you try testing with a load in series". Are these cells not already in series?
It is possible I am not understanding how to read my multimeter?
I see a small m on the meter when I am reading Amps, but struggle to believe this is producing just one 1000th of an amp.
I checked the resistance in those two cables (black and red) and they seem good, giving me a strong reading, so I don't think it relates to damaged wires.
Sorry for the delayed response. I believe you need to check the amps like in this image. Where you let the electricity flow through the bulb and through the multimeter. This way you will get a better idea of how many amps the bulb draws and how much the batteries can give.
I am still learning myself but really find all this fascinating.
Harvesting energy from the earth... fascinating!!!!! Keep us posted on your progress!
It's a pretty cool concept hey.
My current feeling on this is that all energy is free and the only questions which need to be asked are as follows:
1 - How much energy has been used to create the device?
2 - How much energy can the device produce during its lifetime?
3 - If the answer to 1 is less than 2, the device is useful.
It was this subject which led me to electroculture for the last few months. And I must say, am very excited to see the results this summer!
All the best to you :)
Sing it out cuddlekitten!
Good to see you as always :)